Articles
How To Build A Dry Bar
Modified: October 20, 2024
Learn how to build a stunning dry bar with our informative articles. Get step-by-step instructions, tips, and ideas for creating the perfect space.
(Many of the links in this article redirect to a specific reviewed product. Your purchase of these products through affiliate links helps to generate commission for Storables.com, at no extra cost. Learn more)
Introduction
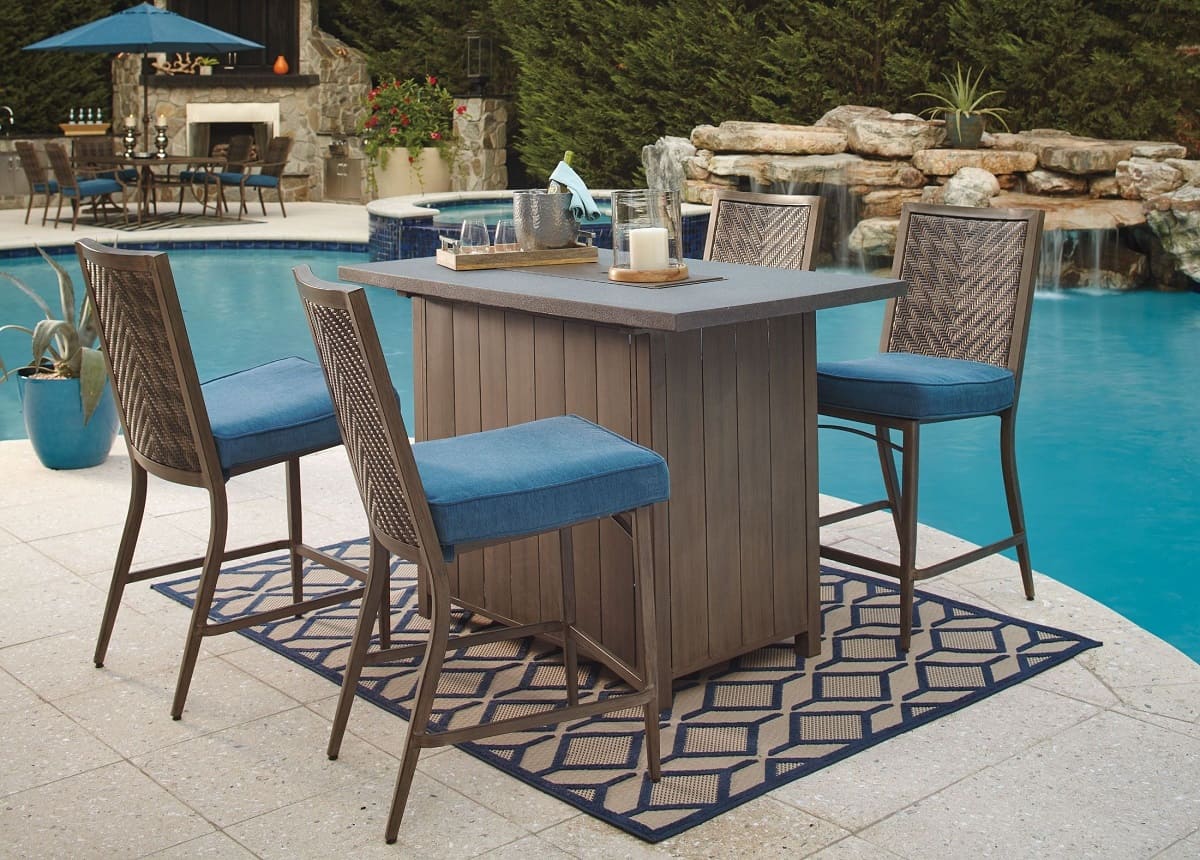
Welcome to the world of DIY home improvement! Building your own dry bar is not only a fun and rewarding project, but it can also add a touch of elegance and functionality to your space. A dry bar is a great addition to any home, providing a designated area for mixing drinks, entertaining guests, and displaying your favorite spirits and glassware.
In this step-by-step guide, we will walk you through the process of building your very own dry bar from scratch. Whether you are a seasoned DIY enthusiast or a beginner looking to take on your first project, we’ve got you covered.
Before we dive into the construction process, let’s talk about some of the benefits of building a dry bar. Firstly, it allows you to customize every aspect of the design to suit your personal style and preferences. You have the freedom to choose the materials, colors, and finishes that align with your vision. Additionally, building your own dry bar can be a cost-effective alternative to purchasing a pre-made one, saving you money while still achieving a high-quality result.
Furthermore, a dry bar can be a versatile addition to your home. It can serve as a focal point in a living room or basement, creating a dedicated space for entertaining and socializing. It can also be integrated into an existing kitchen or dining area, acting as a convenient extension for serving drinks and appetizers during gatherings.
Now that you understand the benefits, let’s move on to the first step: gathering the necessary tools and materials. Having the right equipment and supplies will ensure a smooth and efficient construction process. So, let’s get started!
Key Takeaways:
- Building a dry bar is a rewarding DIY project that allows for customization, cost-effectiveness, and the creation of a versatile space for entertaining and socializing in your home.
- The step-by-step process of building a dry bar involves gathering tools and materials, planning the layout, constructing the base frame, adding functional components, and personalizing the space with final touches and decorations.
Read more: How To Build A Bar In Basement
Step 1: Gather the necessary tools and materials
Before you begin building your dry bar, it’s important to gather all the necessary tools and materials. Having everything on hand will streamline the construction process and prevent unnecessary delays. Here’s a list of the essential items you’ll need:
- Measuring tape: You’ll use this to take accurate measurements of your space and the materials you’ll be working with.
- Circular saw: A circular saw will be your primary tool for cutting the wood and other materials.
- Drill: A drill will come in handy for making holes and attaching screws.
- Screwdriver: Invest in both a Phillips head and a flathead screwdriver for different types of screws.
- Sanding block: After the construction is complete, you’ll need a sanding block to smooth out any rough edges and surfaces.
- Paintbrushes and rollers: Depending on your chosen finish, you’ll need brushes and rollers for applying paint or stain.
- Wood glue: A strong wood glue will help secure the joints and ensure the stability of your dry bar.
- Level: A level is essential for making sure your dry bar is straight and properly aligned.
- Carpenter’s square: A carpenter’s square will help you ensure that all your angles and corners are perfectly square.
- Safety gear: Don’t forget safety goggles, gloves, and a face mask to protect yourself during the construction process.
In terms of materials, you’ll need:
- Wood: Depending on your design, you’ll need pieces of plywood, MDF, or solid wood for the base, shelves, and countertop.
- Countertop material: Choose a durable and water-resistant material for your countertop, such as laminate, granite, or quartz.
- Screws and nails: Make sure you have a variety of screws and nails in different sizes to secure the various components of your dry bar.
- Finishing supplies: Depending on your preference, you may need paint, stain, or sealer to give your dry bar its desired look and protection.
- Decorative hardware: Don’t forget to gather any knobs, handles, or drawer pulls you’ll be using to add a finishing touch to your dry bar.
Take the time to gather all these tools and materials before you start building. This will not only save you trips to the hardware store in the middle of your project but also ensure a smooth and efficient construction process. Once you have everything ready, you’re all set to move on to the next step: measuring and planning the dry bar layout.
Step 2: Measure and plan the dry bar layout
Now that you have all your tools and materials ready, it’s time to start measuring and planning the layout of your dry bar. This step is crucial to ensure that your dry bar fits perfectly in your space and meets your specific needs.
Start by measuring the area where you plan to install your dry bar. Use a measuring tape to determine the dimensions of the space, including the width, height, and depth. Take accurate measurements, accounting for any obstacles such as windows, outlets, or plumbing fixtures that may affect the placement of your dry bar.
Once you have the measurements, it’s time to sketch out a rough layout of your dry bar. Consider the functionality and flow of the space. How many shelves or compartments do you want? Will you incorporate a sink or a mini-fridge? Think about your storage needs and how you want to organize your bar supplies.
Keep in mind that the height of your dry bar should be comfortable for you and your guests. A standard bar height is around 42 inches, but you can adjust it to suit your preference. Take into consideration the height of bar stools or chairs that you plan to use to ensure a comfortable seating arrangement.
Using graph paper or a design software, create a scaled drawing of your dry bar layout. This will help you visualize the final product and make any necessary adjustments before you begin construction.
Consider the materials you’ll be using for the base, shelves, and countertop. Take note of their dimensions and incorporate them into your layout design. This step will help you determine how much wood or other materials you’ll need to purchase.
Once you have your layout planned, double-check your measurements and make any final adjustments. It’s better to catch any errors or oversights now rather than during the construction process.
By taking the time to measure and plan your dry bar layout, you’ll have a clear roadmap for the rest of the construction process. This step sets the foundation for a successful and well-designed dry bar. With the layout finalized, you’re now ready to move on to the next step: building the base frame.
Step 3: Build the base frame
With your dry bar layout planned, it’s time to start building the base frame. The base frame serves as the foundation for your dry bar, providing stability and support for the rest of the structure.
Start by cutting the pieces of wood for your base frame according to the dimensions you determined in the previous step. Use a circular saw to make precise cuts, ensuring that the edges are smooth and even.
Next, assemble the base frame using screws, nails, or wood glue to secure the joints. Use a carpenter’s square to ensure that all the corners are perfectly square. A level can also come in handy to ensure that the frame is straight and aligned correctly.
When assembling the base frame, consider including extra supports or crossbars for added stability. This is especially important if your dry bar is going to be wide or if you plan to store heavy items on the shelves.
Once the frame is assembled, place it in the designated area and check for levelness. Use shims or adjust the legs if necessary to ensure that the base is stable and doesn’t wobble.
With the base frame in place, you can now move on to adding the sides and back of the dry bar. Cut pieces of wood or plywood to fit the dimensions of the sides and back, and attach them securely to the base frame using screws or nails.
If you plan to incorporate any drawers or doors in your dry bar, now is the time to add the necessary supports or tracks. Measure and cut pieces of wood for the drawer slides or door hinges and install them according to the manufacturer’s instructions.
Once everything is securely in place, take a step back and admire your newly constructed base frame. This is the foundation on which the rest of your dry bar will be built, so it’s important to ensure that it is sturdy and well-constructed.
In the next step, we will move on to installing the countertop, which will add functionality and a polished finish to your dry bar. But before we do that, make sure to take a break, have a sip of your favorite beverage, and gather the materials you’ll need for the next stage of construction.
Step 4: Install the countertop
Now that you have the base frame of your dry bar ready, it’s time to move on to the next step: installing the countertop. The countertop not only adds functionality to your dry bar but also provides a stylish and polished finish to the overall design.
First, measure and cut your chosen countertop material to fit the dimensions of your base frame. Depending on the material, you may need to use a circular saw or a specialized cutting tool to achieve clean and accurate cuts.
Before installing the countertop, it’s a good idea to precut any openings for sinks, faucets, or other fixtures if you plan to incorporate them into your dry bar. Use a template or precise measurements to mark these openings on the countertop material and carefully cut them out.
Next, apply a thin bead of adhesive or caulk along the top edges of your base frame. Gently place the countertop onto the base, ensuring that it aligns correctly and sits evenly.
Use clamps or heavy objects to hold the countertop securely in place while the adhesive cures. Follow the manufacturer’s instructions for the specific adhesive you are using, as curing times may vary.
Once the adhesive is fully cured, check the countertop to ensure that it is securely attached to the base frame. Give it a gentle shake or push to make sure there is no movement or instability.
If you have any seams in your countertop, use a seam filler or epoxy specifically designed for your countertop material. Follow the manufacturer’s instructions to ensure a seamless and invisible finish.
If desired, you can also add decorative edge molding or trim to the front edge of the countertop for a more polished look. Measure and cut the molding to fit, then attach it securely using wood glue or finishing nails.
After the countertop is installed, take a moment to clean and wipe down the surface, removing any adhesive residue or dust. This will ensure that your dry bar looks clean and professional.
With the countertop in place, your dry bar is really starting to take shape. In the next step, we will focus on adding shelves and storage compartments, providing ample space to store and display your bar essentials. So grab a drink and get ready to tackle the next phase of building your dry bar.
When building a dry bar, make sure to use a level to ensure that all surfaces are even and straight. This will help to create a professional and polished finished product.
Read more: How To Build A Bar Shed
Step 5: Add shelves and storage compartments
As we continue building your dry bar, it’s time to focus on adding shelves and storage compartments. These components will provide you with the perfect space to organize and display your bar essentials, glassware, and liquor bottles.
Start by measuring and cutting pieces of wood to serve as the shelves and dividers for your dry bar. The number and size of shelves will depend on your storage needs and the design you envisioned during the planning stage.
Using a level and a measuring tape, mark the desired positions for the shelves inside the dry bar. Make sure to account for the height of bottles or glasses you plan to store to ensure that there is enough clearance between each shelf.
Once you have your measurements and markings, install the shelves by attaching them securely to the sides of the dry bar. You can use brackets, screws, or nails to hold the shelves in place, depending on your design preference and the materials you are working with.
If you want to add storage compartments with doors or drawers to your dry bar, now is the time to do so. Install hinges or slides as needed, ensuring that they are properly aligned and working smoothly.
Consider incorporating adjustable shelving to accommodate different bottle sizes or to provide flexibility in organizing your items. This allows you to customize the storage space to fit your specific needs.
After installing the shelves and storage compartments, take a moment to assess the stability and functionality. Give everything a gentle shake or push to ensure that there is no wobbling or instability. Make any necessary adjustments or reinforcements to ensure that your dry bar is structurally sound.
With the shelves and storage compartments in place, you can now envision how you will arrange your barware, spirits, and other accessories. Take the time to organize and style your dry bar, creating an appealing and inviting display.
Coming up next, we will move on to the installation of the bar top and other accessories, bringing your dry bar one step closer to completion. So let’s keep the momentum going and continue building your dream dry bar!
Step 6: Install the bar top and accessories
Now that your dry bar is taking shape, it’s time to install the bar top and accessories, bringing it one step closer to completion. The bar top not only adds functionality but also serves as a focal point, enhancing the overall aesthetics of your dry bar.
If you haven’t already done so, measure and cut your chosen bar top material to fit the dimensions of your dry bar. Ensure that the edges are smooth and even to create a polished and professional look.
Before installing the bar top, prepare the surface by sanding it lightly to remove any rough areas or imperfections. This will ensure a smooth and even surface for your bar top installation.
Apply a thin bead of adhesive or caulk to the top edges of your dry bar base. Carefully place the bar top onto the base, aligning it correctly and ensuring that it sits evenly.
Use clamps or heavy objects to hold the bar top securely in place while the adhesive cures. Refer to the manufacturer’s instructions for the specific adhesive you are using, as curing times may vary.
Once the adhesive is fully cured and the bar top is securely attached, inspect the surface for any gaps or seams. Use a seam filler or epoxy specifically designed for your bar top material to create a smooth and seamless finish.
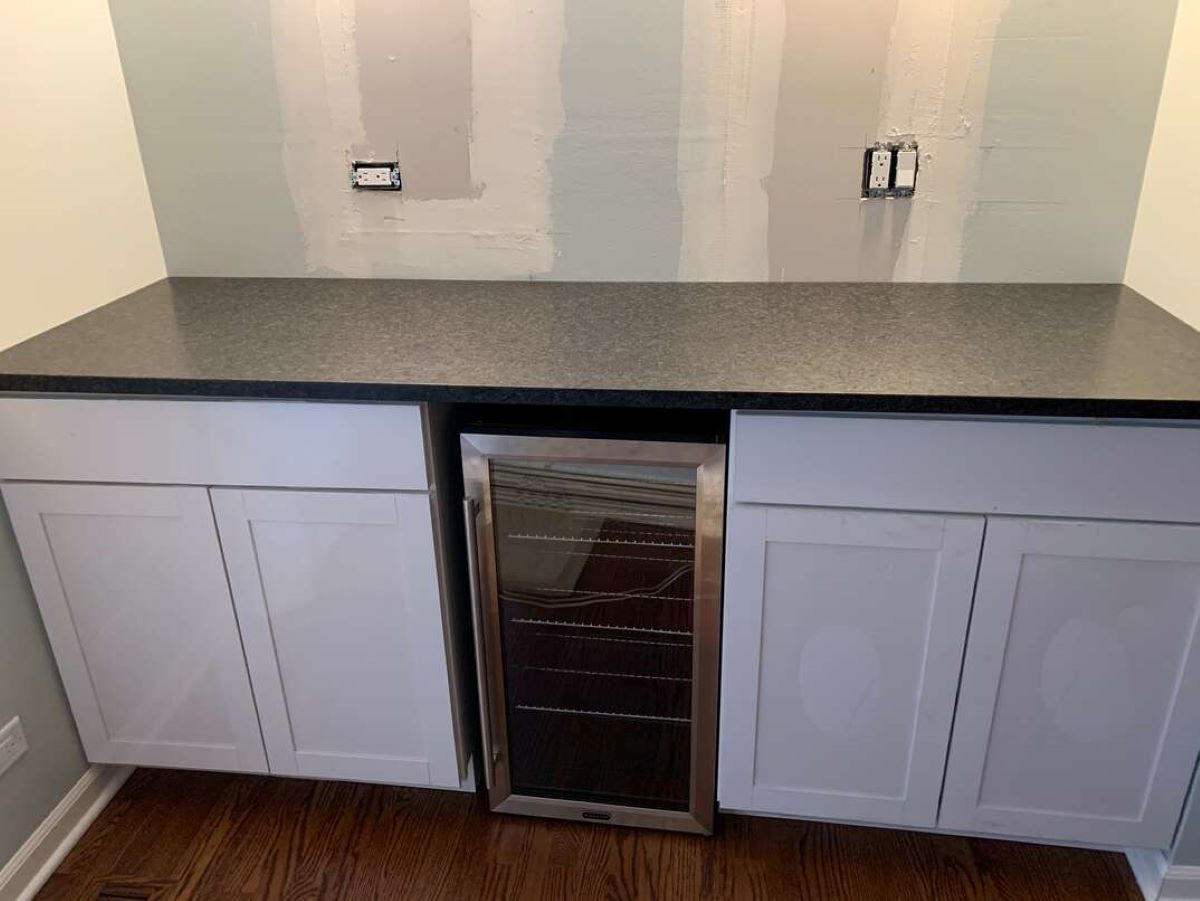
Now it’s time to install the accessories that will enhance the functionality of your dry bar. Depending on your design and personal preferences, this could include a sink, a mini fridge, an ice bucket, or a wine rack.
If you are incorporating a sink, carefully cut out the necessary opening on the bar top. Install the sink and ensure that it is properly sealed according to the manufacturer’s instructions.
For a mini fridge, measure and cut out the appropriate opening in the base or side of your dry bar. Ensure that there is proper ventilation and that the fridge fits snugly in its designated space.
If you have chosen to include an ice bucket or a wine rack, measure and mark the desired locations. Install the necessary fixtures or racks according to the manufacturer’s instructions.
Take a moment to step back and admire your dry bar with the newly installed bar top and accessories. This marks a significant milestone in the construction process, as your dry bar is now functional and ready to be enjoyed.
With the bar top and accessories in place, it’s time to move on to the final steps of completing your dry bar. In the next step, we will focus on sanding and finishing, ensuring that your dry bar has a smooth and professional appearance. So, let’s get closer to the finish line and continue building your dream dry bar!
Step 7: Sand and finish the dry bar
In this step, we will focus on sanding and finishing your dry bar to achieve a smooth and polished appearance. Sanding will help to remove any rough surfaces, imperfections, and splinters, while finishing will provide protection and enhance the overall aesthetics of your bar.
Start by thoroughly sanding the entire surface of your dry bar using sandpaper or a sanding block. Begin with a coarse-grit sandpaper (around 80-100 grit) to remove any rough areas or imperfections. Move in the direction of the wood grain and apply even pressure, avoiding applying too much force to prevent damage to the wood.
After sanding with the coarse-grit paper, switch to a finer-grit sandpaper (around 180-220 grit) to achieve a smoother finish. Continue sanding until the surface is uniformly smooth to the touch.
Once you’ve completed sanding, use a damp cloth or tack cloth to remove any dust and debris from the surface. This will ensure a clean surface for applying the finish.
Next, choose a finish that suits your aesthetic preferences and the type of wood you’ve used for your dry bar. Popular options include paint, stain, or clear sealant.
If you opt for paint, apply a primer first before applying the desired color. This will help the paint adhere better and provide a more even finish. Use a paintbrush or roller to apply the paint evenly, following the manufacturer’s instructions for drying times and multiple coats if necessary. Allow sufficient drying time between each coat.
If you prefer the natural look of the wood, you can apply a stain. Before staining, make sure the surface is clean and free of dust. Apply the stain using a brush or cloth, following the direction of the wood grain. Wipe off any excess stain after a few minutes to achieve your desired level of color intensity. Allow the stain to dry completely.
If you want to protect the wood while maintaining its natural color, you can use a clear sealant. Apply the sealant using a brush or roller, ensuring even coverage. Allow each coat to dry before applying additional coats, following the manufacturer’s instructions.
Once the finish is dry and cured, give your dry bar a final light sanding using a fine-grit sandpaper (around 220-320 grit) to smooth out any imperfections or raised grain. Wipe down the surface with a cloth to remove any dust.
Inspect the surface for any touch-ups, such as additional layers of paint, stain, or sealant where needed. This is the final opportunity to make any adjustments before completing the construction process.
With the sanding and finishing process complete, your dry bar now has a smooth, polished, and professional appearance. In our final step, we’ll focus on the last finishing touches and decorations to truly personalize and showcase your dry bar. So let’s put on the final touches and bring your dream dry bar to life!
Step 8: Final touches and decoration
Congratulations! You’re in the final step of building your dream dry bar. Now it’s time to add those final touches and decorations that will truly make your dry bar a unique and stylish focal point in your space.
Here are some ideas to help you personalize and decorate your dry bar:
- Add decorative hardware: Swap out plain knobs or handles with stylish and eye-catching ones. This simple change can enhance the overall aesthetics of your dry bar.
- Install lighting: Consider adding under-cabinet lighting or LED strip lights to create a warm and inviting ambiance. This can highlight your barware and drinks collection during gatherings or add a touch of sophistication to your space.
- Showcase glassware: Add glass shelves or glass doors to display your glassware collection. This not only provides easy access but also showcases your beautiful glasses as part of your dry bar’s decor.
- Incorporate a backsplash: Use mosaic tiles or a stylish backsplash behind your dry bar to add a pop of color and texture. This can create a focal point and protect the wall from any liquid splashes.
- Add decorative accents: Consider including decorative accents such as artwork, small plants, or trinkets that reflect your personal style. These details can add personality and make your dry bar feel more inviting.
- Create a themed display: If you have a specific theme in mind, such as a tiki bar or a vintage pub, incorporate elements that align with that theme. Hang themed signs, display themed glassware or memorabilia, and use decor that represents your chosen style.
- Add a chalkboard or menu board: Install a chalkboard or menu board to write down your drink specials, create a fun beverage menu, or leave messages for your guests. This adds an interactive and playful element to your dry bar.
Remember, the final touches and decorations are an opportunity to let your creativity shine and make your dry bar truly unique. Have fun with it and experiment with different ideas until you achieve the desired look and vibe.
Once you’re satisfied with the final touches and decorations, take a step back and admire your completed dry bar. It’s now a functional, stylish, and personalized space for entertaining friends and family.
With the completion of Step 8, your journey to building a dry bar comes to an end. Enjoy your newly constructed dry bar and raise a glass to your DIY skills and creativity!
Happy entertaining!
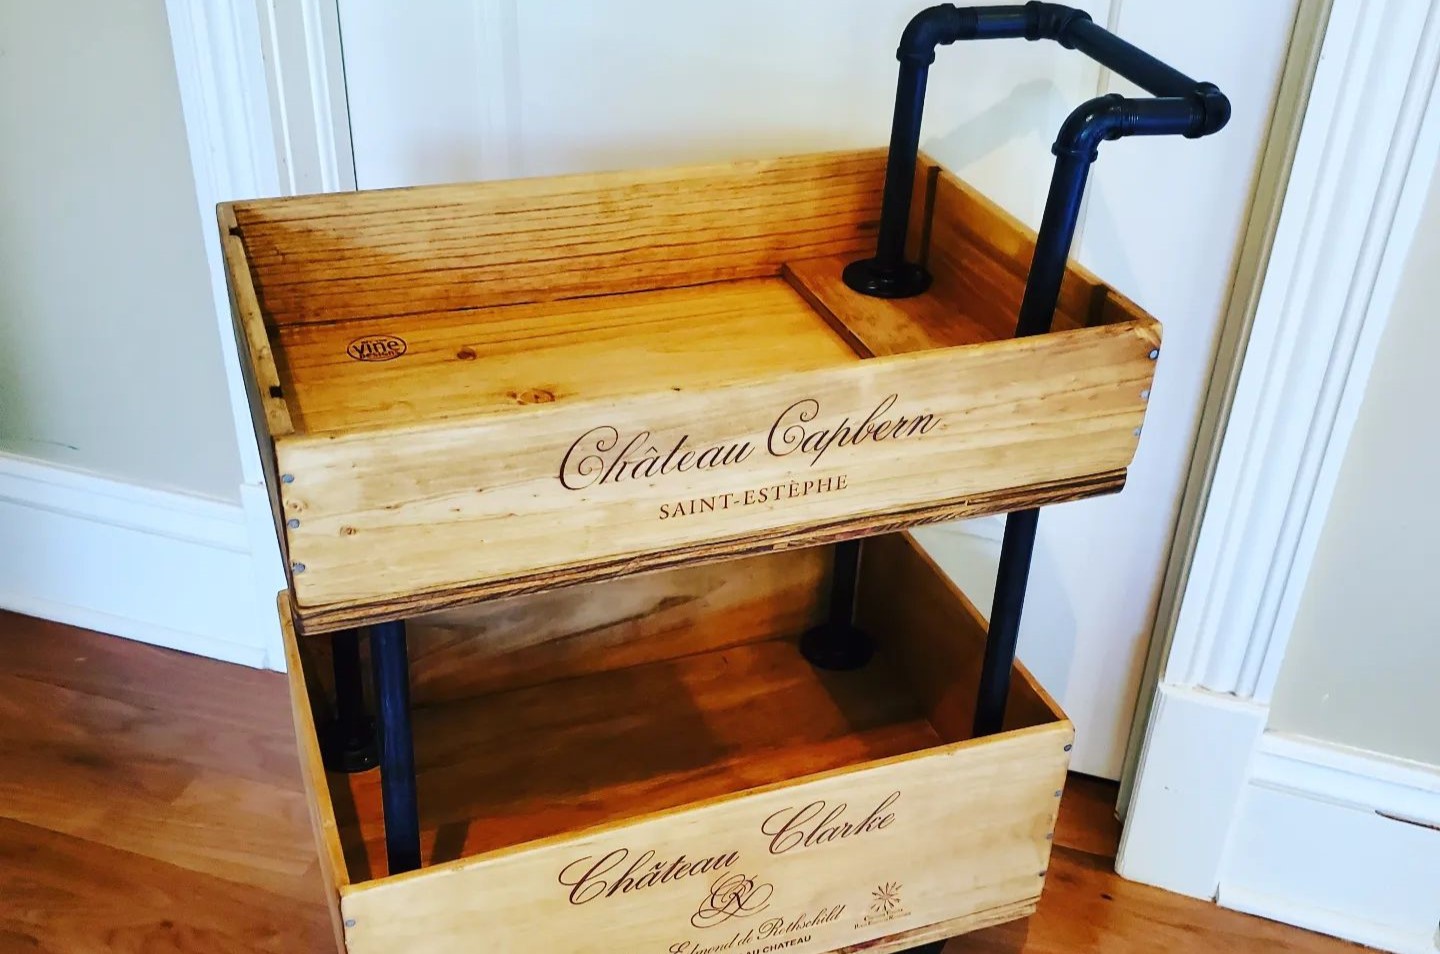
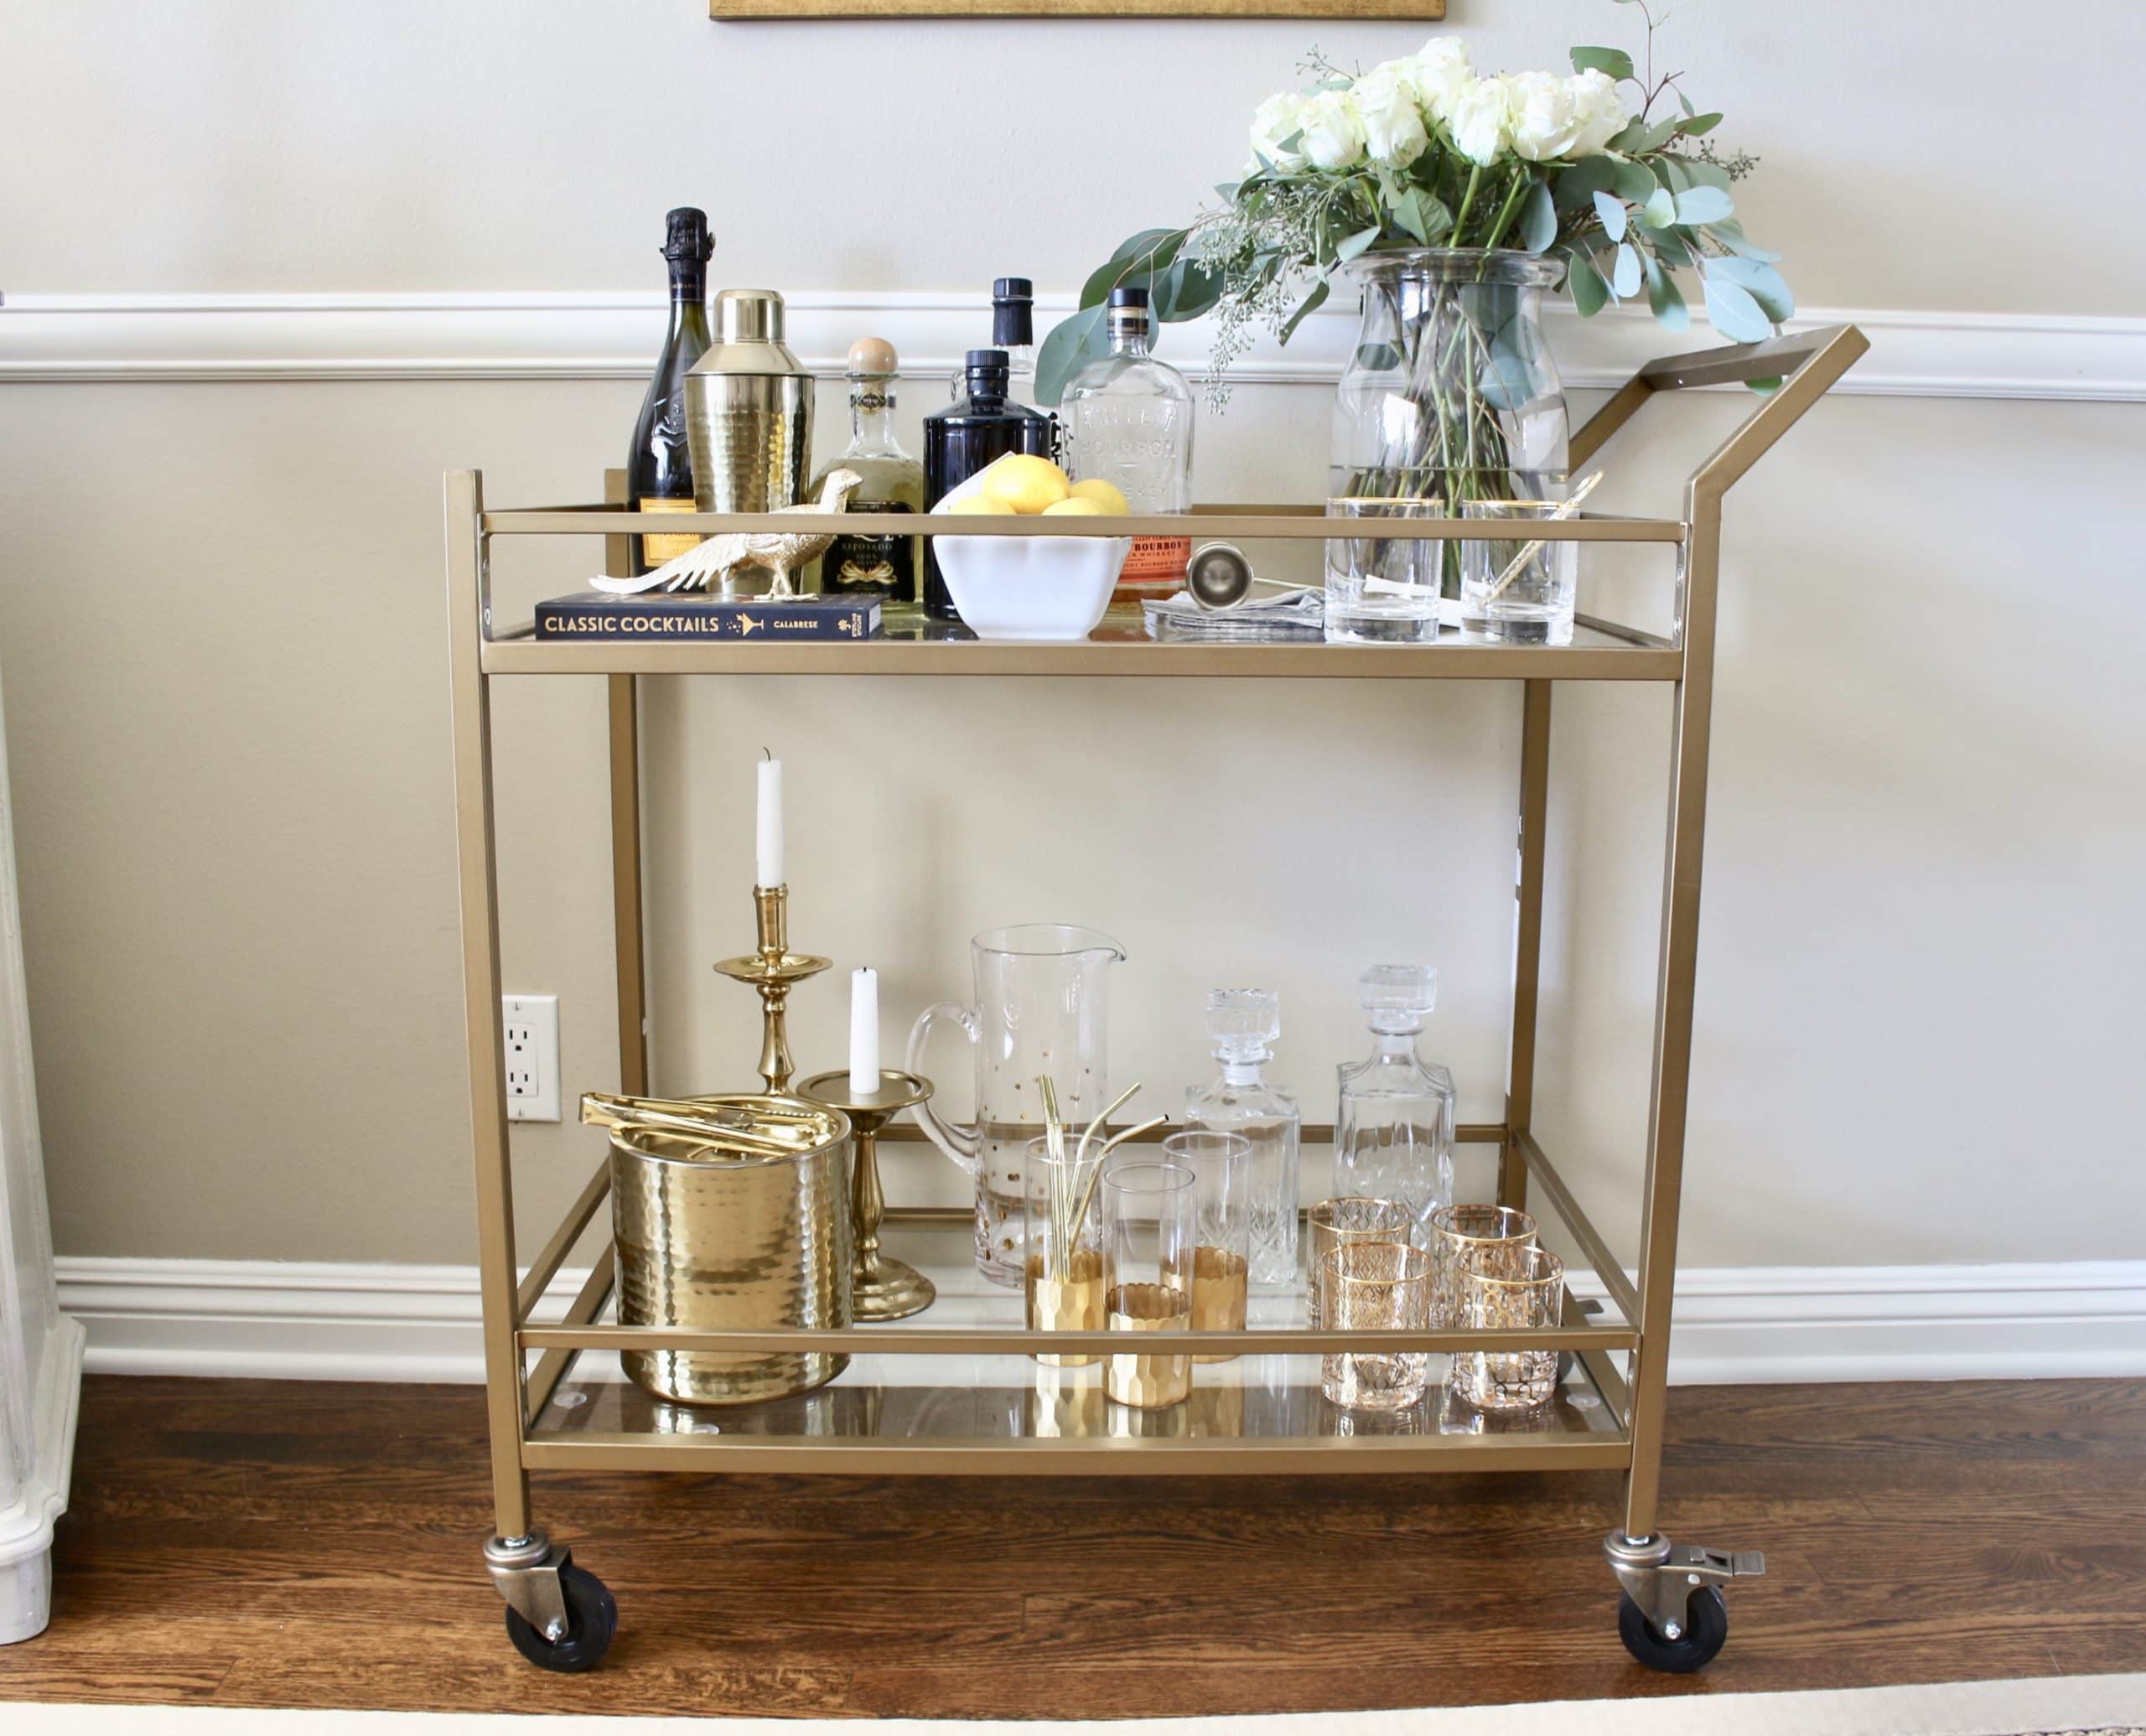
Read more: How To Build A Gold Bar Cart
Conclusion
Building your own dry bar is a fulfilling and rewarding experience that allows you to create a functional and stylish addition to your home. Throughout the step-by-step process, you’ve learned to gather the necessary tools and materials, measure and plan the layout, build the base frame, install the countertop, add shelves and storage compartments, install the bar top and accessories, sand and finish the dry bar, and add the final touches and decorations.
By following these steps, you’ve transformed raw materials into a beautiful and personalized dry bar that reflects your style and meets your specific needs. Along the way, you’ve honed your DIY skills, learned to work with different tools and materials, and gained the satisfaction of creating something with your own hands.
Not only does a dry bar provide a designated space for mixing drinks and entertaining guests, but it also adds a touch of elegance and functionality to your home. It becomes a focal point for socializing and a source of pride as you showcase your barware collection and serve up delicious beverages.
Remember, as you enjoy your newly constructed dry bar, don’t be afraid to continue customizing and evolving it over time. Swap out decorations, experiment with different drinks, and embrace new trends to keep your dry bar fresh and inviting. It’s a space that can adapt and grow with your changing tastes and preferences.
Building a dry bar is not just about the end result; it’s about the journey and the satisfaction that comes from creating something unique. So, raise a glass to your DIY skills and toast to the memories you’ll create and the good times you’ll have around your beautiful dry bar.
Cheers to your success and happy entertaining!
Frequently Asked Questions about How To Build A Dry Bar
Was this page helpful?
At Storables.com, we guarantee accurate and reliable information. Our content, validated by Expert Board Contributors, is crafted following stringent Editorial Policies. We're committed to providing you with well-researched, expert-backed insights for all your informational needs.


0 thoughts on “How To Build A Dry Bar”