Home>Dining>Tableware>How To Make Beaded Napkin Ring Holders
Tableware
How To Make Beaded Napkin Ring Holders
Modified: January 5, 2024
Elevate your tableware with these stunning beaded napkin ring holders. Learn how to make them and add a touch of elegance to your dining experience.
(Many of the links in this article redirect to a specific reviewed product. Your purchase of these products through affiliate links helps to generate commission for Storables.com, at no extra cost. Learn more)
Introduction
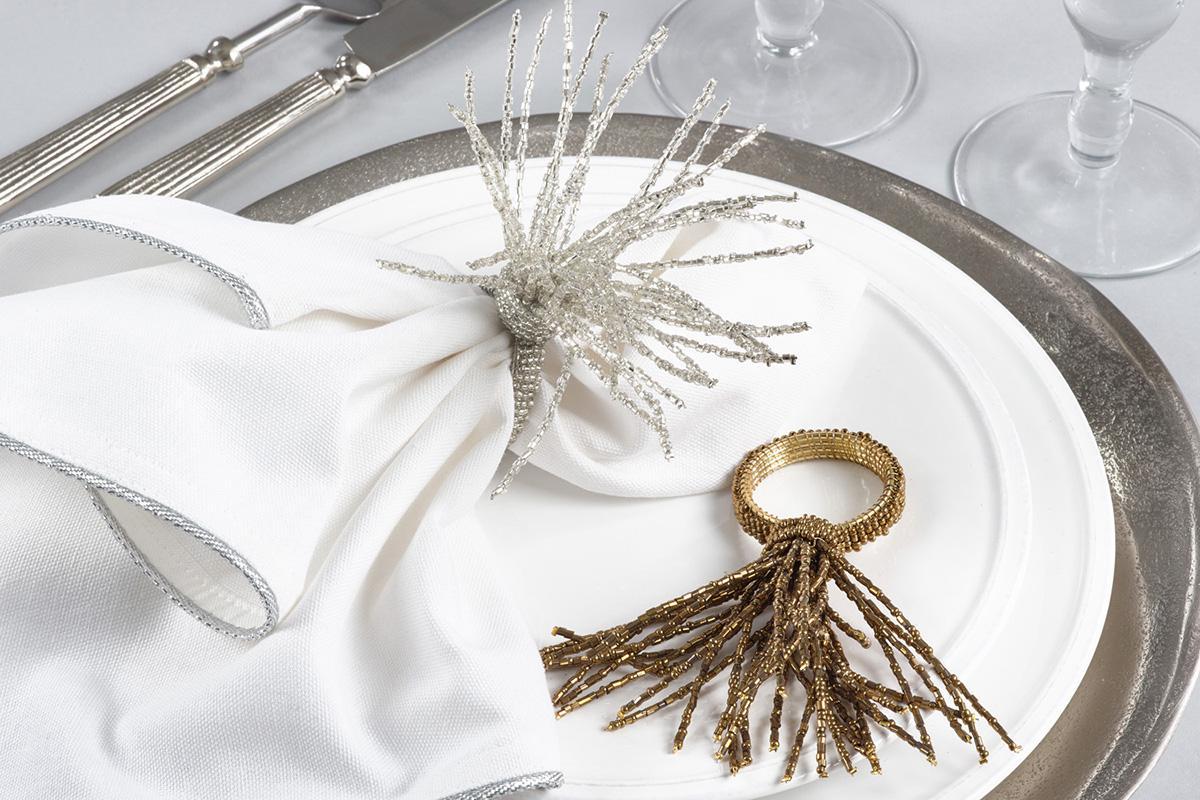
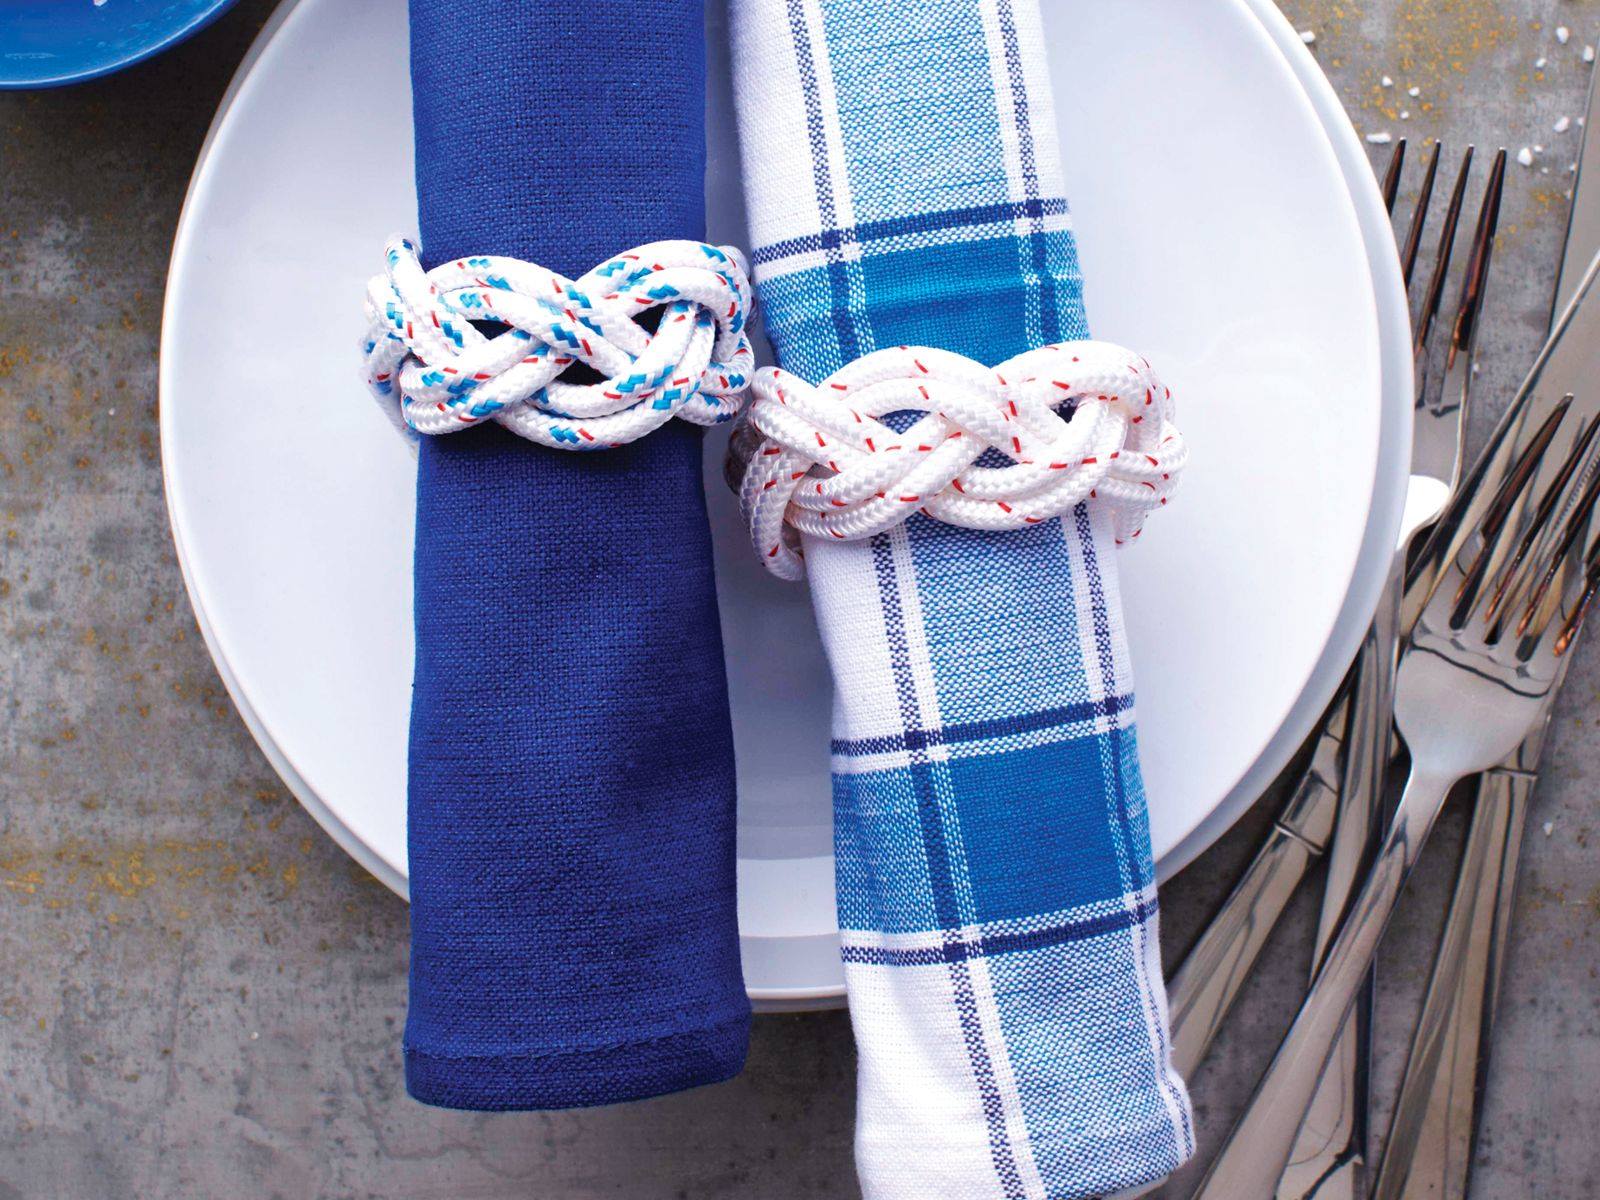
Welcome to our comprehensive guide on how to make beaded napkin ring holders! If you’re looking to add a touch of elegance and personalization to your dining table, these DIY napkin ring holders are the perfect project for you. Whether you’re hosting a special dinner party or simply want to impress your family and friends, creating your own beaded napkin ring holders allows you to showcase your creativity and style.
Not only are these napkin ring holders visually appealing, but they also serve a practical purpose. Keeping your napkins neatly rolled and secured not only adds sophistication to your table setting, but it also ensures that your napkins stay in place throughout the meal. By making them yourself, you can choose the colors, beads, and designs that perfectly match your tableware and decor.
In this tutorial, we will guide you through each step of the process, from choosing the right beads to securing them in place on the napkin ring base. We will also provide tips and variations to help you customize your creations, ensuring that your beaded napkin ring holders are unique and reflective of your personal style.
Before we dive into the tutorial, let’s take a look at the supplies you’ll need to get started on this exciting DIY project.
Key Takeaways:
- Elevate your dining experience by creating personalized beaded napkin ring holders that showcase your creativity and style, impressing guests and adding a unique touch to your table setting.
- From choosing the perfect beads to exploring variations and personalized touches, unleash your creativity and craft stunning beaded napkin ring holders that perfectly match your style and seasonal decor.
Read more: How To Make Wire And Bead Napkin Rings
Supplies Needed
Before you begin making your beaded napkin ring holders, gather the following supplies:
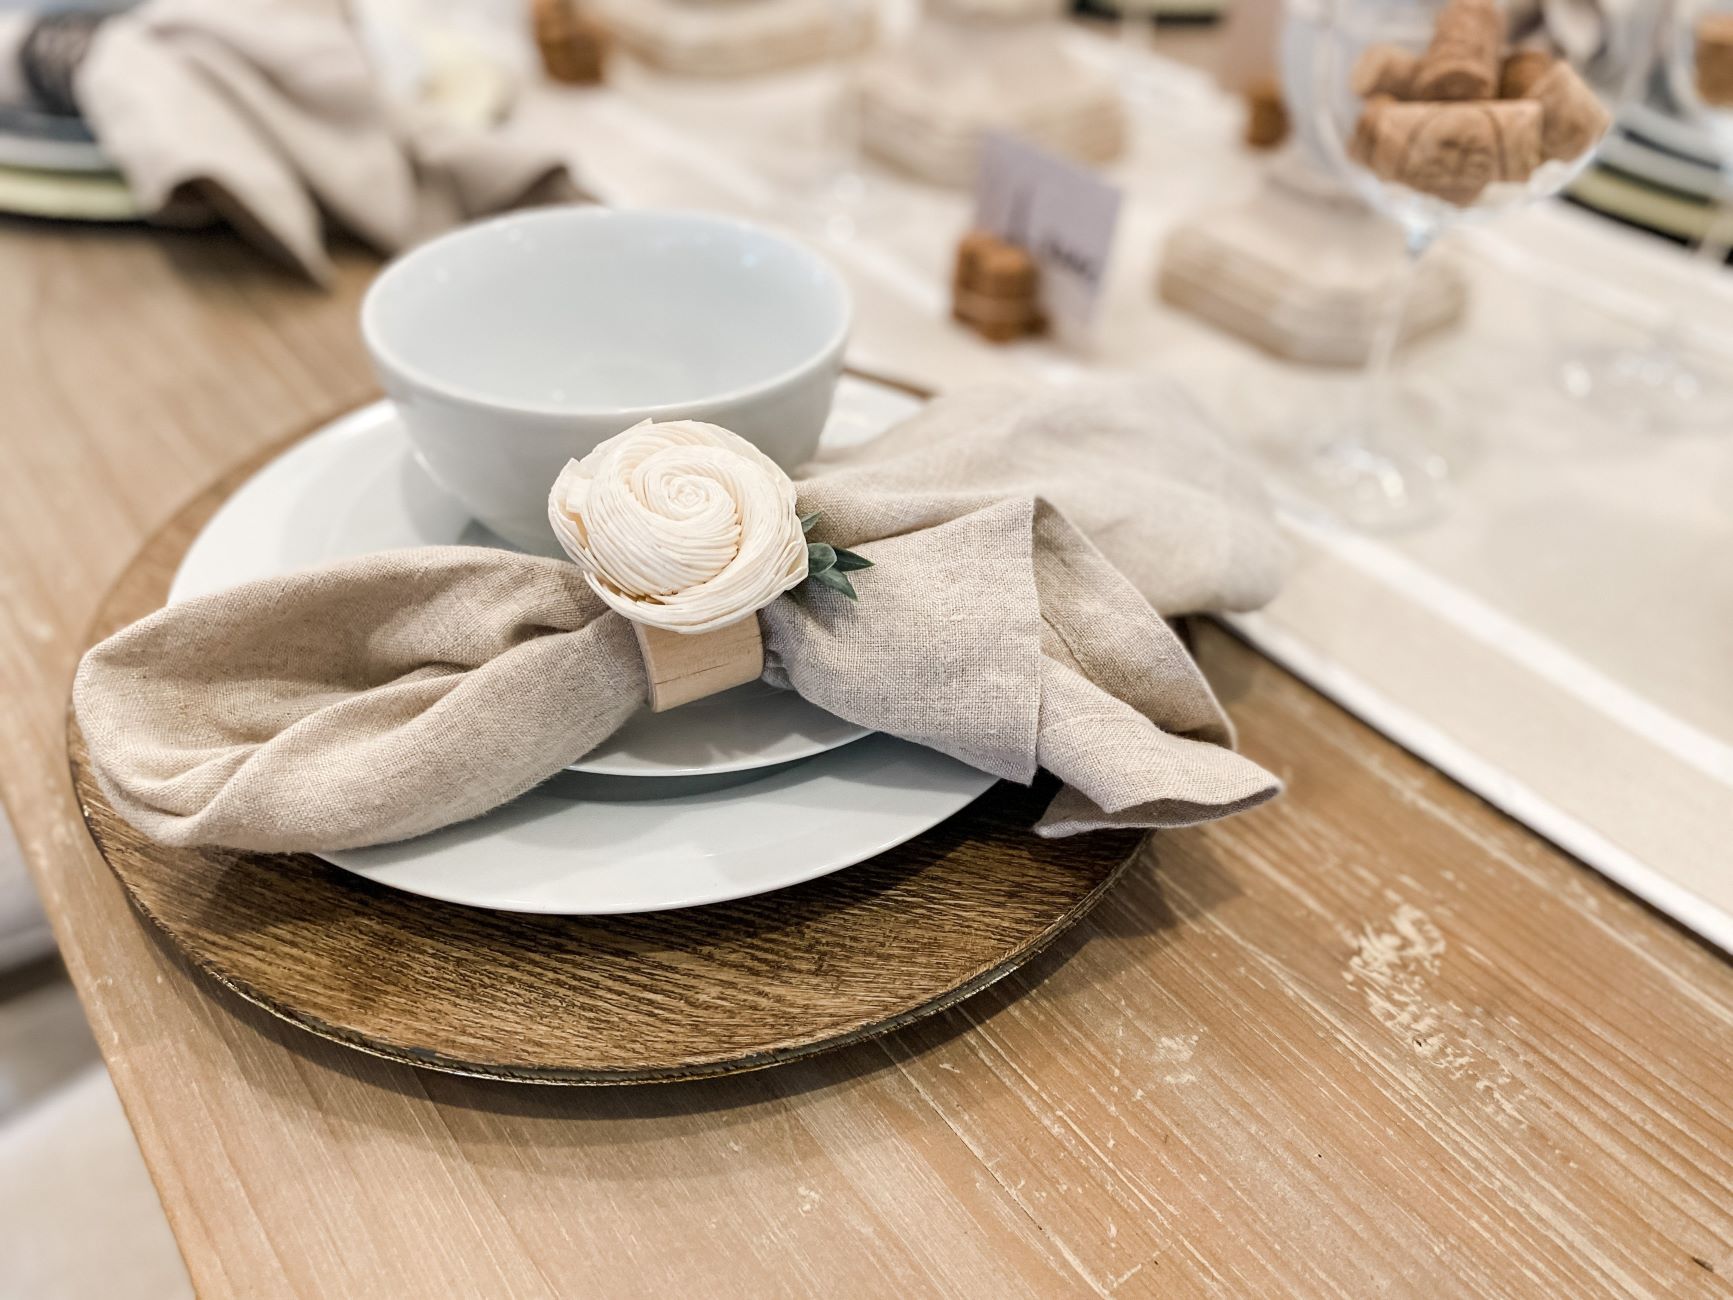
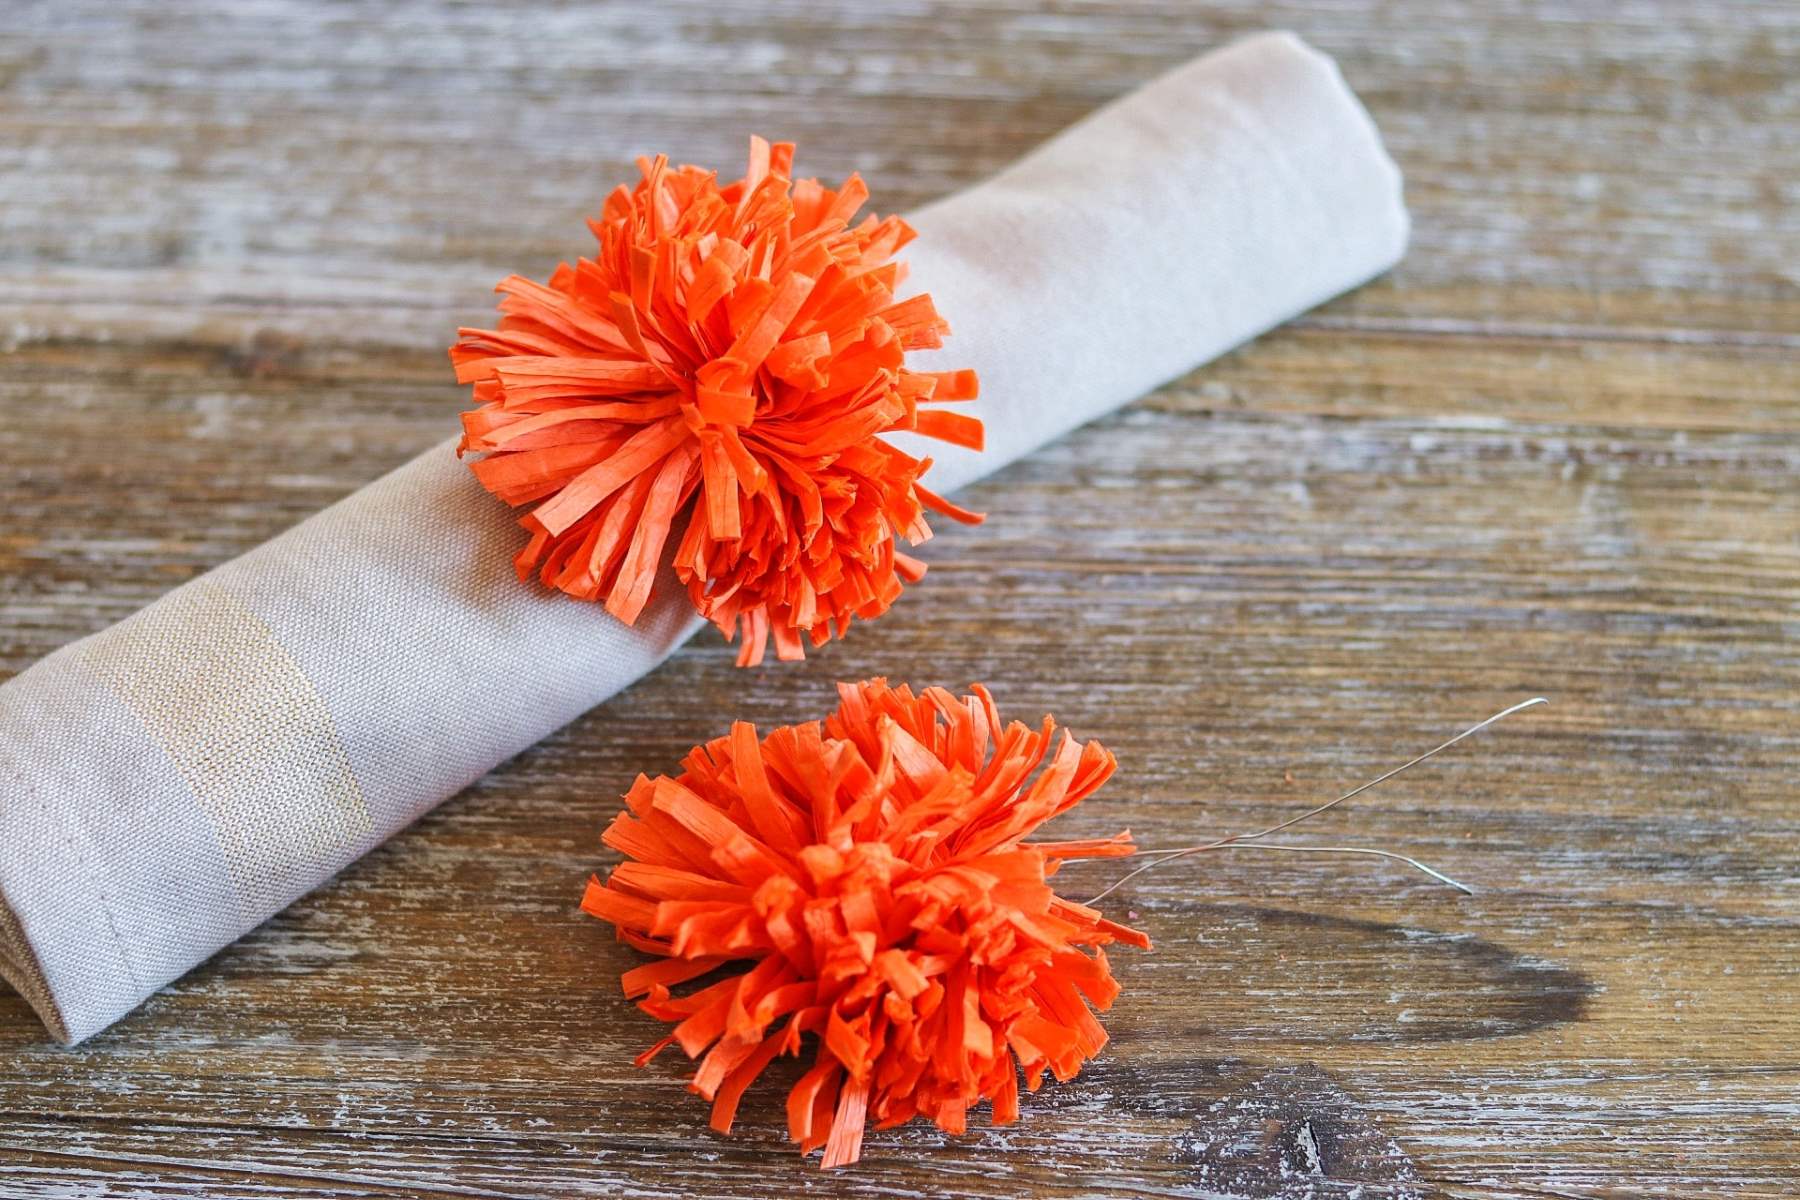
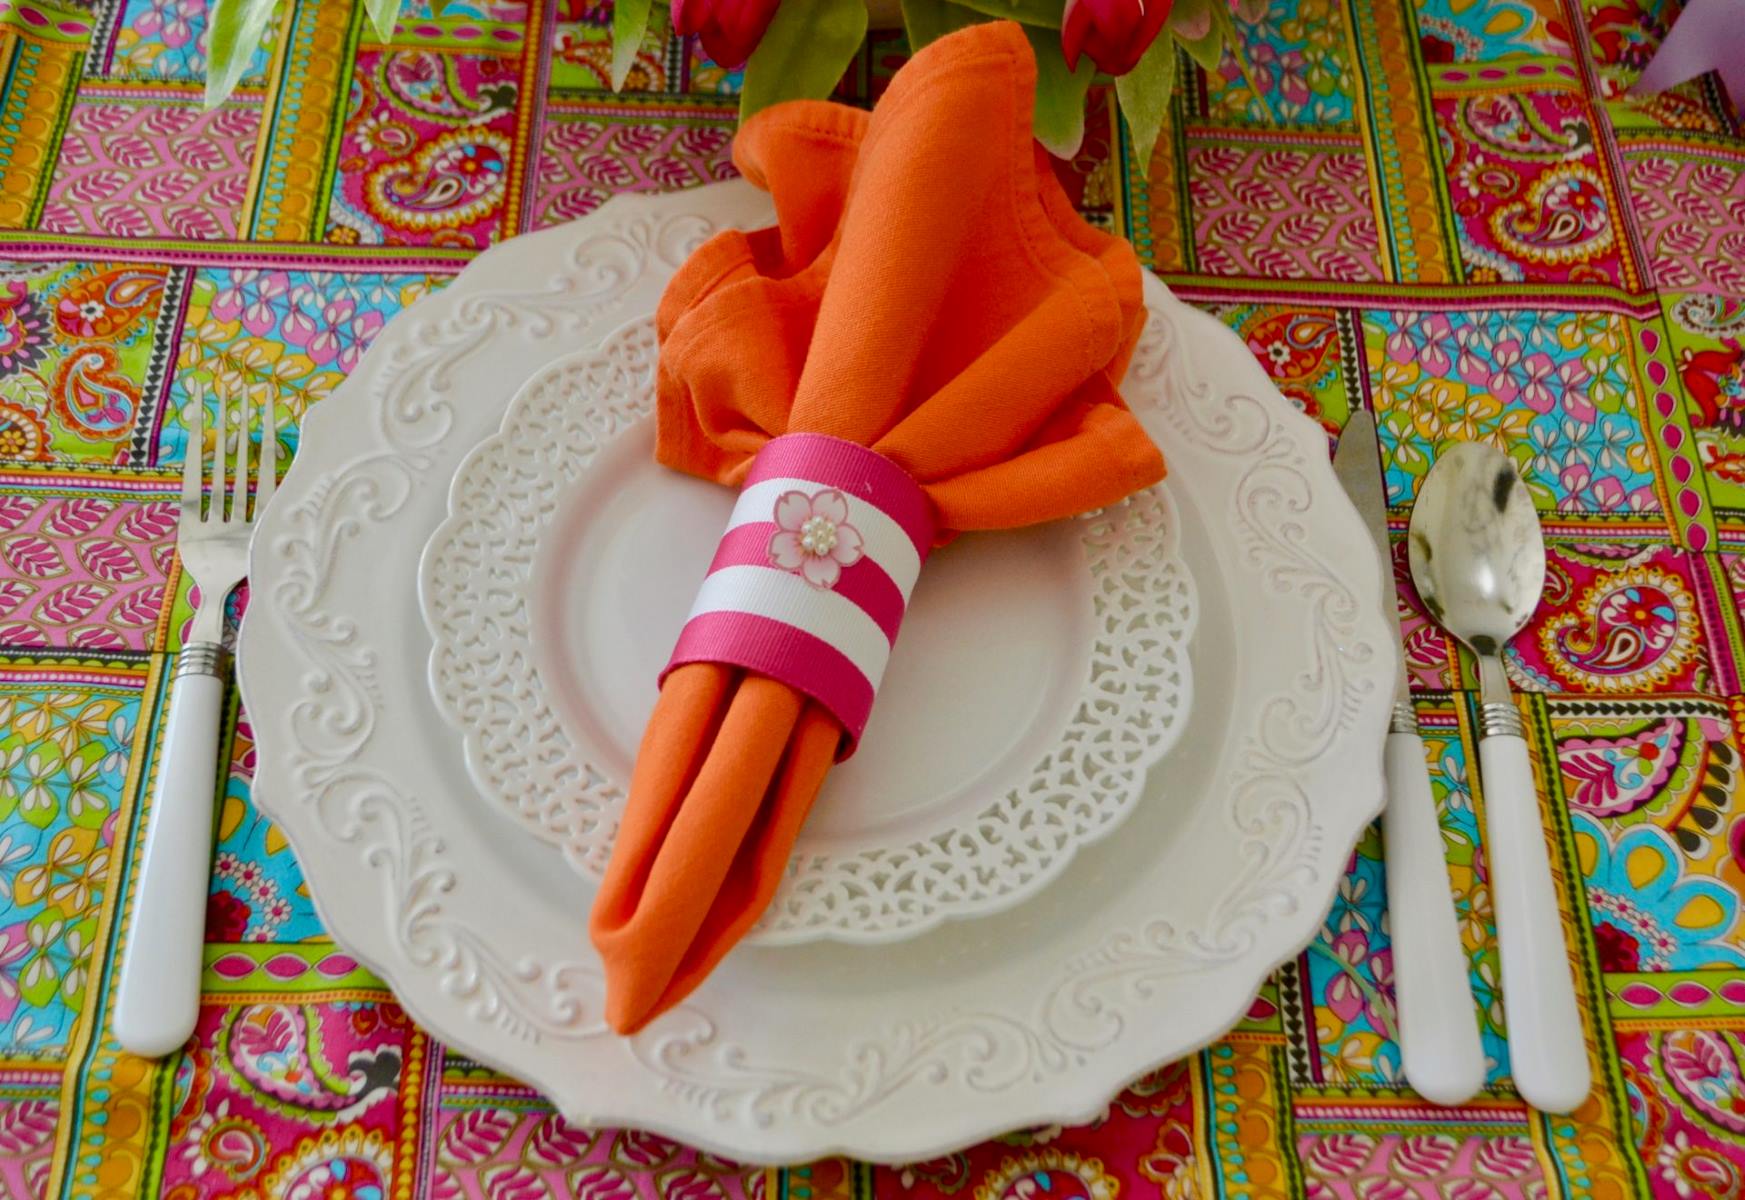
- Napkin ring bases: These can be made of metal, wood, or plastic and are available in various sizes and shapes. Choose a style that suits your taste and table setting.
- Beads: Select a variety of beads that complement your napkin ring base and match your desired design. You can choose from glass beads, crystal beads, wooden beads, plastic beads, or any other type that catches your eye.
- Stringing material: Opt for a strong and durable stringing material such as nylon thread, beading wire, or elastic cord. The thickness of the stringing material will depend on the size of the beads you choose.
- Jewelry findings: These include jump rings, headpins, and crimp beads. These findings will help secure the beads in place and add a professional finish to your napkin ring holders.
- Jewelry pliers: Use round-nose pliers, chain-nose pliers, and wire cutters to manipulate the jewelry findings and trim excess stringing material.
- Optional embellishments: Consider adding charms, pendants, or other decorative elements to enhance the design of your napkin ring holders. These can be easily attached using jump rings or headpins.
Make sure to have a dedicated workspace where you can easily access and organize these supplies. Having everything at hand will make the process smoother and more enjoyable.
Now that you have gathered all the necessary materials, let’s move on to the first step: choosing the perfect beads for your beaded napkin ring holders.
Step 1: Choosing Beads
When it comes to choosing beads for your beaded napkin ring holders, the options are endless. The beads you select will contribute to the overall aesthetic of your napkin rings, so it’s important to consider the color, size, and texture of the beads.
Start by considering the color scheme of your table setting or the theme of the occasion. Are you going for a rustic, bohemian look? Opt for earthy tones such as browns, greens, and warm neutrals. Want something more vibrant and eye-catching? Experiment with bold and bright colors like reds, blues, and yellows.
Next, think about the size of the beads. If you have a larger napkin ring base, you may want to choose bigger beads to create a substantial and striking design. Smaller beads, on the other hand, work well for more delicate and dainty napkin ring holders.
Consider the texture of the beads as well. Are you looking for something smooth and polished or something with more texture and sparkle? Glass beads provide a sleek and elegant look, while crystals offer a dazzling and glamorous touch. Wooden or ceramic beads can add a rustic and natural feel.
Don’t be afraid to mix and match different types of beads to create a unique and visually interesting design. Combining different sizes, colors, and textures can add depth and intricacy to your napkin ring holders.
Before finalizing your bead selection, lay out your chosen beads next to each other to get a sense of how they will look when strung together. This will help you ensure that the colors and styles complement each other and create a cohesive design.
Once you have selected your beads, it’s time to move on to the next step: choosing the perfect napkin ring base for your project.
Step 2: Selecting the Napkin Ring Base
The napkin ring base serves as the foundation for your beaded napkin ring holders, so it’s important to choose one that complements your overall design and provides a secure base for your beads.
When selecting a napkin ring base, consider the material, shape, and size that best suits your project:
Material: Napkin ring bases can be made of metal, wood, or plastic. Each material offers a different aesthetic and durability. Metal bases, such as stainless steel or brass, provide a classic and elegant look. Wood bases can add a rustic and natural touch. Plastic bases are lightweight and versatile.
Shape: Napkin ring bases come in various shapes, including round, square, rectangular, and even novelty shapes. Consider the shape that complements your table setting and the overall theme of the occasion. Round bases are traditional and versatile, while square or rectangular bases can add a modern and geometric touch.
Size: The size of the napkin ring base should be proportional to the size of your napkins and the beads you have chosen. Make sure the base is wide enough to comfortably hold the rolled napkin without being too loose or tight. Additionally, consider the overall dimensions of your table and the space available for each place setting.
Once you have chosen the napkin ring base, make sure it is clean and free from any rough edges or imperfections. This will ensure a smooth and professional finish for your napkin ring holders.
By selecting a suitable napkin ring base, you are one step closer to creating your beautiful beaded napkin ring holders. Next, we will move on to the exciting step of stringing the beads onto the base.
When making beaded napkin ring holders, choose beads that complement your table setting and use strong, flexible wire for durability. Be sure to secure the ends tightly for a long-lasting finish.
Step 3: Stringing the Beads
Now that you have chosen your beads and napkin ring base, it’s time to start stringing the beads onto the base. This step requires patience and precision to ensure that the beads are evenly spaced and securely attached.
Here’s how you can string the beads onto the napkin ring base:
- Prepare your stringing material. Cut a length of nylon thread, beading wire, or elastic cord that is long enough to wrap around the circumference of the napkin ring base with some extra length for tying.
- If you’re using nylon thread or beading wire, you may want to secure one end with a small knot or a piece of tape to prevent the beads from slipping off as you work.
- Begin by threading a bead onto the stringing material. This will act as the first bead on your napkin ring holder. You can choose a bead that stands out or one that matches the overall design.
- Continue stringing the beads onto the material, alternating between colors, sizes, and textures to create your desired pattern. Make sure to leave some space between each bead to allow for flexibility and movement.
- As you work, periodically wrap the stringing material around the napkin ring base to check the length and how the beads are aligning. Make adjustments as needed to ensure a snug fit and even spacing.
- Once you have strung all the beads, tie a secure knot at the end of the stringing material to prevent the beads from slipping off.
If you’re using elastic cord, you can skip the knotting step. The elastic will stretch to fit around the napkin ring base, keeping the beads in place.
Take your time with this step to ensure that the beads are evenly distributed and secure on the napkin ring base. Once you’re satisfied with the arrangement, it’s time to move on to the next step: securing the beads in place.
Read more: How To Make A Napkin Ring Holder
Step 4: Securing the Beads in Place
After you have strung the beads onto the napkin ring base, it’s important to secure them in place to prevent any movement or beads from sliding off. This step ensures that your beaded napkin ring holders remain intact and durable.
Here are some methods to securely fasten the beads:
- If you’re using nylon thread or beading wire, you can use crimp beads or crimp tubes to secure the ends. Slide a crimp bead or tube onto the end of the stringing material. Then, pass the end of the stringing material through the loop of the napkin ring base and back through the crimp bead or tube. Use flat-nose pliers to flatten and secure the crimp bead or tube, creating a tight and secure connection.
- Another option is to use jump rings or headpins. If your napkin ring base has openings or loops, you can attach jump rings or headpins to them. String the end of the stringing material through the jump ring or headpin and back through the loop of the napkin ring base. Use pliers to close the jump ring securely or twist the headpin to secure the stringing material.
- If you’re using elastic cord, there’s no need for additional securing. The elasticity of the cord will keep the beads in place. However, you can still add a drop of glue or clear nail polish to the knot for extra security.
Test the stability of the beads by gently tugging on them to ensure they are securely attached. If any beads appear loose, adjust and re-secure them using the methods mentioned above.
Once you have secured the beads in place, admire your handiwork! You’re almost done with creating your beautiful beaded napkin ring holders. The next step is to add some finishing touches and explore different variations to make them truly unique.
Step 5: Finishing Touches and Variations
Now that you have strung and secured the beads onto your napkin ring base, it’s time to add some finishing touches and explore variations to make your beaded napkin ring holders even more special. Here are some ideas to consider:
1. Embellishments: Enhance the design of your napkin ring holders by adding embellishments such as charms, pendants, or decorative elements. Attach them using jump rings or headpins for an extra touch of elegance.
2. Personalization: Make your napkin ring holders unique by adding personalized charms, initials, or beads with special meaning. This allows you to create a personalized set of napkin ring holders for special occasions or as gifts for loved ones.
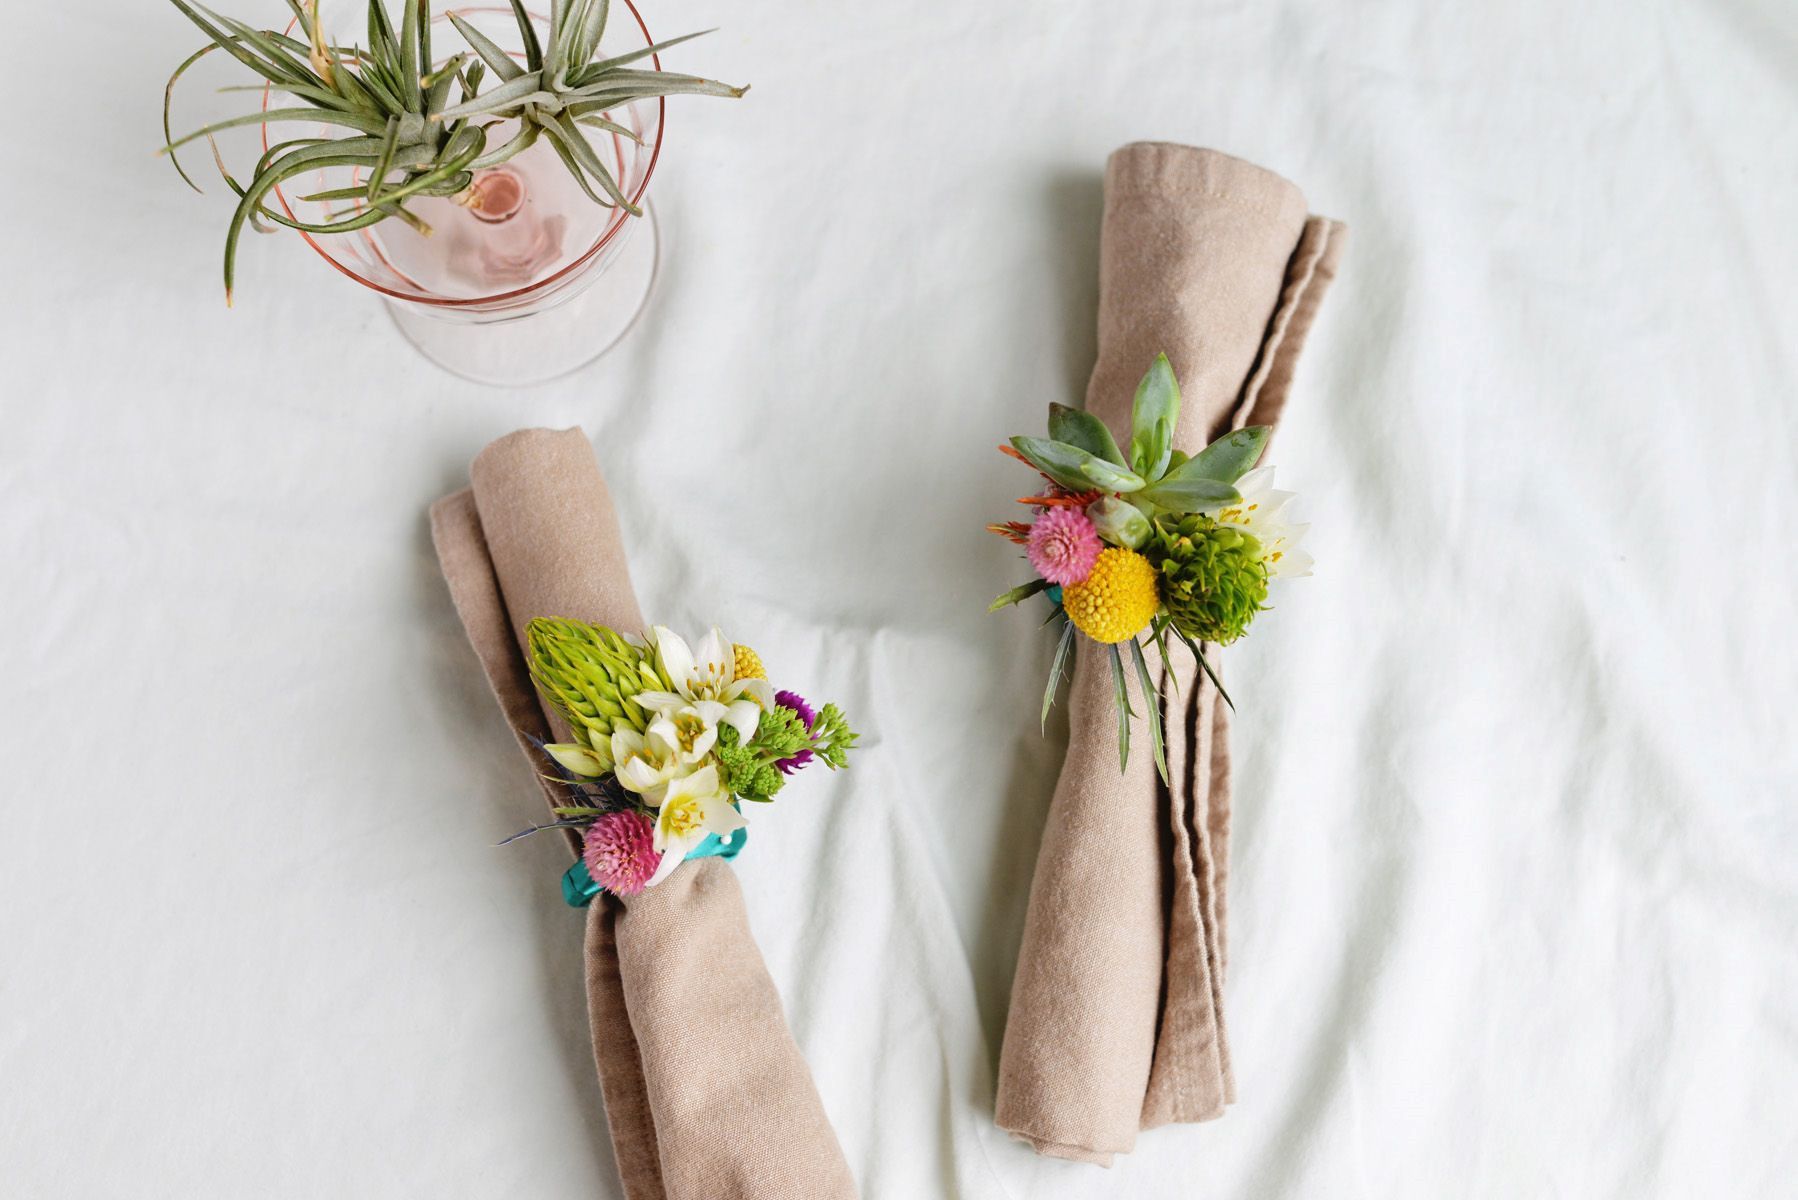
3. Mixed Materials: Experiment with combining different materials such as beads, ribbons, or fabric to create a more eclectic and textured look. This adds visual interest and allows you to incorporate various textures and colors into your design.
4. Theme-based Designs: Tailor your beaded napkin ring holders to specific themes or occasions. For example, you can incorporate seashell beads and nautical charms for a beach-themed dinner party, or use red and green beads alongside holly accents for a festive holiday table setting.
5. Seasonal Variations: Switch up your designs to match the seasons. Use pastel-colored beads and floral motifs for spring, vibrant hues and tropical elements for summer, earthy tones and leaf-inspired beads for autumn, and sparkling crystals and snowflake charms for winter.
6. Customized Bead Patterns: Create intricate patterns by arranging the beads in specific sequences or designs. This could include alternating colors, creating geometric patterns, or even spelling out words or names using alphabet beads.
7. Experiment with Shapes: Instead of using traditional circular napkin ring bases, try using different shapes such as squares, hearts, or stars. This adds a unique touch and can complement specific themes or table settings.
Remember, these suggestions are just starting points. Feel free to unleash your creativity and experiment with different styles, colors, and materials. The possibilities are endless!
Once you have added the finishing touches and explored various variations, your beaded napkin ring holders are complete. Place them on your table and admire the beautiful and personalized touch they bring to your dining experience.
Congratulations! You have successfully learned how to make beaded napkin ring holders from start to finish. Enjoy your new creations and impress your guests with your handmade table decor.
Were you satisfied with this article and the information provided? Let us know if you have any further questions or need additional assistance. Happy crafting!
Conclusion
Creating beaded napkin ring holders is a wonderful way to add a personal and stylish touch to your tableware. By following the steps outlined in this comprehensive guide, you have learned how to make your own beaded napkin ring holders from start to finish.
From choosing the perfect beads and napkin ring base to stringing the beads and securing them in place, each step has been carefully explained to help you create beautiful and functional napkin ring holders. Along the way, we also explored the importance of considering colors, sizes, and textures, as well as adding personalized touches and exploring different variations.
By making your own beaded napkin ring holders, you have the opportunity to showcase your creativity and style, while also impressing your guests with a unique and personalized table setting. Whether you’re hosting a special occasion or simply want to elevate your everyday meals, these DIY napkin ring holders are sure to make a statement.
Remember to have fun with the process and experiment with different bead combinations, embellishments, and variations. The possibilities are endless, allowing you to create napkin ring holders that perfectly match your style, theme, or seasonal decor.
Now that you have the knowledge and skills to create your own beaded napkin ring holders, it’s time to gather your supplies, let your creativity flow, and start crafting. Enjoy the process and revel in the satisfaction of seeing your stunning creations adorning your table.
Thank you for joining us on this journey of creating beaded napkin ring holders. We hope that this guide has been informative, inspiring, and helpful in transforming your dining experience into something truly special. If you have any further questions or need additional assistance, please don’t hesitate to reach out.
Happy crafting and enjoy your beautifully set table!
Frequently Asked Questions about How To Make Beaded Napkin Ring Holders
Was this page helpful?
At Storables.com, we guarantee accurate and reliable information. Our content, validated by Expert Board Contributors, is crafted following stringent Editorial Policies. We're committed to providing you with well-researched, expert-backed insights for all your informational needs.
0 thoughts on “How To Make Beaded Napkin Ring Holders”