Home>Kitchen & Cooking>Kitchen Furniture & Decor>How To Make Burlap Napkin Rings
Kitchen Furniture & Decor
How To Make Burlap Napkin Rings
Published: February 16, 2024
Learn how to create stylish burlap napkin rings to add a rustic touch to your kitchen table setting. Discover easy DIY ideas for kitchen furniture and decor.
(Many of the links in this article redirect to a specific reviewed product. Your purchase of these products through affiliate links helps to generate commission for Storables.com, at no extra cost. Learn more)
Introduction
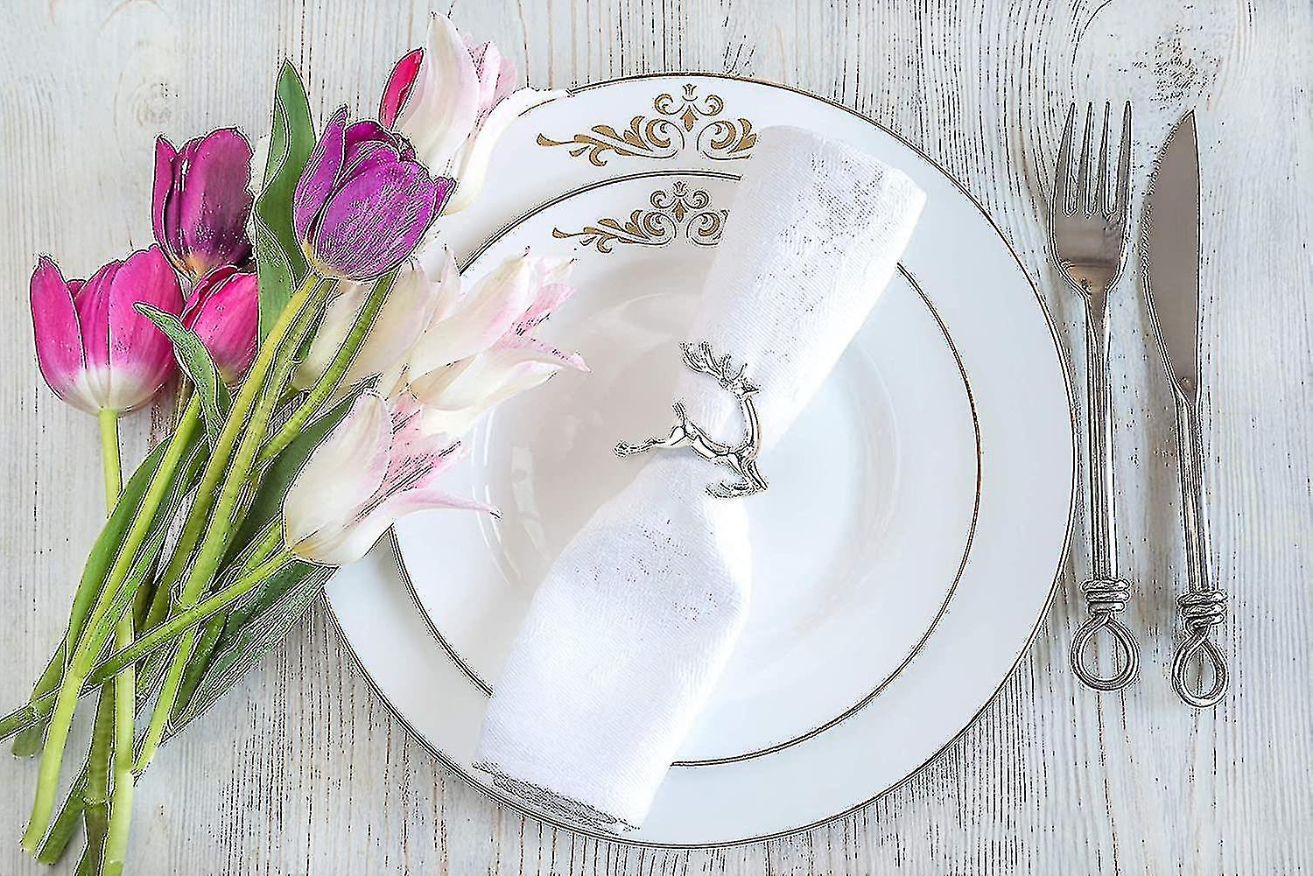
Burlap napkin rings are a charming and versatile addition to any table setting. These rustic yet elegant accessories can elevate the look of your dining area, adding a touch of warmth and sophistication to your decor. Whether you're hosting a casual brunch or a formal dinner party, burlap napkin rings can effortlessly enhance the overall aesthetic of your table arrangement.
Crafting your own burlap napkin rings allows you to infuse a personal touch into your table decor, making each setting unique and reflective of your individual style. With just a few simple materials and a touch of creativity, you can create stunning napkin rings that will impress your guests and elevate the ambiance of any meal.
In this comprehensive guide, we will walk you through the step-by-step process of creating your own burlap napkin rings. From selecting the right materials to adding embellishments and finishing touches, you'll learn everything you need to know to craft these charming accessories with ease. Whether you're a seasoned crafter or new to DIY projects, this guide is designed to help you create beautiful burlap napkin rings that will add a special flair to your table settings.
So, roll up your sleeves, gather your crafting supplies, and get ready to embark on a creative journey as we delve into the art of making burlap napkin rings. With a dash of inspiration and a sprinkle of imagination, you'll soon be on your way to crafting stunning napkin rings that will leave a lasting impression on your guests. Let's dive in and explore the wonderful world of burlap crafting!
Key Takeaways:
- Craft your own burlap napkin rings to add a personal touch to your table decor. With just a few materials and a dash of creativity, you can create charming accessories that impress your guests and elevate any meal.
- Adding embellishments like buttons, beads, and ribbons to your burlap napkin rings allows you to customize them to suit your unique style. Infuse personality and creativity into your table settings with these charming accessories.
Read more: How To Make Nautical Napkin Rings
Materials Needed
To embark on the delightful journey of creating your own burlap napkin rings, you'll need a handful of essential materials to bring your vision to life. These simple yet crucial supplies will serve as the building blocks for your crafting endeavor, allowing you to transform basic burlap fabric into charming and functional napkin rings. Here's a comprehensive list of the materials you'll need to get started:
-
Burlap Fabric: The star of the show, burlap fabric will form the foundation of your napkin rings. Opt for high-quality burlap in a color that complements your table decor, whether it's a natural earthy tone or a dyed hue that adds a pop of color to your setting.
-
Scissors: A sharp pair of scissors is essential for cutting the burlap fabric with precision. Ensure that your scissors are suitable for fabric cutting to achieve clean and neat edges.
-
Thread and Needle: Select a sturdy thread that complements the color of your burlap fabric. A reliable needle will allow you to sew the burlap securely, ensuring that your napkin rings withstand regular use.
-
Embellishments: Consider adding embellishments such as decorative buttons, beads, or ribbons to adorn your napkin rings. These embellishments will infuse personality and style into your creations, allowing you to customize them to suit your personal taste.
-
Velcro Strips: Velcro strips will serve as the closure mechanism for your napkin rings, enabling easy and adjustable fastening around napkins of varying thickness.
-
Ruler or Measuring Tape: Accurate measurements are crucial for creating uniform napkin rings. A ruler or measuring tape will help you achieve consistency in size and ensure that your napkin rings fit snugly around your napkins.
-
Fabric Glue (Optional): If you prefer a no-sew option, fabric glue can be used to secure the burlap and embellishments in place, offering an alternative method for assembling the napkin rings.
By gathering these materials, you'll be well-equipped to embark on the creative process of crafting burlap napkin rings. With these supplies at your disposal, you can unleash your imagination and bring your unique vision to fruition, resulting in stunning napkin rings that will add a touch of charm to your table settings.
Step 1: Cut the Burlap
The first step in creating your own burlap napkin rings is to cut the burlap fabric to the desired size. This crucial step sets the foundation for the shape and dimensions of your napkin rings, ensuring that they fit snugly around your napkins while exuding a polished and professional appearance.
Begin by laying out the burlap fabric on a flat, clean surface, ensuring that it is free from wrinkles or creases. Using a ruler or measuring tape, carefully measure and mark the dimensions for the napkin rings. The standard width for a napkin ring is approximately 1.5 to 2 inches, while the length will depend on the circumference of your napkins and the desired overlap for securing the rings.
Once you have marked the measurements, use a sharp pair of scissors to cut along the marked lines, ensuring clean and straight edges. Precision is key during this process, as accurately cut burlap will result in uniform and visually appealing napkin rings.
As you cut the burlap, maintain a steady hand to achieve consistent dimensions for each ring. If you are crafting multiple napkin rings, it's essential to ensure that they are all cut to the same size, creating a cohesive and harmonious set for your table setting.
While cutting the burlap, take care to prevent fraying along the edges. If you notice any loose threads or frayed sections, gently trim them with your scissors to maintain a neat and tidy appearance.
By meticulously cutting the burlap to the specified dimensions, you will lay the groundwork for the subsequent steps in creating your napkin rings. This precise and deliberate approach sets the stage for crafting beautifully tailored napkin rings that will add a touch of elegance to your table decor.
With the burlap cut to perfection, you are now ready to proceed to the next step in the crafting process, bringing you one step closer to completing your charming burlap napkin rings.
Step 2: Sew the Burlap
With the burlap fabric cut to the desired dimensions, the next pivotal step in creating your burlap napkin rings is to skillfully sew the fabric to form the rings. This step not only ensures the structural integrity of the napkin rings but also adds a touch of craftsmanship to the overall design.
Begin by folding the cut burlap strip in half lengthwise, aligning the edges meticulously to create a clean and even fold. Secure the folded edge with pins to maintain the alignment during the sewing process. This fold will form the basis of the napkin ring, providing a sturdy foundation for the subsequent stitching.
Select a durable thread that complements the color of the burlap, ensuring a seamless and cohesive look for the finished napkin rings. Thread a needle with a suitable length of thread, and tie a secure knot at the end to prevent it from slipping through the fabric during sewing.
Starting at one end of the folded burlap strip, begin stitching along the open edge, maintaining a consistent seam allowance to ensure uniformity in the appearance of the napkin rings. Utilize a simple running stitch or a backstitch to secure the edges together, reinforcing the seam for durability.
As you progress along the length of the burlap strip, maintain even tension in the thread to prevent puckering or bunching of the fabric. The goal is to achieve a smooth and seamless seam that holds the burlap securely in place, creating a polished and professional finish for the napkin rings.
Upon reaching the opposite end of the burlap strip, secure the stitching with a knot to anchor the thread in place. Trim any excess thread with scissors, ensuring a neat and tidy appearance for the completed seam.
By skillfully sewing the burlap fabric, you will transform the cut strips into elegant and functional napkin rings, ready to adorn your table settings with rustic charm and sophistication. This meticulous and artful process adds a personalized touch to the creation of the napkin rings, infusing them with a sense of craftsmanship and attention to detail.
With the burlap securely sewn into refined napkin rings, you are now prepared to move on to the next step in the crafting journey, bringing you closer to the completion of your delightful burlap napkin rings.
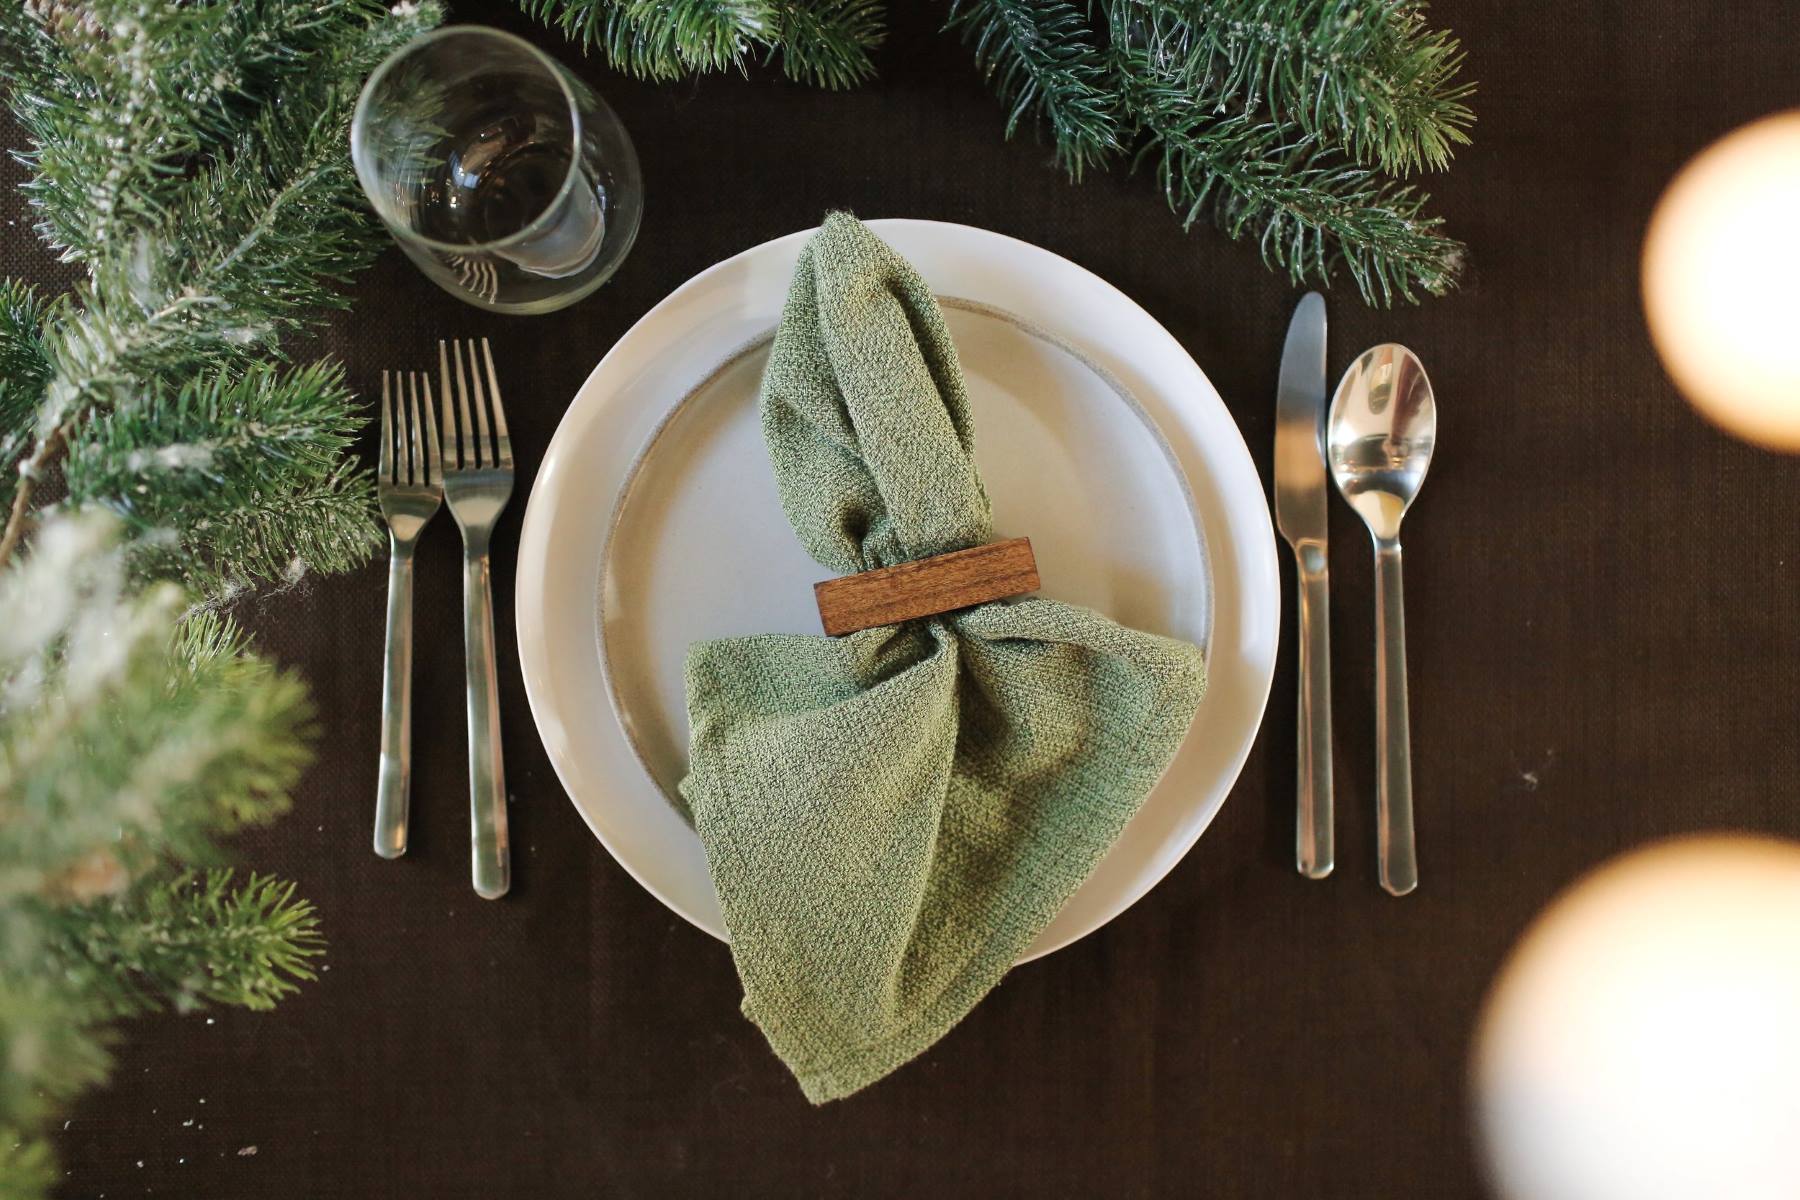
When making burlap napkin rings, be sure to measure and cut the burlap fabric carefully to ensure a neat and tidy finish. Use a hot glue gun to secure the ends and embellish with ribbons or decorative elements for a personalized touch.
Step 3: Add Embellishments
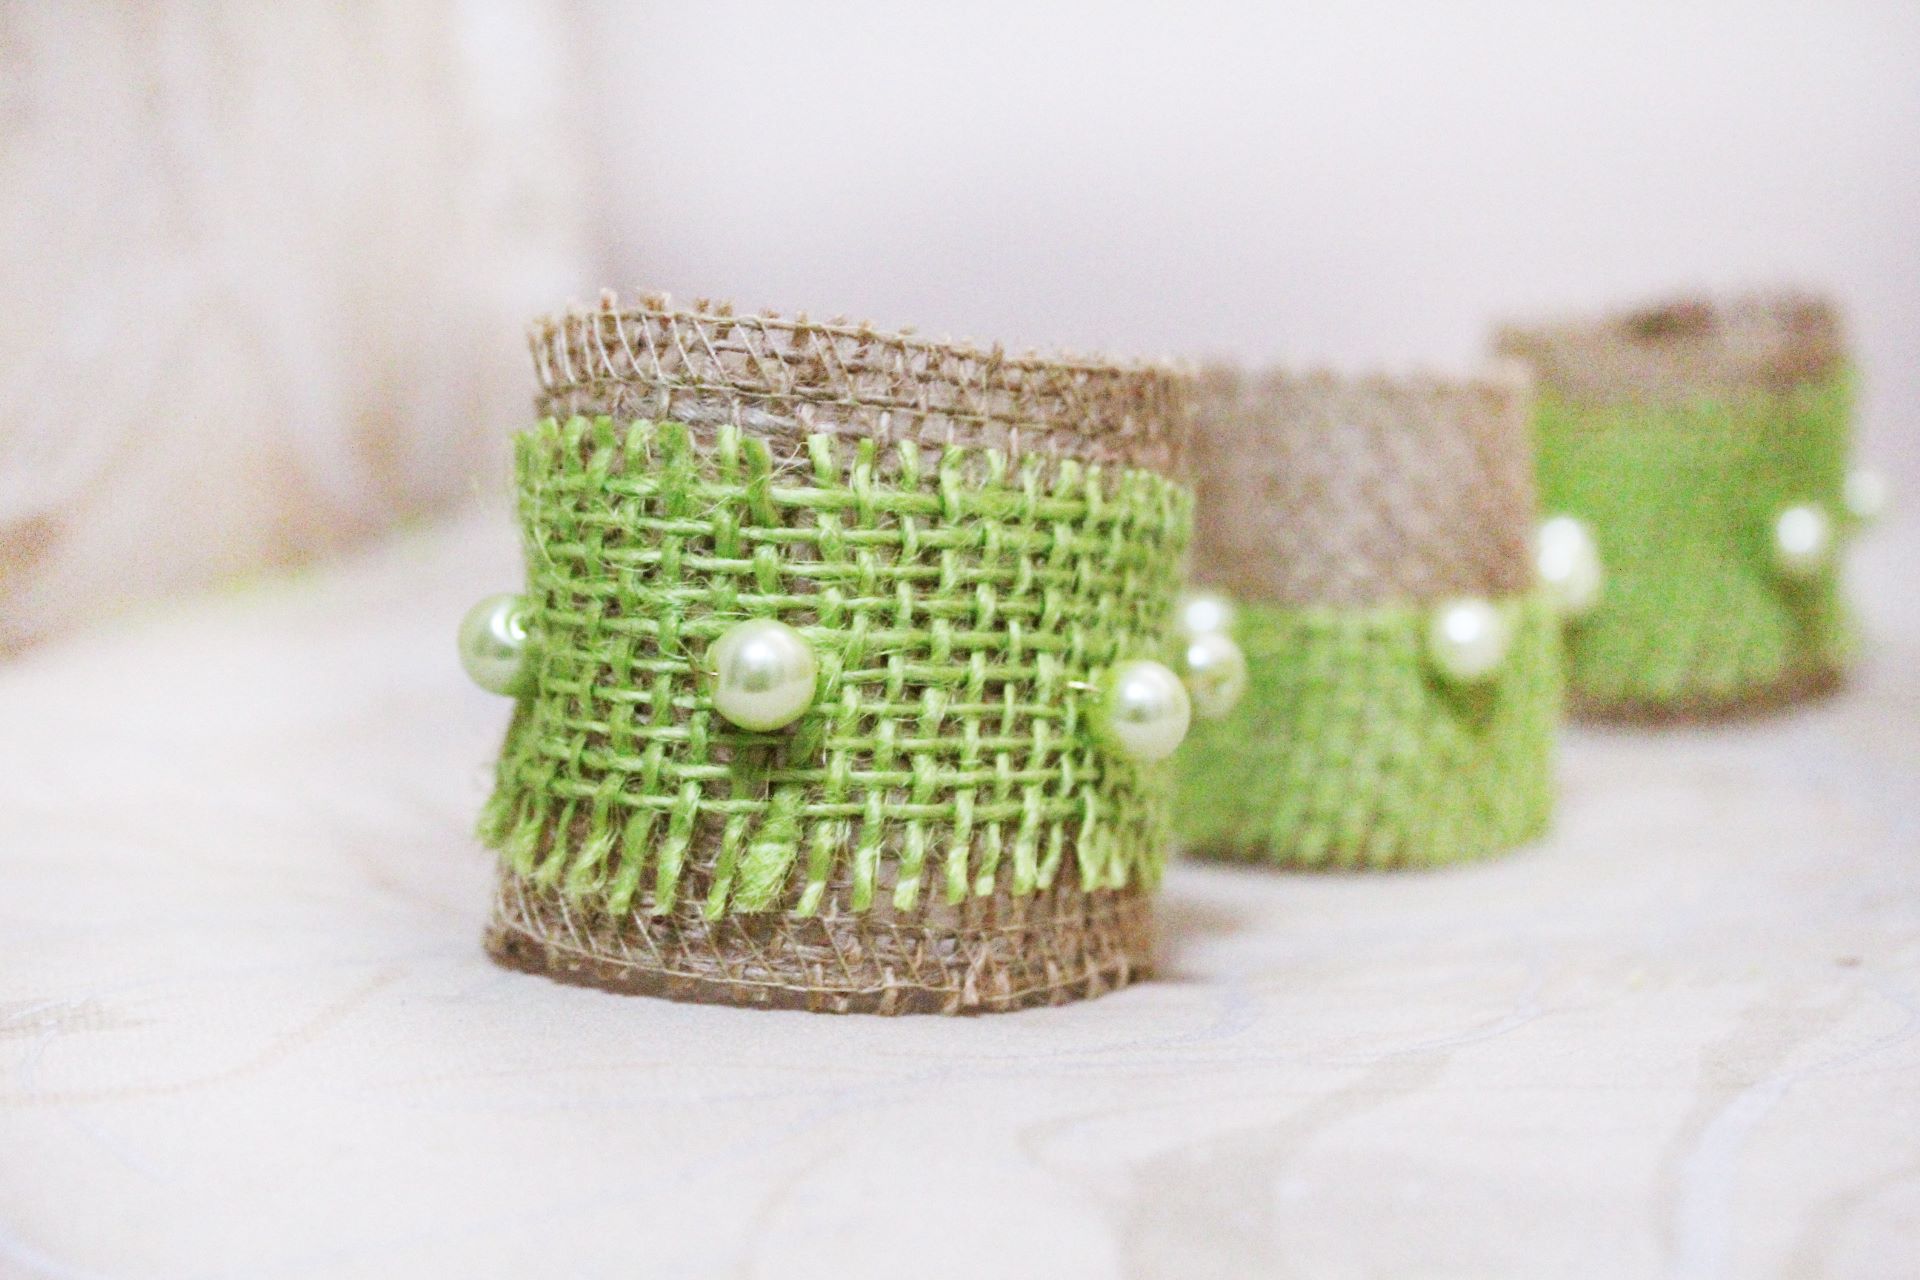
Once the burlap fabric has been skillfully sewn into elegant napkin rings, it's time to infuse them with personality and style by adding embellishments. This step allows you to unleash your creativity and customize the napkin rings to suit your unique aesthetic preferences. Whether you prefer a touch of rustic charm, a hint of glamour, or a pop of color, embellishments offer endless possibilities for elevating the visual appeal of your burlap napkin rings.
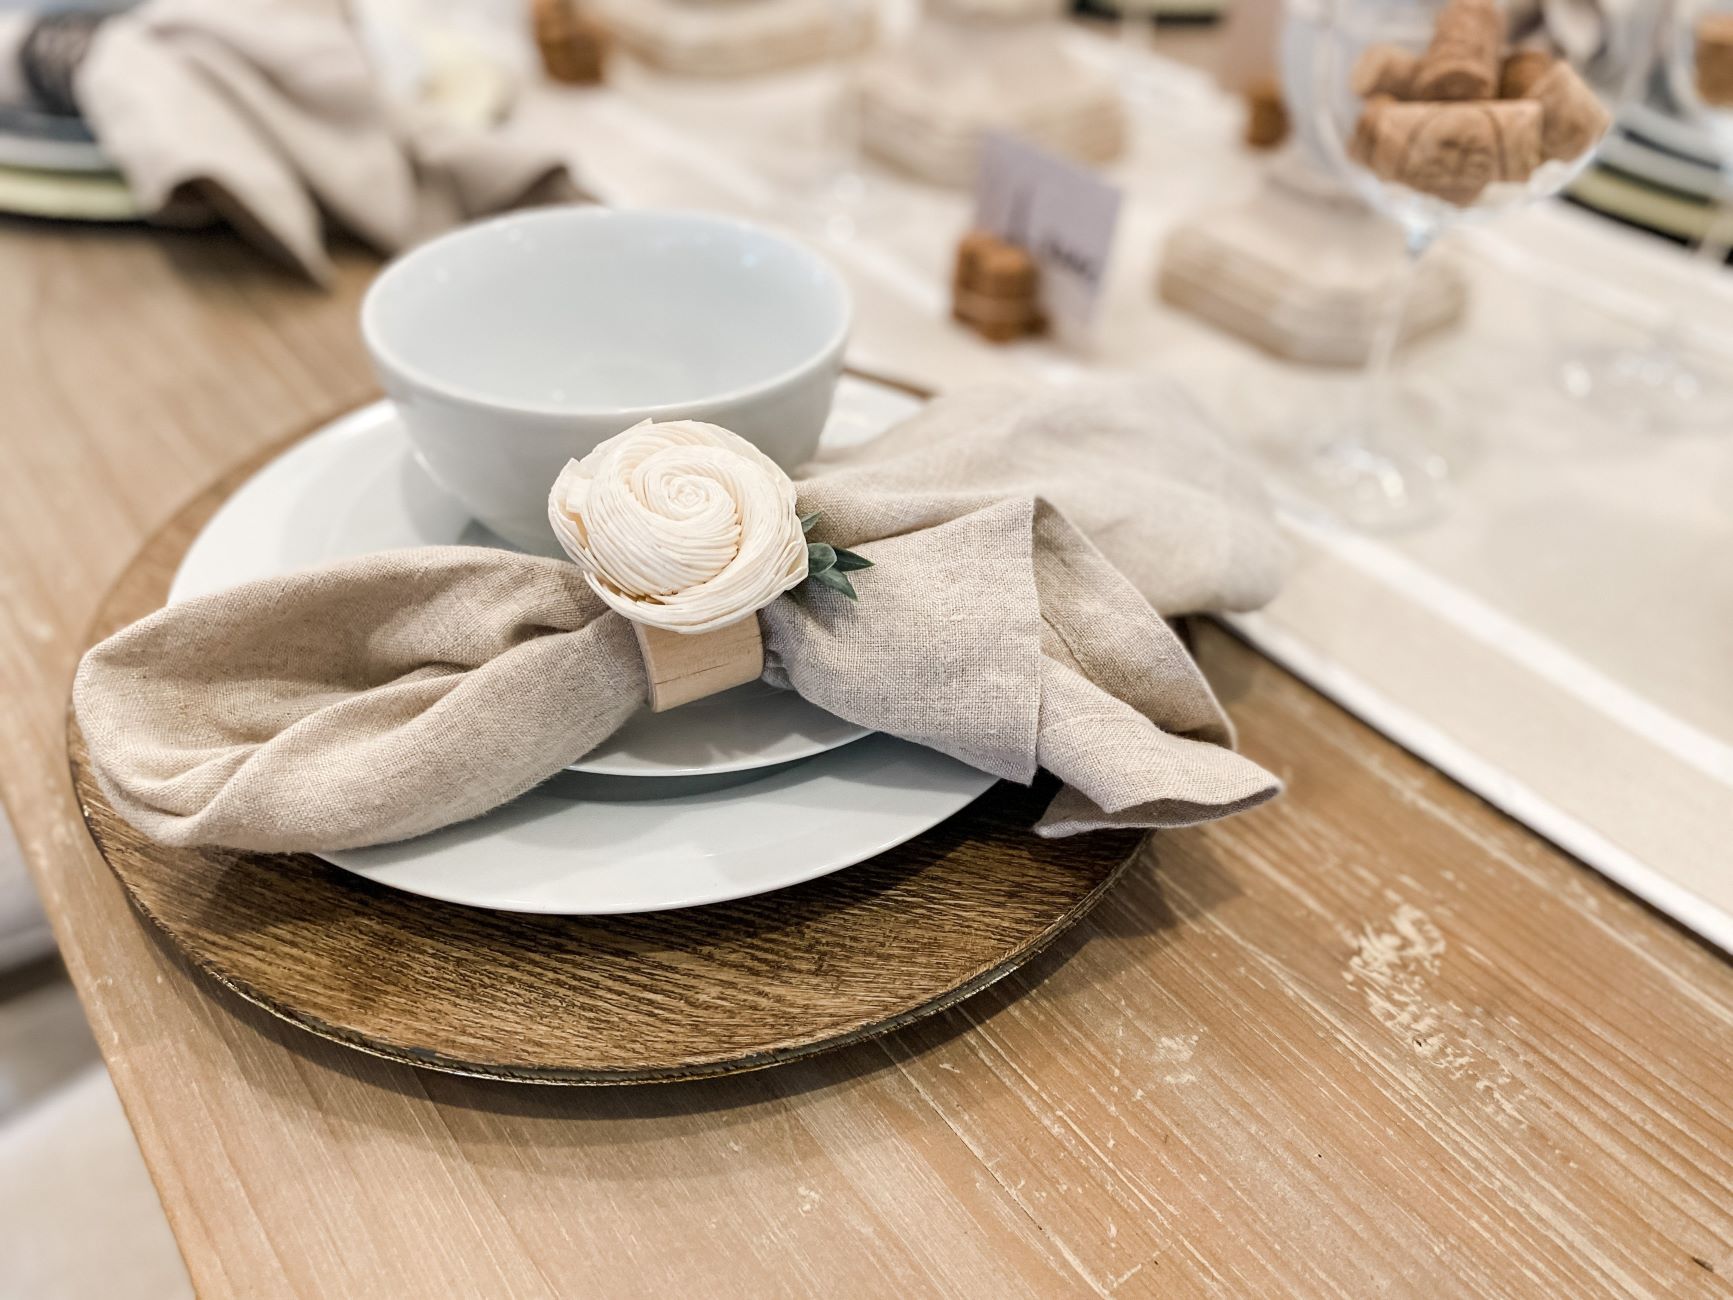
One of the most popular embellishments for burlap napkin rings is decorative buttons. These charming additions can range from classic wooden buttons to intricately designed metal or resin buttons, each adding a distinct flair to the napkin rings. Carefully select buttons that complement your table decor and personal style, ensuring that they harmonize with the overall theme of your dining area.
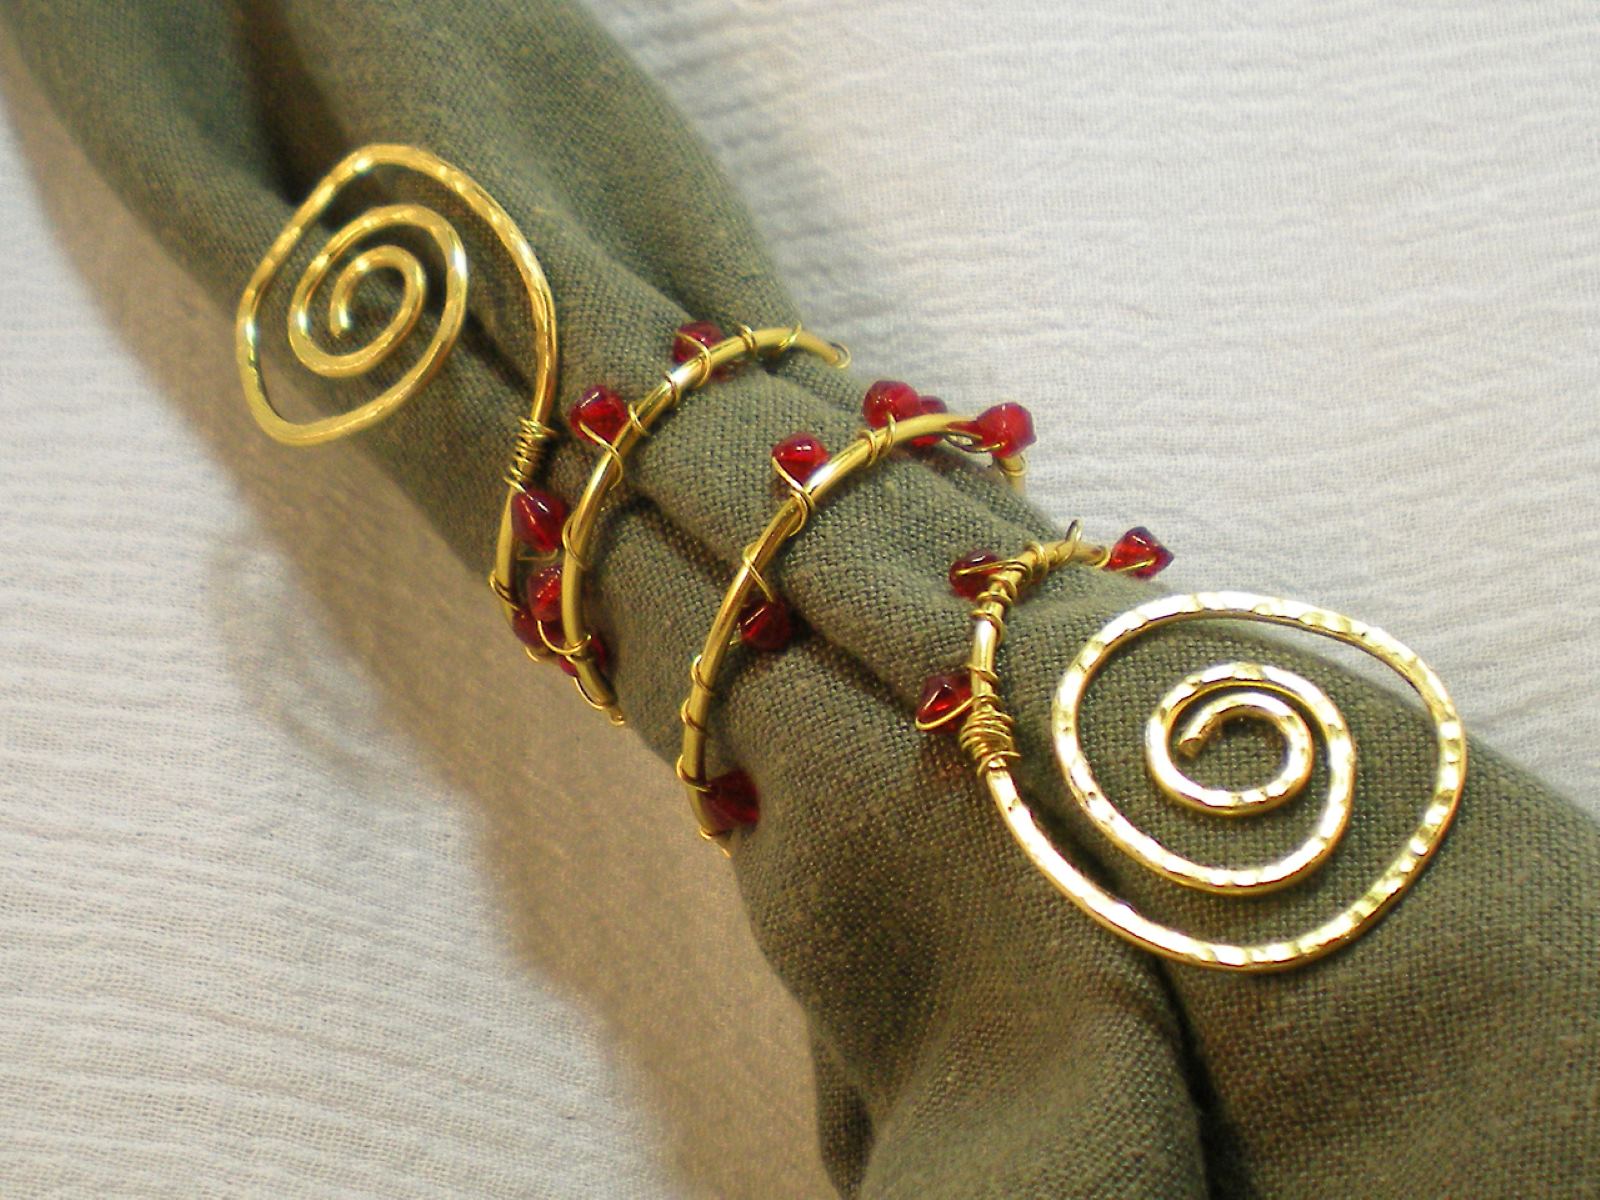
In addition to buttons, beads can be used to embellish the napkin rings, adding a touch of elegance and refinement. Whether you opt for small, delicate beads or larger, statement-making ones, the choice of beads can significantly impact the visual appeal of the napkin rings. Consider selecting beads in colors that complement your table linens or resonate with the seasonal or thematic elements of your dining occasion.
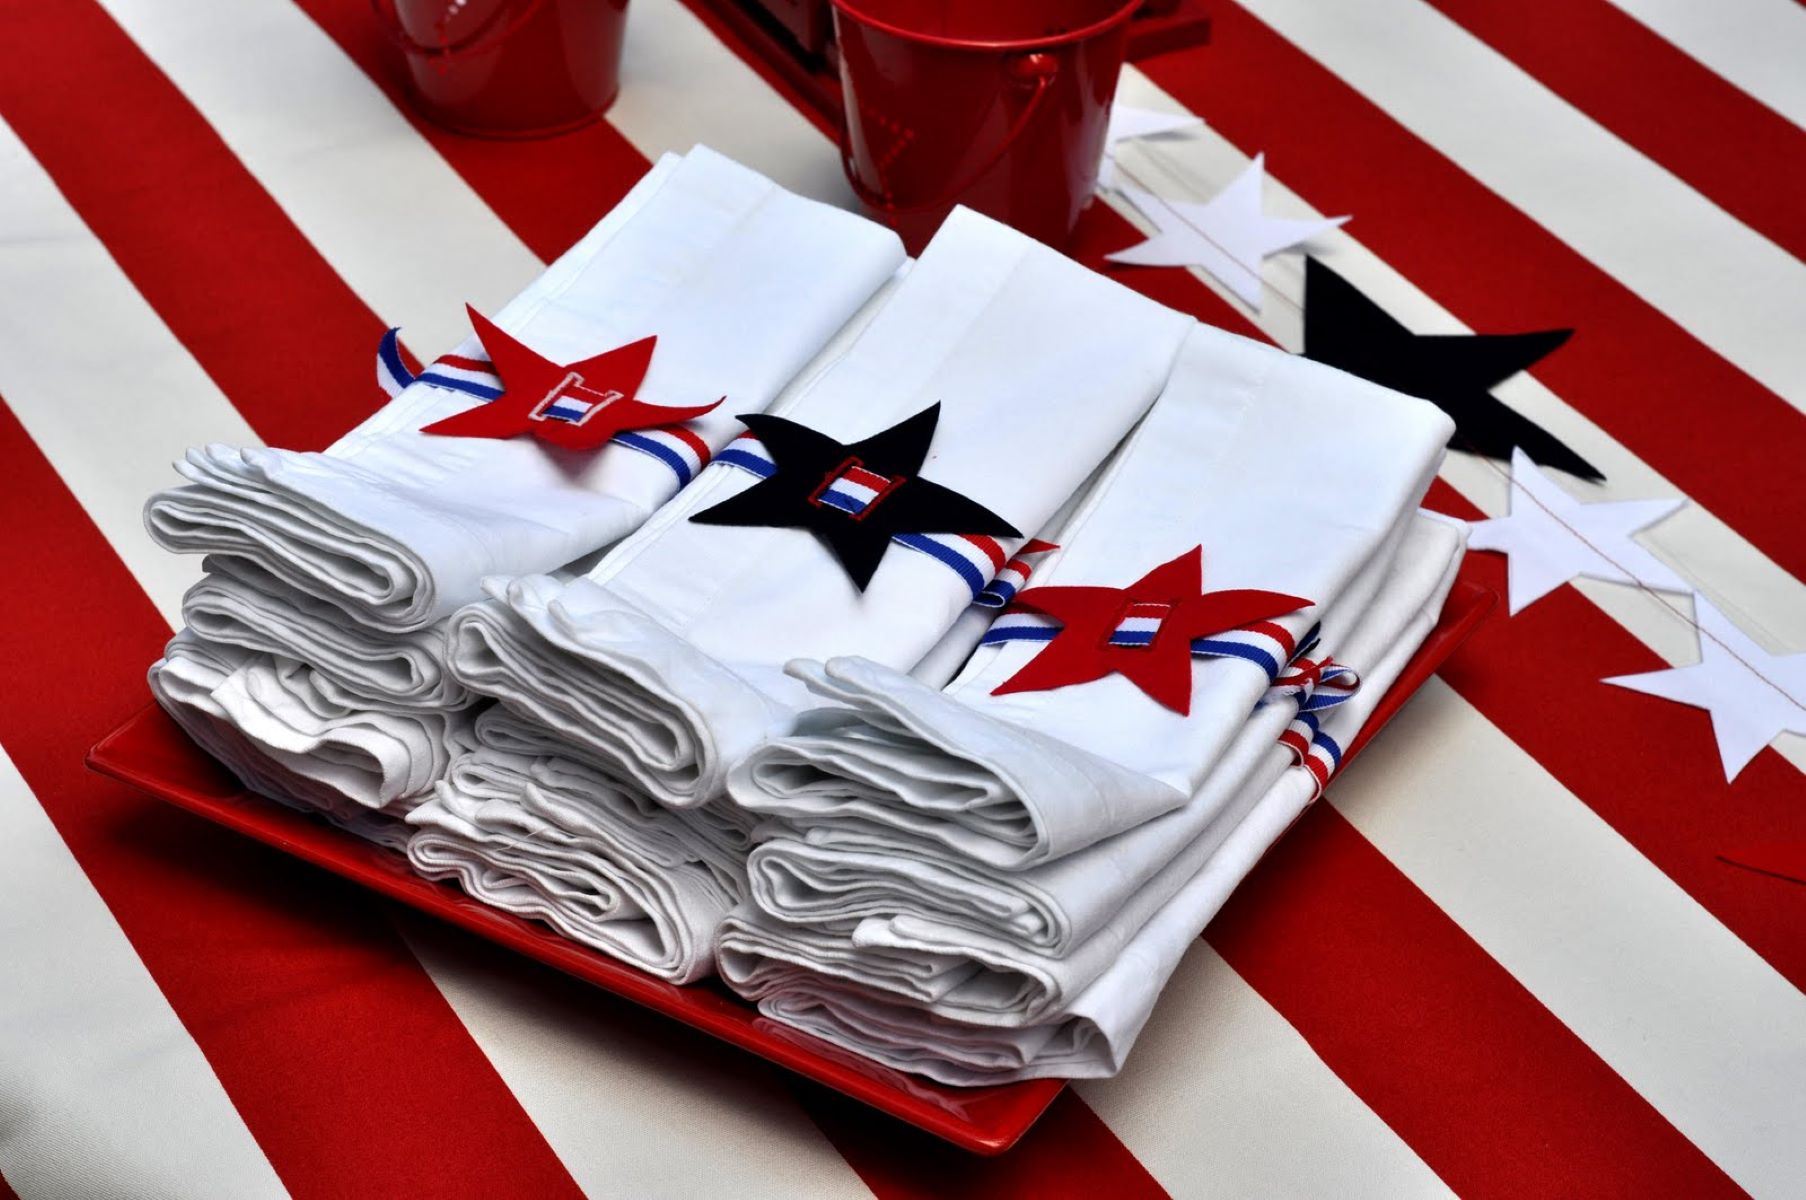
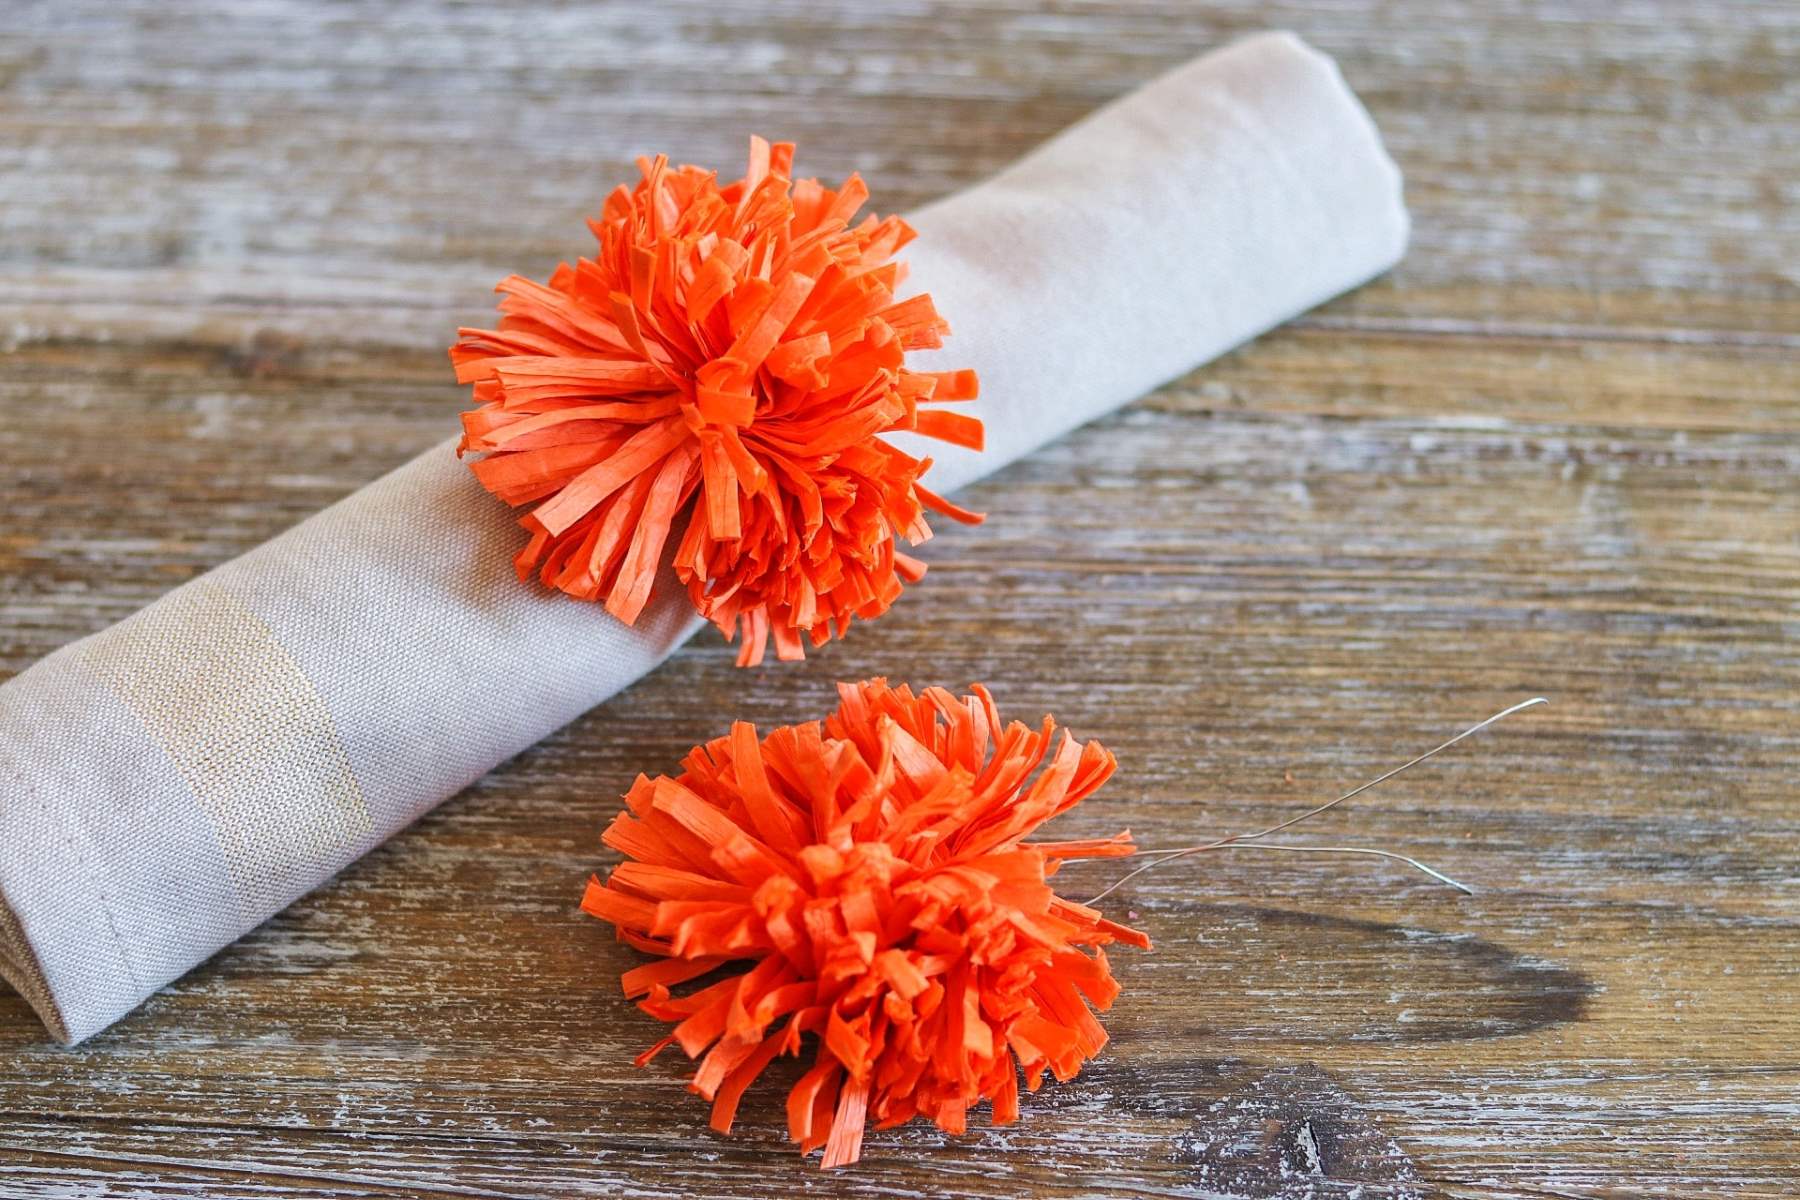
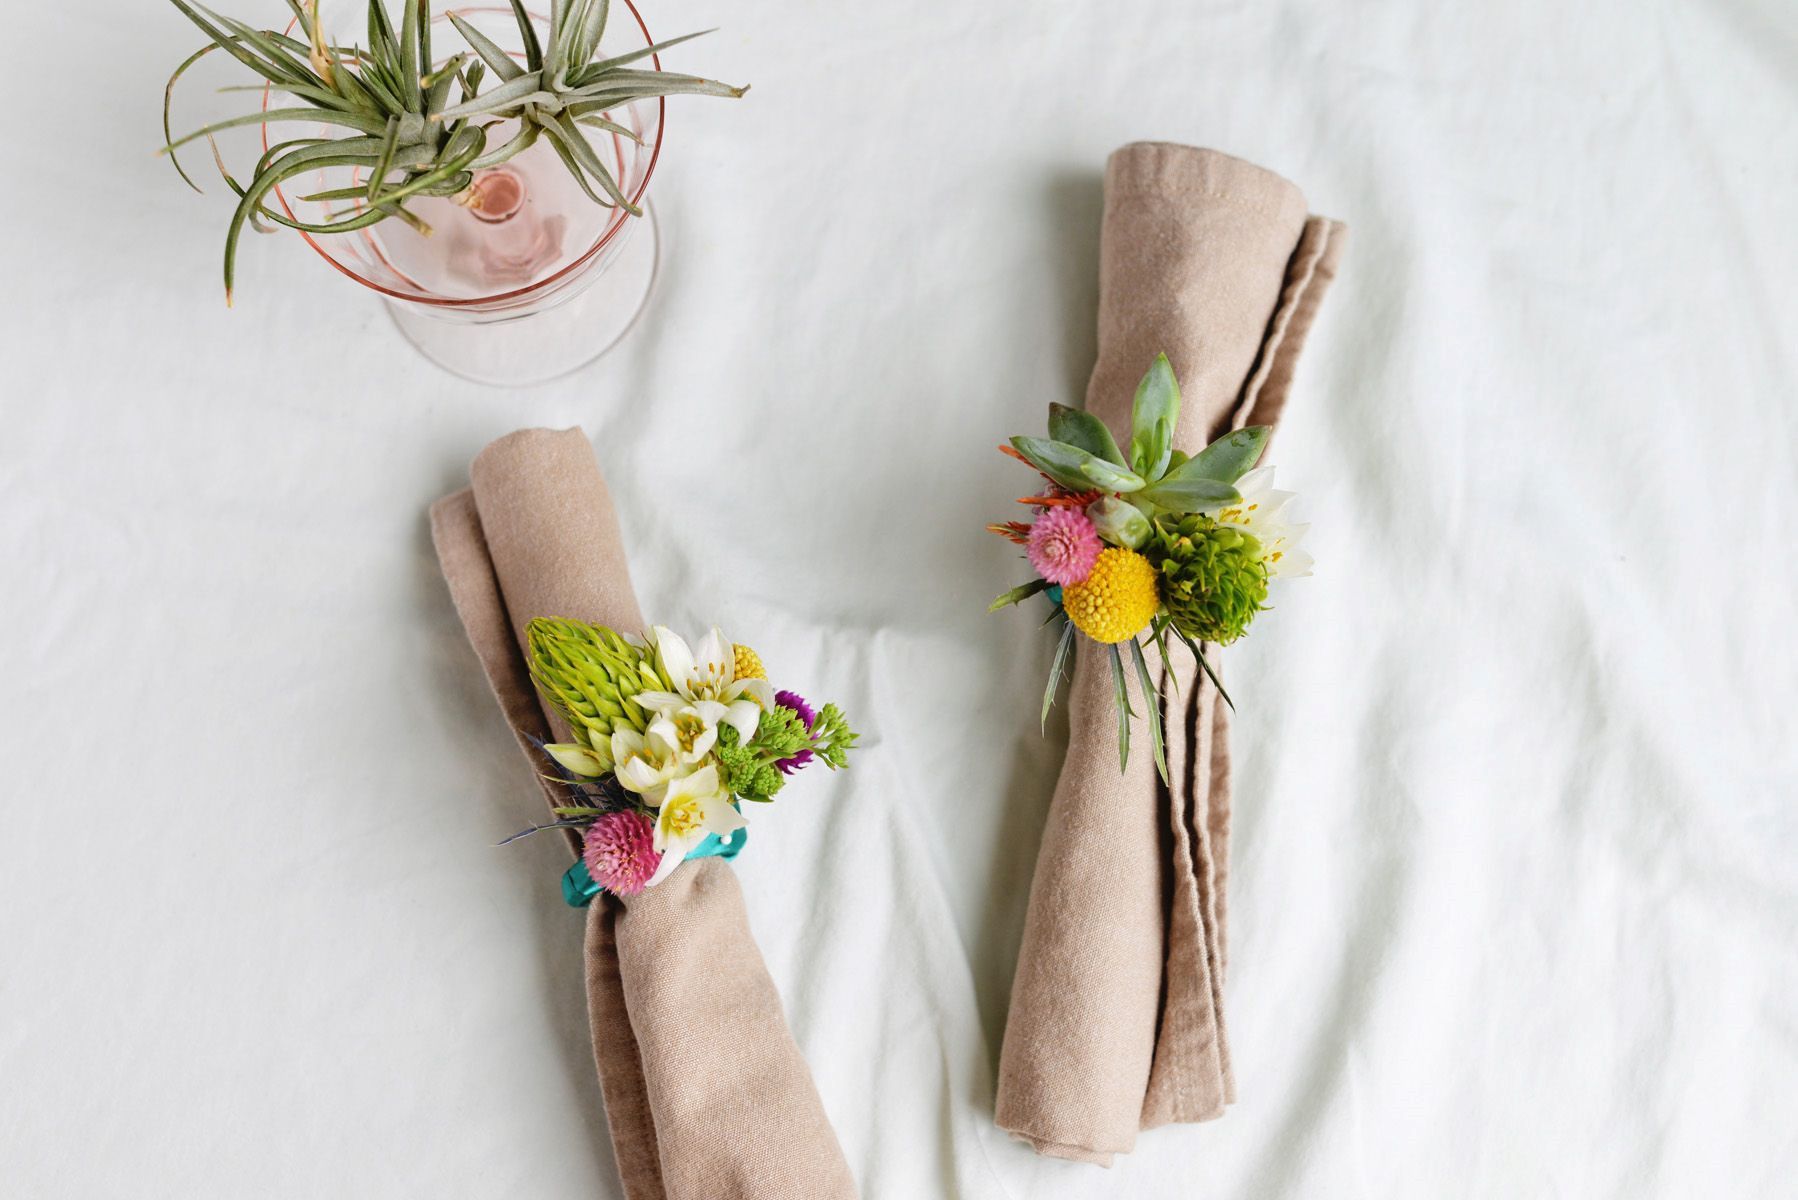
Ribbons are another delightful option for embellishing burlap napkin rings, offering a versatile and charming way to add color and texture. Whether you choose a rustic jute ribbon for a natural, organic look or opt for a satin ribbon to introduce a touch of luxury, the addition of ribbons can instantly transform the napkin rings, infusing them with a sense of whimsy and sophistication.
As you add embellishments to the napkin rings, consider the placement and arrangement of each element to ensure a balanced and visually appealing result. Whether you opt for a single embellishment at the center of each ring or prefer a symmetrical arrangement of multiple elements, thoughtful consideration of the design will contribute to the overall impact of the finished napkin rings.
By adding embellishments to the burlap napkin rings, you will elevate their aesthetic appeal, infusing them with character and charm. This creative and personalized touch will set your napkin rings apart, making them a delightful focal point of your table settings and a reflection of your unique style and creativity. With the embellishments in place, your burlap napkin rings are now ready for the final steps in the crafting process, bringing you closer to showcasing these charming accessories at your next gathering.
Read more: How To Make Christmas Napkin Rings
Step 4: Attach Velcro
Attaching Velcro serves as the functional and practical element in completing your burlap napkin rings, providing a convenient and adjustable closure mechanism that ensures a secure fit around your napkins. The addition of Velcro strips not only enhances the usability of the napkin rings but also offers a seamless and versatile fastening solution that accommodates napkins of varying thickness.
To begin this pivotal step, gather the Velcro strips and ensure that you have both the hook and loop components of the Velcro. The hook side, featuring the rough, prickly surface, will be attached to one end of the burlap napkin ring, while the loop side, characterized by the softer, plush surface, will be affixed to the opposite end. This dual-component design allows the Velcro to interlock securely, creating a reliable closure for the napkin rings.
Carefully measure and cut the Velcro strips to fit the circumference of the burlap napkin rings, ensuring that they align precisely with the ends of the fabric. The goal is to create a seamless and flush attachment of the Velcro, enabling the napkin rings to fasten snugly and comfortably around your napkins.
Once the Velcro strips are cut to the appropriate size, affix the hook side to one end of the burlap napkin ring, ensuring that it is centered and securely attached. Whether you opt to sew the Velcro in place for added durability or use fabric glue for a no-sew option, the key is to secure the hook component firmly to the burlap, creating a robust anchor for the closure system.
Next, attach the loop side of the Velcro to the opposite end of the napkin ring, aligning it meticulously with the hook component to ensure a seamless connection. Whether you choose to sew the loop side in place or utilize fabric glue for a quick and efficient attachment, the focus is on creating a cohesive and reliable closure that withstands regular use.
By attaching Velcro to the burlap napkin rings, you introduce a practical and user-friendly feature that enhances their functionality and usability. This thoughtful addition ensures that your napkin rings can be effortlessly secured around napkins of various sizes, accommodating different table settings and dining occasions with ease.
With the Velcro securely attached, your burlap napkin rings are now equipped with a versatile and adjustable closure system, ready to adorn your table settings with both style and functionality. This essential step brings you one step closer to completing your charming and practical burlap napkin rings, setting the stage for their debut at your next gathering.
Step 5: Finish the Napkin Rings
With the burlap napkin rings taking shape, the final step in the crafting process involves adding the finishing touches to ensure that they are polished, refined, and ready to adorn your table settings with rustic charm and elegance. This pivotal stage encompasses a series of meticulous actions that culminate in the completion of the napkin rings, transforming them into delightful accessories that will elevate the visual appeal of your dining area.
To commence the finishing process, carefully inspect the napkin rings to ensure that all elements, including the seams, embellishments, and Velcro closures, are secure and well-aligned. This thorough examination allows you to address any minor imperfections or irregularities, guaranteeing that the napkin rings meet the highest standards of craftsmanship and quality.
Next, gently press the napkin rings with a warm iron to smooth out any creases or wrinkles, resulting in a crisp and polished appearance. This step contributes to the overall refinement of the napkin rings, enhancing their visual appeal and ensuring that they exude a sense of sophistication when placed on your table settings.
As a final embellishment, consider adding a personalized touch to the napkin rings by incorporating custom tags or labels. Whether you opt for hand-stamped tags, calligraphy labels, or miniature monogrammed elements, these additions can infuse the napkin rings with a sense of individuality and serve as a charming detail that reflects your personal style and creativity.
Once the napkin rings have been meticulously inspected, pressed, and adorned with personalized touches, they are ready to take center stage on your table settings, adding a touch of warmth and character to your dining area. Whether you are hosting a casual brunch, a festive dinner party, or an intimate gathering, these burlap napkin rings will serve as a delightful accent, enhancing the overall ambiance and leaving a lasting impression on your guests.
With the finishing touches complete, your burlap napkin rings are now poised to grace your table settings with rustic charm and understated elegance, adding a touch of warmth and personality to every dining occasion. This final step marks the culmination of your creative journey, resulting in beautifully crafted napkin rings that embody your unique style and attention to detail. As you showcase these charming accessories at your gatherings, they will undoubtedly become a cherished element of your table decor, inviting admiration and delight from all who gather around your beautifully set table.
Frequently Asked Questions about How To Make Burlap Napkin Rings
Was this page helpful?
At Storables.com, we guarantee accurate and reliable information. Our content, validated by Expert Board Contributors, is crafted following stringent Editorial Policies. We're committed to providing you with well-researched, expert-backed insights for all your informational needs.

0 thoughts on “How To Make Burlap Napkin Rings”