Home>Renovation & DIY>Home Renovation Guides>How To Cut Glass Tiles For Backsplash
Home Renovation Guides
How To Cut Glass Tiles For Backsplash
Modified: February 18, 2024
Learn the best techniques for cutting glass tiles for your backsplash with our comprehensive home renovation guide. Expert tips and step-by-step instructions included. Ideal for DIY enthusiasts and professionals alike.
(Many of the links in this article redirect to a specific reviewed product. Your purchase of these products through affiliate links helps to generate commission for Storables.com, at no extra cost. Learn more)
Introduction
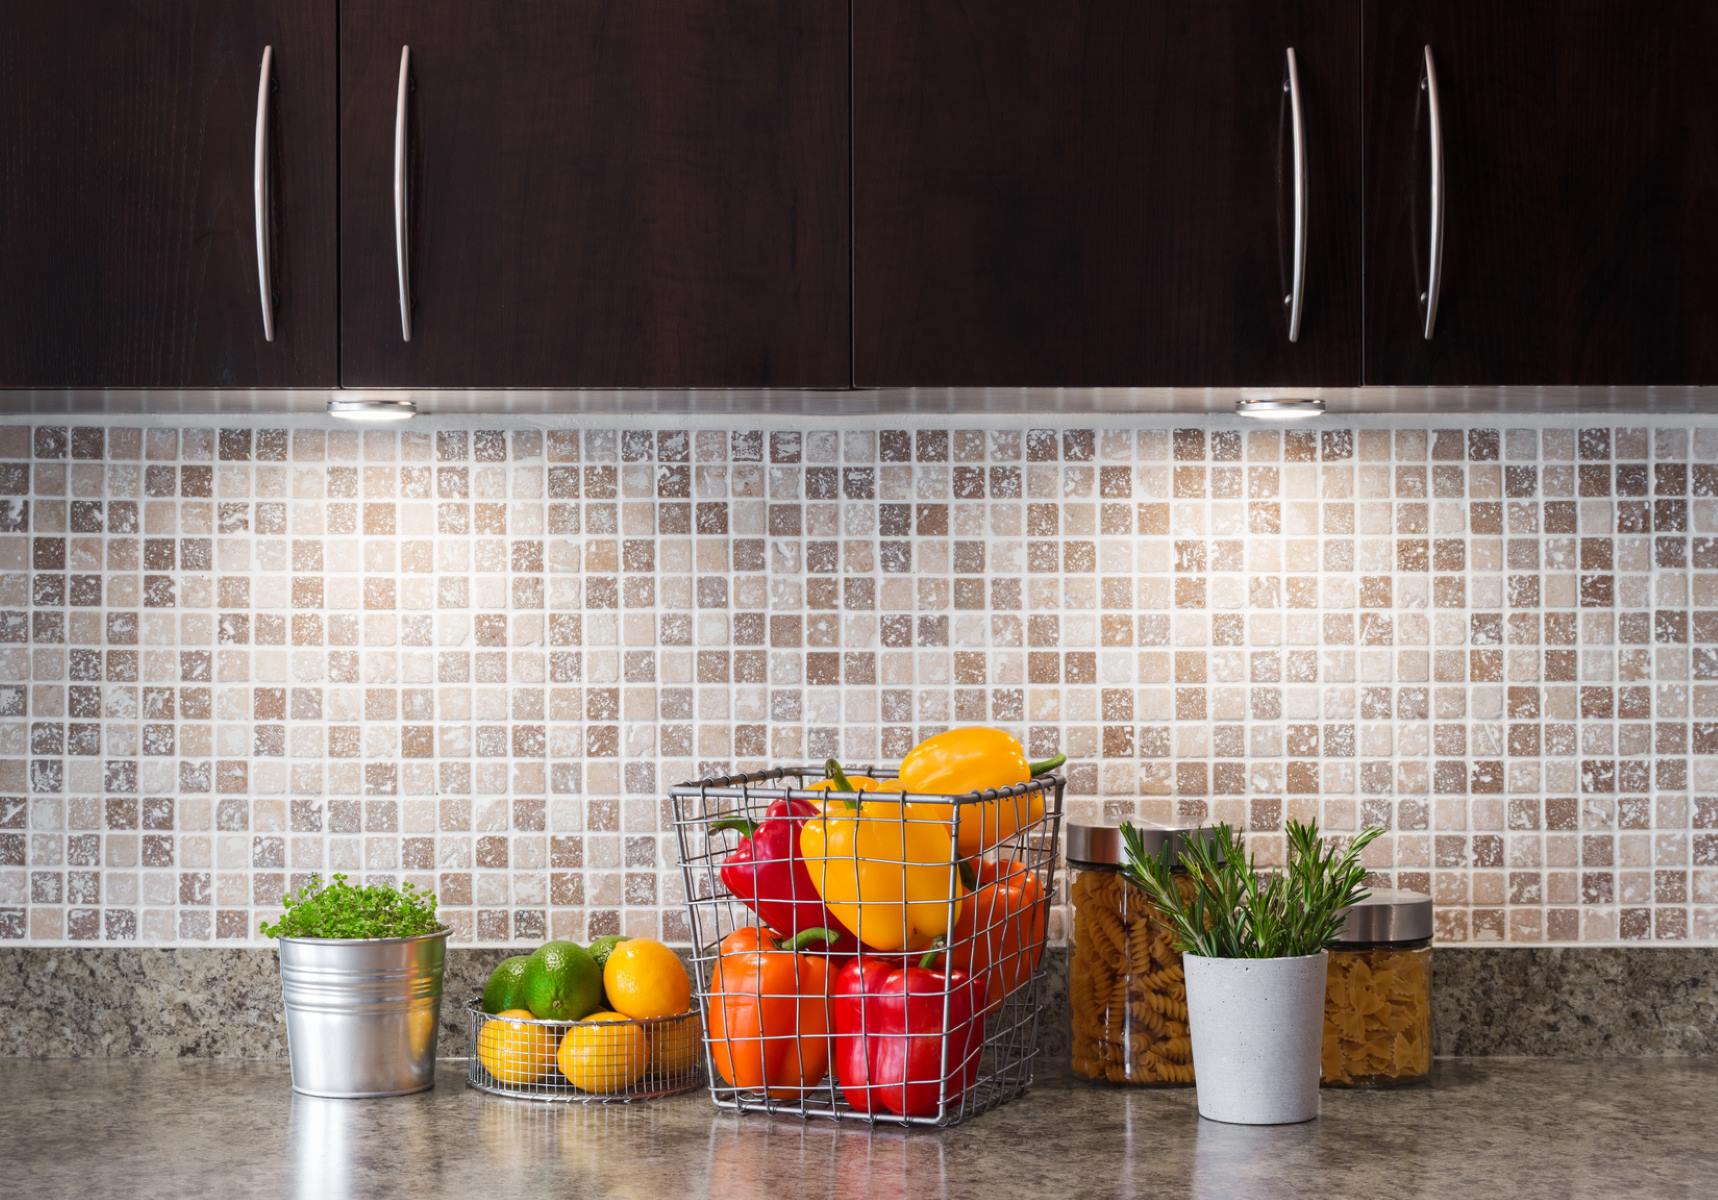
Cutting glass tiles for a backsplash can seem like a daunting task, but with the right tools and techniques, it can be a rewarding and achievable DIY project. Whether you're renovating your kitchen or adding a touch of elegance to your bathroom, mastering the art of cutting glass tiles will allow you to create a stunning and personalized space.
Glass tiles are a popular choice for backsplashes due to their sleek and reflective properties, which can instantly elevate the aesthetic appeal of any room. However, their delicate nature requires careful handling and precise cutting to achieve a professional-looking finish. By following the step-by-step guide outlined in this article, you'll gain the confidence and skills needed to tackle this project with ease.
Understanding the fundamentals of cutting glass tiles is the first step towards a successful backsplash installation. From measuring and marking the tiles to smoothing the edges for a seamless fit, each stage plays a crucial role in achieving a polished and visually striking result. With the right approach and attention to detail, you'll be able to transform your space and infuse it with a touch of sophistication.
Embarking on a home renovation project can be both exciting and challenging, but with the right guidance, you can turn your vision into reality. By learning how to cut glass tiles for a backsplash, you'll not only enhance the beauty of your home but also acquire a valuable skill that can be applied to future projects. So, roll up your sleeves, gather your tools, and let's dive into the art of cutting glass tiles for a stunning backsplash transformation.
Key Takeaways:
- Mastering the art of cutting glass tiles for a backsplash allows you to personalize your space with elegance and sophistication, creating a visually stunning and cohesive design that reflects your attention to detail and craftsmanship.
- By following the essential steps and techniques outlined in this guide, you can confidently embark on your glass tile cutting journey, infusing your home with the timeless beauty of a meticulously crafted glass tile backsplash.
Read more: How To Cut Backsplash Tiles
Tools and Materials Needed
When it comes to cutting glass tiles for a backsplash, having the right tools and materials at your disposal is essential for achieving precise and clean cuts. Here's a comprehensive list of what you'll need to embark on this project:
Tools:
- Glass Cutter: A quality glass cutter is the cornerstone of this project. Look for a carbide wheel cutter, which is specifically designed for cutting glass tiles. Its sharp wheel allows for smooth and accurate scoring of the glass surface.
- Straight Edge: A sturdy straight edge, such as a metal ruler or a T-square, is crucial for guiding the glass cutter along the marked lines. This ensures straight and uniform cuts.
- Marker: A fine-tip marker or a pencil will be used to mark the cutting lines on the glass tiles. Opt for a marker that contrasts with the color of the tiles for better visibility.
- Safety Glasses: Protecting your eyes is non-negotiable when working with glass. Invest in a pair of safety glasses to shield your eyes from any potential shards or splinters.
- Gloves: While not mandatory, wearing gloves can provide an added layer of protection against sharp edges and minimize the risk of accidental cuts.
Materials:
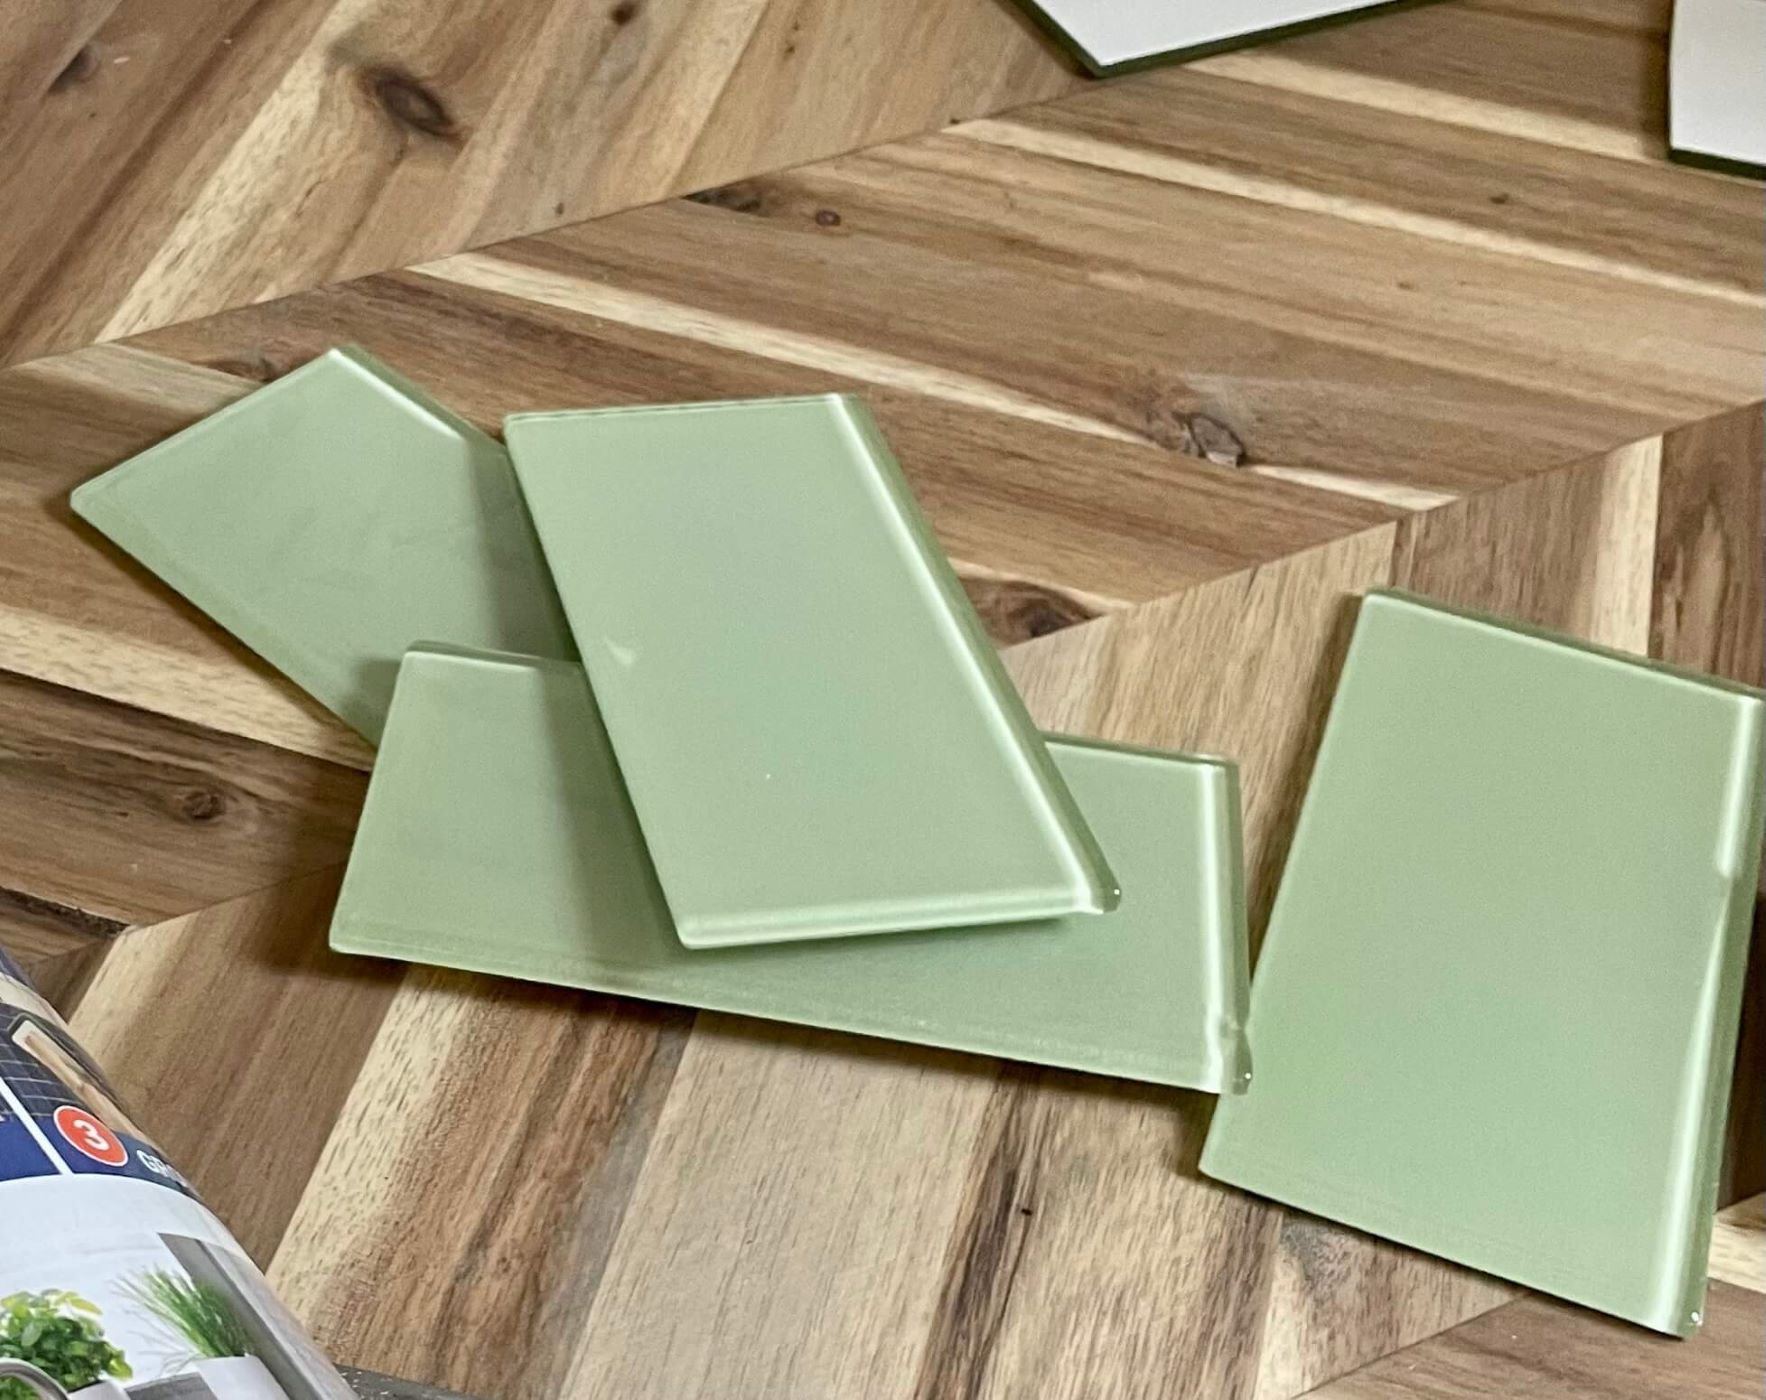
- Glass Tiles: Select the glass tiles of your choice, ensuring that they are suitable for the intended area and are of the appropriate thickness for cutting.
- Masking Tape: This will be used to create a guide for scoring the glass tiles, helping to prevent the glass cutter from slipping and ensuring precise cuts.
- Sandpaper or Diamond Pad: To smooth the edges of the cut tiles, have fine-grit sandpaper or a diamond pad on hand. This will help remove any rough edges and create a polished finish.
- Soft Cloth: Keep a soft cloth nearby to wipe the glass tiles and clean off any debris after cutting and smoothing the edges.
By assembling these essential tools and materials, you'll be well-equipped to tackle the task of cutting glass tiles for your backsplash. Each item plays a crucial role in ensuring the precision and safety required for this project, ultimately contributing to the successful transformation of your space.
Safety Precautions
When working with glass tiles, prioritizing safety is paramount to prevent accidents and ensure a smooth and secure cutting process. The fragile nature of glass, combined with the use of sharp tools, necessitates a cautious approach. Here are essential safety precautions to adhere to throughout the glass cutting process:
-
Eye Protection: Before commencing any cutting, always wear safety glasses to shield your eyes from potential glass shards or splinters. Even a small fragment of glass can cause significant eye injury, making protective eyewear an indispensable safety measure.
-
Hand Protection: While not mandatory, wearing gloves can provide an additional layer of defense against sharp edges and minimize the risk of accidental cuts. This is particularly important when handling broken or freshly cut glass tiles.
-
Workspace Organization: Ensure that your workspace is well-organized and free from clutter. Clear any unnecessary items from the cutting area to minimize the risk of accidental bumps or obstructions during the cutting process.
-
Stable Surface: Work on a stable and level surface to prevent the tiles from shifting or sliding during cutting. A secure work surface contributes to better control and accuracy when using the glass cutter.
-
Proper Handling of Tools: Handle the glass cutter and other tools with care, ensuring that they are used only for their intended purpose. Always store the glass cutter in a safe place when not in use to prevent accidental contact and potential injuries.
-
Mindful Movements: Be mindful of your movements and maintain a steady hand when scoring and snapping the glass tiles. Rushing through the process can lead to imprecise cuts and increase the risk of accidents.
-
Clean-Up: After cutting the glass tiles, promptly clean up any glass shards, debris, and excess materials from the work area. Use a damp cloth to wipe down surfaces and ensure that no sharp remnants are left behind.
By adhering to these safety precautions, you can minimize the risk of accidents and create a secure environment for cutting glass tiles. Prioritizing safety not only protects you from potential harm but also contributes to a more focused and controlled cutting process, ultimately leading to successful and satisfying results.
Read more: How To Cut Peel And Stick Backsplash Tiles
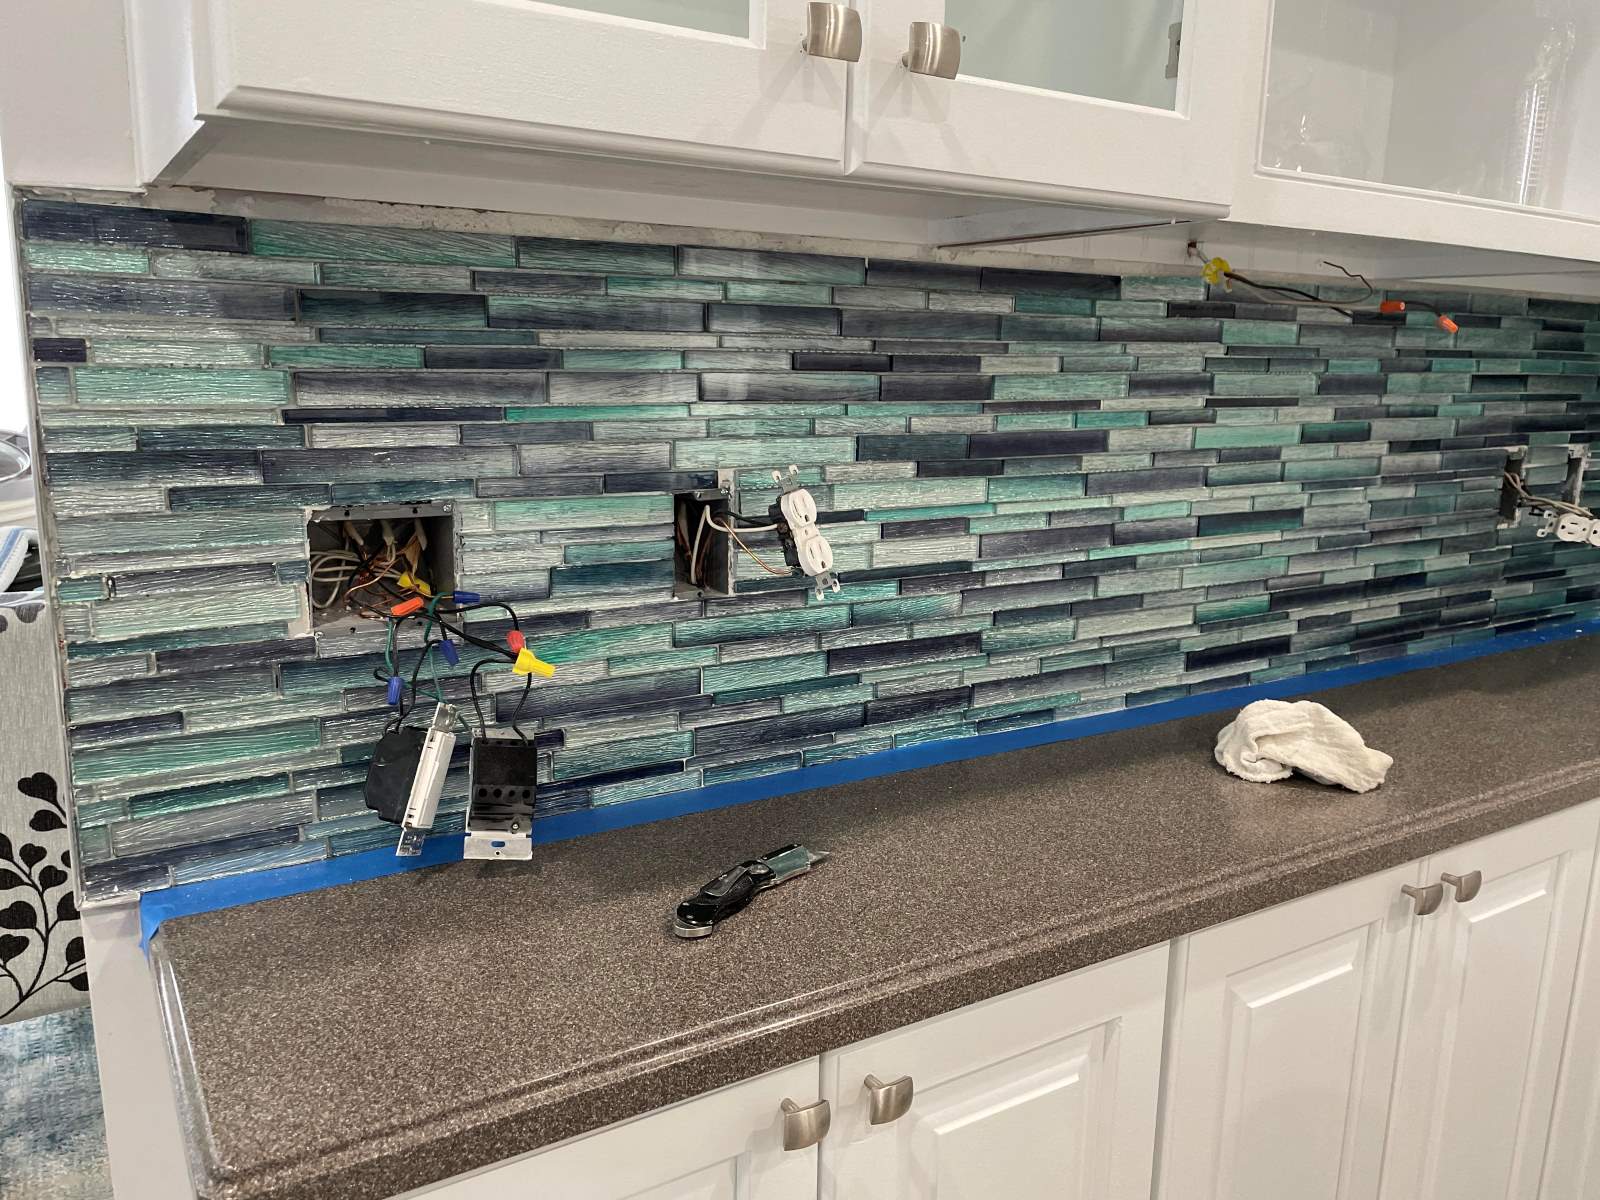
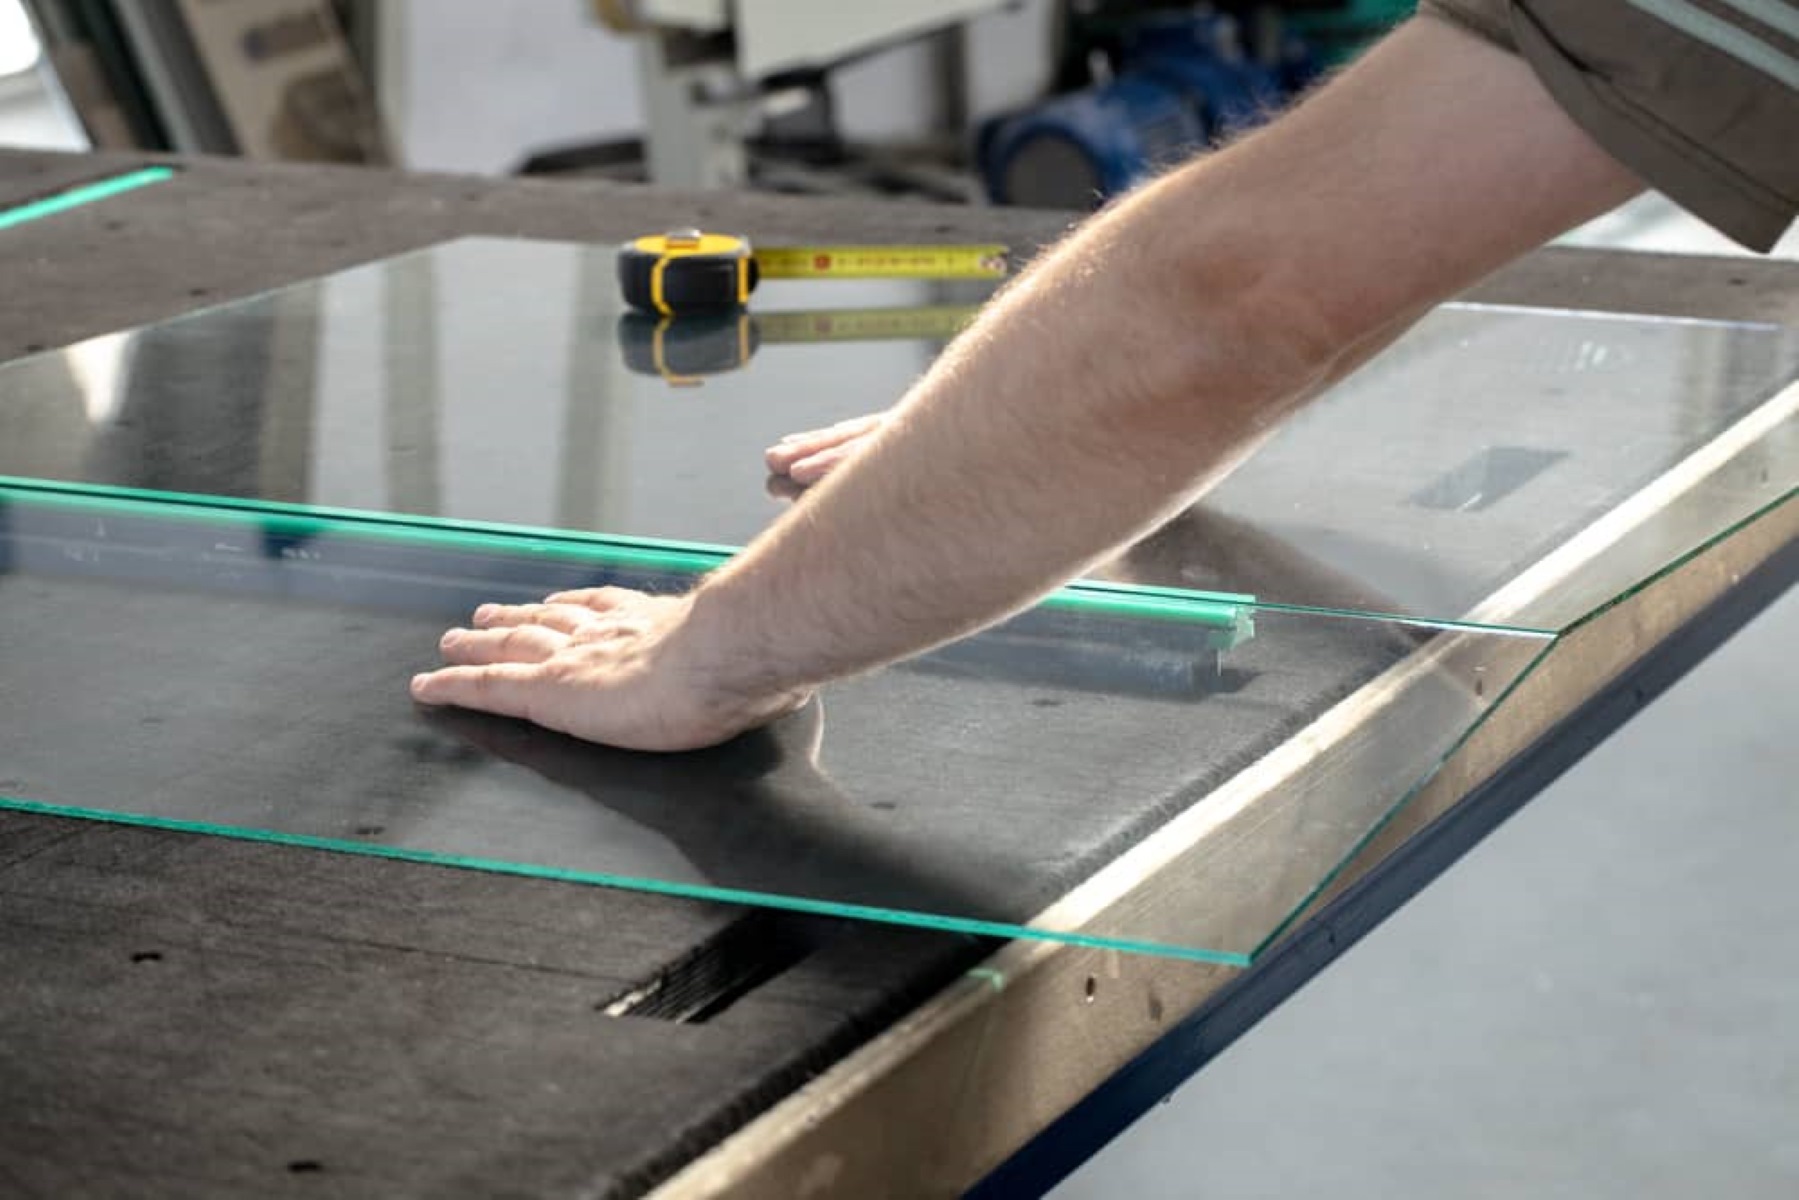
Step 1: Measure and Mark the Tile
Before diving into the cutting process, it's crucial to accurately measure and mark the glass tiles to ensure precise cuts and a seamless fit within your backsplash design. This initial step sets the foundation for the entire cutting process and significantly influences the final outcome of your project.
To begin, gather the necessary tools, including a straight edge, marker, and the glass tiles you intend to cut. Lay the glass tile on a flat and stable surface, ensuring that it is clean and free from any debris that could affect the accuracy of your measurements.
Using a measuring tape or ruler, carefully determine the dimensions of the tile that need to be cut. Whether you're creating straight cuts or intricate shapes, precision is key at this stage. Once the measurements are determined, use a fine-tip marker to mark the cutting lines directly onto the surface of the glass tile. It's advisable to use a contrasting color for the marker to ensure clear visibility against the glass.
When marking the cutting lines, ensure that the straight edge is securely positioned along the marked lines to guide the glass cutter accurately. This step is crucial for achieving straight and uniform cuts, especially when dealing with multiple tiles for a cohesive backsplash design.
Take your time during this phase, as accurate measurements and markings will streamline the subsequent steps of scoring and snapping the glass tiles. Remember that attention to detail at this stage will contribute to a smoother cutting process and a professional finish for your backsplash installation.
By meticulously measuring and marking the glass tiles, you lay the groundwork for a successful cutting process, setting the stage for precise and tailored cuts that seamlessly integrate into your backsplash design. This meticulous approach ensures that each glass tile is customized to fit your specific layout, resulting in a visually stunning and cohesive backsplash that reflects your attention to detail and craftsmanship.
Step 2: Score the Tile
Scoring the glass tile is a critical step that determines the success of the cutting process. The score line serves as a guide for cleanly breaking the glass along the intended cutting path. To achieve precise and controlled scores, it's essential to approach this step with patience and attention to detail.
Begin by securing the glass tile on a stable surface, ensuring that it doesn't shift during the scoring process. Place the straight edge firmly along the marked cutting line, providing a clear path for the glass cutter. With a steady hand, hold the glass cutter perpendicular to the tile's surface, exerting even pressure as you run the cutter along the marked line. The sharp carbide wheel of the glass cutter creates a fine score line on the glass, penetrating the surface without applying excessive force that could lead to cracks or uneven scores.
Maintaining a consistent and smooth motion while scoring the tile is crucial for achieving a clean and precise score line. Avoid stopping and starting during the scoring process, as this can result in jagged or irregular scores. Instead, aim for a continuous and fluid motion, allowing the glass cutter to glide smoothly along the straight edge, thereby creating a uniform score line.
As you near the end of the cutting line, ensure that the score line extends across the entire width of the glass tile. A complete and uninterrupted score line is essential for a clean break during the snapping stage. Once the score line is complete, carefully remove the straight edge and prepare for the next phase of the cutting process.
Scoring the glass tile effectively sets the stage for the subsequent step of snapping the tile along the scored line. A well-executed score line ensures a controlled break, resulting in clean and precise cuts that align with your intended design. By mastering the art of scoring glass tiles, you pave the way for a successful cutting process and a visually stunning backsplash installation.
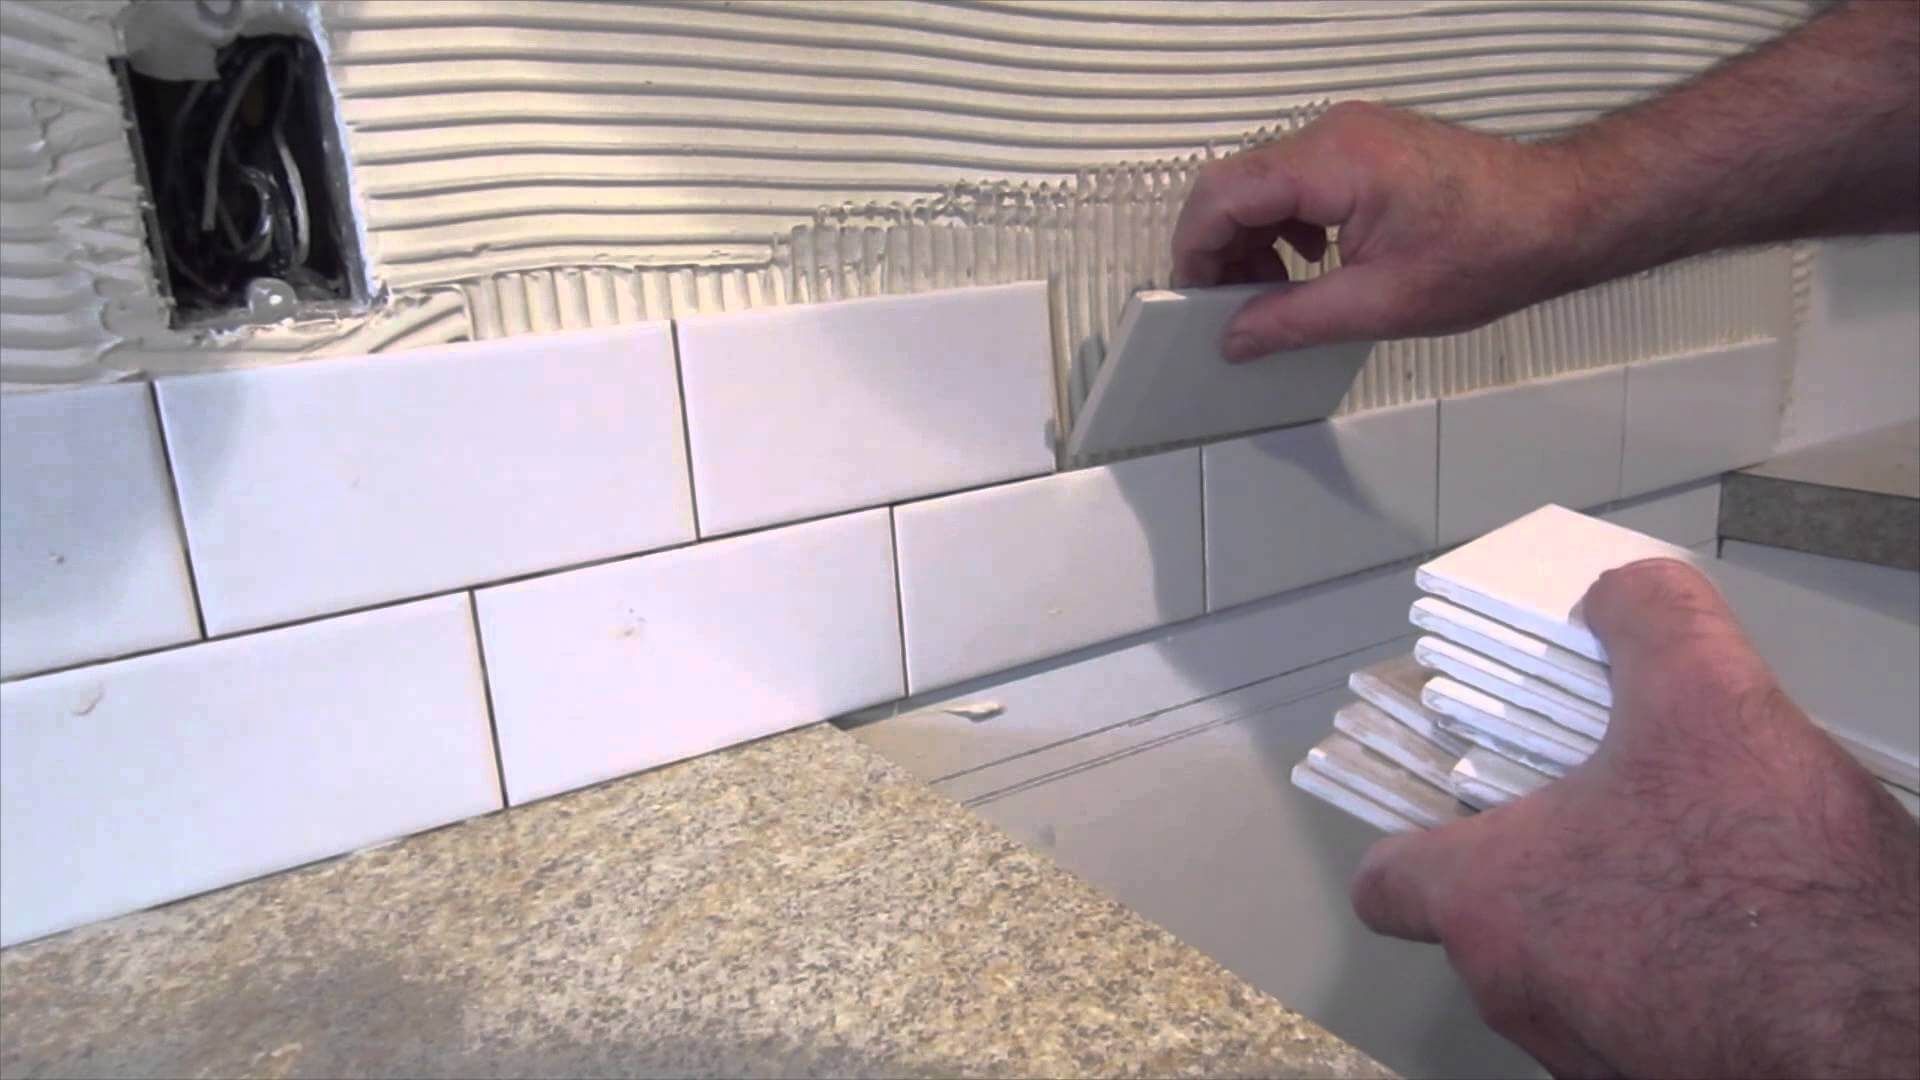
When cutting glass tiles for a backsplash, use a glass cutter to score the tile, then carefully snap it along the scored line. Wear safety goggles and work on a flat surface to prevent breakage.
Step 3: Snap the Tile
After successfully scoring the glass tile, the next crucial step is to carefully snap along the scored line to achieve a clean break. This process requires precision and finesse to ensure that the glass tile separates neatly along the intended cutting path, resulting in smooth and accurate cuts for your backsplash installation.
To begin, position the scored glass tile on a flat and stable surface, ensuring that the scored line is aligned with the edge of the surface. With both hands, gently grasp each side of the tile, applying even pressure to support the entire length of the scored line. It's essential to maintain a steady grip and exert controlled pressure to initiate the break along the scored line.
As you prepare to snap the tile, focus on applying gradual and consistent pressure rather than forceful or abrupt movements. The goal is to encourage the glass to break along the scored line without causing unnecessary stress or uneven breaks. By exerting controlled pressure and maintaining a firm grip on the tile, you can guide the glass to separate cleanly along the scored line.
As the pressure is applied, you may hear a subtle cracking sound, indicating that the glass is beginning to break along the scored line. Continue to apply gentle and even pressure, allowing the glass to naturally follow the path of the score line. With a smooth and deliberate motion, the glass tile will cleanly separate into two pieces, guided by the precision of the scored line.
Once the tile has been successfully snapped along the scored line, carefully inspect the edges to ensure a clean break. Any minor imperfections or rough edges can be addressed in the subsequent step of smoothing the edges. By mastering the technique of snapping the glass tile, you ensure that each cut aligns with your design specifications, contributing to a seamless and professional finish for your backsplash.
The art of snapping glass tiles requires a delicate balance of control and finesse, allowing you to achieve precise and clean breaks that complement your overall backsplash design. By executing this step with patience and attention to detail, you set the stage for a visually stunning and cohesive installation that reflects your craftsmanship and dedication to achieving exceptional results.
Step 4: Smooth the Edges
After successfully cutting and snapping the glass tiles, the final step involves smoothing the edges to achieve a polished and professional finish. This crucial stage ensures that the cut edges are refined and free from any sharp or rough areas, enhancing both the visual appeal and safety of the glass tiles.
To begin the edge-smoothing process, prepare a piece of fine-grit sandpaper or a diamond pad. These specialized materials are designed to gently smooth the edges of the glass tiles without causing damage or altering their shape. The goal is to create a smooth and uniform edge that seamlessly integrates into the overall design of the backsplash.
Carefully hold the sandpaper or diamond pad against the cut edge of the glass tile, applying gentle and even pressure as you move it along the edge. The abrasive surface of the sandpaper or diamond pad gradually smooths out any rough or jagged areas, resulting from the cutting and snapping process. It's important to maintain a consistent motion and avoid applying excessive pressure, as this could potentially damage the glass tile.
As you work on smoothing the edges, periodically inspect the cut edge to assess the progress and ensure that the desired smoothness is being achieved. Pay close attention to any remaining rough spots or irregularities, addressing them with careful and precise movements of the sandpaper or diamond pad. The goal is to create a uniform and polished edge that seamlessly blends with the rest of the tile.
Once the edges have been smoothed to your satisfaction, use a soft cloth to wipe down the glass tiles, removing any debris or residue from the edge-smoothing process. This final touch ensures that the glass tiles are clean and free from any remnants of the cutting and smoothing process, preparing them for installation as part of your stunning backsplash.
By meticulously smoothing the edges of the glass tiles, you elevate the overall quality and appearance of your backsplash installation. The refined edges not only contribute to a visually appealing finish but also ensure that the tiles are safe to handle and integrate seamlessly into your space. This attention to detail and craftsmanship results in a polished and professional outcome that reflects your dedication to achieving exceptional results in your home renovation endeavors.
Read more: How To Remove Glass Tile Backsplash
Conclusion
Mastering the art of cutting glass tiles for a backsplash is a valuable skill that empowers homeowners to personalize their living spaces with elegance and sophistication. Throughout this comprehensive guide, we've delved into the essential steps and techniques required to achieve precise and professional results in glass tile cutting.
By meticulously measuring and marking the glass tiles, you lay the groundwork for a successful cutting process, setting the stage for precise and tailored cuts that seamlessly integrate into your backsplash design. This meticulous approach ensures that each glass tile is customized to fit your specific layout, resulting in a visually stunning and cohesive backsplash that reflects your attention to detail and craftsmanship.
Scoring the glass tile effectively sets the stage for the subsequent step of snapping the tile along the scored line. A well-executed score line ensures a controlled break, resulting in clean and precise cuts that align with your intended design. By mastering the art of scoring glass tiles, you pave the way for a successful cutting process and a visually stunning backsplash installation.
The art of snapping glass tiles requires a delicate balance of control and finesse, allowing you to achieve precise and clean breaks that complement your overall backsplash design. By executing this step with patience and attention to detail, you set the stage for a visually stunning and cohesive installation that reflects your craftsmanship and dedication to achieving exceptional results.
After successfully cutting and snapping the glass tiles, the final step involves smoothing the edges to achieve a polished and professional finish. This crucial stage ensures that the cut edges are refined and free from any sharp or rough areas, enhancing both the visual appeal and safety of the glass tiles.
By meticulously smoothing the edges of the glass tiles, you elevate the overall quality and appearance of your backsplash installation. The refined edges not only contribute to a visually appealing finish but also ensure that the tiles are safe to handle and integrate seamlessly into your space. This attention to detail and craftsmanship results in a polished and professional outcome that reflects your dedication to achieving exceptional results in your home renovation endeavors.
In conclusion, mastering the art of cutting glass tiles for a backsplash opens up a world of creative possibilities, allowing you to transform your living spaces with personalized and elegant designs. With the knowledge and skills gained from this guide, you're well-equipped to embark on your glass tile cutting journey, infusing your home with the timeless beauty of a meticulously crafted glass tile backsplash.
Frequently Asked Questions about How To Cut Glass Tiles For Backsplash
Was this page helpful?
At Storables.com, we guarantee accurate and reliable information. Our content, validated by Expert Board Contributors, is crafted following stringent Editorial Policies. We're committed to providing you with well-researched, expert-backed insights for all your informational needs.


0 thoughts on “How To Cut Glass Tiles For Backsplash”