Home>Renovation & DIY>Home Renovation Guides>How To Put Grout On Glass Backsplash
Home Renovation Guides
How To Put Grout On Glass Backsplash
Modified: February 18, 2024
Learn how to put grout on a glass backsplash with our comprehensive home renovation guide. Follow our expert tips for a flawless finish.
(Many of the links in this article redirect to a specific reviewed product. Your purchase of these products through affiliate links helps to generate commission for Storables.com, at no extra cost. Learn more)
Introduction
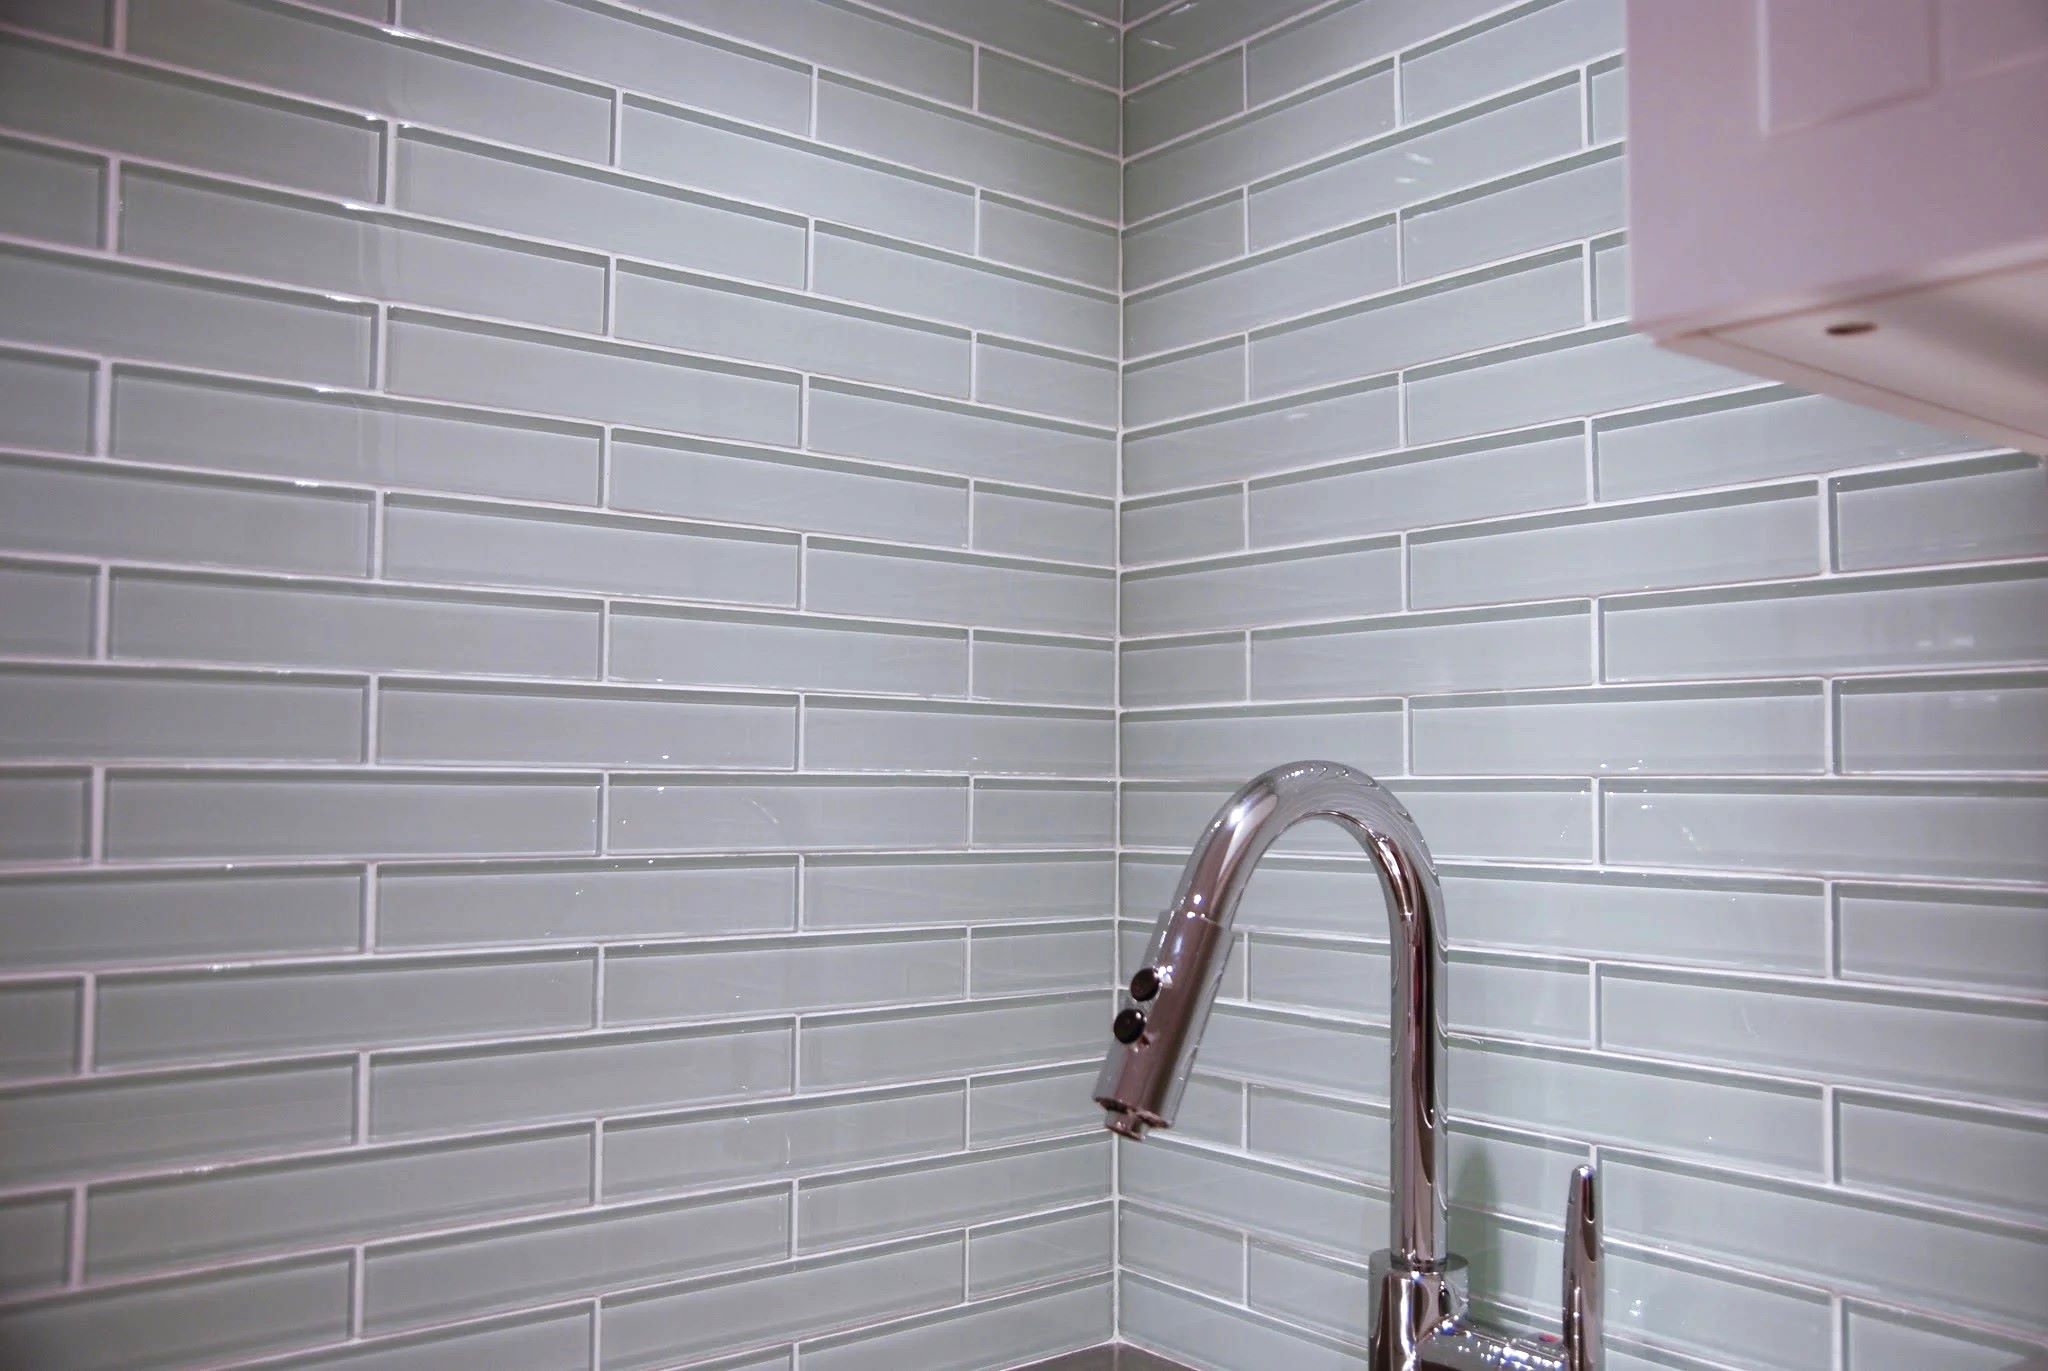
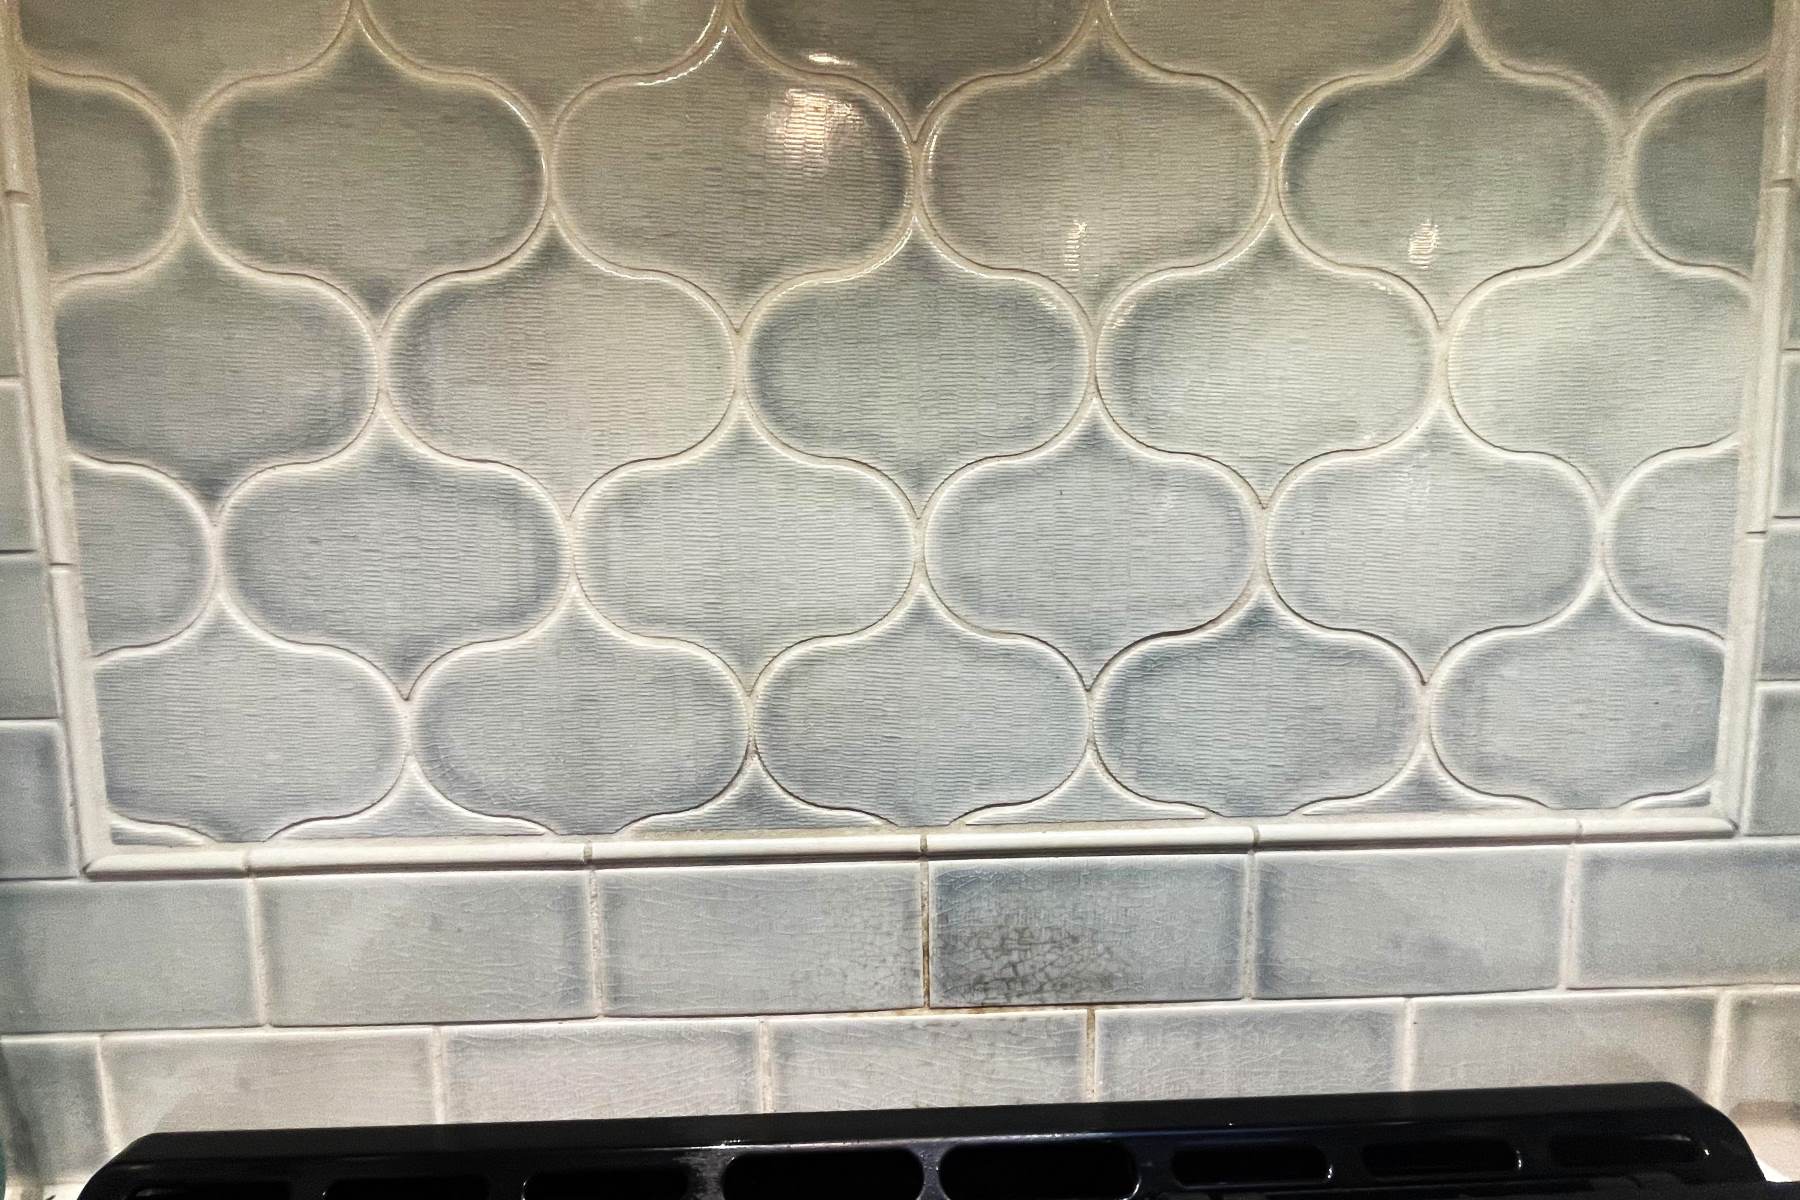
When it comes to adding a touch of elegance and functionality to your kitchen or bathroom, a glass backsplash can be a stunning choice. Not only does it offer a sleek and modern aesthetic, but it also provides a practical solution for protecting your walls from splashes and spills. However, to ensure the longevity and beauty of your glass backsplash, it's crucial to apply grout correctly. Grouting a glass backsplash may seem like a daunting task, but with the right guidance and techniques, you can achieve professional-looking results that will stand the test of time.
In this comprehensive guide, we will walk you through the step-by-step process of putting grout on a glass backsplash. From preparing the glass surface to applying and sealing the grout, you'll gain valuable insights and practical tips to help you tackle this project with confidence. Whether you're a seasoned DIY enthusiast or a first-time renovator, mastering the art of grouting a glass backsplash will not only enhance the visual appeal of your space but also contribute to its overall durability.
So, roll up your sleeves and get ready to embark on a rewarding journey of transforming your glass backsplash into a seamless and polished masterpiece. With a little patience and attention to detail, you'll soon be admiring the seamless beauty of your newly grouted glass backsplash. Let's dive into the first step: preparing the glass backsplash for grouting.
Key Takeaways:
- Grouting a glass backsplash involves meticulous steps like cleaning, mixing, applying, and sealing the grout. This process enhances the beauty and durability of your kitchen or bathroom space.
- By grouting your glass backsplash with care and expertise, you not only elevate its visual allure but also fortify its resilience against daily use. The meticulous sealing ensures long-lasting beauty and protection.
Read more: How To Clean Backsplash Grout
Step 1: Prepare the glass backsplash
Before diving into the grouting process, it's essential to prepare the glass backsplash to ensure a smooth and successful application. Here's a detailed breakdown of the crucial steps involved in preparing the glass surface:
-
Clean the Surface: Begin by thoroughly cleaning the glass backsplash to remove any dirt, grease, or residue that may have accumulated. Use a gentle glass cleaner or a solution of water and mild dish soap to wipe down the surface. Avoid harsh abrasives or acidic cleaners, as they can potentially damage the glass.
-
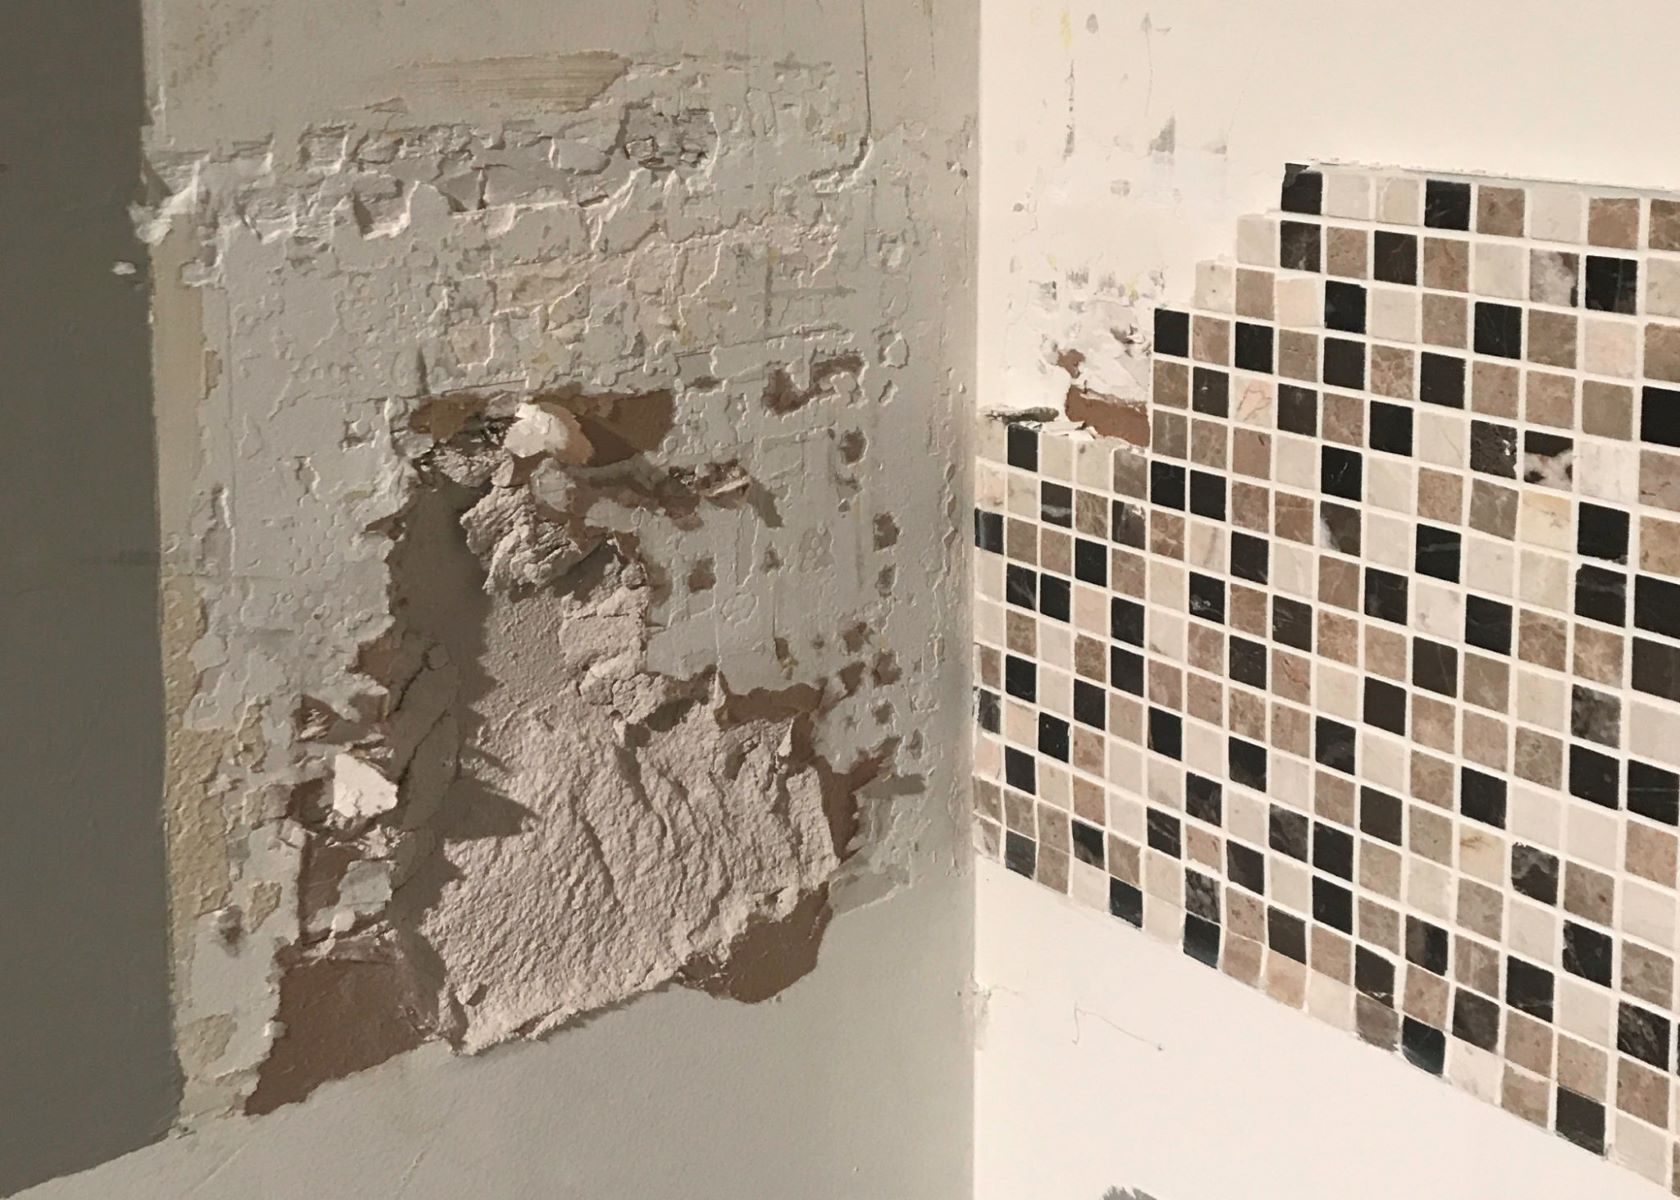
Inspect for Damage: Carefully examine the glass for any chips, cracks, or imperfections. It's important to address any structural issues before proceeding with the grouting process. If you spot any damage, consider consulting a professional to assess the extent of the problem and recommend appropriate repairs.
-
Protect Adjacent Surfaces: To prevent grout from inadvertently spreading to adjacent areas, such as countertops or cabinets, take the time to apply painter's tape or protective coverings. This simple yet effective step can save you from the hassle of cleaning up excess grout later on.
-
Mask Off Edges: Use painter's tape to mask off the edges of the glass backsplash where it meets the countertop or other surfaces. This will create clean and defined lines, ensuring a professional finish once the grouting is complete.
-
Allow for Drying Time: If you've used any cleaning agents or solutions on the glass surface, make sure to allow sufficient time for it to dry completely. Moisture or residue left behind can interfere with the grout's adhesion and overall effectiveness.
By meticulously preparing the glass backsplash, you set the stage for a seamless grouting process and ultimately contribute to the longevity and visual appeal of the finished result. With the glass surface primed and ready, you're now equipped to move on to the next step: mixing the grout.
Step 2: Mix the grout
Mixing the grout is a critical step in the process of grouting a glass backsplash. The quality of the grout mixture and the consistency at which it is prepared can significantly impact the final outcome of the project. Here's a detailed guide on how to expertly mix the grout for your glass backsplash:
Gather the Necessary Supplies
Before diving into the mixing process, ensure that you have all the essential supplies at hand. You will need powdered grout, a mixing bucket, a margin trowel, and clean water. It's crucial to use the type of grout recommended for glass surfaces, as certain formulations are designed to adhere effectively without scratching or damaging the glass.
Measure the Grout and Water
Refer to the manufacturer's instructions to determine the appropriate grout-to-water ratio for mixing. Using the margin trowel, carefully measure out the specified amount of powdered grout and transfer it into the mixing bucket. Then, gradually add the clean water while continuously stirring the mixture. It's important to achieve a smooth and lump-free consistency, ensuring that all the grout particles are thoroughly hydrated.
Read more: How To Remove Backsplash Grout
Achieve the Desired Consistency
As you mix the grout and water, pay close attention to the consistency of the mixture. Aim for a smooth, paste-like texture that is easy to spread and work with. Avoid adding too much water, as this can result in a runny and weak grout mixture. Conversely, an overly dry mixture may not adhere effectively to the glass surface. Striking the right balance is key to achieving optimal results.
Let the Mixture Rest
Once the grout and water are thoroughly combined and the desired consistency is achieved, allow the mixture to rest for a few minutes. This resting period, known as slaking, enables the grout to fully absorb the water and attain its ideal workability. During this time, refrain from adding more water or re-mixing the grout, as it can disrupt the hydration process.
Perform a Test Application
Before proceeding to apply the grout onto the glass backsplash, consider conducting a test application on a small, inconspicuous area. This allows you to assess the consistency and workability of the grout, ensuring that it is well-suited for the task at hand. Additionally, it provides an opportunity to make any necessary adjustments before tackling the entire backsplash.
By following these meticulous steps to mix the grout, you set the stage for a seamless and successful application onto the glass backsplash. With the grout mixture expertly prepared, you're now ready to move on to the next pivotal step: applying the grout onto the glass surface.
Step 3: Apply the grout
With the glass backsplash meticulously prepared and the grout mixture expertly mixed, it's time to embark on the pivotal step of applying the grout onto the glass surface. This process requires precision, patience, and attention to detail to ensure a flawless and durable finish. Here's a comprehensive guide on how to effectively apply the grout to your glass backsplash:
Read more: How To Do Grout For Backsplash
Gather the Essential Tools
Before commencing the grouting process, gather the necessary tools and materials, including a rubber grout float, clean water, and a damp sponge. Additionally, ensure that you have protective gear such as gloves and safety goggles to safeguard yourself during the application.
Begin the Application
Using the rubber grout float, scoop a generous amount of the prepared grout mixture and apply it onto the glass backsplash at a 45-degree angle. Work in small sections to ensure that the grout is evenly distributed and pressed into the spaces between the glass tiles. Avoid applying excessive pressure, as it may dislodge the tiles or cause the grout to spread unevenly.
Work in a Diagonal Motion
As you apply the grout, use the rubber grout float to spread it diagonally across the glass tiles. This technique helps ensure that the grout fills the gaps and crevices effectively, leaving no voids or air pockets behind. Continue this motion until all the spaces between the tiles are uniformly filled with grout.
Remove Excess Grout
Once the grout is applied, use the rubber grout float held at a 90-degree angle to the glass surface to scrape off any excess grout. This step is crucial for achieving a clean and polished finish. Be mindful not to remove too much grout from the spaces between the tiles, as this can compromise the integrity of the application.
Read more: How To Grout Stone Backsplash
Clean the Surface
After the excess grout has been removed, use a damp sponge to gently wipe the glass surface, removing any residual grout on the tiles. Rinse the sponge frequently and continue to wipe the surface in a circular motion, ensuring that the tiles are free from grout residue. Take care not to press too hard, as this can dislodge the freshly applied grout.
Allow for Curing
Once the grout is applied and the surface is cleaned, allow the grout to cure as per the manufacturer's instructions. This typically involves letting the grout set for a specific period before proceeding to the final step of sealing.
By following these meticulous steps to apply the grout onto the glass backsplash, you pave the way for a professional and enduring finish that enhances the beauty and functionality of your space. With the grout expertly applied, you're now poised to move on to the next crucial phase: cleaning the excess grout to reveal the seamless beauty of your newly grouted glass backsplash.
Step 4: Clean the excess grout
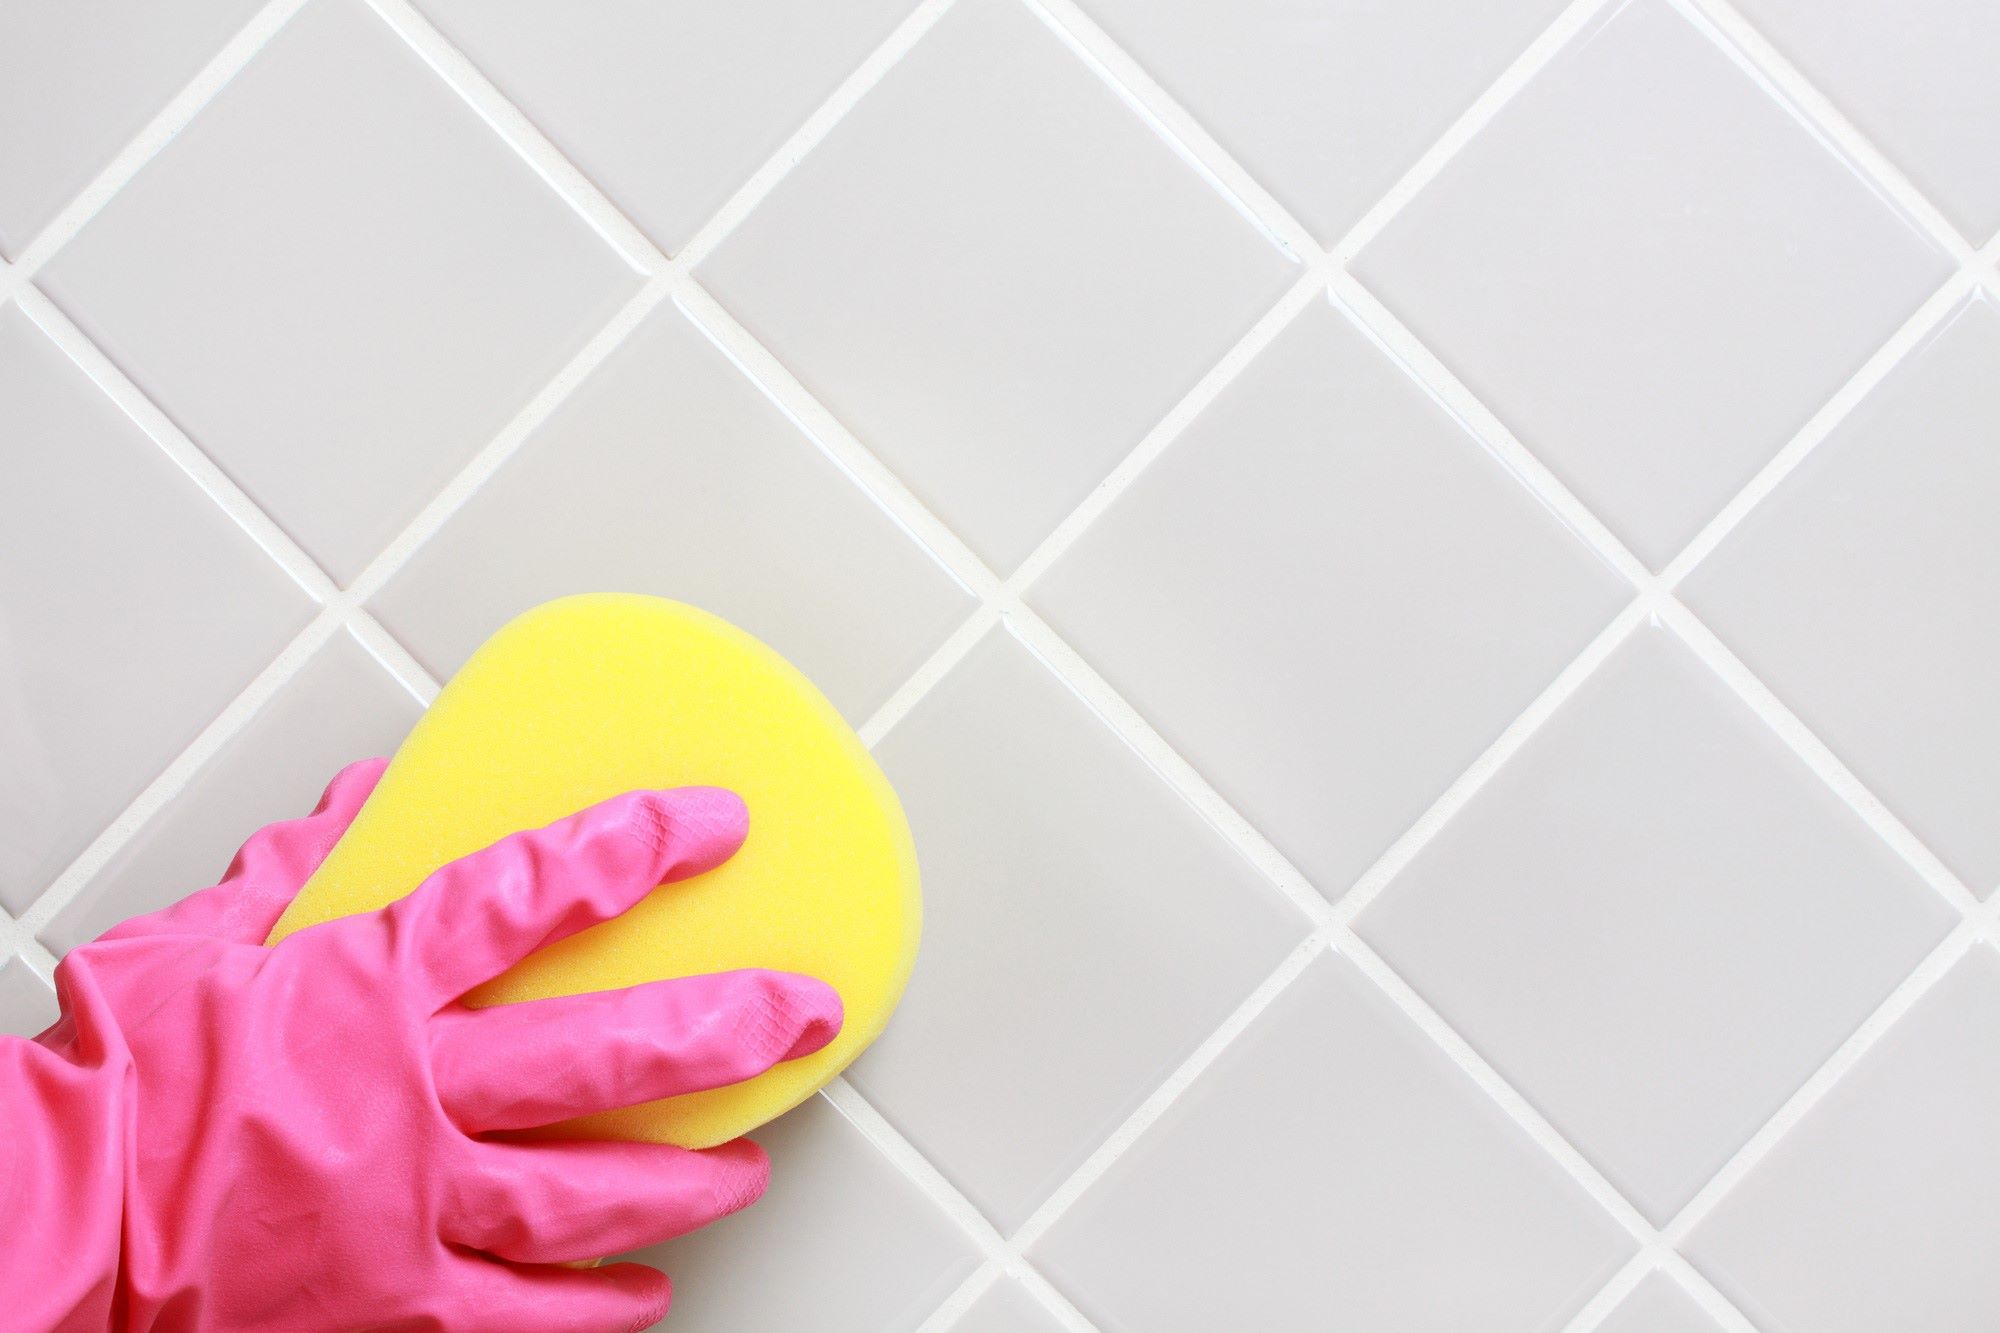
Cleaning the excess grout is a pivotal step in the grouting process, as it contributes to the overall aesthetic appeal and durability of the glass backsplash. Here's a detailed guide on how to effectively clean the excess grout and reveal the seamless beauty of your newly grouted surface:
-
Assess the Grout Residue: After applying the grout and allowing it to set for a brief period, carefully inspect the glass surface for any residual grout. It's common for a thin film of grout to remain on the tiles, especially along the edges and corners. This step involves a keen eye for detail, as thorough cleaning is essential for achieving a polished and professional finish.
-
Dampen the Sponge: Begin the cleaning process by dampening a clean, lint-free sponge with water. It's important to use a slightly damp sponge to avoid saturating the grout lines, which can compromise the integrity of the freshly applied grout. Excess water can also dilute the grout, affecting its strength and longevity.
-
Gently Wipe the Surface: With the damp sponge in hand, gently wipe the glass surface in a circular motion, focusing on the areas with grout residue. Take care to apply light pressure, as excessive force can dislodge the grout from the spaces between the tiles. Rinse the sponge frequently to prevent the accumulation of grout residue, ensuring that each wipe effectively removes the excess grout.
-
Refine the Grout Lines: As you clean the surface, pay particular attention to refining the grout lines to achieve a uniform and seamless appearance. Use the damp sponge to gently shape and smooth the grout lines, ensuring that they are consistent in depth and free from any irregularities. This meticulous step contributes to the overall visual appeal of the grouted glass backsplash.
-
Inspect and Repeat as Needed: After the initial cleaning, carefully inspect the glass surface to identify any remaining grout residue. If necessary, repeat the gentle wiping process with the damp sponge to further refine the grout lines and remove any lingering residue. This iterative approach ensures that the glass backsplash achieves a pristine and professional finish.
-
Allow for Drying: Once the excess grout is effectively cleaned from the glass surface, allow the grout lines to dry completely. This drying period is essential for the grout to fully set and attain its optimal strength and appearance. Avoid exposing the freshly cleaned grout to excessive moisture or disturbances during this crucial phase.
By meticulously cleaning the excess grout from the glass backsplash, you elevate the visual appeal and longevity of the grouted surface. With the grout lines refined and the glass tiles gleaming, you're now prepared to move on to the final step: sealing the grout to safeguard its integrity and maintain its pristine beauty.
Step 5: Seal the grout
Sealing the grout is a crucial final step in the process of grouting a glass backsplash. This essential task not only enhances the overall durability of the grout but also safeguards it against stains, moisture, and discoloration. Here's a detailed guide on how to effectively seal the grout, ensuring that your glass backsplash maintains its pristine beauty and structural integrity for years to come.
Read more: How Long To Wait To Grout Backsplash
Select the Appropriate Sealer
Before proceeding with the sealing process, it's important to choose the right type of sealer for your glass backsplash. Opt for a high-quality penetrating grout sealer specifically designed for glass surfaces. Consider factors such as breathability, stain resistance, and ease of application when selecting the sealer. It's advisable to consult with a knowledgeable professional or refer to the manufacturer's recommendations to ensure compatibility with your grout and glass tiles.
Prepare the Work Area
Prepare the surrounding area by covering adjacent surfaces and countertops to prevent accidental sealer spills or splashes. Additionally, ensure adequate ventilation in the workspace to facilitate the application and drying of the sealer. Open windows or use fans to promote air circulation, creating a conducive environment for the sealing process.
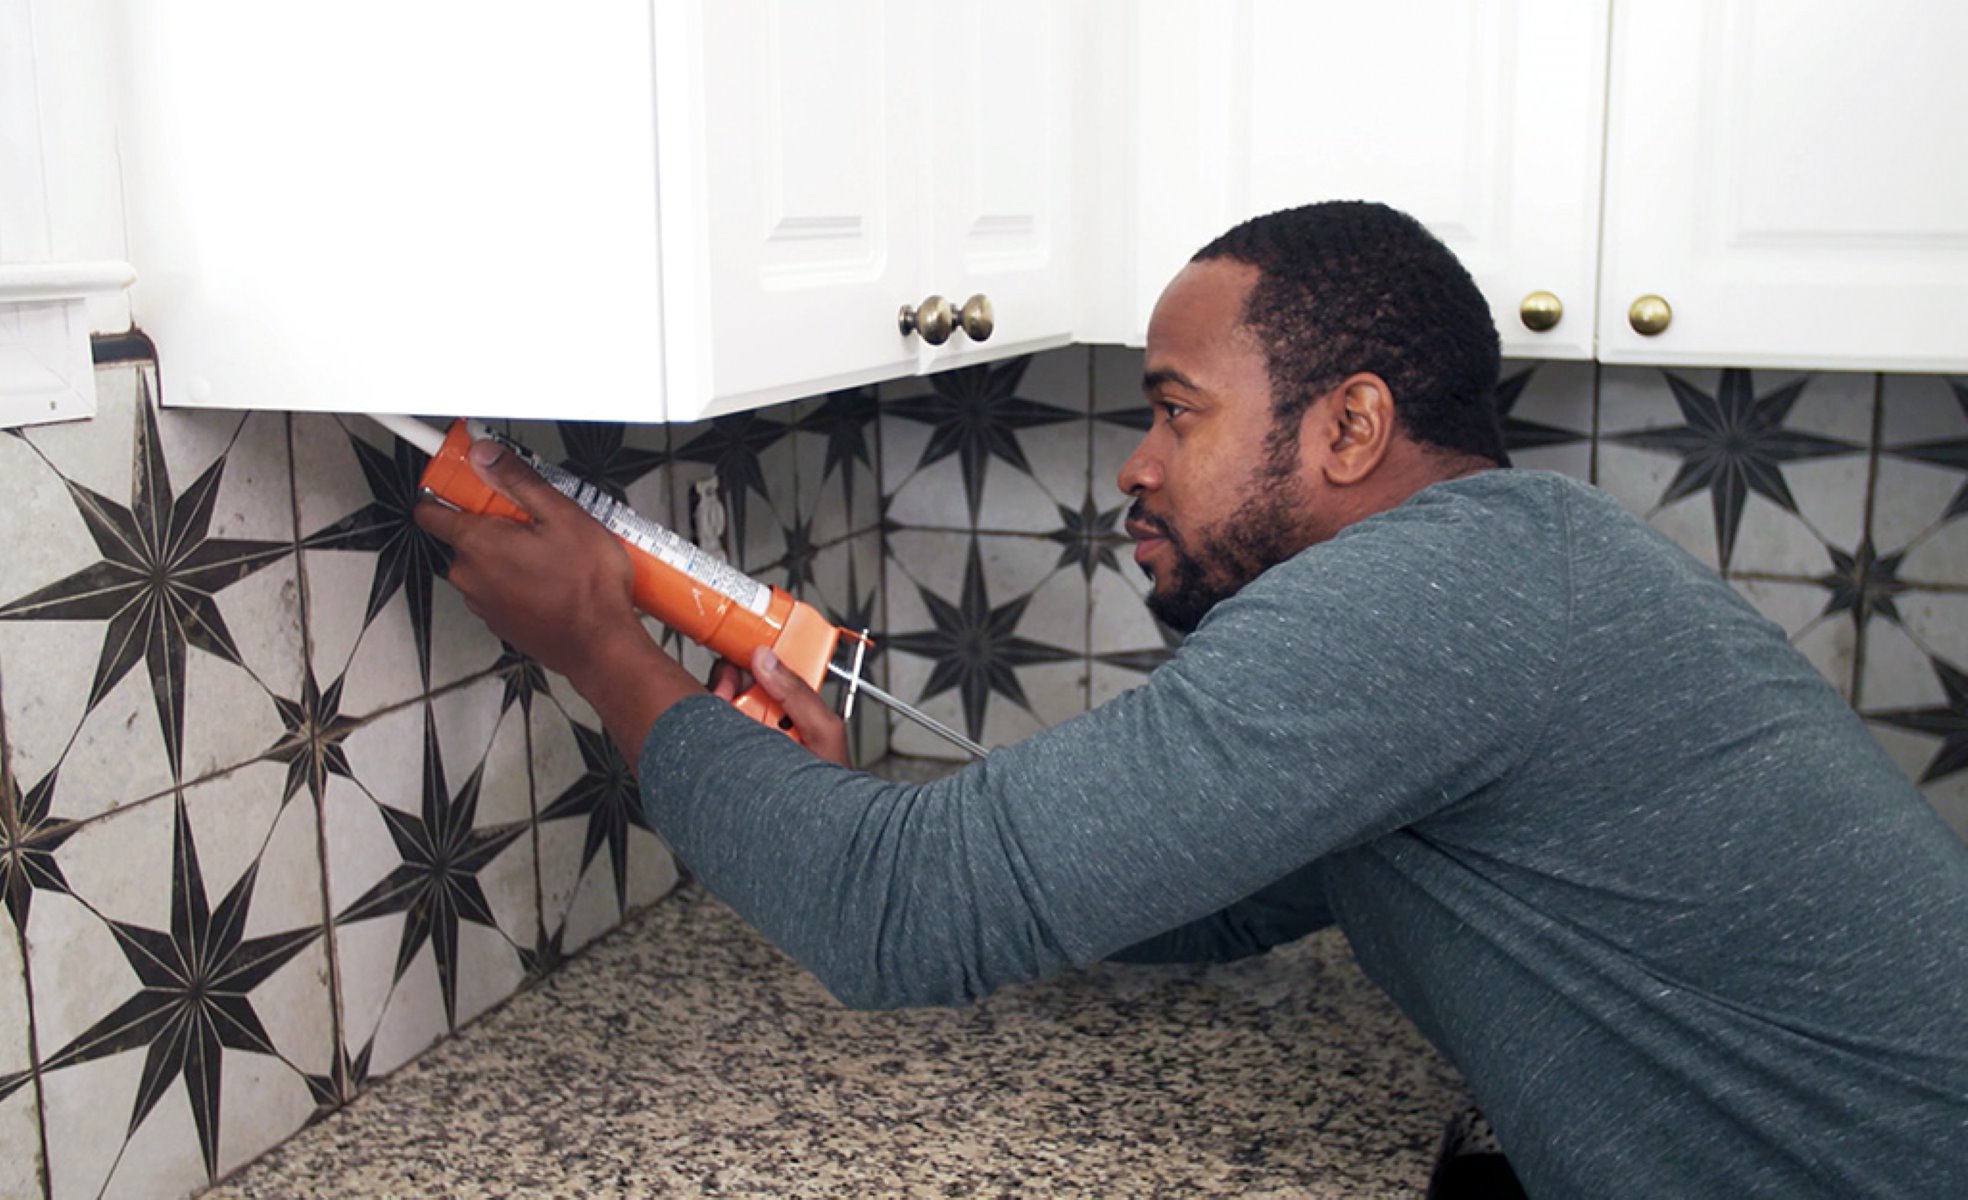
Apply the Sealer
Using a clean, dry applicator such as a brush or roller, apply the grout sealer evenly onto the grout lines of the glass backsplash. Work in small sections to ensure thorough coverage and absorption. Take care not to allow the sealer to puddle or accumulate on the glass tiles, as this can lead to streaking or uneven finish. A methodical and deliberate approach to application is key to achieving optimal results.
Allow for Absorption and Wipe Excess
After applying the sealer, allow it to absorb into the grout lines for the duration specified by the manufacturer, typically around 5-15 minutes. Once the sealer has penetrated the grout, use a clean, lint-free cloth to gently wipe off any excess sealer from the glass tiles. This step helps prevent the formation of a hazy residue and ensures a clear, polished appearance.
Read more: How To Pick Grout Color For Backsplash
Conduct a Second Coat (If Necessary)
In some cases, a second coat of sealer may be recommended to enhance the protective properties and longevity of the grout. Refer to the manufacturer's guidelines to determine if a second application is necessary. If so, repeat the process of applying the sealer and allowing for absorption, followed by wiping off any excess to achieve comprehensive coverage and protection.
Allow for Curing
Once the grout sealer is applied and any excess is wiped away, allow the sealed grout to cure as per the manufacturer's instructions. This curing period is essential for the sealer to bond with the grout and achieve its maximum protective effect. Exercise caution to avoid exposing the freshly sealed grout to moisture or physical disturbances during this critical phase.
By meticulously sealing the grout on your glass backsplash, you fortify its resilience and preserve the pristine beauty of the grouted surface. With the grout expertly sealed, you can revel in the enduring elegance and functionality of your glass backsplash, knowing that it is well-protected against the rigors of daily use and environmental factors.
Conclusion
Congratulations! You've successfully navigated the intricate process of grouting a glass backsplash, transforming it into a seamless and polished masterpiece that enhances the aesthetic appeal and durability of your space. As you stand back and admire the gleaming expanse of your newly grouted glass backsplash, it's important to reflect on the journey you've undertaken and the valuable skills you've acquired along the way.
Grouting a glass backsplash is not merely a task; it's an art form that demands precision, patience, and attention to detail. From meticulously preparing the glass surface to expertly mixing and applying the grout, you've demonstrated a commendable level of craftsmanship and dedication to achieving professional results. Each step of the process has contributed to the transformation of your glass backsplash, elevating it from a functional element to a captivating focal point in your kitchen or bathroom.
As you bask in the satisfaction of a job well done, it's essential to recognize the enduring benefits of your efforts. By grouting your glass backsplash with care and expertise, you've not only enhanced its visual allure but also fortified its resilience against the demands of daily use. The seamless application of grout serves as a protective barrier, safeguarding the integrity of the glass tiles and contributing to the longevity of your investment.
Furthermore, the meticulous sealing of the grout ensures that your glass backsplash remains impervious to stains, moisture, and discoloration, preserving its pristine beauty for years to come. This final step in the grouting process represents a commitment to maintaining the elegance and functionality of your space, underscoring your dedication to creating a home environment that exudes sophistication and practicality.
As you reflect on the journey of grouting your glass backsplash, remember that the skills and knowledge you've acquired extend beyond this specific project. The attention to detail, the patience, and the commitment to excellence that you've demonstrated are invaluable assets that can be applied to future endeavors, whether they involve home renovation, DIY projects, or other creative pursuits.
In essence, grouting a glass backsplash is not just about enhancing a surface; it's about cultivating a mindset of craftsmanship and meticulous care that can enrich every aspect of your living space. So, as you revel in the seamless beauty of your newly grouted glass backsplash, take pride in the skills you've honed and the transformative impact you've achieved. Your dedication to excellence has not only elevated your space but has also enriched your own capabilities as a discerning and skilled homeowner.
Frequently Asked Questions about How To Put Grout On Glass Backsplash
Was this page helpful?
At Storables.com, we guarantee accurate and reliable information. Our content, validated by Expert Board Contributors, is crafted following stringent Editorial Policies. We're committed to providing you with well-researched, expert-backed insights for all your informational needs.
0 thoughts on “How To Put Grout On Glass Backsplash”