Home>Renovation & DIY>Home Renovation Guides>How To Grout Stone Backsplash
Home Renovation Guides
How To Grout Stone Backsplash
Published: February 8, 2024
Learn how to grout a stone backsplash with our comprehensive home renovation guide. Get expert tips and step-by-step instructions for a flawless finish.
(Many of the links in this article redirect to a specific reviewed product. Your purchase of these products through affiliate links helps to generate commission for Storables.com, at no extra cost. Learn more)
Introduction
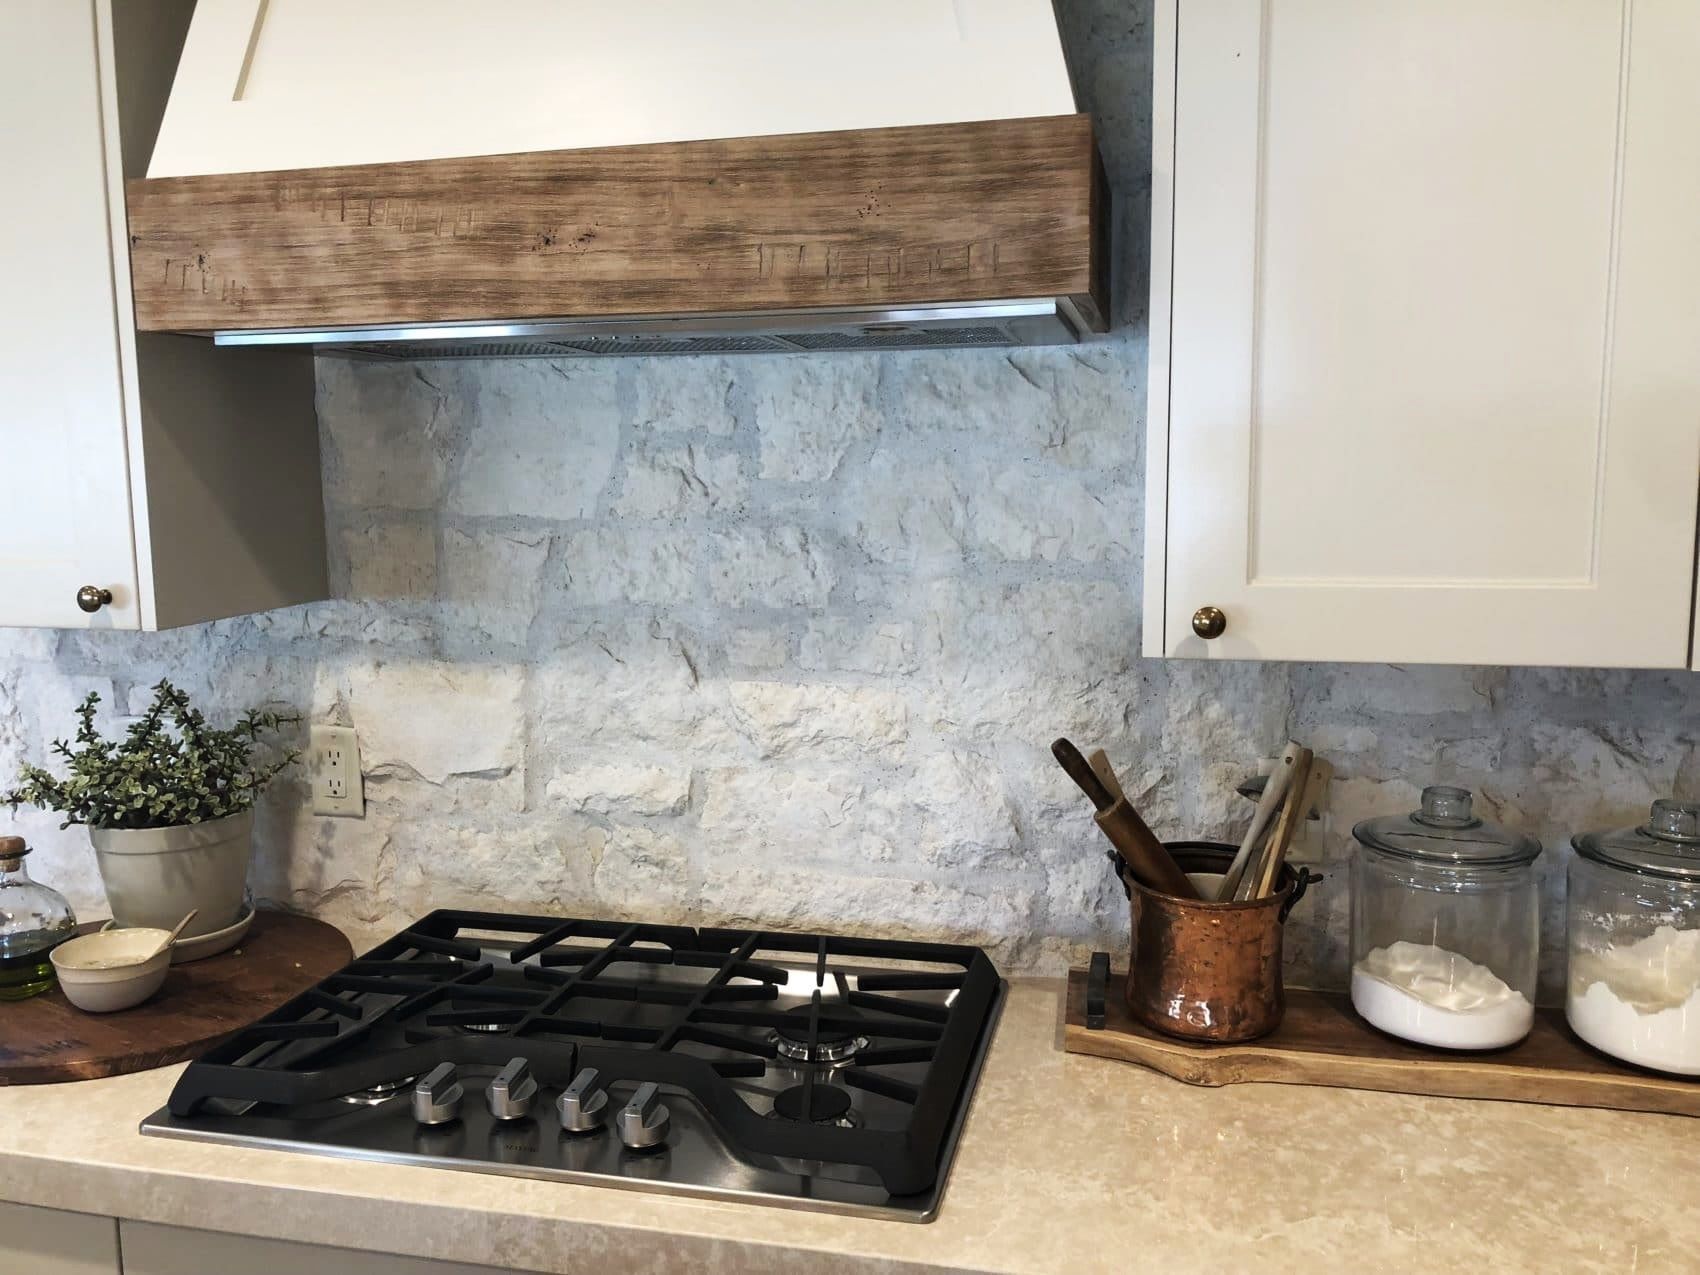
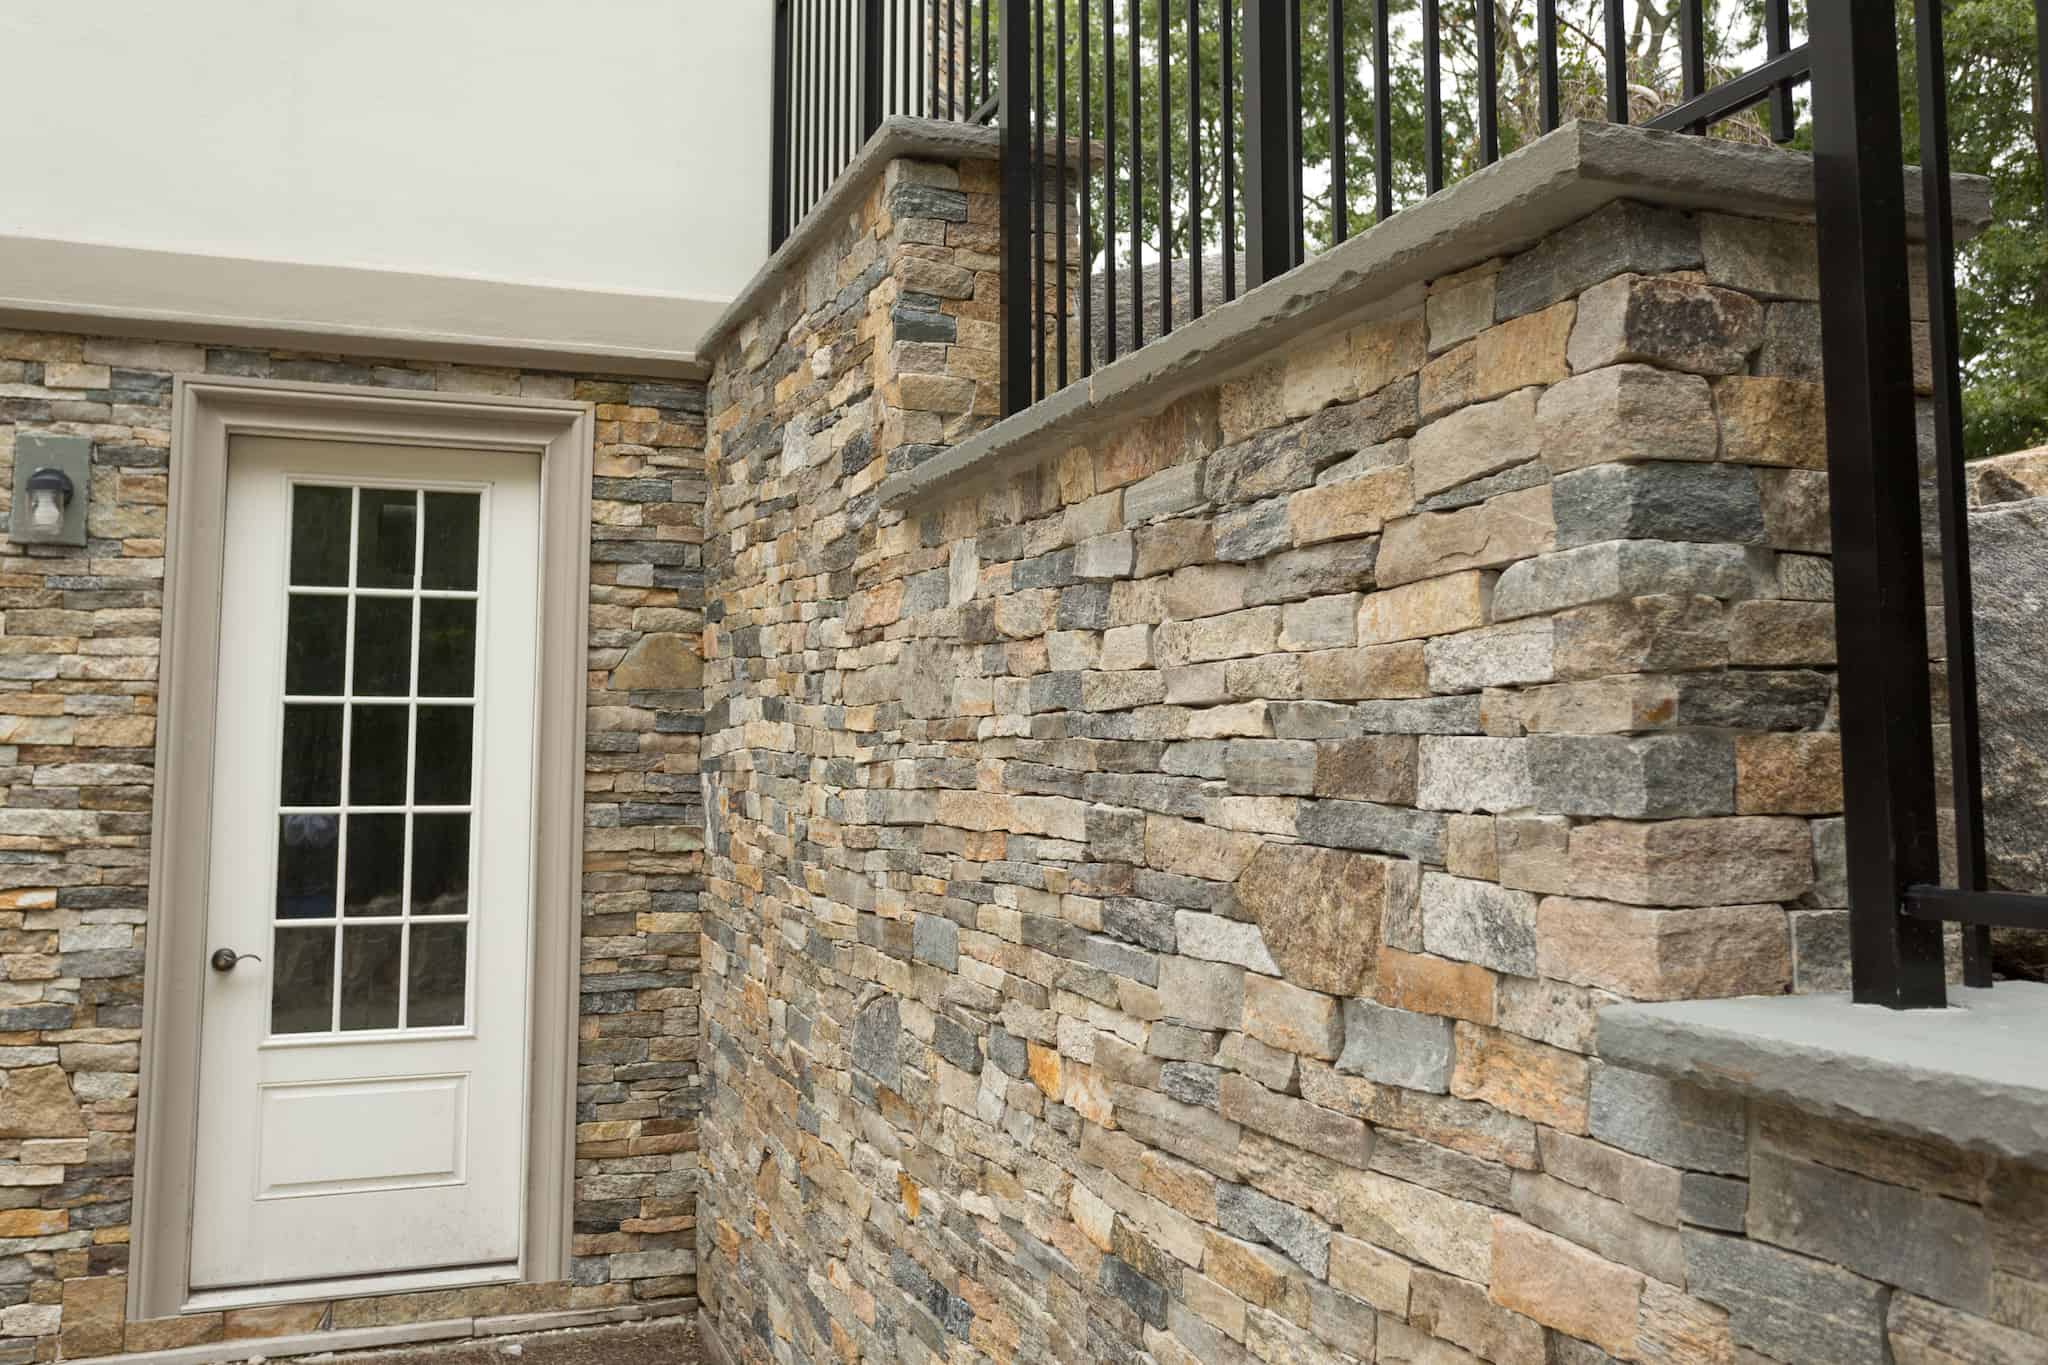
When it comes to enhancing the aesthetic appeal of your kitchen or bathroom, a stone backsplash can add a touch of elegance and natural beauty. However, to ensure that your stone backsplash remains in pristine condition, it's crucial to pay attention to the grouting process. Grouting not only secures the stones in place but also contributes to the overall visual impact of the backsplash.
In this comprehensive guide, we will walk you through the essential steps of grouting a stone backsplash, from choosing the right grout to maintaining the finished result. Whether you're a seasoned DIY enthusiast or a novice looking to embark on your first home renovation project, this guide will equip you with the knowledge and confidence to achieve professional-looking results.
So, roll up your sleeves and get ready to delve into the world of grouting as we explore the intricacies of transforming a plain stone surface into a stunning and durable backsplash. Let's dive into the nitty-gritty details of selecting the perfect grout, preparing the stone surface, mixing and applying the grout, and finally, cleaning and sealing the grout to ensure a long-lasting and visually appealing finish.
By the end of this guide, you'll not only have a newfound appreciation for the art of grouting but also the skills to tackle this essential aspect of stone backsplash installation with finesse. So, without further ado, let's embark on this grout-tastic journey and unlock the secrets to achieving a flawless stone backsplash that will be the envy of all who lay eyes on it.
Key Takeaways:
- Choose grout color that complements stone for cohesive look. Consider durability and seek professional advice for optimal grout selection.
- Prepare stone surface meticulously before grouting to ensure smooth and professional finish. Clean, inspect, and protect adjacent surfaces for best results.
Read more: How To Clean Backsplash Grout
Choosing the Right Grout
Selecting the right grout is a pivotal step in the process of grouting a stone backsplash. The grout not only serves a functional purpose in securing the stones but also significantly impacts the overall aesthetic of the backsplash. When it comes to choosing the perfect grout for your stone backsplash, several factors come into play.
Consider the Color
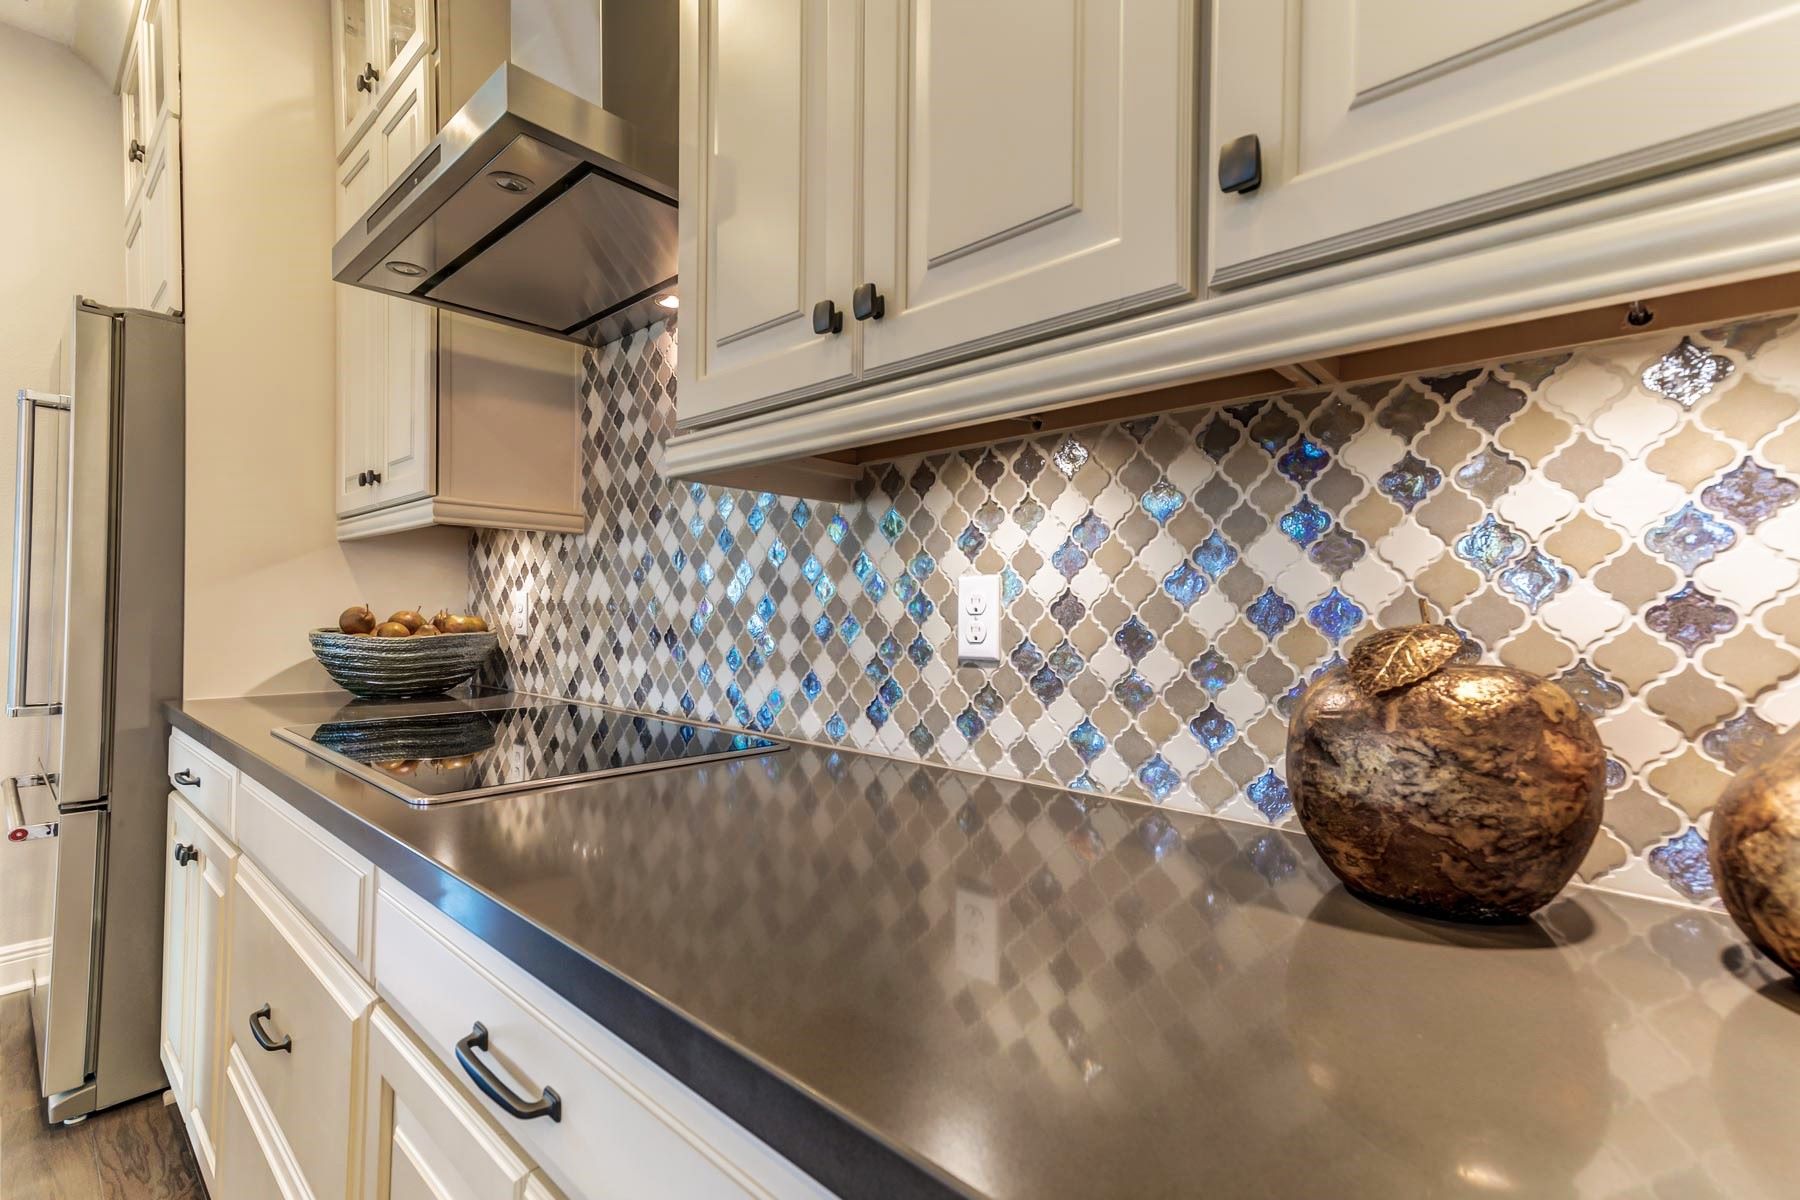
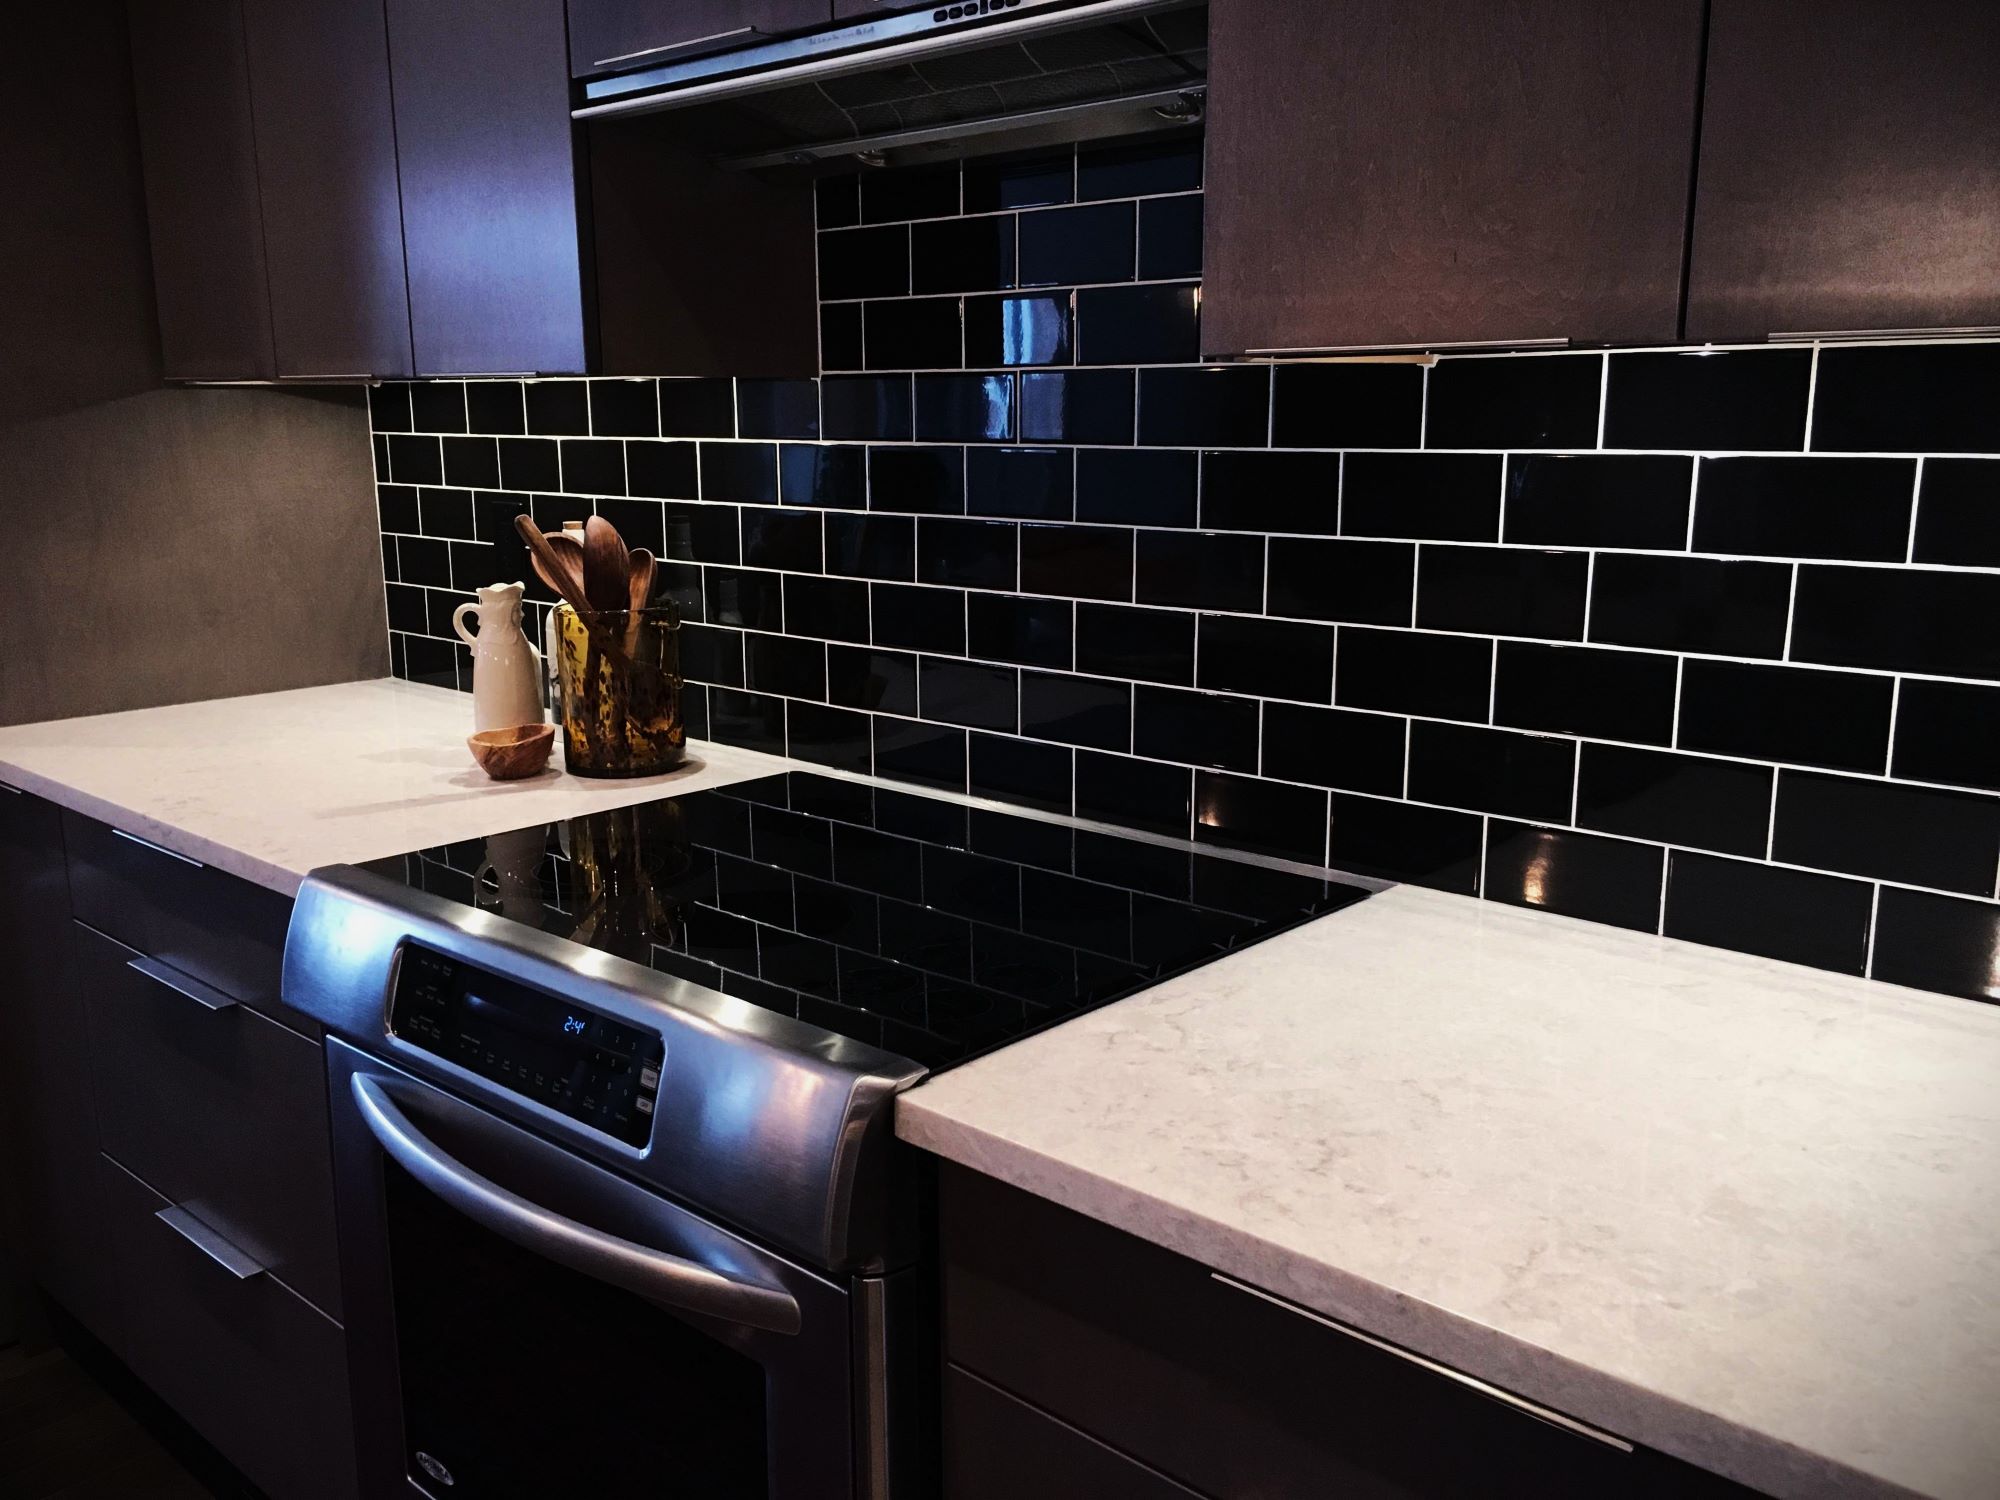
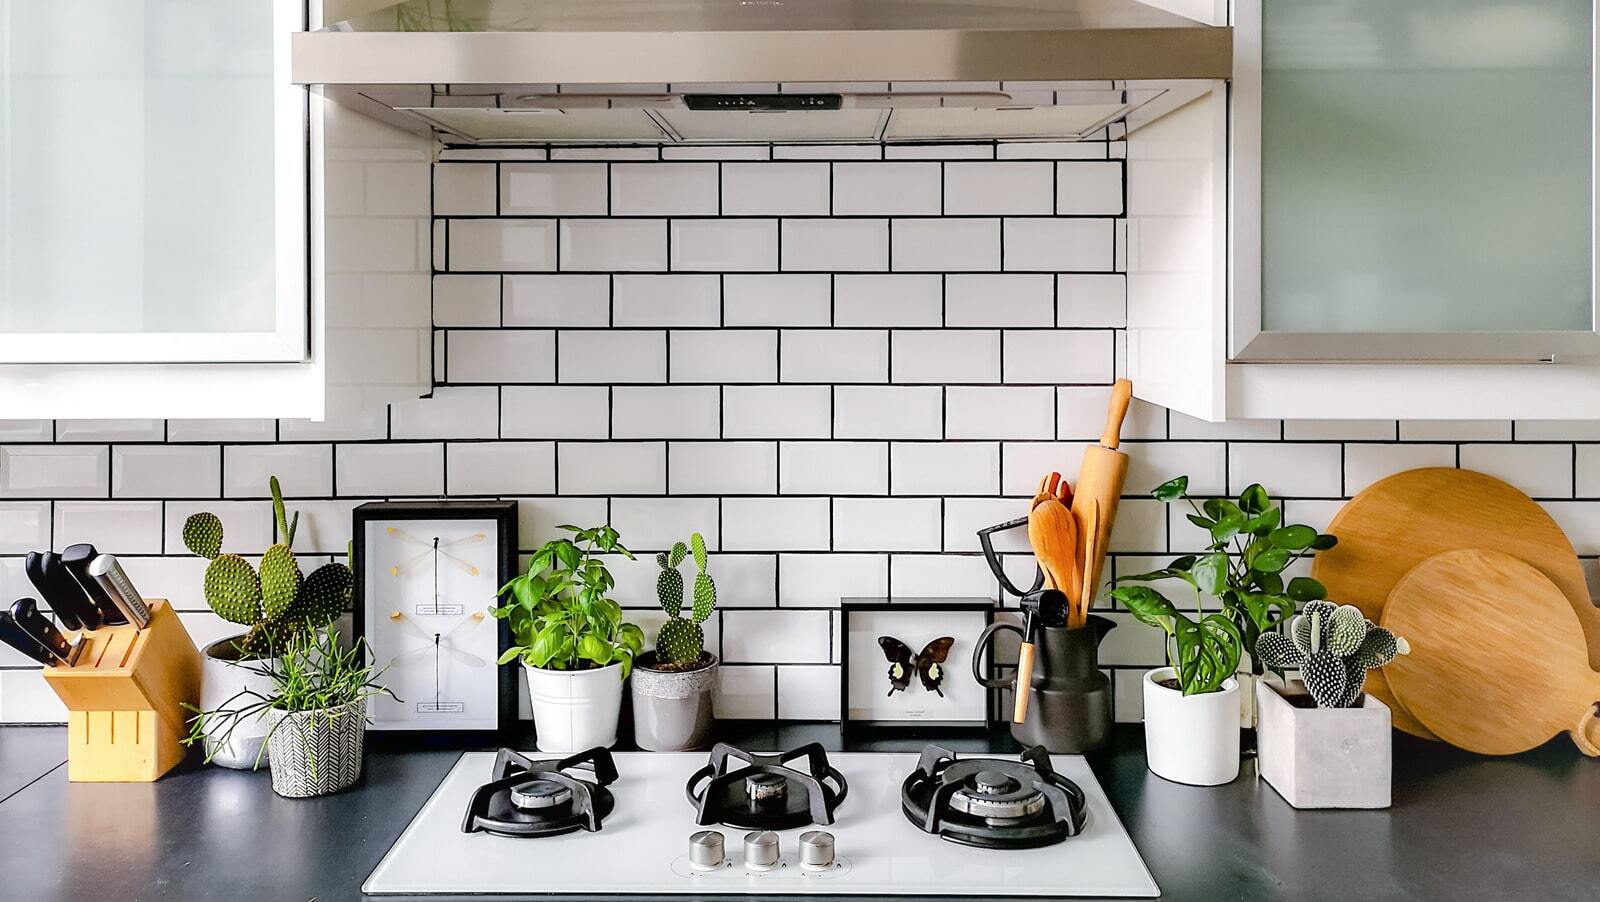
The color of the grout can dramatically influence the final look of your stone backsplash. Opting for a grout color that complements the natural hues of the stone can create a cohesive and visually appealing result. For instance, if the stones feature warm earthy tones, a complementary beige or tan grout can accentuate the natural beauty of the stones. On the other hand, a contrasting grout color can create a striking and bold visual effect, adding a modern twist to the backsplash.
Evaluate the Type of Grout
Grout comes in various types, including sanded and unsanded grout. Sanded grout is ideal for wider grout lines, typically exceeding 1/8 inch, as the sand particles provide additional strength and support. On the other hand, unsanded grout is suitable for thinner grout lines, offering a smoother finish. When grouting a stone backsplash, the type of grout should be chosen based on the width of the grout lines to ensure optimal performance and visual appeal.
Assess the Durability
Considering the location of the stone backsplash, such as the kitchen or bathroom, it's essential to choose a grout that offers durability and resistance to moisture and stains. Epoxy grout, known for its exceptional durability and resistance to stains and water, is an excellent choice for high-traffic areas and areas prone to moisture exposure. For a stone backsplash in a less demanding environment, cement-based grout can provide a balance of durability and ease of application.
Read more: How To Remove Backsplash Grout
Seek Professional Advice
If you're uncertain about the most suitable grout for your specific stone backsplash project, seeking advice from professionals at your local home improvement store or consulting with a professional contractor can provide valuable insights. Their expertise can guide you in selecting the optimal grout that aligns with the unique characteristics of your stone backsplash and meets your functional and aesthetic requirements.
By carefully considering the color, type, and durability of the grout, you can make an informed decision that enhances the visual appeal and longevity of your stone backsplash. With the right grout selected, you're one step closer to achieving a stunning and enduring stone backsplash that elevates the charm of your living space.
Preparing the Stone Surface
Before diving into the grouting process, it's crucial to prepare the stone surface to ensure optimal adhesion and a flawless finish. Proper preparation sets the stage for a successful grouting experience and contributes to the long-term durability of the stone backsplash.
Clean the Surface
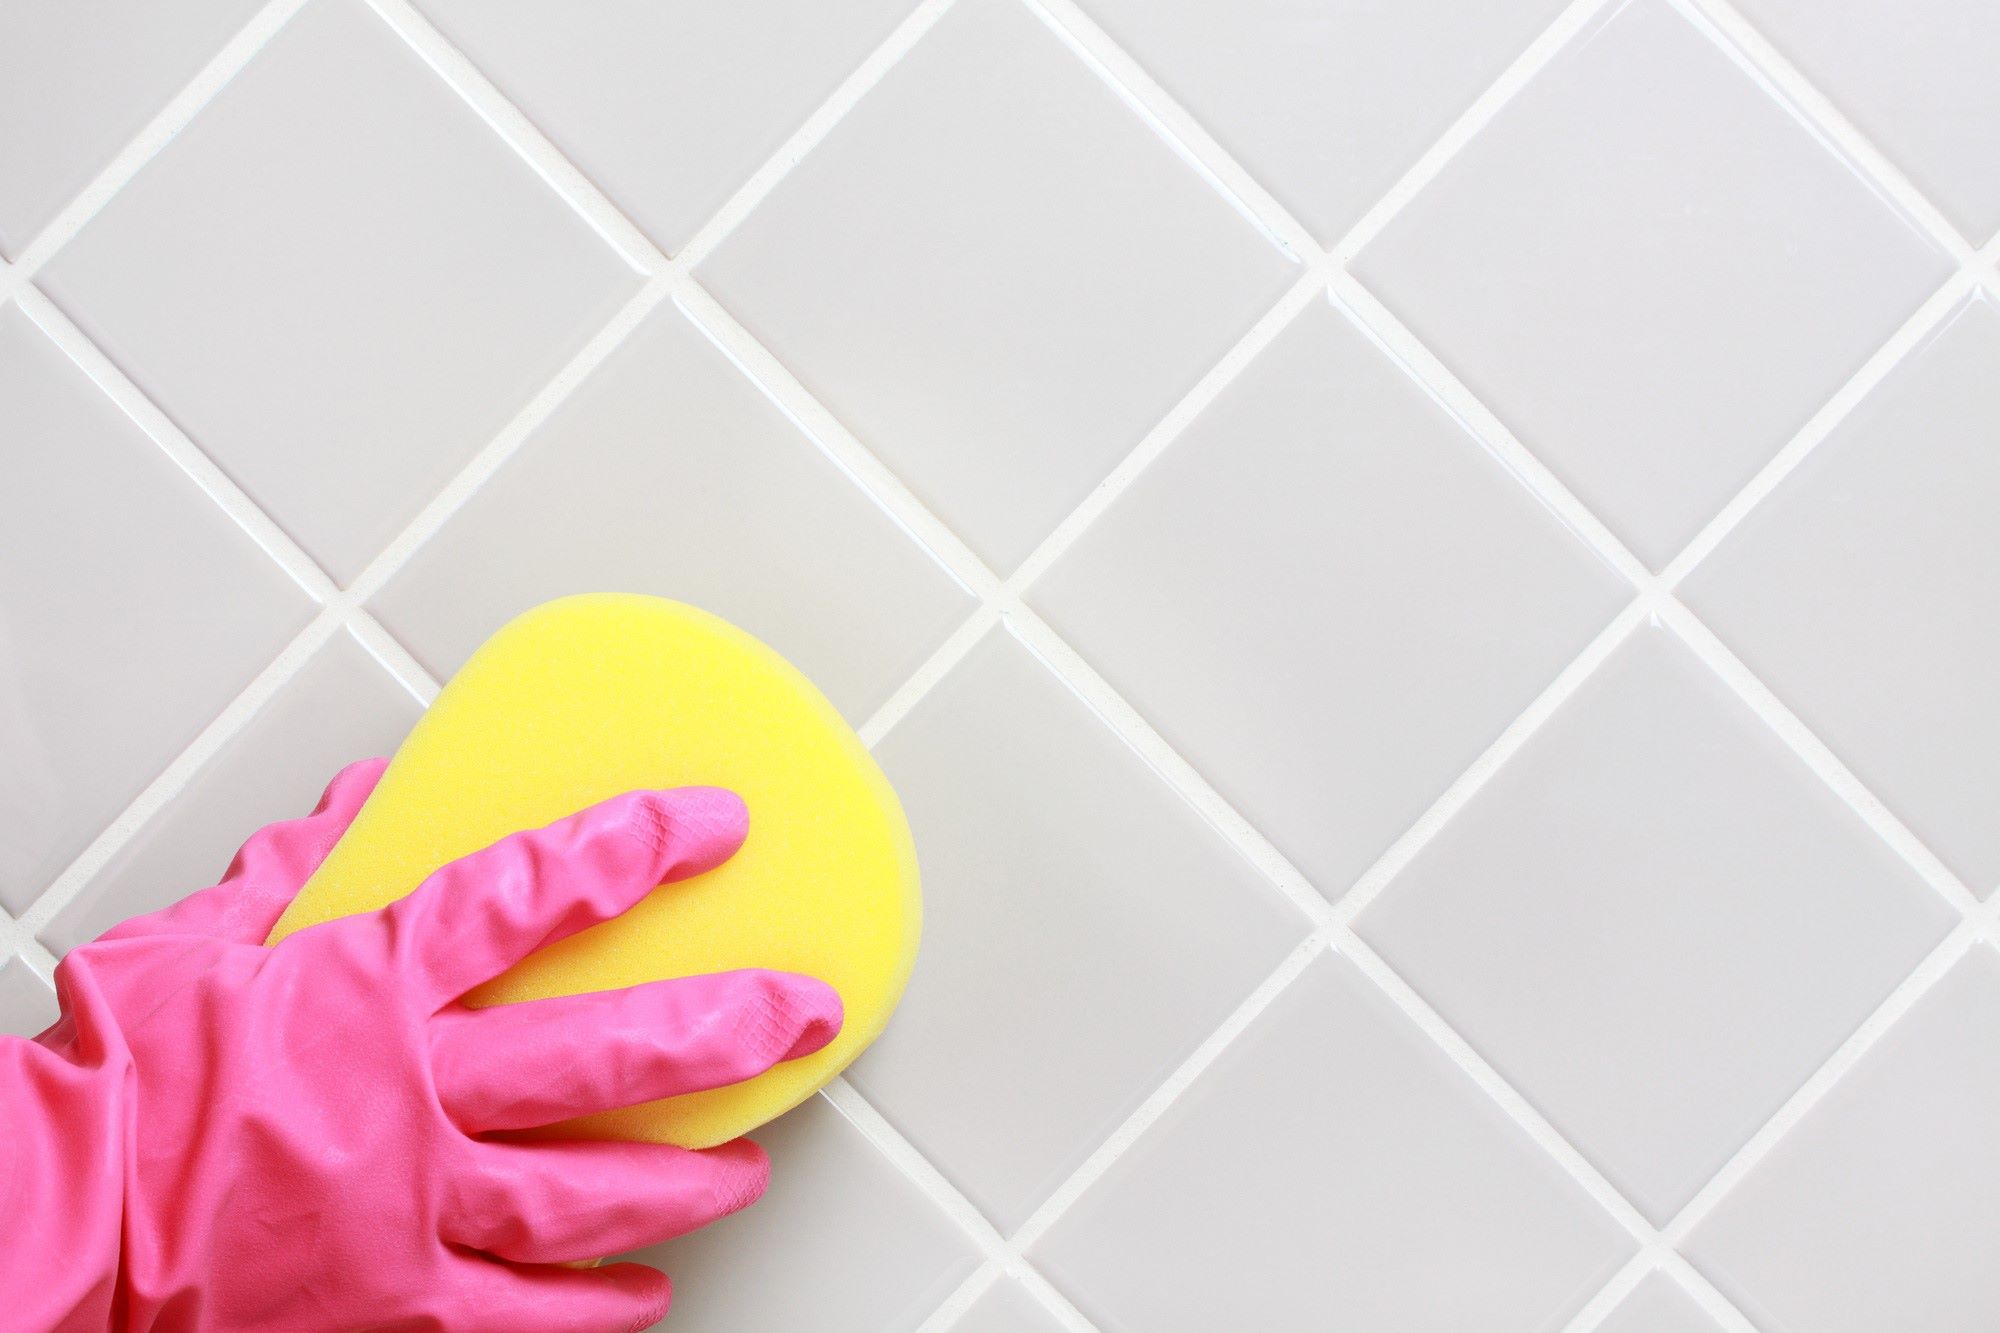
Begin by thoroughly cleaning the stone surface to remove any dust, dirt, or residue that may hinder the grout's ability to adhere effectively. Use a mild detergent or stone cleaner and a soft-bristled brush to gently scrub the surface, ensuring all crevices and uneven areas are free from debris. Rinse the surface with clean water and allow it to dry completely before proceeding to the next step.
Inspect for Loose Stones
Carefully inspect the stone surface for any loose or protruding stones. If any stones are found to be unstable or sticking out beyond the desired plane, gently press them back into place or remove and replace them as needed. Ensuring that all stones are securely set in place will prevent potential shifting during the grouting process, resulting in a more uniform and professional-looking finish.
Read more: How To Do Grout For Backsplash
Protect Adjacent Surfaces
To prevent the grout from inadvertently staining or adhering to adjacent surfaces such as countertops or cabinets, it's essential to protect these areas before applying the grout. Use painter's tape or a similar protective material to cover the edges and surfaces surrounding the stone backsplash, creating a barrier that safeguards these areas from accidental grout contact.
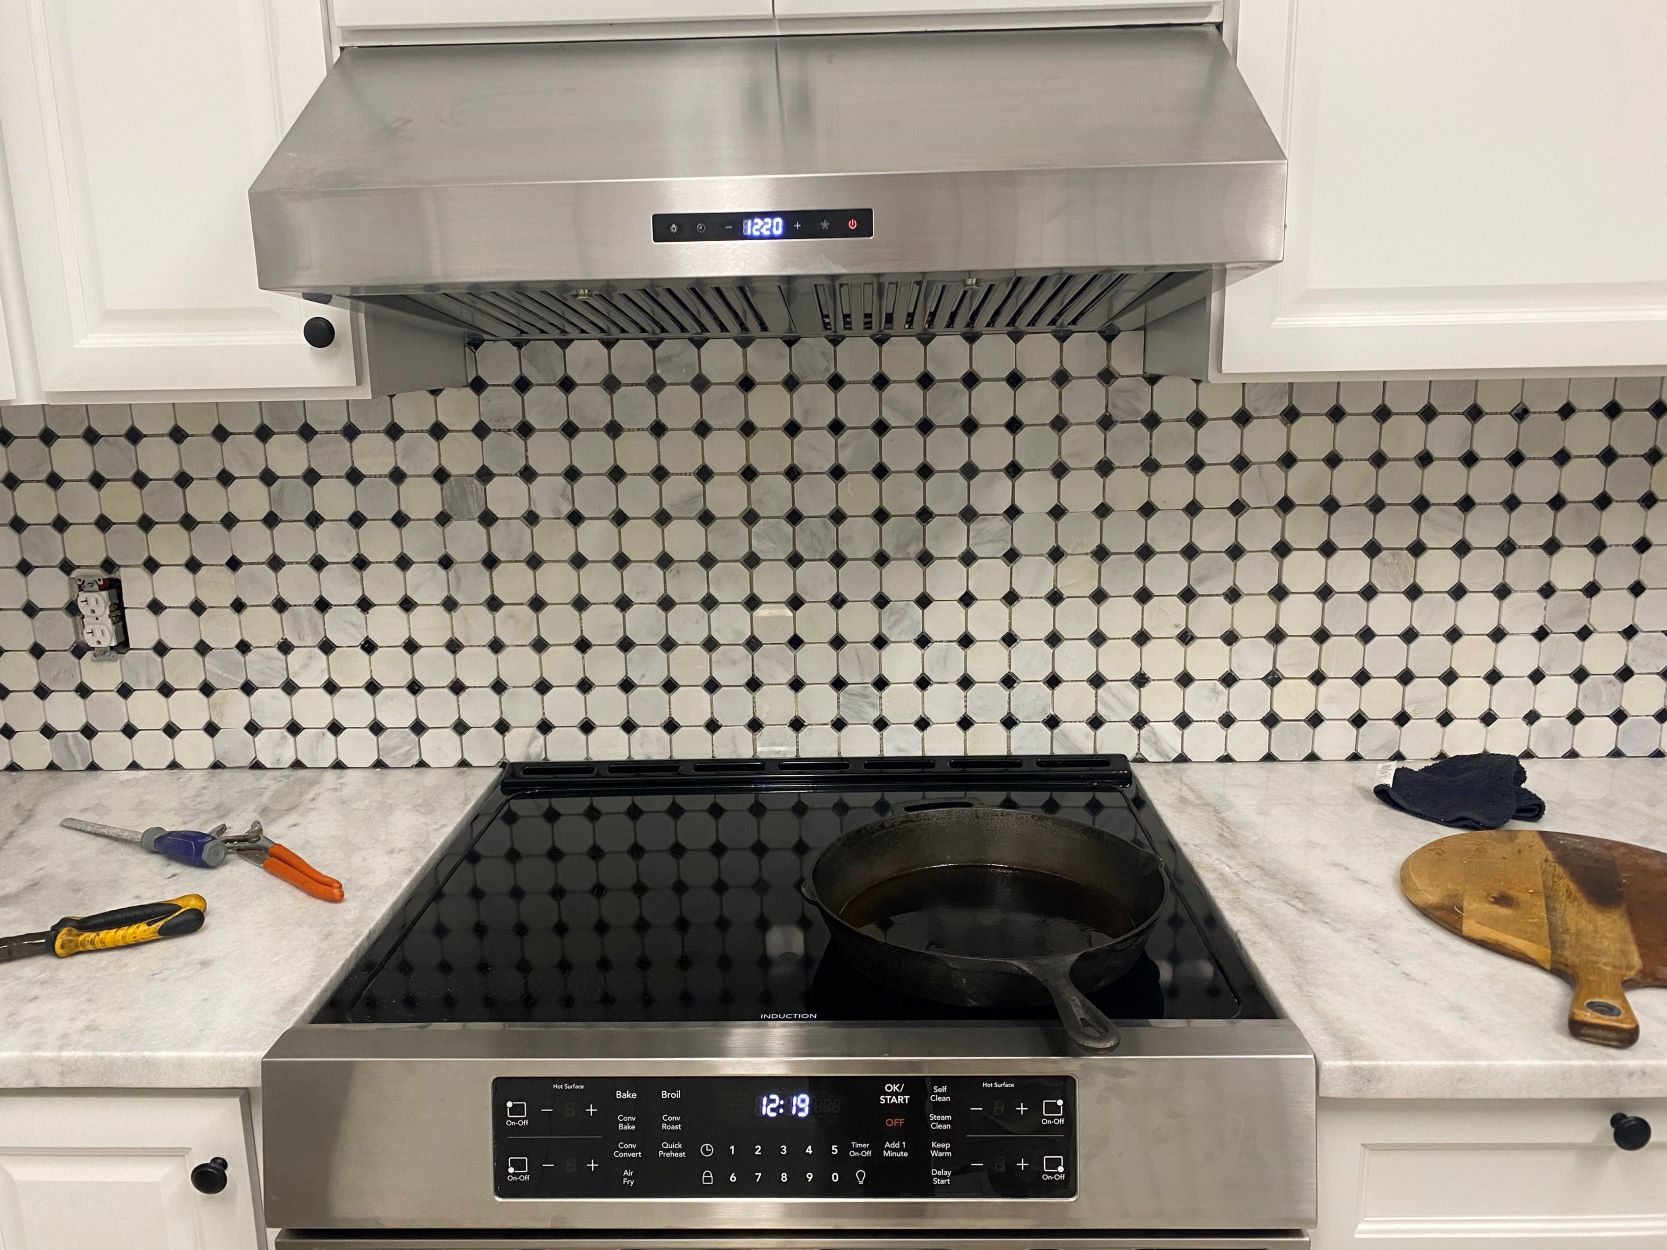
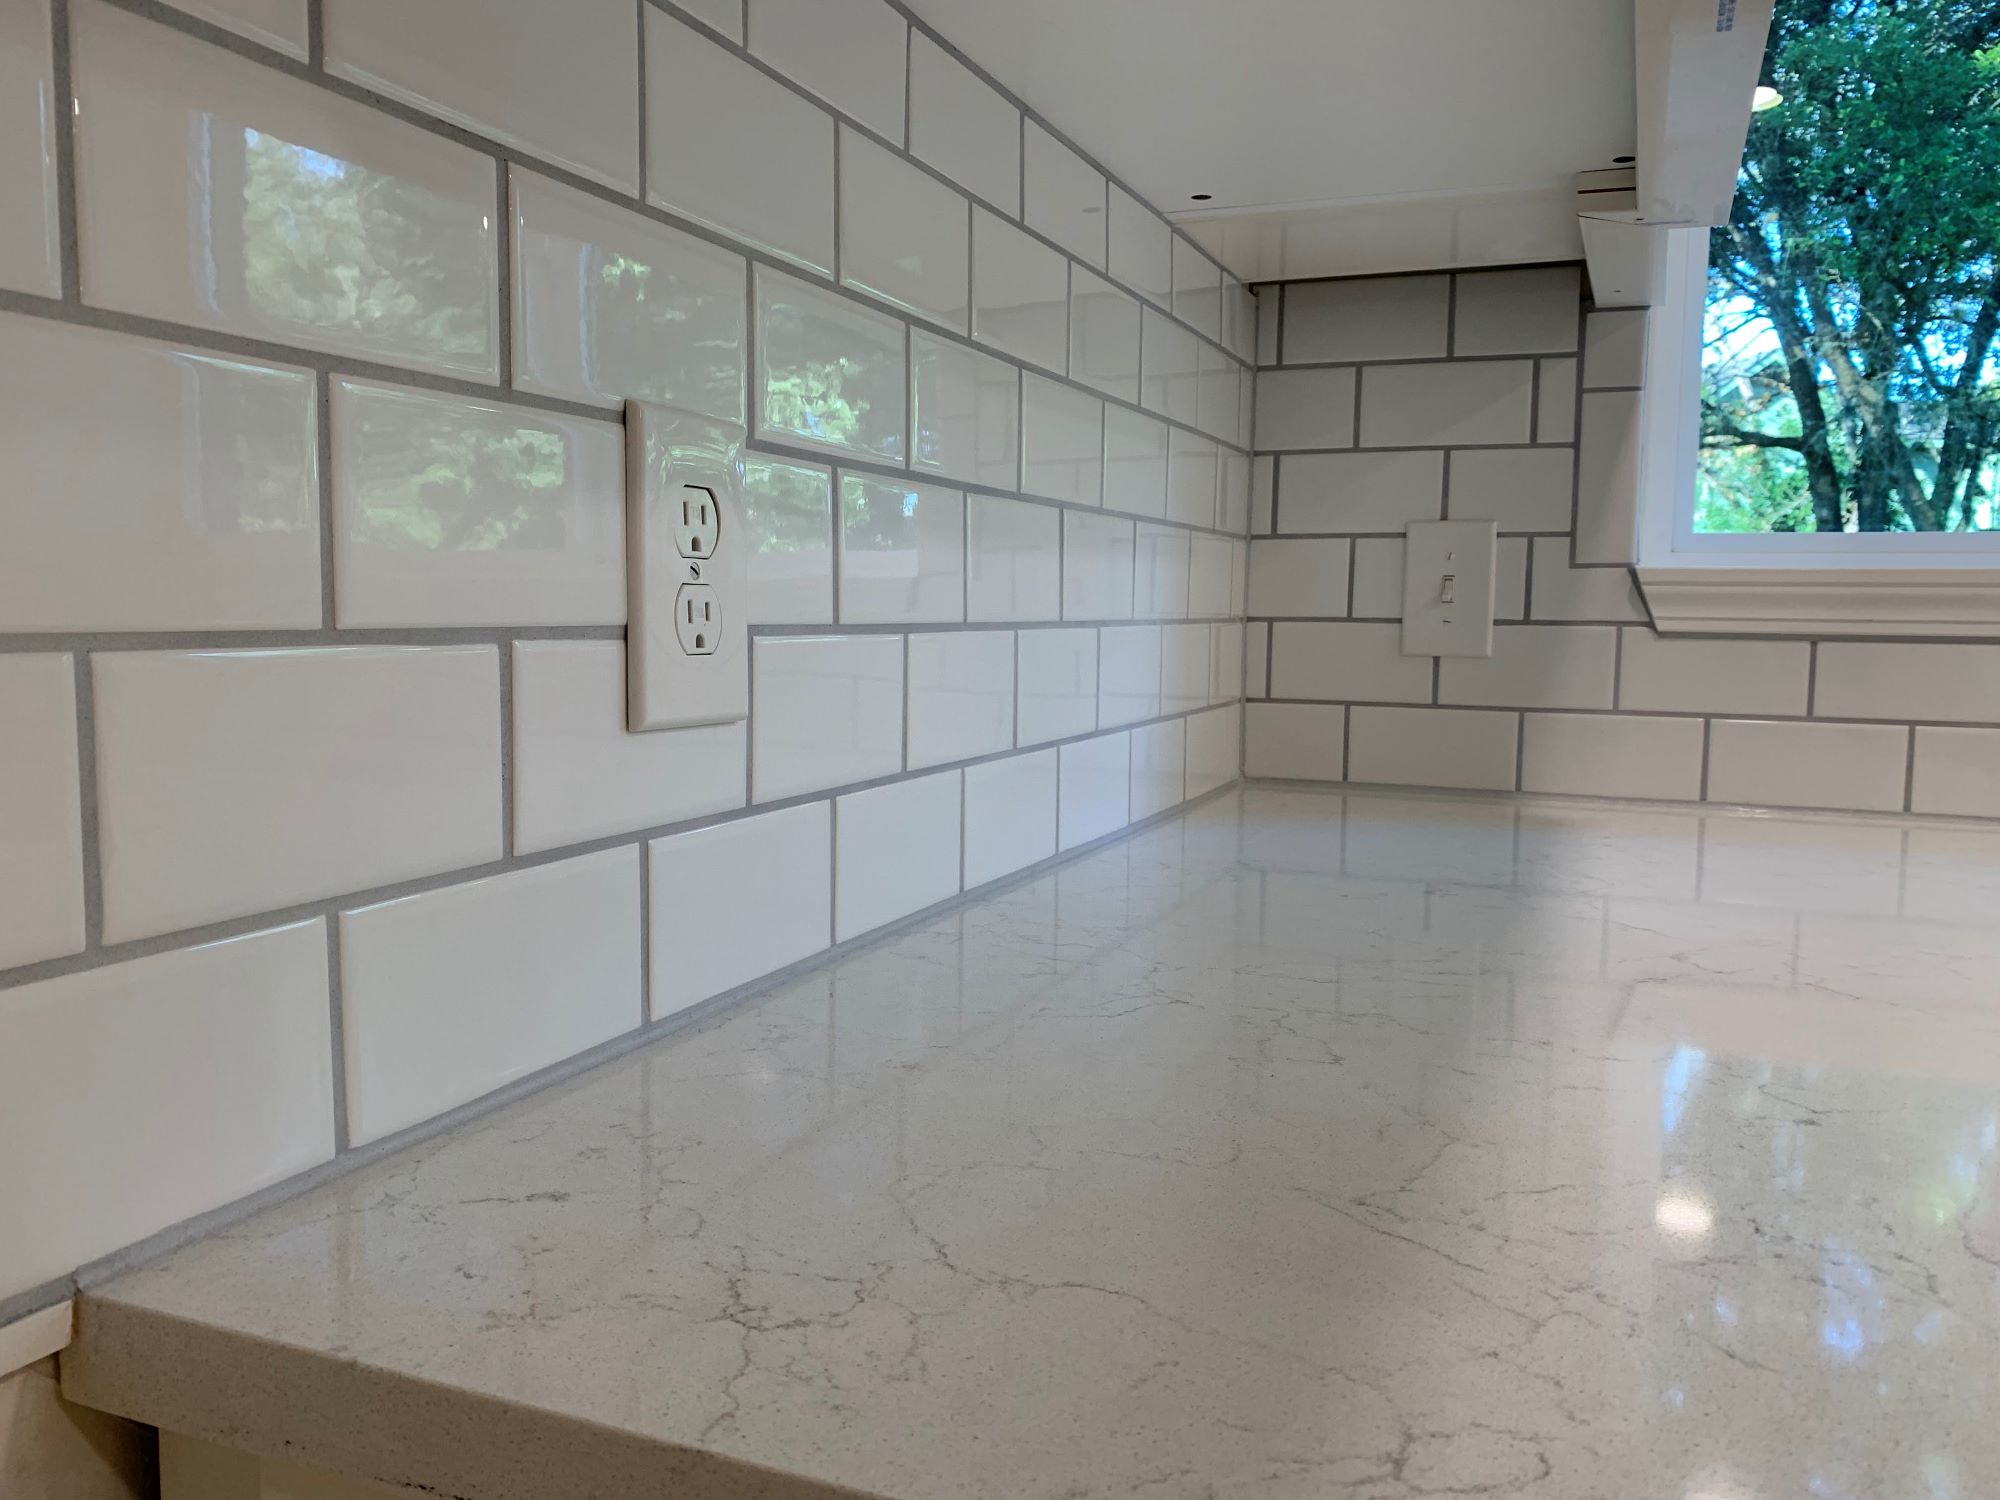
Mask Off Outlets and Fixtures
If your stone backsplash features electrical outlets, switches, or other fixtures, it's advisable to mask off these elements to prevent grout from entering and interfering with their functionality. Carefully apply painter's tape around the perimeter of the outlets and fixtures, ensuring that they remain accessible for everyday use while safeguarding them from grout intrusion.
By meticulously preparing the stone surface through thorough cleaning, addressing loose stones, protecting adjacent surfaces, and masking off outlets and fixtures, you establish a solid foundation for the grouting process. This meticulous preparation not only facilitates a smoother grouting experience but also contributes to the overall quality and longevity of your stone backsplash.
Mixing and Applying the Grout
Mixing and applying the grout is a pivotal phase in the process of grouting a stone backsplash, where precision and attention to detail are paramount. This stage not only involves creating the grout mixture to the desired consistency but also requires a methodical approach to ensure thorough and even application onto the stone surface.
Mixing the Grout
Begin by carefully following the manufacturer's instructions for mixing the grout. Typically, this involves combining the grout powder with water in a clean bucket, using a margin trowel or a mixing paddle attached to a power drill. It's essential to achieve a smooth and lump-free consistency, ensuring that the grout is well-hydrated and free from dry patches.
Once the grout mixture reaches the desired texture, allow it to rest for a few minutes as per the manufacturer's recommendations. This resting period, known as slaking, allows the grout to fully absorb the water, enhancing its workability and adhesive properties. During this time, avoid adding additional water or re-mixing the grout, as this can compromise its integrity.
Read more: How To Grout Patio Stones
Applying the Grout
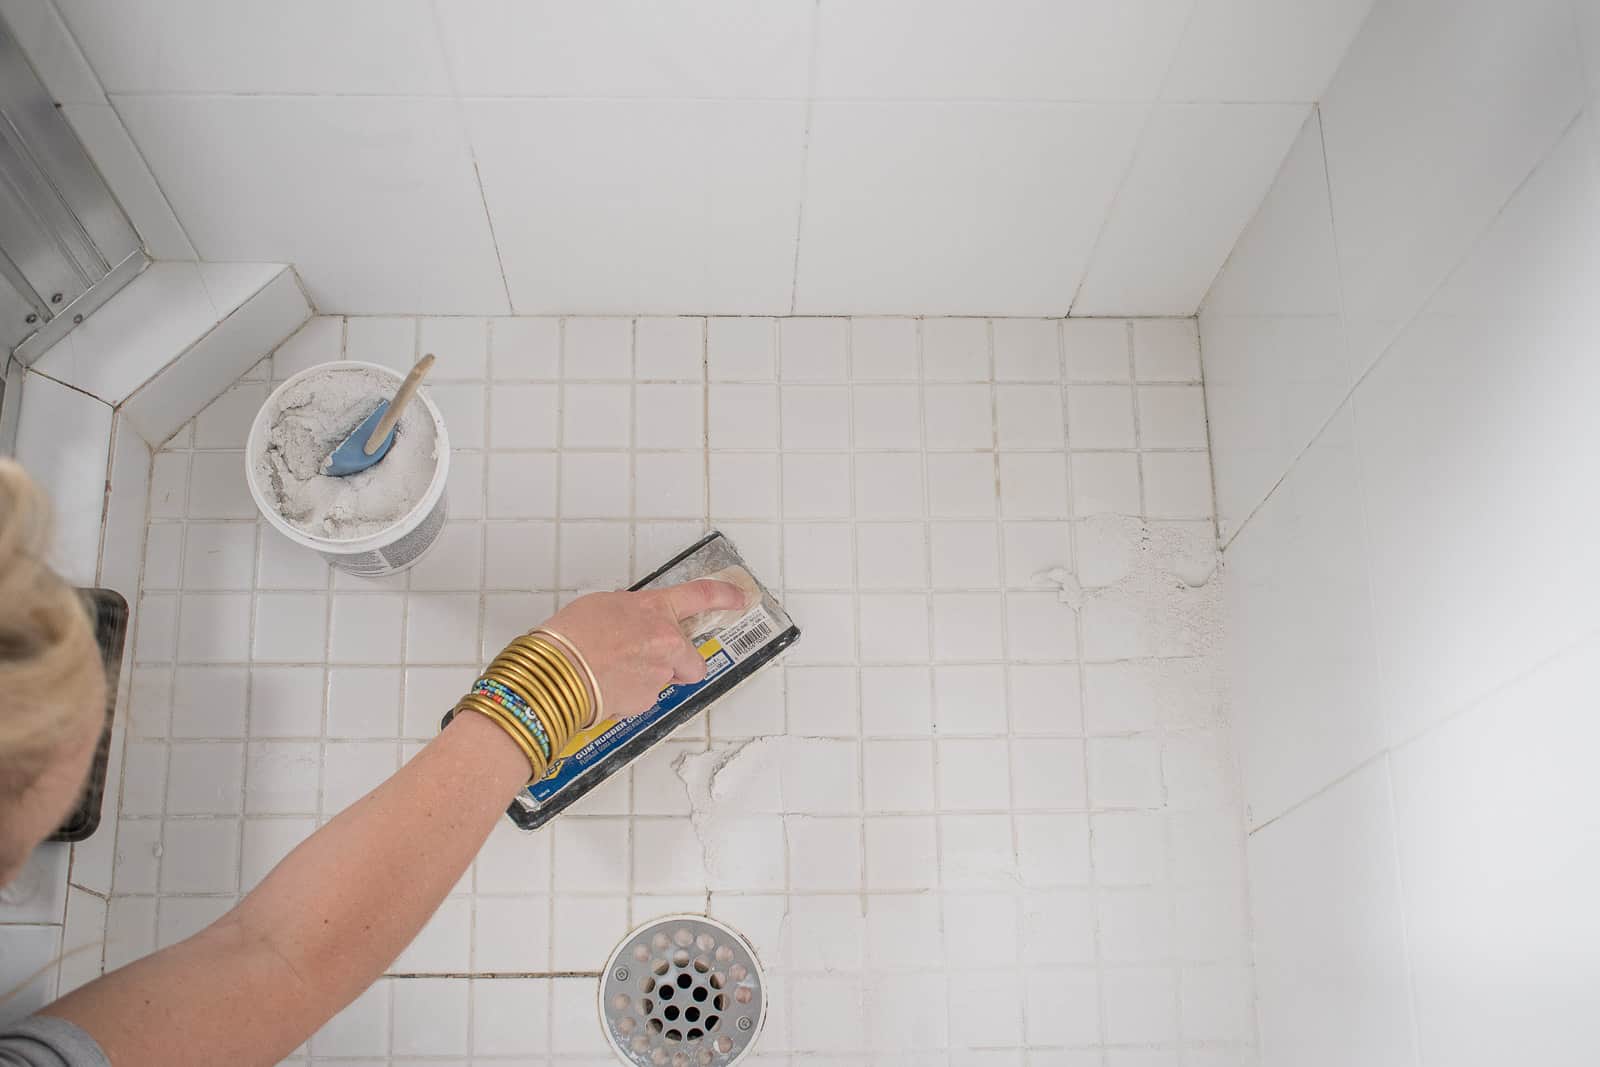
Using a rubber grout float, scoop a generous amount of the prepared grout onto the float's surface. Hold the float at a 45-degree angle and firmly press the grout into the spaces between the stones, ensuring complete coverage and filling of the grout lines. Work in small sections to prevent the grout from drying out before it can be properly smoothed and cleaned.
Once the grout is applied, hold the float at a steeper angle and use it to remove excess grout from the surface of the stones. This process helps to create a smooth and uniform grout line while minimizing the presence of excess grout on the stone surface.
After allowing the grout to set for a specific duration as recommended by the manufacturer, use a damp grout sponge to gently wipe away any remaining grout residue from the stone surface. Rinse the sponge frequently and avoid applying excessive pressure to prevent dislodging the grout from the lines.
By meticulously mixing the grout to the appropriate consistency and methodically applying it to the stone surface, you can achieve a professionally grouted stone backsplash that exudes elegance and durability. This meticulous approach ensures that the grout not only securely anchors the stones but also enhances the overall visual impact of the backsplash, elevating the aesthetic appeal of your living space.
Cleaning and Sealing the Grout
Cleaning and sealing the grout are essential steps in the grouting process that contribute to the longevity and visual appeal of your stone backsplash. These crucial tasks not only ensure a pristine and polished finish but also safeguard the grout against stains, moisture, and discoloration, preserving the beauty of your backsplash for years to come.
Cleaning the Grout
After allowing the grout to cure for the specified duration recommended by the manufacturer, it's time to embark on the cleaning process. Begin by inspecting the grout lines for any residual grout haze or film that may have formed during the initial grouting phase. This haze can detract from the overall appearance of the backsplash, necessitating thorough removal.
To effectively eliminate grout haze, use a clean, damp grout sponge to gently wipe the surface of the stones, focusing on the grout lines. Rinse the sponge frequently to prevent spreading the haze and ensure that the grout lines are uniformly clean. Avoid using excessive water, as this can compromise the integrity of the grout, and refrain from applying excessive pressure to prevent dislodging the freshly cured grout.
For persistent grout haze or stubborn residue, a specialized grout haze remover can be employed. Follow the manufacturer's instructions carefully, applying the haze remover to the affected areas and using a scrub brush or sponge to gently agitate the surface. Thoroughly rinse the area with clean water to remove any residual haze remover, ensuring that the grout lines are left clean and free from residue.
Sealing the Grout
Once the grout has been thoroughly cleaned and allowed to dry, the final step involves sealing the grout to fortify its resistance to stains and moisture. Grout sealer acts as a protective barrier, preventing liquids, dirt, and grime from penetrating the porous grout, thereby enhancing its longevity and maintaining its pristine appearance.
Select a high-quality grout sealer that aligns with the specific type of grout used for your stone backsplash. Carefully follow the manufacturer's guidelines for application, ensuring that the grout lines are clean and dry before proceeding. Using a small, clean brush or applicator, meticulously apply the sealer to the grout lines, allowing it to penetrate the porous surface.
After the initial application, remove any excess sealer from the stone surface using a clean, dry cloth, preventing the formation of a visible film. Allow the initial coat of sealer to dry as per the manufacturer's recommendations before applying a second coat if necessary. Once the sealer has fully cured, the grout will be fortified against stains and moisture, ensuring a long-lasting and visually captivating stone backsplash.
By meticulously cleaning and sealing the grout, you not only enhance the durability and resilience of your stone backsplash but also elevate its visual allure. These essential steps ensure that your grouted stone backsplash remains a timeless centerpiece of elegance and sophistication, enriching the ambiance of your living space for years to come.
Read more: How Long To Wait To Grout Backsplash
Maintaining the Stone Backsplash
Maintaining the pristine condition and timeless allure of your grouted stone backsplash is essential to preserve its visual impact and durability over time. By incorporating simple yet effective maintenance practices into your routine, you can ensure that your stone backsplash continues to exude elegance and charm for years to come.
Regular Cleaning
Regular cleaning is paramount to the upkeep of your stone backsplash. Use a mild, pH-neutral stone cleaner and a soft cloth to gently wipe down the surface, removing any accumulated dust, dirt, or cooking residue. Avoid harsh or abrasive cleaners that can compromise the integrity of the grout and the natural beauty of the stones. By incorporating regular cleaning into your maintenance routine, you can prevent the buildup of grime and maintain the lustrous appeal of your stone backsplash.
Periodic Sealing
Periodically resealing the grout is crucial to reinforce its resistance to stains and moisture. Over time, the protective barrier provided by the initial grout sealer may diminish, leaving the grout vulnerable to potential discoloration and deterioration. By following the manufacturer's recommendations for resealing intervals and diligently applying a high-quality grout sealer, you can safeguard the grout against the effects of daily wear and tear, ensuring that your stone backsplash remains as captivating as the day it was installed.
Addressing Stains Promptly
In the event of accidental spills or stains on the stone backsplash, prompt attention is key to preventing permanent discoloration. Whether it's a splash of tomato sauce or a droplet of red wine, swiftly blotting the affected area with a clean, absorbent cloth can mitigate the risk of the stain setting into the grout or the porous surface of the stones. Avoid using harsh chemicals or abrasive materials, as these can exacerbate the issue. Instead, rely on gentle cleaning methods and, if necessary, consult with professionals for specialized stain removal techniques tailored to your specific stone and grout.
Read more: How To Put Grout On Glass Backsplash
Routine Inspections
Conducting routine inspections of your stone backsplash allows you to identify and address any potential issues before they escalate. Periodically examine the grout lines for signs of wear, cracking, or discoloration, as well as any loose or shifting stones. By promptly addressing these concerns, such as regrouting or securing loose stones, you can prevent minor issues from developing into more extensive maintenance challenges, preserving the integrity and allure of your stone backsplash.
By integrating these maintenance practices into your regular home care routine, you can uphold the timeless elegance and enduring appeal of your grouted stone backsplash. With a commitment to attentive care and preservation, your stone backsplash will continue to captivate and enrich your living space, serving as a testament to the enduring beauty of natural materials and meticulous craftsmanship.
Frequently Asked Questions about How To Grout Stone Backsplash
Was this page helpful?
At Storables.com, we guarantee accurate and reliable information. Our content, validated by Expert Board Contributors, is crafted following stringent Editorial Policies. We're committed to providing you with well-researched, expert-backed insights for all your informational needs.


0 thoughts on “How To Grout Stone Backsplash”