Home>Renovation & DIY>Home Renovation Guides>How To Do Grout For Backsplash
Home Renovation Guides
How To Do Grout For Backsplash
Modified: August 25, 2024
Learn how to do grout for backsplash with our comprehensive home renovation guide. Get expert tips and step-by-step instructions for a successful DIY project.
(Many of the links in this article redirect to a specific reviewed product. Your purchase of these products through affiliate links helps to generate commission for Storables.com, at no extra cost. Learn more)
Introduction
Grout is an essential component of any backsplash installation, playing a crucial role in both the aesthetic appeal and structural integrity of the project. It serves as the finishing touch, seamlessly binding the tiles together while preventing moisture from seeping behind them. When done correctly, grouting can elevate the overall look of the backsplash, adding a polished and professional finish to the entire space.
In this comprehensive guide, we will delve into the step-by-step process of grouting a backsplash, providing valuable insights and expert tips to help you achieve a flawless result. Whether you're a seasoned DIY enthusiast or a novice looking to embark on your first home renovation project, mastering the art of grouting will empower you to transform your kitchen or bathroom with confidence and precision.
From selecting the right tools and materials to preparing the backsplash surface and applying the grout, each stage of the process is integral to the success of your project. We will explore the nuances of mixing the grout to the perfect consistency and the meticulous techniques for its application. Additionally, we will address the crucial steps of cleaning and finishing the grout, ensuring that your backsplash exudes a professional and enduring allure.
Throughout this guide, we will share invaluable tips and tricks garnered from seasoned professionals, enabling you to navigate potential challenges with ease and finesse. By the end of this journey, you will possess the knowledge and proficiency to execute a grout application that not only enhances the visual appeal of your backsplash but also fortifies its longevity and resilience.
So, roll up your sleeves, gather your tools, and let's embark on this transformative endeavor together. With our guidance, you'll soon be on your way to achieving a stunning backsplash that reflects your unique style and attention to detail. Let's dive into the art of grouting and unlock the potential of your home renovation aspirations.
Key Takeaways:
- Grouting a backsplash requires meticulous preparation, precise mixing, and careful application. Working in manageable sections and maintaining cleanliness throughout the process are crucial for achieving a professional finish.
- Investing in high-quality grout, adhering to manufacturer’s instructions, and embracing attention to detail are essential for elevating your backsplash to a level of sophistication and enduring allure.
Read more: How To Clean Backsplash Grout
Tools and Materials Needed
Before embarking on the grouting process for your backsplash, it's crucial to gather the essential tools and materials to ensure a seamless and efficient workflow. Here's a comprehensive list of what you'll need:
Tools:
- Grout Float: This tool is essential for applying and smoothing the grout into the spaces between the tiles. Look for a rubber grout float, which offers flexibility and ease of use.
- Grout Sponge: A high-quality grout sponge is indispensable for cleaning excess grout from the tile surfaces without disturbing the newly applied grout.
- Grout Saw or Removal Tool: In case of existing grout that needs to be removed, a grout saw or removal tool will come in handy for this task.
- Buckets: Have a few buckets on hand for mixing the grout and for clean water to rinse the sponge during the cleaning process.
- Mixing Paddle: If you're mixing grout manually, a mixing paddle attachment for a power drill will expedite the process and ensure a consistent mixture.
- Protective Gear: Wear gloves and safety goggles to shield your hands and eyes from the grout and any potential debris.
- Measuring Tools: A margin trowel or a putty knife for scooping and applying the grout, as well as a tape measure for precise measurements.
Materials:
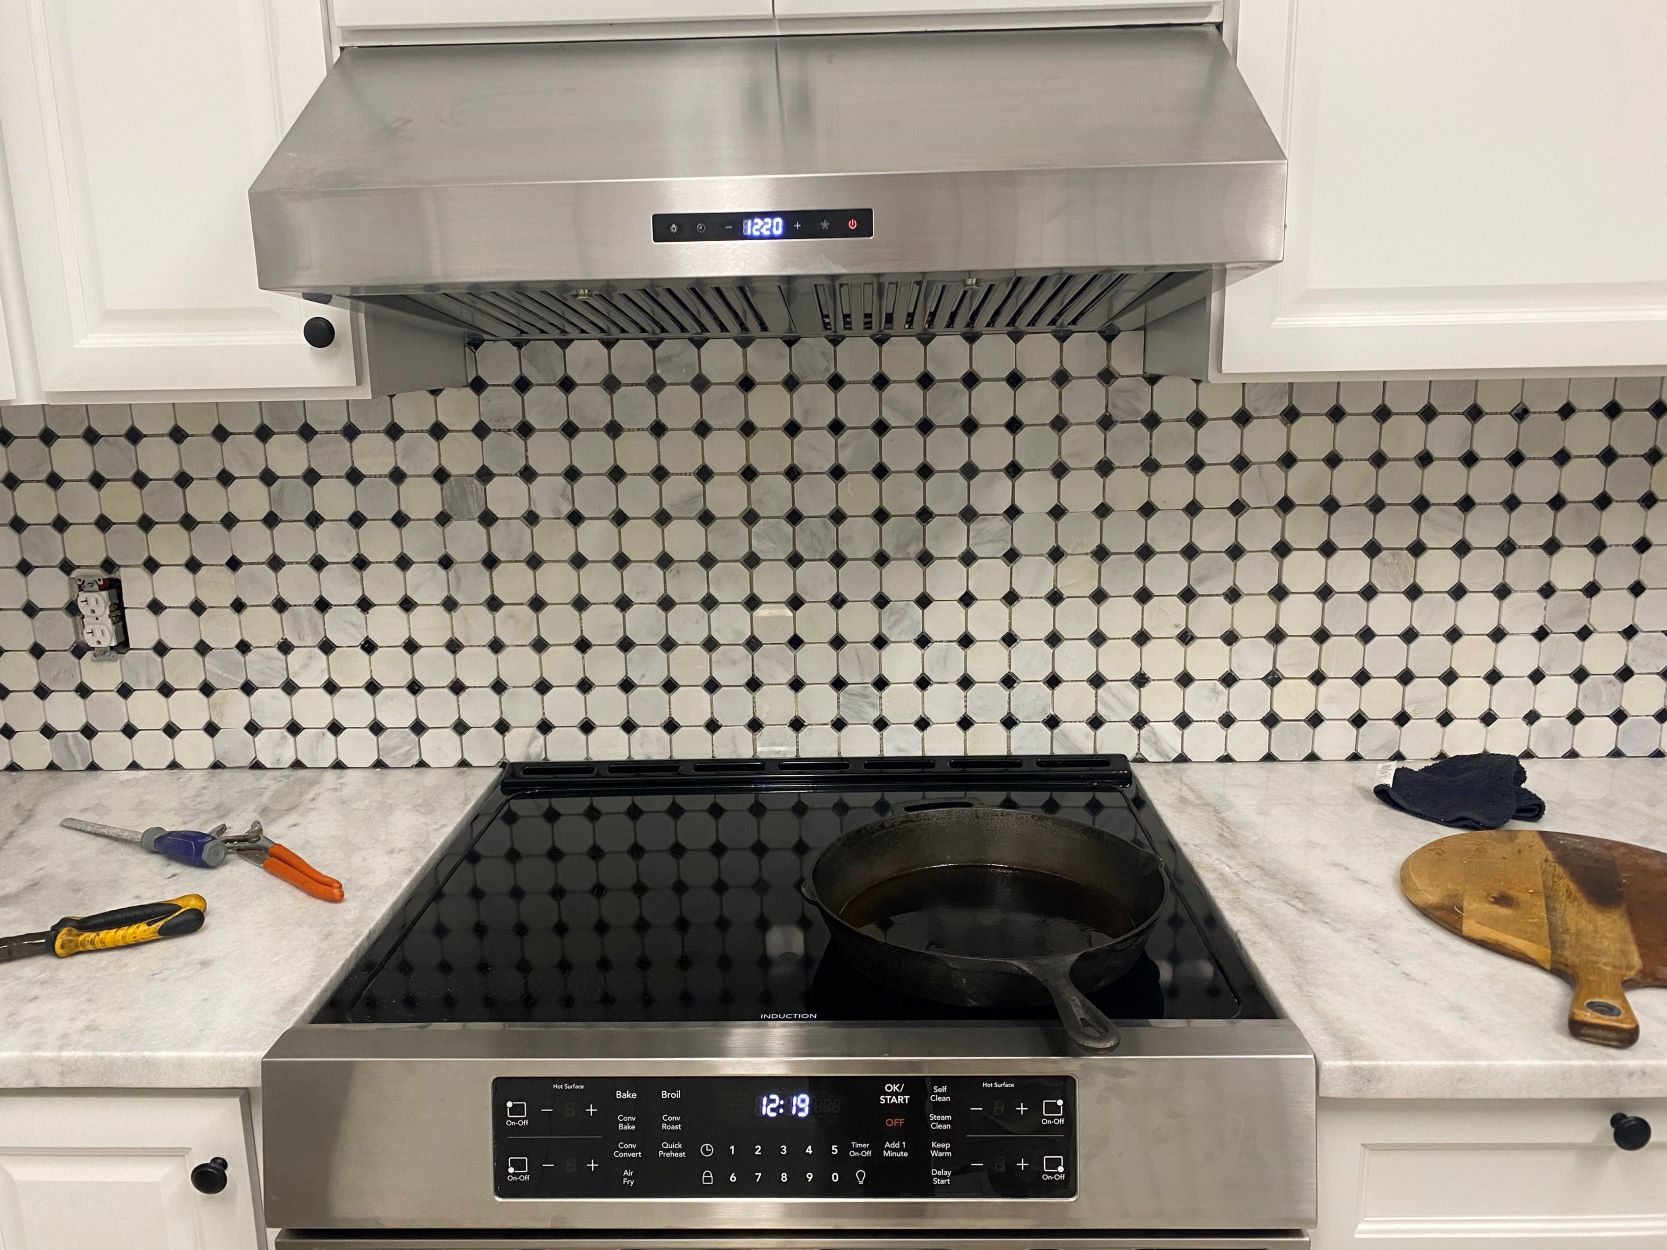
- Grout: Select a high-quality grout that complements your tiles and suits the specific requirements of your backsplash. Choose from sanded or unsanded grout based on the width of the grout lines.
- Tile Sealer: If your tiles are porous, a tile sealer will help prevent the grout from staining the tiles during the application process.
- Clean Water: Ensure you have access to clean water for mixing the grout and for rinsing the sponge during the cleaning phase.
- Grout Additive: Depending on the specific instructions for your grout product, you may need a grout additive to enhance the strength and water resistance of the grout.
- Drop Cloths or Tarps: Protect your countertops and floors from potential spills and splatters by laying down drop cloths or tarps in the work area.
By assembling these tools and materials, you'll set the stage for a successful grouting endeavor, ensuring that you have everything you need to execute the process with precision and finesse. With the right equipment at your disposal, you'll be well-prepared to tackle each stage of the grouting process with confidence and efficiency.
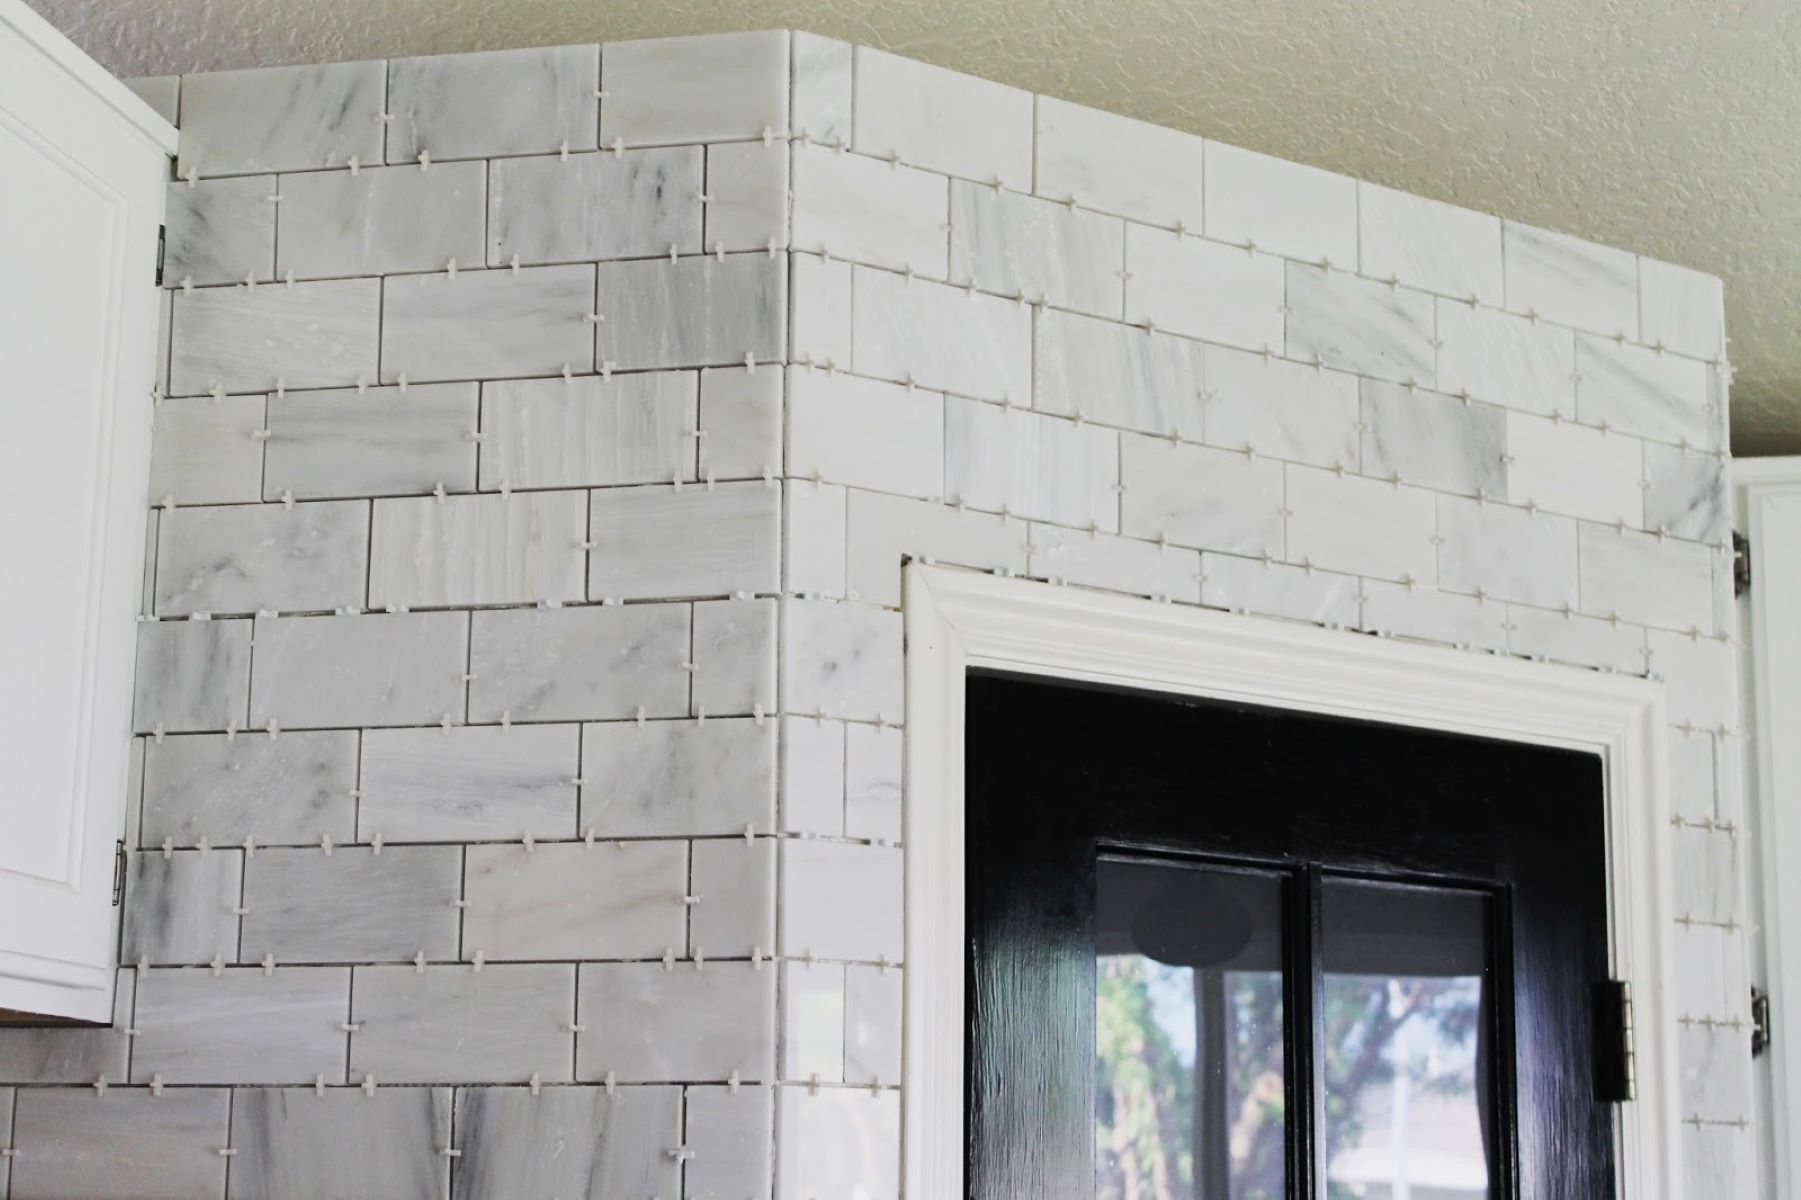
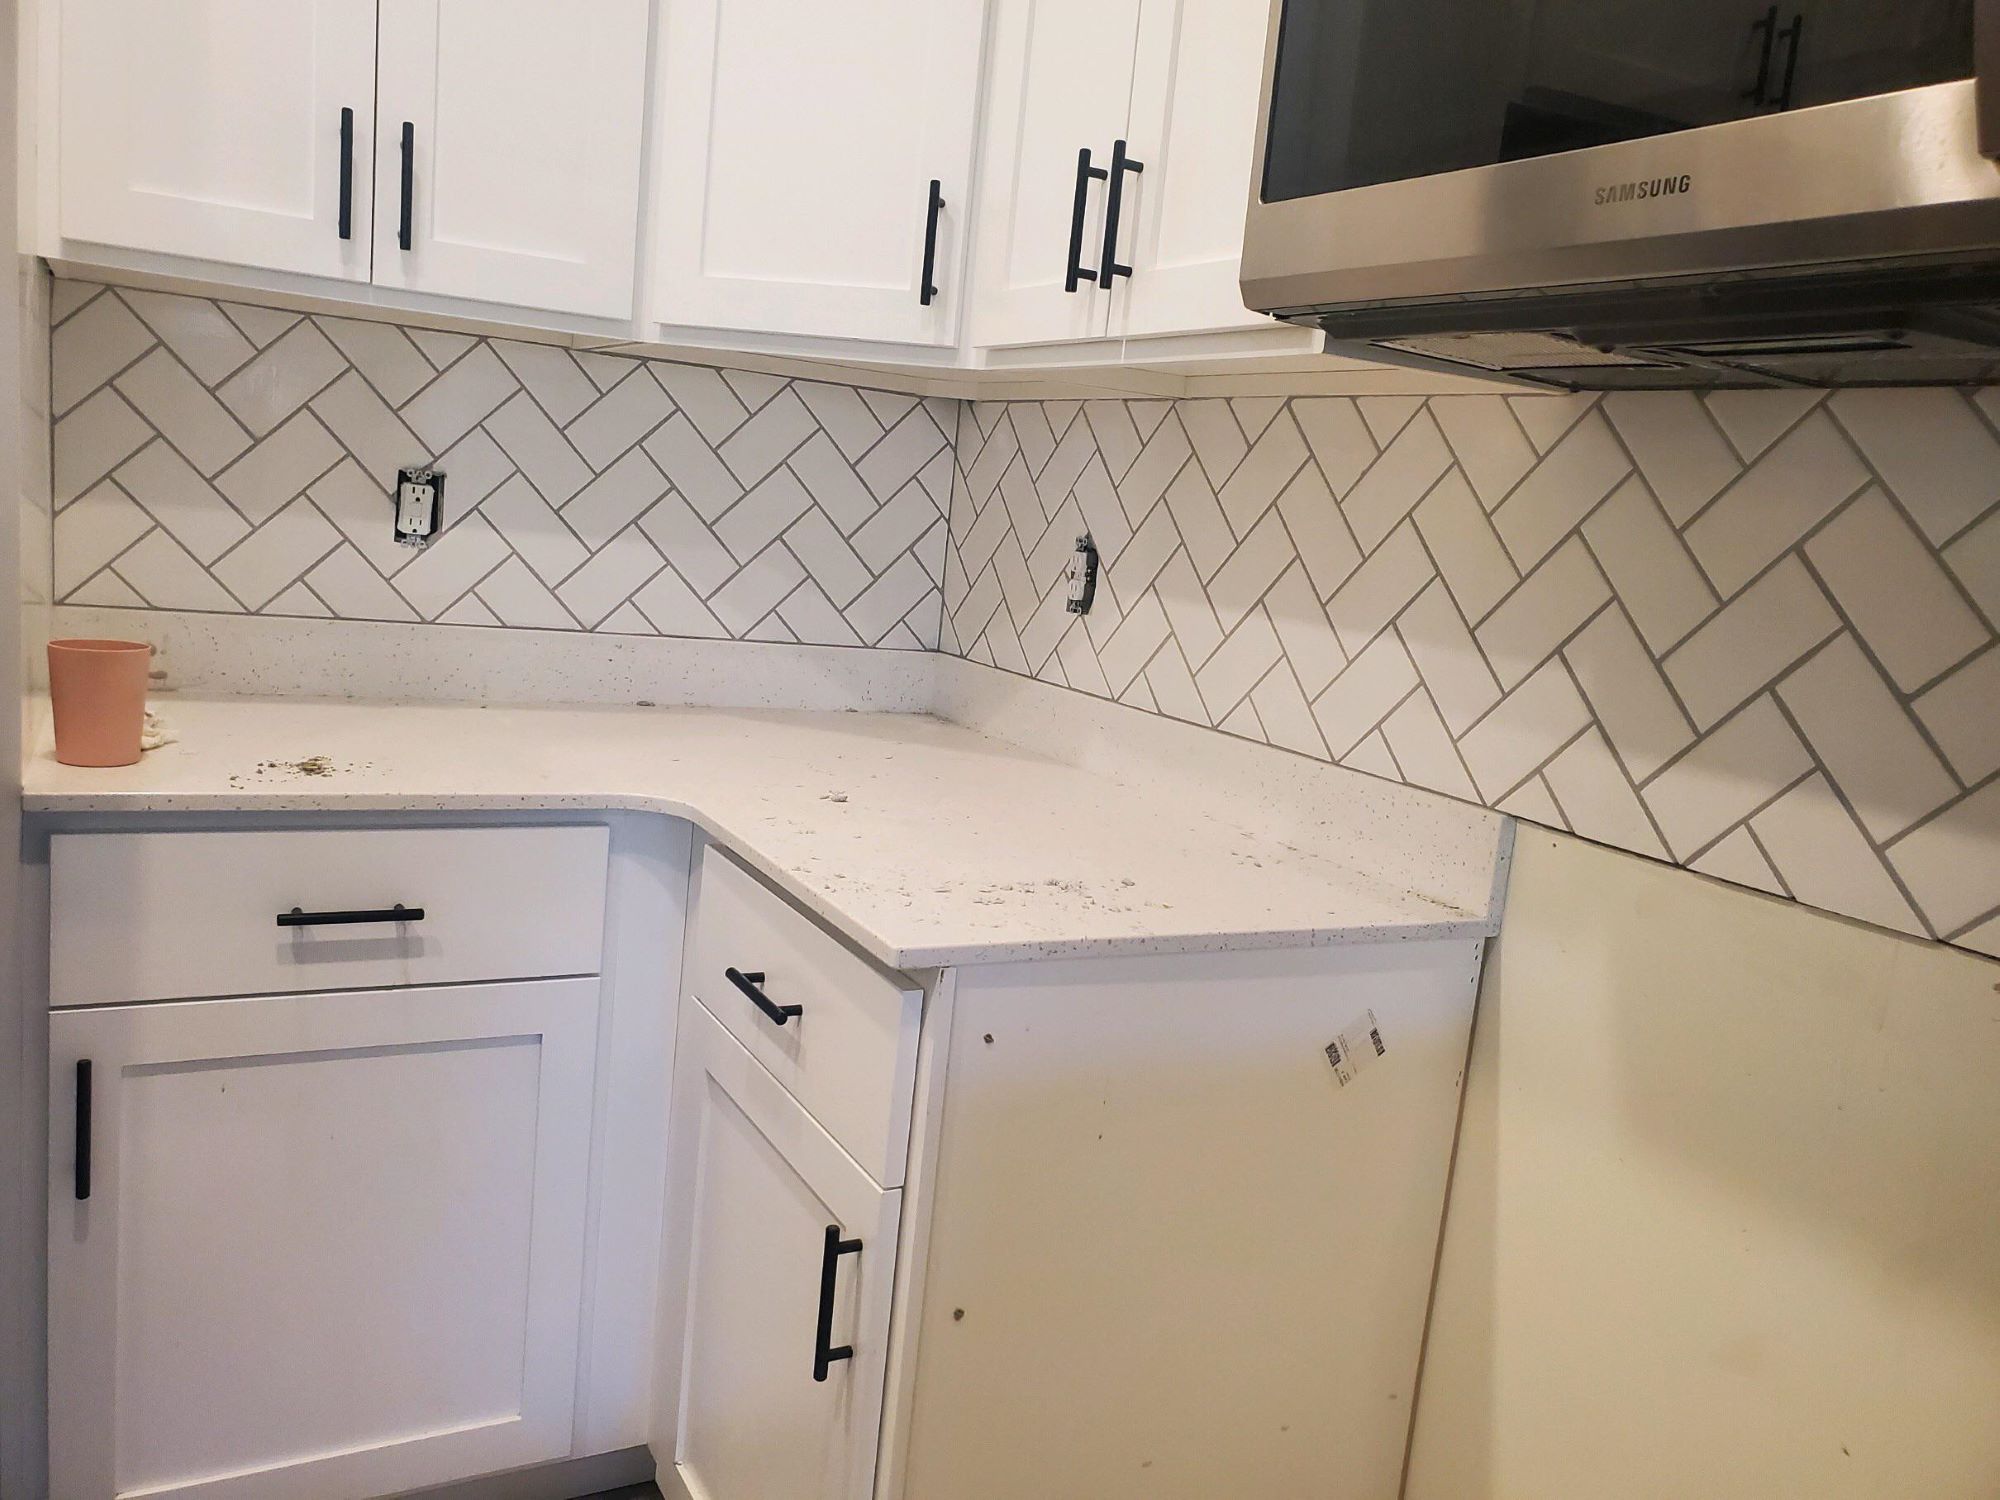
Preparing the Backsplash Surface
Before diving into the grouting process, it's imperative to prepare the backsplash surface meticulously. This preparatory phase sets the foundation for a successful grout application, ensuring optimal adhesion and a polished final result. Here's a detailed breakdown of the steps involved in preparing the backsplash surface:
-
Clean the Tiles: Begin by thoroughly cleaning the tiles to remove any dust, debris, or residual adhesive from the installation process. Use a gentle tile cleaner and a sponge to wipe down the surface, ensuring that it is free from any substances that could compromise the grout's adhesion.
-
Inspect the Grout Lines: Carefully examine the grout lines between the tiles, checking for any gaps, cracks, or inconsistencies. If necessary, use a grout saw or removal tool to clean out and redefine the grout lines, ensuring that they are uniform and free from obstructions.
-
Apply Tile Sealer (if necessary): If your tiles are porous or natural stone, applying a tile sealer before grouting is highly recommended. The sealer acts as a protective barrier, preventing the grout from seeping into the tiles and causing discoloration. Follow the manufacturer's instructions for the application and drying process.
-
Masking and Protecting Surrounding Surfaces: To prevent the grout from inadvertently staining adjacent surfaces, such as countertops or cabinets, use painter's tape or plastic sheeting to mask off and protect these areas. This precautionary measure will safeguard against potential spills and splatters during the grouting process.
-
Ensure Adequate Ventilation: Proper ventilation is essential during the grouting process, especially if you're working with grout that emits strong fumes. Open windows and doors to promote air circulation, and consider using a fan to dissipate any lingering odors.
By meticulously preparing the backsplash surface, you'll create an optimal environment for the grout application, setting the stage for a seamless and professional finish. This preparatory phase not only enhances the adhesion and durability of the grout but also minimizes the likelihood of post-grouting issues such as discoloration or uneven texture. With the surface primed and ready, you're now poised to embark on the next crucial phase of the grouting process: mixing the grout to perfection.
Read more: How To Remove Backsplash Grout
Mixing the Grout
The process of mixing the grout is a pivotal step that demands precision and attention to detail. Achieving the ideal grout consistency is essential for ensuring proper adhesion and a professional finish. Here's a comprehensive guide to mastering the art of mixing grout for your backsplash project:
Step 1: Read the Instructions
Before commencing the mixing process, carefully read the manufacturer's instructions on the grout packaging. Different grout products may have specific mixing ratios, water requirements, and recommended additives. Adhering to these guidelines is crucial for achieving the optimal grout consistency and performance.
Step 2: Gather the Materials
Assemble the necessary materials for mixing the grout, including a clean bucket, the grout powder, and clean water. It's advisable to use a margin trowel or a putty knife for scooping and mixing the grout, ensuring that the tools are clean and free from any residual materials that could compromise the mixture.
Step 3: Measure and Pour the Grout
Carefully measure the appropriate amount of grout powder based on the manufacturer's instructions and the square footage of your backsplash. Pour the grout powder into the clean bucket, ensuring that it is free from any contaminants or moisture that could alter the consistency of the mixture.
Read more: How To Grout Stone Backsplash
Step 4: Add Water Gradually
With the grout powder in the bucket, begin adding clean water to the mixture in small increments. Use the margin trowel or putty knife to blend the water and grout powder thoroughly, ensuring a consistent and lump-free mixture. Avoid adding excessive water at once, as this can lead to a runny and unmanageable grout consistency.
Step 5: Achieve the Desired Consistency
As you continue to blend the grout and water, monitor the consistency of the mixture closely. The goal is to achieve a smooth, paste-like consistency that is neither too dry nor overly wet. The ideal grout consistency should hold its shape when scooped with the margin trowel and spread easily without excessive dripping.
Step 6: Test the Mixture
Perform a test application of the mixed grout on a spare piece of tile or a inconspicuous area of the backsplash. This allows you to assess the workability and adhesion of the grout, ensuring that it meets the desired consistency and performance standards before proceeding with the full application.
By meticulously following these steps and exercising patience and precision, you'll be well-equipped to mix the grout to perfection, setting the stage for a seamless and professional application process. With the grout prepared to the ideal consistency, you're now ready to embark on the next phase: applying the grout to the backsplash with confidence and finesse.
Applying the Grout
With the grout mixed to the perfect consistency, it's time to embark on the pivotal stage of applying the grout to your backsplash. This process demands precision, patience, and a meticulous approach to ensure a flawless and professional finish. Here's a detailed breakdown of the steps involved in applying the grout with finesse and confidence:
Read more: How Much Grout Do I Need For Backsplash
Step 1: Load the Grout Float
Using the grout float, scoop a generous amount of the mixed grout onto the float's surface. Ensure that the grout fills the indentations on the float, allowing for optimal coverage and distribution during the application process.
Step 2: Apply the Grout Diagonally
Hold the grout float at a 45-degree angle and begin pressing the grout firmly into the spaces between the tiles. Work diagonally across the grout lines, ensuring that the grout fills each crevice evenly and comprehensively. The diagonal motion helps pack the grout firmly into the gaps while minimizing air pockets and ensuring a solid bond.
Step 3: Work in Sections
To prevent the grout from drying out prematurely, it's advisable to work in small sections at a time, especially for larger backsplash areas. This approach allows you to focus on a manageable area, ensuring that you can complete the grout application and cleaning process efficiently before the grout sets.
Step 4: Scrape Excess Grout
After applying the grout to a section of the backsplash, use the grout float held at a 90-degree angle to scrape off the excess grout from the tile surfaces. This motion helps level the grout lines and remove any surplus grout, preparing the surface for the cleaning phase.
Read more: How Long To Wait To Grout Backsplash
Step 5: Clean the Tile Surfaces
Once the excess grout has been scraped off, use a damp grout sponge to gently clean the tile surfaces. Hold the sponge at a slight angle and make circular motions to remove any grout residue and smooth out the grout lines. Rinse the sponge frequently and change the water as needed to ensure effective cleaning without smearing excess grout onto the tiles.
Step 6: Final Inspection
After completing the grout application and initial cleaning, step back and inspect the grouted areas carefully. Look for any inconsistencies, excess grout, or areas that may require additional cleaning or touch-ups. Address any imperfections promptly to ensure a uniform and professional finish.
By meticulously following these steps and maintaining a methodical approach, you'll be well-equipped to apply the grout to your backsplash with precision and finesse. This crucial phase sets the stage for the final steps of cleaning and finishing the grout, ensuring that your backsplash exudes a polished and enduring allure. With the grout expertly applied, you're now poised to proceed to the next pivotal phase of the grouting process: cleaning and finishing the grout to perfection.
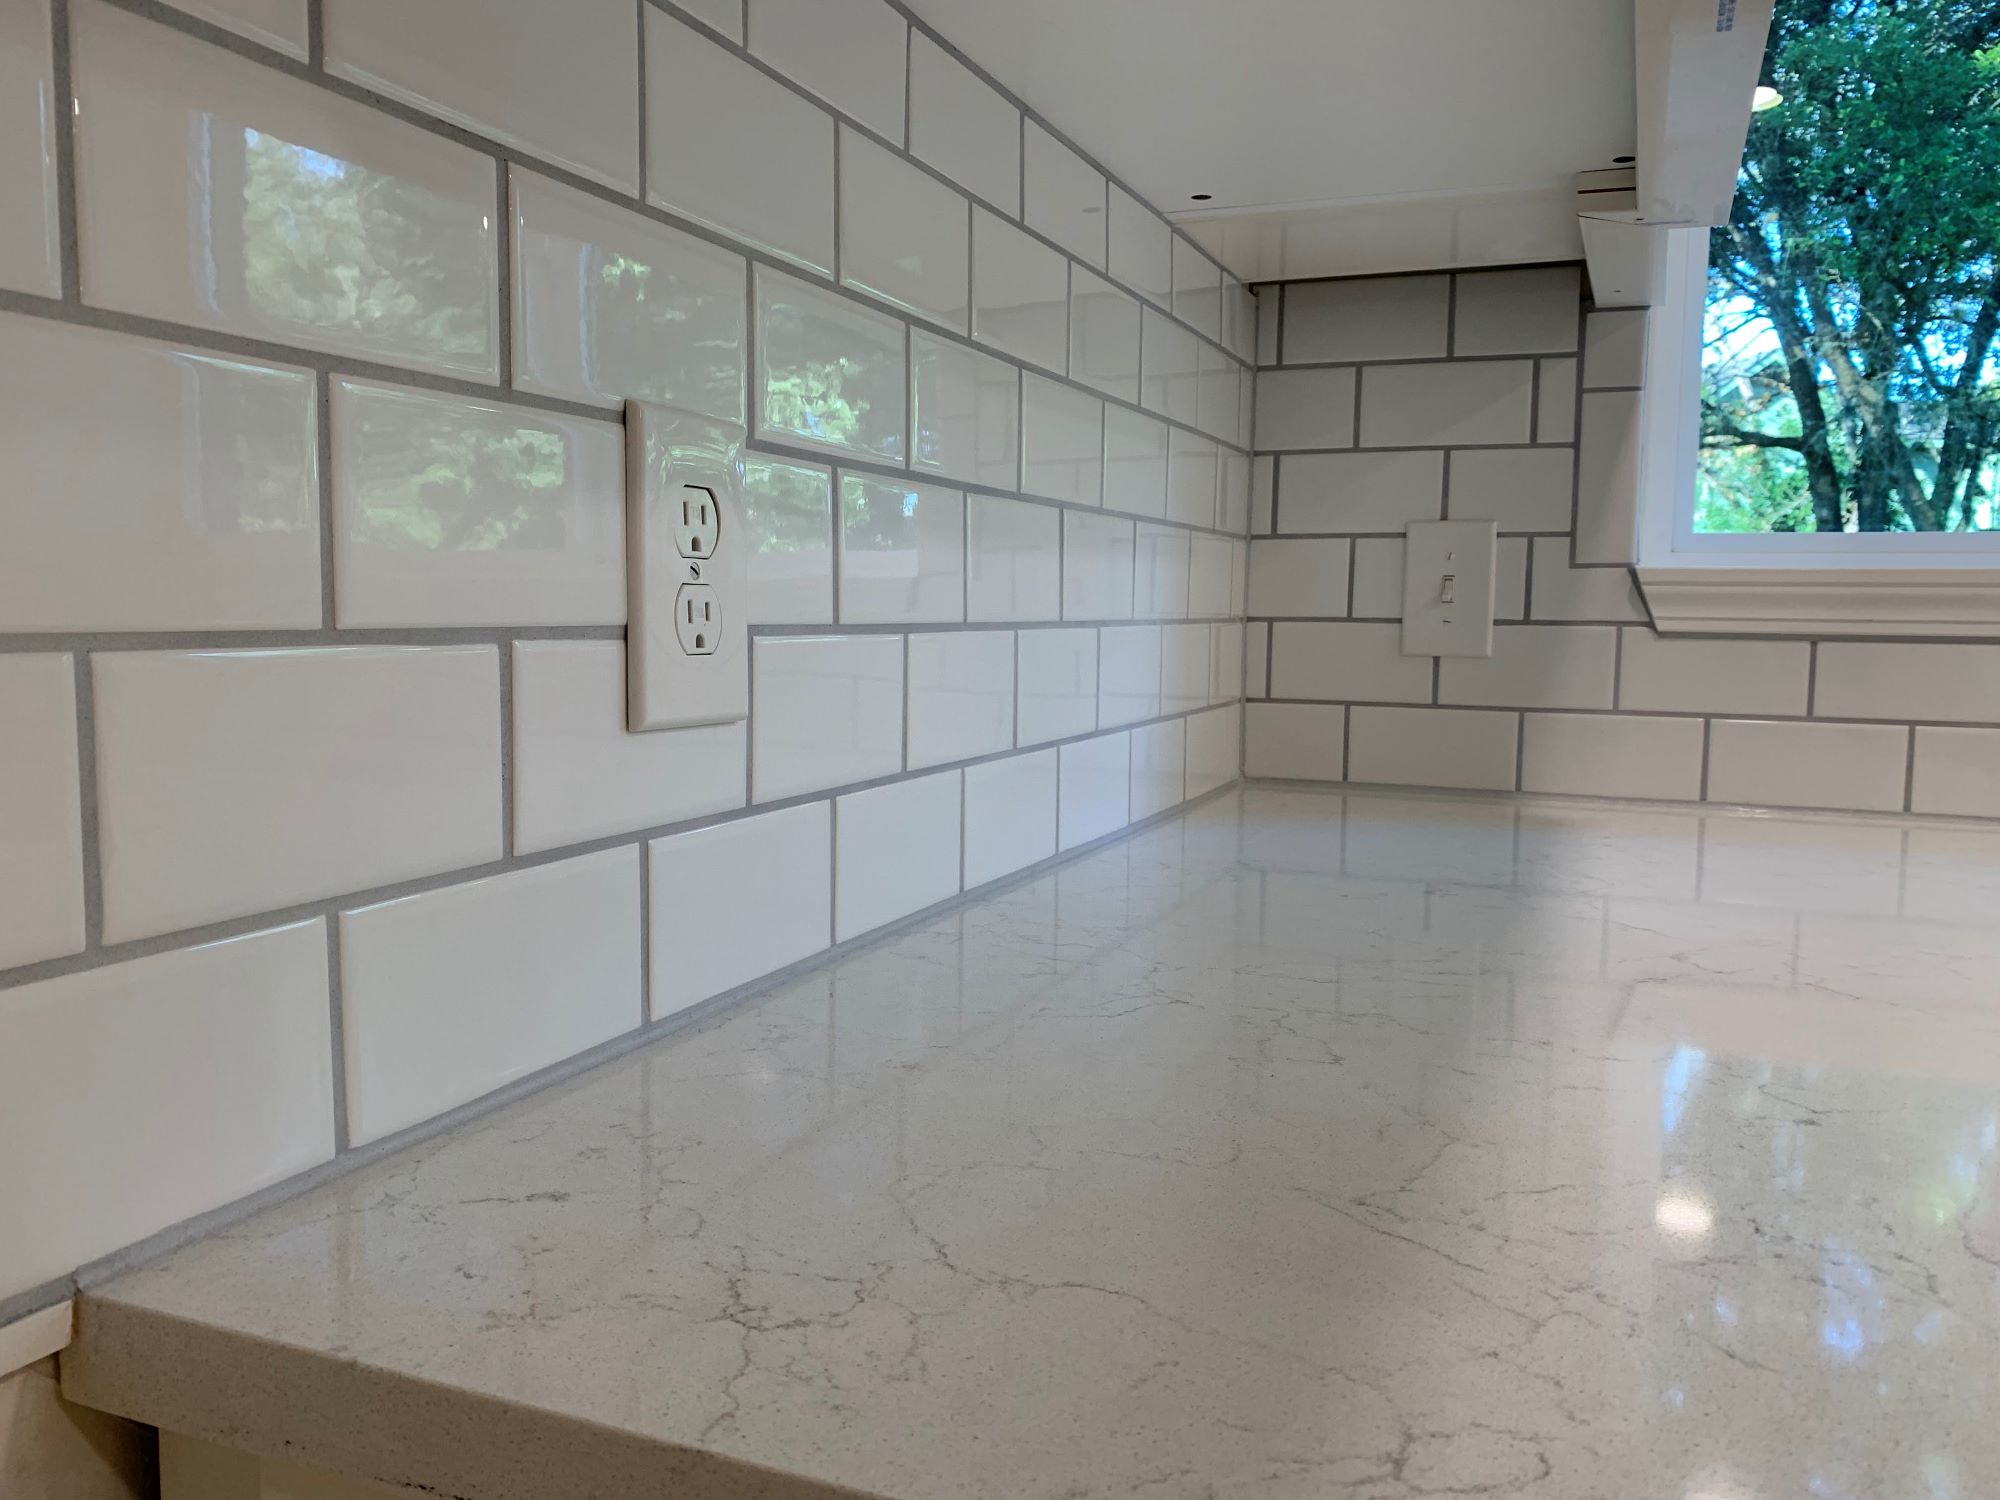
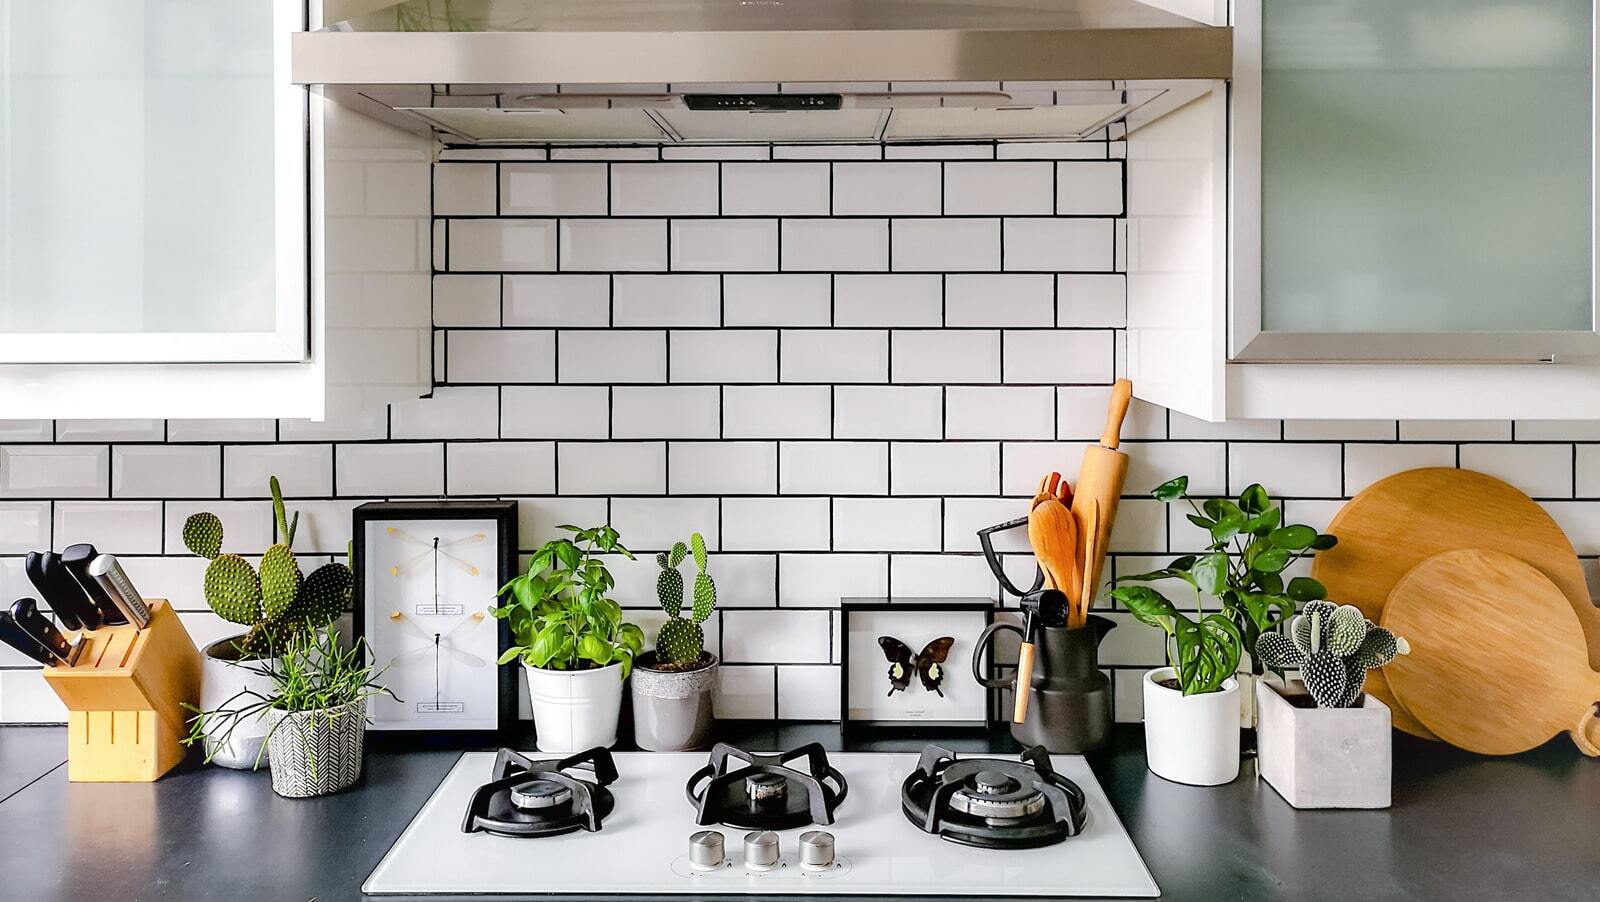
Cleaning and Finishing the Grout
After the meticulous application of grout to your backsplash, the subsequent steps of cleaning and finishing are integral to achieving a professional and enduring result. This phase requires attention to detail and a methodical approach to ensure that the grout lines are pristine and the overall aesthetic of the backsplash is elevated to its full potential.
Step 1: Final Cleaning
Once the initial grout application and cleaning have been completed, it's essential to conduct a final round of cleaning to remove any residual grout haze and achieve a pristine finish. Using a clean, damp grout sponge, gently wipe the tile surfaces in circular motions, ensuring that any remaining grout residue is effectively removed. Rinse the sponge frequently and change the water as needed to prevent smearing excess grout onto the tiles. This meticulous cleaning process contributes to the clarity and uniformity of the grout lines, enhancing the overall visual appeal of the backsplash.
Read more: How To Put Grout On Glass Backsplash
Step 2: Buffing and Polishing
After the final cleaning, buff the tile surfaces with a soft, dry cloth to remove any lingering haze and achieve a polished finish. This gentle buffing motion helps bring out the natural luster of the tiles while ensuring that the grout lines are free from any residual film. Take care to buff the entire backsplash area evenly, paying attention to detail and ensuring that the tiles and grout lines gleam with a professional sheen.
Step 3: Sealing the Grout (if necessary)
Depending on the type of grout used and the specific requirements of your backsplash, applying a grout sealer may be recommended to enhance the longevity and stain resistance of the grout. If sealing is necessary, carefully follow the manufacturer's instructions for the application process, ensuring that the grout sealer is evenly distributed and allowed to cure effectively. This additional step fortifies the grout, safeguarding it against potential stains and moisture infiltration, thus prolonging the pristine appearance of your backsplash.
Step 4: Final Inspection and Touch-Ups
Conduct a comprehensive inspection of the grouted areas, scrutinizing the grout lines for any imperfections or areas that may require touch-ups. Address any inconsistencies promptly, ensuring that the grout lines are uniform and impeccably finished. This meticulous attention to detail contributes to the overall allure of the backsplash, elevating it to a professional standard that exudes craftsmanship and precision.
By meticulously following these steps and infusing the cleaning and finishing phase with patience and precision, you'll elevate your backsplash to a level of sophistication and enduring allure. With the grout lines pristine and the tile surfaces gleaming, your backsplash will stand as a testament to your meticulous craftsmanship and attention to detail.
Tips and Tricks for a Professional Finish
Achieving a professional finish when grouting a backsplash requires a blend of expertise, attention to detail, and a few insider tips and tricks. These invaluable insights, garnered from seasoned professionals and experienced DIY enthusiasts, can elevate your grouting endeavor to a level of precision and finesse that exudes craftsmanship and enduring allure.
Read more: How To Pick Grout Color For Backsplash
1. Use High-Quality Grout
Investing in high-quality grout is paramount to achieving a professional finish. Opt for a grout product that aligns with the specific requirements of your backsplash, considering factors such as tile material, grout line width, and moisture exposure. High-quality grout not only enhances the aesthetic appeal of the backsplash but also contributes to its longevity and resilience.
2. Employ Proper Mixing Techniques
When mixing the grout, adhere closely to the manufacturer's instructions and recommended mixing ratios. Consistency is key, and achieving the ideal grout mixture demands patience and precision. Avoid rushing the mixing process, as a well-blended grout mixture sets the stage for a seamless application and a durable finish.
3. Work in Manageable Sections
To prevent the grout from drying out prematurely during application, work in small, manageable sections at a time. This approach allows you to focus on each area meticulously, ensuring that the grout is applied, cleaned, and finished before it sets. Working in sections also minimizes the likelihood of uneven grout lines and facilitates a more controlled and precise application process.
4. Maintain Cleanliness Throughout
From the preparatory phase to the final cleaning and finishing, maintaining cleanliness is paramount. Keep the work area tidy, frequently rinse the grout sponge, and change the water to prevent smearing excess grout onto the tiles. A meticulous approach to cleanliness contributes to the clarity and uniformity of the grout lines, culminating in a professional and polished finish.
Read more: How To Seal Grout In Kitchen Backsplash
5. Embrace Attention to Detail
Exercising keen attention to detail throughout the grouting process is instrumental in achieving a professional finish. Inspect the grout lines meticulously, address any imperfections promptly, and conduct thorough cleaning and buffing to ensure that the backsplash exudes a level of craftsmanship and precision that reflects your dedication to excellence.
By incorporating these tips and tricks into your grouting endeavor, you'll elevate your backsplash to a standard of sophistication and enduring allure. Each nuanced detail and meticulous technique contributes to a professional finish that not only enhances the visual appeal of your space but also stands as a testament to your expertise and commitment to impeccable craftsmanship.
Frequently Asked Questions about How To Do Grout For Backsplash
Was this page helpful?
At Storables.com, we guarantee accurate and reliable information. Our content, validated by Expert Board Contributors, is crafted following stringent Editorial Policies. We're committed to providing you with well-researched, expert-backed insights for all your informational needs.


0 thoughts on “How To Do Grout For Backsplash”