Home>Renovation & DIY>Home Renovation Guides>How To Seal Grout In Kitchen Backsplash
Home Renovation Guides
How To Seal Grout In Kitchen Backsplash
Modified: August 17, 2024
Learn how to seal grout in your kitchen backsplash with our comprehensive home renovation guide. Protect your tiles and keep your kitchen looking fresh.
(Many of the links in this article redirect to a specific reviewed product. Your purchase of these products through affiliate links helps to generate commission for Storables.com, at no extra cost. Learn more)
Introduction
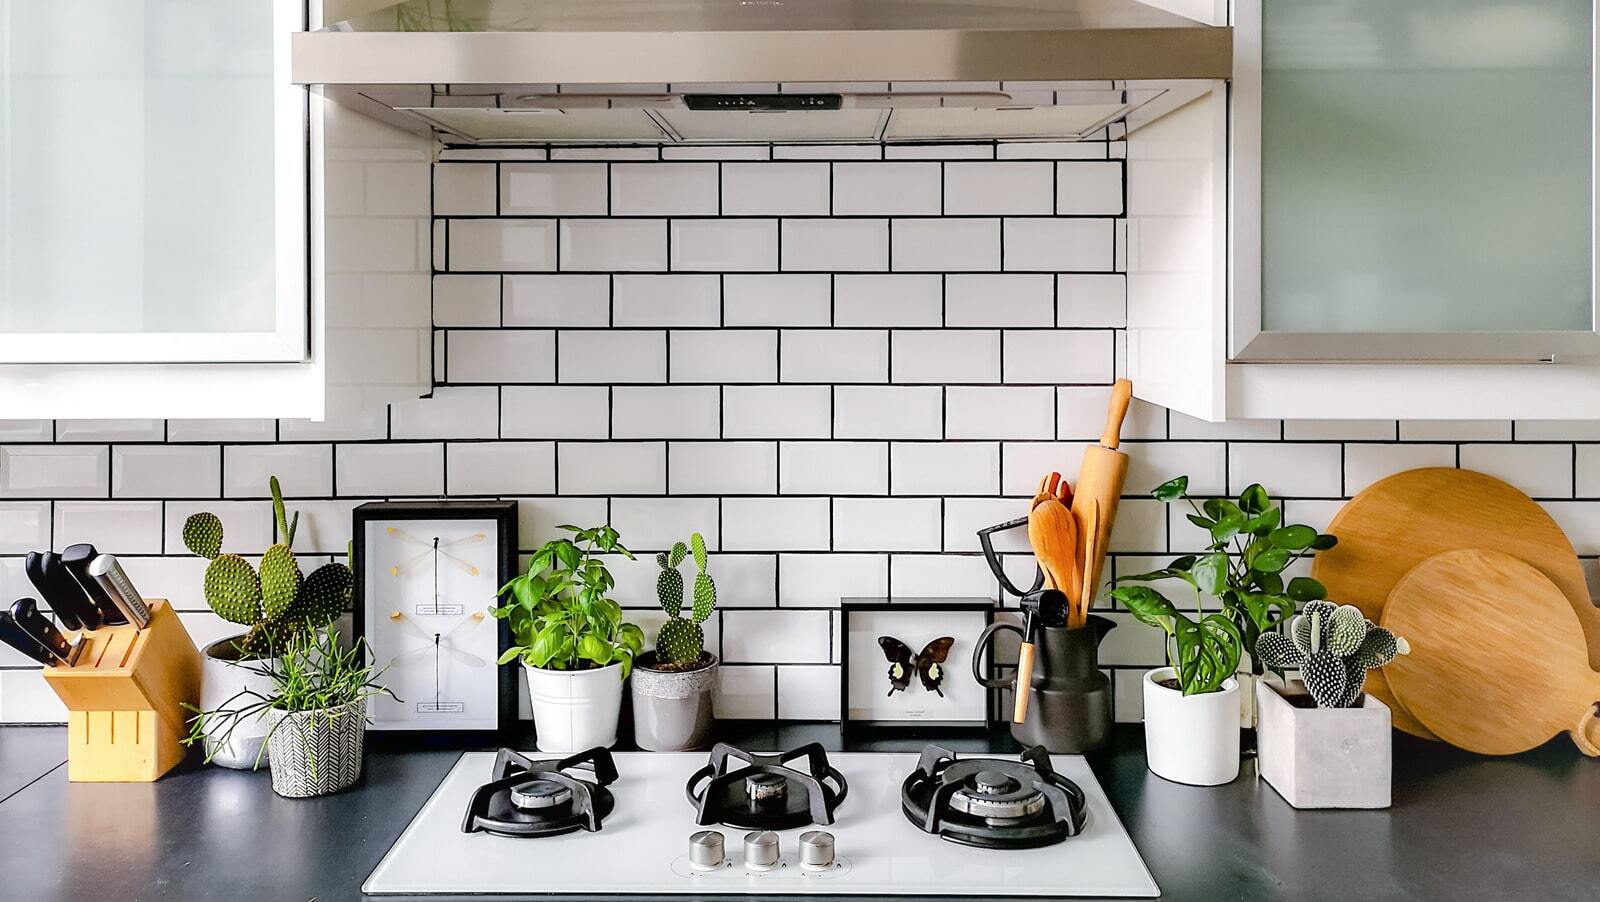
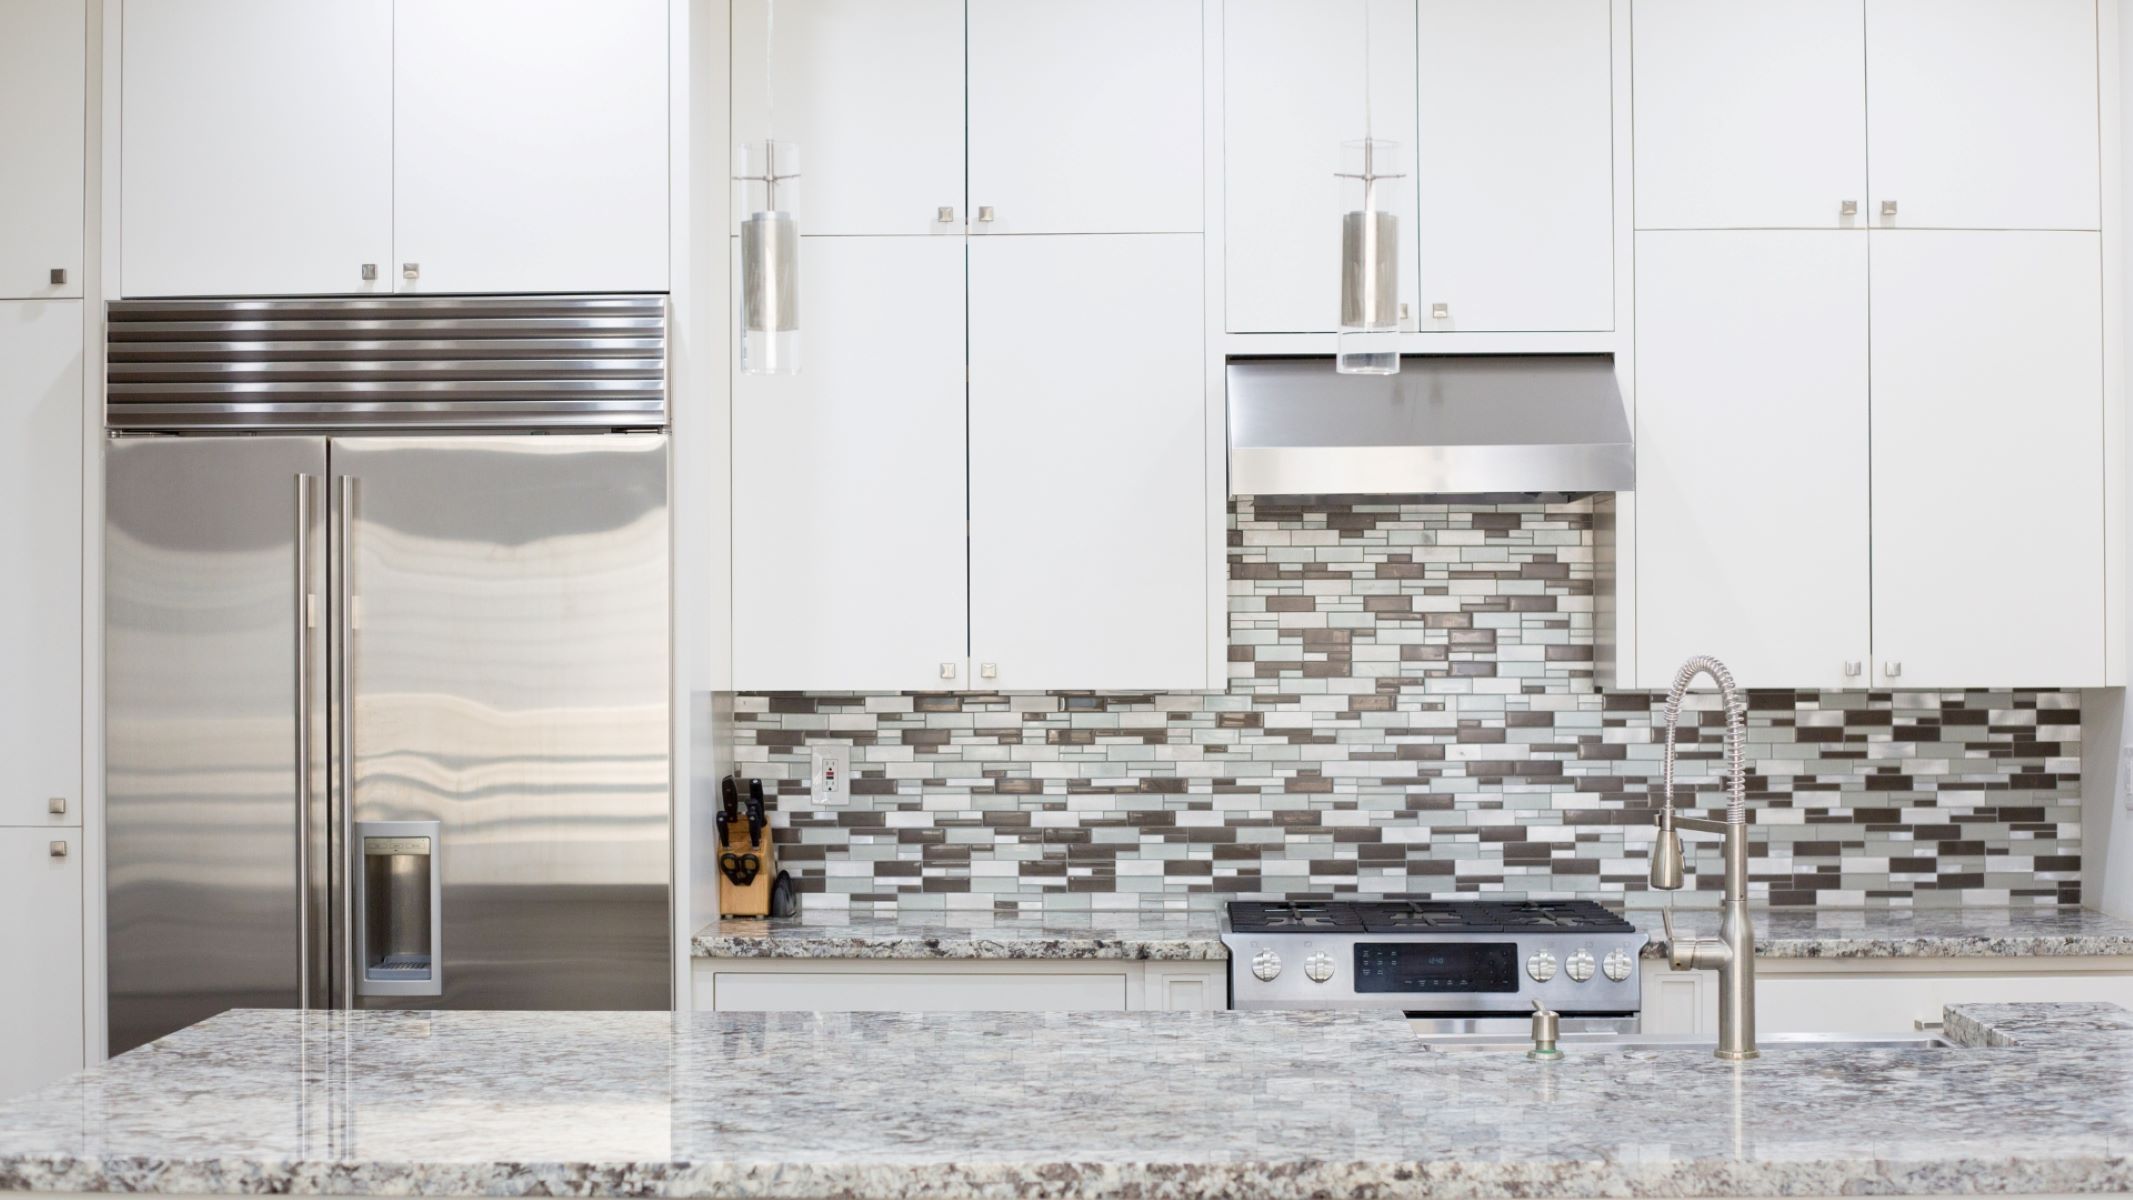
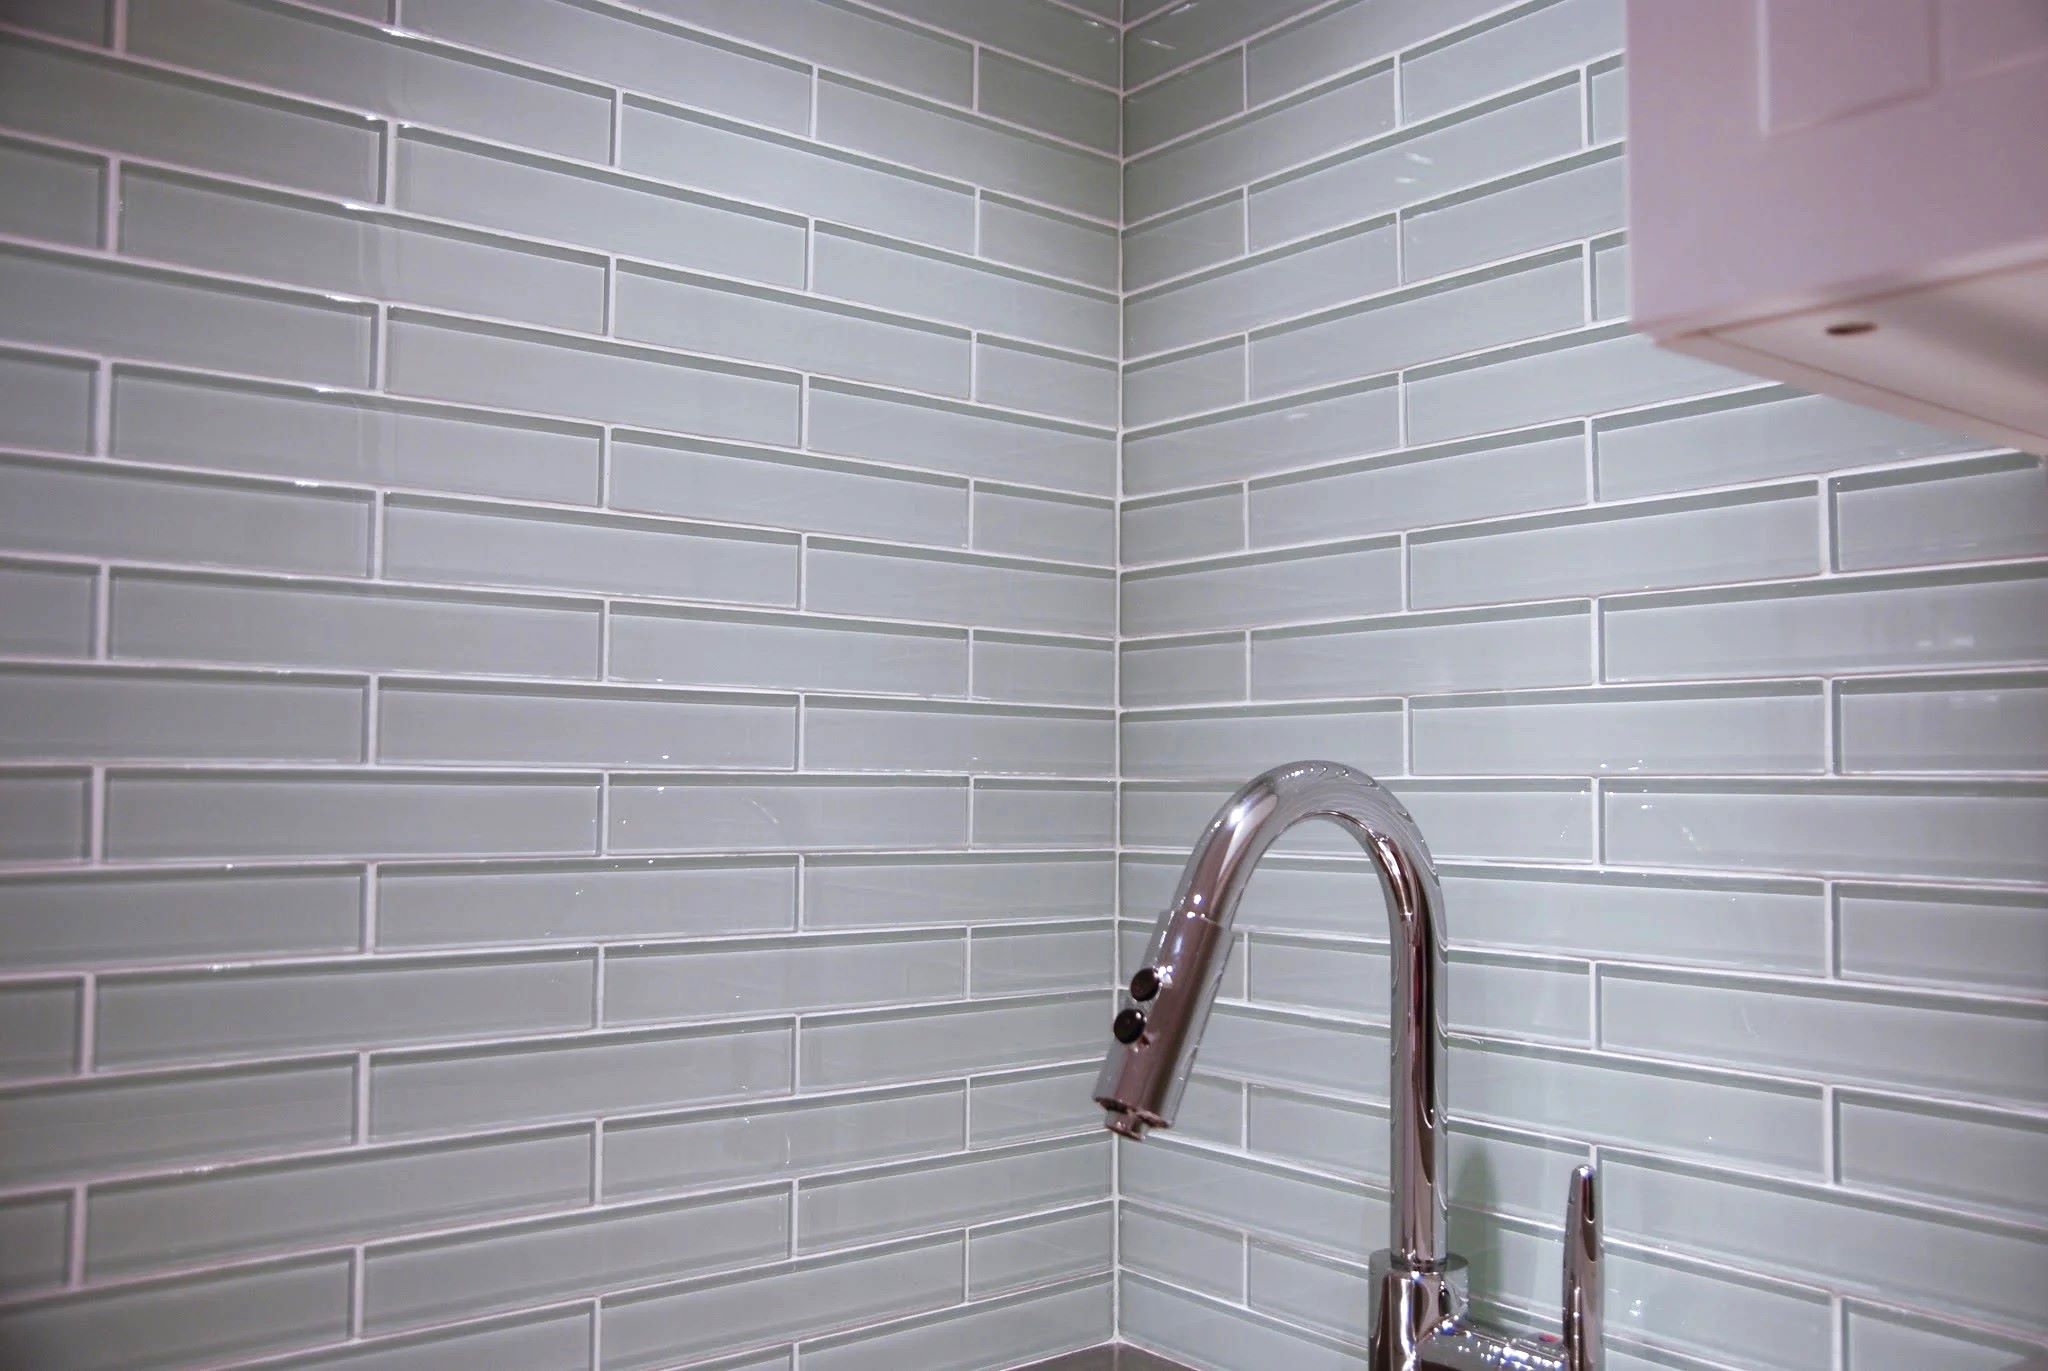
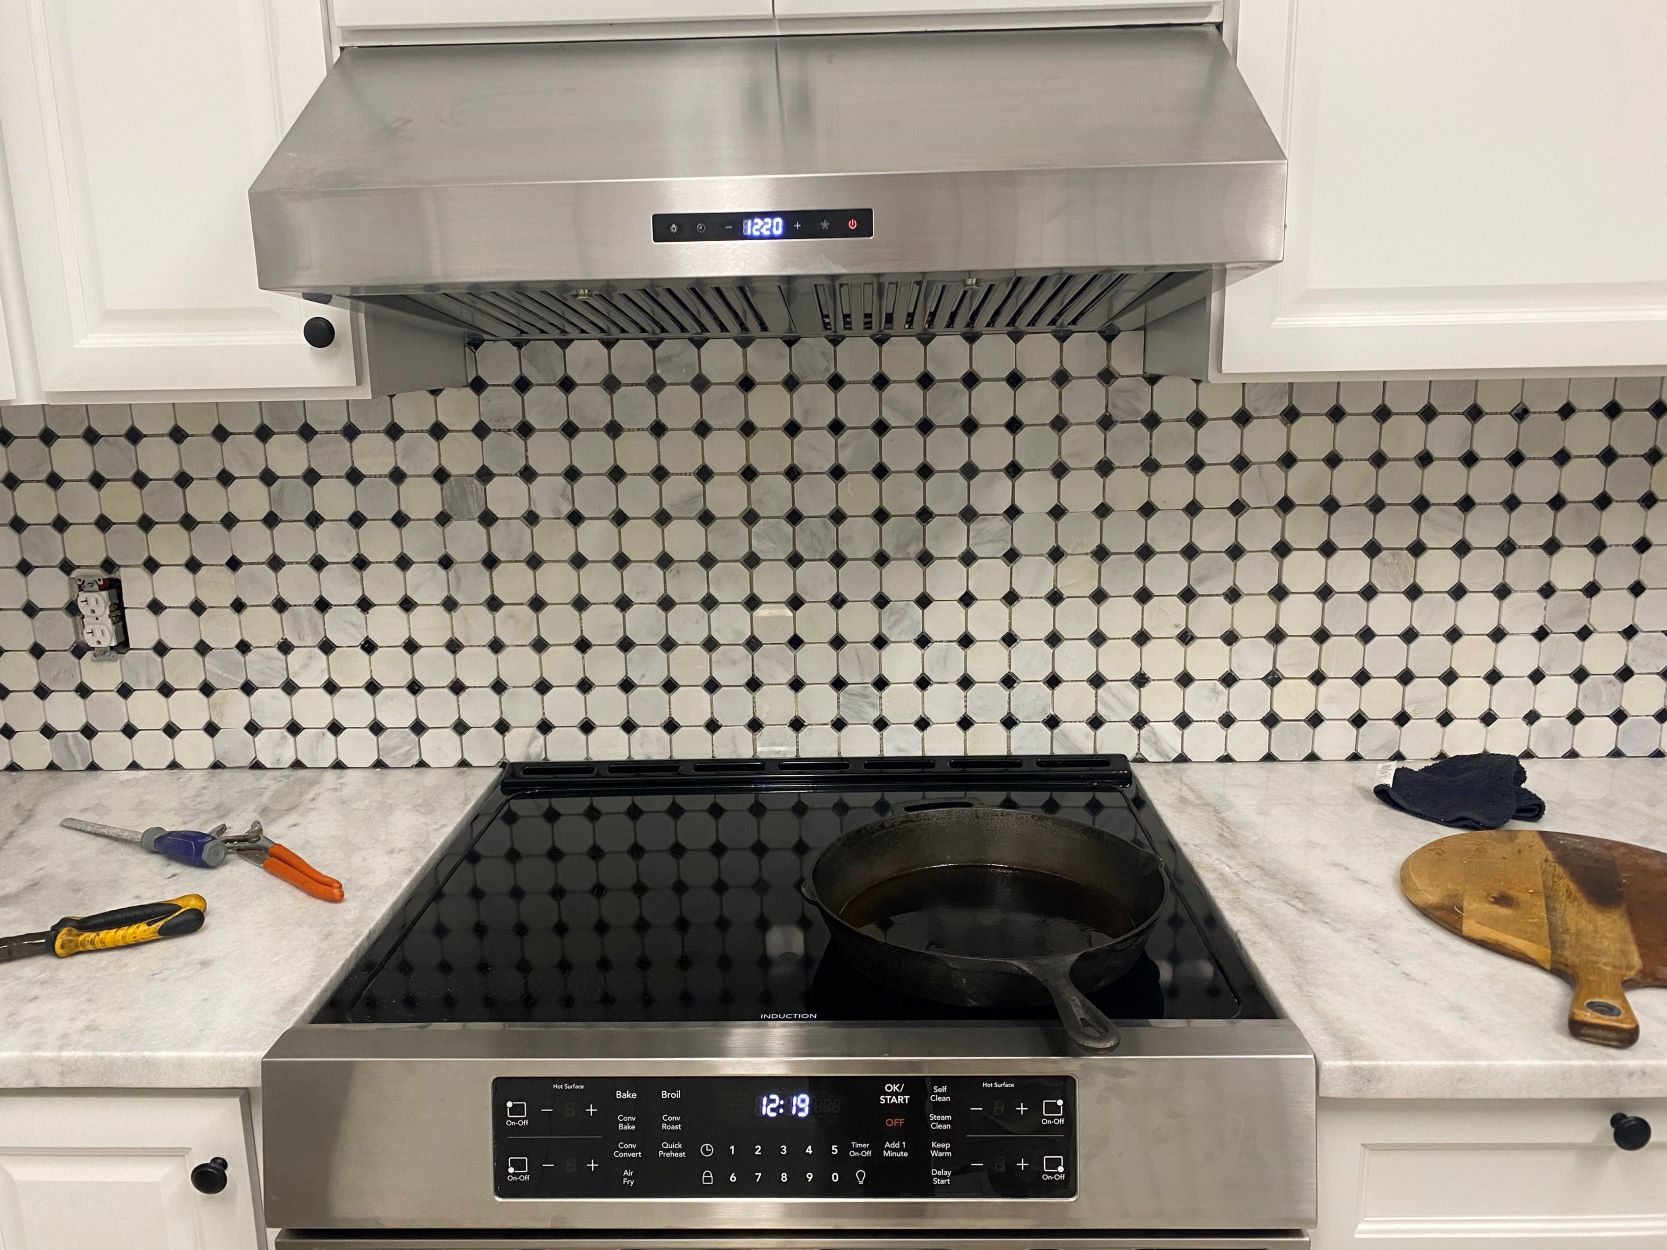
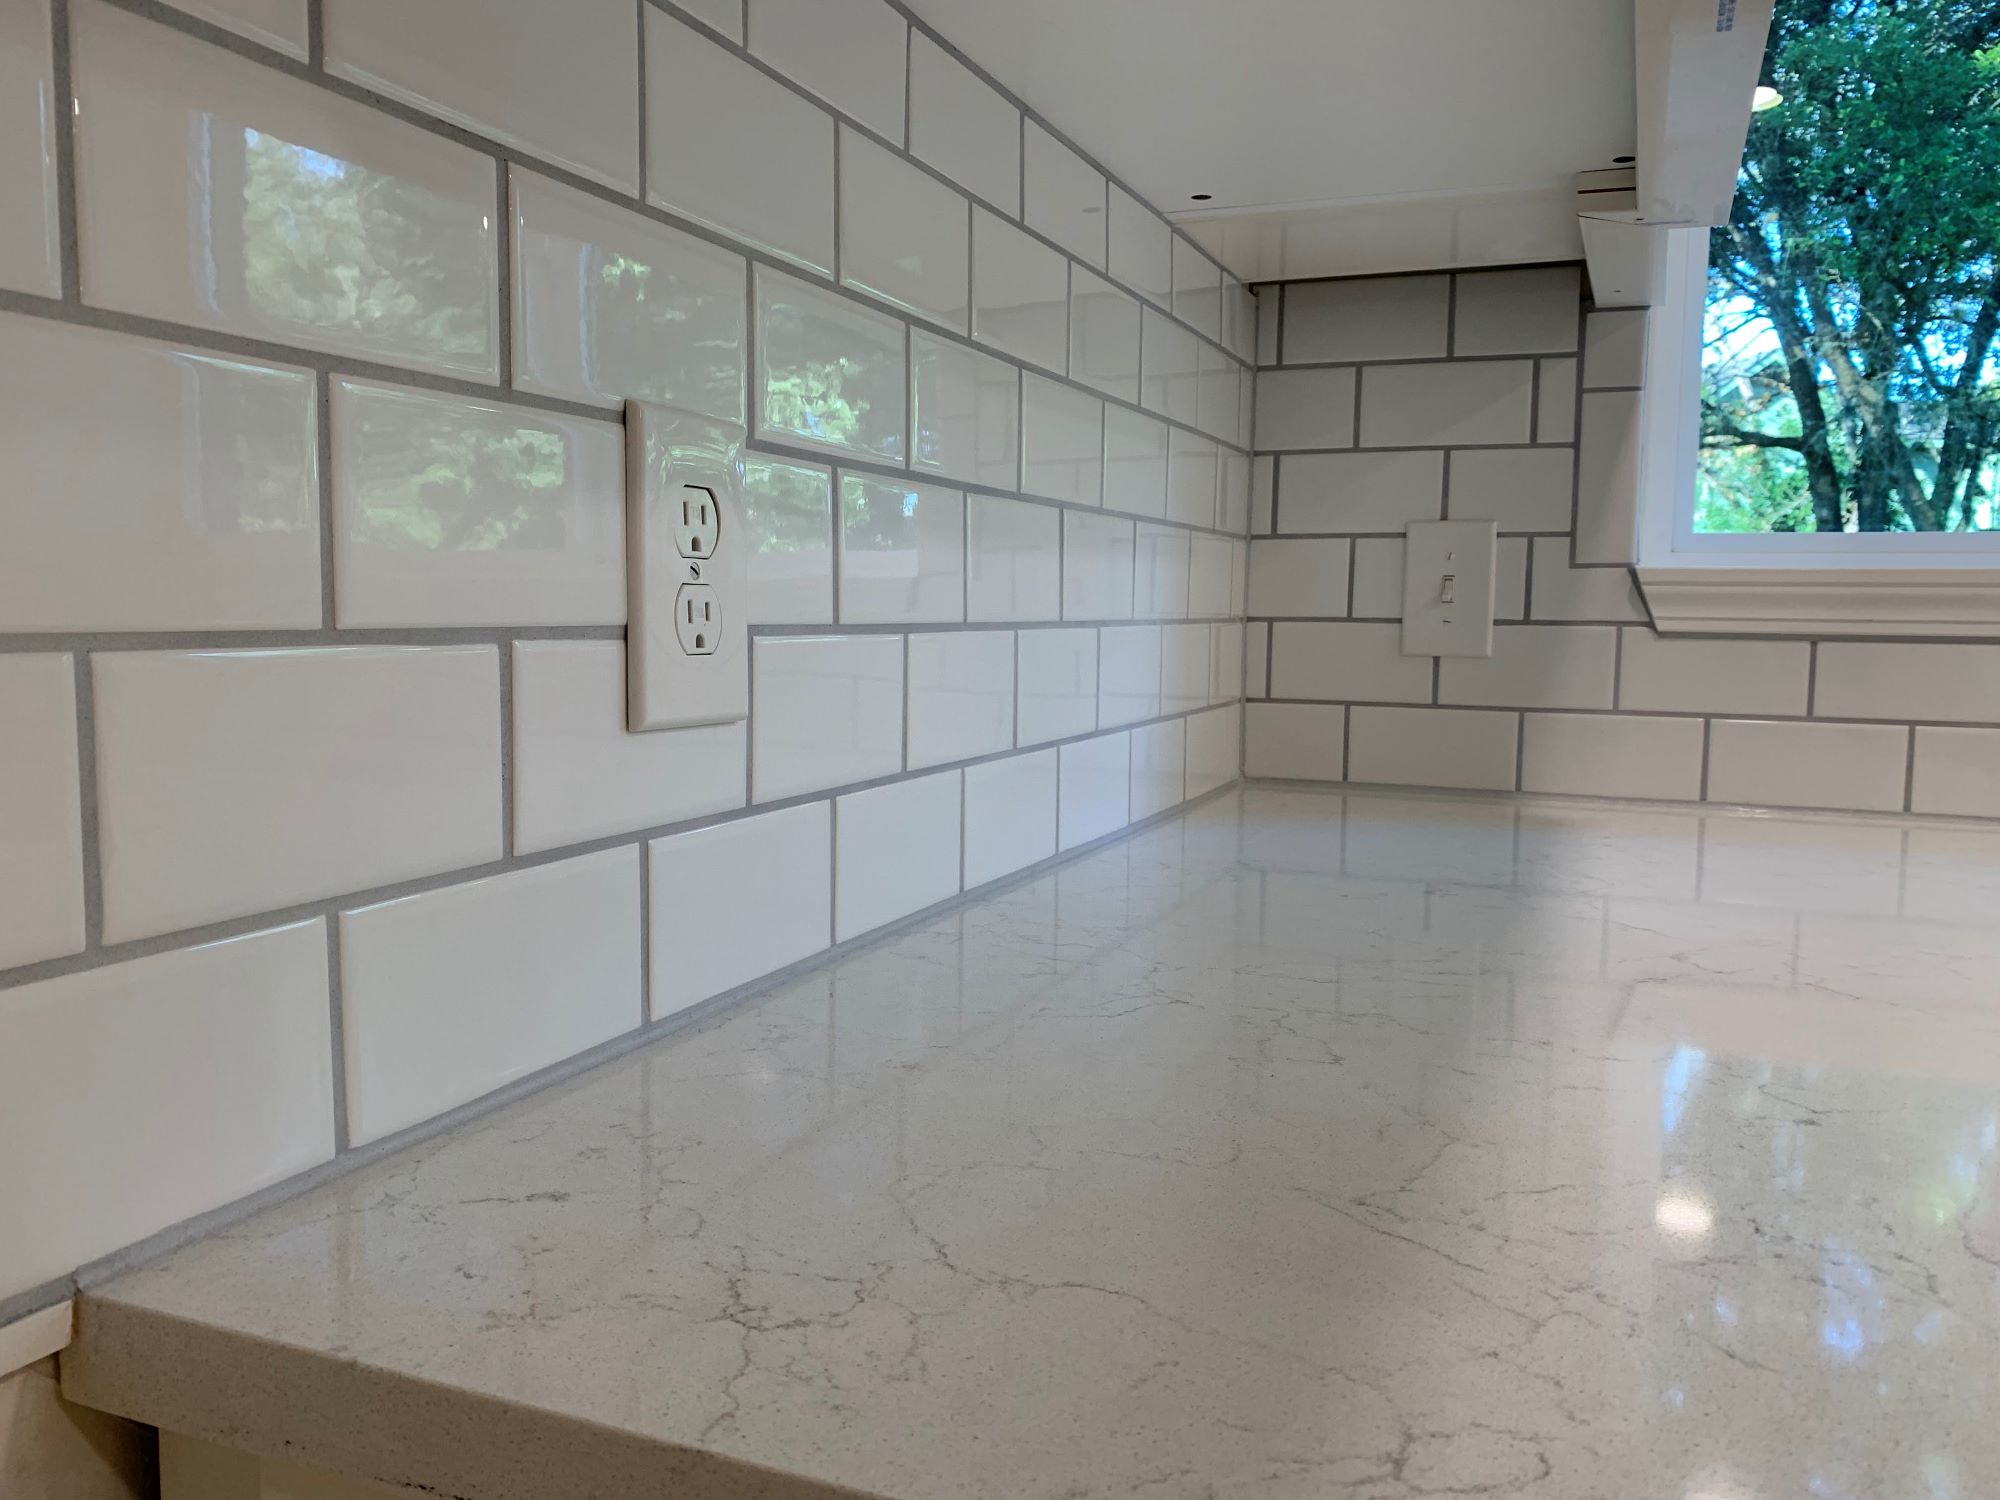
Sealing grout in a kitchen backsplash is a crucial step in maintaining the beauty and functionality of your kitchen. The grout, which fills the gaps between tiles, is highly susceptible to staining, mold, and mildew due to its porous nature. By applying a quality sealer, you can protect the grout from absorbing moisture, dirt, and spills, thus prolonging the lifespan of your backsplash and making it easier to clean.
In this comprehensive guide, we will delve into the essential steps for sealing grout in a kitchen backsplash. From understanding the importance of sealing grout to selecting the right sealer and executing the sealing process, we will equip you with the knowledge and techniques needed to achieve a professional and long-lasting result.
Whether you're a seasoned DIY enthusiast or a homeowner embarking on your first renovation project, mastering the art of sealing grout will undoubtedly enhance the aesthetic appeal and durability of your kitchen backsplash. So, let's roll up our sleeves and explore the world of grout sealing, where attention to detail yields remarkable results.
Key Takeaways:
- Protect your kitchen backsplash by sealing grout to prevent stains, mold, and moisture. Choose the right sealer based on grout type and apply it meticulously for long-lasting results.
- Maintain sealed grout with gentle cleaning, prompt spill cleanup, and periodic reapplication. Avoid harsh chemicals and abrasive tools to preserve the protective barrier.
Read more: How To Clean Backsplash Grout
Importance of Sealing Grout
Sealing grout is a pivotal aspect of maintaining the integrity and aesthetics of your kitchen backsplash. Grout, a mixture of cement, sand, and water, is used to fill the gaps between tiles, providing structural support and preventing moisture from seeping beneath the surface. However, due to its porous composition, grout is inherently vulnerable to staining, discoloration, and the infiltration of dirt, grease, and liquids. Here's why sealing grout is of paramount importance:
-
Stain Prevention: Unsealed grout readily absorbs spills, leading to unsightly stains that can be challenging to remove. By applying a high-quality sealer, you create a protective barrier that repels liquids, preventing them from permeating the grout and causing permanent discoloration.
-
Mold and Mildew Resistance: The moist environment of a kitchen, coupled with food particles and grease, creates an ideal breeding ground for mold and mildew. Sealing the grout inhibits the growth of these unsightly and potentially harmful organisms, promoting a hygienic and visually appealing backsplash.
-
Enhanced Durability: Sealed grout is less prone to cracking, crumbling, and deterioration, thereby extending the lifespan of your backsplash. The sealer reinforces the structural integrity of the grout, making it more resistant to wear and tear from daily use.
-
Ease of Maintenance: A sealed grout surface is significantly easier to clean and maintain. The sealer prevents dirt and grime from becoming deeply embedded in the grout, allowing for effortless cleaning with mild detergents and a soft brush or sponge.
-
Aesthetic Appeal: Sealing the grout enhances the overall appearance of the kitchen backsplash. It preserves the original color of the grout, prevents discoloration, and imparts a subtle sheen, elevating the visual appeal of the tiled surface.
Understanding the significance of sealing grout underscores the importance of this often overlooked step in kitchen maintenance and renovation. By proactively addressing the vulnerabilities of unsealed grout, you can safeguard the beauty and functionality of your kitchen backsplash for years to come.
Choosing the Right Sealer
Selecting the appropriate sealer is a critical decision that significantly influences the effectiveness and longevity of the grout sealing process. With a myriad of sealers available in the market, each boasting unique properties and application methods, it's essential to consider several factors before making your choice.
Water-Based vs. Solvent-Based Sealers
Water-based sealers are renowned for their eco-friendly nature and low odor, making them ideal for indoor use. They offer excellent protection against water and oil-based stains while preserving the natural look of the grout. On the other hand, solvent-based sealers are known for their durability and ability to penetrate deeply into the grout, providing long-lasting protection against stains and moisture. However, they often emit strong fumes during application and require adequate ventilation.
Penetrating vs. Coating Sealers
Penetrating sealers are designed to infiltrate the porous structure of the grout, creating a protective barrier below the surface. This type of sealer is preferred for natural stone tiles and unglazed tiles, as it allows the grout to breathe while repelling stains. Coating sealers, also known as membrane-forming sealers, create a protective film on the surface of the grout. They are suitable for glazed tiles and porcelain, offering enhanced stain resistance and a glossy finish.
Read more: How To Seal Backsplash
Considerations for Specific Grout Types
When choosing a sealer, it's crucial to consider the type of grout you are sealing. Epoxy grout, known for its exceptional durability and resistance to stains, typically requires no sealing. However, cement-based grout, which is more commonly used, necessitates a high-quality sealer to protect it from moisture and staining agents. For sanded grout, a sealer with a thicker consistency is recommended to fill the interstices between the sand particles, while unsanded grout benefits from a sealer with a finer molecular structure to penetrate its smoother surface.
Test and Verify
Before applying the sealer to the entire backsplash, it's prudent to conduct a small-scale test on a discreet area. This allows you to assess the sealer's compatibility with the grout and tiles, its impact on the appearance of the surface, and its effectiveness in repelling stains. By verifying the suitability of the sealer through a test patch, you can proceed with confidence, knowing that the chosen product aligns with your expectations.
In essence, the process of choosing the right sealer involves a thoughtful evaluation of the sealer's composition, application method, compatibility with specific grout types, and its impact on the overall aesthetics of the backsplash. By considering these factors and conducting a preliminary test, you can make an informed decision that ensures the optimal protection and enhancement of your kitchen backsplash.
Preparing the Grout
Before applying the sealer, thorough preparation of the grout is essential to ensure optimal adhesion and penetration of the sealing product. The following steps outline the meticulous process of preparing the grout for sealing:
-
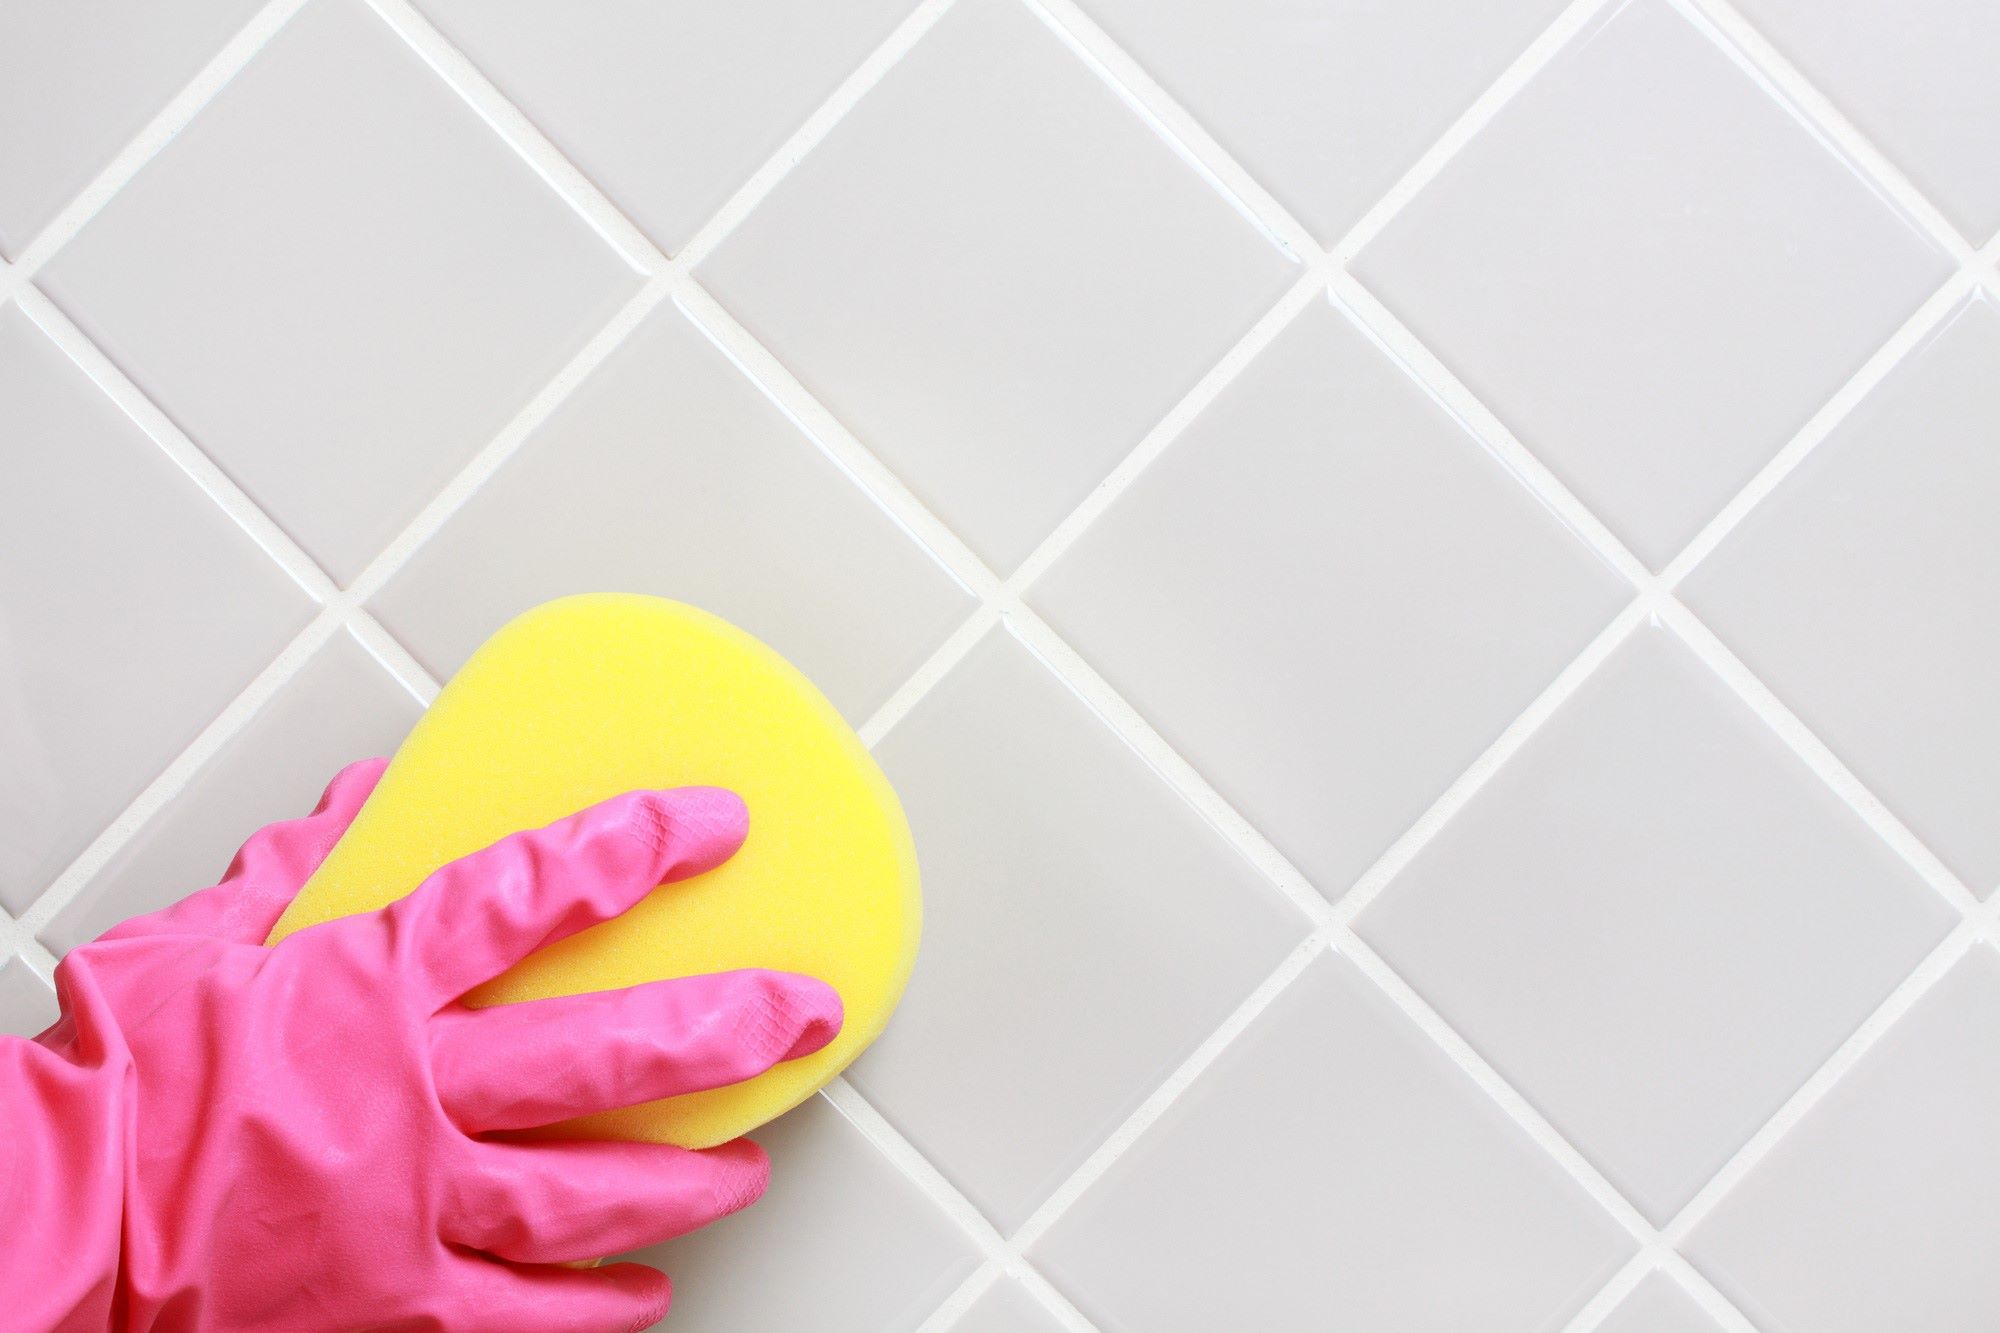
Cleaning the Surface: Begin by cleaning the entire backsplash area to remove any dirt, grease, or residues that may have accumulated on the grout and tiles. A mild detergent or specially formulated grout cleaner can be used in conjunction with a soft-bristled brush to gently scrub the grout lines and tiles. Rinse the surface thoroughly with clean water and allow it to dry completely before proceeding.
-
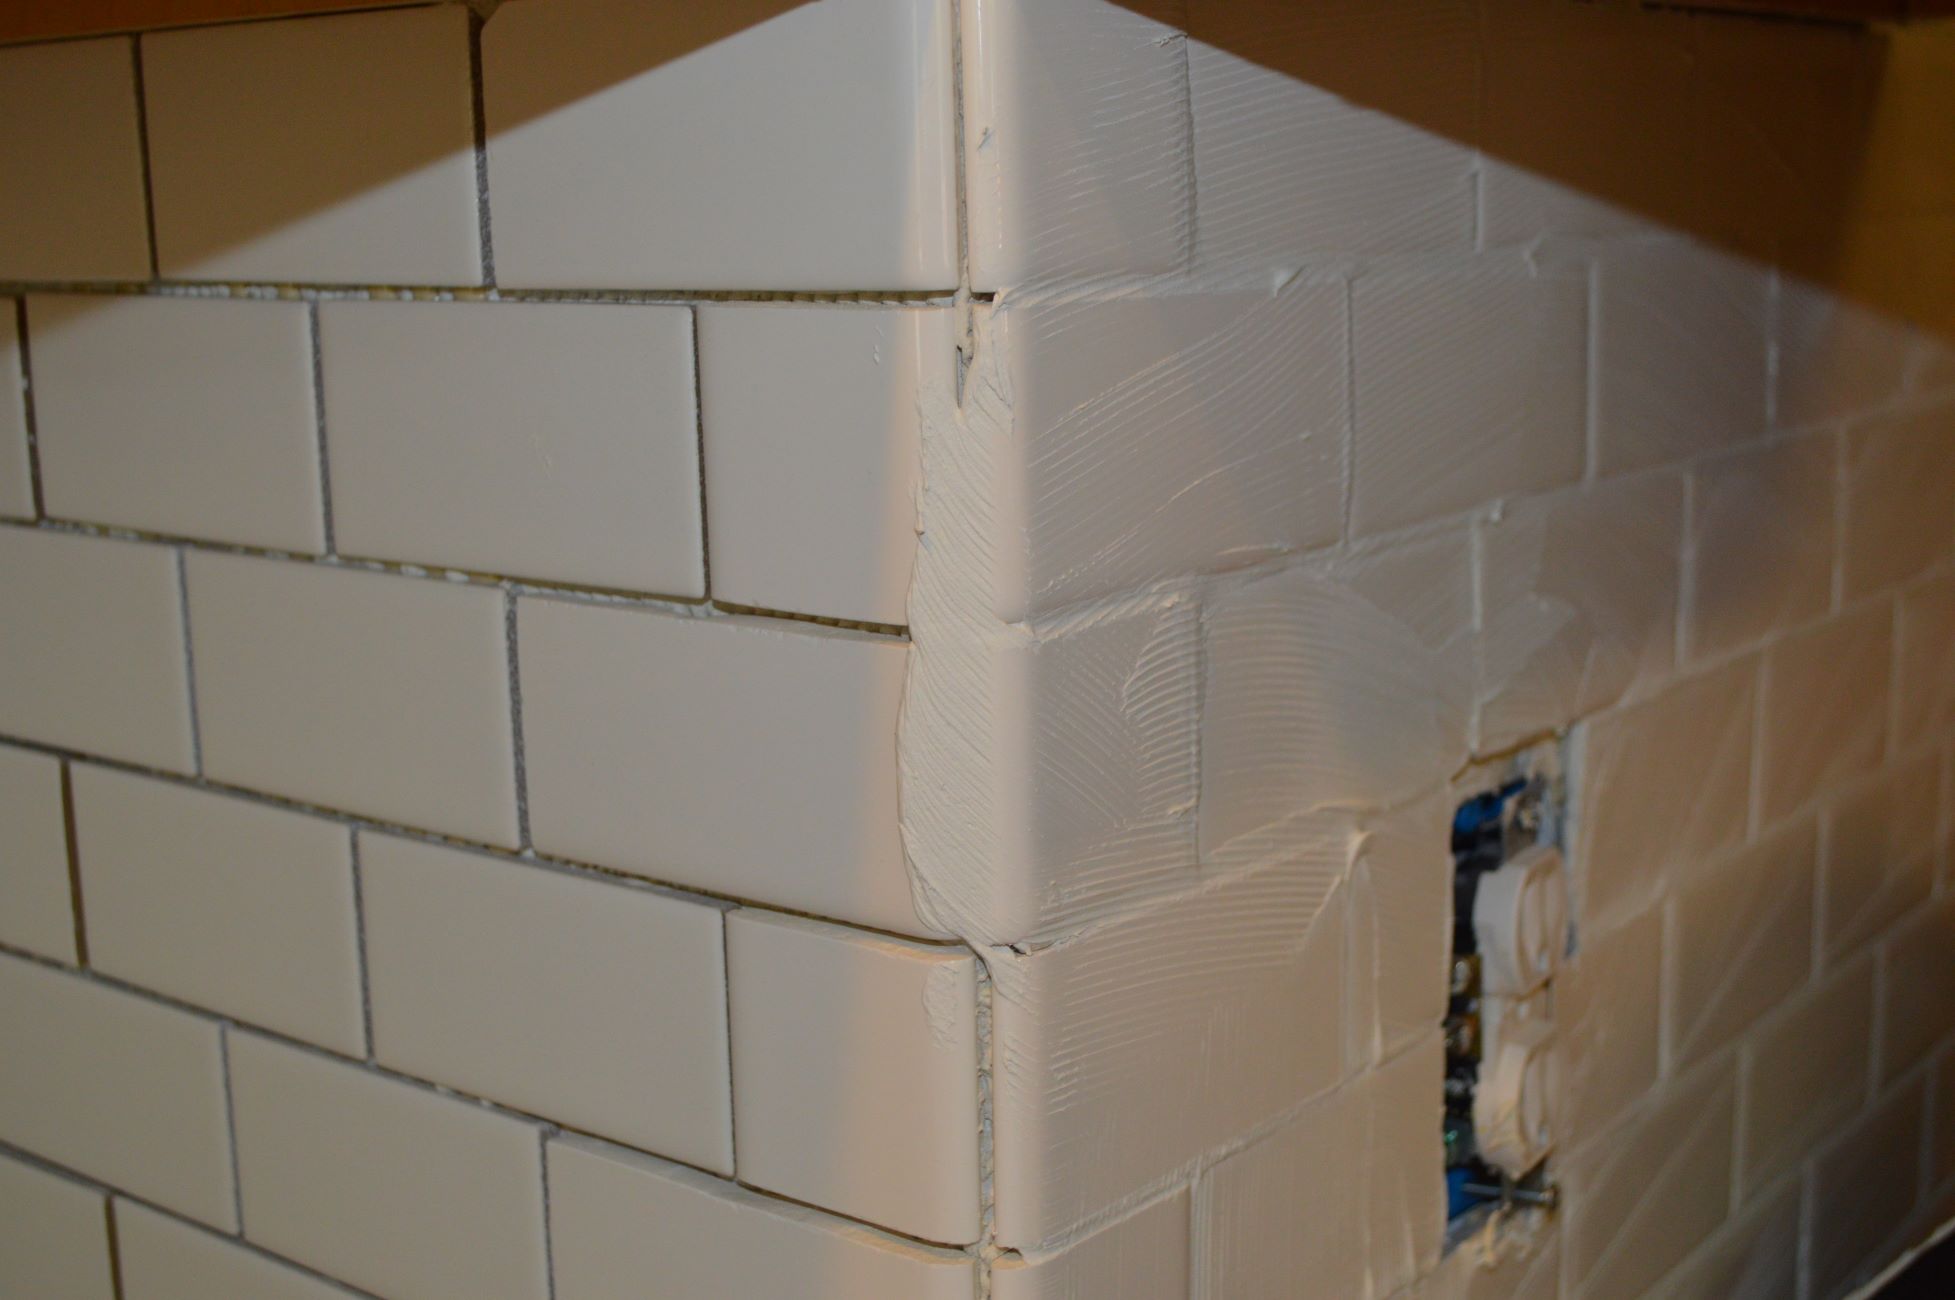
Inspecting for Damage: Carefully examine the grout lines for any signs of damage, such as cracks, crumbling, or gaps. Address any areas of concern by repairing or regrouting as needed. It's crucial to ensure that the grout is in good condition before applying the sealer to achieve uniform protection and aesthetic appeal.
-
Allowing Sufficient Drying Time: If the grout has been recently installed or repaired, it's imperative to allow ample time for it to cure and dry completely. Follow the manufacturer's recommendations regarding the drying time for the specific type of grout used. Adequate drying time is essential to prevent moisture from becoming trapped beneath the sealer, which could compromise its effectiveness.
-
Testing Porosity: Assess the porosity of the grout by sprinkling a few drops of water onto the surface. If the water beads up and does not readily absorb into the grout, it indicates that the grout is already sealed or has a low level of porosity. In such cases, the existing sealer may need to be stripped before resealing. Conversely, if the water is absorbed quickly, the grout is ready to be sealed.
-
Protecting Adjacent Surfaces: To prevent accidental sealer overspray or drips from affecting adjacent surfaces, such as countertops or cabinets, it's advisable to mask off these areas with painter's tape and plastic sheeting. This precautionary measure ensures that the sealer is applied exclusively to the grout lines without causing unintended damage to surrounding surfaces.
By meticulously preparing the grout through thorough cleaning, inspection, drying, porosity testing, and surface protection, you establish the ideal foundation for the subsequent application of the sealer. This diligent preparation sets the stage for a successful grout sealing process, ultimately contributing to the longevity and visual appeal of your kitchen backsplash.
Applying the Sealer
Once the grout is meticulously prepared, the application of the sealer marks a pivotal stage in the process of protecting and enhancing the kitchen backsplash. The following steps outline the precise and methodical approach to applying the sealer to the grout:
-
Selecting the Appropriate Applicator: Choose a suitable applicator for the sealer based on the size of the grout lines and the type of sealer being used. Common applicators include small foam brushes, artist brushes, or specialized grout sealing applicator bottles with precision tips. The goal is to apply the sealer exclusively to the grout lines while minimizing contact with the tile surfaces.
-
Pouring and Dispensing the Sealer: Pour a moderate amount of the sealer into a shallow container or directly into the applicator bottle, depending on the chosen applicator. Exercise caution to avoid spillage and waste, as some sealers have a thin consistency and can flow rapidly.
-
Commencing the Application: Begin applying the sealer to the grout lines from a designated starting point, working in small sections to ensure thorough coverage. Hold the applicator at a slight angle to facilitate the controlled flow of the sealer along the grout lines.
-
Even Distribution and Penetration: Apply the sealer in smooth, even strokes, allowing it to penetrate the grout while avoiding excessive buildup. The objective is to achieve uniform coverage without leaving excess sealer on the tile surfaces. Pay particular attention to any areas of the grout that exhibit higher porosity, ensuring that they receive adequate sealer penetration.
-
Addressing Excess Sealer: Promptly remove any excess sealer that inadvertently comes into contact with the tile surfaces using a clean, dry cloth or paper towel. Swift action prevents the sealer from drying on the tiles, which could result in hazy or streaky residues.
-
Allowing Dwell Time: After the initial application, allow the sealer to dwell on the grout for the duration specified by the manufacturer. This dwell time enables the sealer to bond with the grout, forming a protective barrier against stains and moisture.
-
Applying Additional Coats (if necessary): Depending on the type of sealer and the porosity of the grout, a second coat of sealer may be recommended. Follow the manufacturer's guidelines regarding the application of multiple coats, ensuring that each coat is applied and allowed to dwell as directed.
-
Final Inspection and Drying: Once the sealer has dwelled for the prescribed duration, inspect the entire backsplash to ensure that the grout appears uniformly sealed and that no residues are present on the tiles. Allow the sealed grout to dry completely before resuming regular use and cleaning of the backsplash.
By meticulously following these steps, the application of the sealer culminates in a meticulously sealed grout, fortified against stains and moisture, and contributing to the enduring beauty and functionality of the kitchen backsplash.
Use a silicone-based grout sealer to protect your kitchen backsplash from stains and water damage. Apply the sealer with a small brush, making sure to cover all the grout lines. Wipe off any excess sealer from the tiles before it dries.
Read more: How To Seal Floor Grout
Tips for Maintaining Sealed Grout
Maintaining sealed grout is essential to preserve its protective properties and prolong the pristine appearance of your kitchen backsplash. Here are valuable tips to ensure the longevity and effectiveness of the sealed grout:
-
Regular Cleaning: Establish a routine for cleaning the sealed grout to prevent the accumulation of dirt, grease, and residues. Use a mild pH-neutral cleaner or a specially formulated grout cleaner to gently scrub the grout lines. Avoid harsh abrasives or acidic cleaners, as they can compromise the integrity of the sealer.
-
Avoiding Harsh Chemicals: Refrain from using harsh chemical cleaners or bleach on sealed grout, as these substances can degrade the sealer over time, diminishing its protective capabilities. Opt for gentle cleaning solutions that are compatible with sealed surfaces to maintain the efficacy of the sealer.
-
Prompt Spill Cleanup: Immediately clean up spills and splatters on the backsplash to prevent them from seeping into the grout. The non-porous barrier created by the sealer facilitates easy cleanup, minimizing the risk of stains and discoloration.
-
Gentle Scrubbing: When scrubbing the sealed grout, use a soft-bristled brush or a non-abrasive scrubbing pad to avoid damaging the sealer. Vigorous scrubbing with abrasive tools can wear down the protective layer of the sealer, rendering it less effective over time.
-
Periodic Inspection: Regularly inspect the sealed grout for any signs of wear, chipping, or areas where the sealer may have worn off. Address any compromised areas promptly by resealing the affected grout lines to maintain consistent protection.
-
Reapplication of Sealer: Depending on the type of sealer used and the level of usage, consider reapplying the sealer to the grout at regular intervals as recommended by the manufacturer. This proactive measure ensures that the grout remains adequately protected against stains and moisture.
-
Avoiding Abrasive Tools: When cleaning the sealed grout, refrain from using abrasive tools such as steel wool or harsh scouring pads, as they can scratch the surface of the sealer, diminishing its efficacy and compromising the appearance of the grout.
-
Ventilation: Ensure proper ventilation in the kitchen to minimize the buildup of moisture, which can compromise the integrity of the sealed grout. Adequate ventilation contributes to the longevity of the sealer and the overall health of the backsplash.
By adhering to these maintenance tips, you can safeguard the integrity of the sealed grout, prolong the lifespan of your kitchen backsplash, and enjoy a consistently pristine and visually appealing tiled surface.
Frequently Asked Questions about How To Seal Grout In Kitchen Backsplash
Was this page helpful?
At Storables.com, we guarantee accurate and reliable information. Our content, validated by Expert Board Contributors, is crafted following stringent Editorial Policies. We're committed to providing you with well-researched, expert-backed insights for all your informational needs.


0 thoughts on “How To Seal Grout In Kitchen Backsplash”