
Articles
How To Get Peel And Stick Tile To Stick
Modified: January 5, 2024
Learn the best techniques and tips on how to get peel and stick tile to stick in this informative article. Discover the secret to long-lasting adhesion for your home improvement projects.
(Many of the links in this article redirect to a specific reviewed product. Your purchase of these products through affiliate links helps to generate commission for Storables.com, at no extra cost. Learn more)
Introduction
Welcome to our comprehensive guide on how to get peel and stick tiles to stick! Peel and stick tiles are a fantastic solution for anyone looking to update their floors or walls without the hassle of traditional tile installation. With their easy application and wide range of styles and patterns, these tiles have become increasingly popular in recent years.
However, one common challenge that many people face is getting the peel and stick tiles to stay in place. Whether you’ve experienced tiles that keep peeling up or you’re a first-time installer looking for tips, this article is here to help.
In this guide, we will walk you through the steps to properly prepare the surface, apply the tiles, and ensure long-lasting adhesion. By following these guidelines, you’ll be able to achieve a professional-looking finish that will stand the test of time.
So, without further ado, let’s dive into the world of peel and stick tiles and discover the secrets to getting them to stick securely!
Key Takeaways:
- Properly preparing the surface, cleaning it thoroughly, and applying primer if necessary are crucial steps to ensure peel and stick tiles stick securely and last for years.
- Aligning the tiles correctly, applying even pressure, and addressing corners and edges with precision are key to achieving a professional-looking and long-lasting peel and stick tile installation.
Read more: What Is Peel And Stick Tile
Understanding Peel and Stick Tiles
Before we delve into the process of getting peel and stick tiles to stick, it’s important to understand what these tiles are and how they work.
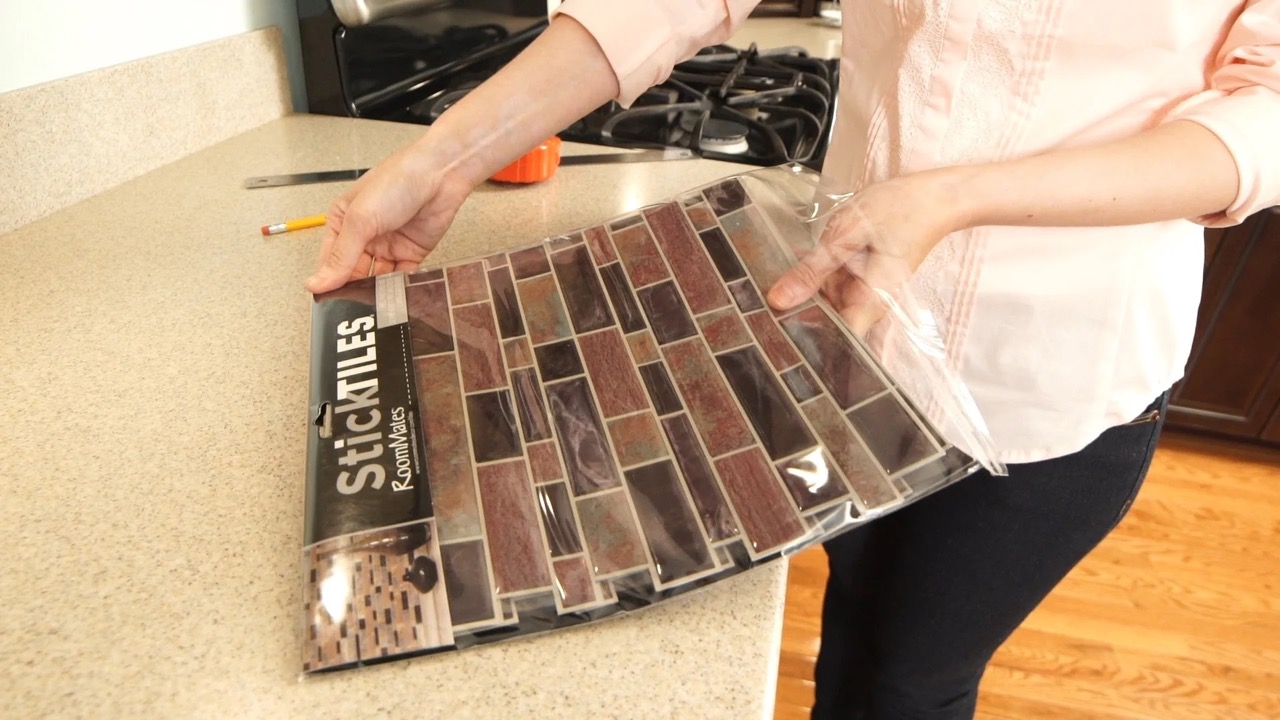
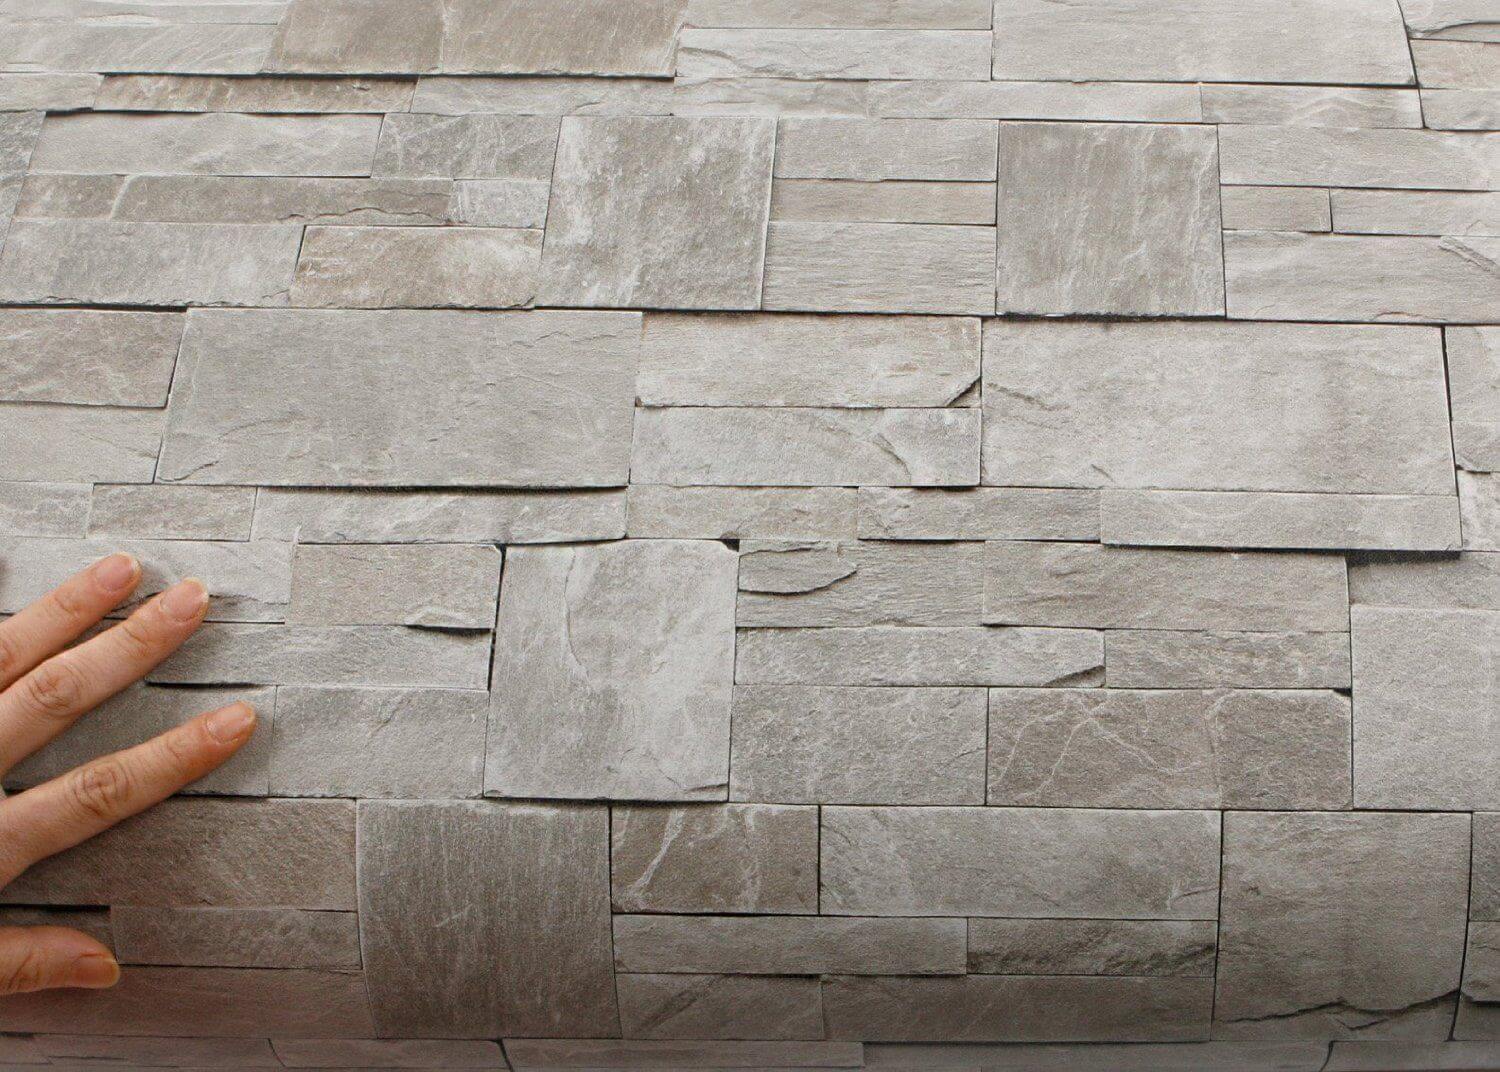
Peel and stick tiles, also known as self-adhesive tiles, are a type of flooring or wall covering that comes with an adhesive backing. This adhesive allows the tiles to be easily applied to a clean and smooth surface without the need for additional glue or mortar.
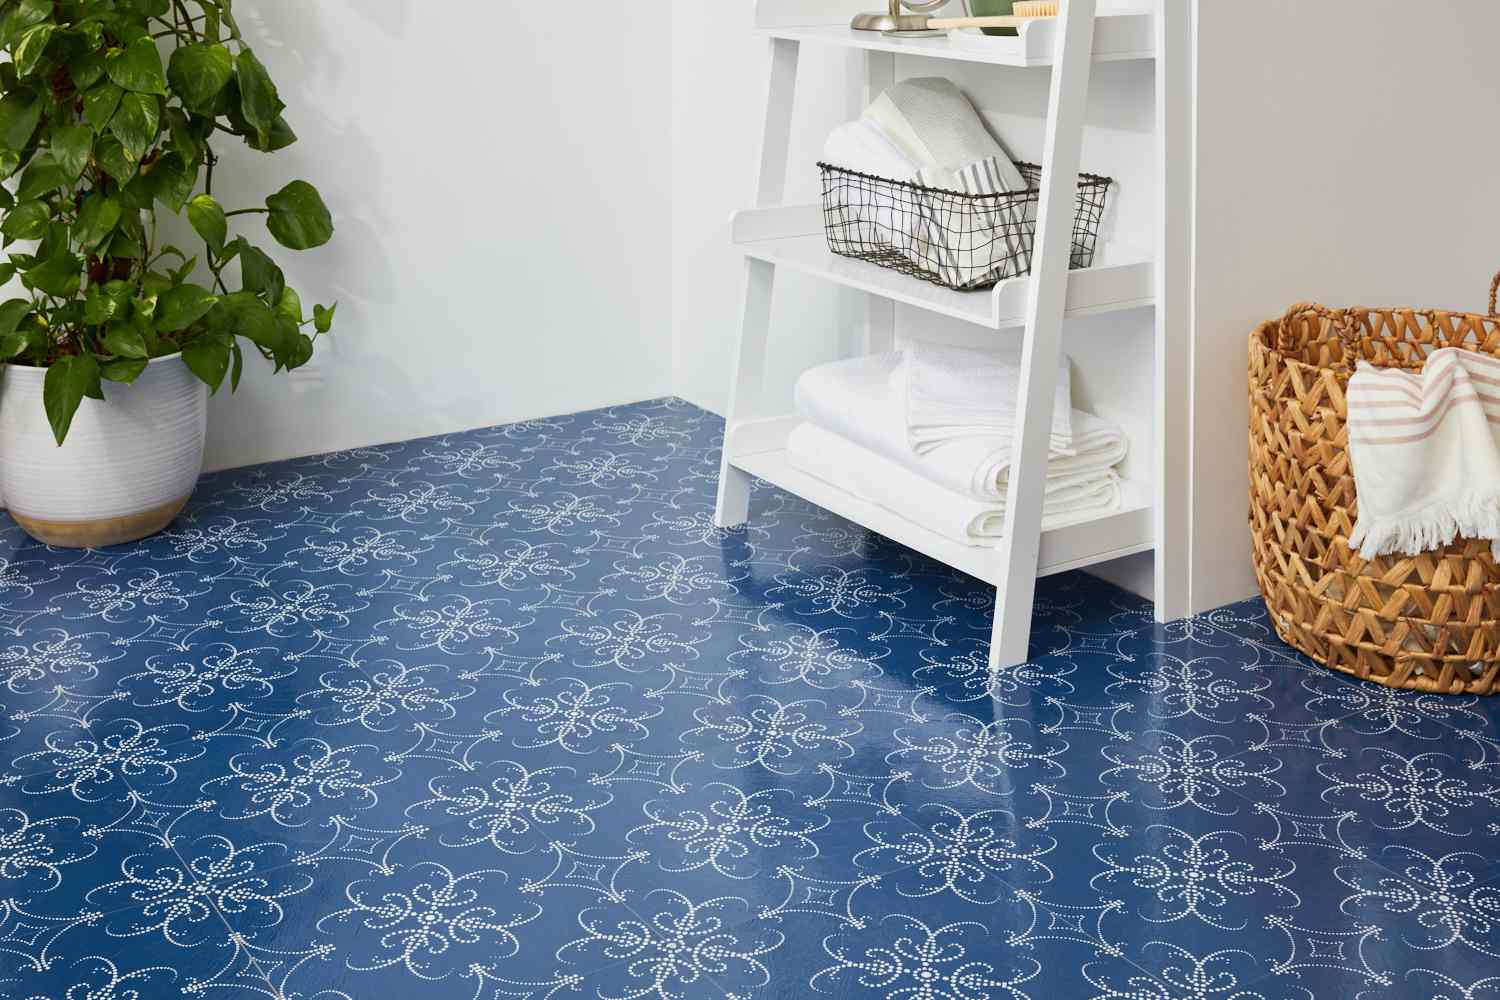
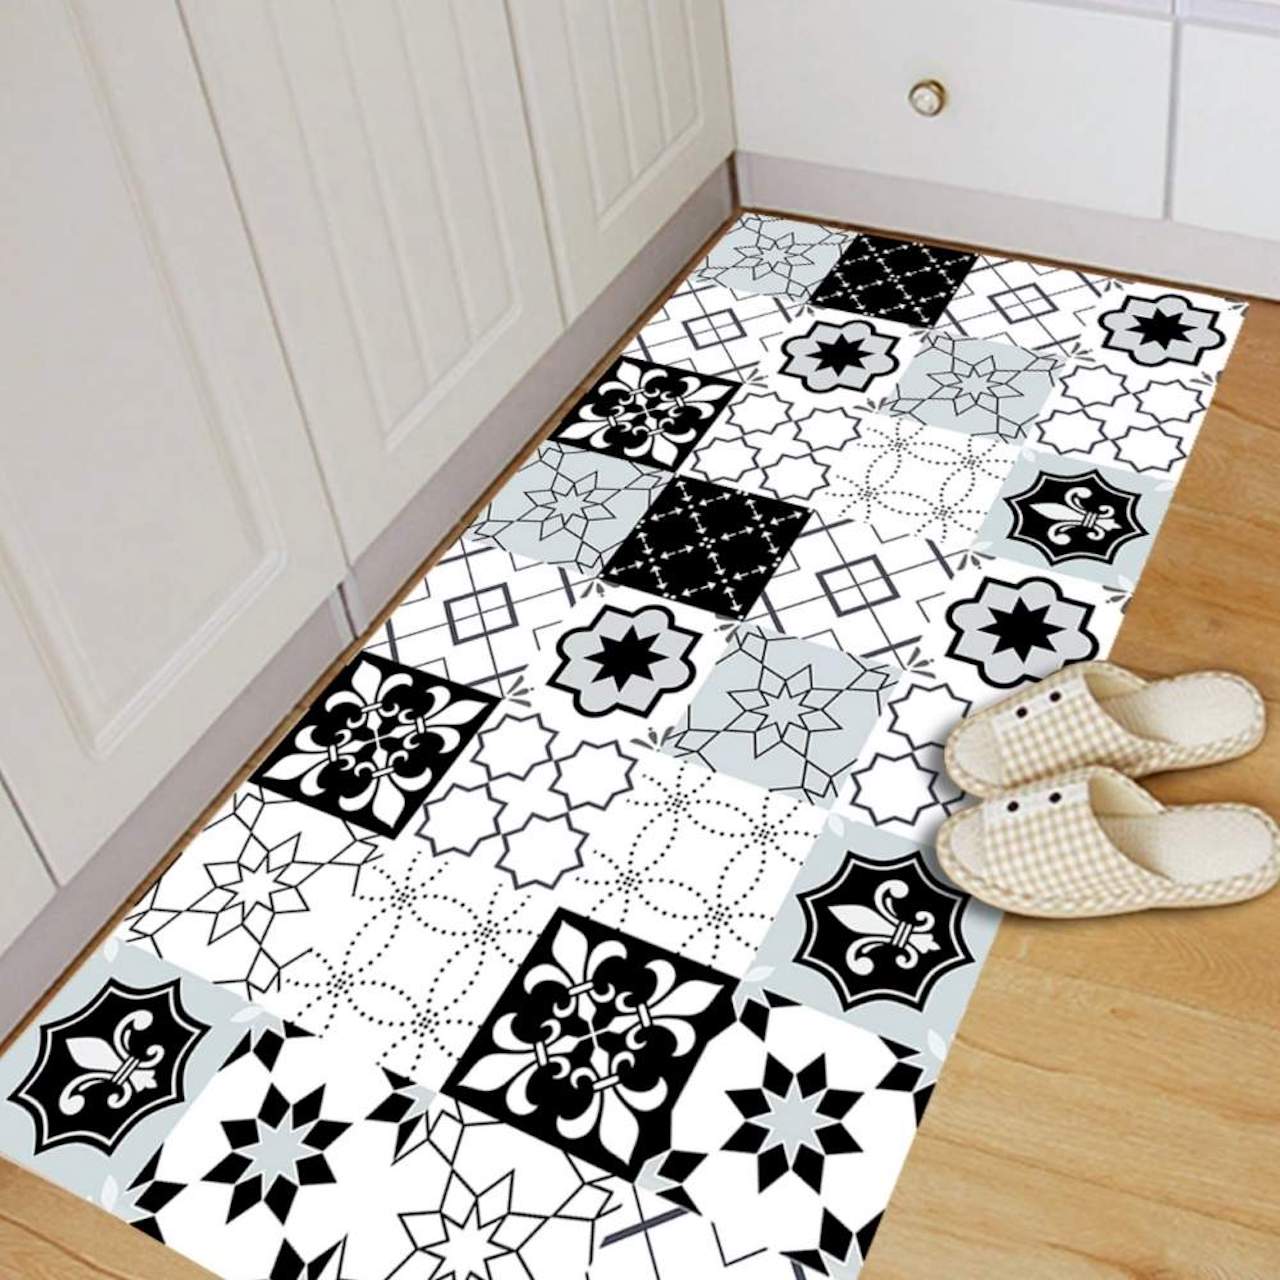
These tiles are typically made from vinyl or a similar flexible material, making them lightweight and easy to handle. They come in a wide variety of colors, patterns, and designs, allowing you to find the perfect style to match your aesthetic preferences.
The adhesive used on peel and stick tiles is usually pressure-sensitive, meaning that it requires pressure to activate its stickiness. This is why it’s crucial to properly press and smooth the tiles during installation to ensure a strong bond between the tile and the surface.
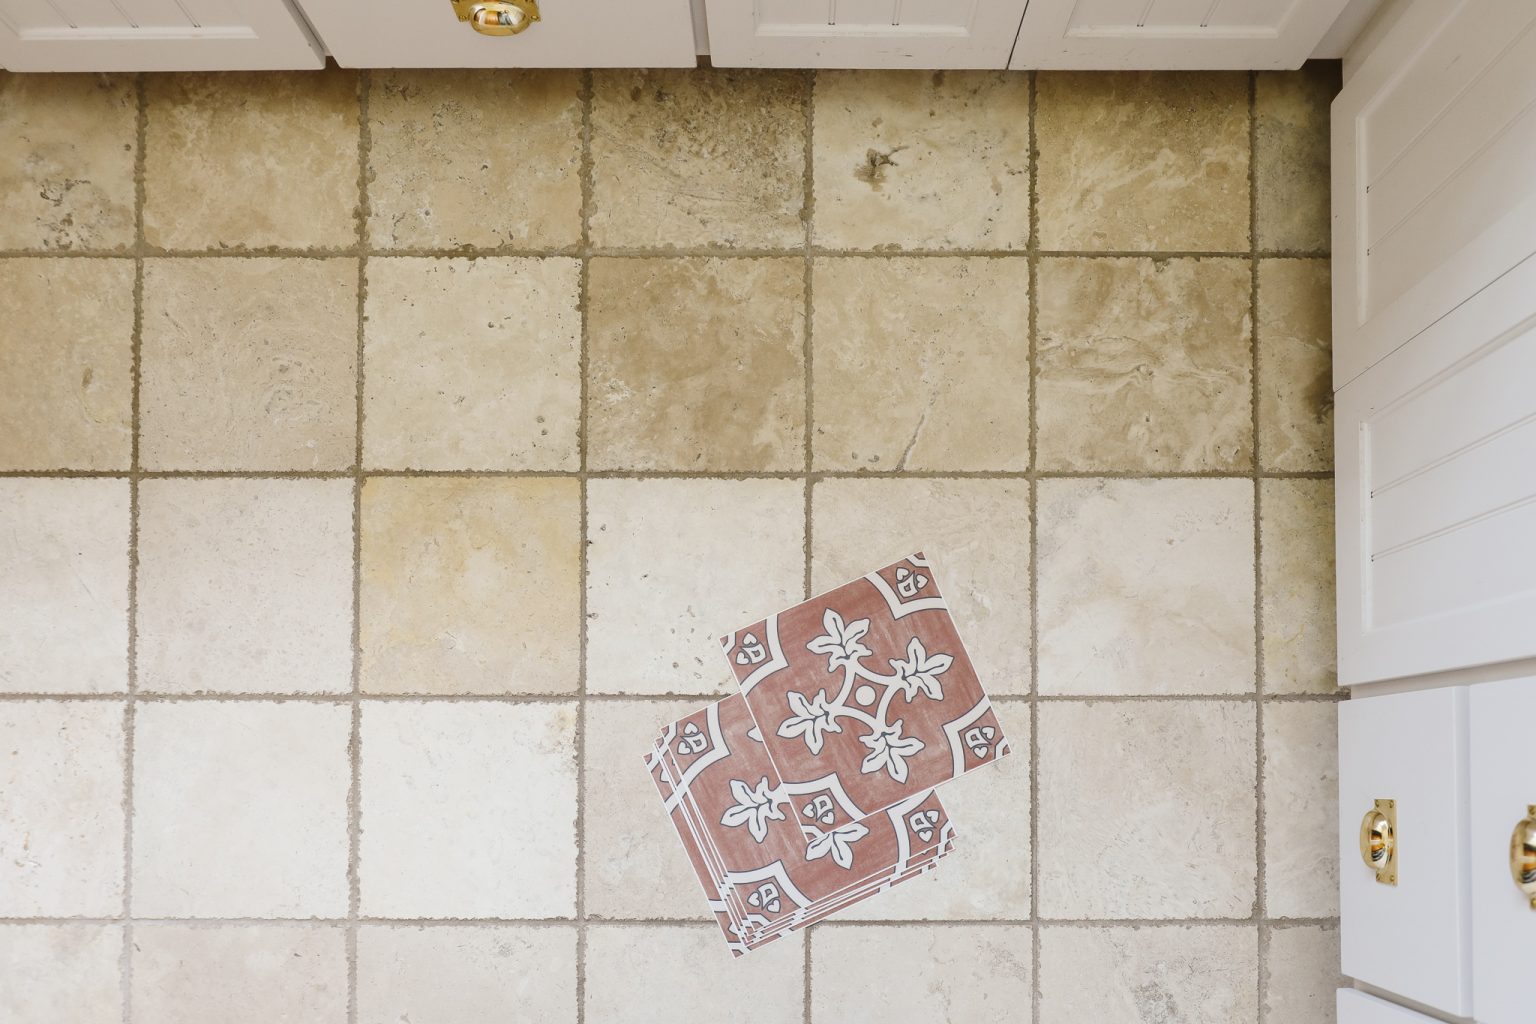
It’s important to note that peel and stick tiles are best suited for smooth and clean surfaces such as plywood, concrete, or existing tiles. If the surface is uneven or damaged, it’s recommended to repair or prepare it before installing the tiles to ensure proper adhesion.
Additionally, peel and stick tiles are not recommended for high-moisture areas, such as shower walls or outdoor installations, as the adhesive may not hold up well in these conditions. Always check the manufacturer’s instructions and specifications for the recommended usage and installation guidelines.
Now that you have a better understanding of what peel and stick tiles are, let’s move on to the preparation process to ensure a successful installation.
Preparing the Surface
Proper surface preparation is crucial for the successful installation of peel and stick tiles. Whether you’re working on a floor or a wall, taking the time to prepare the surface will ensure a smooth and long-lasting result. Follow these steps to prepare the surface:
- Clean the surface: Start by removing any debris, dirt, or dust from the surface where you’ll be installing the peel and stick tiles. Use a broom, vacuum, or damp cloth to ensure a clean and smooth surface. This step is crucial as any dirt or debris can prevent the tiles from adhering properly.
- Inspect for damage: Check the surface for any cracks, holes, or other damage. If you come across any, it’s essential to repair them before proceeding with the installation. Fill in any holes or cracks with an appropriate patching compound and let it dry completely before moving forward.
- Smooth out uneven areas: If the surface has any uneven areas or bumps, it’s necessary to level them out. Use a leveling compound or self-leveling concrete to create a flat and smooth surface. Follow the manufacturer’s instructions for mixing and applying the leveling compound.
- Sand or scuff the surface (if needed): In some cases, especially when working with glossy or slippery surfaces, it may be necessary to lightly sand or scuff the surface. This step helps to create a better bond between the surface and the adhesive on the peel and stick tiles. Use sandpaper or a sanding block to roughen up the surface slightly.
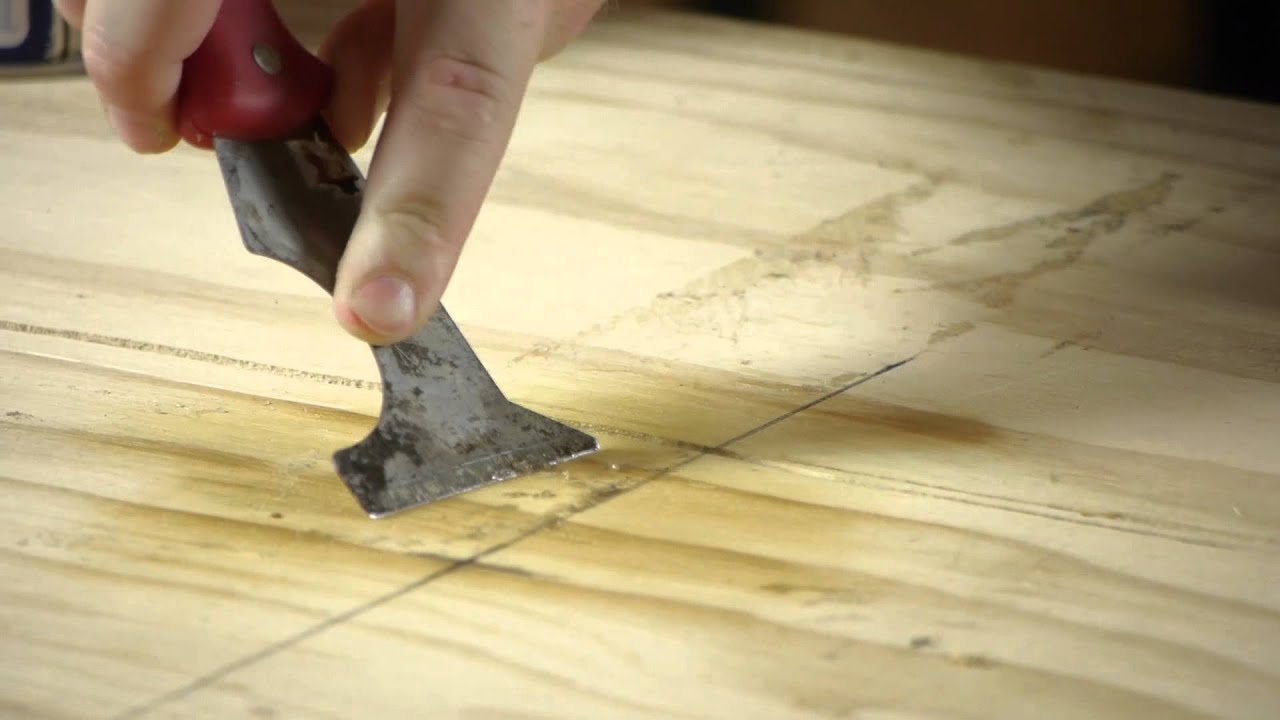
- Remove any existing floor coverings (if applicable): If you’re installing peel and stick tiles over an existing floor, such as laminate or vinyl, it’s essential to remove them before proceeding. Use a scraper or a floor adhesive remover to lift and remove the existing floor coverings. Make sure to clean and prepare the subsurface according to the previous steps.
By following these steps, you’ll ensure that the surface is clean, smooth, and ready to receive the peel and stick tiles. Proper surface preparation is the foundation for a successful installation, so take the time to complete this step carefully.
Cleaning the Surface
After preparing the surface, the next crucial step in getting peel and stick tiles to stick is cleaning the surface thoroughly. Cleaning the surface removes any remaining dirt, grease, or residue that may interfere with the adhesive’s effectiveness. Follow these steps to clean the surface properly:
- Sweep or vacuum: Begin by removing loose dirt and debris from the surface using a broom or vacuum cleaner. This step ensures that larger particles won’t get in the way during the cleaning process.
- Use a mild detergent solution: Prepare a mixture of warm water and a mild detergent, such as dish soap or floor cleaner. Avoid using harsh chemicals or abrasive cleaners as they may damage the surface or affect the adhesive properties of the tiles.
- Apply and scrub: Dampen a sponge or mop in the detergent solution and gently scrub the surface. Pay close attention to any areas with stains or grime, and make sure to clean corners and edges thoroughly. If necessary, use a soft-bristle brush or scrub pad for stubborn dirt or stains, taking care not to scratch the surface.
- Rinse with clean water: After scrubbing, rinse the surface with clean water to remove any detergent residues. Use a clean sponge or mop dampened with water to wipe away the soap and ensure a residue-free surface.
- Dry the surface: Allow the surface to air dry completely before proceeding with the installation. This step ensures that there is no moisture left on the surface, which can interfere with the adhesive’s bonding capabilities.
It’s important to note that different surfaces may require specific cleaning methods or products. Always refer to the manufacturer’s instructions for any specific cleaning recommendations. Additionally, some surfaces, like tile or laminate, may require a more thorough cleaning process, including using a degreaser or a specialized cleaner.
By thoroughly cleaning the surface, you’ll remove any dirt, grease, or contaminants that could compromise the adhesive’s bond with the peel and stick tiles. A clean surface provides the best environment for the tiles to adhere securely and ensures a successful installation.
Applying Primer (if necessary)
In certain cases, applying a primer may be necessary before installing peel and stick tiles. A primer helps create a better bonding surface, particularly on porous or difficult-to-adhere-to surfaces. Additionally, it can help improve the adhesion and longevity of the tiles. Here are the steps to apply primer, if necessary:
- Check the tile manufacturer’s instructions: Before applying a primer, review the peel and stick tile manufacturer’s guidelines to determine if they recommend using a primer for your specific surface.
- Clean the surface: Ensure that the surface is clean, dry, and free from any dirt, dust, or debris. Use the same cleaning process mentioned earlier in this guide to prepare the surface.
- Select the appropriate primer: Choose a primer that is compatible with the surface you are working on. There are various types of primers available, such as acrylic-based or latex-based primers. Consult with your local hardware store or follow the manufacturer’s recommendations to select the right primer for your project.
- Apply the primer: Follow the instructions on the primer packaging for the application process. Generally, you will use a paintbrush or a roller to evenly apply the primer to the surface. Ensure complete and even coverage, taking care not to apply too much primer and create puddles or drips.
- Allow the primer to dry: Give the primer ample time to dry completely. Follow the manufacturer’s instructions for the recommended drying time. This step is crucial as applying peel and stick tiles onto a wet or tacky primer can affect the adhesion process and compromise the tile’s longevity.
It’s important to note that not all surfaces require a primer for peel and stick tile installation. Primarily, you may consider using a primer when working on highly porous surfaces, such as plywood or concrete, or on surfaces that are known to have adhesion issues.
Always check the manufacturer’s instructions and recommendations before deciding to use a primer. They will provide valuable guidance on whether a primer is necessary for your specific project and the type of primer that should be used.
By applying a primer (if necessary), you can maximize the adhesive bond between the surface and the peel and stick tiles, ensuring a more durable and long-lasting installation.
Read more: How To Remove A Peel And Stick Tile
Installing Peel and Stick Tiles
Now that the surface is properly prepared and, if necessary, primed, it’s time to start installing the peel and stick tiles. Follow these step-by-step instructions for a successful installation:
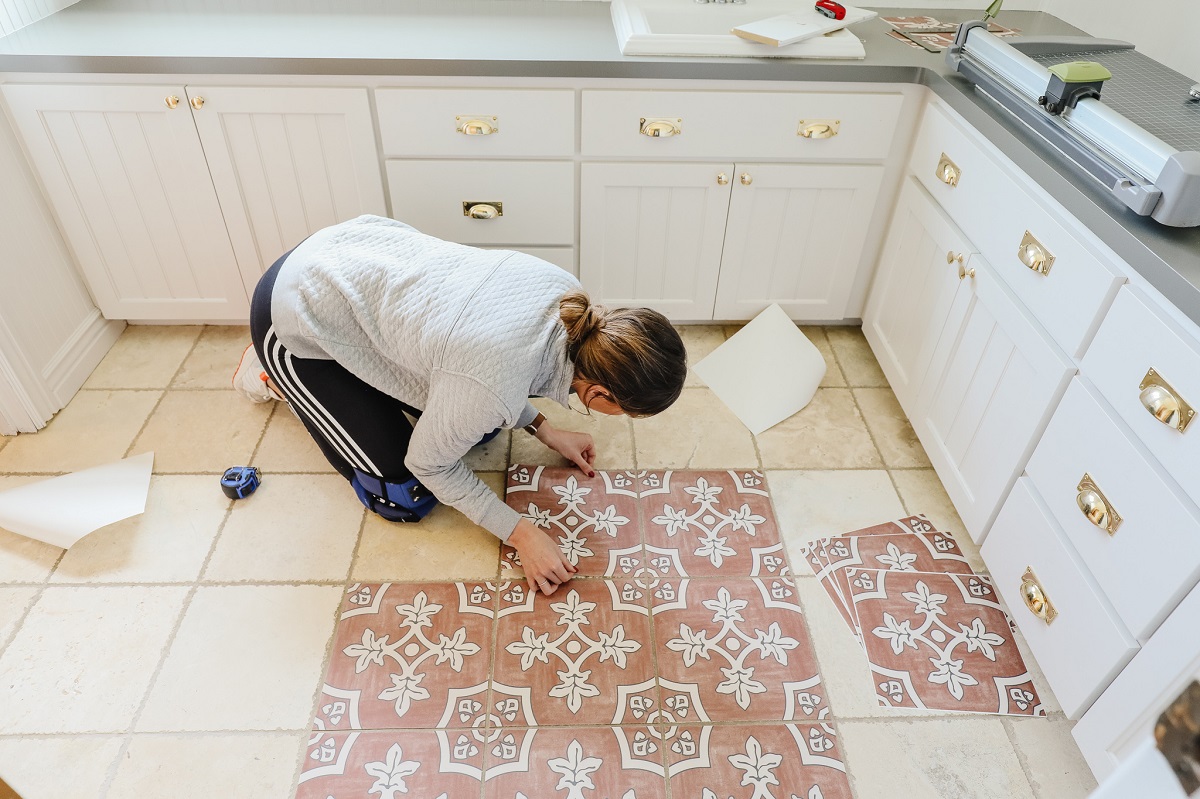
- Plan the layout: Before applying the first tile, plan out the layout of the tiles. Determine where you want to start and how the tiles will be positioned on the surface. This step is crucial for ensuring an even and balanced look. It’s also a good idea to snap chalk lines as a guide for straight tile placement.
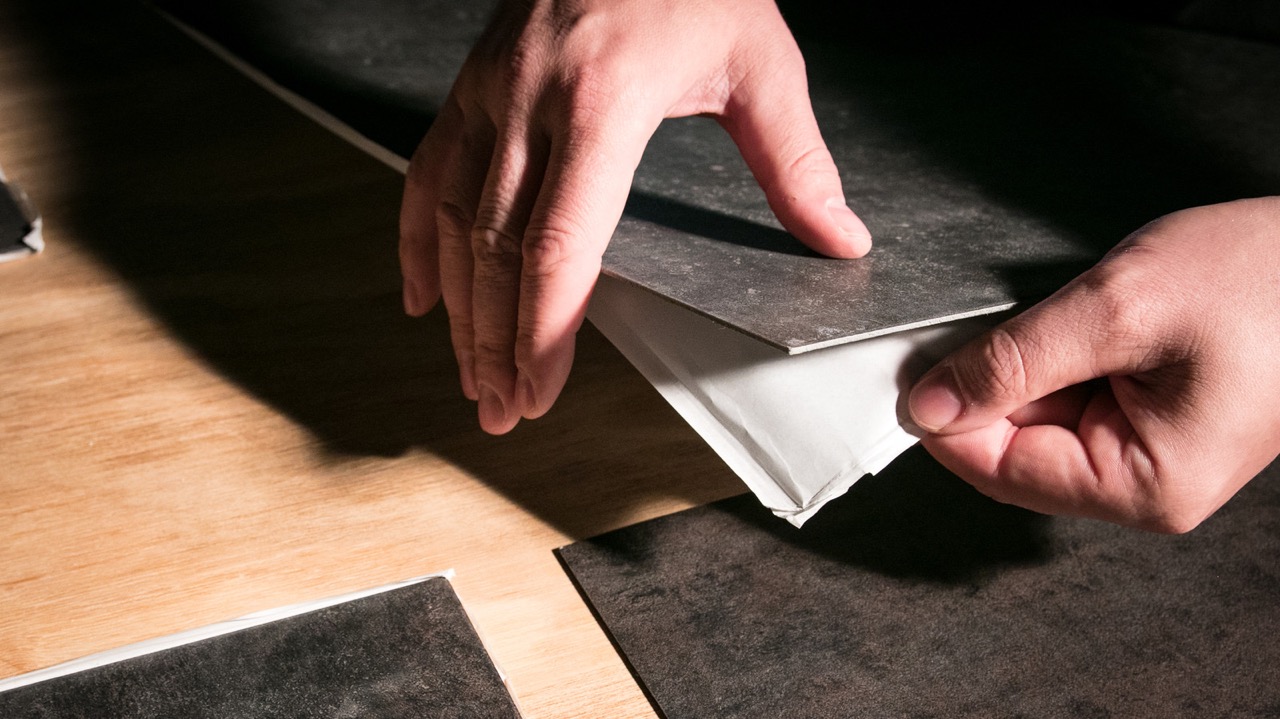
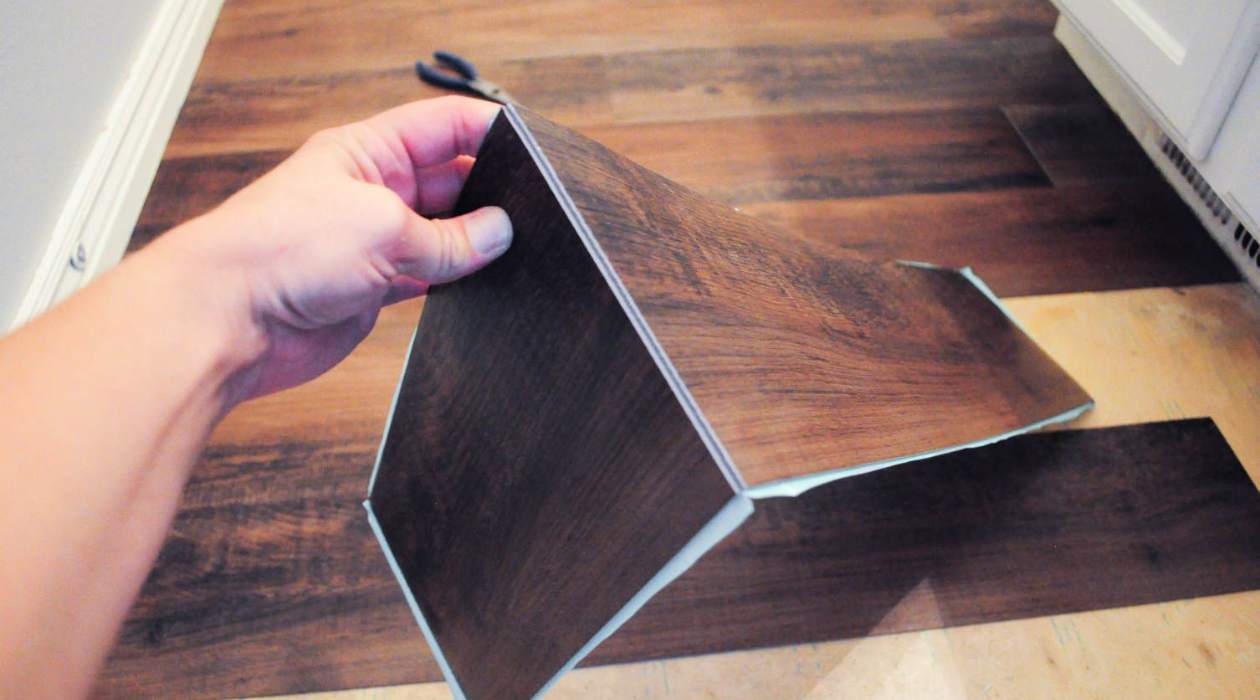
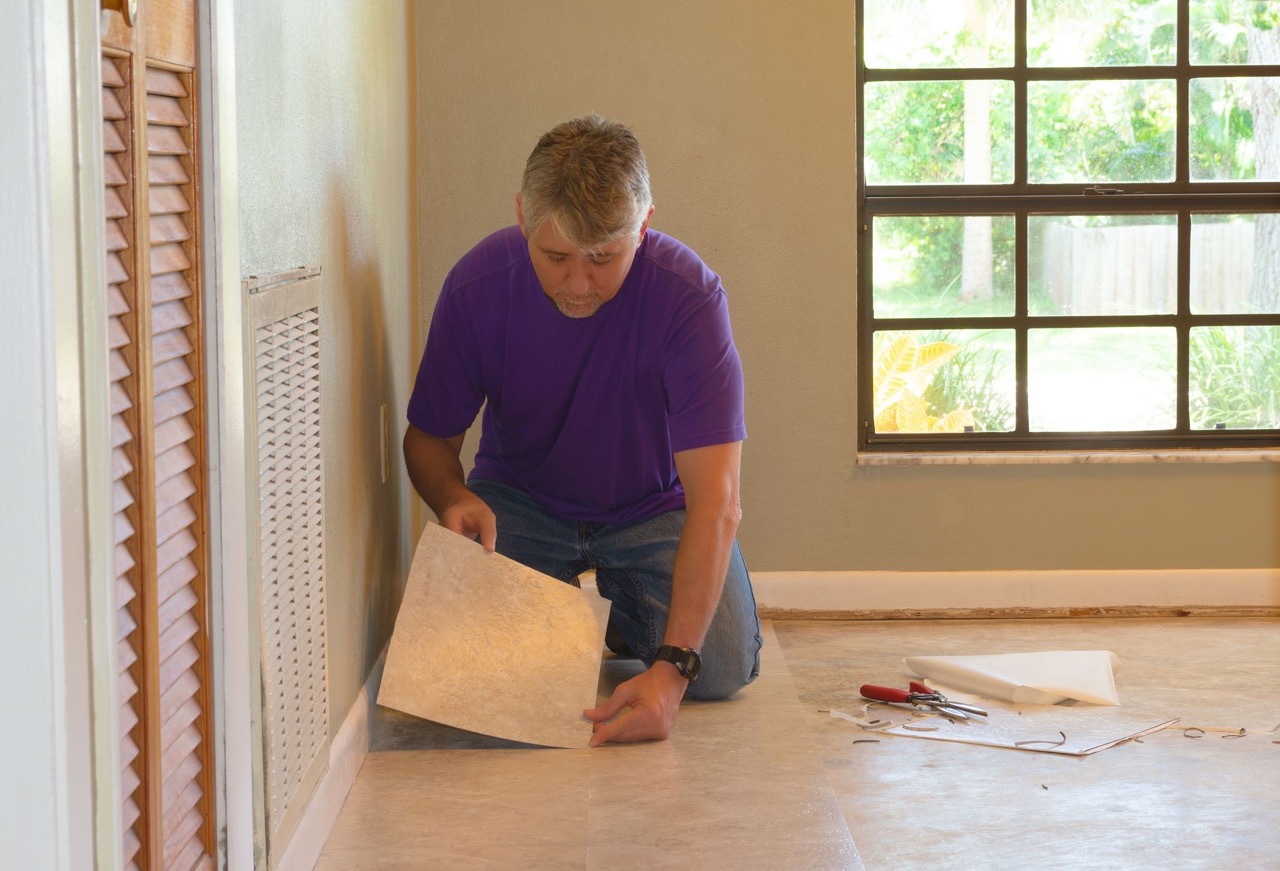
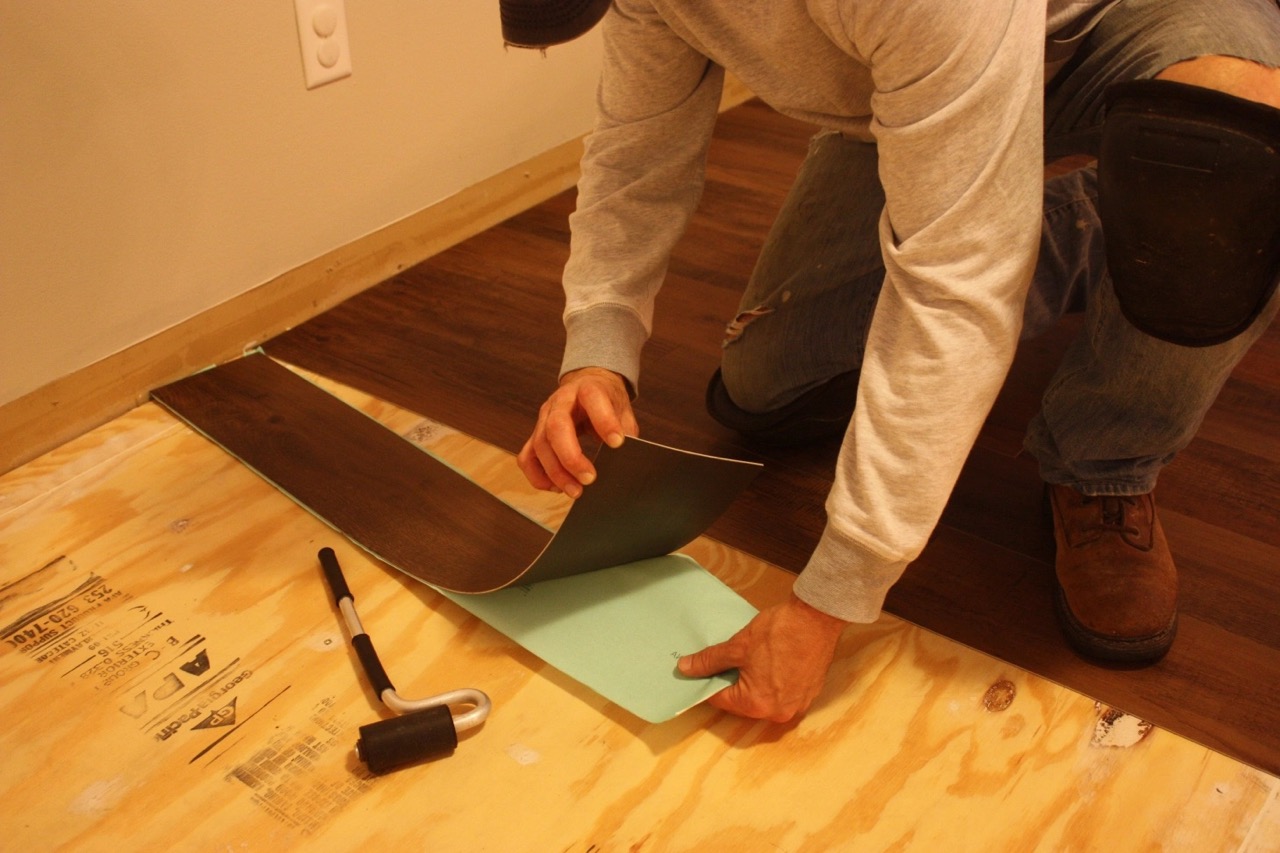
- Remove the backing: Peel back a small portion of the backing from the first tile. It’s generally best to start in a corner or against a straight edge for easier alignment.
- Position the tile: Place the exposed adhesive side of the tile onto the surface, aligning it with your planned layout. Apply firm pressure to stick it in place.
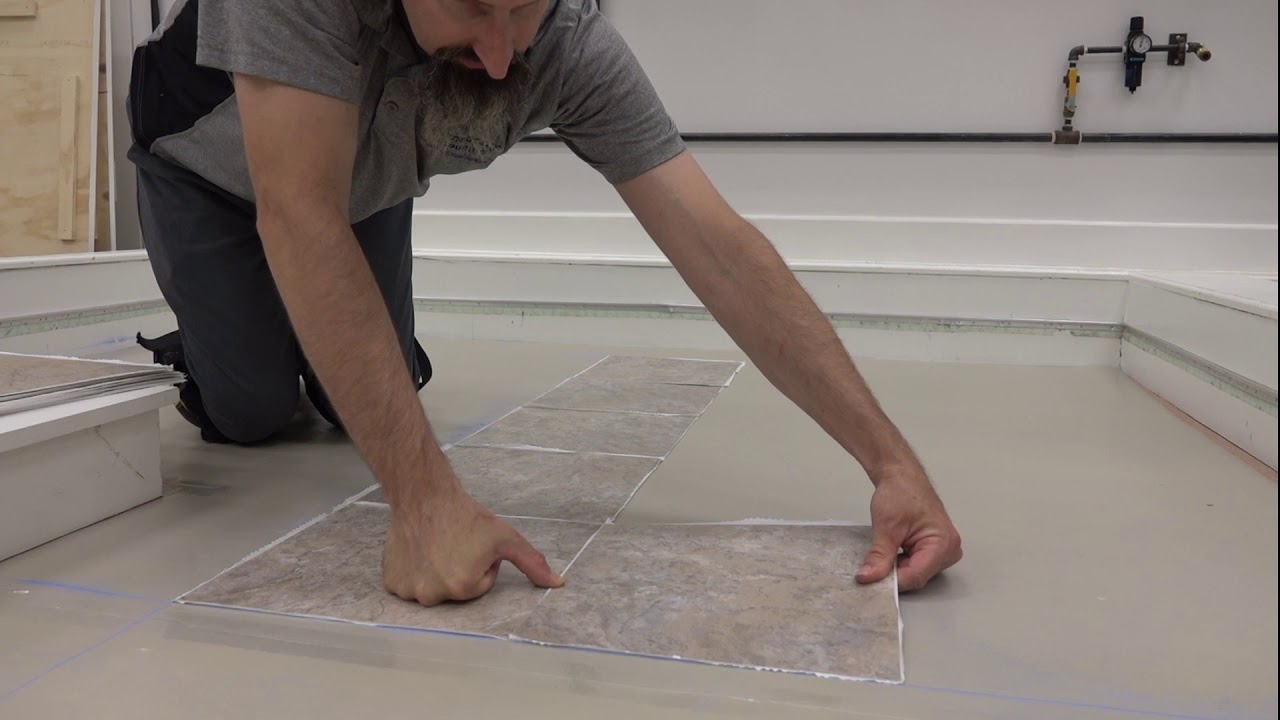
- Continue with the next tiles: Working in one direction, continue peeling the backing and positioning the tiles, making sure to align them properly. Apply pressure to each tile to ensure a secure bond. If necessary, trim tiles to fit around obstacles using a utility knife or tile cutter.
- Stagger seams: As you install the tiles, make sure to stagger the seams or joints. Avoid aligning the ends directly above each other, as this can weaken the integrity of the installation. Staggering the tiles creates a more stable and visually appealing result.
- Allow for expansion gaps: If you’re installing the tiles in an area where temperature or humidity fluctuations are expected, leave a small gap (about 1/8 inch) between the tiles and the walls or other fixed objects. This allows room for the tiles to expand and contract without buckling or warping.
By following these steps, you’ll be able to properly install the peel and stick tiles. Take your time and ensure that each tile is aligned correctly and firmly pressed onto the surface. Smooth out any air bubbles or wrinkles that may occur during installation.
It’s important to note that different peel and stick tile manufacturers may have specific instructions and recommendations for installation. Always consult the manufacturer’s guidelines to ensure you achieve the best results with their particular product.
Now that you have installed the tiles, let’s move on to the next crucial steps to ensure their longevity and a professional-looking finish.
Make sure the surface is clean and dry before applying the peel and stick tile. Use a primer or adhesive promoter for better adhesion. Press firmly and evenly to ensure a strong bond.
Properly Aligning the Tiles
One of the key factors in achieving a professional-looking finished result with peel and stick tiles is ensuring proper alignment. By aligning the tiles correctly, you’ll create a seamless and visually appealing surface. Follow these tips to properly align the tiles:
- Start with a reference point: Begin by establishing a reference point or a straight line on the surface, such as a chalk line. This will serve as a guide to ensure that your tiles are aligned evenly throughout the installation process.
- Use spacers (if needed): For a consistent spacing between tiles, consider using tile spacers. These small plastic or rubber spacers are placed between tiles to create an even gap, ensuring a uniform look. Spacers are particularly helpful when installing larger tiles or tiles with intricate patterns.
- Check alignment frequently: As you install each tile, take time to check the alignment visually. Ensure that the tiles are straight in both horizontal and vertical directions. Use a level or straight edge to confirm their alignment if needed.
- Make adjustments as necessary: If you notice any tiles that are misaligned, gently lift them and reposition them. Use a putty knife or similar tool to carefully lift the tile without damaging the adhesive surface. Be cautious not to lift adjacent tiles during this process.
- Take your time: Rushing the installation can lead to unaligned tiles and an inconsistent appearance. Take your time and double-check the alignment at each step to ensure a professional finish.
Properly aligning the tiles not only enhances the overall aesthetic, but it also ensures that the seams and joints between the tiles are well-placed and make for a more durable installation. By following these tips, you’ll achieve a neat and clean look with your peel and stick tiles.
Next, let’s explore the importance of pressing and smoothing the tiles to ensure optimal adhesion and a seamless finish.
Pressing and Smoothing the Tiles
After aligning the peel and stick tiles, it’s essential to press and smooth them to ensure proper adhesion and a seamless appearance. This step helps to eliminate air bubbles and wrinkles, ensuring that the tiles adhere securely to the surface. Follow these steps to properly press and smooth the tiles:
- Apply firm pressure: Use your hands or a clean, smooth object like a rolling pin to apply firm pressure to the tiles. Start from the center of each tile and work your way outwards towards the edges. The pressure activates the adhesive and helps it bond to the surface more effectively.
- Smooth out air bubbles and wrinkles: As you press the tiles, keep an eye out for any air bubbles or wrinkles that may appear. If you notice any, lift the tile slightly and smooth it down, starting from the center and working towards the edges. Use your hand or a smooth object to flatten the tile and remove any imperfections.
- Check for proper contact: Ensure that each tile has full contact with the surface and there are no gaps or areas where the tile is not adhered properly. Press down any areas that may feel loose or not completely stuck to the surface.
- Use a seam roller (optional): If you want to further enhance the adhesion and eliminate any remaining air bubbles or wrinkles, you can use a seam roller. Roll the seam roller firmly over the tiles, applying even pressure. This step can be particularly useful for larger installations or tiles with intricate patterns.
Take your time during the pressing and smoothing process. It’s important to ensure that each tile is fully adhered to the surface, as this will contribute to the longevity of the installation.
Remember that the adhesive on peel and stick tiles is pressure-sensitive, meaning that it requires pressure to activate its stickiness. By applying firm pressure and smoothing out any imperfections, you’ll achieve a flat, professional-looking finish.
Next, let’s explore how to deal with corners and edges to create a clean and polished appearance.
Dealing with Corners and Edges
When installing peel and stick tiles, dealing with corners and edges requires special attention to ensure a clean and professional-looking result. Properly addressing these areas will give your installation a polished and finished appearance. Follow these tips to tackle corners and edges effectively:
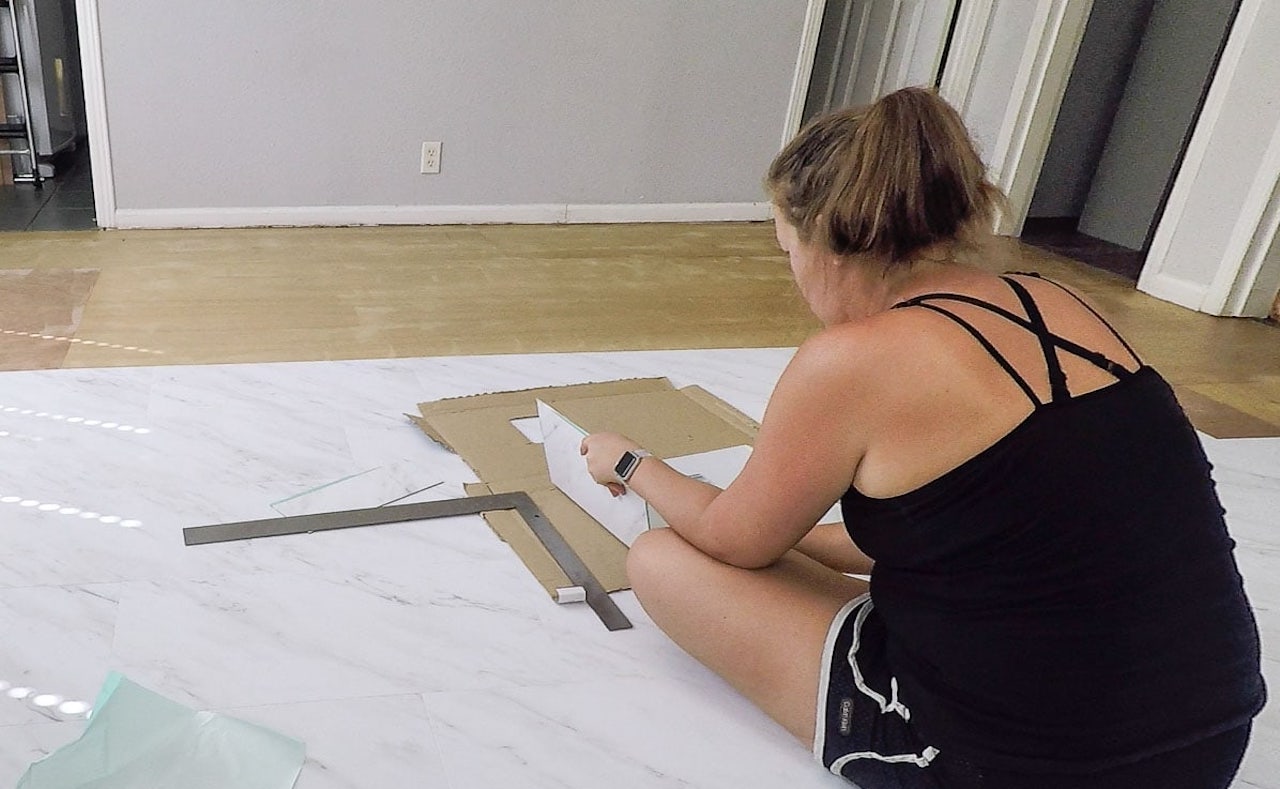
- Trim tiles to fit: Measure and mark the tiles that need to be trimmed to fit along the edges or corners. Use a straight edge and a utility knife or tile cutter to make clean and precise cuts. Take your time and use caution when cutting to ensure accurate sizing.
- Ensure consistent spacing: Maintain a consistent spacing between the edge tiles and the adjacent tiles. Use tile spacers or other small objects, such as coins, to maintain even gaps. This will help create a uniform and professional finish.
- Smooth the cut edges: After trimming the tiles, ensure that the cut edges are smooth and free from any rough or jagged edges. Use sandpaper or a file to gently smooth out any imperfections. Be careful not to scratch the tile surface during this process.
- Apply pressure and smooth the corners: Pay special attention to the corners and ensure that they are firmly pressed and smoothed down. Apply extra pressure to the corner tiles to ensure proper adhesion. Smooth out any air bubbles or wrinkles in the corners using your hand or a smooth object.
- Check for gaps or misalignments: After installing the tiles around corners and edges, thoroughly inspect the area for any gaps or misalignments. Make any necessary adjustments by slightly lifting and repositioning the tiles to achieve a seamless and neat appearance.
Dealing with corners and edges can be a bit more challenging than working with the main areas of the surface. However, with attention to detail and careful execution, you can achieve a flawless finish.
Remember to take your time and make precise cuts when trimming tiles for corners and edges. Ensuring consistent spacing and properly smoothing the cut edges will result in a clean and professional look.
Now that your tiles are installed, it’s time to consider applying caulk to further enhance the appearance and durability of the installation.
Read more: How To Install Peel And Stick Tile
Applying Caulk (optional)
Applying caulk is an optional but beneficial step in the peel and stick tile installation process. Caulk helps to create a waterproof seal, enhances the appearance of the installation, and provides added protection against moisture and debris. Follow these steps to properly apply caulk:
- Select the appropriate caulk: Choose a caulk that is suitable for the specific area you’re working on. For example, siliconized acrylic caulk is a common choice for indoor applications, while silicone caulk is more suitable for high-moisture areas like bathrooms. Read the caulk label and manufacturer’s instructions to ensure that it aligns with your project requirements.
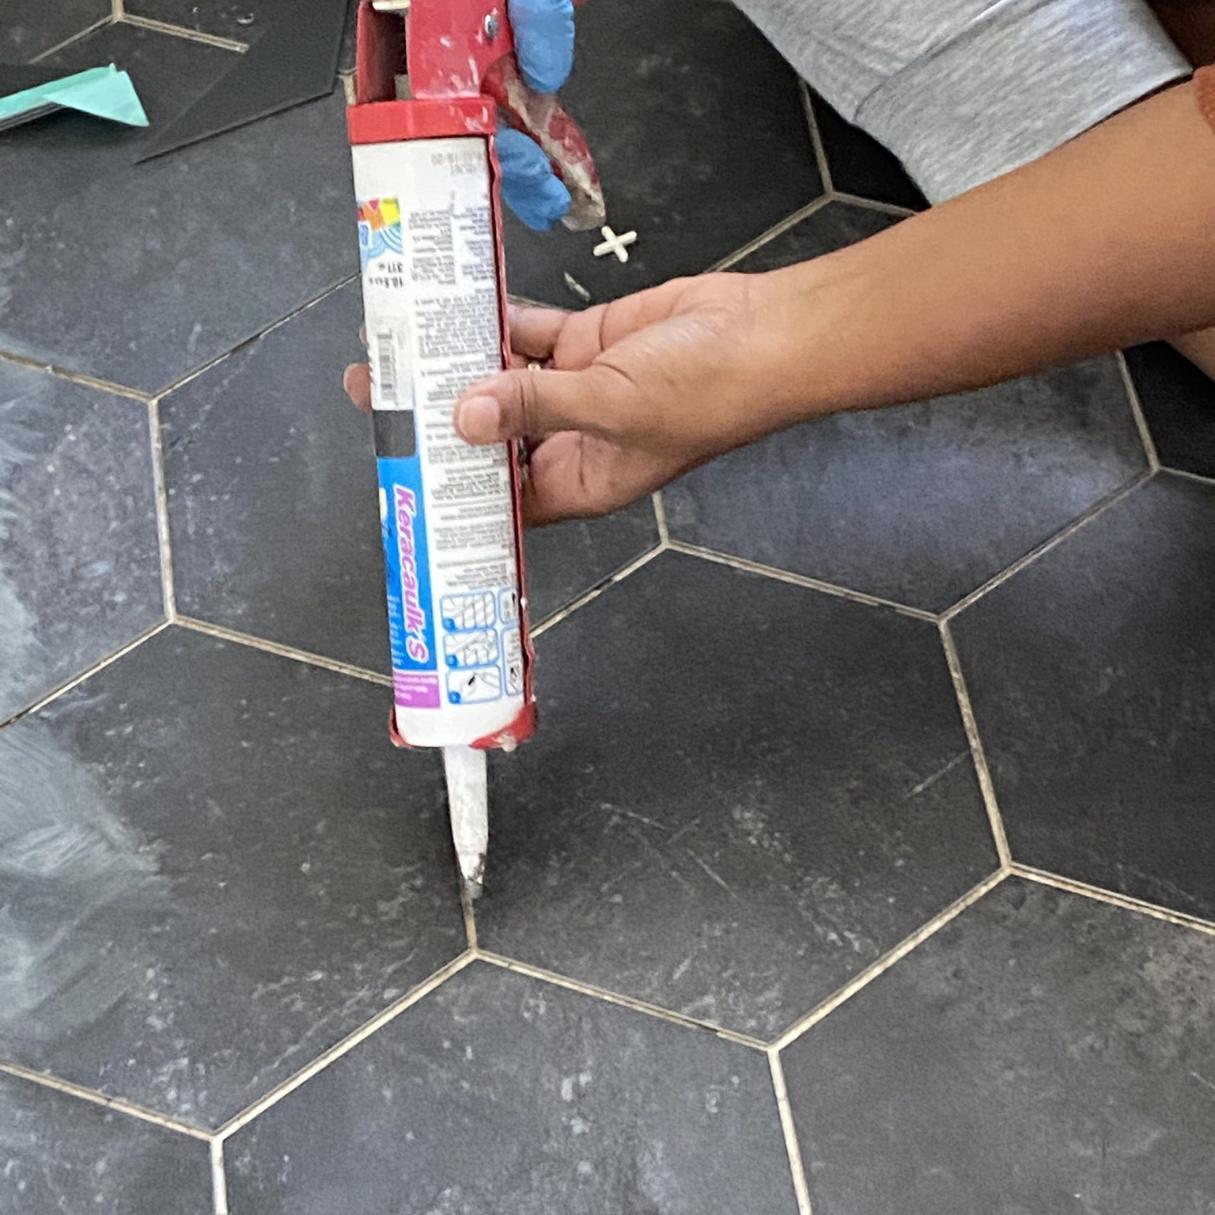
- Prepare the caulk gun and tube: Load the caulk tube into a caulk gun, and cut the tip of the tube to create a small opening. Cut the tip at an angle to achieve a smooth and controlled bead of caulk.
- Clean and dry the area: Ensure that the area where you’ll be applying the caulk is clean and dry. Use a damp cloth or sponge to remove any dust, debris, or excess adhesive from the tiles.
- Apply the caulk: Hold the caulk gun at a 45-degree angle and squeeze a small amount of caulk into the joint between the tiles. Keep a steady and consistent pressure on the caulk gun as you move along the joint. Be mindful not to apply too much caulk to avoid creating messy or uneven lines.
- Smooth the caulk: Use a caulk smoothing tool, such as a caulk finishing tool or a wet finger, to smooth and shape the caulk line. Work in one continuous motion, applying gentle pressure to create an even and professional-looking finish.
- Clean up excess caulk: Immediately after smoothing the caulk, use a damp cloth or sponge to wipe away any excess caulk from the tiles or surrounding surfaces. This step ensures a clean and tidy appearance.
- Allow the caulk to dry: Refer to the caulk manufacturer’s instructions for the recommended drying time. Avoid touching or disturbing the caulk until it has fully dried to ensure a proper seal.
Applying caulk between the joints of the peel and stick tiles provides added protection against moisture, prevents dirt accumulation, and gives the installation a finished look. It’s particularly beneficial when installing tiles in areas prone to water exposure, such as around sinks or bathtubs.
Remember to choose a caulk color that complements your tile design for a visually appealing result. Take your time during the application process to achieve clean and professional caulk lines.
Now that you’ve learned how to complete the installation, let’s move on to some tips for ensuring long-lasting adhesion and maintaining the beauty of your peel and stick tile installation.
Tips for Long-lasting Adhesion
To ensure that your peel and stick tiles stay securely in place and maintain their appearance over time, here are some valuable tips for long-lasting adhesion:
- Apply tiles to clean and dry surfaces: Make sure the surface is thoroughly cleaned and dry before installing the peel and stick tiles. Any dirt, dust, or moisture can hinder the adhesive’s effectiveness.
- Follow manufacturer’s instructions: Each peel and stick tile product may have specific instructions provided by the manufacturer. Be sure to read and follow these instructions carefully for the best results with your specific tiles.
- Use a primer (if recommended): If the manufacturer recommends using a primer for your specific surface, applying it can help improve the adhesion and longevity of the tiles. Follow the instructions on the primer packaging and allow it to fully dry before proceeding with the tile installation.
- Apply even pressure: When pressing and smoothing the tiles, apply firm and even pressure across the entire surface of each tile. This ensures maximum contact between the adhesive and the surface, promoting a strong bond.
- Avoid excessive weight or pressure: Heavy objects or excessive weight placed on the freshly installed tiles can disrupt their adhesion. Avoid placing heavy items or doing any activities that may put excessive pressure on the tiles immediately after installation. Give them ample time to properly bond to the surface.
- Keep the installation area clean: Regularly clean the installed area to prevent dirt, dust, or debris from accumulating on the tiles. Use a soft broom, vacuum, or damp cloth to keep the surface clean and free from potential substances that could affect the adhesive.
- Avoid prolonged exposure to moisture: While peel and stick tiles are generally water-resistant, excessive moisture can compromise their adhesive properties. Avoid prolonged exposure to water or high-humidity areas. If you do notice water seeping beneath the tiles, address it promptly to prevent damage.
- Be cautious with cleaning agents: When cleaning the peel and stick tiles, use mild cleaners and avoid harsh chemicals that can potentially damage the tiles or weaken the adhesive. Always follow the manufacturer’s recommendations for cleaning products.
- Make necessary repairs promptly: If a tile becomes loose or starts to peel, address it promptly. Use a hairdryer to warm the tile and adhesive, then press it firmly back into place. If needed, apply additional adhesive in the affected area.
Following these tips will help ensure long-lasting adhesion for your peel and stick tiles. Remember that proper installation and maintenance play a significant role in maintaining the appearance and durability of your tile installation over time.
With these guidelines in mind, you’re now equipped to successfully install and maintain your peel and stick tiles. Enjoy your beautifully transformed floors or walls!
If you have any further questions or need additional assistance, feel free to reach out. Happy tiling!
Conclusion
Peel and stick tiles offer a convenient and stylish solution for updating the look of your floors or walls. With their easy installation process and a wide variety of designs, these tiles have become increasingly popular. However, ensuring that the tiles stick securely and remain in place is crucial for a successful installation.
In this comprehensive guide, we’ve covered the key steps for getting peel and stick tiles to stick effectively. We began by understanding peel and stick tiles, their adhesive nature, and their suitability for different surfaces. Then, we explored the importance of properly preparing the surface, cleaning it thoroughly, and applying a primer if necessary.
We then moved on to the installation process, highlighting the significance of aligning the tiles correctly, pressing and smoothing them to eliminate air bubbles and wrinkles, and addressing corners and edges for a polished finish. We also discussed the optional step of applying caulk for added protection and aesthetic appeal.
To ensure long-lasting adhesion, we provided valuable tips, including following manufacturer’s instructions, applying even pressure, keeping the installation area clean, and avoiding excessive weight or pressure on the tiles.
By following these guidelines and incorporating creativity and attention to detail, you can achieve a professional-looking installation that will last for years to come.
Remember to always consult the manufacturer’s instructions for your specific peel and stick tile product, as requirements may vary. Additionally, proper maintenance and prompt repairs are important for preserving the appearance and longevity of your installation.
We hope that this guide has been helpful in guiding you through the process of getting peel and stick tiles to stick securely. Whether you’re updating your home or tackling a renovation project, we wish you success in transforming your space with these versatile and convenient tiles.
If you have any further questions or need additional assistance, don’t hesitate to reach out. Happy tiling!
Frequently Asked Questions about How To Get Peel And Stick Tile To Stick
Was this page helpful?
At Storables.com, we guarantee accurate and reliable information. Our content, validated by Expert Board Contributors, is crafted following stringent Editorial Policies. We're committed to providing you with well-researched, expert-backed insights for all your informational needs.

0 thoughts on “How To Get Peel And Stick Tile To Stick”