
Articles
How To Remove Peel And Stick Wallpaper
Modified: December 7, 2023
Learn how to easily remove peel and stick wallpaper from your walls with our informative articles. Get step-by-step instructions and expert tips for a hassle-free DIY project.
(Many of the links in this article redirect to a specific reviewed product. Your purchase of these products through affiliate links helps to generate commission for Storables.com, at no extra cost. Learn more)
Introduction
Peel and stick wallpaper has become a popular choice for homeowners and renters alike. Its easy installation and removal make it a convenient option for those who want to update their walls without the commitment of traditional wallpaper. However, there may come a time when you need to remove peel and stick wallpaper, whether you’re redecorating or simply want a change. In this article, we will guide you through the process of removing peel and stick wallpaper, ensuring a smooth and successful removal.
Before we dive into the steps, it’s important to note that patience and proper preparation are key to removing peel and stick wallpaper effectively. Rushing the process or skipping important steps can lead to damaged walls or a lengthy and frustrating removal experience. So, take your time, gather the necessary materials, and let’s get started on transforming your walls.
Make sure you have the following materials on hand before you begin:
- Plastic drop cloths or tarps
- Painters tape
- Wallpaper scoring tool or sandpaper
- Spray bottle filled with warm water
- Plastic putty knife or scraper
- Bucket or container for collecting wallpaper scraps
- All-purpose cleaner or vinegar and water solution
- Clean cloths or sponge
- Sandpaper or spackle (if necessary)
- Primer and paint for wall touch-ups (if necessary)
With these materials in hand, you’ll be equipped to tackle the removal process with ease. Let’s move on to Step 1: preparing the wall.
Key Takeaways:
- Patience and proper preparation are crucial for effectively removing peel and stick wallpaper without damaging your walls. Gather the necessary materials and take your time to ensure a smooth and successful removal process.
- Start at a corner, work slowly, and be patient when removing peel and stick wallpaper. Use warm water, gentle scraping, and cleaning solutions to ensure a clean and smooth wall surface for future treatments or finishing.
Step 1: Gather the necessary materials
Before you start the process of removing peel and stick wallpaper, it’s important to gather all the necessary materials to ensure a smooth and efficient removal. Having everything you need within reach will save you time and frustration throughout the process. Here’s a list of materials you’ll need:
- Plastic drop cloths or tarps: These will protect your floors and furniture from any water or debris that may come off during the removal process.
- Painters tape: Use painters tape to secure the drop cloths or tarps in place, ensuring they don’t shift or move while you’re working.
- Wallpaper scoring tool or sandpaper: A wallpaper scoring tool will help create small perforations in the wallpaper, allowing the removal solution to penetrate the adhesive more effectively. If you don’t have a scoring tool, you can use sandpaper to roughen the surface of the wallpaper instead.
- Spray bottle filled with warm water: Warm water is essential for loosening the adhesive on the wallpaper. Fill a spray bottle with warm water and keep it within reach during the removal process.
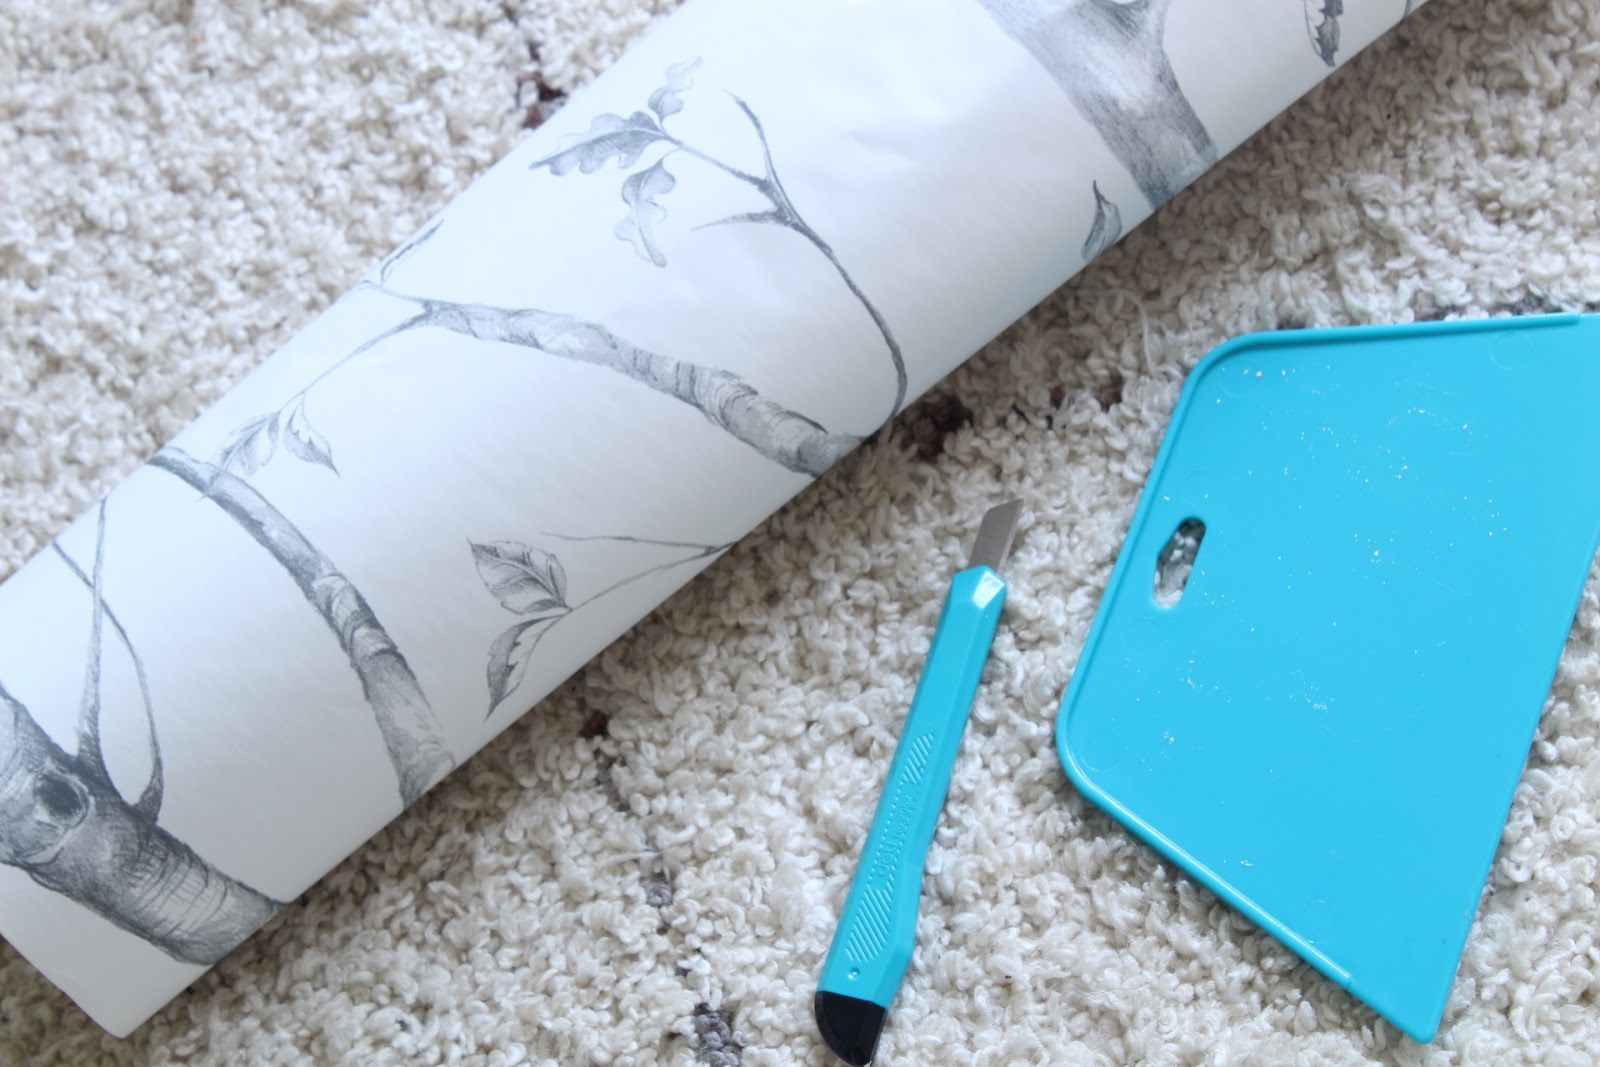
- Plastic putty knife or scraper: A plastic putty knife or scraper will help lift and remove the peel and stick wallpaper without damaging the wall underneath. Make sure the tool is plastic, as metal tools can cause scratches or dents.
- Bucket or container for collecting wallpaper scraps: As you remove the wallpaper, you’ll need a place to collect the scraps. A bucket or container will keep the area clean and make disposal easier.
- All-purpose cleaner or vinegar and water solution: Once the wallpaper is removed, you’ll want to clean the wall to remove any remaining adhesive residue. An all-purpose cleaner or vinegar and water solution can be used for this purpose.
- Clean cloths or sponge: These will be used to apply the cleaning solution and wipe down the wall. Make sure they are clean and lint-free to avoid leaving any debris on the wall.
- Sandpaper or spackle (if necessary): If there are any rough patches or damaged areas on the wall after the wallpaper’s removal, sandpaper or spackle can be used to smooth them out before painting or reapplying wallpaper.
- Primer and paint for wall touch-ups (if necessary): Depending on the condition of the wall after removing the wallpaper, you may need to apply a primer and paint to touch up any imperfections or discoloration. Keep some primer and matching paint on hand for this step.
By gathering these materials in advance, you’ll be fully prepared to tackle the removal process without any interruptions. With everything organized and within reach, you can proceed to Step 2: preparing the wall for wallpaper removal.
Step 2: Prepare the wall
Before you begin removing the peel and stick wallpaper, it’s crucial to properly prepare the wall. This step will ensure a smoother removal process and minimize the risk of damage to the underlying surface. Here’s what you need to do to prepare the wall:
- Cover the floor and furniture: Place plastic drop cloths or tarps on the floor and use painters tape to secure them in place. This will protect your flooring and furniture from any water or debris that may come off during the removal process.
- Test a small area: Before you start removing the entire wallpaper, it’s a good idea to test a small area first. Select an inconspicuous spot on the wall and apply some warm water using the spray bottle. Allow it to sit for a few minutes and then try to peel off a corner of the wallpaper. This will give you an idea of how easily it will come off and help you determine the best technique to use.
- Score the wallpaper (if necessary): If you find that the wallpaper is not peeling off easily, you can use a wallpaper scoring tool or sandpaper to create small perforations in the wallpaper. This will allow the removal solution to penetrate the adhesive more effectively.
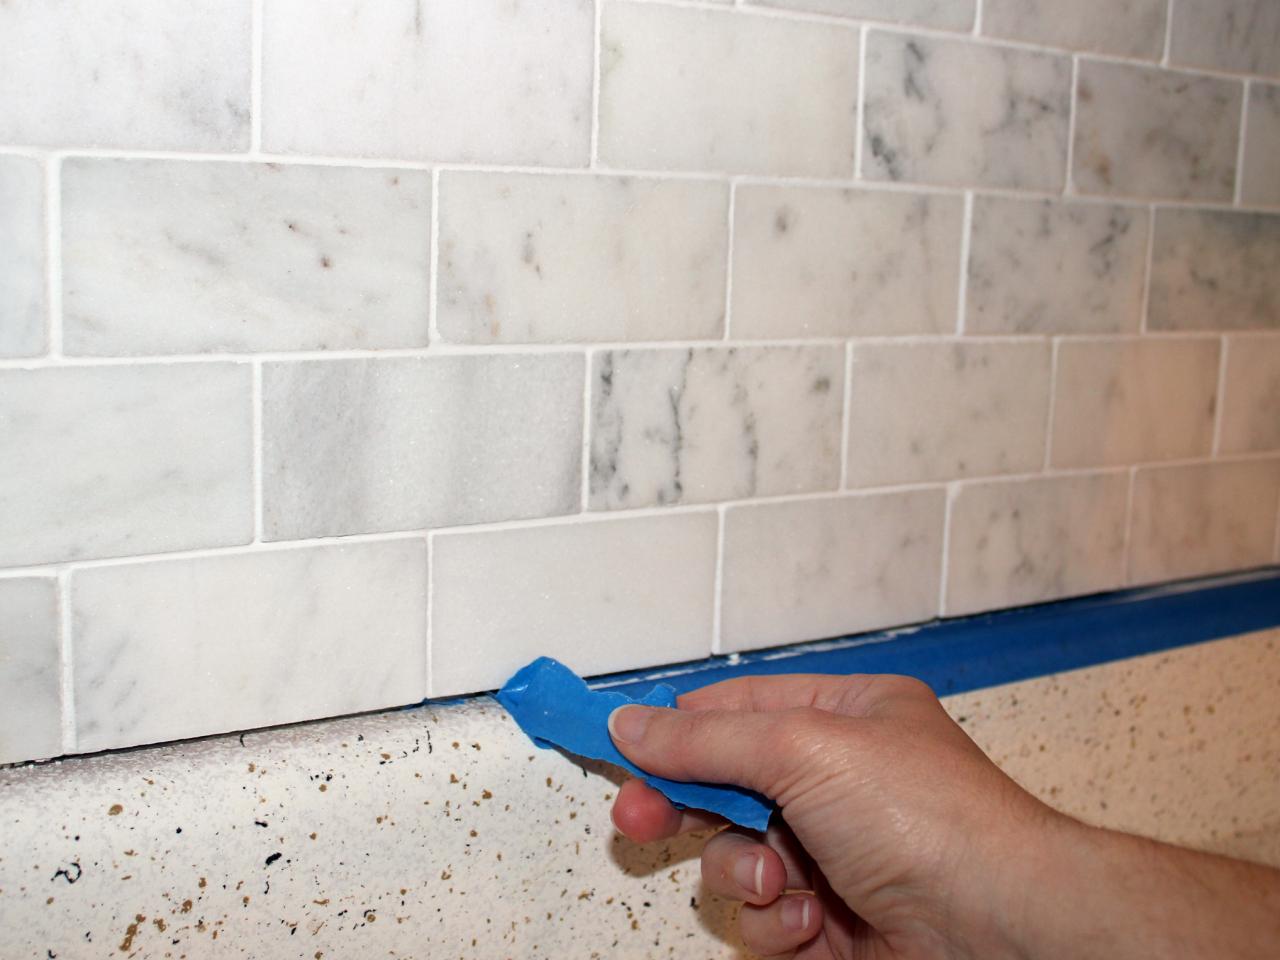
- Protect outlets and switches: Use masking tape or painters tape to cover electrical outlets and light switches. This will prevent any moisture or debris from getting inside and causing damage.
- Remove any decorations or fixtures: Take down any decorations, such as picture frames or shelves, and remove any fixtures, like towel racks or switch plates. This will give you a clear and unobstructed area to work with.
By following these preparation steps, you’ll ensure that the wall is protected and ready for the wallpaper removal process. Taking these precautions will help prevent any unnecessary damage and allow for a smoother and more efficient removal. Once you’ve prepared the wall, you’re ready to move on to the next step: actually removing the peel and stick wallpaper.
Step 3: Start removing the wallpaper
Now that you have prepared the wall, it’s time to start removing the peel and stick wallpaper. This step requires a delicate touch and patience to ensure that the wallpaper comes off cleanly without causing any damage to the wall. Follow these steps to effectively remove the wallpaper:
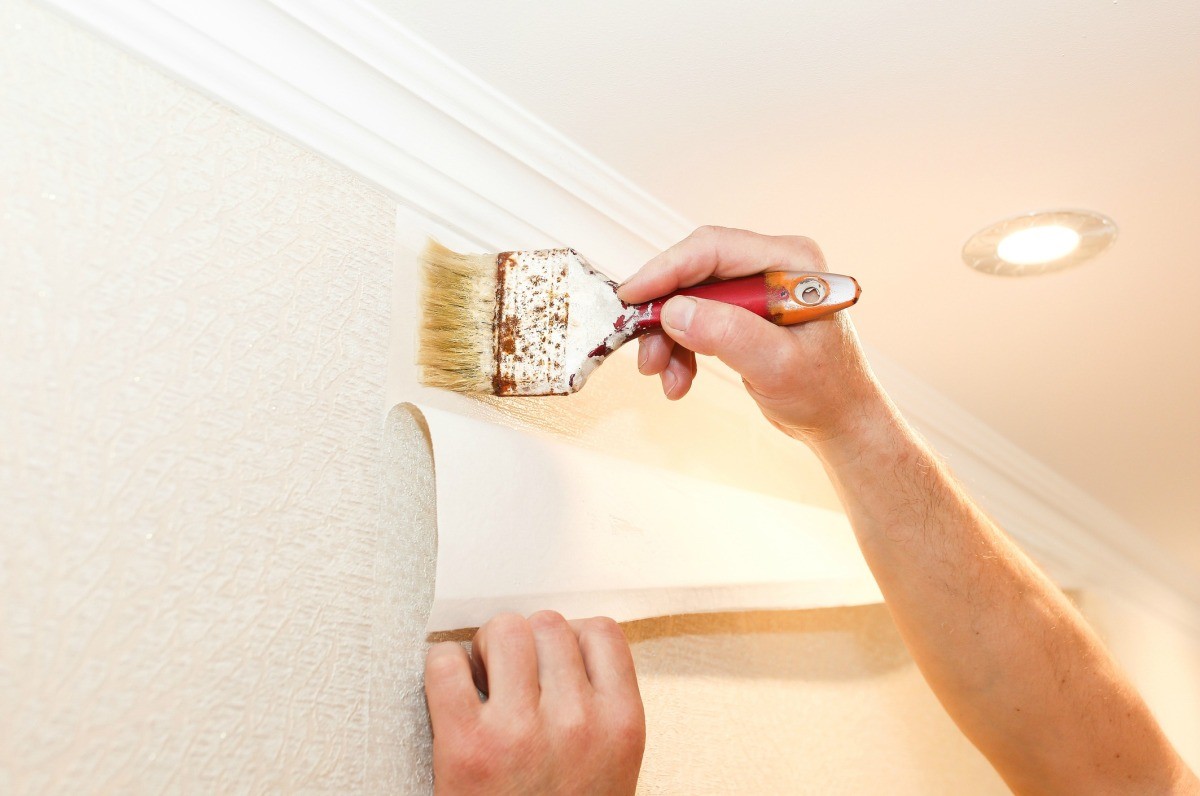
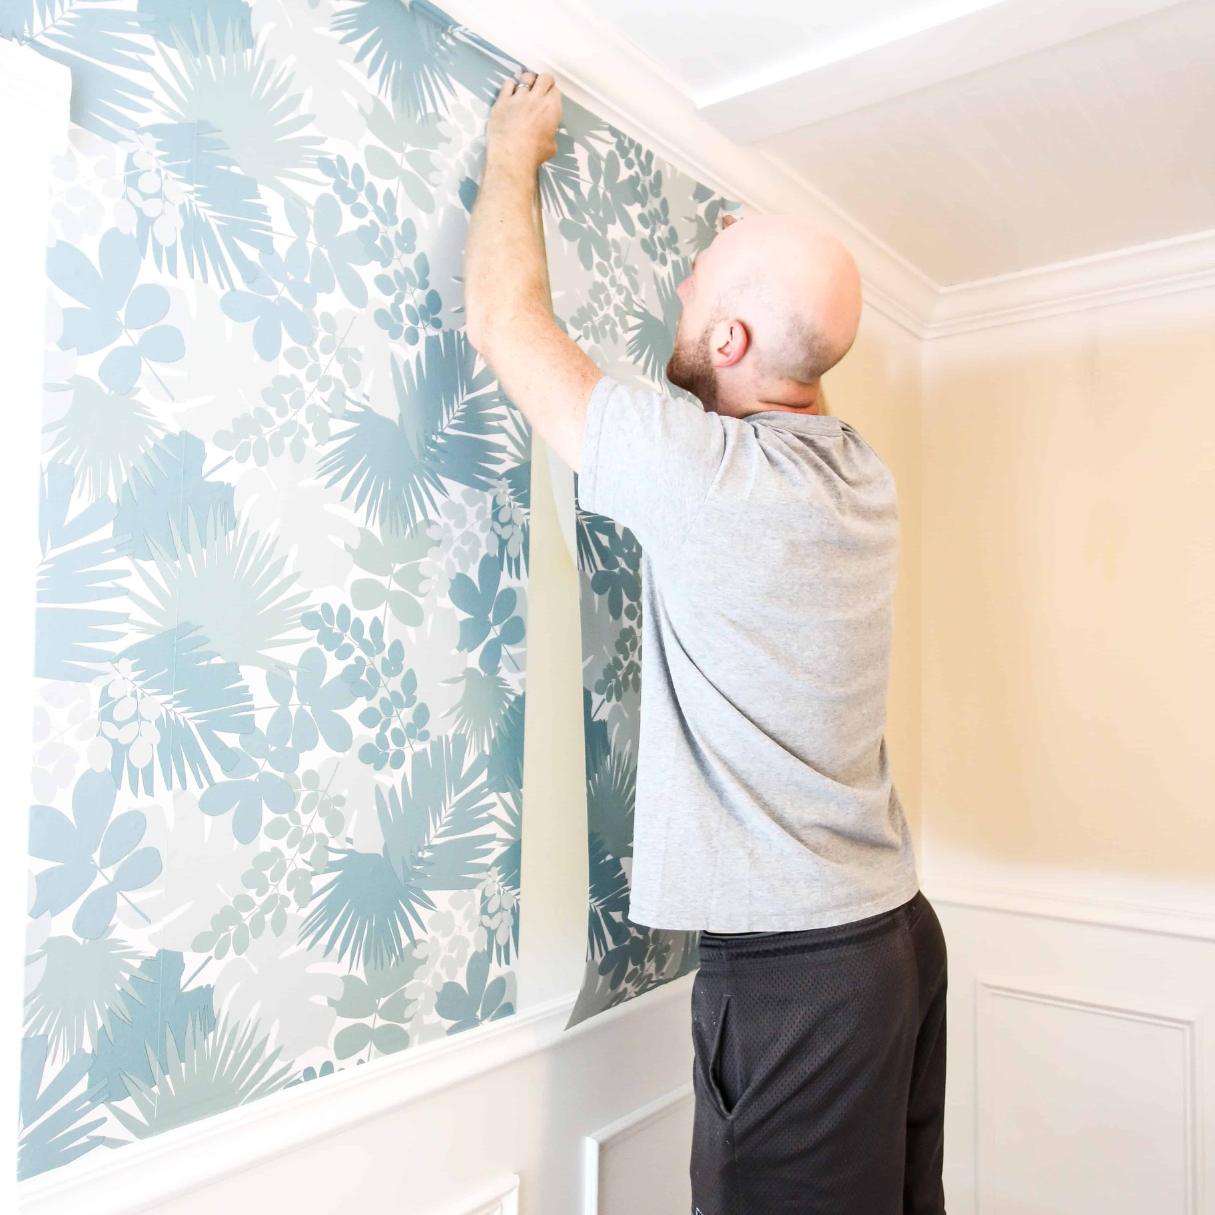
- Start at a corner: Begin by finding a corner of the wallpaper to start the removal process. Gently lift the corner of the wallpaper using a plastic putty knife or scraper. Be careful not to dig into the wall; the goal is to get underneath the wallpaper without causing any damage.
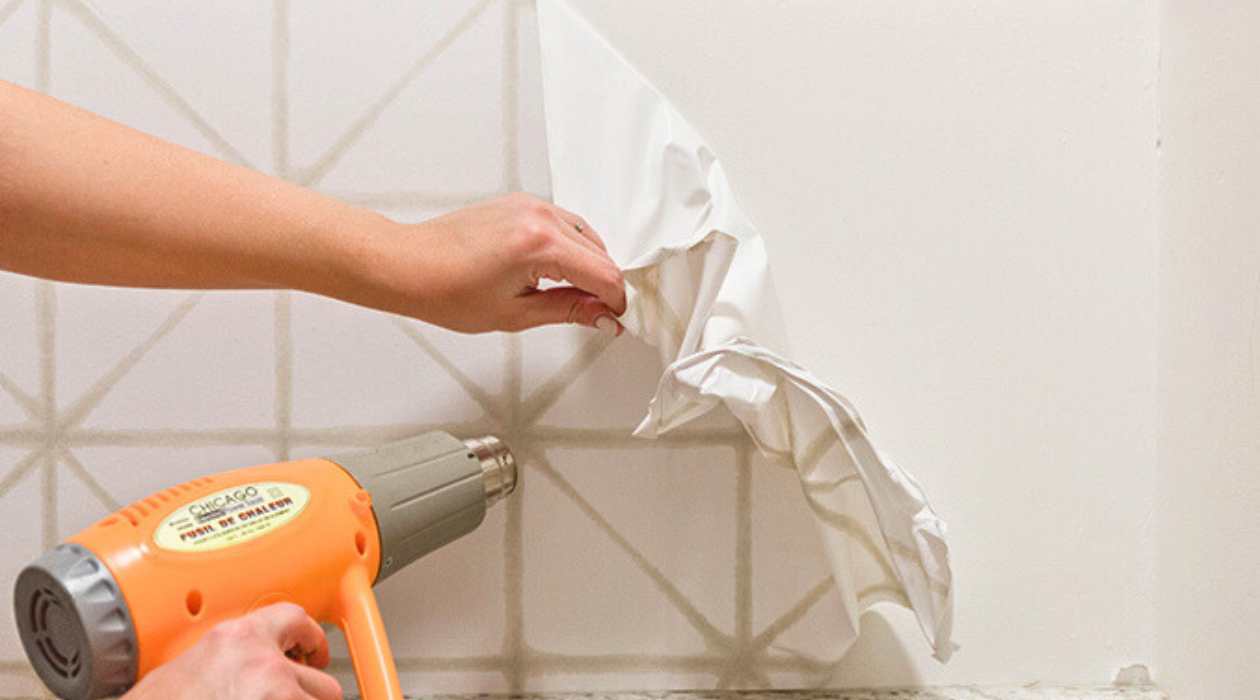
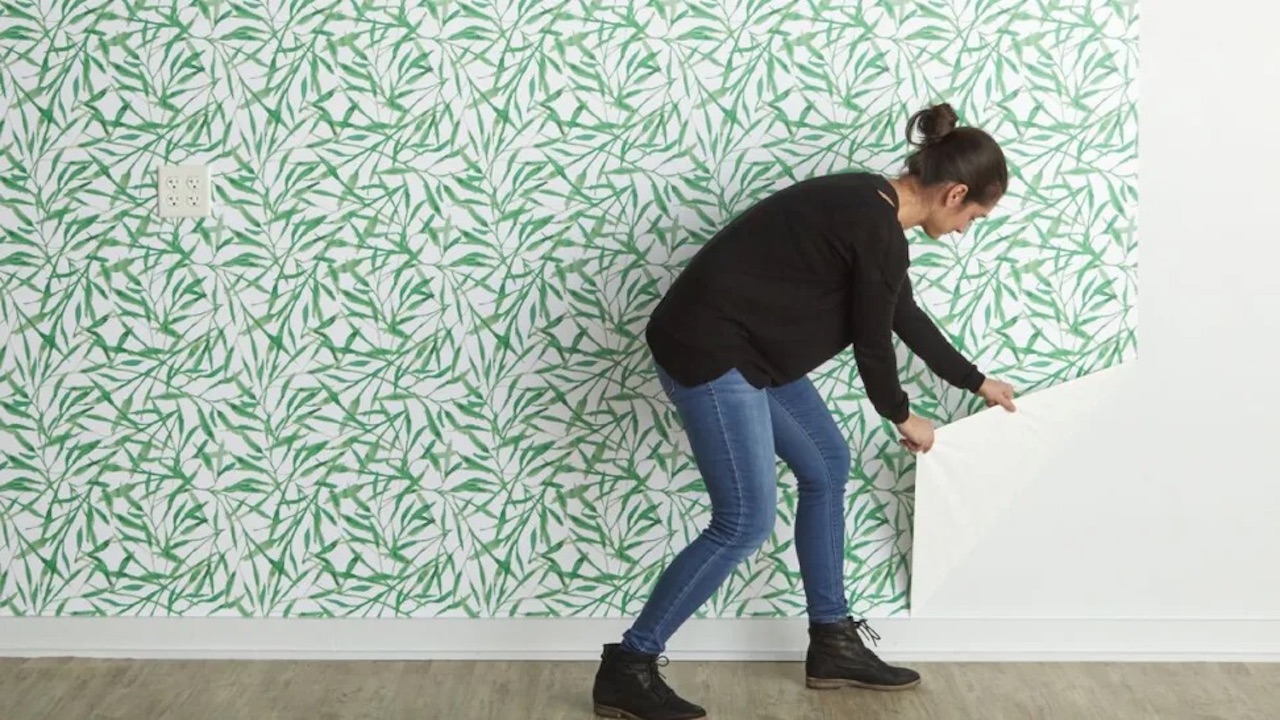
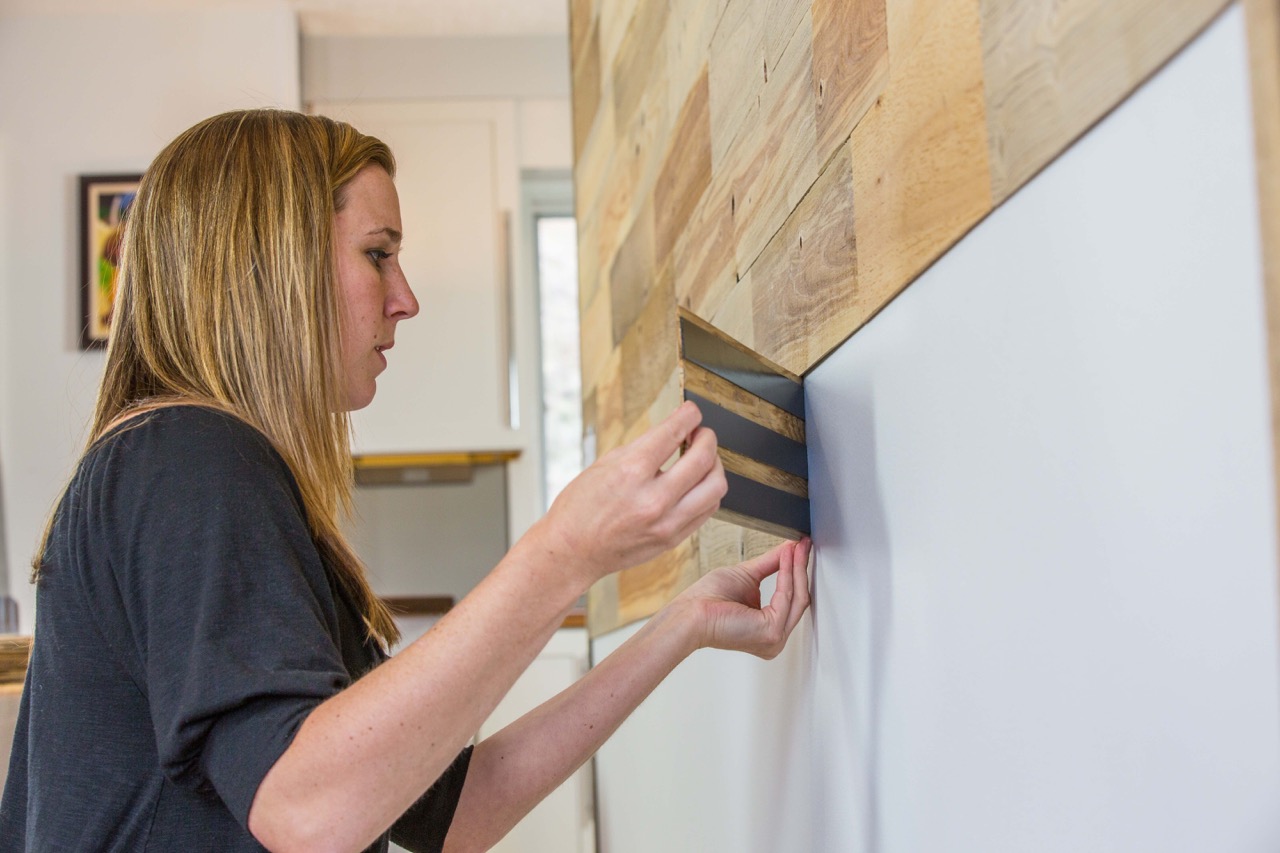
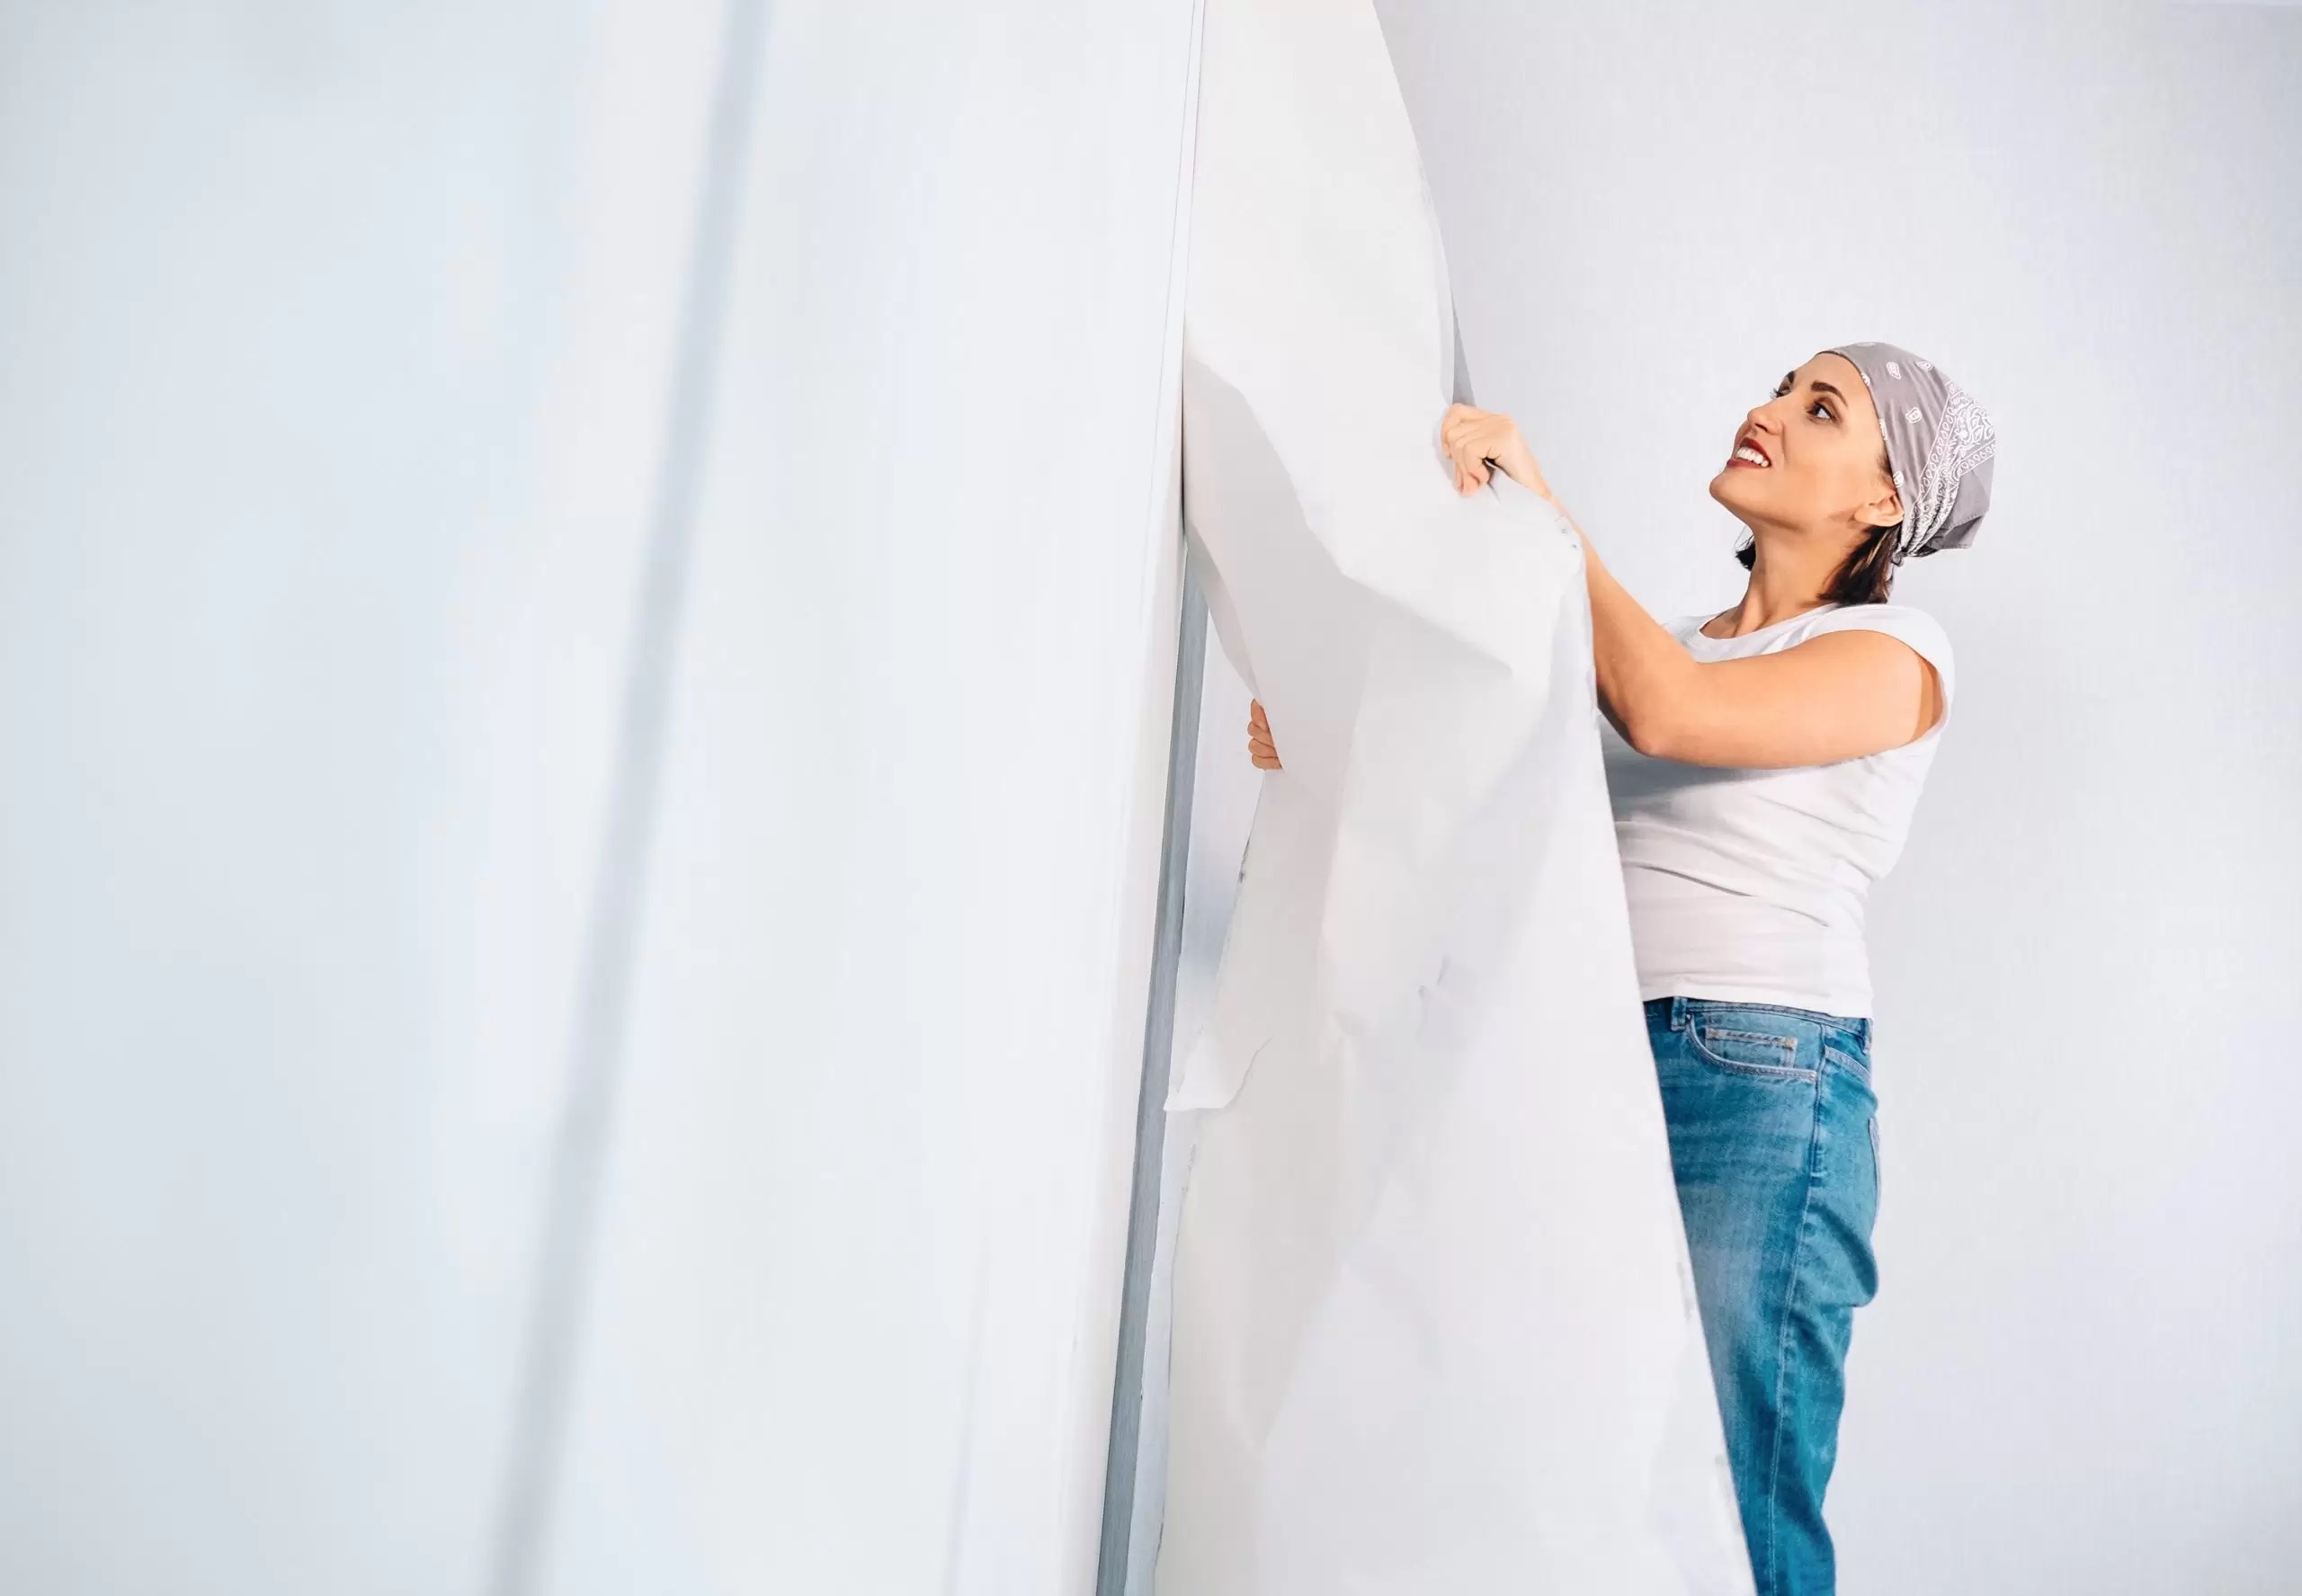
- Peel off the wallpaper: Once you have lifted the corner, slowly start peeling off the wallpaper, pulling it away from the wall at a 45-degree angle. Use your fingers or the scraper to help guide the wallpaper off the wall. Take your time and be patient, especially if the wallpaper is stubborn and does not come off easily.
- Continue peeling in sections: As you peel off one section of the wallpaper, move on to the next section. Gradually work your way across the wall, peeling off the wallpaper bit by bit. If necessary, use the spray bottle filled with warm water to moisten the wallpaper and help loosen the adhesive.
- Remove any adhesive residue: After removing the peel and stick wallpaper, you may notice some adhesive residue left on the wall. Use a plastic putty knife or scraper to gently scrape off any remaining adhesive. Be careful not to apply too much pressure or scratch the wall. If the adhesive is particularly stubborn, you can moisten it with warm water and gently scrub it with a clean cloth or sponge.
- Dispose of the wallpaper: As you peel off the wallpaper, collect the scraps in a bucket or container for easy disposal. This will help keep your work area clean and prevent any mess from spreading.
Remember to work slowly and methodically during the removal process. Take breaks if needed and be patient, especially with stubborn sections of wallpaper. The goal is to remove the wallpaper without damaging the wall underneath. If you encounter any challenges or difficult areas, refer back to Step 2 and make adjustments as necessary.
Once you have successfully removed the peel and stick wallpaper, you can proceed to Step 4: removing any adhesive residue left on the wall.
Before removing peel and stick wallpaper, use a hairdryer to gently heat the adhesive, making it easier to peel off. Be patient and work slowly to avoid damaging the wall.
Step 4: Remove any adhesive residue
After removing the peel and stick wallpaper, there may be some adhesive residue left on the wall. It’s essential to remove this residue to ensure a clean and smooth surface for any future treatments or wall coverings. Here’s how you can effectively remove any adhesive residue:
- Apply a cleaning solution: Prepare a solution of all-purpose cleaner or a mixture of vinegar and water. Pour the solution into a spray bottle and generously spray it onto the adhesive residue. Allow it to soak in for a few minutes to loosen the residue.
- Gently scrub the residue: Using a clean cloth or sponge, gently scrub the adhesive residue in a circular motion. Apply light pressure, being careful not to damage the wall surface. If the residue is stubborn, you can use a plastic putty knife or scraper to carefully scrape it off, but be cautious not to scratch the wall.
- Repeat as necessary: Depending on the amount of adhesive residue and its stubbornness, you may need to repeat the cleaning and scrubbing process multiple times. Apply the cleaning solution and scrub until you have removed all traces of residue. If necessary, you can also moisten the residue with warm water to make it easier to remove.
- Wipe down the wall: Once you have successfully removed the adhesive residue, use a clean cloth or sponge soaked in plain water to wipe down the wall. This will remove any remaining cleaning solution and leave the wall clean and ready for further treatment or finishing.
It’s important to note that different types of adhesive may require different removal techniques. If you find that the cleaning solution is not effective, you may need to explore alternative methods such as using a commercial adhesive remover recommended for your specific type of adhesive. Always follow the product instructions and test it in a small, inconspicuous area before applying it to the entire wall.
With the adhesive residue removed, you have successfully cleared the wall of any remnants from the peel and stick wallpaper. Now, it’s time to move on to the final step: cleaning and finishing the wall.
Read more: How To Apply Peel-and-Stick Wallpaper
Step 5: Clean and finish the wall
Now that you have removed the peel and stick wallpaper and any adhesive residue, it’s important to clean and finish the wall. This step will ensure that the wall is ready for any further treatment or can be left in its natural state. Follow these steps to clean and finish the wall:
- Inspect the wall: Before proceeding, take a close look at the wall and check for any imperfections, such as scratches, dents, or dings. If you notice any, use sandpaper or spackle to smooth out the surface. Sandpaper can be used to gently sand down any rough patches, while spackle can be used to fill in any small holes or cracks. Allow the spackle to dry and then sand it down until it’s smooth.
- Wash the wall: Mix a solution of warm water and a mild detergent or use an all-purpose cleaner. Dip a clean cloth or sponge into the solution and gently wash the wall. Pay attention to any areas that may have collected dust or dirt during the removal process. Rinse the cloth or sponge with plain water and wipe down the wall to remove any residue from the cleaning solution.
- Allow the wall to dry: After washing the wall, allow it to air dry completely. This will ensure that it’s free of any moisture before moving on to the finishing step.
- Touch up with paint (if necessary): If there are any areas of the wall that require touch-ups, such as where adhesive residue was particularly stubborn or where you repaired imperfections, consider using a primer and paint. Apply a coat of primer to the affected areas and let it dry according to the manufacturer’s instructions. Then, paint the area with a color that matches the rest of the wall. This will help blend any repairs seamlessly into the surrounding wall.
Once you have completed these steps, your wall should be clean and ready for its next treatment. Whether you’re planning to apply a new layer of wallpaper or leave the wall as is, you can be confident that the surface is smooth and well-prepared.
Removing peel and stick wallpaper may seem like a daunting task, but by following these steps and being patient, you can successfully remove the wallpaper and restore your wall to its original condition. Remember, proper preparation, careful peeling, adhesive residue removal, and finishing touches are key to achieving the desired result.
Congratulations on completing the process of removing peel and stick wallpaper! You’ve now acquired the knowledge and skills to tackle this task with confidence. Enjoy your newly refreshed wall!
Conclusion
Removing peel and stick wallpaper may seem like a challenging task, but with the right approach and the necessary materials, you can successfully transform your walls. By following the steps outlined in this guide, you can ensure a smooth and effective removal process while minimizing any potential damage to the wall.
Start by gathering all the necessary materials, including plastic drop cloths, a wallpaper scoring tool or sandpaper, a spray bottle filled with warm water, a plastic putty knife or scraper, and cleaning supplies. These will ensure that you have everything you need at your fingertips during the removal process.
Prepare the wall by covering the floor and furniture with drop cloths or tarps, testing a small area of the wallpaper, and protecting outlets and switches. These preparations will safeguard your surroundings and prevent any damage or accidents while working.
When removing the wallpaper, take your time and start at a corner, peeling it off at a 45-degree angle. Work in sections, using the spray bottle to moisten the wallpaper and gradually peel it off the wall. Be careful to avoid damaging the wall or leaving behind any adhesive residue.
Once the wallpaper is removed, it’s time to tackle any adhesive residue that may remain on the wall. Apply a cleaning solution, scrub the residue gently, and repeat the process if necessary. Wipe down the wall with a clean cloth or sponge to remove any cleaning solution residues.
Finally, inspect the wall for imperfections, wash it with a mild detergent or all-purpose cleaner, and allow it to air dry completely. If needed, touch up any areas with primer and paint to ensure a uniform and seamless finish.
By following these steps, you can successfully remove peel and stick wallpaper and restore your wall to its original condition. Whether you’re planning to apply a fresh layer of wallpaper or leaving the wall bare, you can be proud of your accomplishment and enjoy your newly refreshed space.
Remember, patience and attention to detail are essential throughout the process. Take breaks when needed, be cautious while using tools, and make adjustments as necessary. With proper preparation and a methodical approach, you can achieve exceptional results.
Now, armed with the knowledge and techniques outlined in this guide, you’re ready to take on the task of removing peel and stick wallpaper with confidence. Turn your walls into a blank canvas and let your creativity shine!
Frequently Asked Questions about How To Remove Peel And Stick Wallpaper
Was this page helpful?
At Storables.com, we guarantee accurate and reliable information. Our content, validated by Expert Board Contributors, is crafted following stringent Editorial Policies. We're committed to providing you with well-researched, expert-backed insights for all your informational needs.

0 thoughts on “How To Remove Peel And Stick Wallpaper”