
Articles
How To Remove A Peel And Stick Tile
Modified: March 24, 2024
Learn how to easily remove a peel and stick tile with our informative articles. Get step-by-step instructions and expert tips to ensure a hassle-free removal process.
(Many of the links in this article redirect to a specific reviewed product. Your purchase of these products through affiliate links helps to generate commission for Storables.com, at no extra cost. Learn more)
Introduction
Peel and stick tiles have become a popular choice for homeowners who want to update the look of their floors without the hassle and cost of traditional tile installation. These self-adhesive tiles are easy to install and can be a great DIY project. However, there may come a time when you need to remove them, whether it’s because you want to change the flooring again or you need to repair the subfloor.
Removing peel and stick tiles can be a bit tricky, as the adhesive used is designed to be strong and long-lasting. But with the right tools and techniques, you can successfully remove them without causing damage to the underlying surface.
In this article, we will walk you through the step-by-step process of removing peel and stick tiles effectively. We will also cover the necessary materials you will need and provide tips for disposing of the tiles properly. So, let’s dive in and learn how to remove a peel and stick tile!
Key Takeaways:
- Removing peel and stick tiles requires careful preparation, heating, and patient, methodical removal. Properly disposing of the tiles is crucial for environmental responsibility and safety.
- Prioritize safety and thoroughness when removing peel and stick tiles. From gathering materials to inspecting for remaining tiles, each step contributes to a successful and smooth removal process.
Read more: How To Remove Peel And Stick Floor Tile
Step 1: Gather the necessary materials
Before you begin the process of removing peel and stick tiles, it’s important to gather all the necessary materials. Having everything you need at hand will make the process smoother and more efficient. Here’s a list of the materials you will need:
- Protective gear: It’s essential to wear protective gear to avoid any injuries. This includes work gloves, safety glasses, and possibly a dust mask if you’re working in a dusty environment.
- Heat source: To loosen the adhesive on the peel and stick tiles, you will need a heat source. A hairdryer or a heat gun can be used for this purpose. Make sure to use them on the lowest heat setting to prevent damage to the surrounding area.
- Putty knife or scraper: To lift and remove the tiles, a putty knife or scraper is essential. Look for a sturdy one with a sharp edge that can effectively separate the tile from the surface.
- Adhesive remover: Depending on the type of adhesive used, you may need an adhesive remover to dissolve and loosen any residual adhesive left on the floor. Look for a product specifically designed for the type of adhesive you’re dealing with.
- Cleaner and sponge or cloth: Once you’ve removed the tiles, you’ll need a cleaner to thoroughly clean the floor. Choose a cleaner suitable for your flooring material and have a sponge or cloth on hand for application.
- Trash bags or containers: You’ll need some bags or containers to dispose of the removed peel and stick tiles properly. It’s important to check your local regulations for disposal guidelines to ensure environmentally responsible disposal.
By gathering these materials, you’ll be fully equipped to tackle the task of removing peel and stick tiles effectively and safely.
Step 2: Prepare the area
Before you start removing the peel and stick tiles, it’s important to prepare the area to ensure a smooth and efficient process. Follow these steps to prepare the area:
- Clean the floor: Begin by cleaning the floor surface around the tiles. Remove any loose dirt, debris, or dust using a broom or vacuum cleaner. This will help prevent any particles from getting in the way and interfering with the removal process.
- Remove any obstacles: Clear the area of any furniture, rugs, or other objects that may hinder your movement or make it difficult to access the tiles. Create a clear and open space to work in.
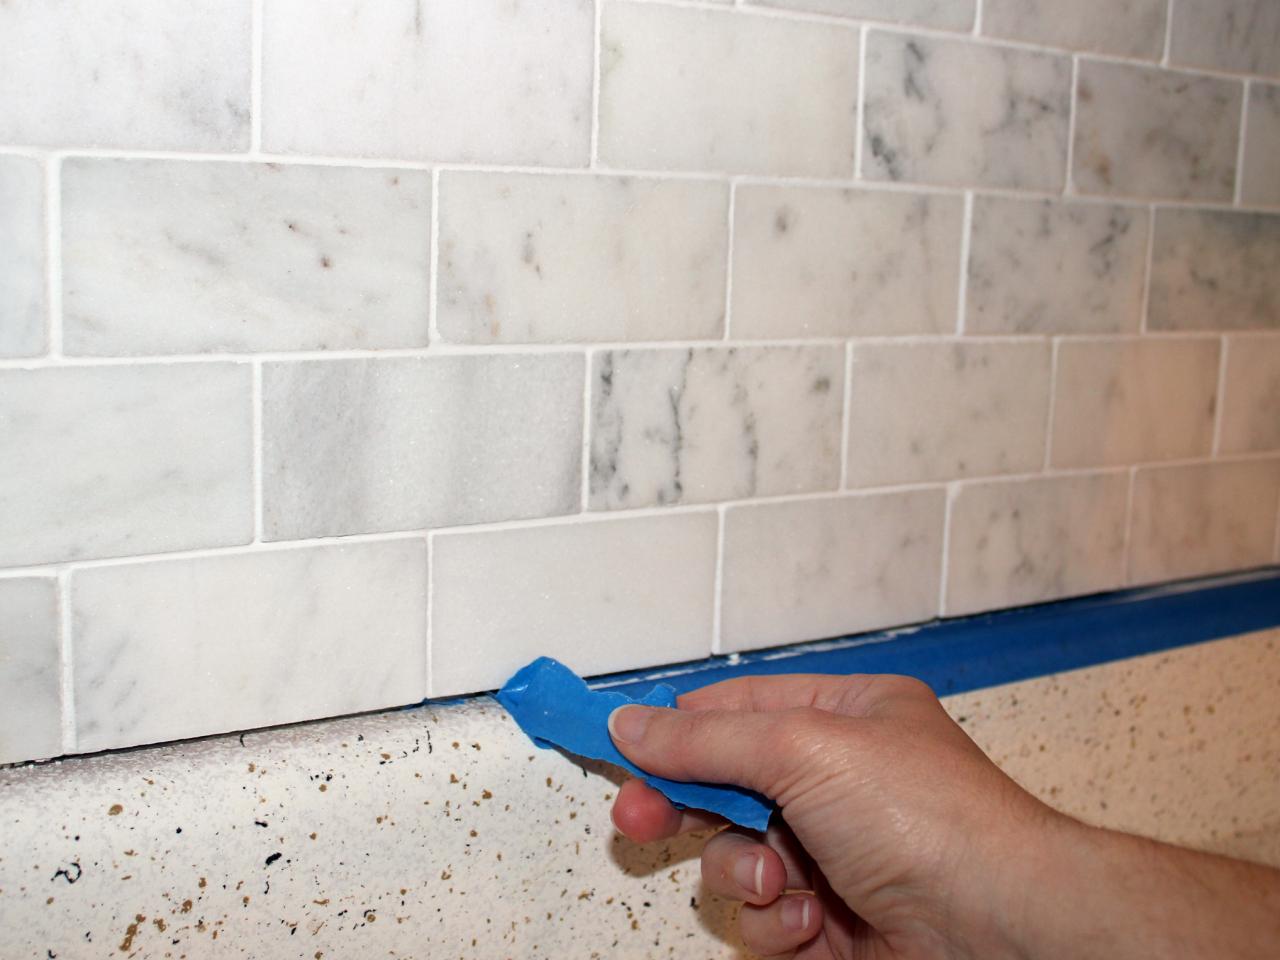
- Protect the surrounding surfaces: Peel and stick tiles can sometimes leave residue or adhesive behind. To protect the surrounding surfaces, use painter’s tape to cover baseboards, walls, or any other adjacent surfaces that could be damaged during the removal process.
- Ensure proper ventilation: Work in a well-ventilated area or open windows and doors to allow for proper airflow. This will help dissipate any fumes or odors that may be released during the removal process, especially if you’re using an adhesive remover.
By preparing the area beforehand, you’ll create a clean and safe environment to work in. This will make it easier to remove the peel and stick tiles without any unnecessary obstacles or risks of damaging the surrounding surfaces.
Step 3: Heat the tile
Heating the peel and stick tiles is an important step in softening the adhesive and making them easier to remove. Follow these steps to heat the tile:
- Choose a heat source: Use a hairdryer or heat gun as a heat source. Set it to the lowest heat setting to prevent damage to the tiles or the surrounding area.
- Hold the heat source above the tile: Position the heat source a few inches above the tile. Move it back and forth to evenly distribute the heat across the tile’s surface. Be cautious not to hold the heat source too close to prevent overheating or discoloration.
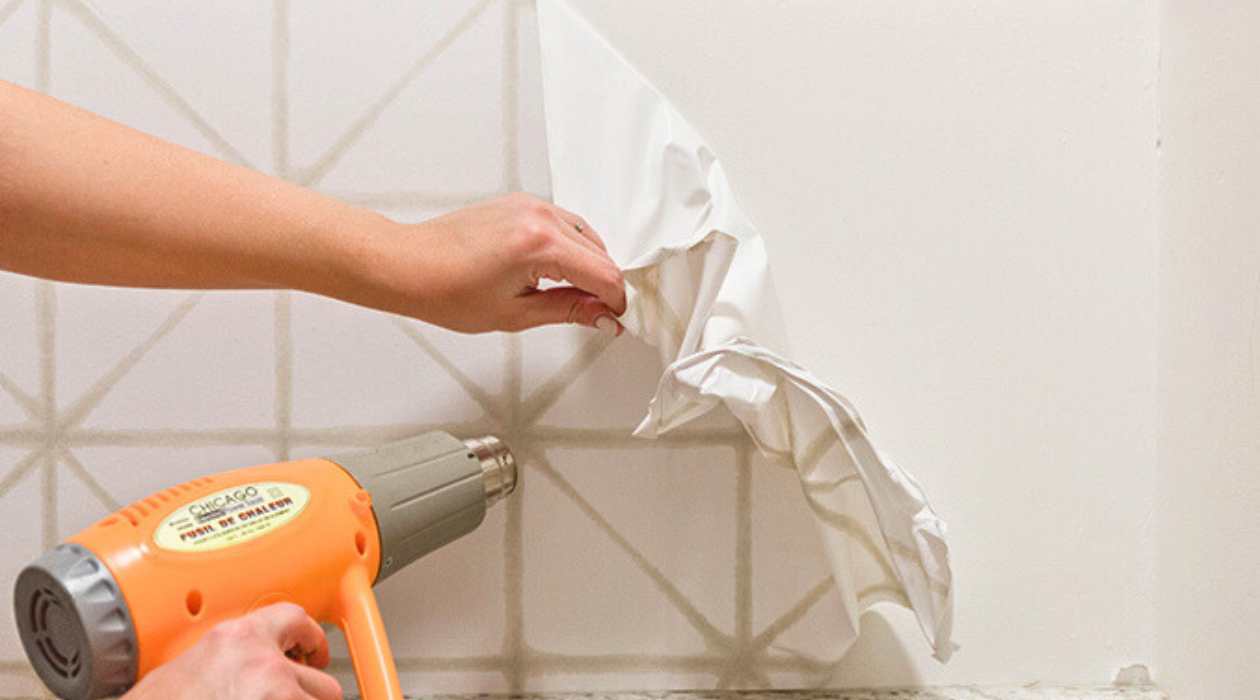
- Apply heat for a few minutes: Continue applying heat to the tile for a few minutes. This will soften the adhesive underneath, making it easier to lift and remove the tile.
- Test the tile: After applying heat, gently try to lift the corner of the tile using a putty knife or scraper. If it lifts easily without much resistance, it’s ready for removal. If it’s still firmly attached, apply more heat for a little longer.
Heating the tile is a crucial step as it helps loosen the adhesive, making it easier to remove the peel and stick tile without causing damage to the floor. However, be cautious not to overheat the tile, as excessive heat can cause damage to the surface underneath or even start a fire. Use the heat source carefully and follow the manufacturer’s instructions for safe use.
Step 4: Use a putty knife or scraper
Once you’ve heated the peel and stick tile, it’s time to use a putty knife or scraper to lift and remove it. Follow these steps to effectively remove the tile:
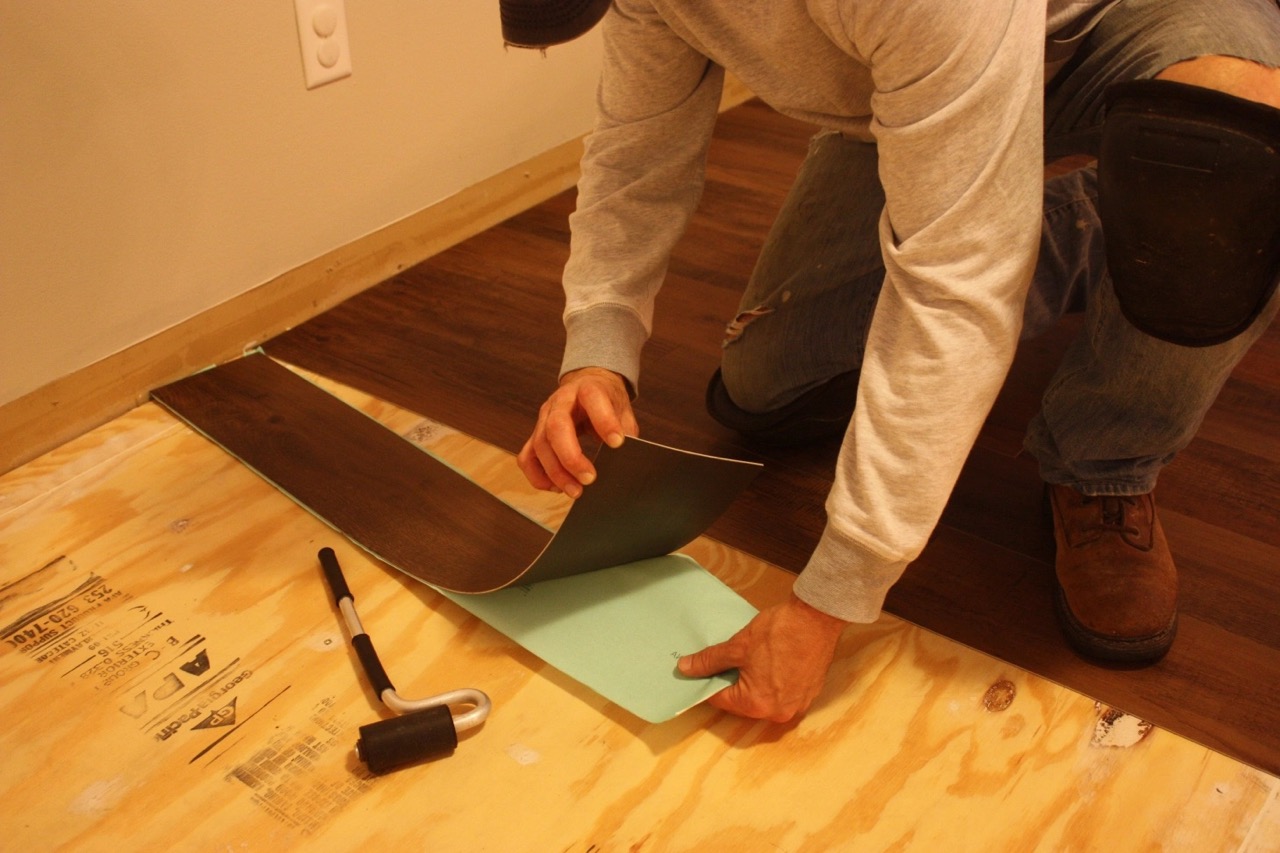
- Starting at the corner: Begin at one corner of the tile. Slide the putty knife or scraper underneath the lifted corner, gently prying it away from the floor. Apply steady and controlled pressure to lift the tile without damaging the underlying surface.
- Continue along the edges: Once you’ve successfully lifted the corner, continue sliding the putty knife or scraper along the edges of the tile. Apply upward pressure to separate the tile from the floor gradually.
- Work slowly and patiently: Take your time while removing the tile. Work slowly and patiently to avoid any sudden or forceful movements that may cause damage to the floor or surrounding areas.
- Use additional heat if necessary: If you encounter difficulty removing the tile, reapply heat to the area using a hairdryer or heat gun. The heat will soften the adhesive, making it easier to lift and remove the tile.
- Continue with the remaining tiles: Repeat the process with the remaining peel and stick tiles, working your way across the floor. Remember to heat each tile before attempting to remove it.
Using a putty knife or scraper allows you to safely and effectively lift the peel and stick tiles without causing damage. By working patiently and methodically, you’ll be able to remove the tiles efficiently and prepare the floor for the next steps in the process.
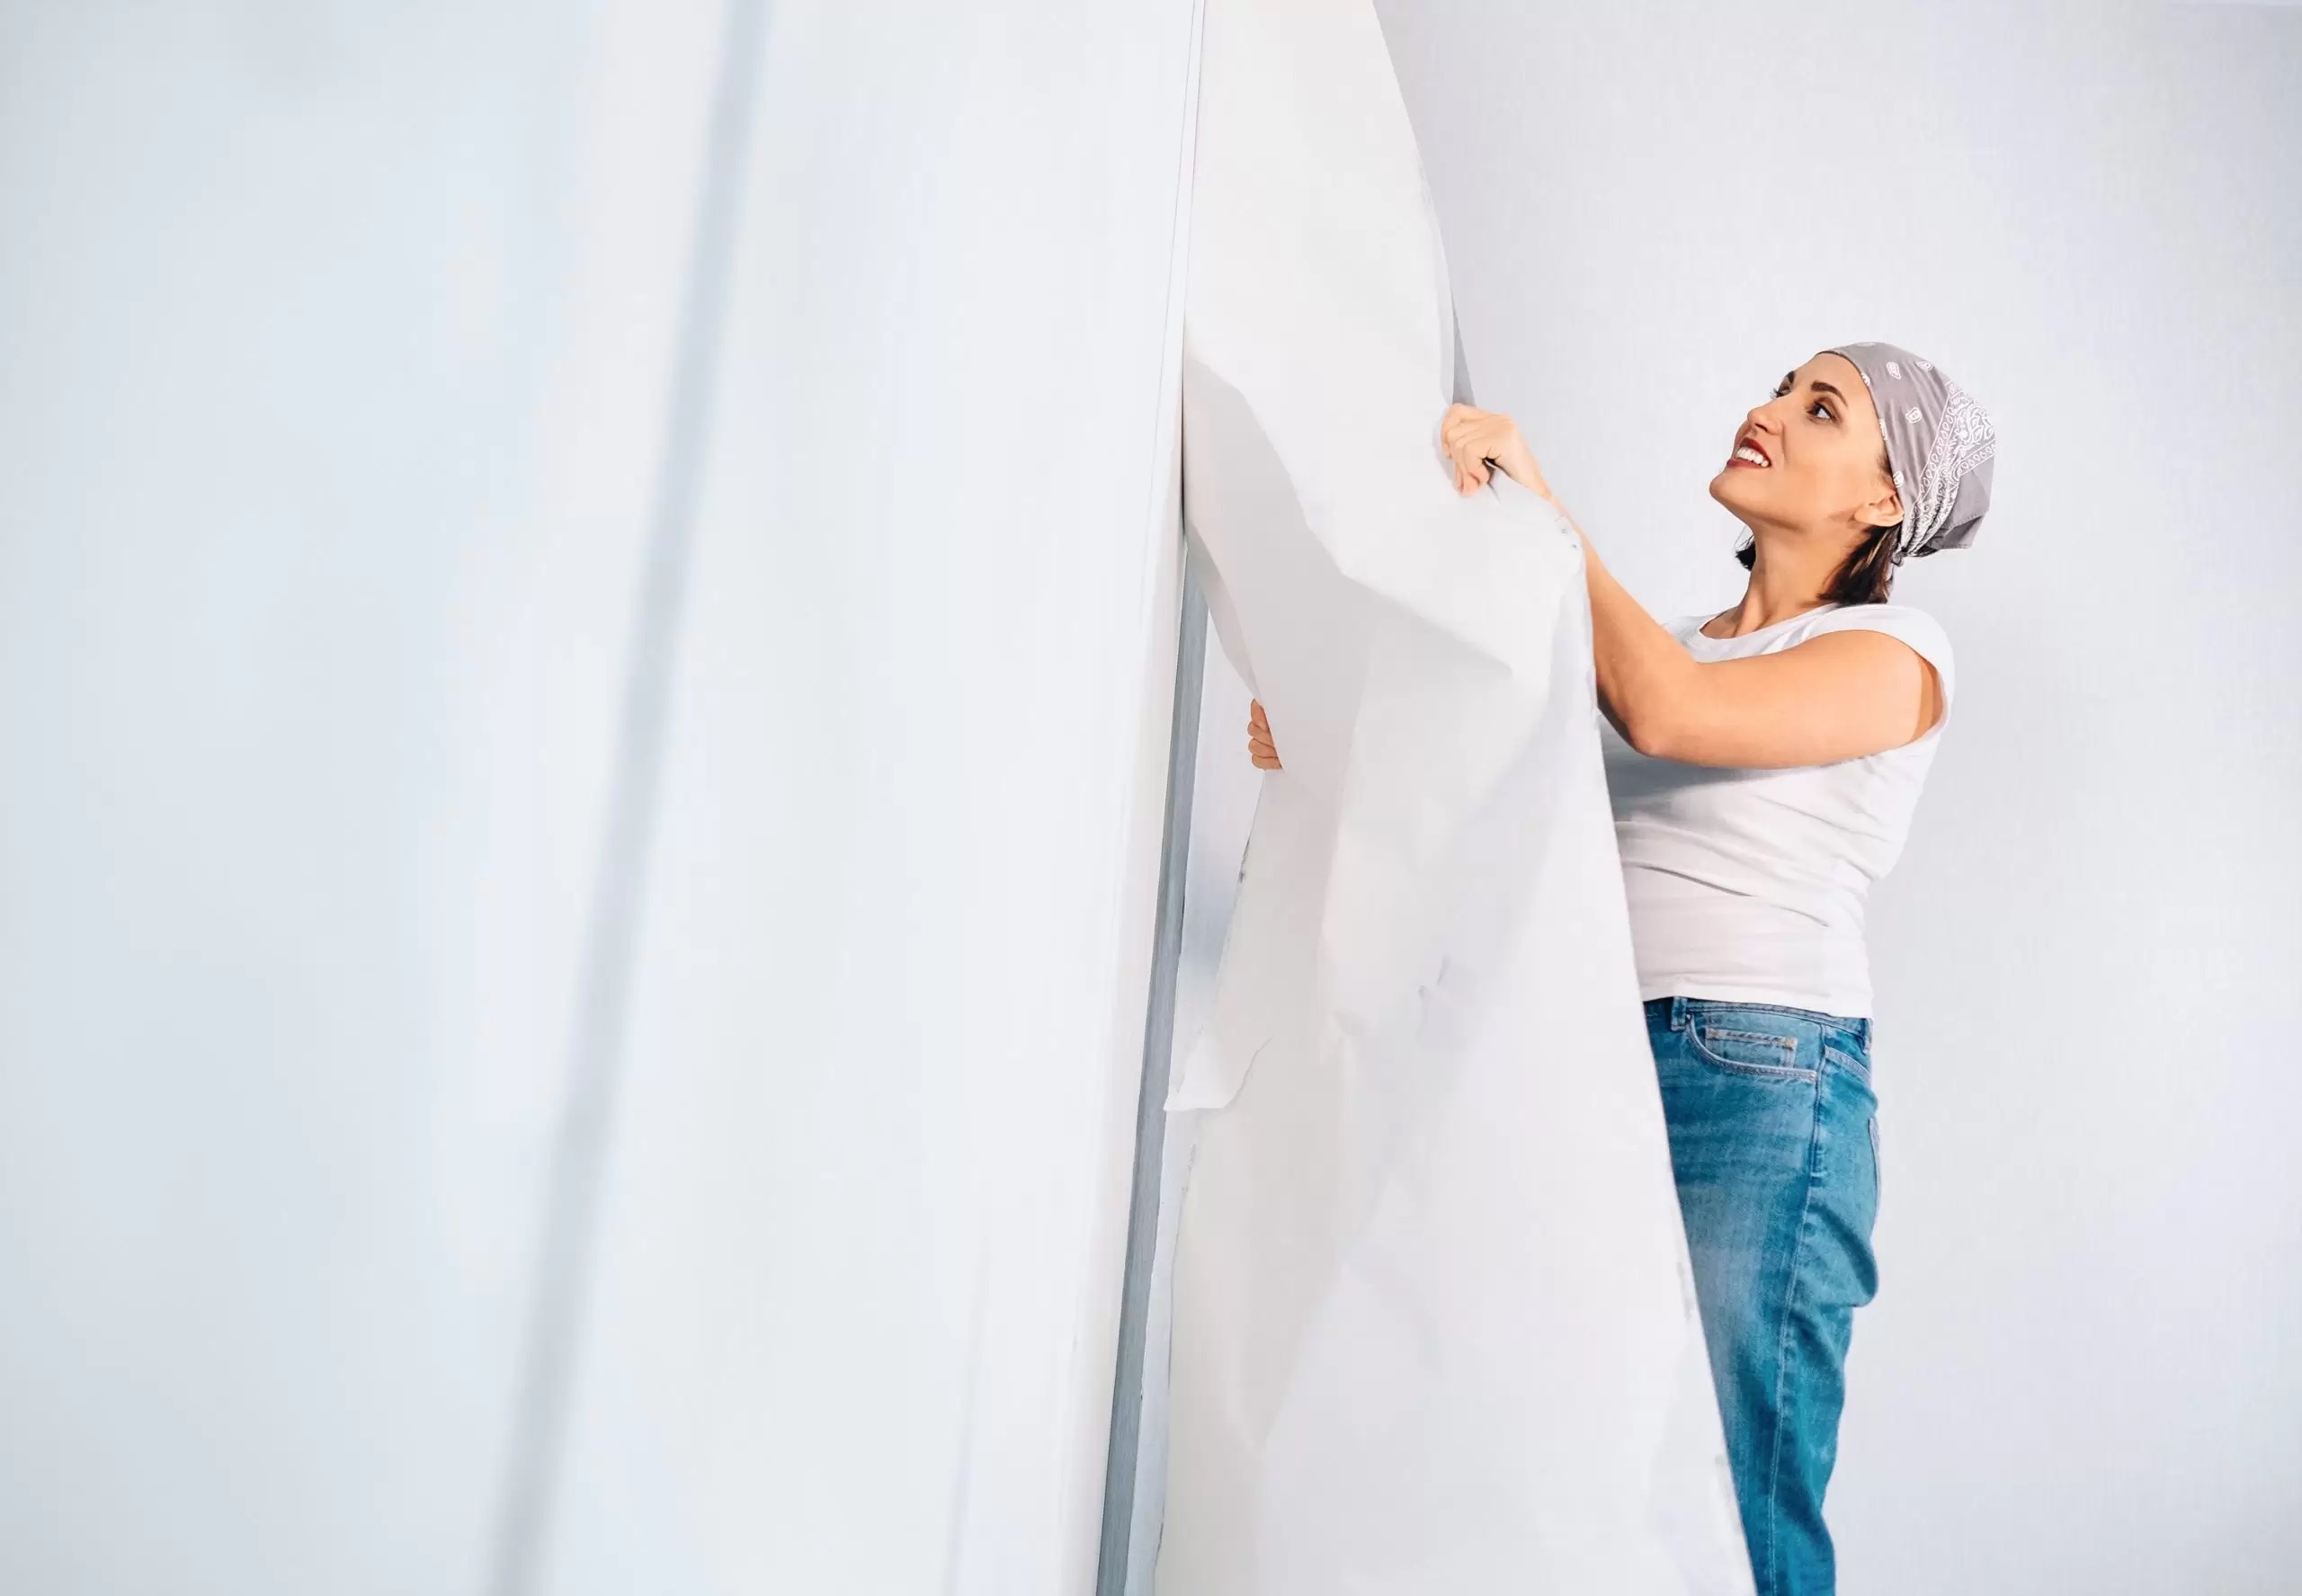
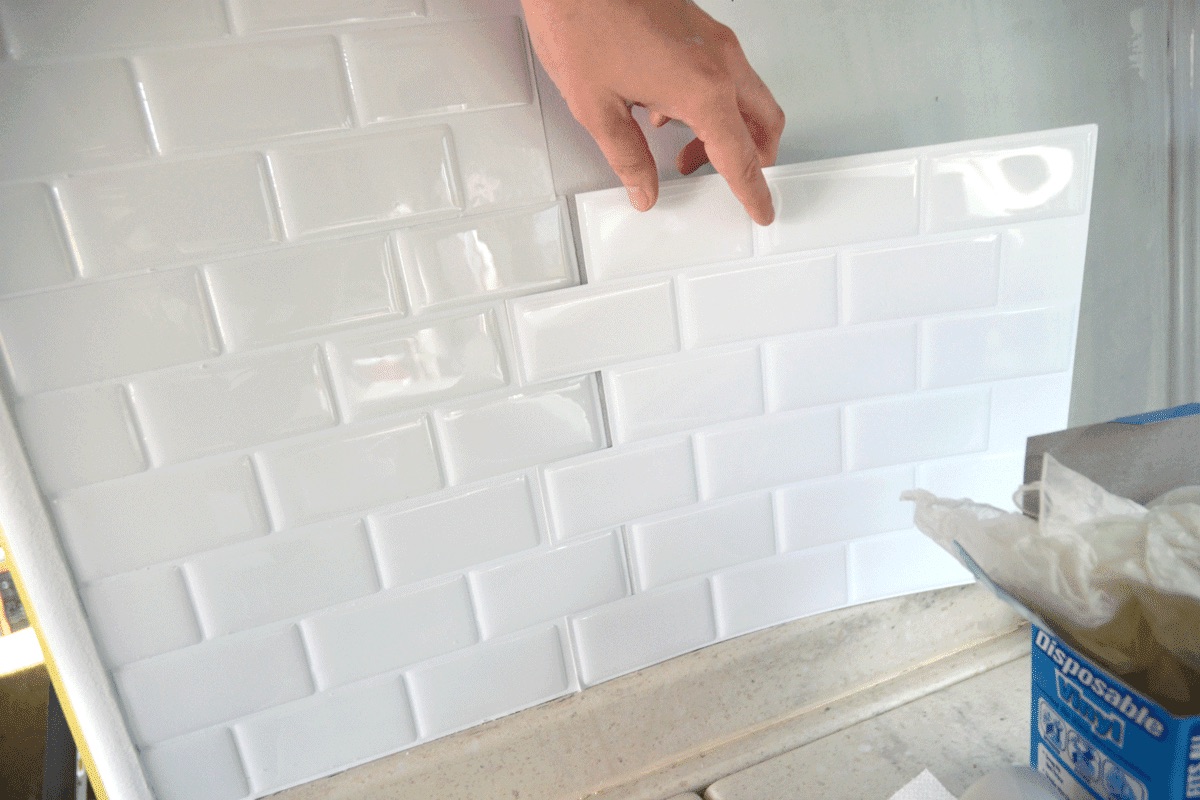
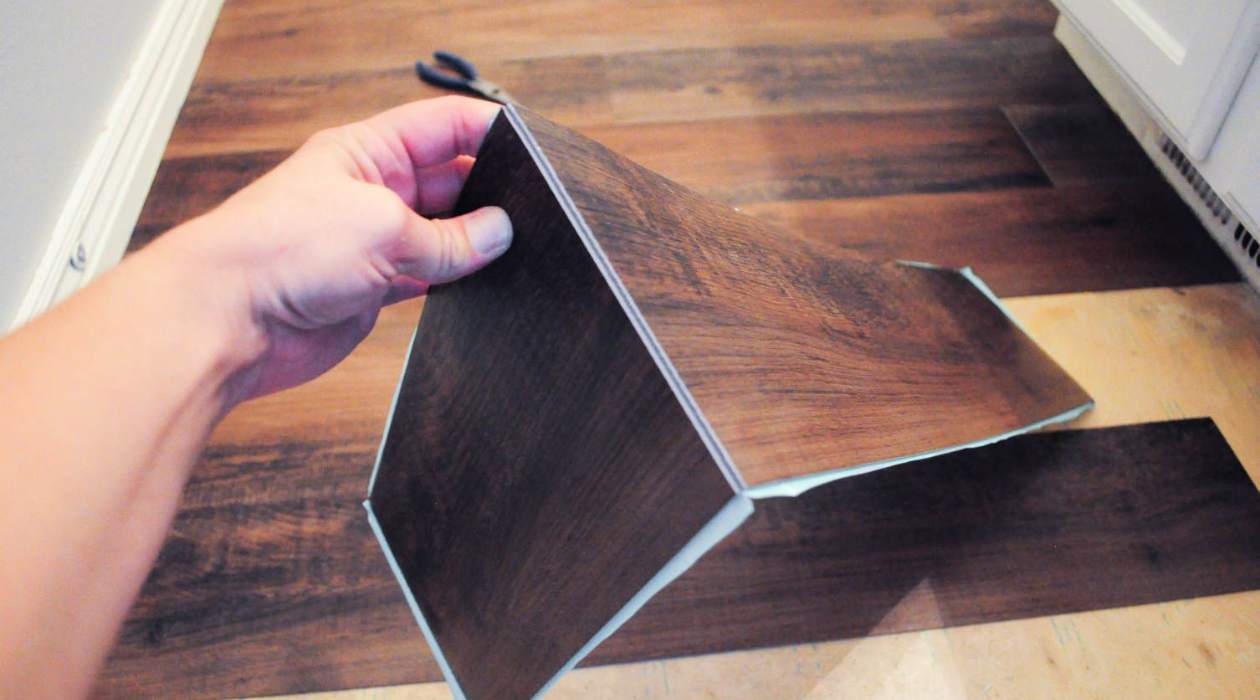
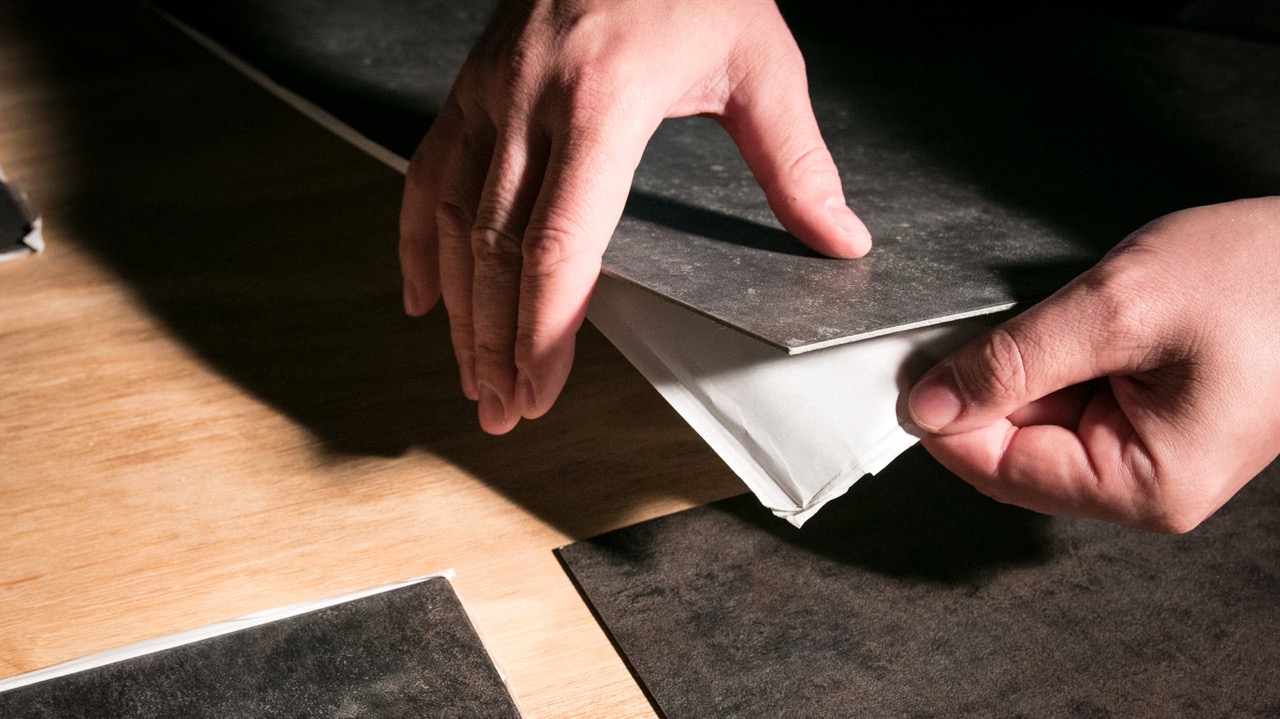
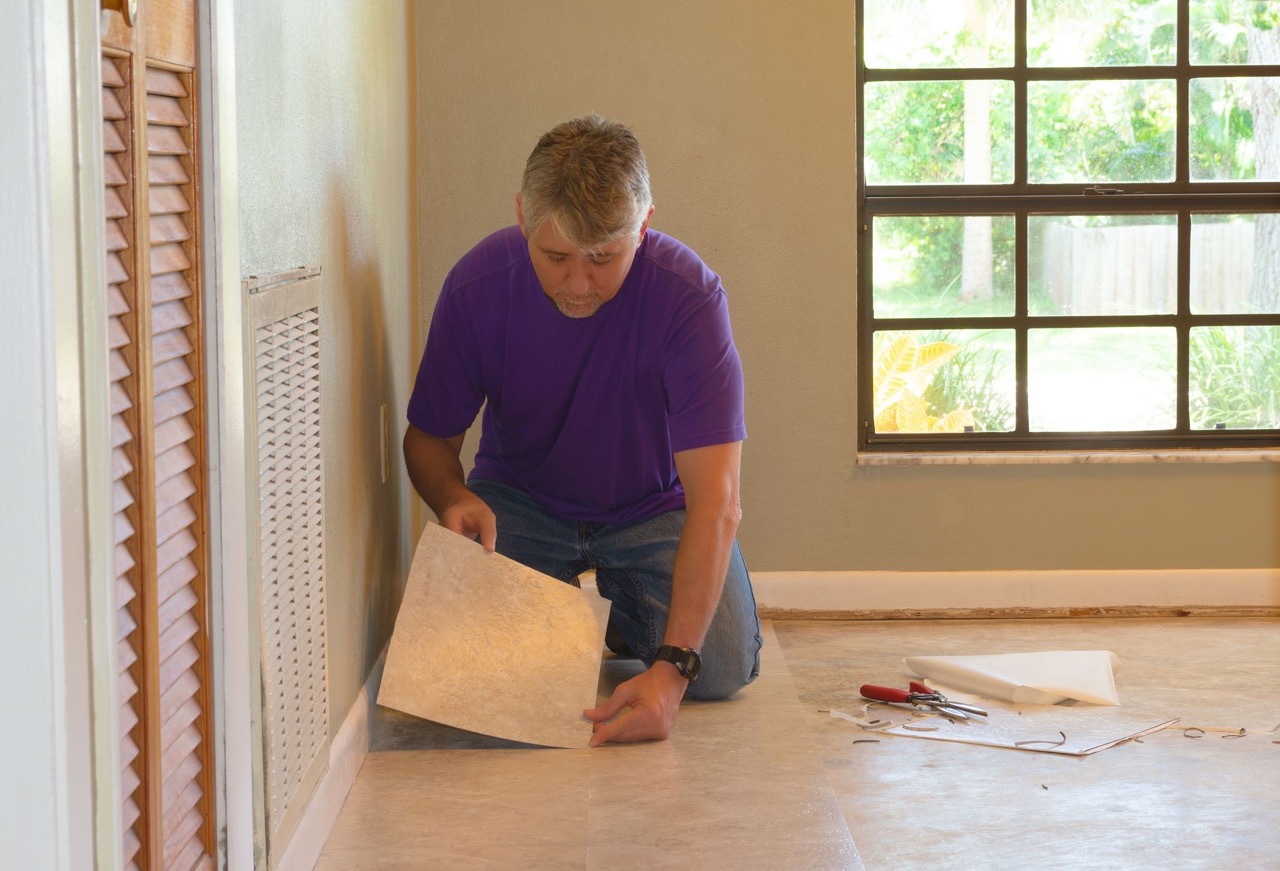
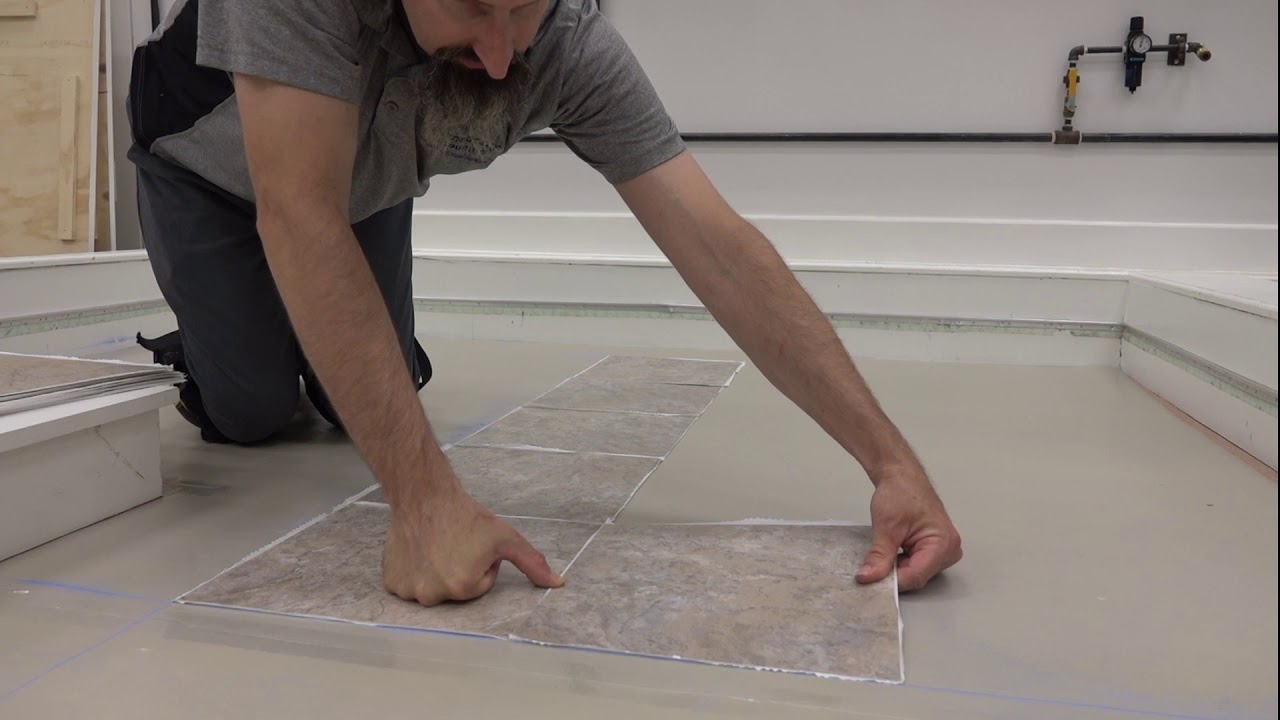
Use a heat gun or hairdryer to warm up the adhesive on the peel and stick tile. Once the adhesive is warm, gently peel the tile off the surface. Use a putty knife to help lift the edges if needed.
Read more: How To Remove Peel And Stick Tile From Wall
Step 5: Remove any adhesive residue
After removing the peel and stick tiles, you may have residual adhesive left on the floor. It’s important to remove this adhesive to ensure a clean and smooth surface. Follow these steps to remove any adhesive residue:
- Inspect the floor: Take a close look at the floor to identify any areas with leftover adhesive. It may appear as a sticky residue or thin patches of adhesive that were not removed with the tiles.
- Apply adhesive remover: Depending on the type of adhesive used, apply an appropriate adhesive remover to the affected areas. Follow the product instructions for the specific duration and method of application.
- Allow the adhesive remover to work: Give the adhesive remover some time to work its magic and dissolve the leftover adhesive. This may take a few minutes or longer, depending on the product and the amount of adhesive residue.
- Scrape off the residue: Once the adhesive remover has had time to work, use a putty knife or scraper to gently scrape off the adhesive residue. Be cautious not to scratch or damage the floor while doing this.
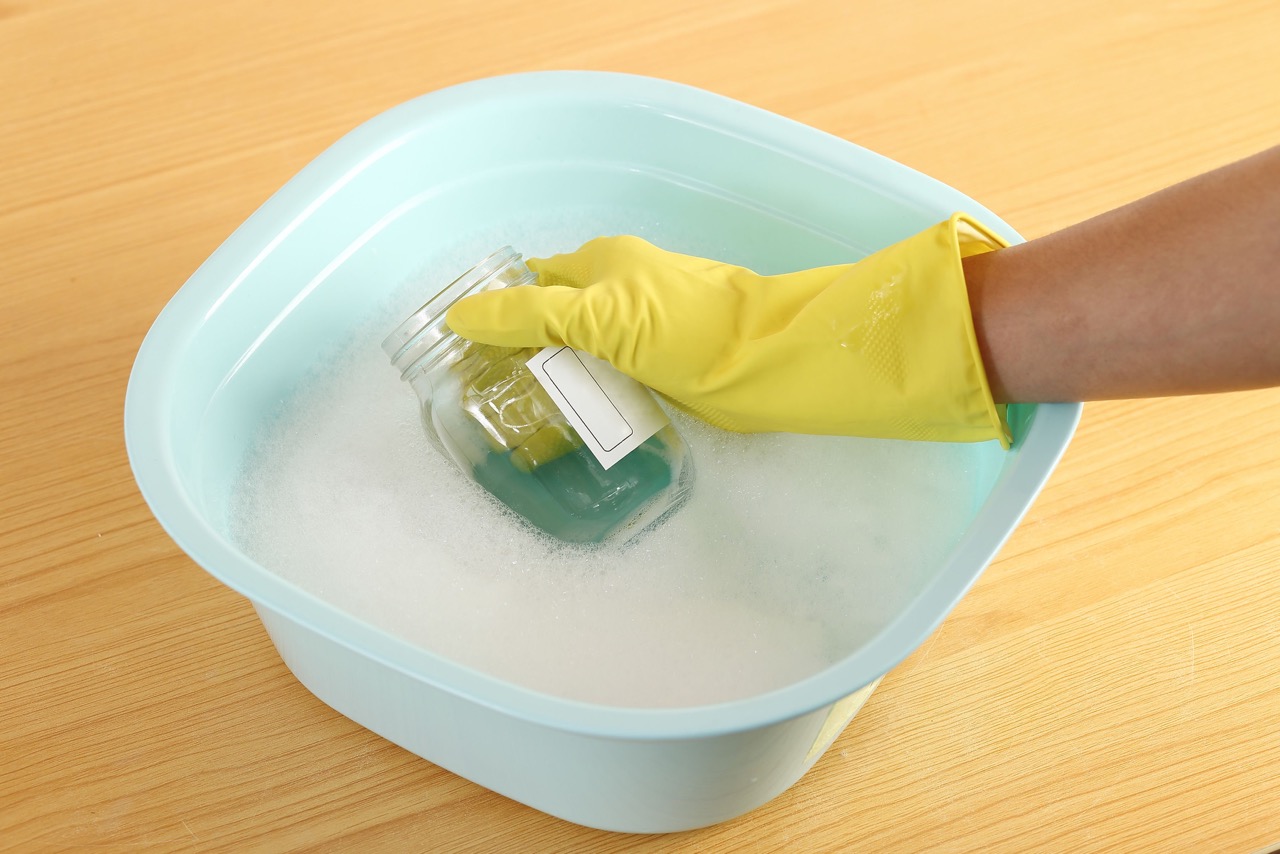
- Clean the floor: After removing the adhesive residue, thoroughly clean the floor using a cleaner suitable for your flooring material. Follow the manufacturer’s instructions for application and use a sponge or cloth to wipe away any remaining residue.
Removing any adhesive residue ensures that the floor is ready for a new flooring application or for further refinishing. By using an appropriate adhesive remover and taking your time to scrape off the residue, you’ll achieve a clean and smooth surface for future use.
Step 6: Clean the floor
Once you have removed the peel and stick tiles and any adhesive residue, it’s important to thoroughly clean the floor. This step will ensure that the surface is clean, smooth, and ready for the next flooring application. Follow these steps to clean the floor properly:
- Clear the area: Remove any remaining debris or dust from the floor by sweeping or using a vacuum cleaner. Make sure the surface is clear of any loose particles.
- Choose the appropriate cleaner: Select a cleaner that is suitable for your specific type of flooring. Whether it’s hardwood, vinyl, laminate, or tile, choose a cleaner that is safe and effective for the material.
- Prepare the cleaning solution: Follow the manufacturer’s instructions to prepare the cleaning solution. Dilute the cleaner with water as directed, if necessary.
- Apply the cleaner: Using a sponge or cloth, apply the cleaning solution to the floor. Work in manageable sections, ensuring that the entire surface is covered. Allow the solution to sit for the recommended amount of time.
- Scrub or mop the floor: Depending on the type of flooring, you may need to scrub with a brush or mop the floor to remove any dirt or residue. Follow the appropriate technique for your specific flooring material.
- Rinse the floor: After scrubbing or mopping, rinse the floor thoroughly with clean water. This will remove any remaining cleaner and leave the surface residue-free.
- Dry the floor: Use a dry mop or towel to dry the floor completely. Ensure there is no excess moisture left on the surface, as it can lead to potential damage or slipping hazards.
By properly cleaning the floor, you will ensure a clean and smooth surface for any future flooring application or refinishing. The cleanliness of the floor will contribute to the success and longevity of your new flooring choice.
Step 7: Inspect for any remaining tiles
After removing the peel and stick tiles and cleaning the floor, it’s important to inspect the area for any remaining tiles that may have been overlooked. Sometimes, a tile may break or go unnoticed during the removal process. Follow these steps to thoroughly inspect the floor for any remaining tiles:
- Visually inspect the floor: Take a close look at the floor surface, paying attention to any gaps or areas that may indicate the presence of a remaining tile.
- Feel for any unevenness: Run your hand across the floor, feeling for any uneven spots or raised areas that may suggest the presence of a hidden tile.
- Use a flashlight: Shine a flashlight across the floor at a low angle to identify any shadows or irregularities that may indicate the presence of a tile.
- Tap the floor: Lightly tap the floor with a rubber mallet or the back of a putty knife. Listen for any hollow or different sounds that may suggest the presence of an underlying tile.
- Inspect edges and corners: Pay close attention to the edges and corners of the room, as tiles may be more likely to remain hidden in these areas.
If you detect any potential remaining tiles during the inspection, follow the previous steps to remove them. Use a putty knife or scraper to lift the tile, and clean the floor again to ensure it is completely free of any remaining adhesive or residue. Thoroughly inspect the floor once again to confirm that all tiles have been removed.
By taking the time to carefully inspect the floor for any remaining tiles, you can ensure a clean and smooth surface for any future flooring installation or refinishing. Removing all remnants of the peel and stick tiles will help prevent any unevenness or damage to the new flooring.
Step 8: Dispose of the peel and stick tile properly
Once you have successfully removed the peel and stick tiles, it’s important to dispose of them responsibly. Proper disposal helps minimize environmental impact and ensures compliance with local regulations. Follow these steps to dispose of the tiles properly:
- Check local regulations: Research local regulations and guidelines regarding the disposal of construction debris and adhesive materials. This will ensure that you comply with any specific requirements in your area.
- Separate the tiles: If the tiles are in good condition and can be reused, consider setting them aside for future projects or donating them to someone who may have a use for them. Separate any damaged or unusable tiles for disposal.
- Wrap the tiles securely: For the tiles that need to be disposed of, wrap them securely in a heavy-duty trash bag or multiple layers of thick plastic. This prevents them from breaking or causing any harm during transportation and disposal.
- Contact waste management services: Check with your local waste management services or recycling centers to inquire about the proper disposal methods for the wrapped tiles. They can provide guidance on drop-off locations or scheduled collection services.
- Follow specific disposal instructions: Depending on the materials used in the peel and stick tiles, there may be specific disposal instructions to follow. For example, some tiles may need to be taken to a designated recycling facility instead of being disposed of in regular waste.
- Document proof of disposal: If required by local regulations, keep records or receipts as proof of proper disposal. This may be necessary for future reference or in case of any inquiries or audits.
By disposing of the peel and stick tiles in an environmentally responsible manner, you contribute to waste reduction and help preserve the health of our planet. Proper disposal ensures that the materials are handled appropriately and reduces the potential for harm to the environment and human health.
Remember to always adhere to local regulations and guidelines when disposing of construction debris to ensure you are contributing to a sustainable and eco-friendly future.
Read more: How To Get Peel And Stick Tile To Stick
Conclusion
Removing peel and stick tiles can seem like a daunting task, but with the right approach and tools, it can be accomplished effectively and safely. By following the step-by-step process outlined in this article, you can successfully remove peel and stick tiles without causing damage to the underlying surface.
From gathering the necessary materials to properly disposing of the tiles, each step is important in ensuring a smooth transition to a new flooring or subfloor repair. Taking the time to prepare the area, heat the tiles, use a putty knife or scraper, remove adhesive residue, clean the floor, inspect for any remaining tiles, and dispose of the tiles responsibly are crucial steps for a successful removal process.
Throughout the entire process, it’s important to prioritize safety. Wearing protective gear, using heat sources carefully, and being cautious during the removal process will help prevent injuries and damage to the surrounding area.
Whether you’re updating your floors or addressing subfloor issues, knowing how to remove peel and stick tiles is a valuable skill. By following the steps outlined in this article, you can confidently tackle this DIY project and prepare your space for a fresh new look.
Remember, if you’re unsure or uncomfortable with the removal process, it’s always best to consult a professional. They can provide guidance and assistance to ensure the job is done correctly and efficiently.
With a little patience and effort, you’ll be able to remove peel and stick tiles and transform your space into something new and beautiful.
Frequently Asked Questions about How To Remove A Peel And Stick Tile
Was this page helpful?
At Storables.com, we guarantee accurate and reliable information. Our content, validated by Expert Board Contributors, is crafted following stringent Editorial Policies. We're committed to providing you with well-researched, expert-backed insights for all your informational needs.

0 thoughts on “How To Remove A Peel And Stick Tile”