Articles
How To Do Peel And Stick Wallpaper
Modified: December 7, 2023
Learn how to install peel and stick wallpaper with our informative articles. Discover tips and tricks for a flawless application and transform any room effortlessly.
(Many of the links in this article redirect to a specific reviewed product. Your purchase of these products through affiliate links helps to generate commission for Storables.com, at no extra cost. Learn more)
Introduction
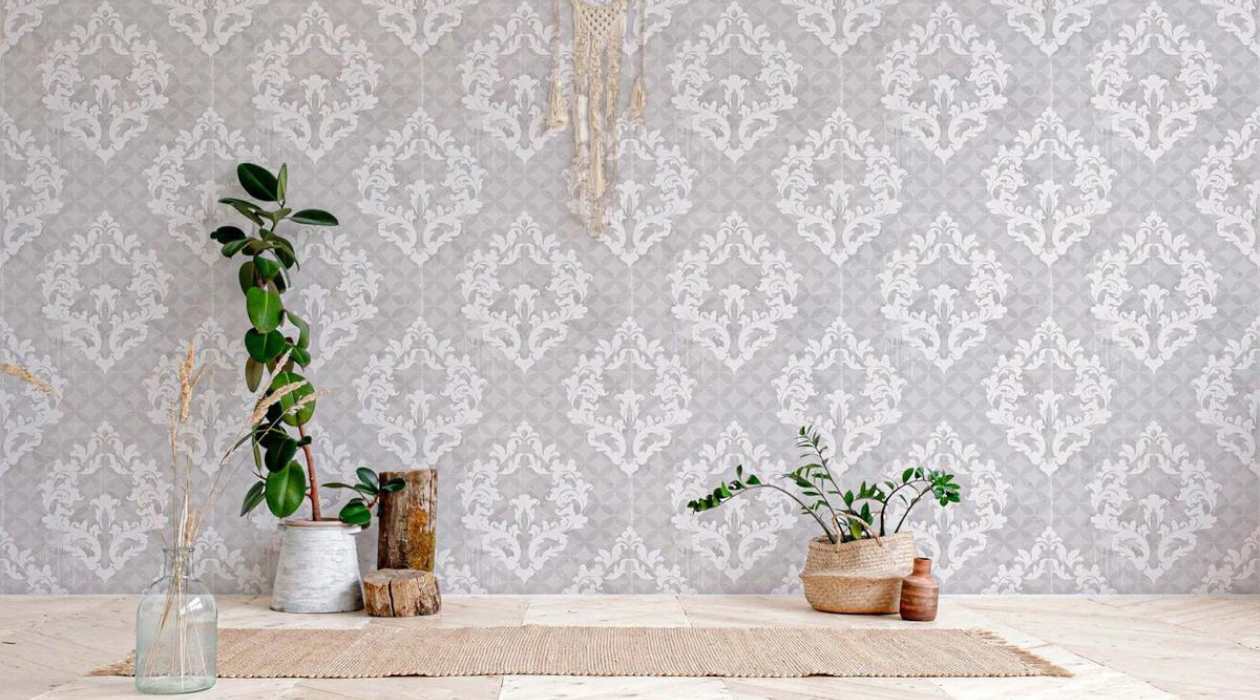
Peel and stick wallpaper has revolutionized the world of home decor. Gone are the days of messy glue and difficult installation processes. With peel and stick wallpaper, transforming the look of your walls has never been easier. Whether you want to update a room with a bold statement wall or add a touch of pattern to a small space, peel and stick wallpaper offers a quick and convenient solution.
In this article, we will guide you through the step-by-step process of how to do peel and stick wallpaper. From preparing the surface to trimming excess wallpaper, we will cover all the essential steps to achieve a professional-looking result. So, let’s get started!
Key Takeaways:
- Easily transform your walls with peel and stick wallpaper. Follow the step-by-step guide for a professional and seamless installation, and unleash your creativity to personalize your space hassle-free.
- Prepare, measure, apply, and repeat for a cohesive look. With patience and attention to detail, you can achieve a visually stunning transformation with peel and stick wallpaper.
Read more: How To Apply Peel-and-Stick Wallpaper
Step 1: Prepare the Surface
Before you begin applying the peel and stick wallpaper, it’s crucial to properly prepare the surface for optimal adhesion and a seamless finish. Here’s what you need to do:
- Clean the Wall: Start by thoroughly cleaning the wall where you will be applying the wallpaper. Remove any dirt, dust, or grease using a mild detergent and warm water. Be sure to dry the wall completely before moving on to the next step.
- Smooth out Imperfections: Inspect the wall for any imperfections such as bumps, holes, or cracks. Fill in any holes or cracks with a spackling compound and smooth them out using a putty knife. For textured walls, you may need to sand down any rough areas to create a smooth surface.
- Prime the Wall (optional): While peel and stick wallpaper generally adheres well to most surfaces, applying a primer can enhance the adhesive capabilities and ensure a long-lasting result. Consult the manufacturer’s instructions to determine if a primer is recommended for the specific wallpaper you are using.
- Allow the Wall to Dry: After cleaning and priming (if necessary), allow the wall to dry completely. This is an essential step to prevent any moisture from affecting the adhesive properties of the wallpaper.
By taking the time to properly prepare the surface, you will create an ideal foundation for the peel and stick wallpaper, leading to a smoother application and a more professional-looking finish.
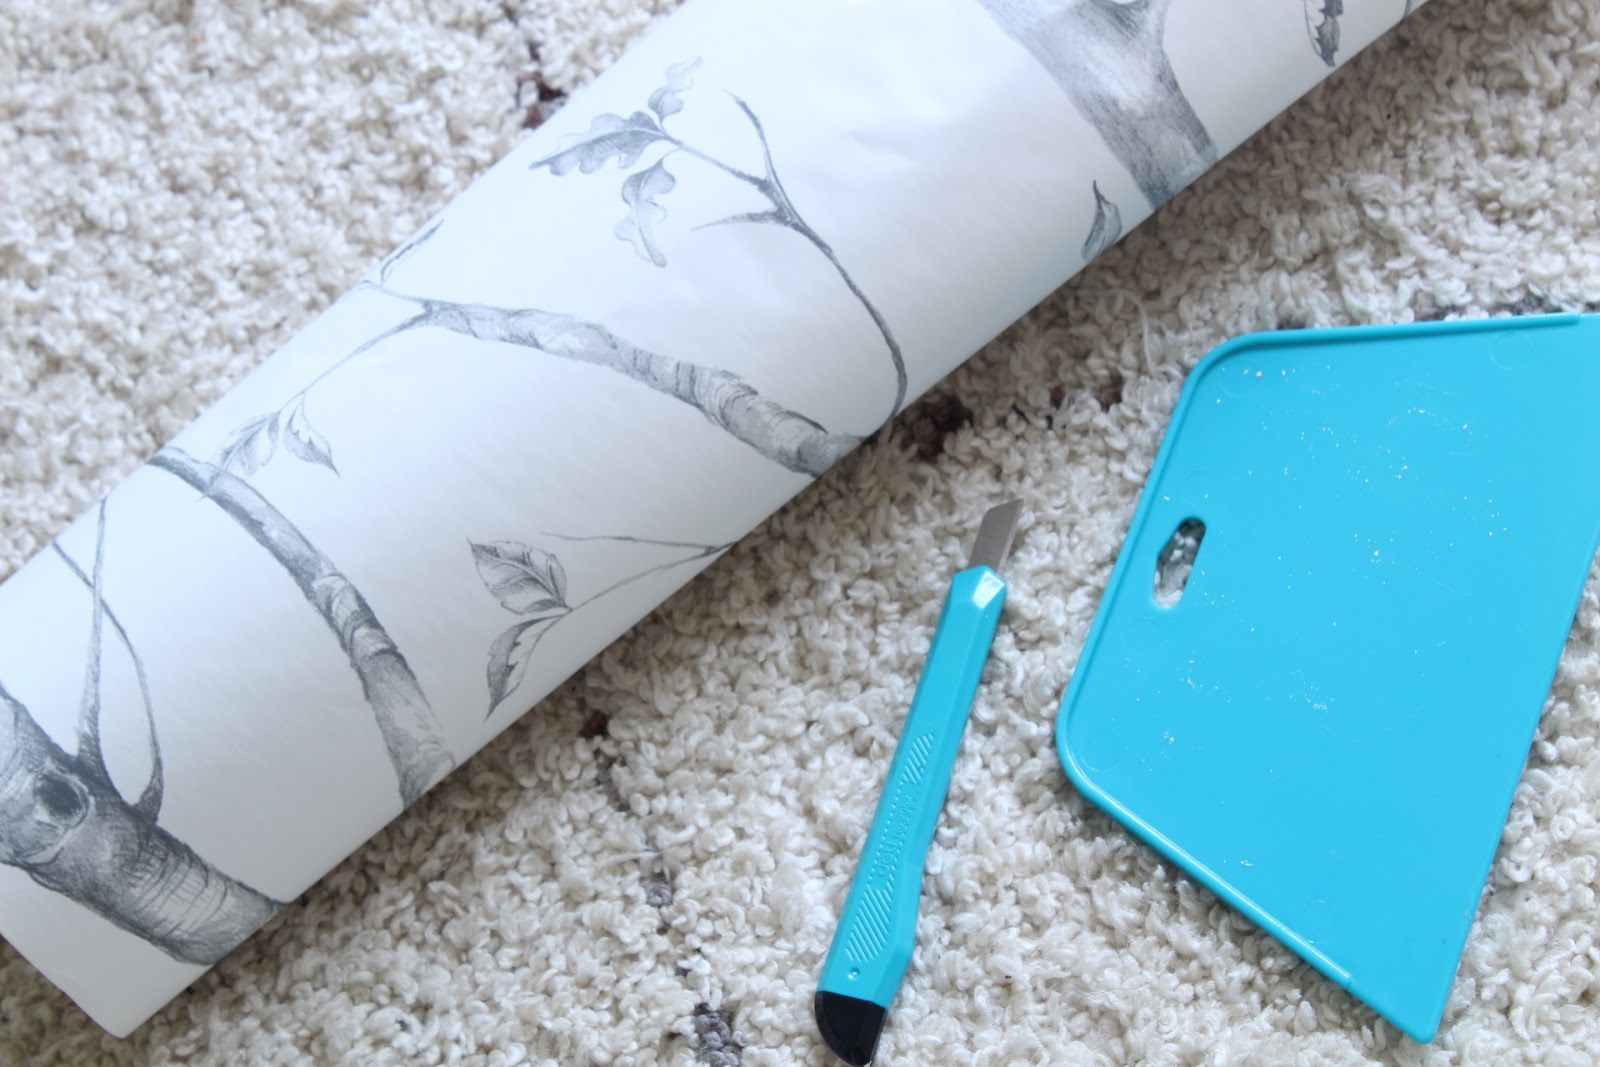
Step 2: Measure and Cut the Wallpaper
Once the wall is properly prepared, it’s time to measure and cut the peel and stick wallpaper. Here’s what you need to do:
- Measure the Wall: Use a measuring tape to measure the height and width of the wall you’re covering with the wallpaper. Add a few extra inches to each measurement to account for any mistakes or adjustments during the installation process.
- Mark the Wallpaper: With the measurements in hand, unroll the peel and stick wallpaper and lay it on a flat surface with the backing facing down. Use a pencil or a marker to mark the dimensions of the wall on the back of the wallpaper. Make sure to align the marks with the pattern or design of the wallpaper, if applicable.
- Cut the Wallpaper: Next, use a pair of sharp scissors or a utility knife to carefully cut along the marked lines. Take your time and ensure smooth, straight cuts. If the wallpaper has a repeat pattern, be mindful of matching the pattern when cutting multiple pieces.
- Label the Wallpaper: To keep track of which piece goes where, label the back of each cut piece with an identifying mark or number using a removable adhesive tape or a marker. This will make the installation process much easier and avoid confusion.
- Repeat the Process: If you need multiple pieces of wallpaper to cover the entire wall, repeat steps 2-4 for each piece.
Accurate measurement and precise cutting are crucial for a seamless and visually appealing wallpaper installation. Take your time during this step to ensure that each piece fits perfectly and aligns with the design or pattern of the wallpaper.
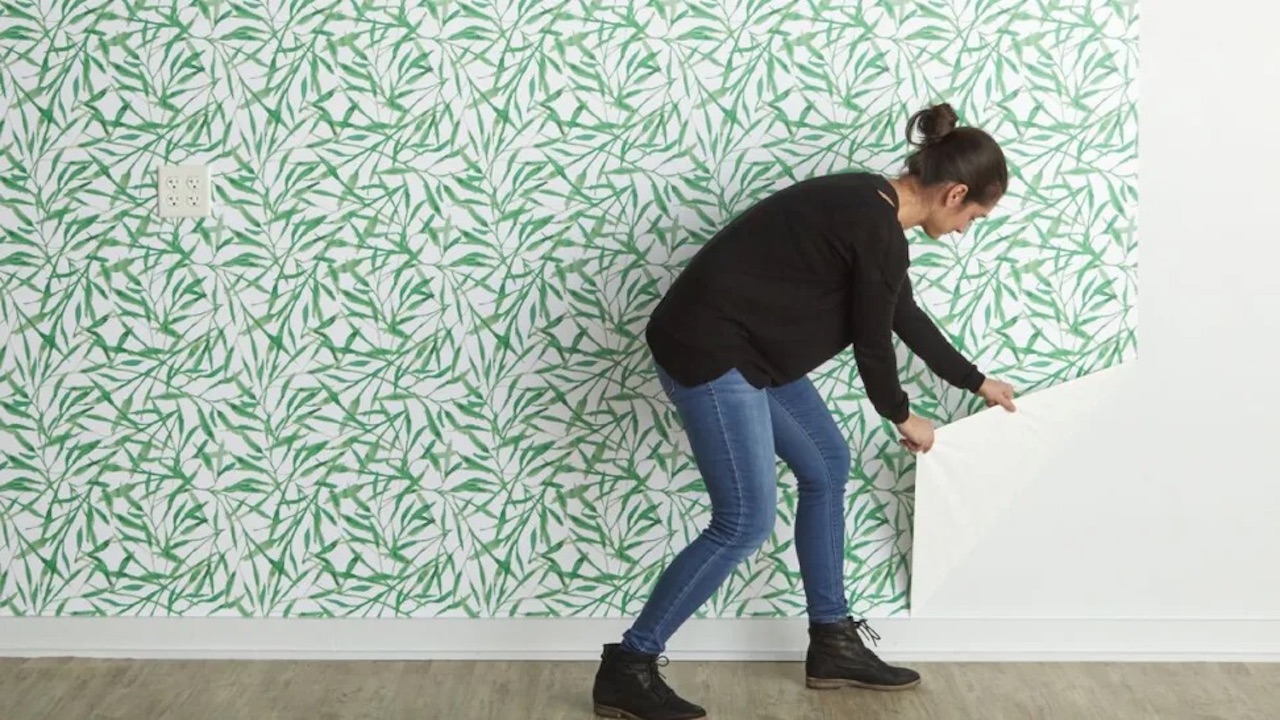
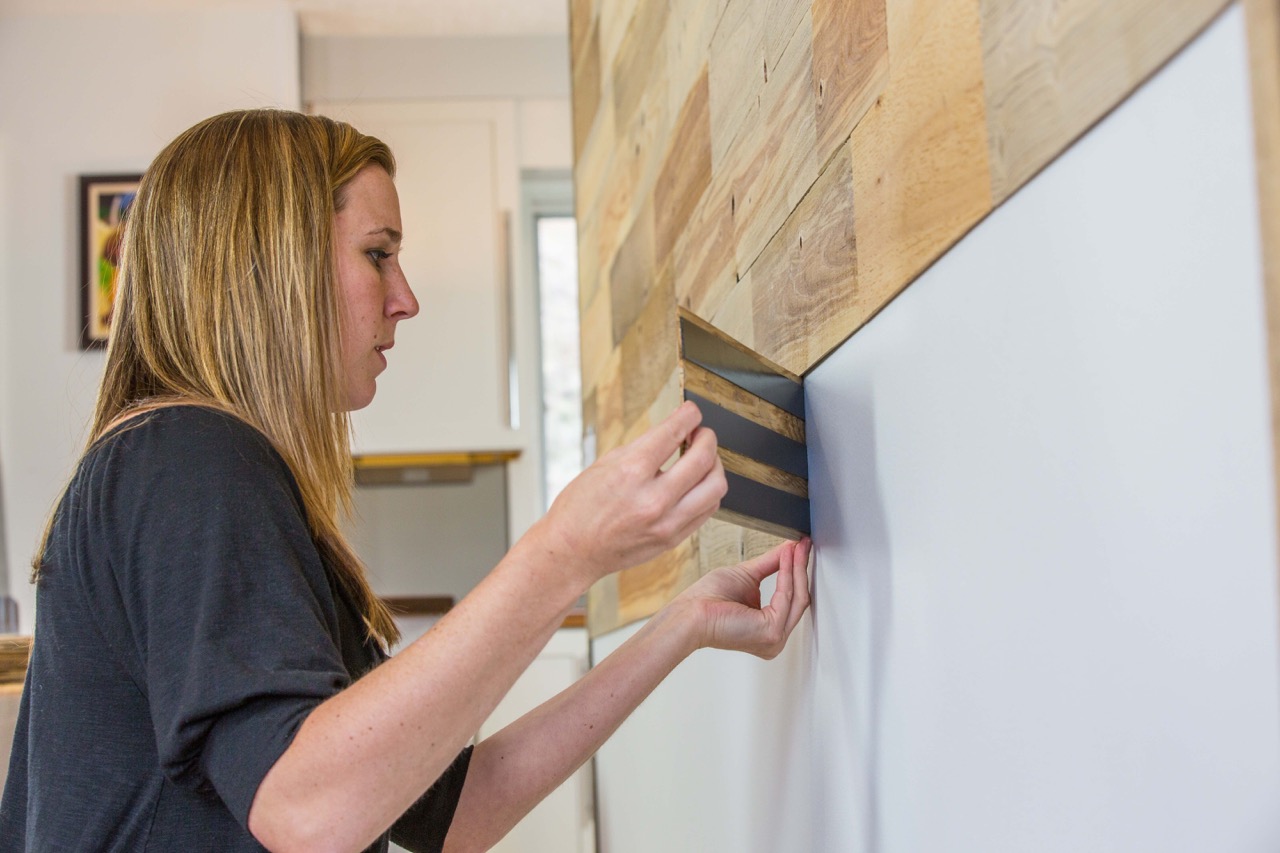
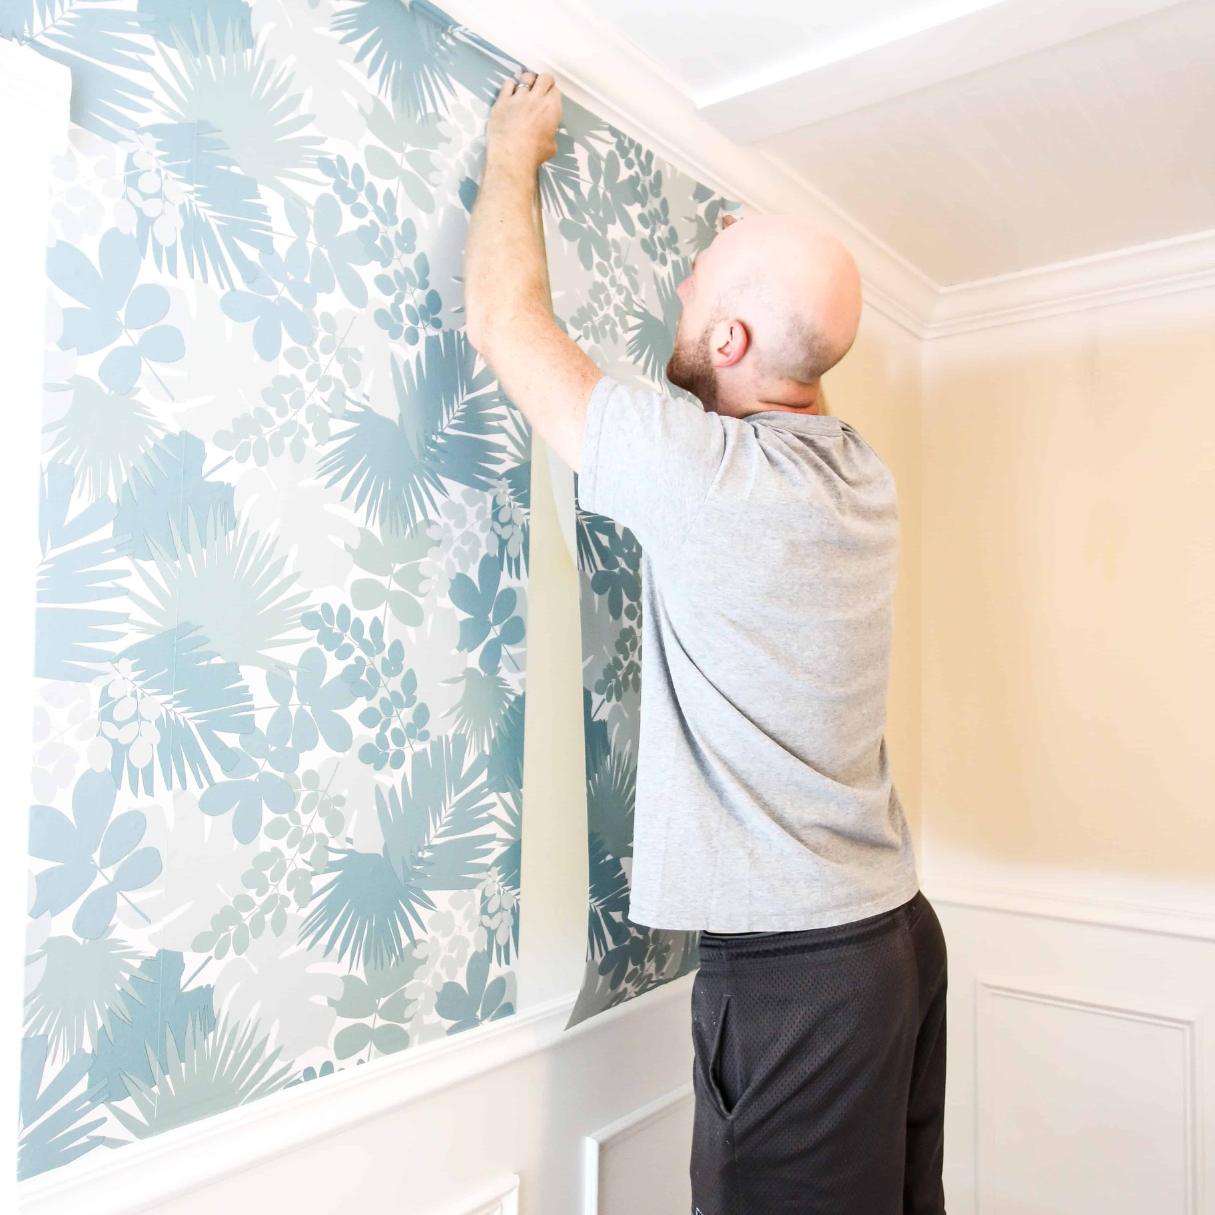
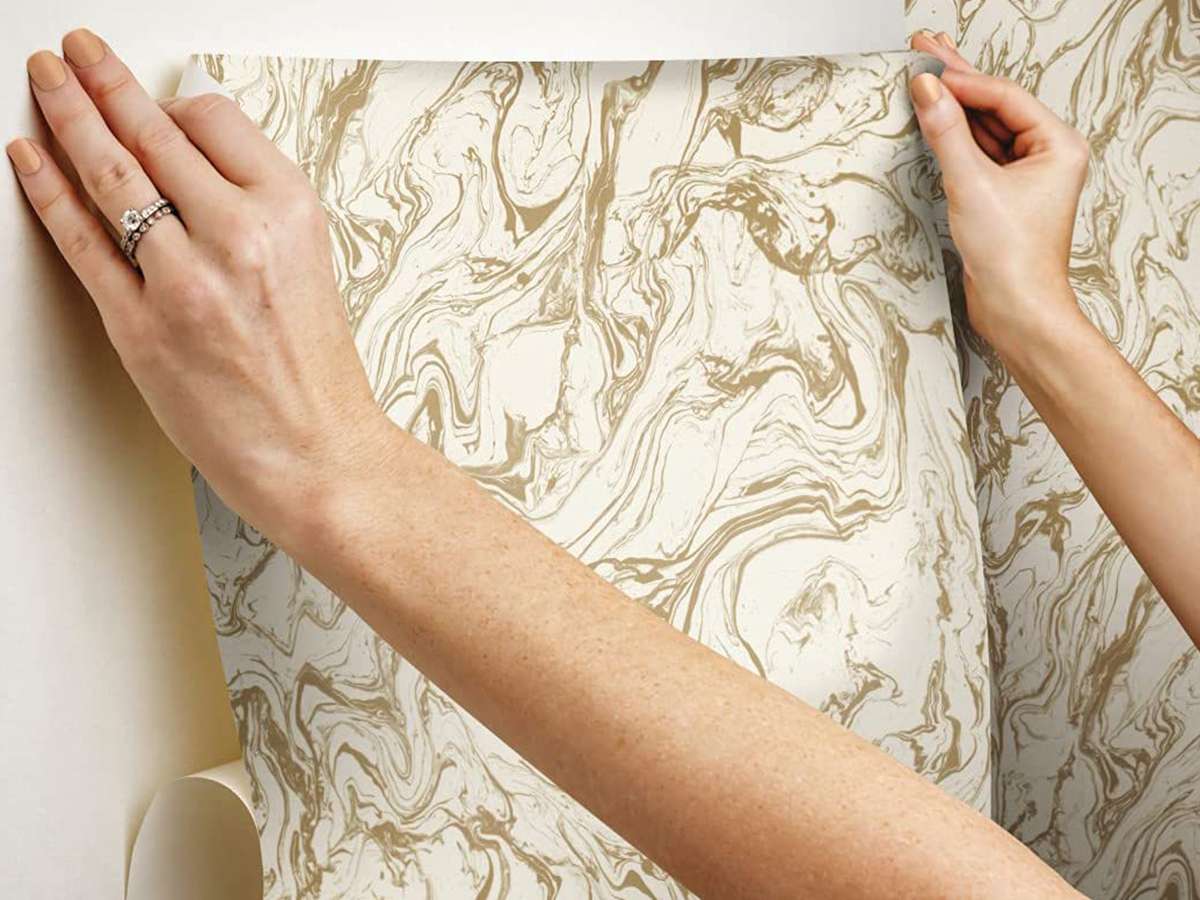
Step 3: Peel and Stick the Wallpaper
Now that you have measured and cut the peel and stick wallpaper, it’s time to start applying it to the wall. Follow these steps for a smooth and hassle-free installation:
- Start at a Corner: Begin at the top corner of the wall where you want to start the installation. Peel back a few inches of the backing paper from the top edge of the wallpaper, exposing the adhesive side.
- Align and Apply: Carefully align the top edge of the wallpaper with the top edge of the wall. Slowly press the exposed adhesive side onto the wall, smoothing it out as you go. Use a wallpaper smoother or a clean, soft cloth to gently press out any air bubbles and ensure a secure bond.
- Continue Applying: Gradually peel away the backing paper from the top section of the wallpaper, pressing and smoothing it onto the wall as you work your way down. Take care to align the wallpaper with the edges of the wall and any adjacent pieces, if applicable.
- Trim Excess: As you reach the bottom of the first piece of wallpaper, use a straightedge and a sharp utility knife to trim off any excess material along the baseboard or floor. Take caution not to damage the wall or trim while cutting.
- Repeat the Process: Move on to the next piece of wallpaper, aligning it with the edge of the previously installed piece. Peel away the backing paper, apply, and smooth the wallpaper onto the wall. Trim any excess as needed. Repeat this process until the entire wall is covered.
Remember to take your time and be meticulous during the application process. Smooth out any air bubbles or wrinkles as you go to achieve a seamless and professional-looking finish.
When applying peel and stick wallpaper, start from the top and work your way down, smoothing out any air bubbles as you go. Use a straight edge or credit card to press the wallpaper firmly onto the wall for a smooth finish.
Step 4: Smooth out Air Bubbles
During the installation process, it’s common to encounter air bubbles trapped between the peel and stick wallpaper and the wall. These air bubbles can affect the overall appearance of the wallpaper, but thankfully, they are easy to fix. Here’s what you need to do:
- Identify the Air Bubbles: Take a step back and examine the wallpaper to identify any air bubbles present. They can vary in size, from small and barely noticeable to larger and more prominent bubbles.
- Release Small Air Bubbles: For small air bubbles, you can try smoothing them out with your hand or a wallpaper smoother. Start at the edge of the bubble and gently press and smooth the wallpaper towards the bubble, allowing the air to release. Work your way along the bubble, smoothing it out as you go.
- Address Larger Air Bubbles: If you encounter larger air bubbles that are not easily smoothed out by hand, you may need to use a pin or a needle to release the trapped air. Carefully insert the pin or needle into the center of the bubble and gently press down to allow the air to escape. Smooth out the wallpaper afterwards to ensure a seamless appearance.
- Extra Tip: If you find that you are consistently encountering air bubbles, you can try using a wallpaper primer or applying the wallpaper with a wet application method. These techniques can help prevent air bubbles from forming during installation.
By addressing any air bubbles as soon as you notice them, you can ensure a flawless and visually appealing finish for your peel and stick wallpaper.
Read more: How To Hang Peel-And-Stick Wallpaper
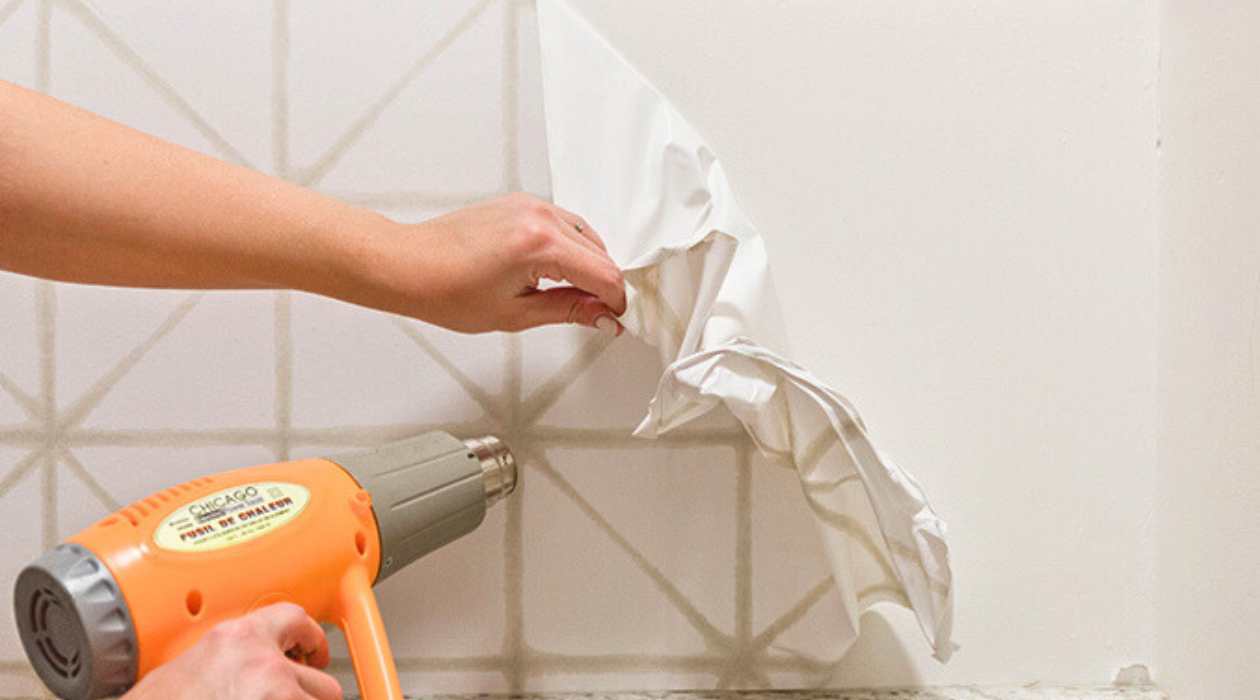
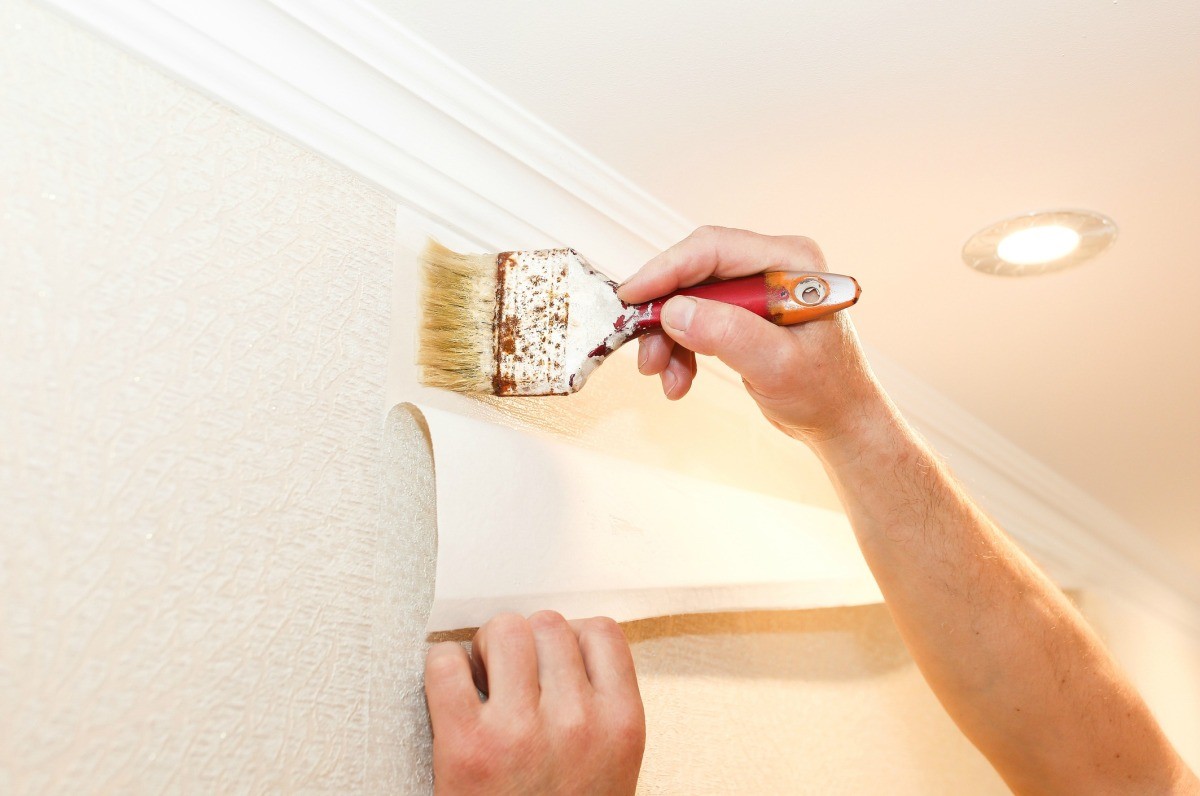
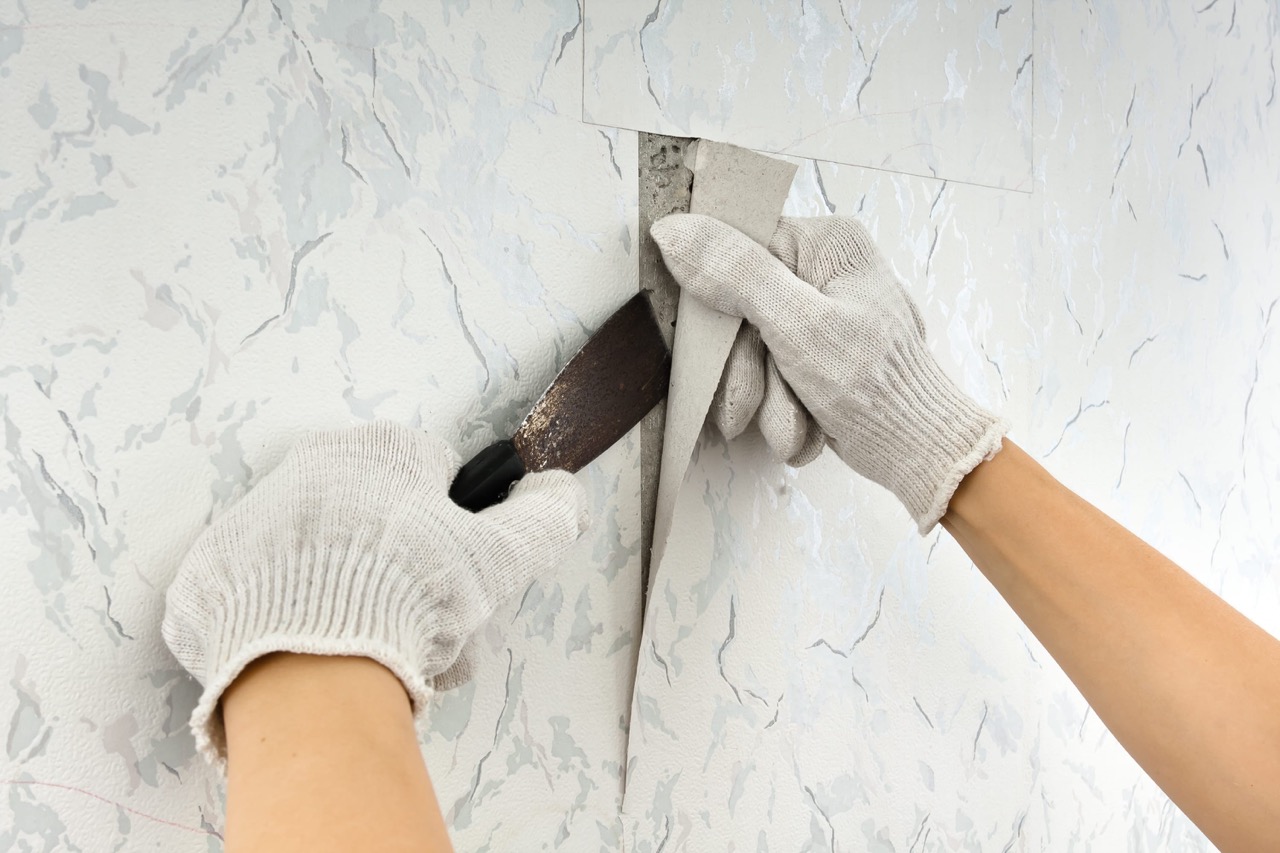
Step 5: Trim Excess Wallpaper
Once you have successfully installed the peel and stick wallpaper on your wall, it’s time to trim off any excess material for a clean and finished look. Follow these steps to trim the excess wallpaper:
- Inspect the Edges: Take a close look at the edges of the wallpaper where it meets the corners, baseboards, or any other trim. Ensure that the wallpaper is securely adhered and that there are no loose or lifted edges.
- Measure and Mark: Measure the excess wallpaper that needs to be trimmed from the edges. Use a straightedge or a level to guide your measurements for accuracy. Mark the cutting line lightly with a pencil, making sure to leave a small overlap to ensure a seamless transition.
- Cut the Excess: Carefully use a sharp utility knife or a pair of scissors to cut along the marked lines. Take your time and maintain a steady hand to achieve clean and straight cuts. Be cautious not to damage the wall or any adjacent surfaces while cutting.
- Smooth out the Edges: After trimming, use your hand or a wallpaper smoother to gently press and smooth the edges of the wallpaper where it meets the trim. This helps to ensure a seamless and professional-looking finish.
Trimming the excess wallpaper is the final step in achieving a clean and polished installation. Pay attention to detail and take your time to ensure precise cuts and a seamless transition between the wallpaper and the surrounding surfaces.
Step 6: Repeat the Process
If you have additional walls or sections to cover with peel and stick wallpaper, you will need to repeat the previous steps to ensure a consistent and cohesive look throughout the space. Here’s what you need to do:
- Prepare the Next Surface: If you are moving on to a new wall or section, make sure to properly prepare the surface by cleaning it, smoothing out imperfections, and allowing it to dry. This step is essential for achieving a seamless and long-lasting result.
- Measure and Cut the Wallpaper: Just like before, measure the dimensions of the area you are covering and cut the peel and stick wallpaper accordingly. Take into account any pattern alignment if necessary, and label the cut pieces for easy installation.
- Peel and Stick the Wallpaper: Follow the same procedure outlined in Step 3 to apply the wallpaper to the wall. Begin at a corner, align the edges, and smoothly press and adhere the wallpaper to the surface. Ensure a tight bond and smooth out any air bubbles or wrinkles.
- Trim Excess Wallpaper: Once the wallpaper is applied, carefully trim any excess material from the edges using a straightedge and a sharp utility knife. Take care to achieve clean and precise cuts for a polished finish.
- Continue the Process: Repeat Steps 6.1 to 6.4 for each additional wall or section you need to cover with peel and stick wallpaper. Take your time and maintain consistency in terms of measurement, alignment, and trimming to create a cohesive look throughout the space.
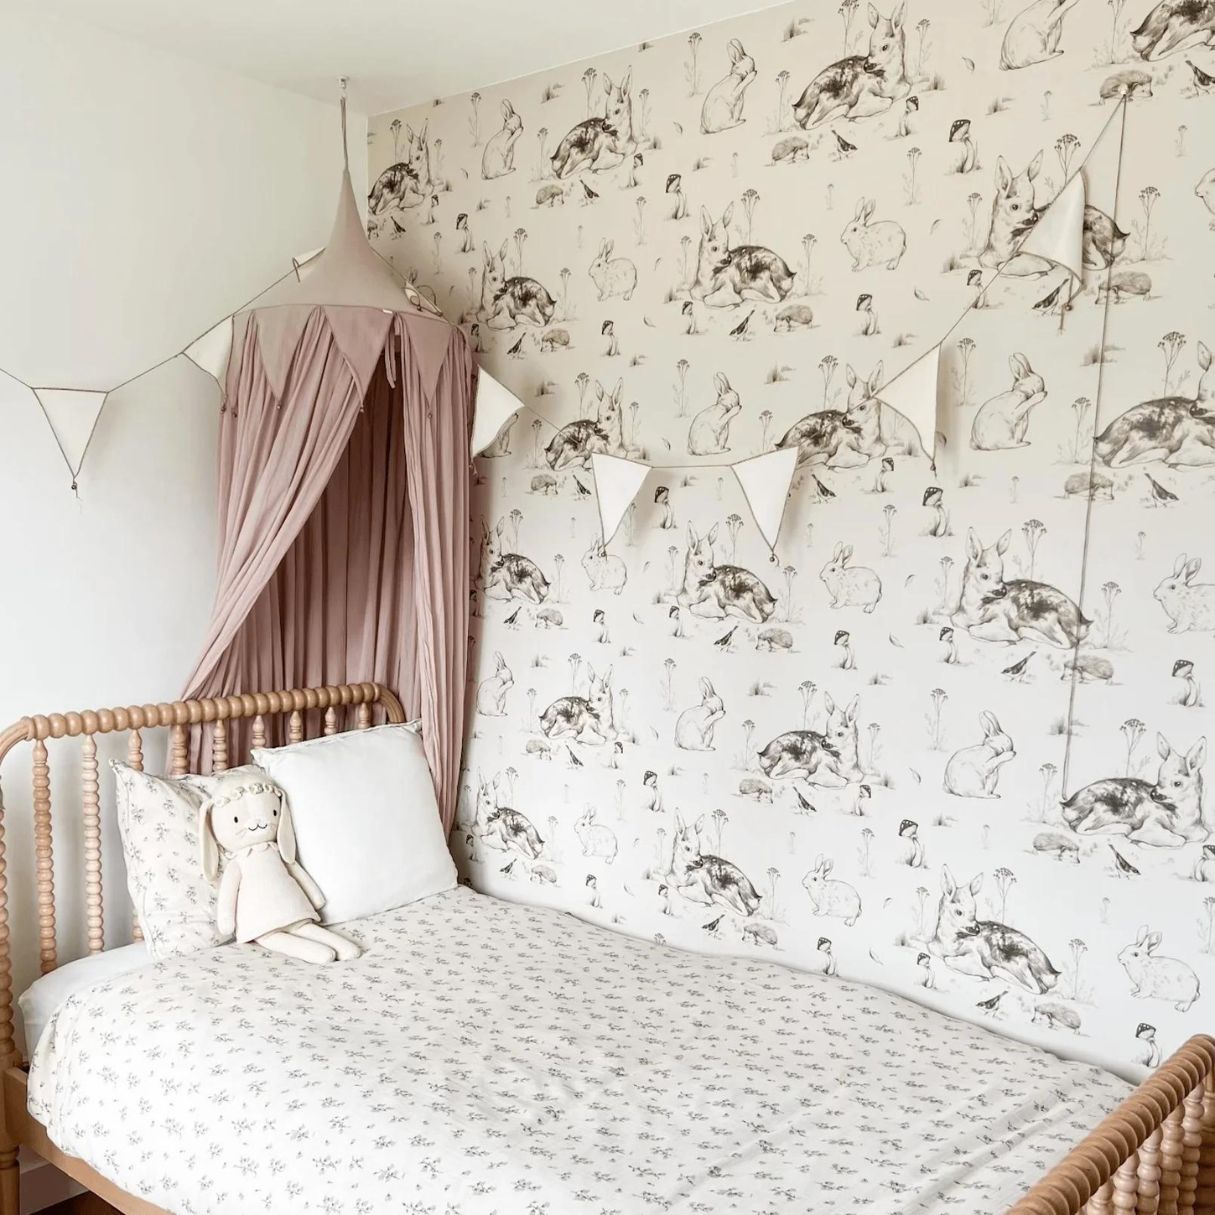
By repeating the process, you can effectively cover multiple surfaces with peel and stick wallpaper, transforming the entire room or area into a visually stunning and personalized space.
Conclusion
Peel and stick wallpaper offers a convenient and stylish way to update the look of your walls without the hassle and mess of traditional wallpaper. By following the step-by-step process outlined in this article, you can achieve a professional and seamless installation.
Remember to start by properly preparing the surface, ensuring it is clean, smooth, and dry. Measure and cut the wallpaper accurately, taking into consideration any pattern alignment and labeling the pieces for easy installation. Then, apply the wallpaper by peeling off the backing and carefully sticking it to the wall, smoothing out air bubbles and wrinkles as you go. Trim any excess wallpaper for a clean and finished look.
If you have multiple walls or sections to cover, repeat the process for each area, maintaining consistency in measurement, alignment, and trimming. Take your time and pay attention to detail to achieve a cohesive and visually appealing result.
With peel and stick wallpaper, you can easily transform any room or space to reflect your personal style. So, unleash your creativity and enjoy the transformation of your walls through this user-friendly and versatile decorating option.
Remember, practice makes perfect, so don’t be discouraged if your first attempt isn’t flawless. With a little patience and careful execution, you’ll soon become a pro at applying peel and stick wallpaper.
Now, go ahead and get started on your wall transformation project. Have fun and enjoy the process of creating a beautiful and personalized space with peel and stick wallpaper!
Frequently Asked Questions about How To Do Peel And Stick Wallpaper
Was this page helpful?
At Storables.com, we guarantee accurate and reliable information. Our content, validated by Expert Board Contributors, is crafted following stringent Editorial Policies. We're committed to providing you with well-researched, expert-backed insights for all your informational needs.

0 thoughts on “How To Do Peel And Stick Wallpaper”