Articles
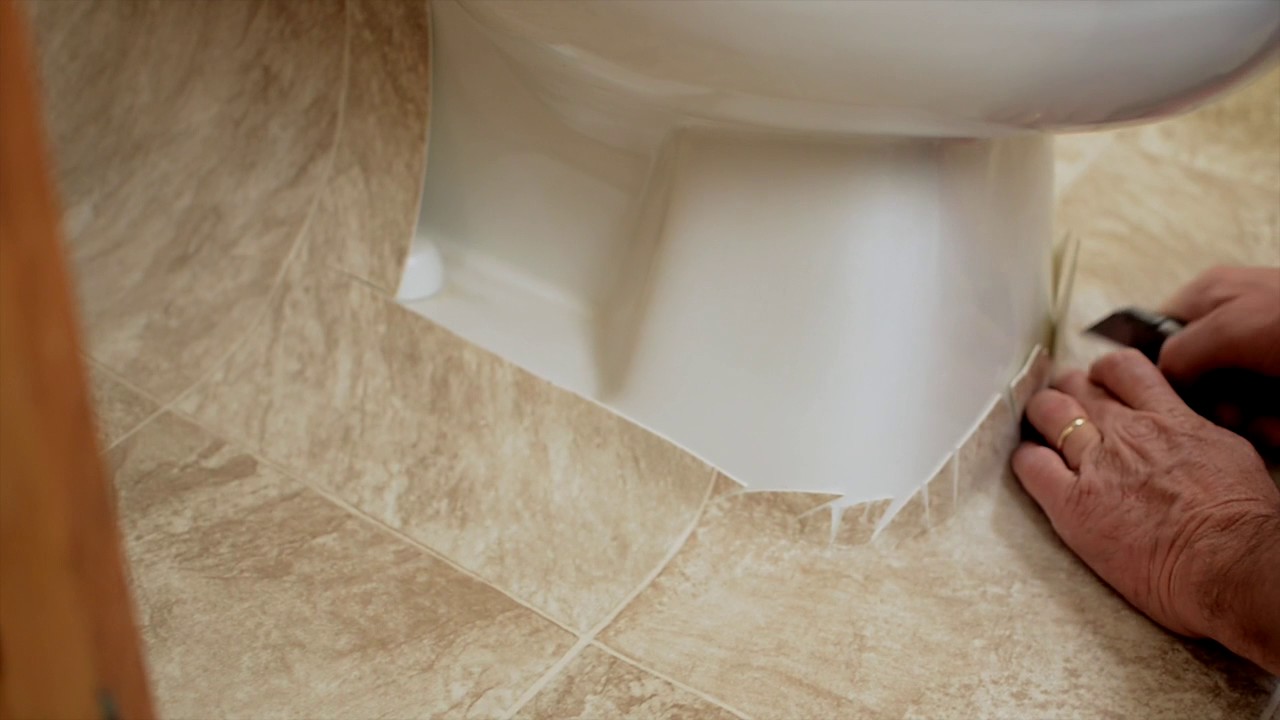
How To Cut Peel And Stick Tile Around Toilet
Modified: August 25, 2024
Learn how to cut and install peel and stick tile around your toilet with our informative articles. Find step-by-step instructions and expert tips to complete your DIY project.
(Many of the links in this article redirect to a specific reviewed product. Your purchase of these products through affiliate links helps to generate commission for Storables.com, at no extra cost. Learn more)
Introduction
Welcome to our comprehensive guide on how to cut peel and stick tile around a toilet. One of the most common challenges when installing peel and stick tiles is fitting them properly around fixtures like toilets. However, with the right tools, techniques, and a little bit of patience, you can easily achieve a professional-looking installation.
Peel and stick tiles, also known as self-adhesive tiles, are a popular choice for DIY enthusiasts. They offer a quick and affordable way to update the look of your floors without the need for specialized tools or messy adhesives. Whether you’re remodeling a bathroom, kitchen, or any other room in your home, learning how to cut and install peel and stick tiles around a toilet will be a valuable skill.
In this guide, we’ll walk you through the step-by-step process of cutting and installing peel and stick tiles around a toilet. From preparing the area to trimming the edges, we’ll cover everything you need to know to ensure a seamless and professional finish. So, let’s get started!
To successfully complete this project, you’ll need a few tools and materials. Let’s take a look at what you’ll need:
Key Takeaways:
- Master the art of cutting and installing peel and stick tiles around a toilet with precision and confidence, transforming your bathroom with a professional and seamless finish.
- From preparing the area to test fitting and finalizing the installation, follow the step-by-step guide to achieve a polished and functional peel and stick tile floor.
Tools and materials needed
Before you begin cutting and installing peel and stick tiles around a toilet, gather the following tools and materials:
1. Measuring tape: You’ll need a measuring tape to accurately measure the dimensions of the tiles and the space around the toilet.
2. Straight edge: A straight edge, such as a ruler or a level, will be essential for marking straight cut lines on the tiles.
3. Utility knife or vinyl cutter: A utility knife or a specialized vinyl cutter will be your main cutting tools for trimming the tiles.
4. Cutting mat: To protect your work surface and prevent damage to your tools, use a cutting mat when cutting the tiles.
5. Pencil or marker: You’ll need a pencil or marker to mark the cut lines on the tiles.
6. Safety goggles and gloves: It’s important to prioritize your safety during this project. Wear safety goggles and gloves to protect your eyes and hands.
7. Peel and stick tiles: Choose high-quality peel and stick tiles that match your desired style and color scheme. Make sure to buy enough tiles to cover the entire area.
8. Tile roller or rolling pin: A tile roller or a rolling pin will help ensure even adhesion of the tiles to the floor.
9. Cleaning materials: Before installing the tiles, make sure the floor is clean and free of any dust or debris. Use a broom and a damp cloth to thoroughly clean the area.
Gather these tools and materials before starting the installation process. Having everything you need readily available will make the project flow smoothly and efficiently.
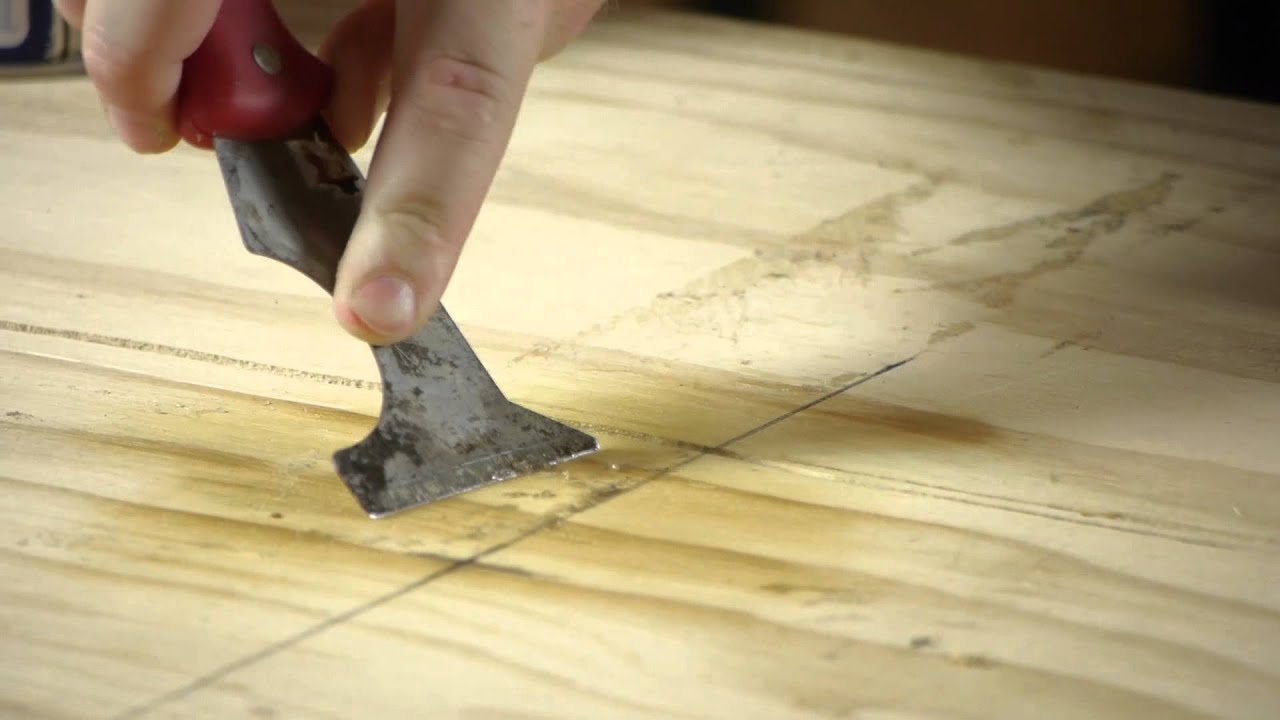
Step 1: Preparing the area
Before you can begin cutting and installing peel and stick tiles around a toilet, it is crucial to prepare the area properly. Follow these steps to ensure a clean and smooth surface:
1. Clear the area: Start by removing any objects or furniture near the toilet to create a clear working space. This includes toilet paper holders, rugs, or any other items that might obstruct your work.
2. Clean the floor: Thoroughly clean the floor around the toilet. Use a broom to sweep away any loose dirt or debris. Then, dampen a cloth with warm water and mild detergent, and wipe down the area to remove any remaining grime or residue. Allow the floor to dry completely before proceeding.
3. Protect the toilet: To prevent any accidental damage to the toilet, cover it with a plastic sheet or old towel. This will protect it from any potential scratches or adhesive residue that may occur during the installation process.
4. Remove the toilet seat: If necessary, remove the toilet seat to allow for easier access to the area around the toilet. Use a screwdriver to loosen the screws attaching the seat to the bowl. Set the seat aside in a safe place.
5. Measure the area: Use a measuring tape to determine the dimensions of the space surrounding the toilet. Measure the length, width, and any irregularities or shapes that need to be accommodated for when cutting the peel and stick tiles.
By properly preparing the area before installation, you’ll ensure a clean and professional-looking finish. Taking the time to clean and measure the area will make the subsequent steps much easier and more accurate.
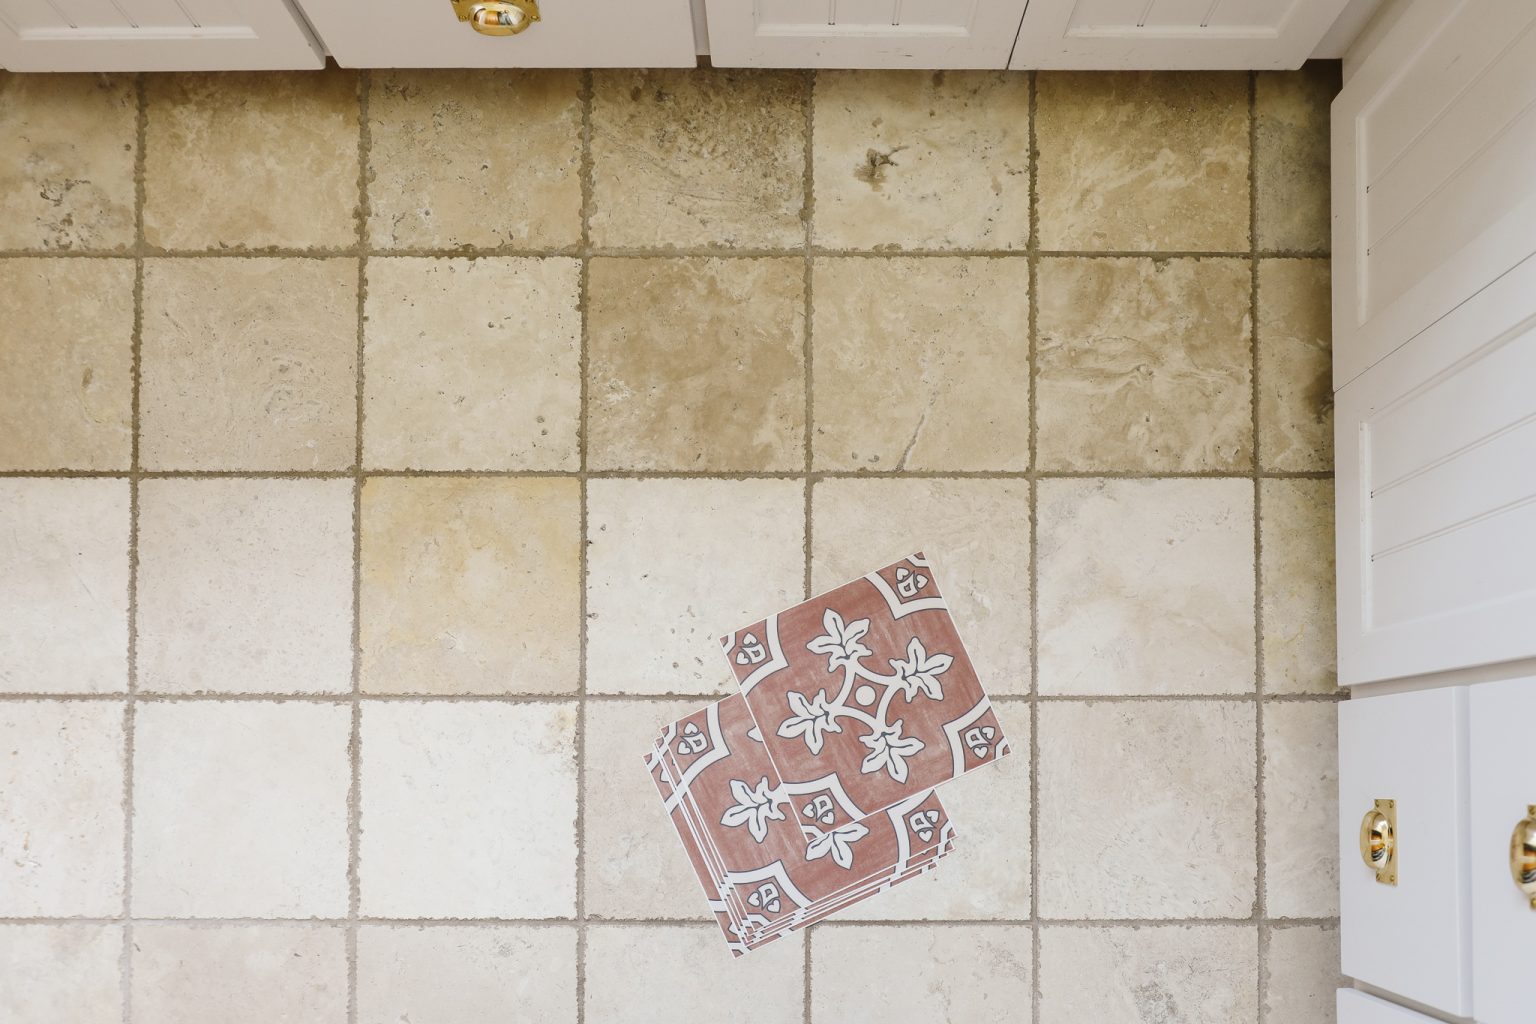
Step 2: Measure the tiles
Once you have prepared the area, it’s time to measure the peel and stick tiles to ensure they fit perfectly around the toilet. Follow these steps:
1. Gather your tiles: Take out the peel and stick tiles you will be using for the installation. Lay them out nearby in an organized manner so you can easily measure and cut them.
2. Start with a full tile: Begin by placing a full tile next to the toilet, starting from one side. This will give you a reference point for measuring the remaining tiles.
3. Measure the remaining space: Use a measuring tape to measure the remaining space between the installed tile and the toilet. Measure both the length and width of the area that needs to be covered.
4. Add a small gap: To allow for expansion and contraction of the tiles, add a small gap of around 1/8 inch between the edge of the tile and the toilet. This will prevent the tiles from buckling or warping over time.
5. Mark the measurements: Use a pencil or marker to mark the measurements on the back of the tile. You can also make light marks on the front of the tile, as they will be covered later.
6. Repeat the process: Move on to the next tile and repeat the measuring process. Continue until you have measured all the tiles needed to complete the installation around the toilet.
7. Double-check the measurements: Before cutting any tiles, double-check your measurements to ensure accuracy. It’s better to be cautious and measure twice than to make a costly mistake.
By taking the time to measure each tile accurately, you’ll be able to make precise cuts and ensure a seamless fit around the toilet. Remember, proper measurements are key to achieving a professional-looking finish.
Step 3: Mark the cut lines
With the measurements in hand, it’s time to mark the cut lines on the peel and stick tiles. Marking the cut lines will guide you in achieving precise cuts and ensuring a perfect fit around the toilet. Follow these steps:
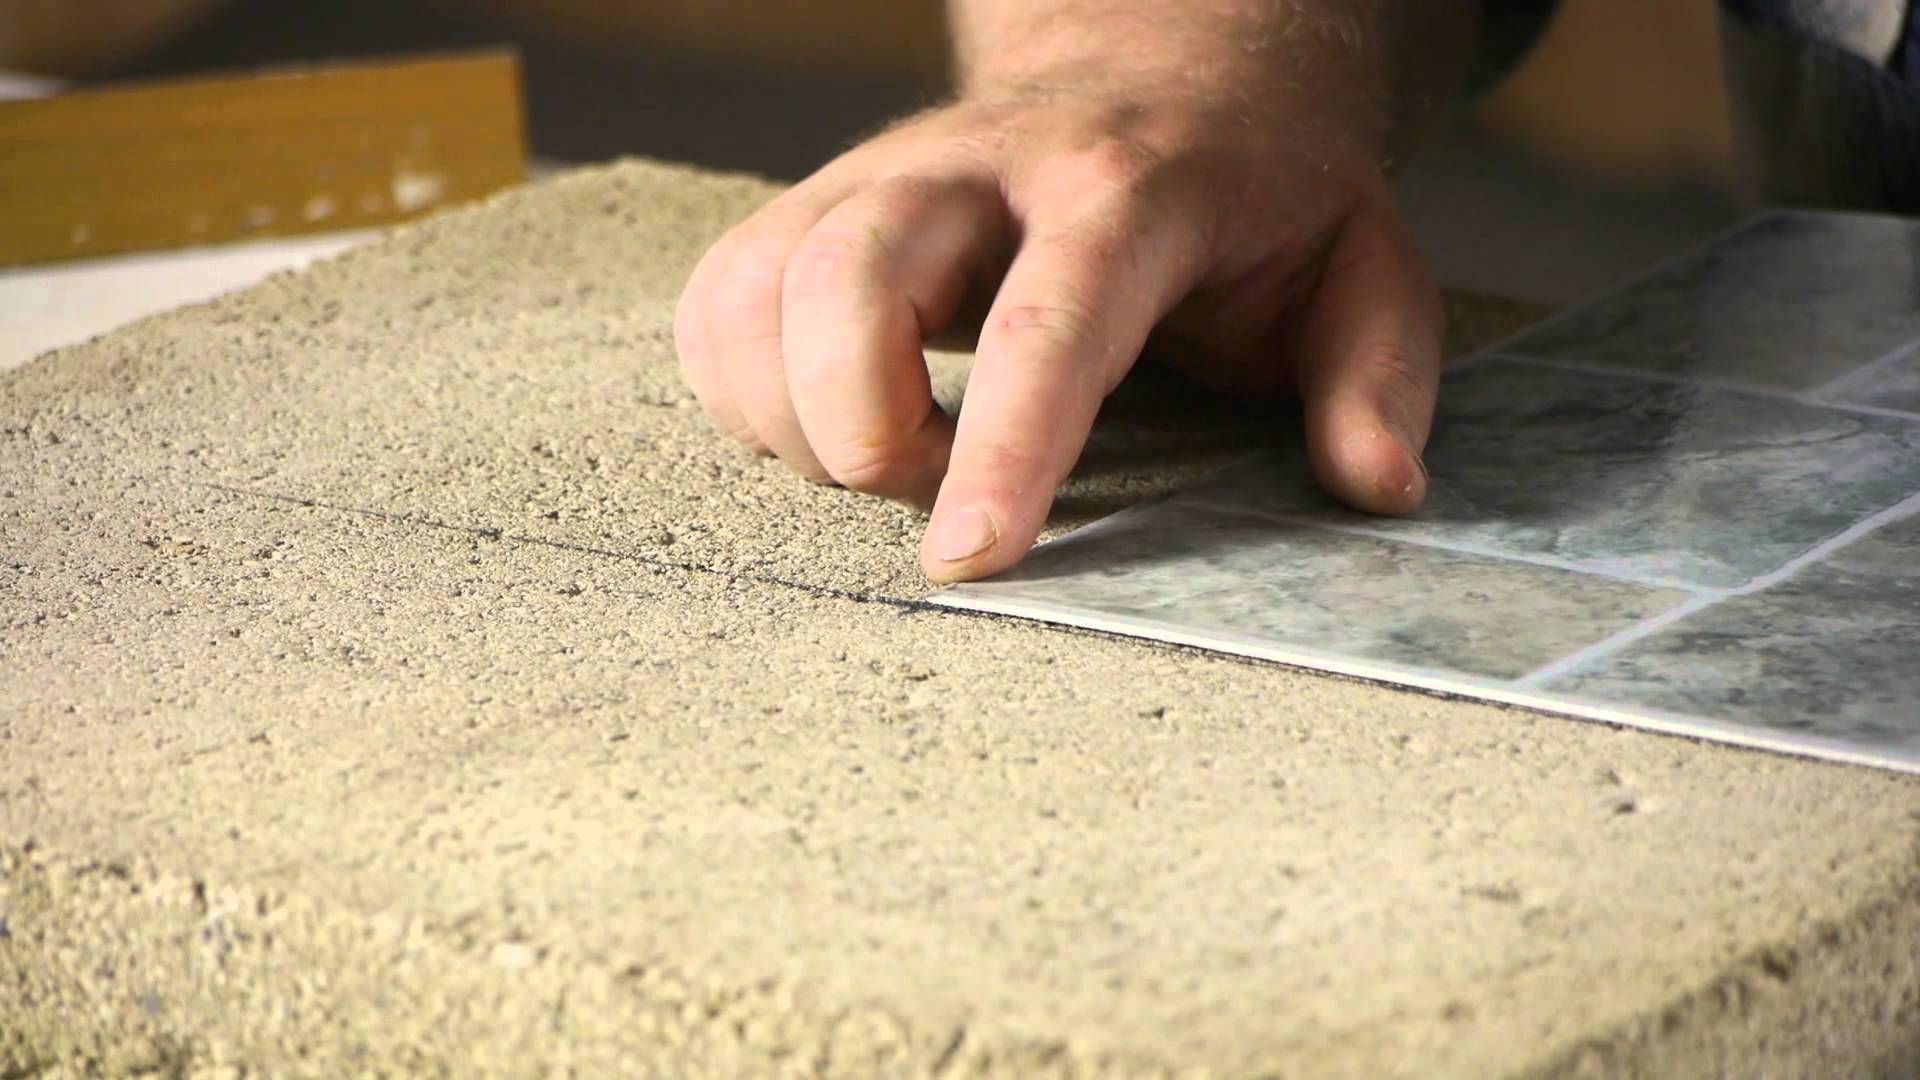
1. Place the tile: Take one of the measured tiles and position it next to the toilet, aligning it with the previously installed full tile. Ensure that the gap you added in the previous step is maintained.
2. Overlap the tiles: Align the edge of the tile you’re marking with the edge of the full tile that has already been installed. Gently overlap the tiles so you can accurately mark the cut lines.
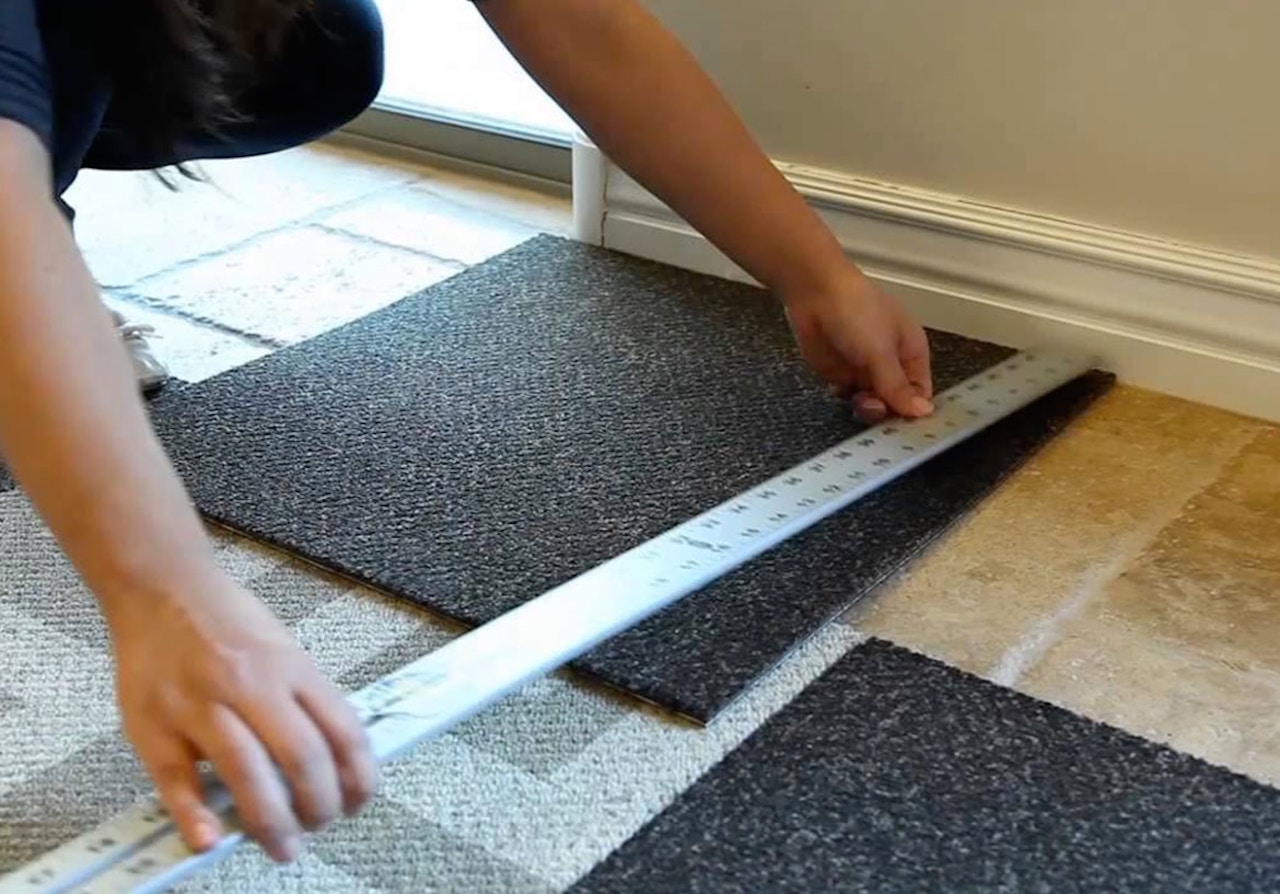
3. Use a straight edge: Take a straight edge, such as a ruler or a level, and place it along the edge of the tile. This will serve as a guide to mark a straight cut line.
4. Mark the cut line: With the straight edge in place, use a pencil or marker to mark the cut line on the back of the tile. Take your time to ensure the line is drawn accurately and runs parallel to the edge of the tile.
5. Repeat the process: Move on to the next tile and repeat the same steps, aligning it with the previous tile and marking the cut line along the straight edge. Continue until you have marked all the tiles that need to be cut to fit around the toilet.
6. Add additional markings: In some cases, you may need to make curved or irregular cuts to accommodate the shape of the toilet base. Use a flexible measuring tape or a template to transfer the shape onto the tile, and then carefully mark the cut line.
By accurately marking the cut lines, you’ll ensure that the tiles fit snugly around the toilet, leaving minimal gaps or overlaps. This step is crucial for achieving a professional-looking installation.
Read more: What Is Peel And Stick Tile
Step 4: Cut the tiles
Now that you have marked the cut lines on the peel and stick tiles, it’s time to make the necessary cuts to fit them around the toilet. Follow these steps to safely and accurately cut the tiles:
1. Prepare your cutting tools: Ensure that your utility knife or vinyl cutter is sharp and in good condition. Replace the blade if necessary to ensure clean cuts.
2. Place the tile on a cutting mat: Lay the tile on a cutting mat or a protected surface to prevent any damage to your work surface or the blade of your cutting tool.
3. Align the straight edge: Align the straight edge with the marked cut line on the tile. Make sure the straight edge is securely in place.
4. Score the tile: Apply firm, even pressure and use the utility knife or vinyl cutter to score along the marked cut line. Make several passes if needed to create a deep enough score on the surface of the tile.
5. Break the tile: Once you have scored the tile, carefully bend the tile along the scored line, applying gentle pressure. The tile should break cleanly along the scored line.
6. Smooth the edges: After breaking the tile, use sandpaper or a file to smooth any rough edges or sharp corners left from the cut. This will ensure a clean and professional finish.
7. Repeat for the remaining tiles: Follow the same process for all the marked cut lines on the remaining tiles, carefully cutting and smoothing each tile one by one.
Remember to exercise caution when handling the cutting tools, ensuring your hands are away from the blade’s path. Take your time to make accurate cuts, as precision is crucial for achieving a seamless fit.
When cutting peel and stick tile around a toilet, use a utility knife to carefully measure and cut the tile to fit around the base of the toilet. Make sure to leave a small gap for expansion and contraction.
Step 5: Test fit the tiles
After cutting the peel and stick tiles to size, it’s important to test fit them around the toilet before proceeding with the installation process. This step will help ensure that the tiles fit properly and allow for any adjustments if needed. Follow these steps:
1. Start with the first cut tile: Take one of the cut tiles and carefully position it next to the toilet, aligning it with the previously installed full tile. Make sure to maintain the small gap between the tile and the toilet.
2. Check the fit: Assess the fit of the tile by looking for any gaps or overlaps. Pay attention to the edges and corners of the tile to ensure a snug and seamless fit with the adjacent tiles.
3. Make adjustments if needed: If the tile does not fit properly, assess whether it needs to be trimmed further. You can mark any additional adjustments needed on the back of the tile.
4. Trim the tile if necessary: If adjustments are required, remove the tile from its position and carefully cut along the marked lines to make the necessary trims. Remember to smooth the edges after cutting.
5. Test fit again: Once you have made the adjustments, place the tile back in its position and check the fit again. Repeat this process until the tile fits perfectly and seamlessly with the adjacent tiles.
6. Repeat for the remaining cut tiles: Proceed to test fit the rest of the cut tiles one by one, following the same process of positioning, checking the fit, making adjustments, trimming if necessary, and retesting the fit.
By test fitting the tiles before the actual installation, you can ensure a precise and uniform appearance. This step allows you to make any necessary adjustments and achieve a professional finish.
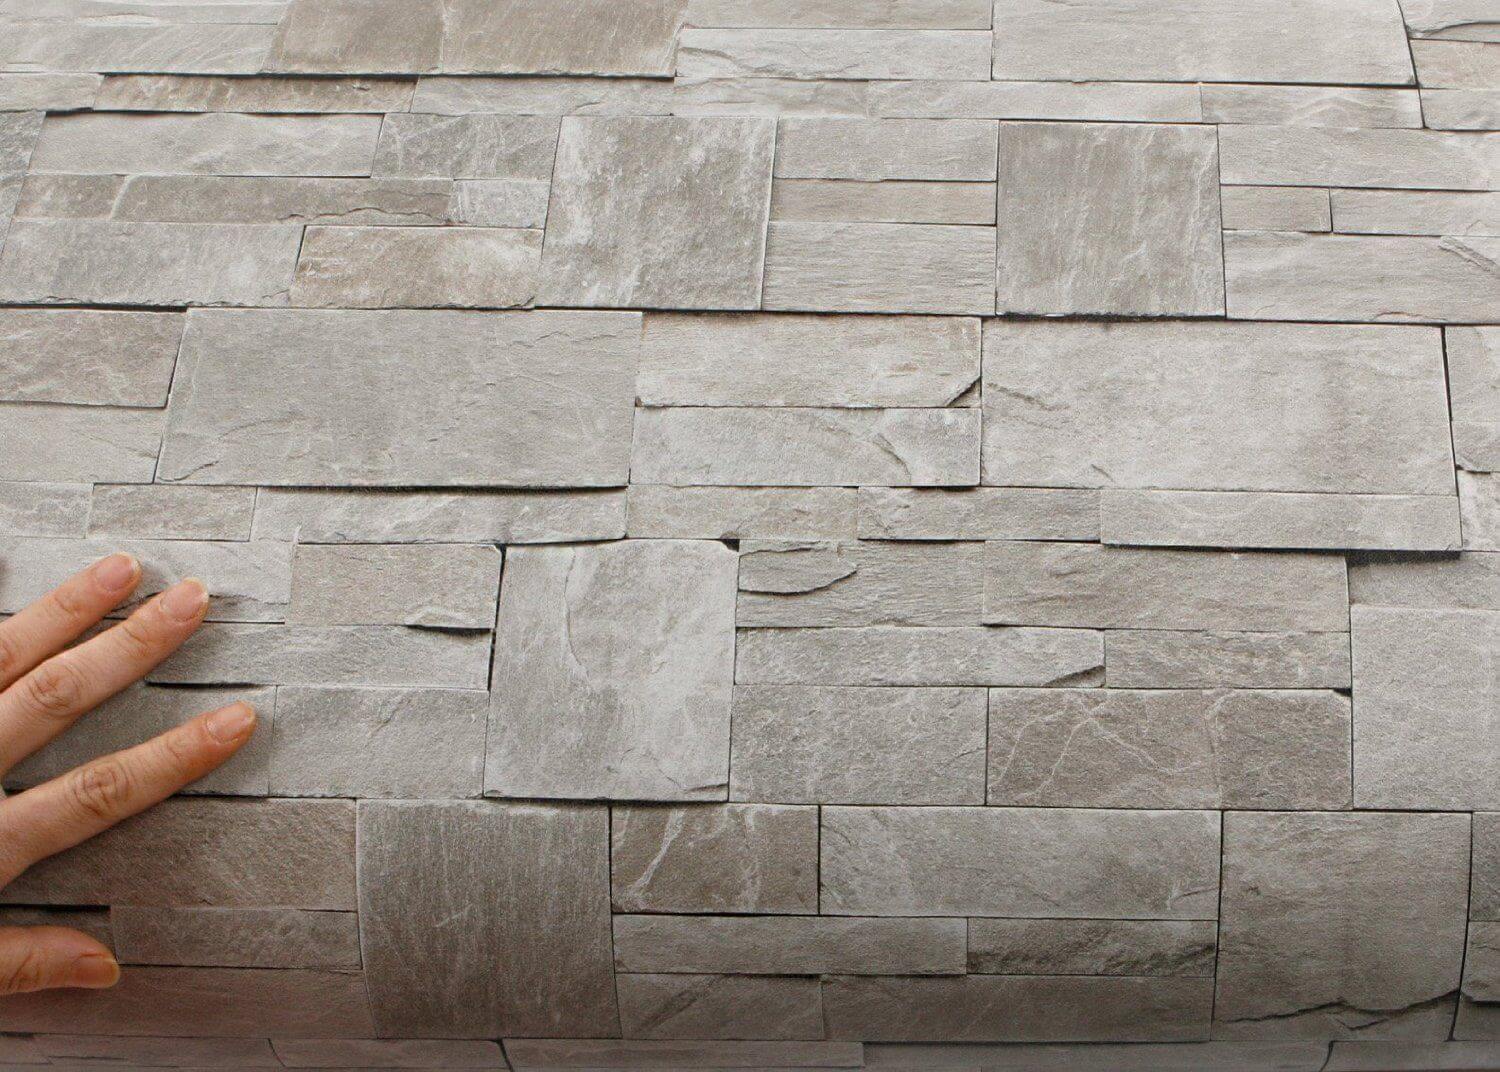
Step 6: Remove the backing and stick the tiles
With the proper fit confirmed through the test fitting process, it’s time to move on to the installation of the peel and stick tiles around the toilet. Follow these steps to effectively adhere the tiles to the floor:
1. Start from the reference point: Begin by removing the backing paper from the first tile. Start at the reference point where the full tile was installed, aligning it with the adjacent tiles.
2. Position and press the tile: Carefully position the exposed adhesive side of the tile onto the floor, aligning it precisely with the surrounding tiles. Apply firm and consistent pressure along the surface of the tile to ensure proper adhesion.
3. Use a tile roller or rolling pin: Run a tile roller or a rolling pin over the newly installed tile to further secure its bond with the floor. This will help eliminate any air bubbles and ensure a smooth and flat surface.
4. Repeat for the remaining tiles: Continue peeling off the backing paper and sticking the tiles in the desired pattern and arrangement. Make sure to align the edges and corners precisely as you progress.
5. Use a tile roller after each installation: After each tile is placed, use the tile roller or rolling pin to firmly press down and roll over the tile, ensuring optimal adhesion and a seamless finish.
6. Trim tiles as needed: If any tiles require additional trimming or adjustments, follow the previous steps of marking, cutting, and smoothing the edges before proceeding with the installation.
7. Work your way around the toilet: Gradually work your way around the toilet, adhering the tiles and maintaining consistent spacing and alignment as you progress.
By removing the backing paper and firmly pressing the tiles into place, you’ll ensure a secure and long-lasting installation. Remember to use the tile roller to remove any air pockets and create a smooth surface.
Step 7: Trim the edges
After sticking the peel and stick tiles around the toilet, the next step is to trim the edges for a clean and finished look. This process will ensure that the tiles fit neatly against the base of the toilet and any other adjacent surfaces. Follow these steps to trim the edges:
1. Measure the gap: Begin by measuring the gap between the edge of the last tile and the base of the toilet. Use a measuring tape to accurately determine the width of the gap.
2. Mark the cut line: Transfer the measurement onto a peel and stick tile that will be used to fill the gap. Use a pencil or marker to mark the cut line on the back of the tile. Make sure the line is straight and runs parallel to the tile’s edge.
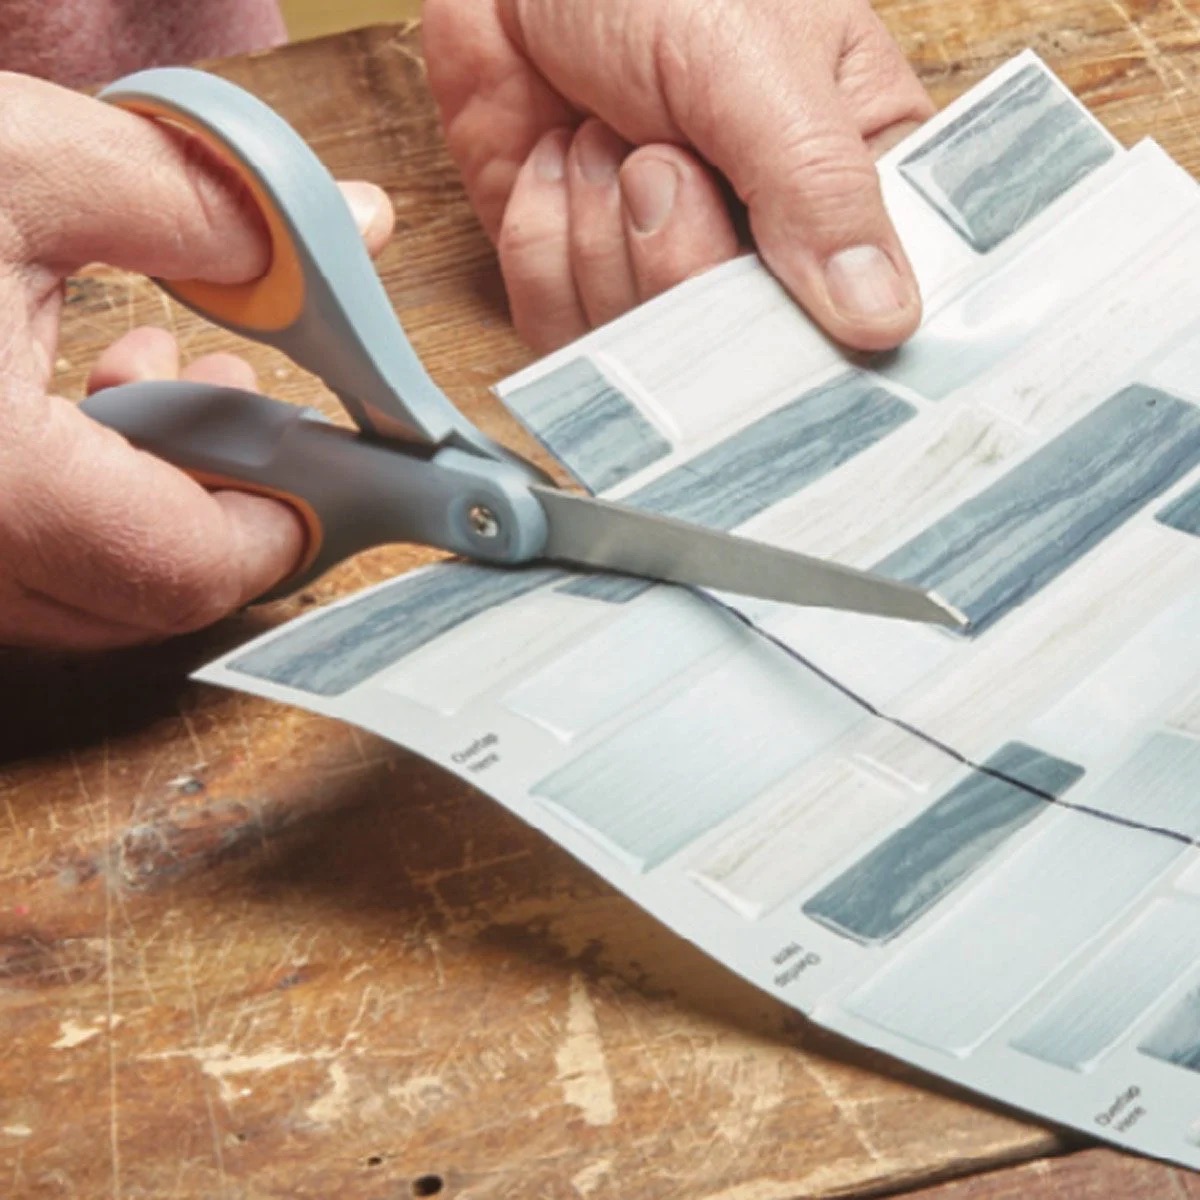
3. Cut the tile: Using a utility knife or vinyl cutter, carefully cut along the marked line. Apply firm and controlled pressure to make a clean and precise cut. Take your time to ensure accuracy.
4. Test fit the trimmed tile: Position the trimmed tile against the gap, aligning it with the adjacent tiles and the base of the toilet. Check the fit to ensure it sits flush and snugly against the surface.
5. Make any necessary adjustments: If the trimmed tile doesn’t fit perfectly, you may need to make slight additional cuts or trims. Mark the adjustments needed on the tile and repeat the cutting process until the tile fits snugly.
6. Remove the backing and stick the trimmed tile: Once the trimmed tile fits properly, remove the backing and carefully stick it into place, pressing it firmly onto the floor. Use a tile roller or rolling pin to ensure proper adhesion.
7. Repeat for any remaining edges: If there are other edges or corners that require trimming, follow the same process of measuring, marking, cutting, test fitting, and adhering the trimmed tiles.
By trimming the edges, you will achieve a polished and complete look to your peel and stick tile installation. Take care to make accurate cuts and adjustments for a professional finish.
Read more: How To Waterproof Peel And Stick Tiles
Step 8: Clean up and finalize the installation
After trimming the edges and ensuring that all the peel and stick tiles are properly adhered, it’s time to clean up any residue or debris and give your installation a final touch. Follow these steps to complete the installation process:
1. Remove any adhesive residue: Use a damp cloth or sponge to wipe away any excess adhesive that may have squeezed out from between the tiles. Take your time and be thorough, ensuring that the surface is clean and free from any visible residue.
2. Clean the tiles: Gently wipe the installed tiles with a clean, damp cloth to remove any dirt or smudges that may have accumulated during the installation process. This will leave your tiles looking fresh and polished.
3. Reinstall the toilet seat: If you had previously removed the toilet seat, now is the time to reattach it. Use a screwdriver to securely tighten the screws, ensuring a stable seat on the toilet bowl.
4. Inspect the installation: Take a step back and inspect the entire installation. Check for any gaps, uneven edges, or areas that may require touch-ups. Make any necessary adjustments or corrections before finalizing the project.
5. Allow proper curing time: Give the peel and stick tiles enough time to properly adhere to the floor. Follow the manufacturer’s instructions for the recommended curing time, which typically ranges from 24 to 48 hours.
6. Protect the installation area: Place rugs or furniture pads to protect the newly installed tiles from damage. This will help prevent scratches or dents as you continue to use the bathroom.
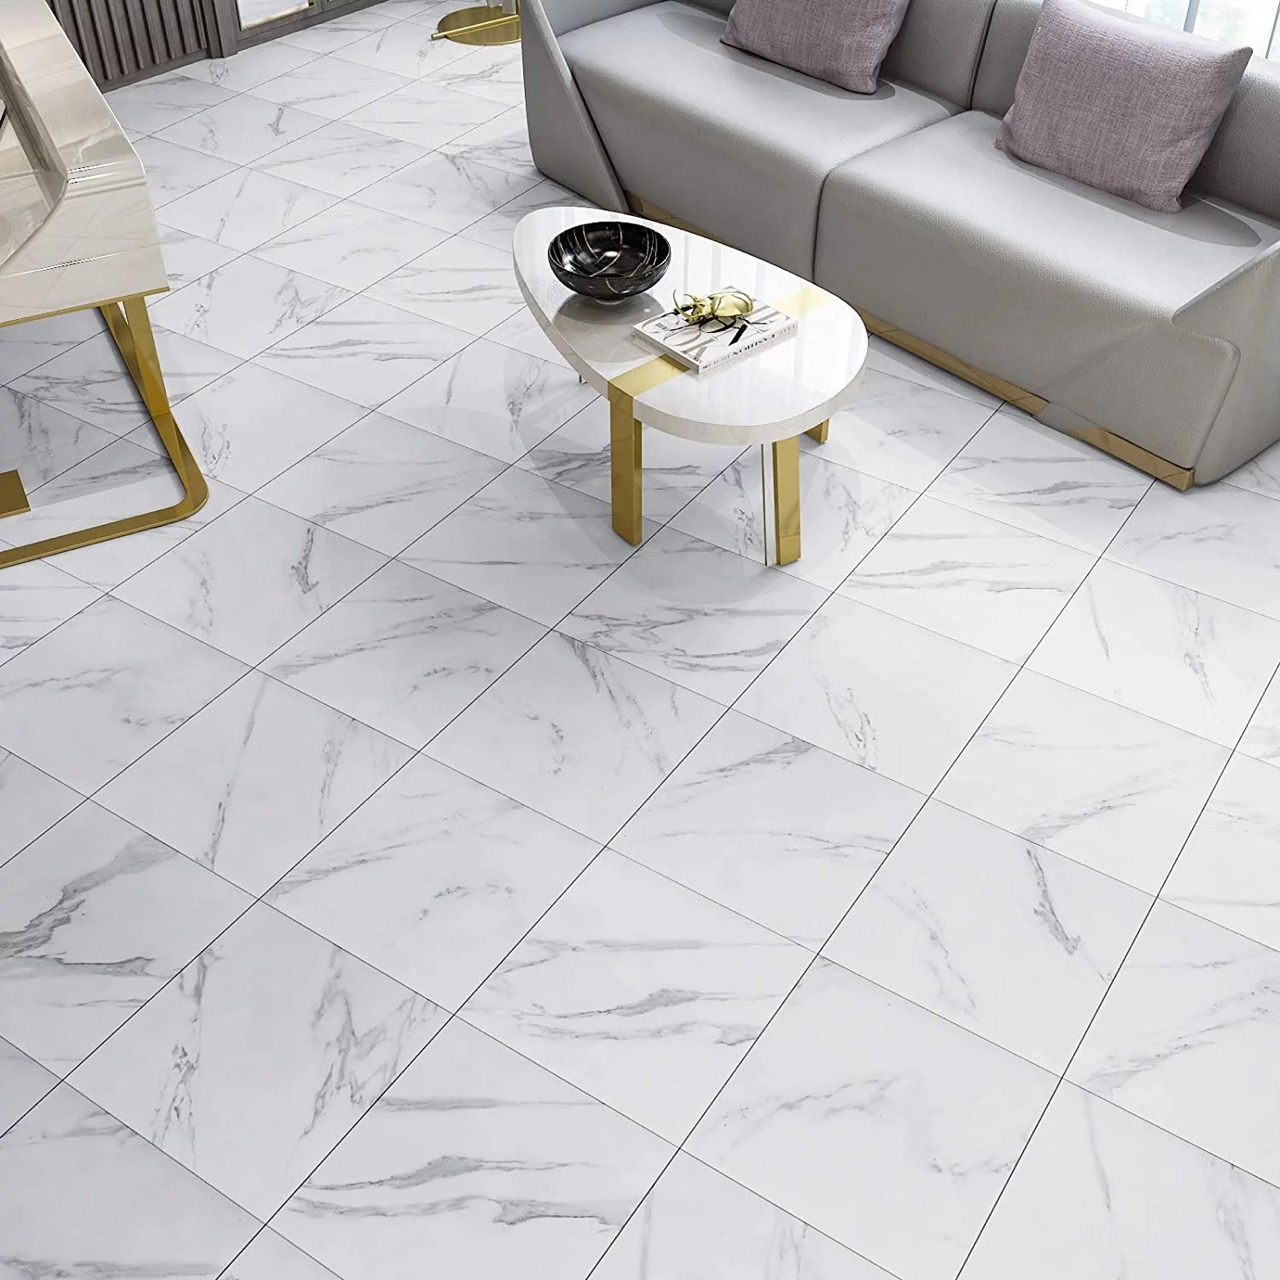
7. Enjoy your new floor: Once the installation is complete and the adhesive has fully cured, you can now enjoy your newly installed peel and stick tile floor. Bask in the beauty and convenience of your updated bathroom!
By taking the time to clean up and finalize the installation, you’ll be ensuring a polished and professional-looking outcome for your peel and stick tile project. Pay attention to the details and make any necessary adjustments for a truly finished look.
Conclusion
Installing peel and stick tiles around a toilet may seem like a daunting task, but with the right tools, techniques, and a little bit of patience, it can be easily accomplished. By following the step-by-step guide provided in this article, you can achieve a professional and seamless finish for your bathroom floor.
From preparing the area and measuring the tiles to marking the cut lines, cutting the tiles, and test fitting them, each step plays a crucial role in ensuring a proper fit. Taking the time to accurately measure and cut the tiles will result in a neat and cohesive look.
When removing the backing and sticking the tiles, remember to apply firm pressure and use a roller or rolling pin to ensure proper adhesion. This will prevent any issues with tiles lifting or coming loose over time.
Trimming the edges to fit flush against the toilet and other surfaces is an important step that adds that final touch to the installation. Ensure accurate measurements and clean cuts for a polished appearance.
Finally, once the installation is complete, take the time to clean up any residue, reattach the toilet seat, and inspect the overall look of the floor. With proper curing time, you can enjoy your newly installed peel and stick tile flooring that adds both style and functionality to your bathroom.
Remember to always follow the manufacturer’s instructions for the specific peel and stick tiles you are using, as different brands may have slight variations in installation methods and curing times.
Now that you have the knowledge and techniques to cut and install peel and stick tiles around a toilet, you can confidently tackle this project and transform your bathroom with ease. Get ready to admire your handiwork and enjoy the beauty of a freshly updated floor!
Curious about more than just laying tiles? If you're pondering how much time might be required to completely revamp your bathroom, our next guide walks you through every phase of bathroom renovations. Packed with expert advice, this article ensures you're well-prepared to plan effectively, helping you save both time and stress.
Frequently Asked Questions about How To Cut Peel And Stick Tile Around Toilet
Was this page helpful?
At Storables.com, we guarantee accurate and reliable information. Our content, validated by Expert Board Contributors, is crafted following stringent Editorial Policies. We're committed to providing you with well-researched, expert-backed insights for all your informational needs.


0 thoughts on “How To Cut Peel And Stick Tile Around Toilet”