Home>Articles>How To Cut Peel And Stick Backsplash Around Outlets
Articles
How To Cut Peel And Stick Backsplash Around Outlets
Modified: August 17, 2024
Learn how to cut and install peel and stick backsplash tiles around outlets with our step-by-step guide. Get expert tips and advice in this informative articles.
(Many of the links in this article redirect to a specific reviewed product. Your purchase of these products through affiliate links helps to generate commission for Storables.com, at no extra cost. Learn more)
Introduction
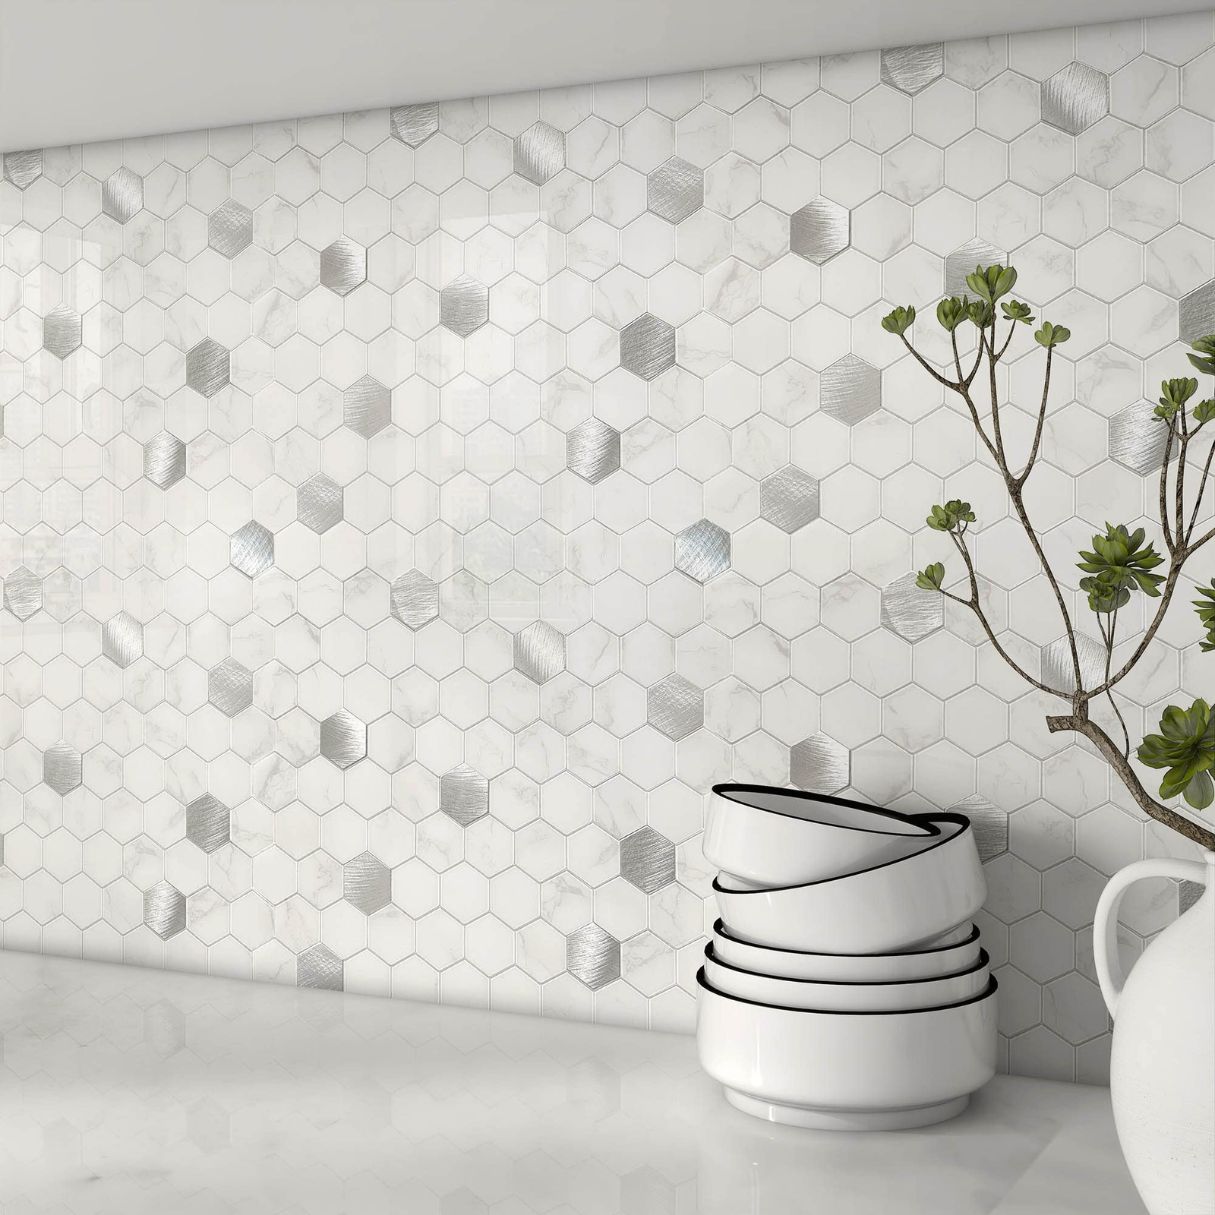
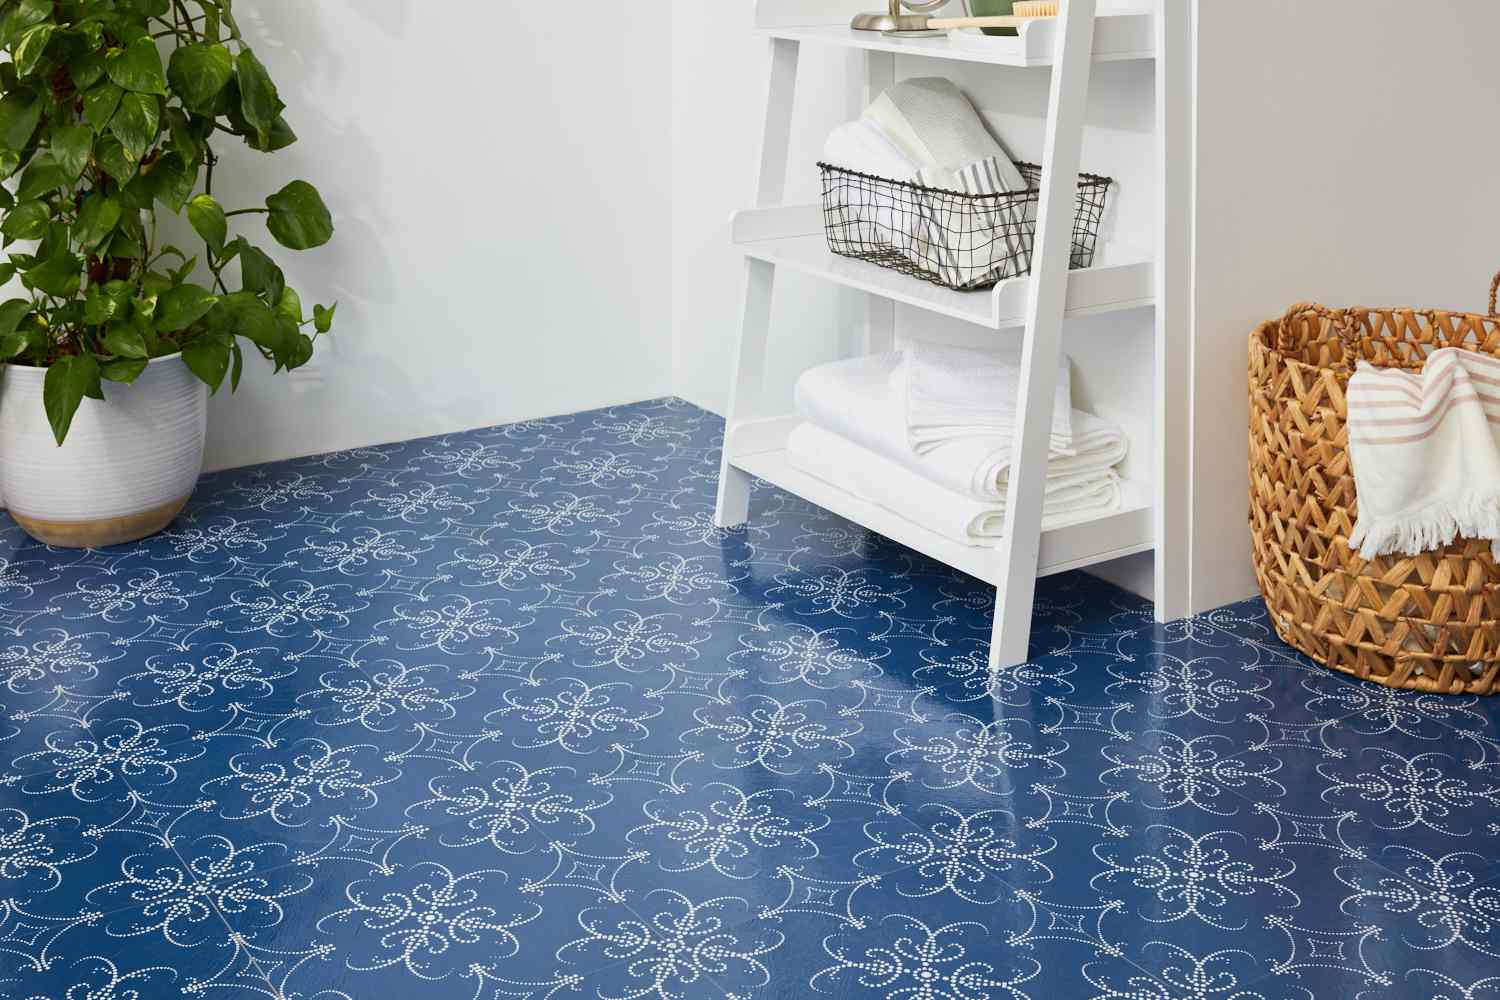
When it comes to giving your kitchen or bathroom a quick and stylish makeover, peel and stick backsplash tiles are an excellent choice. Not only are they easy to install, but they also come in a variety of colors and designs to suit any aesthetic. However, one common challenge when working with peel and stick backsplash tiles is cutting them around outlets.
Cutting peel and stick backsplash tiles around outlets requires precision and patience to ensure a seamless and professional-looking finish. In this article, we will guide you through the step-by-step process of measuring, cutting, and applying peel and stick backsplash tiles around outlets. So let’s get started and turn your kitchen or bathroom into a stunning space!
Key Takeaways:
- Transform your kitchen or bathroom with peel and stick backsplash tiles, but don’t let outlets intimidate you. With precision and patience, you can achieve a professional look by measuring, cutting, and applying tiles seamlessly around outlets.
- Gather the necessary tools and materials, measure accurately, and take your time cutting and applying peel and stick backsplash tiles around outlets. Enjoy the process and revel in the satisfaction of a beautifully transformed space!
Read more: How To Cut Peel And Stick Tile Around Toilet
Tools and Materials Needed
Before we begin, let’s gather the tools and materials you’ll need for this project:
- Peel and stick backsplash tiles
- Tape measure
- Pencil or marker
- Ruler or straight edge
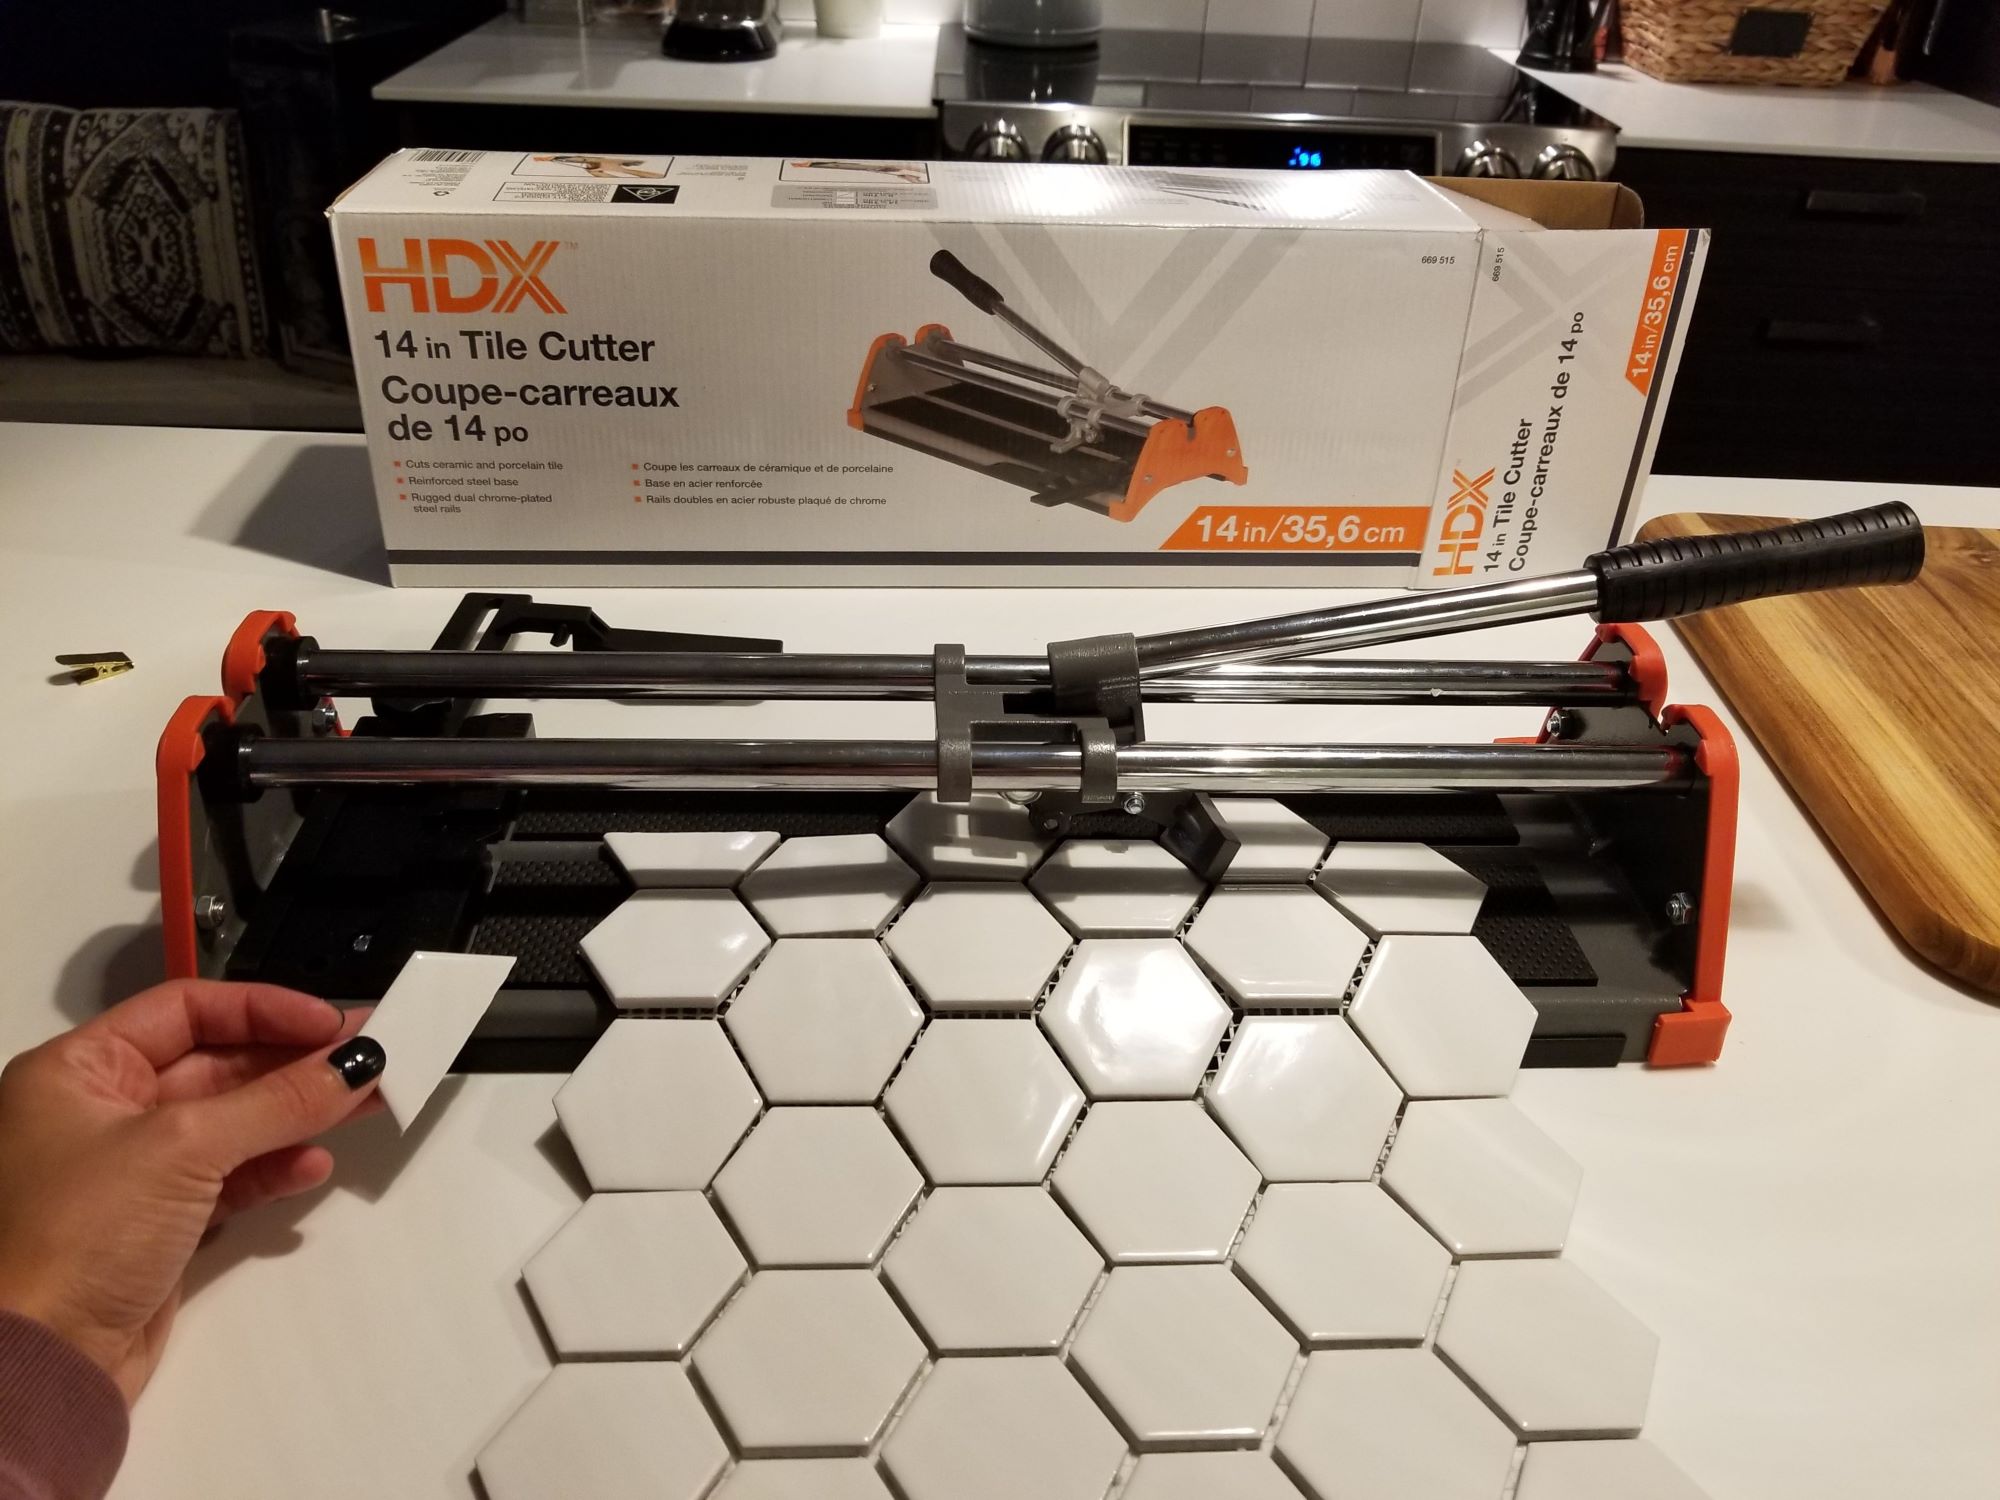
- Utility knife or scissors
- Outlet cover plates
- Screwdriver
- Rag or sponge
- Cleaning solution
- Level
- Optional: Cutting mat
Make sure you have all these tools and materials readily available before you begin. This will ensure a smooth and efficient installation process.
Step 1: Measure the Area Around the Outlets
The first step in cutting peel and stick backsplash tiles around outlets is to accurately measure the area. This will help you determine the size and shape of the cuts you need to make.
Start by using a tape measure to measure the width and height of the outlet cover plate. Write down these measurements as you will need them later.
Next, hold the tile up to the wall and align it with the bottom edge of the outlet cover plate. Use a pencil or marker to mark the top and sides of the outlet on the tile.
Measure the distance from the edges of the outlet to the nearest tile edge. This will help you determine how much space you need to cut out from the tile.
Repeat this process for each outlet in the area where you will be installing the peel and stick backsplash.
Once you have all the measurements, it’s a good idea to double-check their accuracy. Use a ruler or straight edge to ensure that the marks are straight and aligned properly.
Remember to measure twice to ensure accuracy. This step is essential for achieving a precise and professional-looking installation.
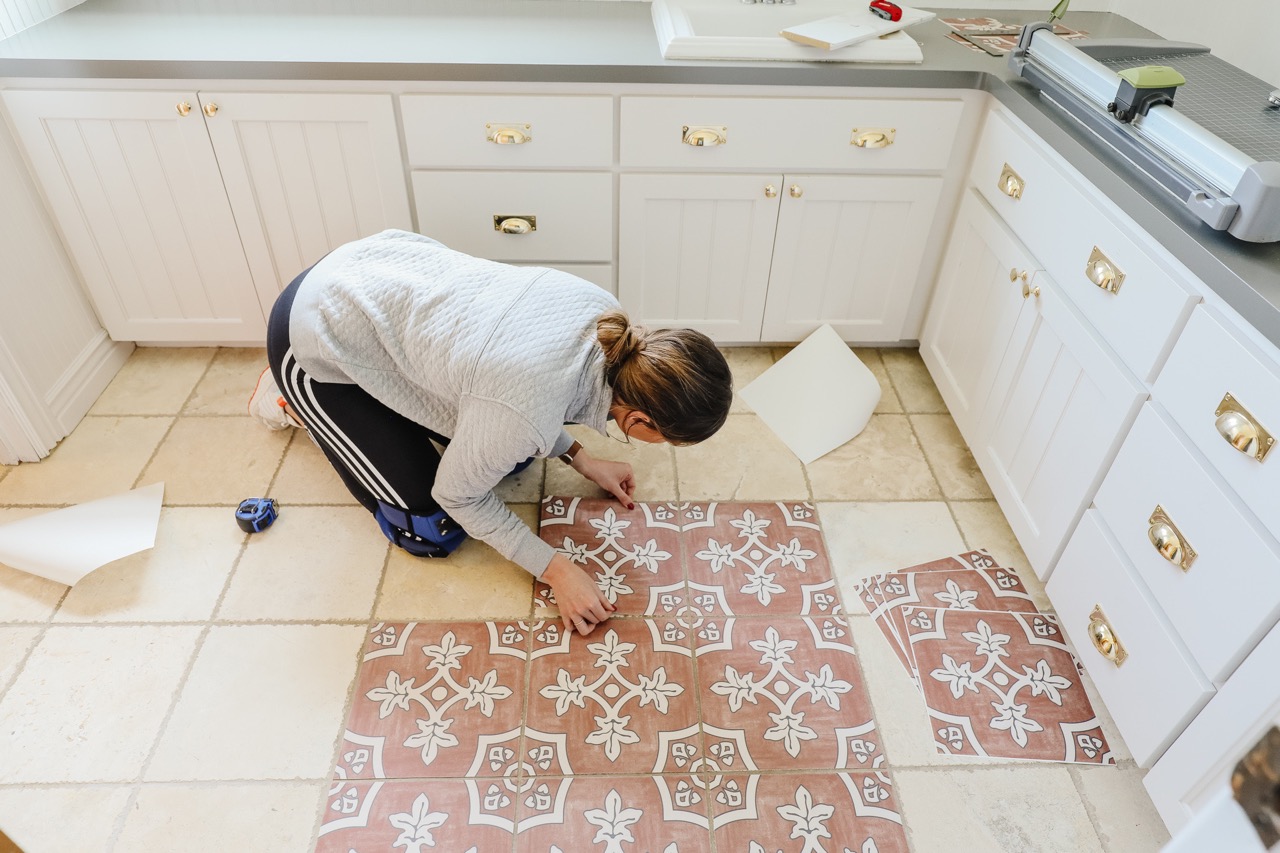
Step 2: Prepare the Peel and Stick Backsplash
Before you can start cutting the peel and stick backsplash tiles around the outlets, it’s important to prepare the tiles for installation.
First, clean the wall surface where you will be applying the peel and stick backsplash. Use a rag or sponge and a mild cleaning solution to remove any dirt, grease, or debris. Allow the wall to dry completely before proceeding.
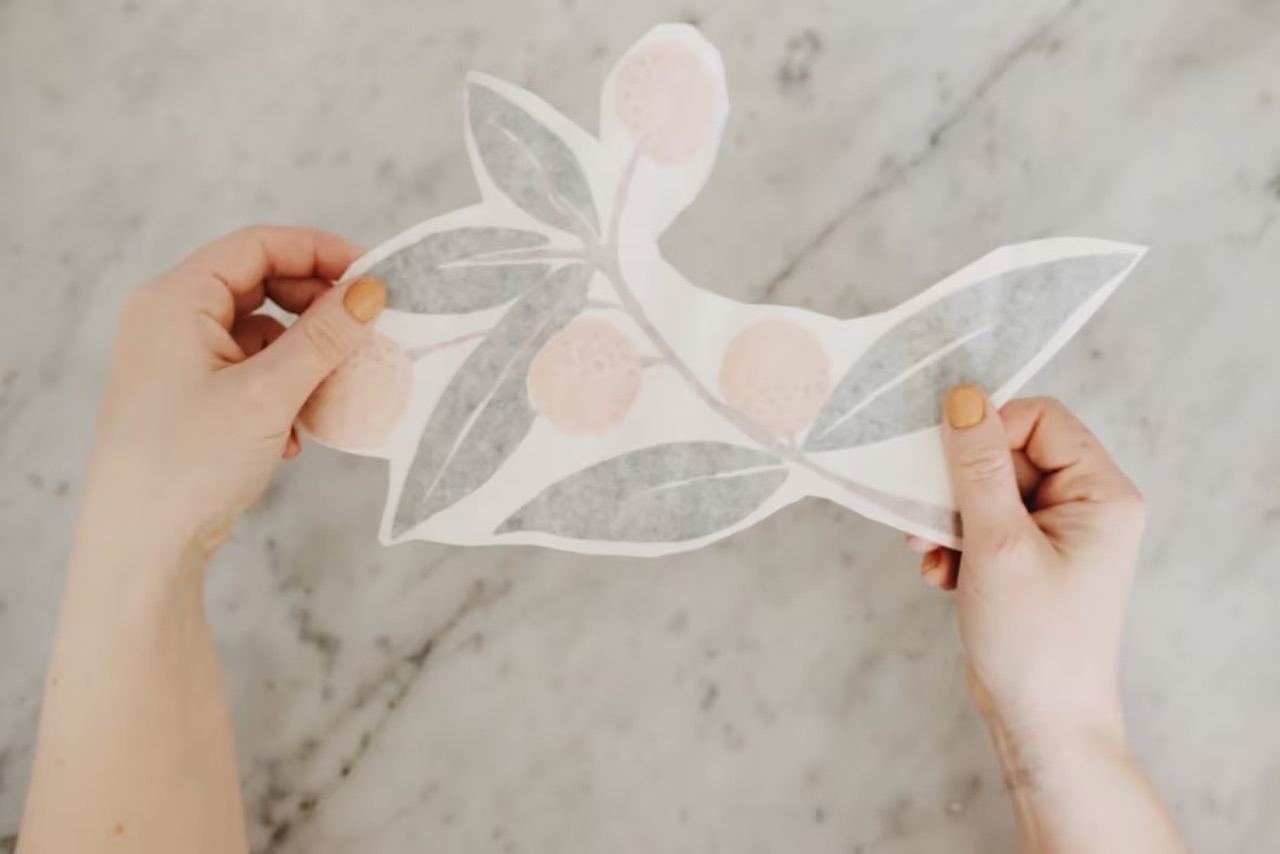
Next, carefully remove the backing from one of the peel and stick tiles. Start from one corner and slowly peel off the backing, exposing the adhesive side of the tile.
Place the tile adhesive-side down on a clean and flat surface. If you have a cutting mat, you can use that to protect your work surface and make it easier to cut the tile.
Repeat this process for each peel and stick tile you’ll be using.
Ensure that the tiles are within reach and easily accessible. This will make the cutting and application process much more efficient.
Preparing the peel and stick backsplash tiles before cutting will help streamline the installation process and ensure a smooth and hassle-free experience.
When cutting peel and stick backsplash around outlets, measure and mark the area to be cut, then use a utility knife to carefully cut along the marked lines. Take your time to ensure a precise fit.
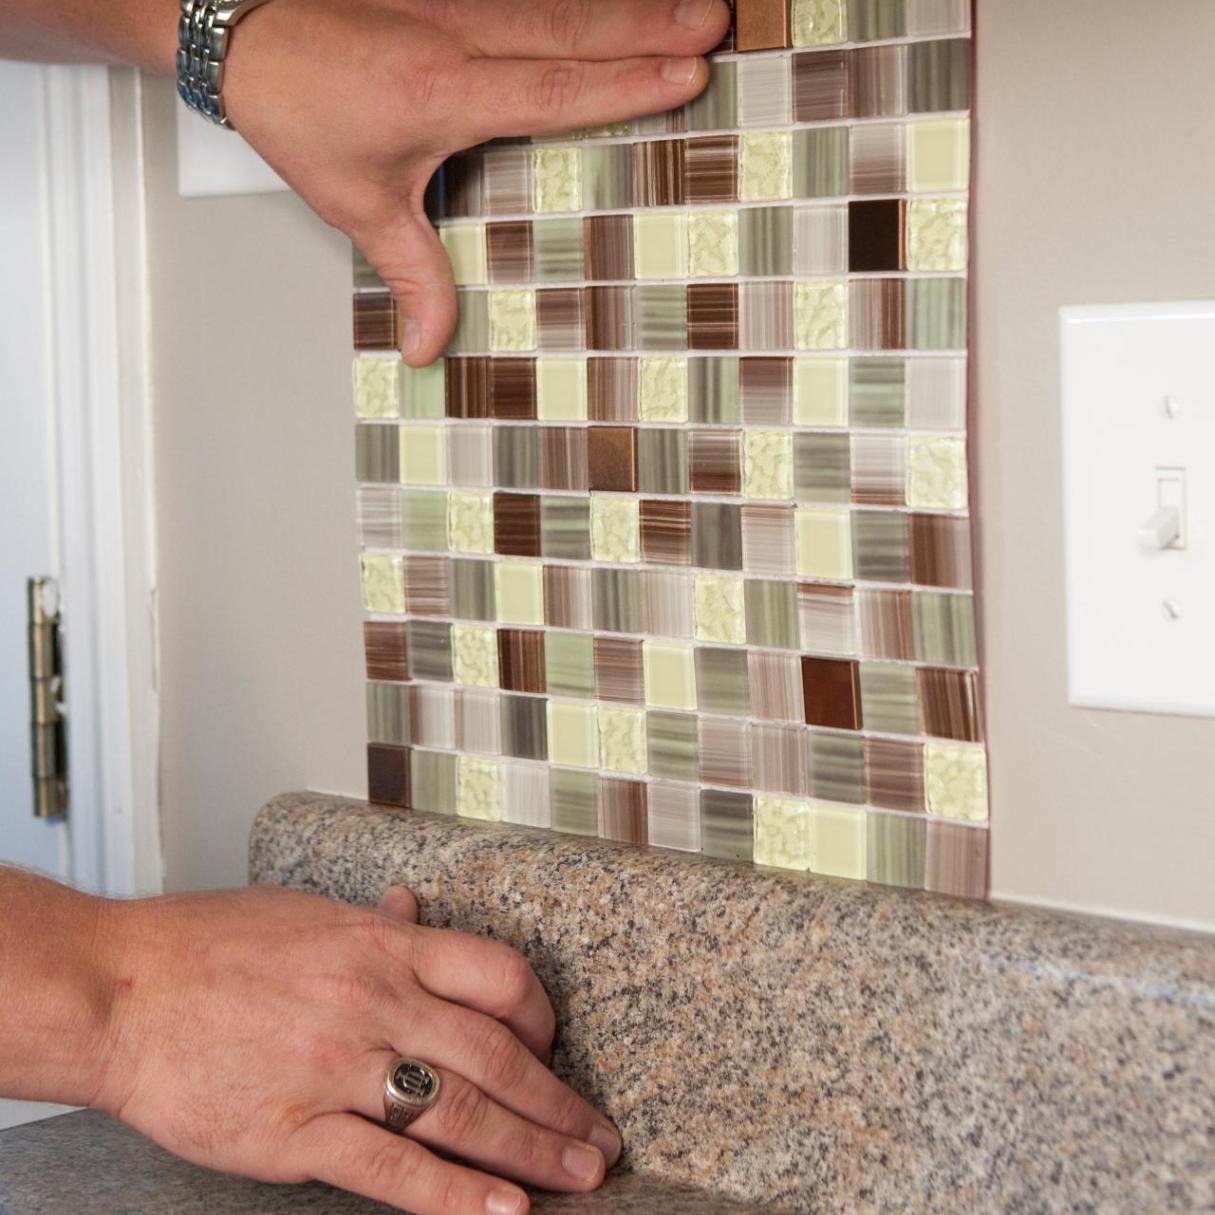
Step 3: Cut the Peel and Stick Backsplash Around the Outlets
Now that you have measured and prepared the peel and stick backsplash tiles, it’s time to cut them to fit around the outlets.
Start by placing a tile on a flat surface with the adhesive side up. Use the measurements you took earlier to determine where you need to make the cuts for the outlets.
Using a ruler or straight edge, draw straight lines on the back of the tile to outline the area that needs to be removed. Make sure the lines are accurate and align with the measurements.
Next, grab a utility knife or scissors and carefully cut along the marked lines. Take your time and use a steady hand to ensure clean and precise cuts. If you find it more comfortable, you can use a cutting mat to protect the surface beneath the tile.
Once you have made the necessary cuts, double-check their accuracy by holding the tile up against the wall. Ensure that the cuts align perfectly with the outlets.
If you need to make any adjustments, use a utility knife or scissors to trim the edges as needed. It’s better to make small adjustments gradually rather than cutting off too much material at once.
Repeat this process for each tile that requires cuts for outlets. Take your time and pay attention to detail to achieve a professional and seamless look.
Remember, it’s always a good idea to measure and cut slightly smaller than necessary. You can always trim off more material if needed, but you can’t add it back once it’s cut.
Read more: How To Do Backsplash Around Outlets
Step 4: Apply the Peel and Stick Backsplash
Now that you have cut the peel and stick backsplash tiles to fit around the outlets, it’s time to apply them to the wall. Follow these steps to ensure a secure and professional installation:
- Start by removing the backing from one of the tiles. Carefully align the tile with the bottom edge of the wall, ensuring that it is straight and level.
- Apply the adhesive side of the tile to the wall, starting from the bottom and working your way up. Press firmly on the tile to ensure it adheres well. Use a level to check that the tile is straight and adjust if necessary.
- Repeat the process for the remaining tiles, making sure to align them properly and maintain a consistent distance between each tile.
- As you come to the tiles that require cuts for outlets, carefully position them around the outlets. Press the tile firmly against the wall and smooth out any air bubbles or wrinkles.
- Continue applying the peel and stick backsplash tiles, working your way across the wall until the entire area is covered.
- Once you have applied all the tiles, use a clean cloth or sponge to gently press the tiles down and ensure a strong bond with the wall. This will help prevent any edges from lifting over time.
It’s important to note that peel and stick backsplash tiles can be repositioned if needed, but the adhesive may lose some of its stickiness. Therefore, it’s best to ensure proper alignment and placement during the initial installation.
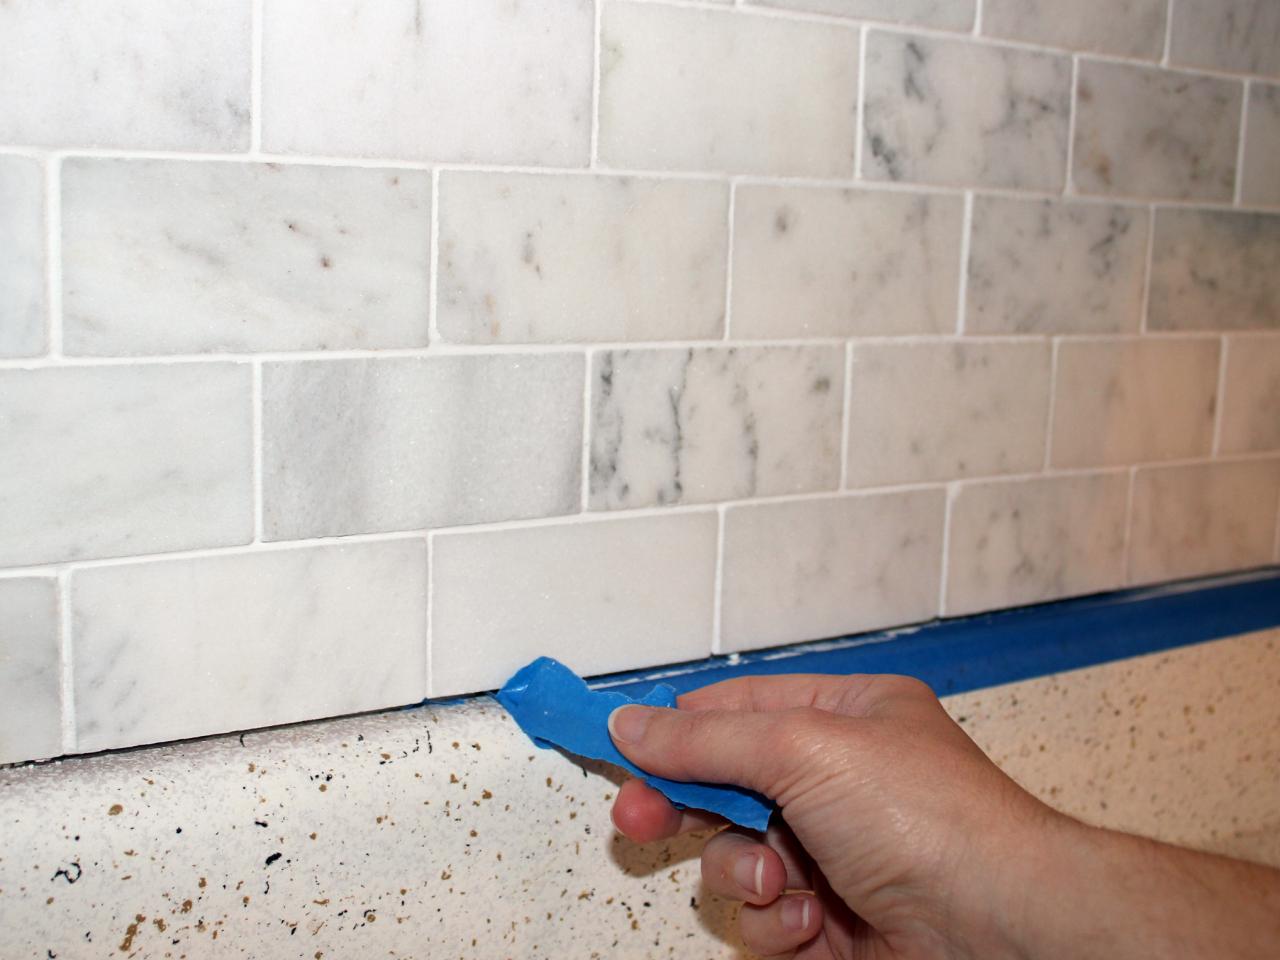
Once the peel and stick backsplash tiles are applied, add the outlet cover plates back in place. Use a screwdriver to secure them tightly and give the final touch to your newly installed backsplash.
And there you have it! You’ve successfully cut and applied the peel and stick backsplash around the outlets, transforming your space with a beautiful and functional design element!
Conclusion
Installing peel and stick backsplash tiles around outlets may seem intimidating at first, but with the right tools and techniques, it can be a straightforward and rewarding process. By carefully measuring, cutting, and applying the tiles, you can achieve a polished and professional look in your kitchen or bathroom.
Remember to take your time during each step and double-check your measurements to ensure accuracy. Use a sharp utility knife or scissors for clean cuts and align the tiles properly for a seamless appearance.
Peel and stick backsplash tiles offer a convenient and affordable way to update the look of your space without the need for extensive renovations. They come in a variety of styles and designs, allowing you to personalize your kitchen or bathroom to match your unique taste.
So, if you’ve been contemplating a backsplash makeover, don’t let the outlets hold you back. Follow the step-by-step instructions in this guide, gather the necessary tools and materials, and soon you’ll have a stunning and functional backsplash surrounding your outlets.
Now, it’s time to get started on your peel and stick backsplash project. Enjoy the process and relish in the satisfaction of a beautifully transformed space!
Just finished sprucing up your space with a new backsplash? Ready for more quick and effective updates to your home décor? If removing your old designs sounds like a daunting task, don't worry! We've got a guide that makes stripping those outdated peel and stick tiles simple and hassle-free. Perfect for anyone looking to refresh their space without the fuss, our guide walks you through every step to ensure your success. Check out our tips and tricks now and transform your room with ease!
Frequently Asked Questions about How To Cut Peel And Stick Backsplash Around Outlets
Was this page helpful?
At Storables.com, we guarantee accurate and reliable information. Our content, validated by Expert Board Contributors, is crafted following stringent Editorial Policies. We're committed to providing you with well-researched, expert-backed insights for all your informational needs.


0 thoughts on “How To Cut Peel And Stick Backsplash Around Outlets”