Articles
How To Put Up Peel And Stick Backsplash
Modified: October 19, 2024
Learn how to easily install a peel and stick backsplash with our comprehensive articles. Step-by-step instructions and expert tips for a successful DIY project.
(Many of the links in this article redirect to a specific reviewed product. Your purchase of these products through affiliate links helps to generate commission for Storables.com, at no extra cost. Learn more)
Introduction
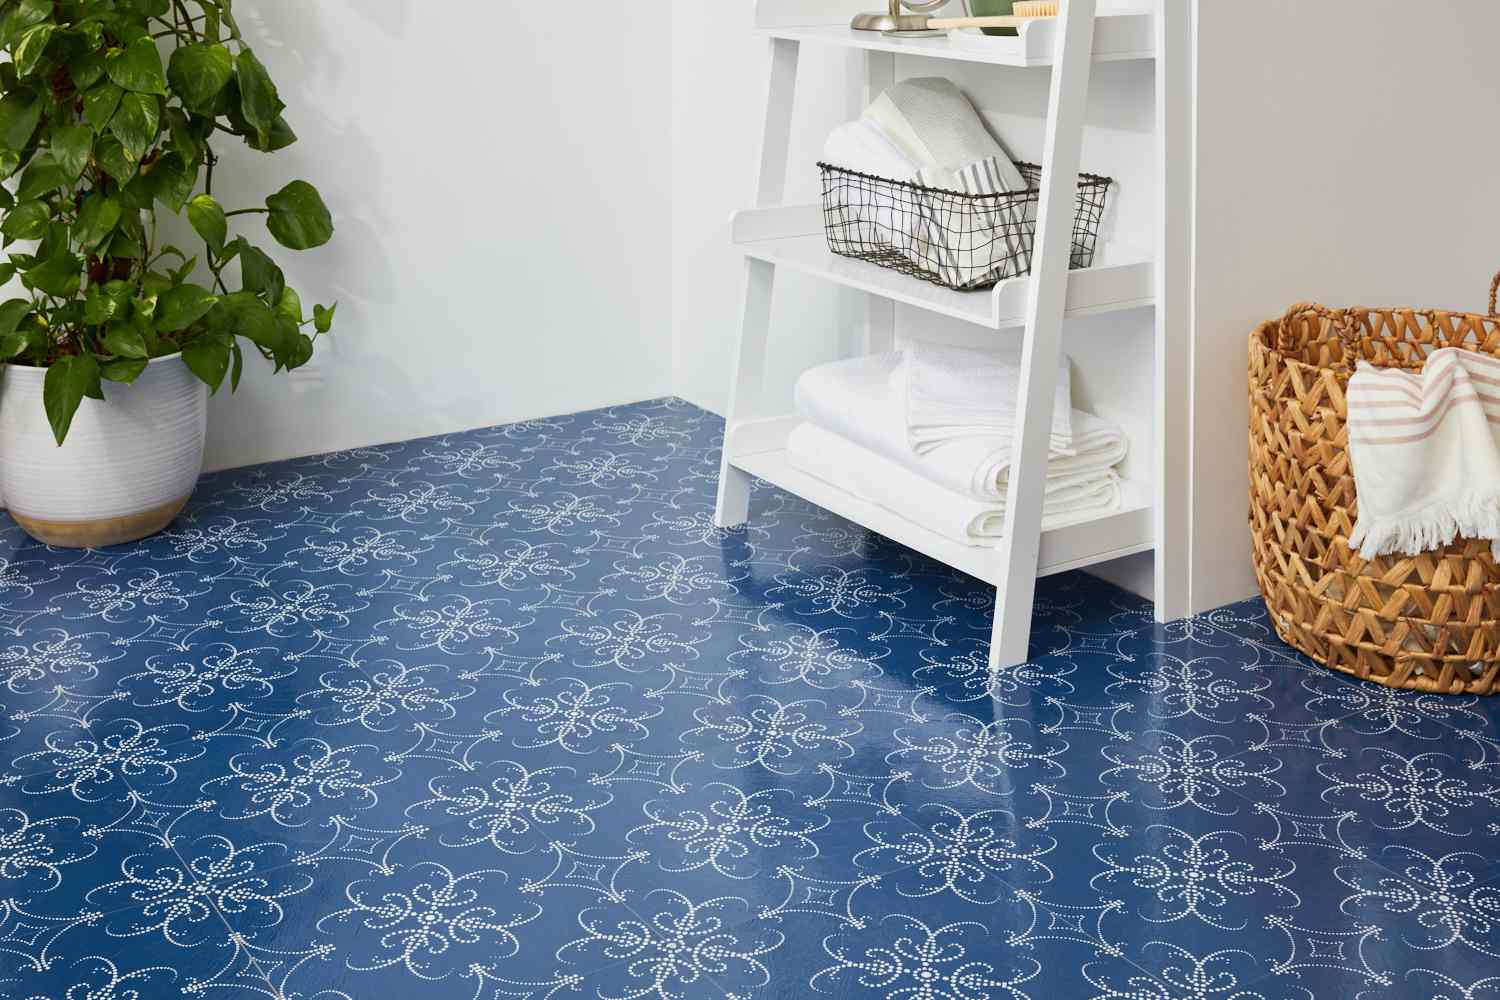
Welcome to this comprehensive guide on how to put up a peel and stick backsplash. Whether you’re looking to update your kitchen, bathroom, or any other space in your home, a peel and stick backsplash can be a cost-effective and stylish solution. This DIY project is perfect for beginners and can transform the look of your space in no time.
A backsplash not only adds a layer of protection to your walls, it also serves as a focal point and enhances the overall aesthetic appeal of the room. Traditionally, installing a backsplash involved complex and time-consuming processes such as tile cutting, grouting, and adhesive mixing. However, with peel and stick backsplash options now available in the market, the installation process has become significantly easier.
In this step-by-step guide, we will walk you through the process of putting up a peel and stick backsplash. From preparing the surface to final touches, we’ll cover everything you need to know to achieve a professional-looking result. So, let’s dive in!
Before we get started, let’s go over the materials you’ll need for this project.
Key Takeaways:
- Easily transform your space with a cost-effective and stylish peel and stick backsplash. Follow the step-by-step guide for a professional-looking result, perfect for beginners.
- Prepare, measure, cut, and stick – the simple process to achieve a polished and functional peel and stick backsplash. Enjoy the refreshed look in no time!
Read more: How To Put Up A Backsplash
Materials Needed
Before you begin installing your peel and stick backsplash, it’s important to gather all the necessary materials. Here’s a list of what you’ll need:
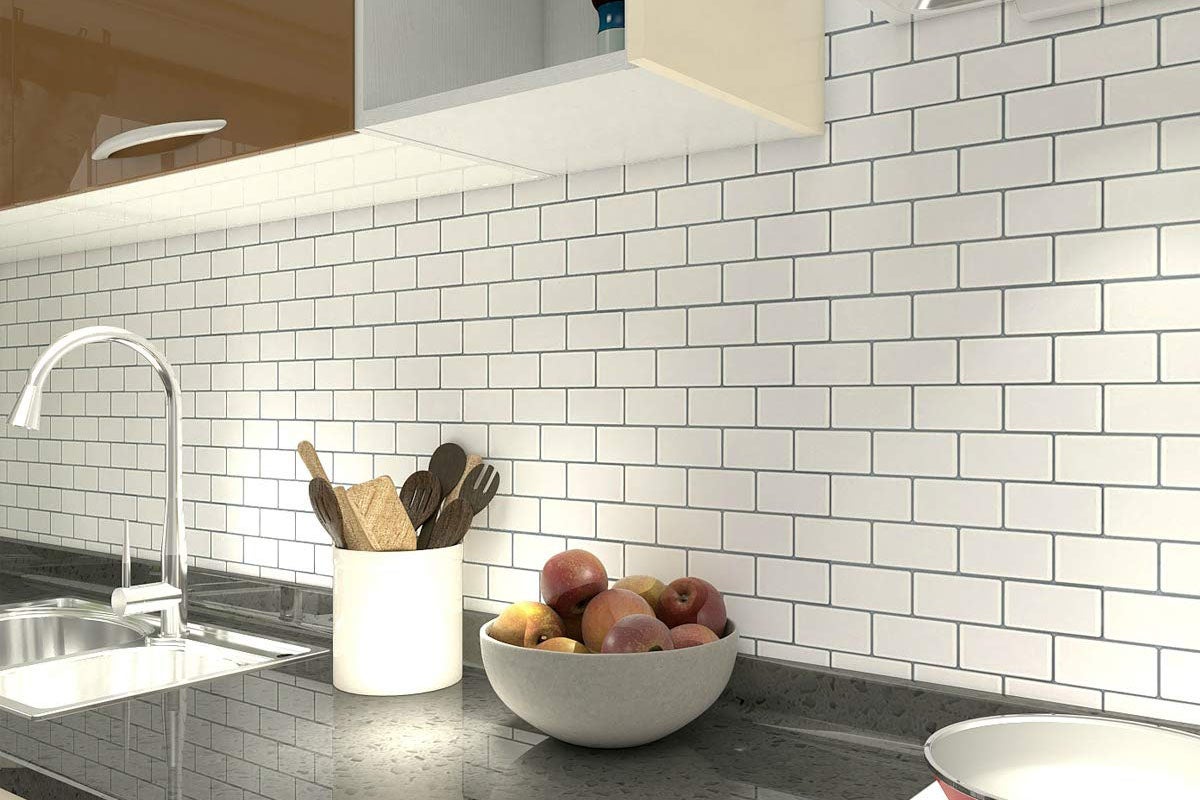
- Peel and stick backsplash tiles: Measure the area you plan to cover to determine how many tiles you’ll need.
- Utility knife: Used for cutting the tiles to fit around outlets, corners, and edges.
- Measuring tape: Essential for accurately measuring the dimensions of the backsplash area.
- Pencil or marker: To mark the areas where you’ll need to cut the tiles.
- Straight edge: Helps to ensure clean and straight cuts.
- Clean cloth or sponge: Used to clean the surface before applying the backsplash.
- Rubber grout float: Helps to smooth and secure the tiles to the wall.
- Level: Ensures that your backsplash is straight and properly aligned.
- Step stool or ladder: If you need to reach high areas.
- Optional: A heat gun or blow dryer can be used to soften the adhesive on the backsplash tiles for easier removal or repositioning.
Make sure you have all these materials ready before you begin the installation process. This will ensure a smooth and hassle-free experience.
Step 1: Preparing the Surface
Before you begin installing the peel and stick backsplash, it’s crucial to prepare the surface properly. Follow these steps to ensure a clean and smooth surface:
- Start by cleaning the wall with a mild detergent or a mixture of vinegar and water. This will remove any dirt, grease, or other residues that may prevent the backsplash from sticking properly.
- Use a clean cloth or sponge to wipe down the wall, ensuring it is completely dry before proceeding.
- If there are any existing tiles, wallpaper, or paint that are peeling or damaged, remove them and repair any imperfections on the wall surface.
- Fill in any cracks or holes using a suitable wall filler or spackle. Allow the filler to dry completely and then sand it smooth.
- Once the surface is clean and smooth, use a level to mark a straight horizontal line as a guide for the first row of backsplash tiles. This will help ensure that your backsplash is straight and properly aligned.
Preparing the surface is a critical step that will ensure the longevity and durability of your peel and stick backsplash. Take your time to thoroughly clean and repair the wall before proceeding to the next steps.
Step 2: Measure and Cut the Backsplash
Once you’ve prepared the surface, it’s time to measure and cut the peel and stick backsplash tiles to fit your specific area. Follow these steps:
- Start by measuring the width and height of the area where you’ll be installing the backsplash. Use a measuring tape to ensure accuracy.
- Transfer these measurements onto the back of the peel and stick backsplash tiles using a pencil or marker. Be sure to account for any outlets, corners, or other obstacles that may require cutting.
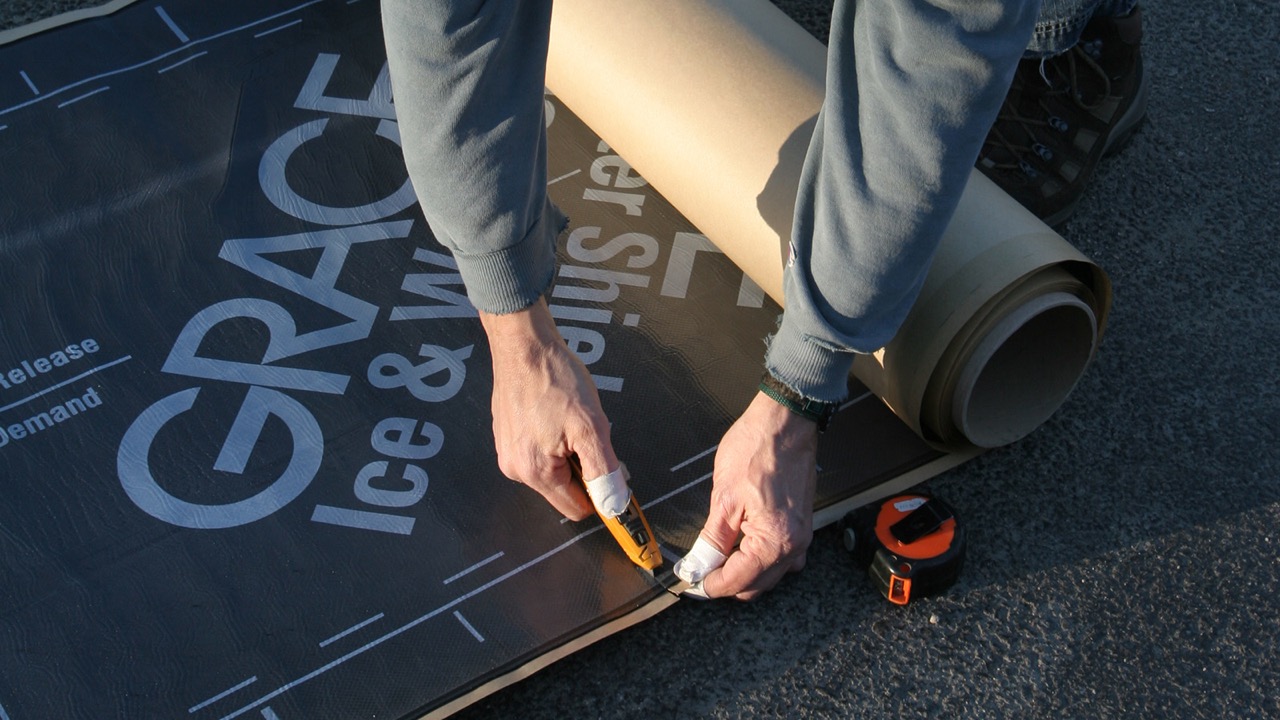
- Carefully cut the tiles along the marked lines using a utility knife or a sharp pair of scissors. For irregular shapes, use a straight edge as a guide to ensure clean and straight cuts.
- It’s always better to cut the tiles slightly larger than necessary, as you can always trim them down later for a perfect fit.
It’s important to take accurate measurements and cut the tiles precisely to ensure a seamless and professional-looking backsplash. Double-check your measurements before cutting, and don’t be afraid to make adjustments as needed.
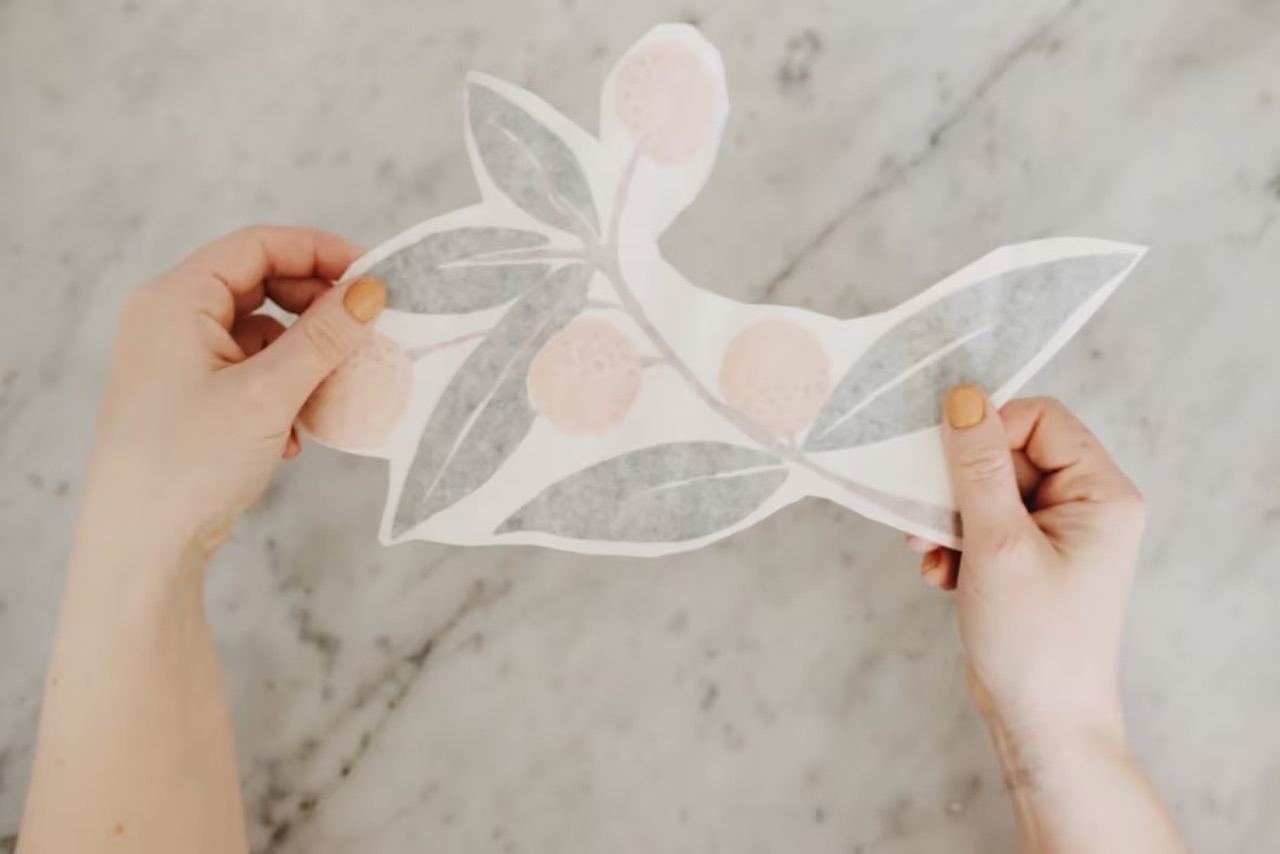
Step 3: Peel off the Backing
With the backsplash tiles cut to size, it’s time to peel off the backing and prepare them for installation. Follow these steps:
- Take a peel and stick backsplash tile and locate the backing paper. This is usually a thin layer that covers the adhesive side of the tile.
- Starting from one corner of the tile, gently peel off the backing paper. Be careful not to touch the adhesive side, as this may affect its stickiness.
- Continue peeling off the backing paper until the entire tile is exposed.
- If you have multiple tiles, repeat this process for each one, ensuring the adhesive side remains clean and free from debris.
Peeling off the backing exposes the adhesive side of the backsplash tile, which allows it to stick securely to the wall. Take your time and be cautious while peeling to avoid damaging the adhesive or getting it dirty.
Make sure to thoroughly clean and dry the surface before applying the peel and stick backsplash to ensure a strong and long-lasting adhesion.
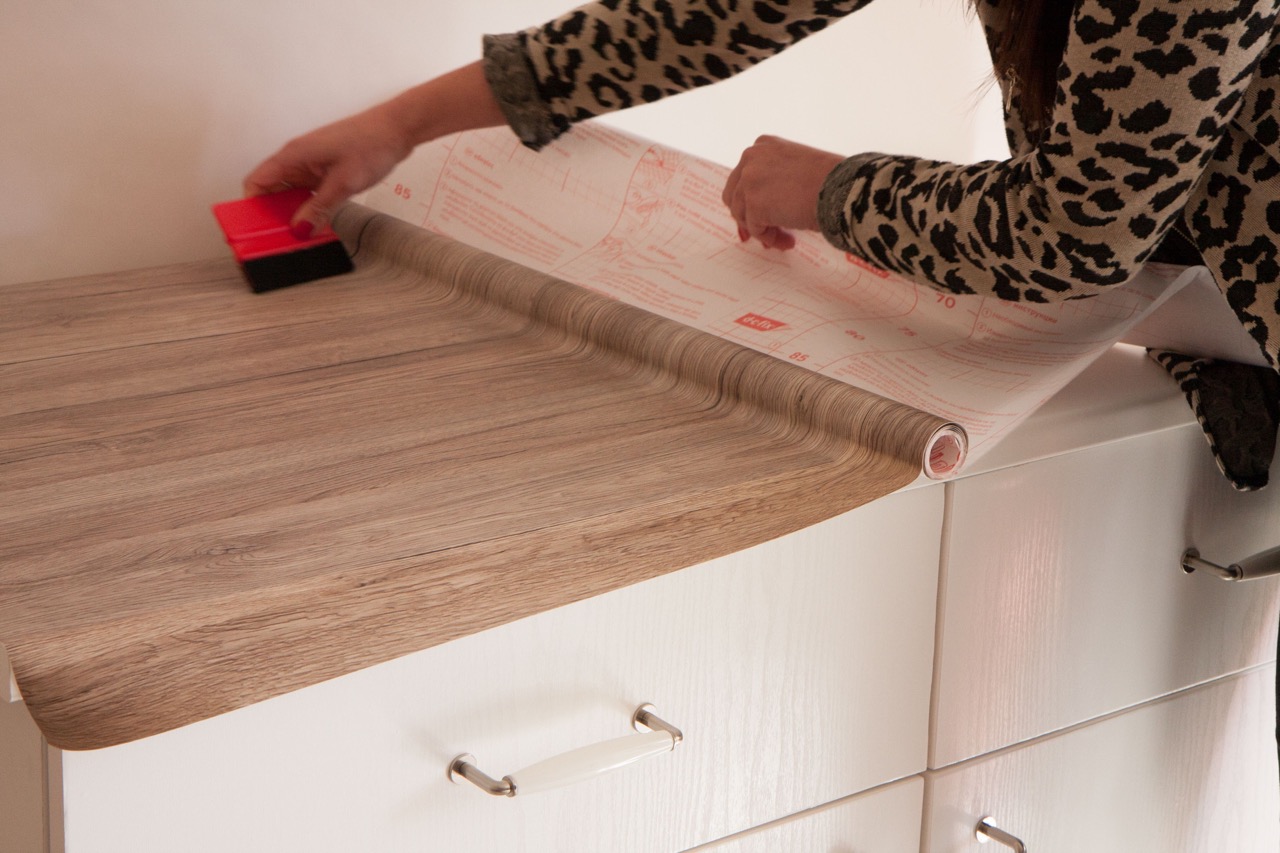
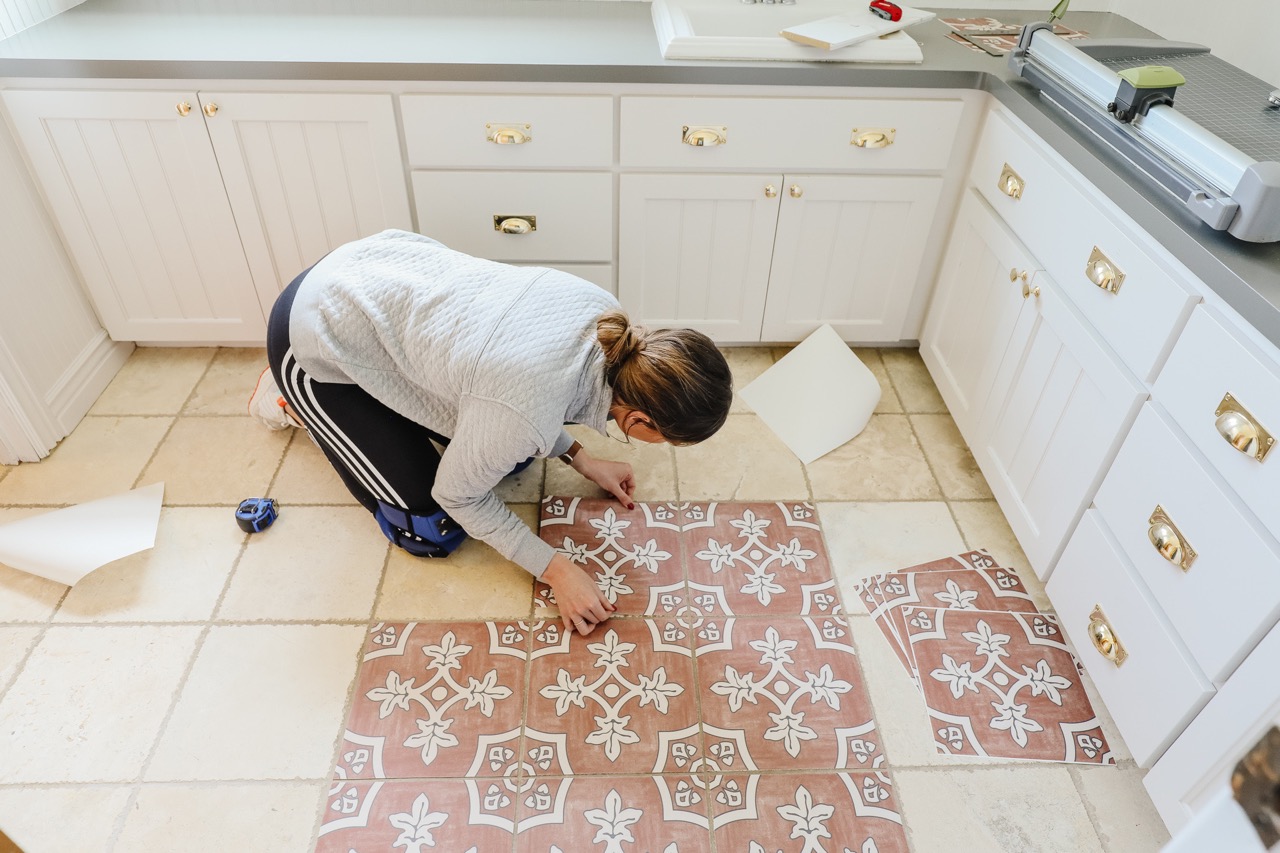
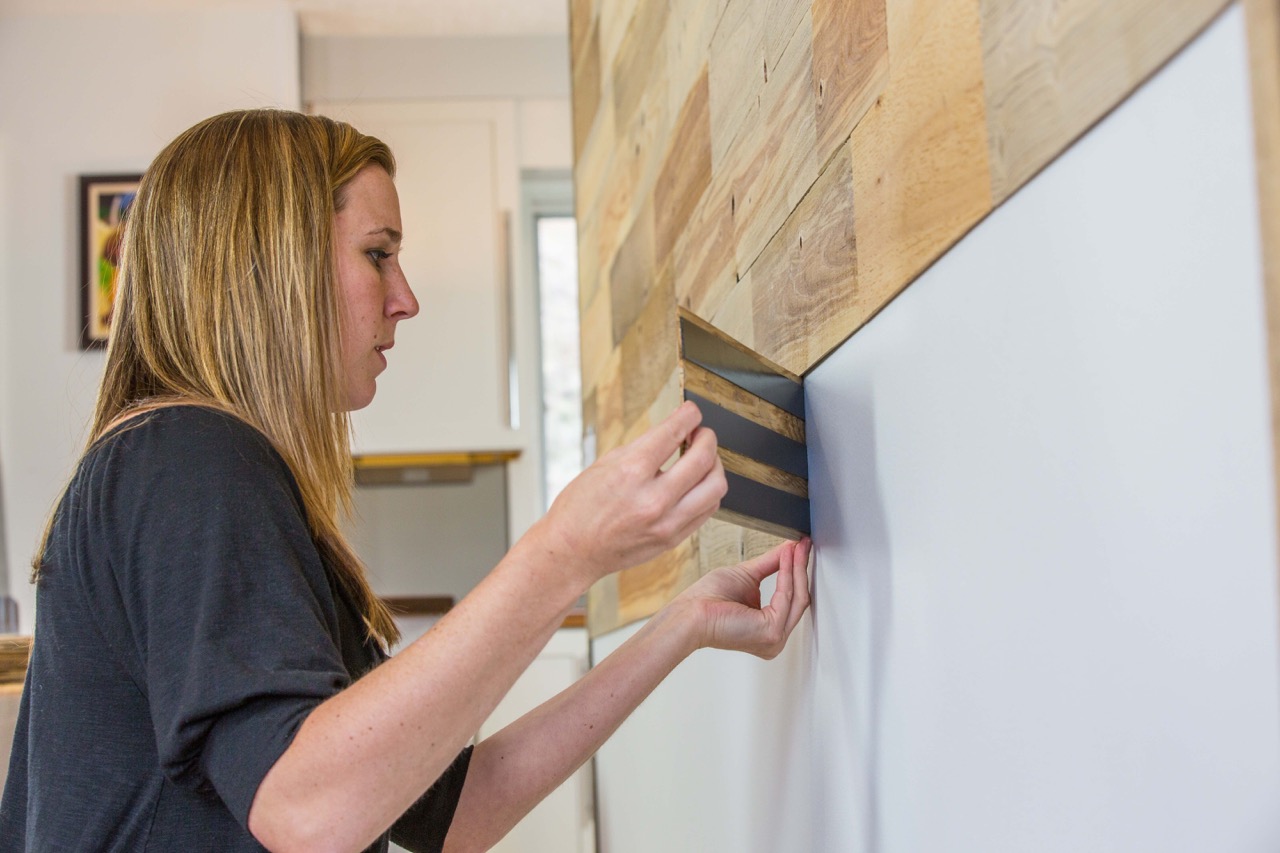
Step 4: Stick the Backsplash onto the Wall
Now that the backing has been peeled off, it’s time to stick the peel and stick backsplash onto the wall. Follow these steps:
- Starting at the bottom of the wall, align the first tile with the marked horizontal line you made during the surface preparation stage. Press it firmly against the wall, ensuring it is straight and level.
- Continue applying the peel and stick backsplash tiles, working your way up the wall in a staggered pattern. This will create a more visually appealing and balanced look.
- As you stick each tile, firmly press it against the wall to ensure it adheres properly. Smooth out any air bubbles or wrinkles that may appear.
- Take your time and pay attention to the alignment and spacing between the tiles to achieve a clean and consistent look.
- Continue this process until you reach the top of the wall or the desired height of your backsplash.
It’s important to work methodically and take your time when sticking the backsplash onto the wall. Pay attention to the alignment and ensure each tile is pressed firmly against the wall for proper adhesion.
Step 5: Trim or Adjust the Backsplash
Once you have installed the peel and stick backsplash tiles, you may find that some adjustments or trimming is necessary to achieve a perfect fit. Follow these steps:
- Inspect the edges of the backsplash and look for any areas where the tiles may extend past the desired coverage area.
- Using a utility knife or scissors, carefully trim the excess edges of the tiles. Take your time and make precise cuts to avoid damaging the surrounding tiles.
- If you encounter any outlets, switches, or other obstacles, carefully cut the tiles to fit around them. Measure and mark the tile, then use a utility knife to make the necessary cuts.
- For corners, you may need to miter the tiles by cutting them at a 45-degree angle to create a clean and seamless transition. Use a miter box or a miter saw for precision.
- After making any necessary adjustments or trims, ensure that the tiles are properly aligned and fit seamlessly against each other.
Trimming and adjusting the peel and stick backsplash is crucial to achieving a professional and clean finish. Take your time and double-check your measurements to ensure a perfect fit.
Step 6: Smooth and Secure the Backsplash
Now that you have installed the peel and stick backsplash tiles and made any necessary adjustments, it’s time to smooth and secure them to the wall. Follow these steps:
- Using a rubber grout float or your hand, firmly press down on each tile to ensure proper adhesion to the wall. Apply even pressure to ensure there are no air bubbles or gaps between the tile and the wall.
- Smooth out the surface of the backsplash by running the grout float over the tiles in a sweeping motion. This will help to evenly distribute the adhesive and create a seamless look.
- If you notice any tiles that are not sticking properly, use a heat gun or a blow dryer to gently warm the adhesive. This will make it more pliable and allow the tile to adhere more securely.
- Continue smoothing and securing each tile until the entire backsplash is smooth and secure.
Smoothly and securely adhering the peel and stick backsplash tiles to the wall is essential for a long-lasting and professional-looking installation. Take your time to ensure that each tile is firmly pressed and that the surface is smooth before moving on to the next step.
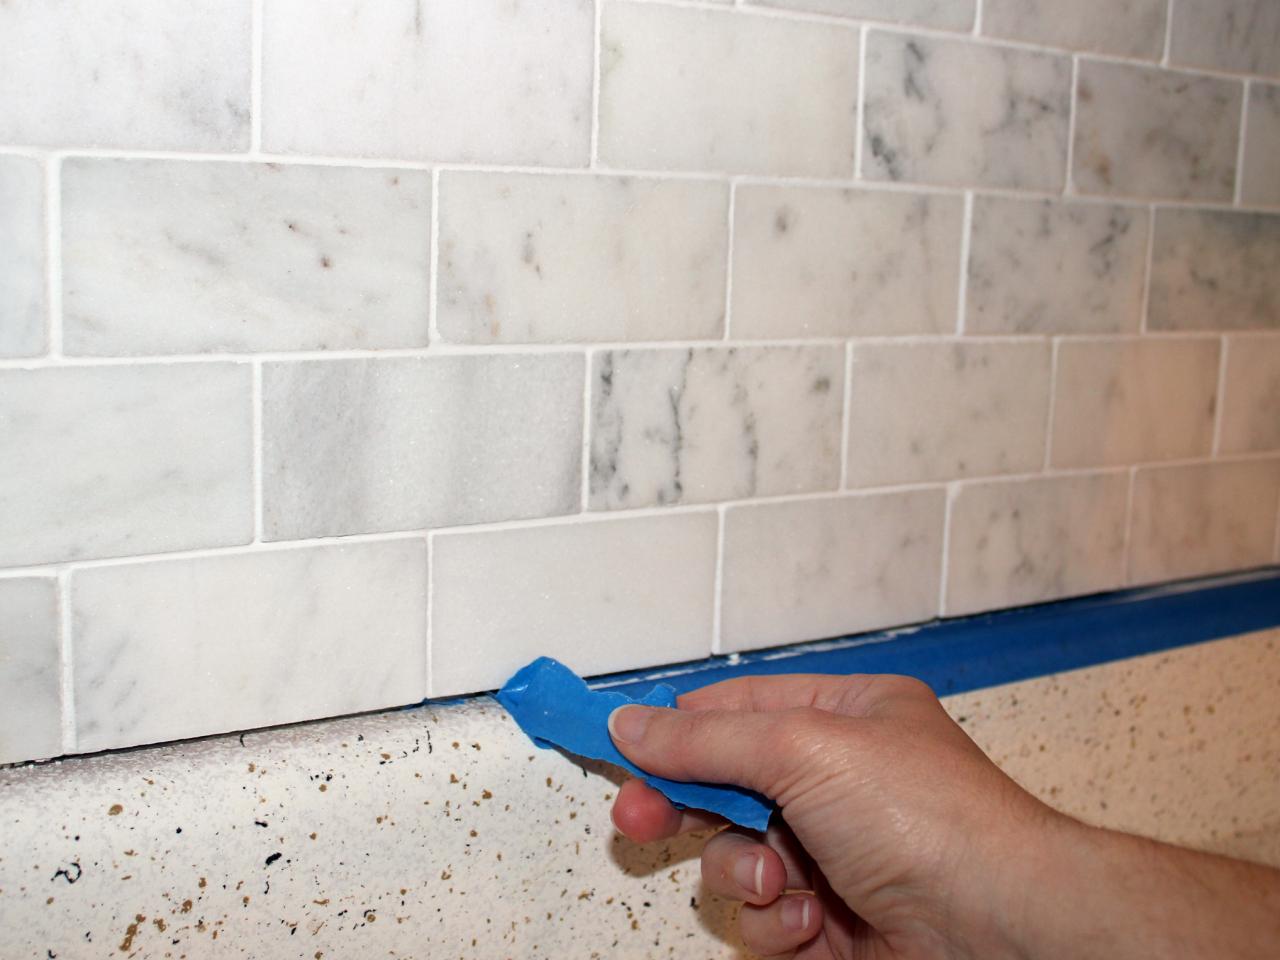
Step 7: Finishing Touches
With the peel and stick backsplash tiles securely in place, it’s time to add the finishing touches to complete the installation. Follow these steps:
- Inspect the entire backsplash for any loose or raised edges. If you find any, use your hand or a rubber grout float to press them down firmly.
- Clean the surface of the backsplash using a mild cleaner and a soft cloth or sponge. This will remove any dirt, dust, or adhesive residue left behind during the installation process.
- Wipe down the tiles and the grout lines, if applicable, to ensure they are clean and free from any debris.
- Take a step back and assess the overall look of the backsplash. Make any final adjustments or touch-ups if needed.
- Finally, step back and admire your newly installed peel and stick backsplash. Enjoy the refreshed and updated look it brings to your space!
Adding the finishing touches is important to ensure that your peel and stick backsplash installation looks polished and professional. Take the time to clean and inspect the backsplash, making any necessary adjustments to achieve the desired result.
Congratulations on completing the installation of your peel and stick backsplash! You’ve successfully transformed the look of your kitchen, bathroom, or any other space with this cost-effective and stylish solution. Sit back and enjoy the beautiful and functional addition to your home.
Conclusion
Installing a peel and stick backsplash is a fantastic way to update the look of your kitchen, bathroom, or any other space in your home. It’s a DIY project that can be easily accomplished by beginners, saving you time and money compared to traditional tile installations. By following the step-by-step guide provided in this article, you can achieve a professional-looking result that enhances the aesthetic appeal of your space.
Remember to begin by preparing the surface properly, ensuring it is clean, smooth, and dry. Take accurate measurements and cut the peel and stick backsplash tiles to fit your specific area, making any necessary adjustments along the way. Peel off the backing paper from each tile and carefully stick them onto the wall, working your way up in a staggered pattern. Trim or adjust the tiles as needed to achieve a perfect fit.
Once the tiles are in place, smooth and secure them to the wall using a rubber grout float and even pressure. Clean the surface to remove any residue, and make any final adjustments or touch-ups. Step back and admire your newly installed peel and stick backsplash, knowing that you’ve successfully transformed your space with a cost-effective and stylish solution.
Remember, installing a peel and stick backsplash is just one way to enhance the look of your home. With a little creativity and imagination, you can explore other DIY projects that will make your home feel even more inviting and personalized.
So don’t hesitate to try out this easy and impactful project. Get started and enjoy the results of your hard work as you create a beautiful, stylish, and functional space.
Feeling handy? There's more to learn and create around your home. For those eager to tackle bigger projects, our guide on DIY Home Improvement provides all the necessary steps to transform spaces without professional help. And if you're looking to refresh your space, find out the simplest way to Peel and Stick Tiles removal in our next article. Both pieces are packed with practical advice to help you upgrade your living area confidently and efficiently.
Frequently Asked Questions about How To Put Up Peel And Stick Backsplash
Was this page helpful?
At Storables.com, we guarantee accurate and reliable information. Our content, validated by Expert Board Contributors, is crafted following stringent Editorial Policies. We're committed to providing you with well-researched, expert-backed insights for all your informational needs.


0 thoughts on “How To Put Up Peel And Stick Backsplash”