Articles
How To Remove Peel And Stick Caulk
Modified: May 6, 2024
Learn how to easily remove peel and stick caulk with our informative articles. Say goodbye to stubborn residue and hello to a clean and fresh surface.
(Many of the links in this article redirect to a specific reviewed product. Your purchase of these products through affiliate links helps to generate commission for Storables.com, at no extra cost. Learn more)
Introduction
When it comes to home improvement projects, one task that often comes up is the removal of old and worn-out caulk. Whether you’re dealing with peel and stick caulk that has lost its adhesive properties or you simply want to replace it with a fresh application, knowing how to properly remove peel and stick caulk is essential.
Peel and stick caulk, also known as self-adhesive caulk or adhesive-backed caulk, is a popular choice for sealing gaps and cracks around windows, doors, and other areas in your home. It provides a quick and easy solution for preventing drafts and improving energy efficiency. However, over time, this caulk can become discolored, cracked, or lose its adhesive qualities, requiring it to be removed and replaced.
In this article, we will guide you through the step-by-step process of removing peel and stick caulk, ensuring a clean and smooth surface for reapplication. So, gather your materials and let’s get started!
Key Takeaways:
- Easily remove old peel and stick caulk by softening with heat, scraping carefully, and cleaning residue. Prepare the surface for reapplication to improve your home’s aesthetics and functionality.
- Prioritize safety, gather materials, and follow step-by-step instructions to remove and replace peel and stick caulk. Save money and achieve a professional finish for your home improvement projects.
Read more: How To Remove Peel And Stick Floor Tile
Materials needed
Before you begin the process of removing peel and stick caulk, it’s important to gather all the necessary materials. Here’s what you’ll need:
- Putty knife or caulk removal tool: This will be used to scrape off the old caulk.
- Heat gun or hairdryer: The heat will help soften the caulk, making it easier to remove.
- Chemical caulk remover (optional): If the caulk is stubborn and difficult to remove, a caulk remover can be used to break it down.
- Protective gloves: These will help protect your hands from any chemicals or adhesive residue.
- Clean rags or paper towels: These will be used to wipe away any debris or residue.
- Plastic scraper or old credit card: This can be used to gently scrape away any remaining caulk.
- Cleaner or rubbing alcohol: This will help to remove any leftover adhesive or residue.
- Water and mild detergent: This will be used for cleaning the surface after caulk removal.
- Safety goggles (optional): If you’ll be using a heat gun or caulk remover, wearing safety goggles can protect your eyes from any potential splashes or fumes.
Having these materials on hand will make the process of removing peel and stick caulk much easier and more efficient. Ensure that you have everything ready before you proceed to the next steps.
Step 1: Preparing the surface
Before you can start removing the peel and stick caulk, it’s essential to properly prepare the surface. Here’s what you need to do:
- Ensure the area is clean: Remove any dirt, dust, or debris from the surface around the caulk using a clean cloth or brush. This will prevent any particles from interfering with the caulk removal process.
- Protect surrounding surfaces: If there are adjacent surfaces that you don’t want to damage, such as painted walls or tiles, you can use painter’s tape to cover and protect them. This will prevent accidental scratches or marks while removing the caulk.
- Open doors and windows for ventilation: If you plan to use a chemical caulk remover, it’s important to have proper ventilation in the area. Open doors and windows to ensure fresh air circulation. Consider wearing a mask to protect yourself from any fumes.
By taking the time to prepare the surface properly, you’ll ensure a smooth and efficient caulk removal process. Once you have completed these steps, you’re ready to move on to the next phase.
Step 2: Softening the caulk
Now that you’ve prepared the surface, it’s time to start softening the peel and stick caulk. Softening the caulk will make it easier to remove without damaging the underlying surface. Here’s how you can do it:
- Using a heat gun or hairdryer set to a medium heat setting, apply heat to the caulk. Keep the heat source moving back and forth over the caulk to evenly distribute the heat. The heat will help soften the caulk and make it more pliable for removal.
- Be cautious not to hold the heat source too close to the caulk or for too long, as this can damage the surrounding area or cause the caulk to melt. Keep a distance of about 4-6 inches and continually move the heat source along the caulk line.
- Continue applying heat until you notice the caulk becoming softer and more flexible. You may also see the edges of the caulk starting to lift slightly. This indicates that the caulk is ready to be removed.
Remember to wear protective gloves during this step to protect your hands from the heat. Once the caulk has been adequately softened, you’re ready to move on to the next step of the removal process.
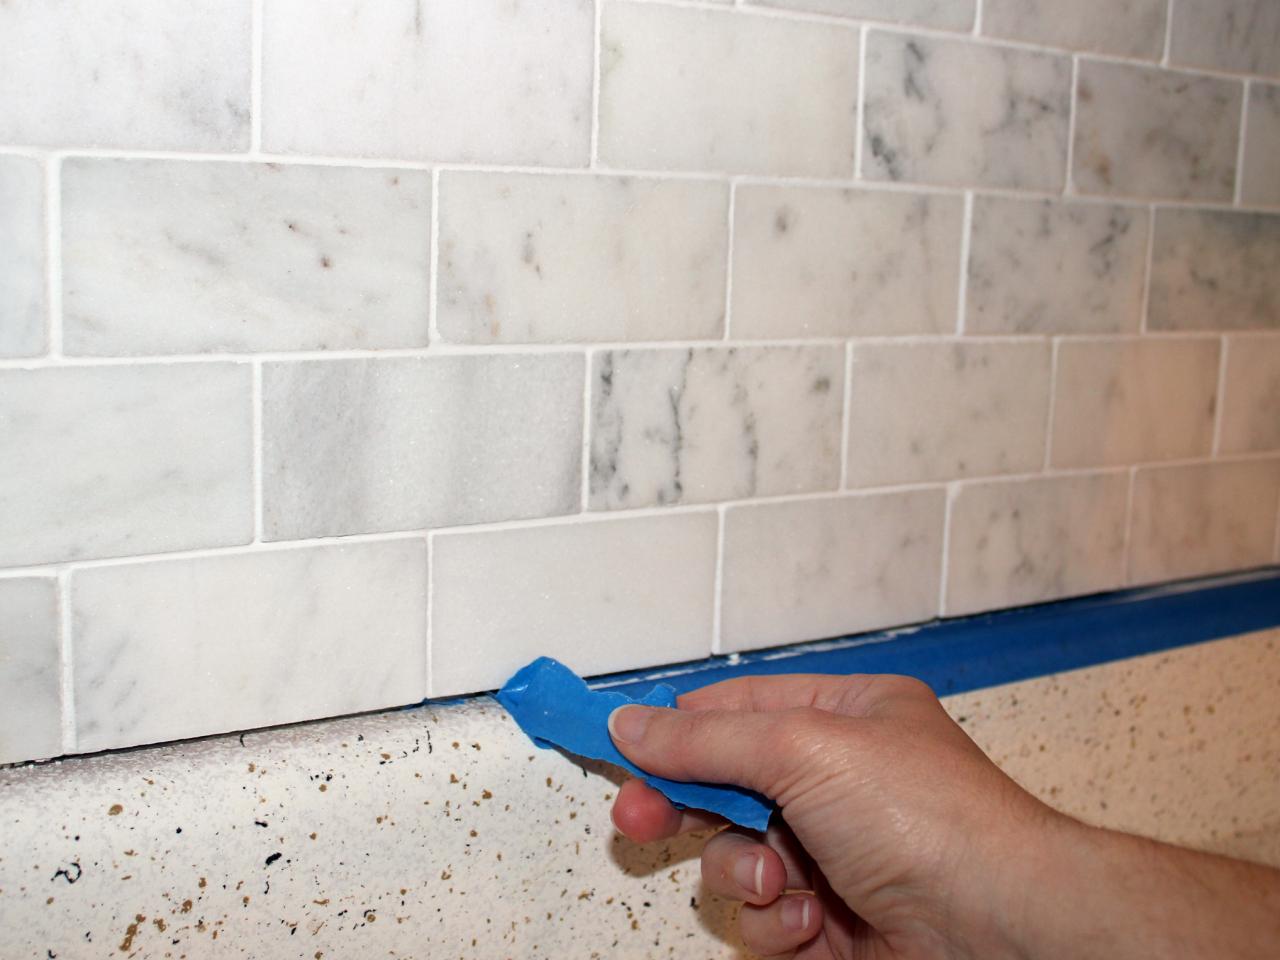
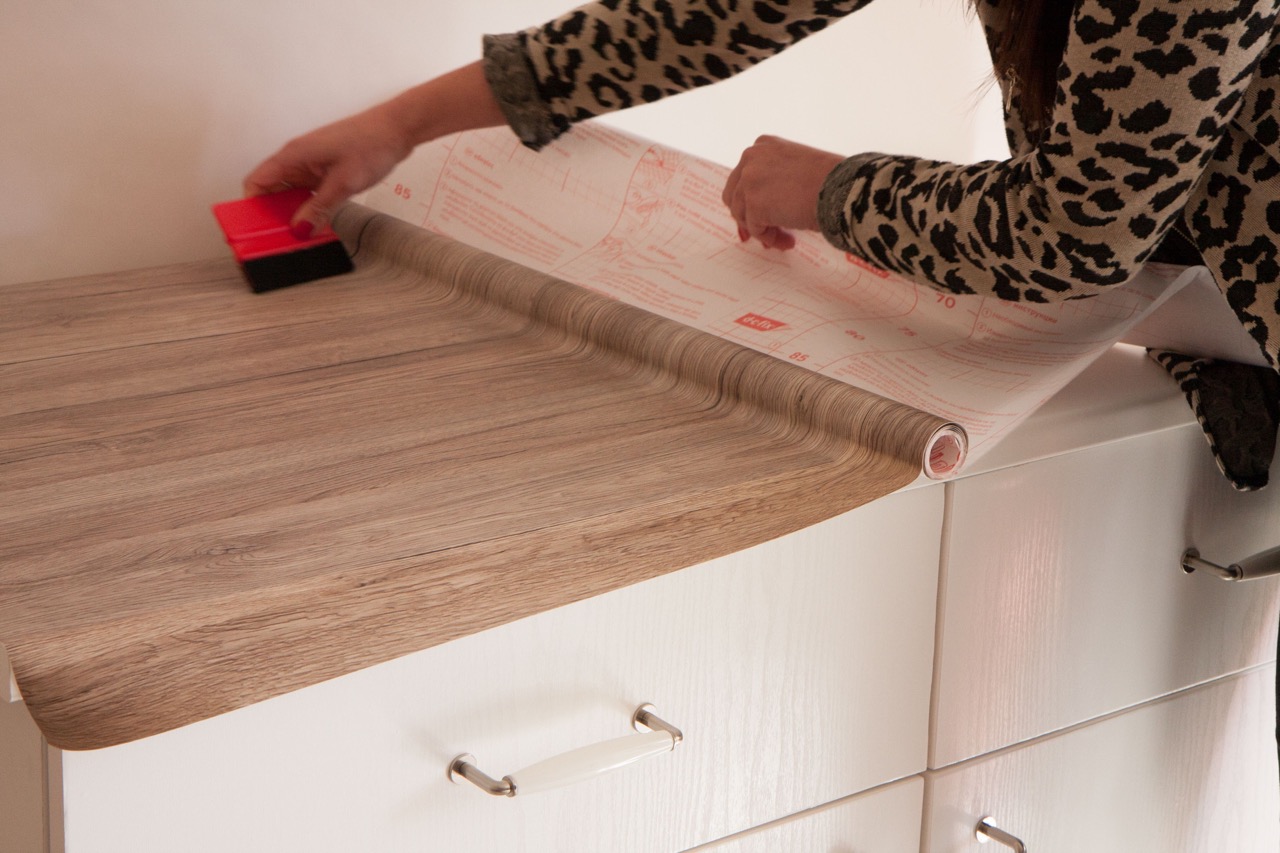
Use a hairdryer to heat the peel and stick caulk, then gently peel it off. Use a plastic putty knife to help lift the caulk if needed. Clean the area with a mild solvent to remove any residue.
Step 3: Removing the caulk
With the caulk now softened, it’s time to remove it from the surface. Here are the steps to follow:
- Using a putty knife or caulk removal tool, carefully start scraping away the softened caulk. Start at one end and work your way along the caulk line. Apply gentle pressure to avoid damaging the surface.
- Hold the tool at a slight angle to ensure you’re getting under the caulk and lifting it away from the surface. Be patient and take your time to ensure the caulk is fully removed.
- If there are stubborn areas where the caulk is not coming off easily, apply a small amount of a chemical caulk remover. Follow the instructions on the caulk remover product for best results. Allow the caulk remover to sit for the recommended time to break down the caulk.
- After applying the caulk remover, use the putty knife or caulk removal tool to gently scrape away the remaining caulk. If needed, you can repeat the application of caulk remover and scraping until all the caulk is removed.
- Once you have removed the majority of the peel and stick caulk, use a plastic scraper or an old credit card to carefully scrape away any residue that may be left behind. Take care not to scrape too hard to avoid damaging the surface.
Remember to periodically clean off your scraping tool with a cloth or paper towel to remove any accumulated caulk debris. This will help maintain the effectiveness of the scraping tool.
Continue this process until all traces of the peel and stick caulk have been successfully removed from the surface. Take your time and be careful to prevent any damage during the removal process.
Step 4: Cleaning the residue
After removing the peel and stick caulk, there may be some residue left on the surface. It’s essential to clean this residue to ensure a smooth and clean surface for reapplication. Follow these steps to clean the residue:
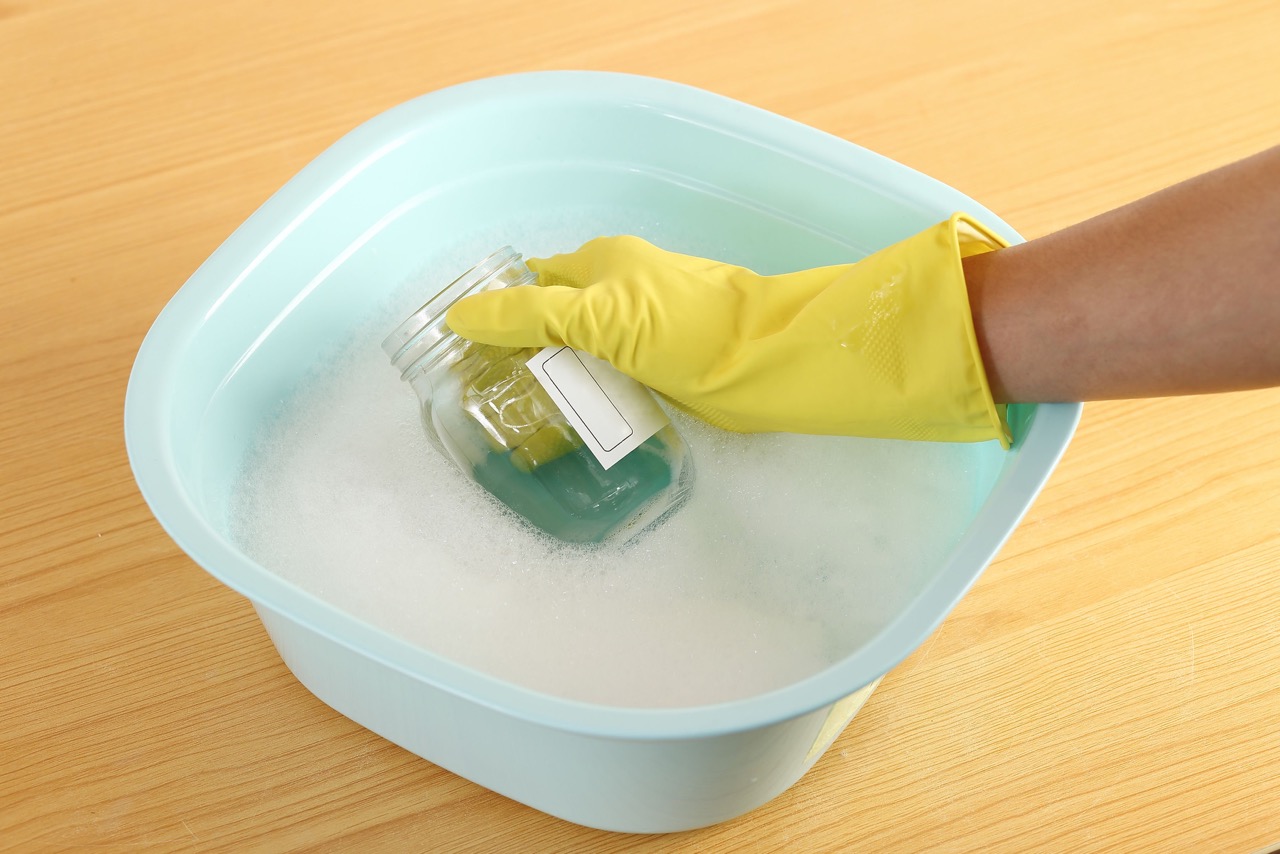
- Dampen a clean cloth or paper towel with rubbing alcohol or a mild detergent diluted in water.
- Gently wipe the surface to remove any remaining adhesive residue. Apply a bit of pressure if needed, but be careful not to damage the surface.
- Rinse the cloth or paper towel and continue wiping until all residue is removed. You may need to repeat this process several times, depending on the amount of residue left behind.
- Inspect the surface to ensure all residue has been cleaned. If there are still stubborn spots, you can use a plastic scraper or old credit card to gently scrape away the residue. Again, be careful not to scratch or damage the surface.
- Once the residue is completely cleaned, use a clean cloth or paper towel to dry the surface thoroughly.
By taking the time to clean the residue properly, you’ll ensure proper adhesion and a cleaner finish when reapplying the caulk. Now that the surface is clean and free from residue, it’s time to move on to the final step.
Step 5: Finishing touches
With the old peel and stick caulk removed and the surface cleaned, it’s time to complete the process with some finishing touches. Follow these steps to ensure a professional and long-lasting result:
- Inspect the surface: Take a closer look at the surface to ensure that it is smooth, clean, and free from any remaining caulk residue or debris. If necessary, touch up any areas that still require attention.
- Apply new caulk (optional): If you wish to reseal the area with new caulk, now is the perfect time to apply it. Choose a high-quality caulk suitable for your specific needs and follow the manufacturer’s instructions for application.
- Smooth the caulk: If you have applied new caulk, use a caulk smoothing tool or your finger dipped in water to create a smooth and even finish. This will help improve the appearance and effectiveness of the caulk seal.
- Allow the caulk to dry: If you have applied new caulk, allow it to dry completely according to the manufacturer’s instructions before touching or disturbing the area.
- Clean up: Before considering the project complete, be sure to clean up any tools, materials, and debris from the work area. Double-check for any caulk residue that may have been missed during earlier cleaning.
By following these finishing touches, you’ll ensure a professional and polished result. Take the time to complete each step carefully for the best outcome.
Congratulations! You have successfully removed the old peel and stick caulk and prepared the surface for further use or reapplication. By following these steps, you’ve saved money and improved the aesthetics and functionality of your home. Well done!
Conclusion
Removing peel and stick caulk is a straightforward process that can greatly improve the appearance and functionality of your home. By following the steps outlined in this guide, you can easily remove old or worn-out caulk and prepare the surface for reapplication or other projects.
Remember to gather all the necessary materials before starting, including a putty knife, heat gun or hairdryer, caulk removal tool, and cleaning supplies. Preparing the surface, softening the caulk, and carefully removing it are crucial steps to ensure a successful outcome.
Take the time to clean any residue left behind after removing the caulk. This will ensure a clean and smooth surface, ready for reapplication or other home improvement projects.
Remember to always prioritize safety throughout the process. Wear protective gloves and goggles when working with chemicals or heating tools. Take breaks if needed and ensure proper ventilation in the area.
With these steps and precautions in mind, you can confidently tackle the task of removing peel and stick caulk. By doing so, you’ll improve the functionality and appearance of your home, saving money and ensuring a professional finish.
So, gather your materials, follow the steps outlined in this guide, and enjoy the satisfaction of a caulk-free and refreshed surface in your home. Happy caulking!
Now that you've mastered removing peel and stick caulk, why not tackle another home improvement project? If you're considering a bathroom makeover, understanding the timeline is crucial. Our next guide covers everything from initial demolition to the final touches, helping you plan effectively. Don't let timing uncertainties deter you; check out our detailed breakdown on how long a typical bathroom renovation takes.
Frequently Asked Questions about How To Remove Peel And Stick Caulk
Was this page helpful?
At Storables.com, we guarantee accurate and reliable information. Our content, validated by Expert Board Contributors, is crafted following stringent Editorial Policies. We're committed to providing you with well-researched, expert-backed insights for all your informational needs.


0 thoughts on “How To Remove Peel And Stick Caulk”