Home>Renovation & DIY>Tools & Equipment>How To Sand Spackle Without A Sandpaper

Tools & Equipment
How To Sand Spackle Without A Sandpaper
Modified: January 9, 2024
Learn how to sand spackle like a pro without using sandpaper. Discover the essential tools and equipment you need for a smooth finish.
(Many of the links in this article redirect to a specific reviewed product. Your purchase of these products through affiliate links helps to generate commission for Storables.com, at no extra cost. Learn more)
Introduction
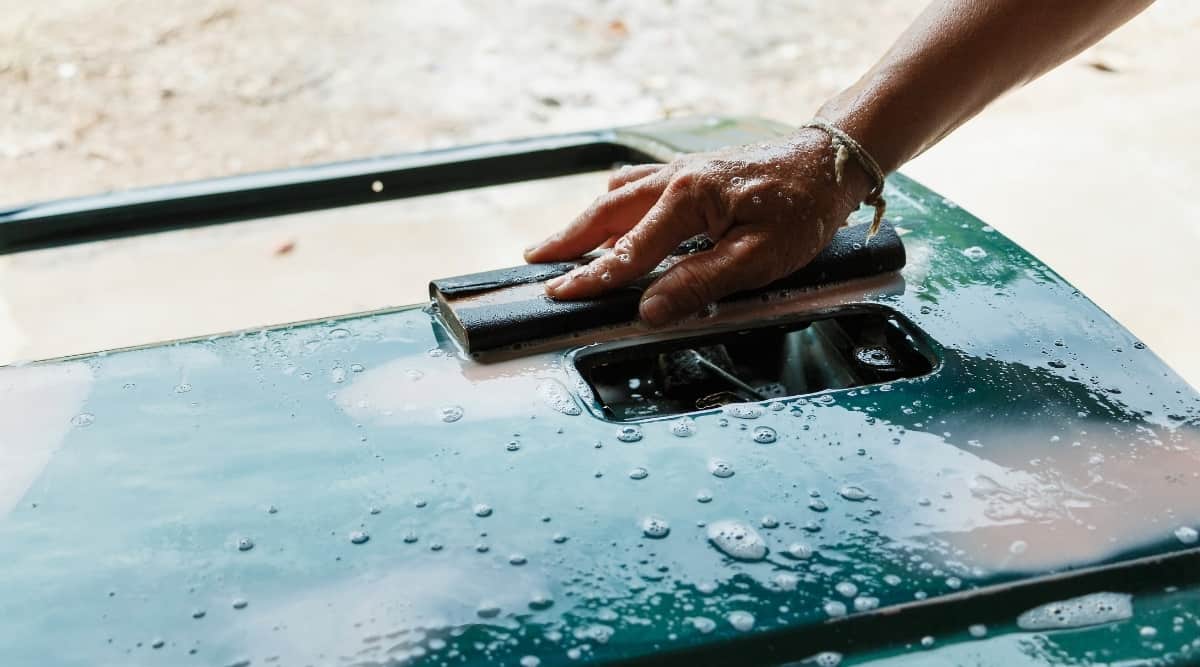
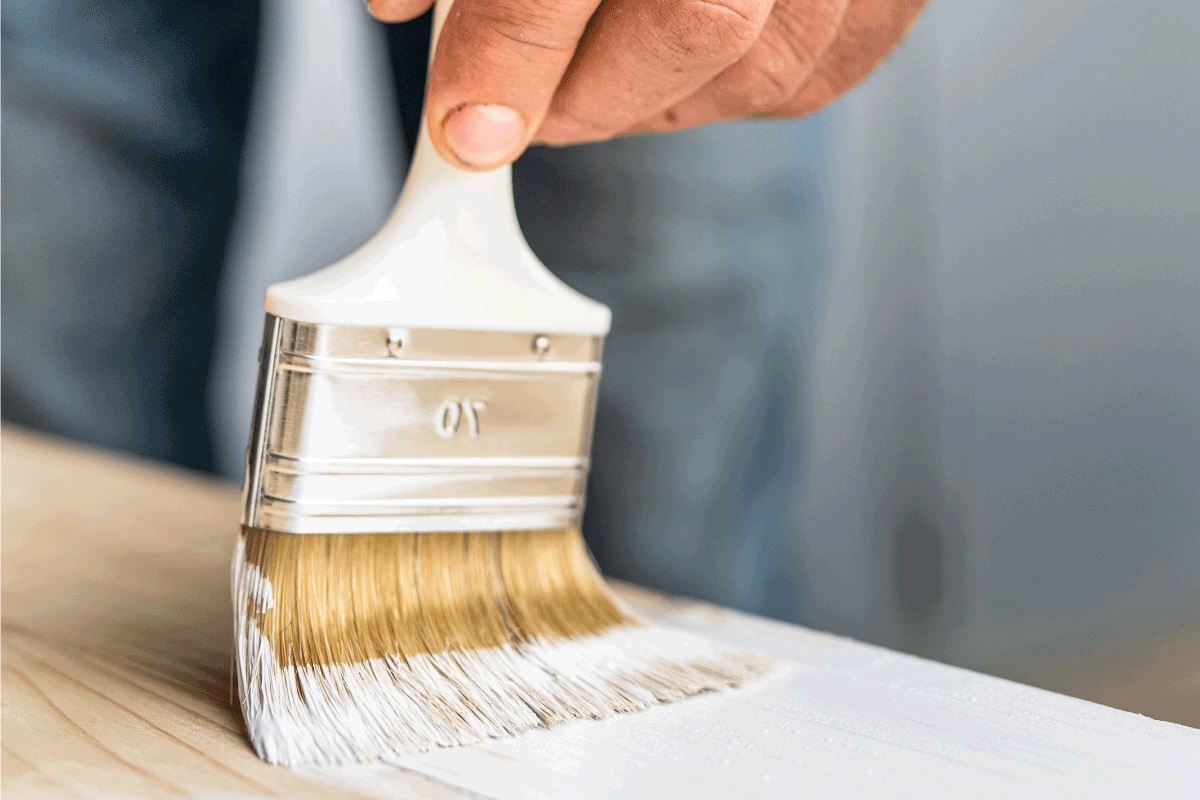
When it comes to home improvement projects, spackling is a common task that many homeowners find themselves tackling. Whether you’re patching up small holes or repairing damaged walls, spackle is an essential tool. However, one crucial step in the spackling process is sanding, which can often be a daunting task. But what if you don’t have sandpaper on hand? Don’t worry, there are alternative methods that you can use to sand spackle without the need for sandpaper.
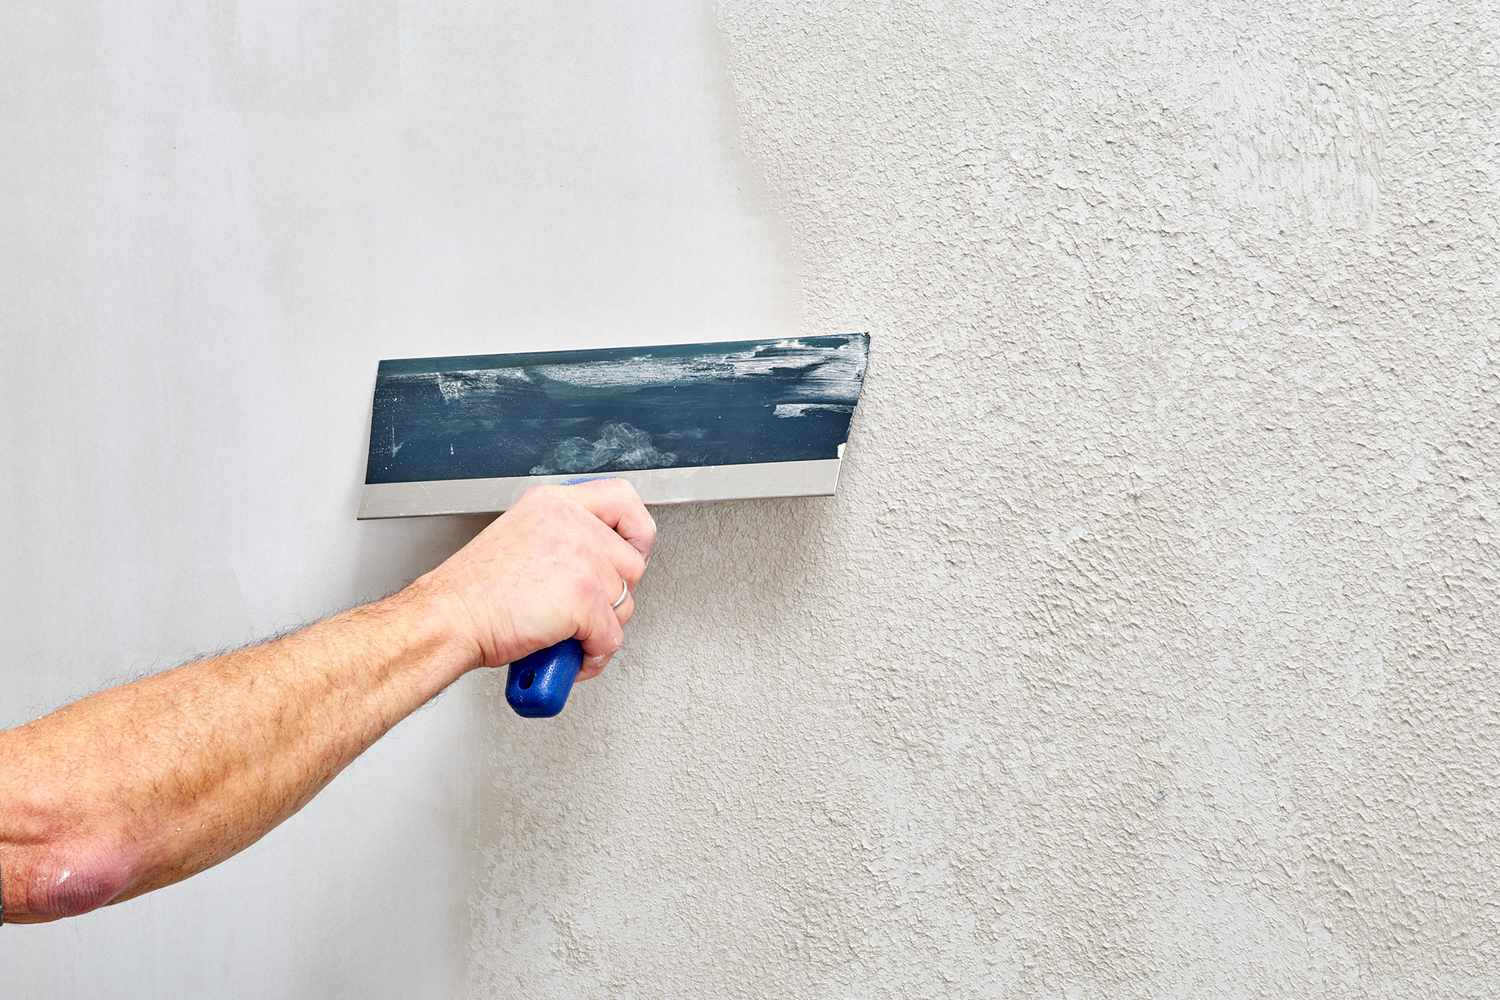
Before we dive into the alternatives, let’s first understand what spackle is and why sanding is important. Spackle is a putty-like substance that is used to fill in small holes, cracks, or imperfections in walls or other surfaces. It is typically made from a combination of gypsum, glue, and water, and it dries to a hard, durable finish. Sanding the spackle is essential to create a smooth and even surface, allowing for seamless painting or finishing.
Now, let’s explore some alternative options that you can use to sand spackle when you don’t have sandpaper readily available.
Key Takeaways:
- Alternative methods like emery cloth, steel wool, and sanding sponges can effectively sand spackle without traditional sandpaper, providing seamless results for home improvement projects.
- Patience and proper technique are key when using alternative sanding materials to achieve a smooth and professional finish on spackled surfaces, ensuring a flawless outcome for your home repairs.
Read more: What Grit Sandpaper For Sanding Spackle
What is Spackle?
Spackle, also known as drywall compound or wall filler, is a versatile material used in home improvement projects. It is a putty-like substance that is applied to repair and fill in small holes, cracks, or imperfections in walls, ceilings, or other surfaces.
Commonly made from gypsum powder mixed with water and glue, spackle transforms from a wet consistency to a hardened finish when it dries. The composition of spackle enables it to adhere well to various surfaces, providing a strong and durable repair solution.
Common uses for Spackle
Spackle has a wide range of applications in home improvement and repair projects. Some common uses for spackle include:
- Repairing nail holes: Over time, small nail holes can start to appear on walls. Spackle is an ideal solution for filling these holes and creating a smooth surface for painting.
- Patching cracks: Cracks in walls or ceilings can occur due to settling, temperature changes, or other factors. Spackle can be used to fill in these cracks, preventing further damage and creating a seamless finish.
- Fixing dents: Accidents happen, and sometimes walls can get dented or damaged. Spackle can be used to repair these dents, restoring them to their original condition.
- Smoothing out textured surfaces: If you have a wall with a textured finish that you want to change to a smooth surface, spackle can help achieve that by filling in the texture and providing a blank canvas for painting or wallpapering.
Importance of sanding Spackle
While applying spackle is an essential step in repairing and filling holes, cracks, and imperfections, sanding is equally crucial to achieve a professional-looking finish. Sanding the spackled area smoothens out the surface, removing any excess or rough material.
Sanding spackle serves several important purposes:
- Smoothing the surface: Sanding helps to even out the spackled area, creating a seamless transition between the repaired section and the surrounding wall.
- Preventing visible lines: By sanding the spackle, you can ensure that there are no visible lines or edges between the repaired area and the rest of the wall, giving it a more natural appearance.
- Enhancing paint adhesion: A properly sanded spackled surface allows paint to adhere more effectively, resulting in a longer-lasting and smoother finish.
Now that we understand the importance of sanding spackle, let’s explore alternative methods that can be used if sandpaper is not readily available.
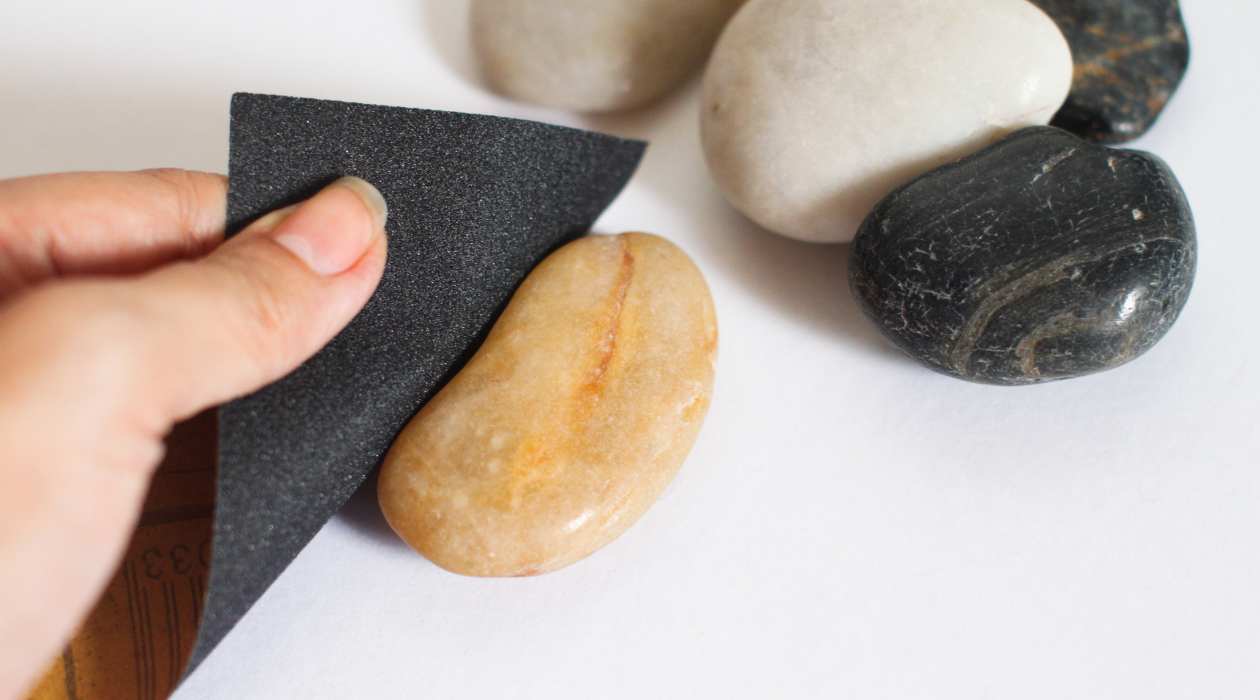
Alternatives to Sandpaper
If you find yourself in a situation where sandpaper is not available, fear not. There are several alternative methods and materials that can be used to sand spackle effectively. Here are five options:
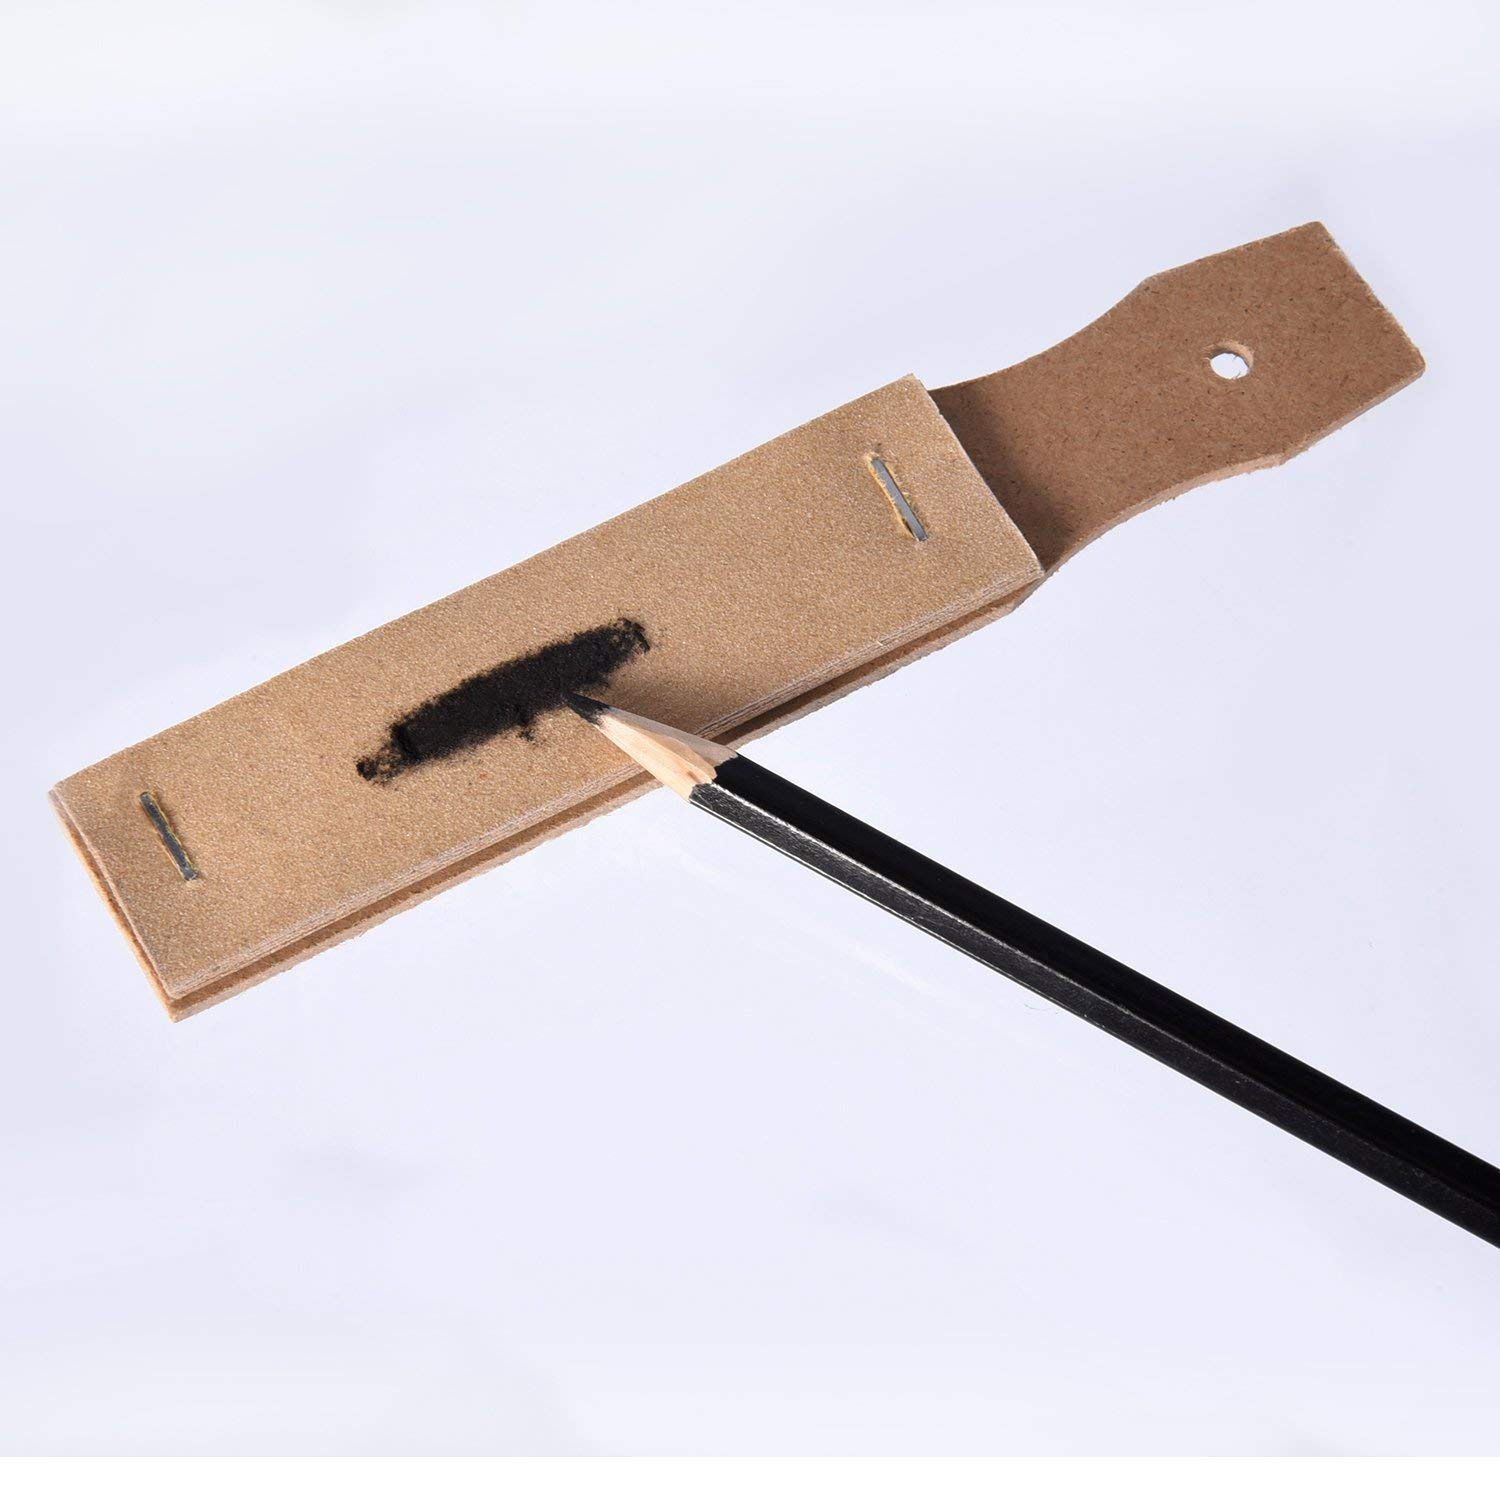
Option 1: Emery cloth
Emery cloth is a type of abrasive material that is commonly used for smoothing and polishing surfaces. It consists of a cloth backing with embedded fine abrasive particles, typically made from aluminum oxide or silicon carbide. Emery cloth is an excellent alternative to sandpaper for sanding spackle as it provides a similar abrasive quality.
To use emery cloth for sanding spackle, simply wrap a piece of the cloth around your finger or a small block and gently sand the spackled area. The flexible nature of the cloth allows for better control and maneuverability, ensuring an even and smooth finish.
Option 2: Steel wool
Steel wool is a versatile and abrasive material that can be used for various household tasks, including sanding. It is made by shredding steel fibers into fine strands. Steel wool comes in different grades, ranging from coarse to extra fine, allowing you to choose the appropriate level of abrasiveness for your spackle sanding needs.
To use steel wool for sanding spackle, simply rub the steel wool gently over the spackled area in a circular motion. The abrasive fibers of the steel wool will effectively smooth out the surface of the spackle, preparing it for painting or finishing.
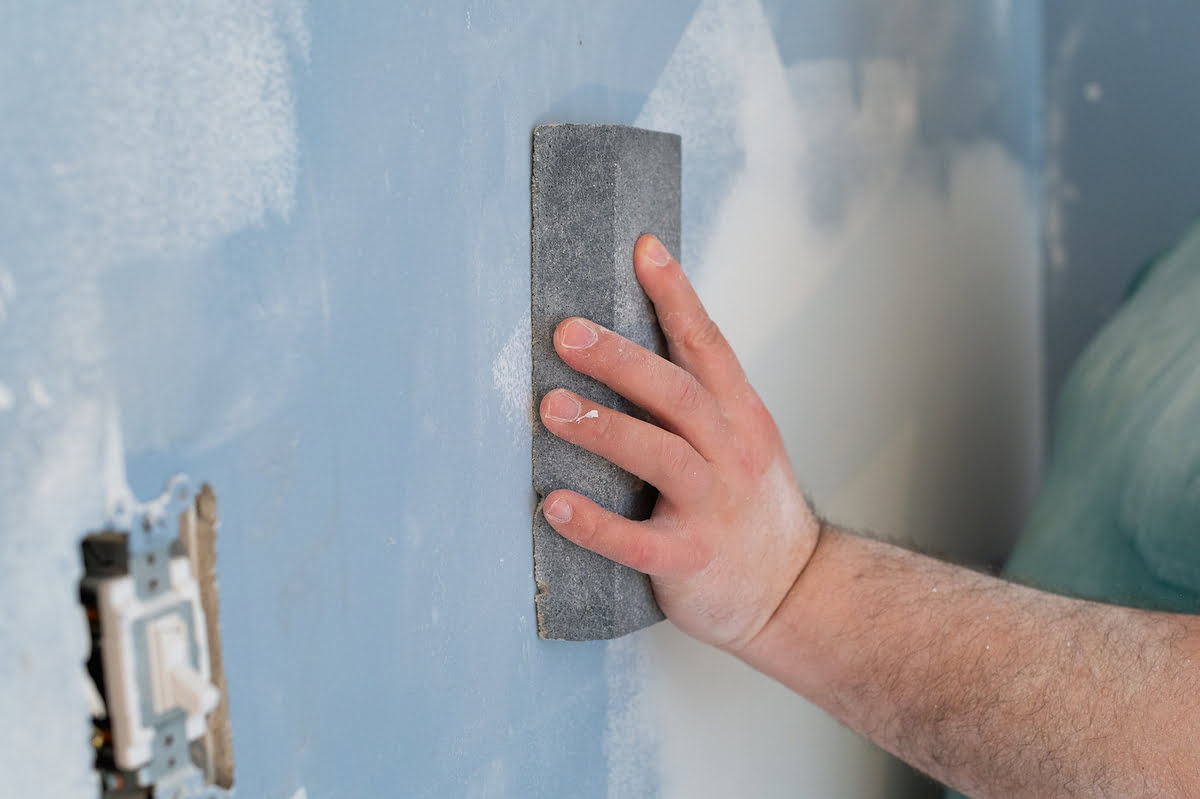
Option 3: Sanding sponge
A sanding sponge is a convenient and versatile tool that combines the qualities of sandpaper with the ease of use of a sponge. It consists of a foam block with an abrasive surface on one or more sides. Sanding sponges come in various grits, allowing for different levels of abrasiveness.
To use a sanding sponge for sanding spackle, dampen the sponge slightly and then rub the abrasive side gently over the spackled area. The sponge’s flexibility allows it to contour to the shape of the surface, resulting in a smooth and even finish.
Option 4: Sanding block
A sanding block is a handheld tool designed for sanding surfaces. It typically consists of a rigid block with an abrasive surface, similar to sandpaper, attached to one or more sides. Sanding blocks come in various sizes and grits, making them suitable for different spackling projects.
To use a sanding block for sanding spackle, hold the block firmly and apply gentle pressure as you sand the spackled area in a back-and-forth or circular motion. The block’s rigid structure provides stability and control while ensuring an even sanding result.
Read more: How To Sand Wood Without Sandpaper
Option 5: DIY sanding tools
If you don’t have any of the aforementioned materials on hand, there are several DIY sanding tools that you can create using household items. For instance, you can wrap a piece of rough cloth or burlap around a wooden block or a small piece of scrap wood to create a makeshift sanding block. Similarly, you can use the abrasive side of a kitchen sponge or a pumice stone to gently sand the spackled area.
With these alternative options at your disposal, you can effectively sand spackle even without traditional sandpaper. Remember to choose the appropriate level of abrasiveness for your specific spackling project and to sand gently to avoid damaging the surrounding area.
Now that we’ve explored the alternatives to sandpaper, let’s move on to the process of sanding spackle without using sandpaper.
How to Sand Spackle Without Sandpaper
Sanding spackle without sandpaper is possible using alternative methods and materials. Follow these steps to achieve a smooth and seamless finish:
Step 1: Gather alternative sanding materials
Before you begin, make sure you have the alternative sanding materials mentioned earlier, such as emery cloth, steel wool, sanding sponges, sanding blocks, or DIY sanding tools. Having these materials readily available will ensure a seamless sanding process.
Step 2: Prepare the Spackle surface
Begin by inspecting the spackled area to ensure it is completely dry and hardened. If there are any bumps or ridges, gently scrape them away with a putty knife or a utility knife. Take care not to dig too deeply into the spackle or damage the surrounding area.
Next, use a damp cloth or sponge to wipe away any dust or debris on the spackled surface. This will ensure that the alternative sanding materials adhere well and provide an effective sanding process.
Read more: How To Sand Wood Using Sandpaper
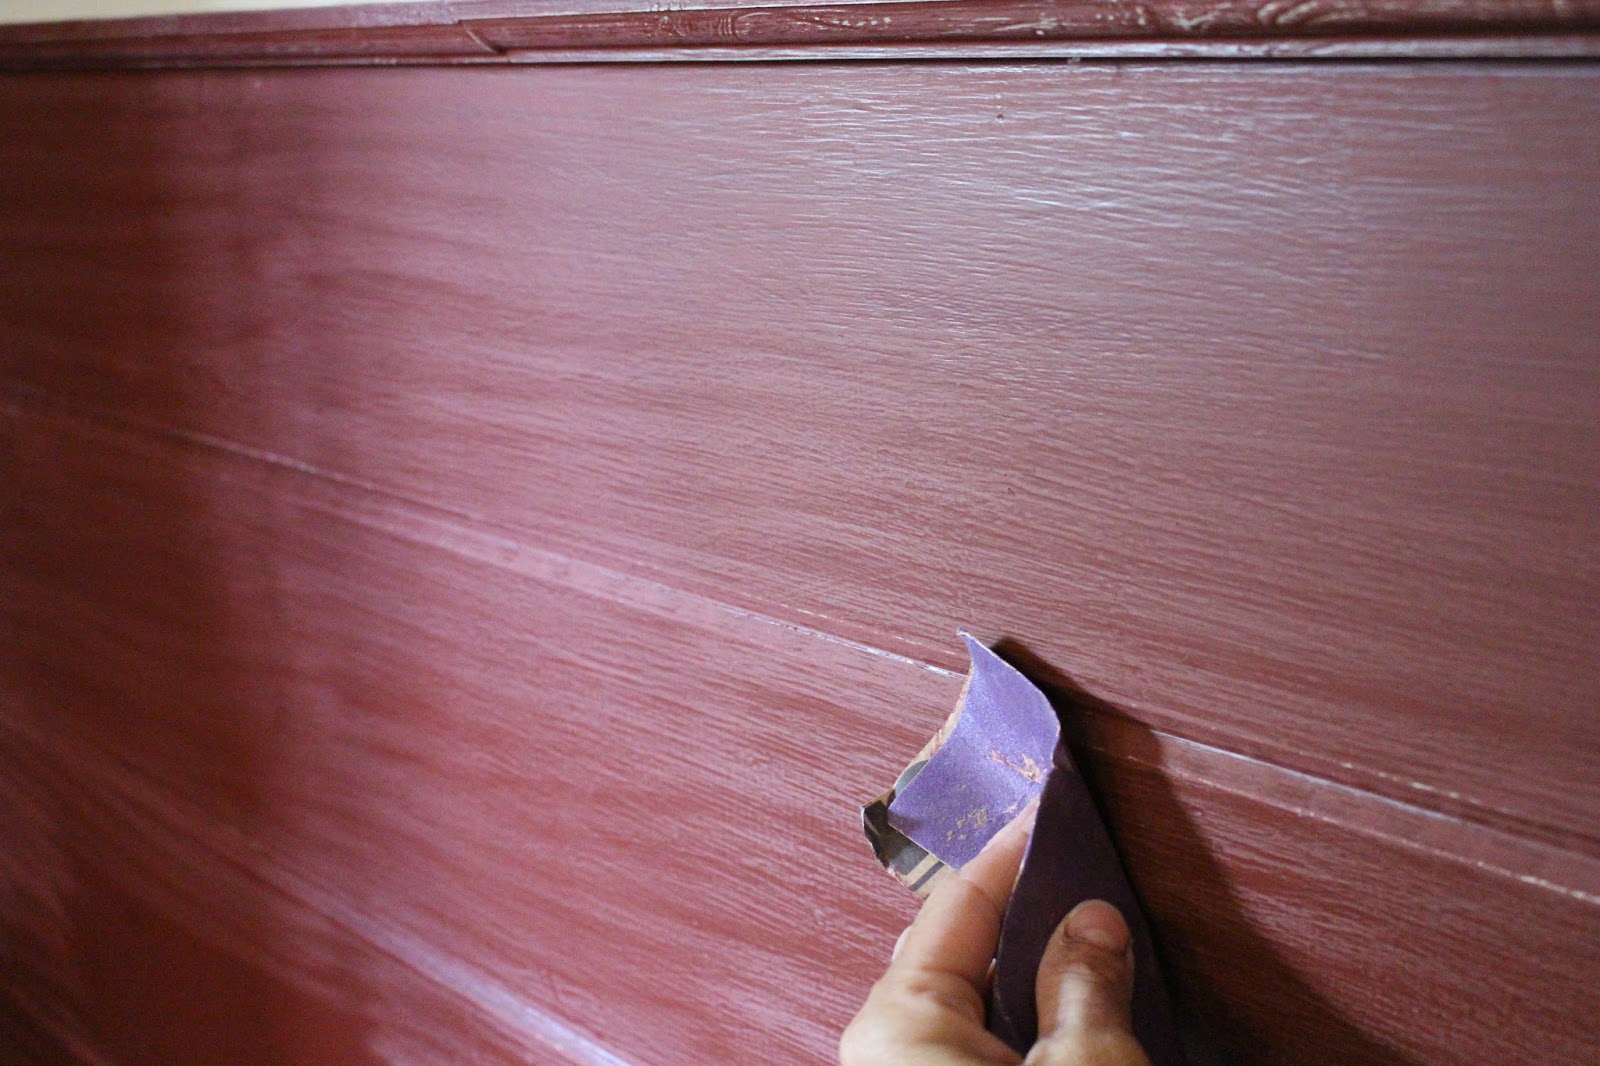
Step 3: Sand the Spackle using alternative methods
Choose one of the alternative sanding methods based on your preference or the materials you have on hand. Whether you’re using emery cloth, steel wool, a sanding sponge, a sanding block, or a DIY sanding tool, the general process is the same.
Hold the sanding material firmly and apply gentle pressure as you rub or sand the spackled area. Work in a back-and-forth or circular motion, ensuring that you cover the entire spackled surface. Be mindful not to press too hard to avoid damaging the surrounding wall or surface.
Continue sanding until the spackle feels smooth and even to the touch. Take breaks periodically to wipe away any dust or debris that may accumulate during the process.
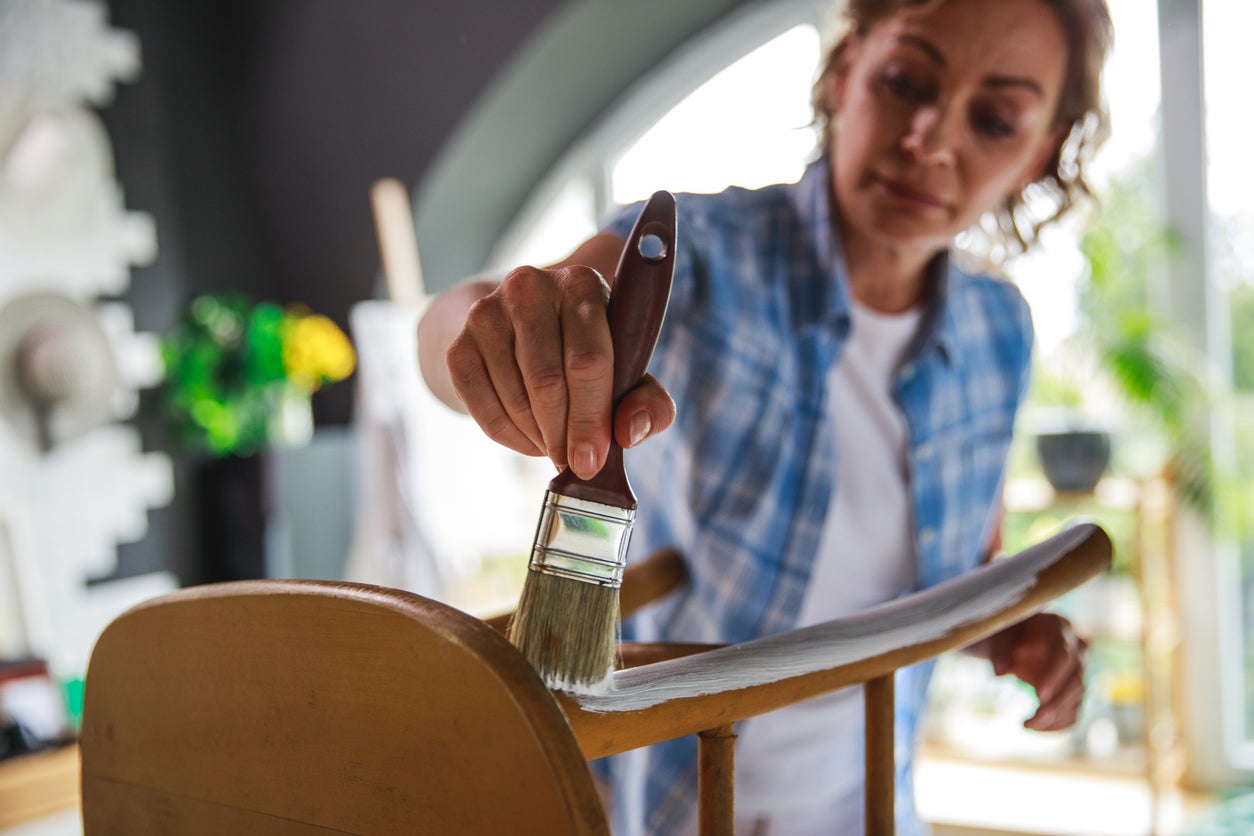
Step 4: Clean up the area
Once you’re satisfied with the sanding results, use a clean cloth or a vacuum cleaner to remove any residual dust or debris from the spackled area. It is essential to clean the area thoroughly before applying any paint or finishing to ensure a smooth and professional result.
Step 5: Evaluate and repeat if necessary
After cleaning the area, take a step back and evaluate the spackled surface. Look for any remaining imperfections or rough spots. If needed, repeat the sanding process using the alternative materials until you achieve the desired smoothness and uniformity.
Remember to take your time and be patient throughout the sanding process. Rushing or applying too much pressure can result in uneven or damaged surfaces. By following these steps, you can successfully sand spackle without sandpaper and achieve a professional-looking finish.
Now that you know how to sand spackle without sandpaper, you can confidently tackle your next home improvement project!
Conclusion
Sanding spackle is a crucial step in achieving a smooth and flawless finish in your home improvement projects. While sandpaper is commonly used for this task, there may be instances where it is not readily available. Thankfully, there are alternative methods and materials that you can use to sand spackle effectively.
Emery cloth, steel wool, sanding sponges, sanding blocks, and DIY sanding tools can all be used as alternatives to sandpaper. These materials provide the necessary abrasiveness to smooth out the spackled surface and create a seamless transition between the repaired area and the surrounding wall.
When sanding spackle without sandpaper, it is essential to gather the alternative sanding materials you will need in advance. Ensure that the spackled surface is dry, hardened, and free from any bumps or ridges before beginning the sanding process. Use gentle pressure and a back-and-forth or circular motion to sand the spackle, being cautious not to press too hard or damage the surrounding area.
After sanding, clean up the area thoroughly to remove any dust or debris, as this will ensure a smooth paint or finishing application. It is also important to evaluate the spackled surface and repeat the sanding process if necessary to achieve the desired smoothness and uniformity.
By following these alternative methods and taking your time to properly sand spackle without sandpaper, you can achieve professional-looking results in your home improvement projects.
Remember, each alternative method has its own unique characteristics, so consider your preferences and the specific requirements of your project when choosing the alternative sanding material. With practice and patience, you’ll become proficient in sanding spackle using these alternative methods.
Now that you have a better understanding of how to sand spackle without sandpaper, you can confidently proceed with your repair and renovation projects, knowing that you have the tools and knowledge to achieve a flawless finish.
Frequently Asked Questions about How To Sand Spackle Without A Sandpaper
Was this page helpful?
At Storables.com, we guarantee accurate and reliable information. Our content, validated by Expert Board Contributors, is crafted following stringent Editorial Policies. We're committed to providing you with well-researched, expert-backed insights for all your informational needs.

0 thoughts on “How To Sand Spackle Without A Sandpaper”