Home>Renovation & DIY>Tools & Equipment>How To Sand Wood Using Sandpaper

Tools & Equipment
How To Sand Wood Using Sandpaper
Published: January 8, 2024
Learn how to sandpaper wood like a pro with the right tools and equipment. Our expert guide will help you achieve smooth and flawless results.
(Many of the links in this article redirect to a specific reviewed product. Your purchase of these products through affiliate links helps to generate commission for Storables.com, at no extra cost. Learn more)
Introduction
If you’re a woodworking enthusiast or simply looking to revamp a wooden surface, understanding the art of sanding is crucial. Sanding wood allows you to achieve a smooth, flawless finish, ensuring that your project looks professional and polished. However, mastering the technique of sanding wood requires more than just elbow grease; it demands a comprehensive understanding of the tools and materials involved.
In this guide, we’ll delve into the intricate process of sanding wood, exploring the nuances of selecting the right sandpaper grit, preparing the wood surface, executing the sanding process, and applying the finishing touches. Whether you’re a seasoned woodworker or a novice DIY enthusiast, this comprehensive resource will equip you with the knowledge and techniques necessary to elevate your woodworking projects to the next level.
So, grab your sandpaper, roll up your sleeves, and prepare to embark on a journey towards transforming rough, uneven wood into a beautifully smooth and refined masterpiece. Let’s dive into the art of sanding wood and unlock the secrets to achieving impeccable results.
Key Takeaways:
- Choose the right sandpaper grit based on wood condition and project needs to achieve a smooth finish. Lower grits for rough surfaces, higher grits for a polished look.
- Prepare the wood surface by cleaning, inspecting imperfections, considering grain direction, and protecting delicate areas before sanding. This sets the stage for an effective sanding process.
Read more: How To Sand Wood Without Sandpaper
Selecting the Right Sandpaper Grit
Choosing the appropriate sandpaper grit is a critical first step in the wood sanding process. The grit of the sandpaper determines how aggressively it will remove material from the wood surface. Understanding the various grit options and their applications is essential for achieving the desired results.
Understanding Grit Numbers:
Sandpaper is categorized by grit numbers, which indicate the coarseness or fineness of the abrasive particles on the paper. Lower grit numbers, such as 40 to 60, are considered coarse and are ideal for removing rough surface imperfections or old finishes. Medium grits, ranging from 80 to 120, are suitable for general sanding and smoothing surfaces. Higher grit numbers, typically 150 and above, are fine grits used for final finishing and achieving a smooth, polished surface.
Matching Grit to Wood Condition:
Assessing the condition of the wood surface is crucial for selecting the appropriate sandpaper grit. If the wood has rough, uneven areas or a previous finish that needs to be removed, starting with a lower grit, such as 60 or 80, is recommended. For general smoothing and preparing the surface for finishing, transitioning to a medium grit, such as 120, is typically sufficient. When aiming for a pristine, silky finish, progressing to a fine grit, such as 220 or higher, will help achieve the desired level of smoothness.
Specialized Sandpapers:
In addition to standard sandpaper, there are specialized options such as sanding sponges and sanding blocks. Sanding sponges are versatile and conform to the shape of the wood, making them ideal for curved or contoured surfaces. Sanding blocks, on the other hand, provide a sturdy grip and even sanding pressure, ensuring consistent results.
By understanding the significance of grit numbers, assessing the wood surface condition, and considering specialized sanding options, you can confidently select the right sandpaper grit for your specific woodworking project. This foundational step sets the stage for achieving a flawlessly smooth and refined wood surface.
Preparing the Wood Surface
Before diving into the sanding process, it’s crucial to prepare the wood surface to ensure optimal results. Proper preparation sets the stage for effective material removal and a smooth, uniform finish. Here are the essential steps to prepare the wood surface for sanding:
Clean the Surface:
Begin by thoroughly cleaning the wood surface to remove any dust, dirt, or debris. A clean surface ensures that the sandpaper can effectively make contact with the wood, preventing contaminants from interfering with the sanding process. Use a soft brush or a tack cloth to gently remove any particles from the surface.
Inspect for Imperfections:
Conduct a detailed inspection of the wood surface to identify any imperfections, such as dents, scratches, or gouges. Addressing these imperfections before sanding can prevent them from becoming more pronounced during the sanding process. Depending on the severity of the imperfections, consider using wood fillers or epoxy-based solutions to level the surface.
Consider Grain Direction:
Wood surfaces have a natural grain direction, and it’s essential to take this into account when preparing for sanding. Sanding in the direction of the wood grain helps prevent the occurrence of unsightly scratches and ensures a smooth, uniform finish. Take note of the grain pattern and plan your sanding approach accordingly.
Masking and Protecting:
If your woodworking project includes areas that should not be sanded, such as delicate trims or adjoining surfaces, use masking tape or painter’s tape to protect these areas from accidental abrasion. This precaution ensures that only the intended wood surfaces undergo the sanding process, maintaining the integrity of the overall project.
By meticulously preparing the wood surface before sanding, you set the foundation for a successful and efficient sanding process. Addressing cleanliness, imperfections, grain direction, and protective measures contributes to achieving a flawlessly smooth and refined wood surface.
When sanding wood, start with a coarse grit sandpaper to remove rough spots, then use finer grits for a smooth finish. Sand in the direction of the wood grain for best results.
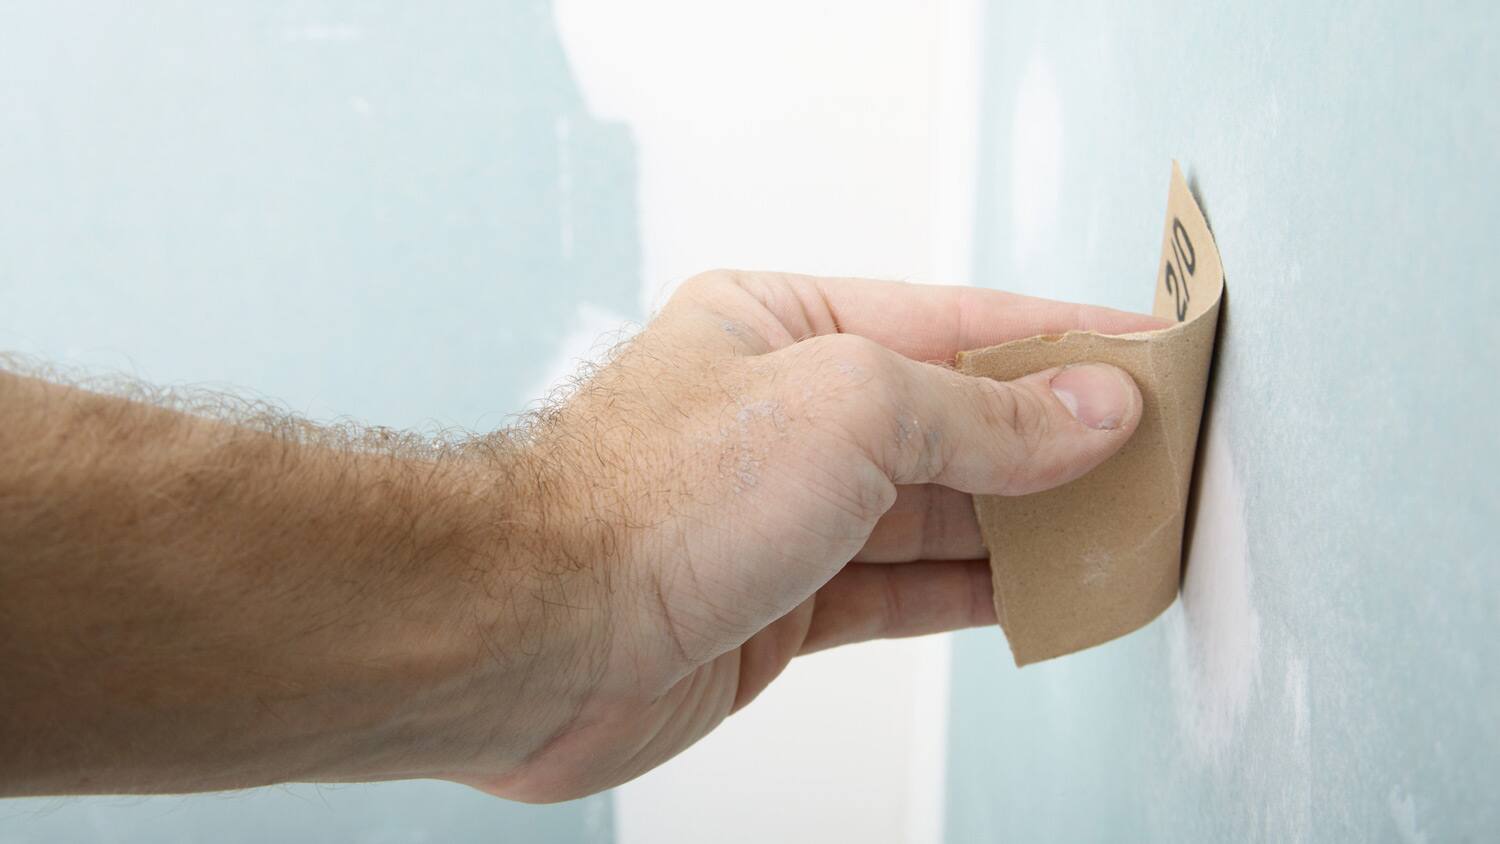
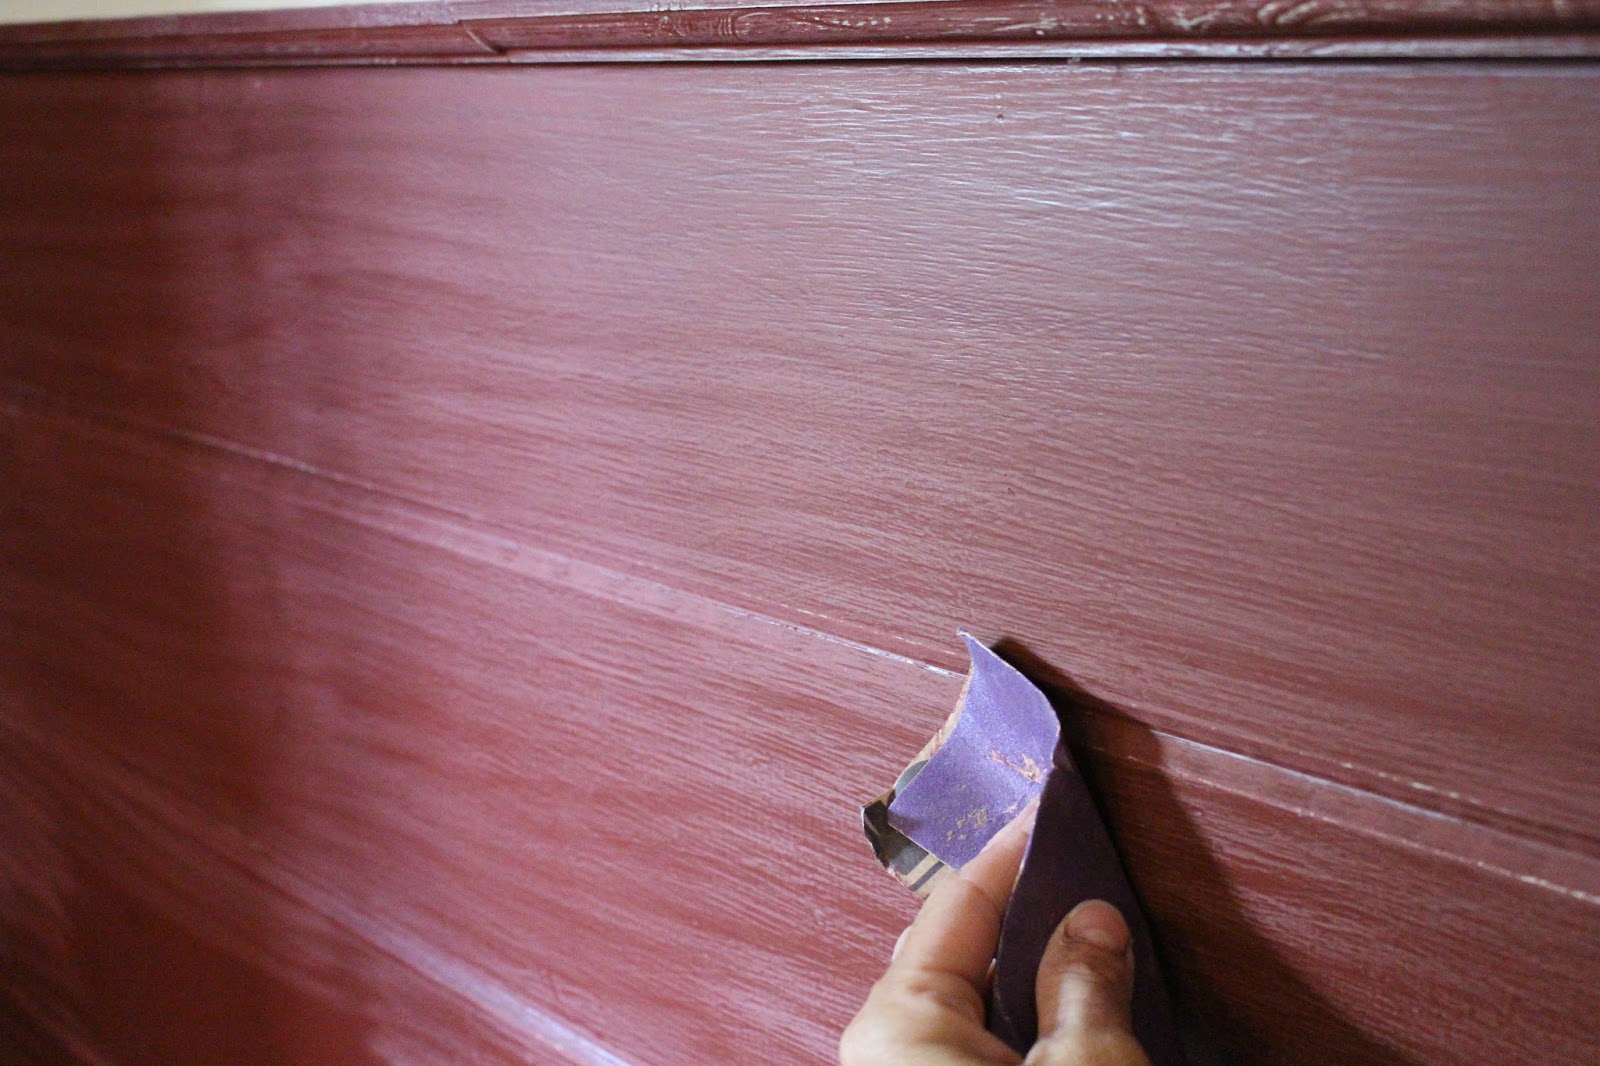
Sanding the Wood
As you embark on the sanding process, it’s essential to approach each stage with precision and care to achieve a flawless, professional finish. Here’s a step-by-step guide to effectively sanding wood:
Start with Coarse Grit:
Begin the sanding process with a coarse grit sandpaper to address any prominent imperfections or old finishes on the wood surface. Use firm, even strokes, sanding in the direction of the wood grain to ensure consistent material removal. Keep the sandpaper flat against the surface to prevent uneven sanding and minimize the risk of creating dips or grooves.
Progress to Medium Grit:
Once the surface imperfections have been addressed with the coarse grit, transition to a medium grit sandpaper to further smooth and refine the wood surface. This stage focuses on leveling the surface and eliminating any remaining coarse marks left by the initial sanding. Again, maintain a consistent sanding direction and apply even pressure for uniform results.
Finish with Fine Grit:
As you approach the final stages of sanding, switch to a fine grit sandpaper to achieve a silky smooth finish. The fine grit removes any remaining blemishes, creating a surface that is ready for finishing touches such as staining or sealing. Take care to sand gently at this stage, as the goal is to refine the surface rather than aggressively remove material.
Inspect and Touch-Up:
After completing the sanding process, carefully inspect the wood surface for any lingering imperfections or inconsistencies. Address any areas that may require additional attention, ensuring that the entire surface is uniform and free of blemishes. This meticulous approach sets the stage for a flawless end result.
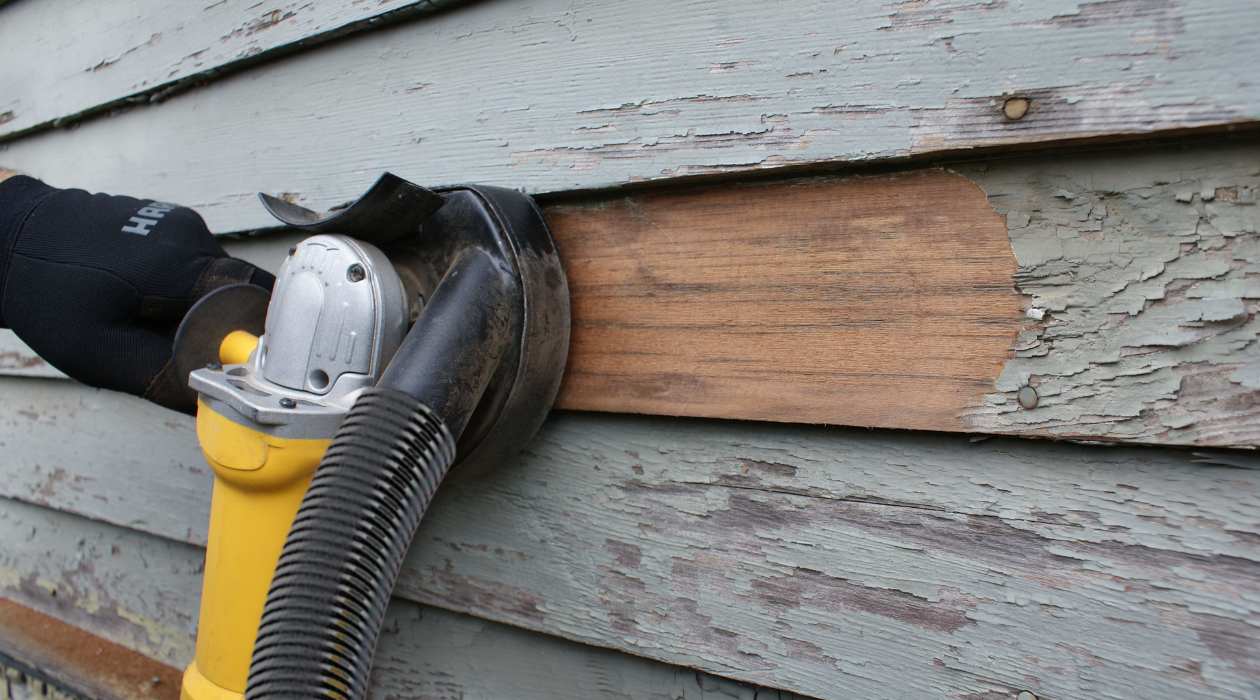
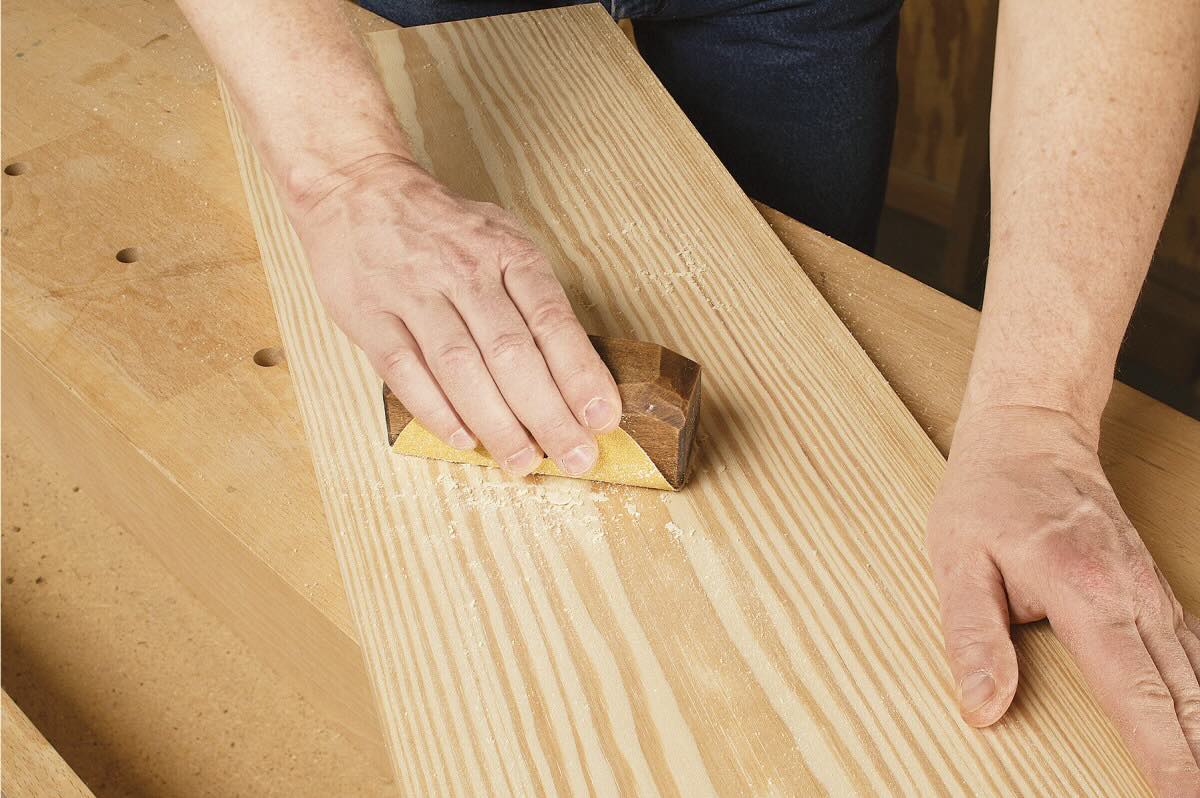
Utilize Sanding Aids:
In addition to traditional sandpaper, consider utilizing sanding aids such as sanding blocks or sanding sponges to access hard-to-reach areas or achieve precise, controlled sanding. These tools provide versatility and enable you to maintain a consistent level of abrasion across the entire wood surface.
By following these step-by-step guidelines and paying close attention to detail, you can effectively sand wood surfaces to perfection, creating a canvas that is primed for the finishing touches that will bring your woodworking project to life.
Finishing the Wood
After meticulously sanding the wood to achieve a smooth and refined surface, the final step in the woodworking process involves applying a finish that enhances the wood’s natural beauty and provides long-lasting protection. Whether you opt for staining, sealing, or painting, the finishing stage adds depth and character to your woodworking project. Here’s a comprehensive guide to finishing wood surfaces:
Staining:
If you desire to enrich the natural color and grain of the wood, staining is an ideal option. Stains are available in a variety of hues, allowing you to customize the appearance of the wood to suit your aesthetic preferences. Before applying the stain, ensure that the wood surface is clean and free of any residual dust from the sanding process. Apply the stain evenly using a brush or cloth, following the direction of the wood grain for a uniform finish.
Sealing:
Sealing the wood surface is essential for protecting it from moisture, UV rays, and general wear and tear. Polyurethane, varnish, and lacquer are popular sealants that provide a durable and glossy finish. Apply the sealant in thin, even coats, allowing each layer to dry completely before applying the next. This process creates a robust protective barrier while enhancing the wood’s visual appeal.
Painting:
For woodworking projects that call for a pop of color or a contemporary aesthetic, painting the wood is a versatile and creative option. Before painting, prime the wood surface to ensure proper adhesion and an even finish. Choose high-quality paint suitable for wood surfaces, and apply it using smooth, consistent strokes for a professional result.
Applying a Topcoat:
Once the stain, sealant, or paint has dried, consider applying a topcoat to further enhance the wood’s appearance and protection. Topcoats are available in matte, satin, and glossy finishes, allowing you to tailor the final look of the wood surface to your preferences. Ensure that each layer of the topcoat is applied evenly and allowed to dry thoroughly for a flawless finish.
Final Inspection:
After completing the finishing process, carefully inspect the wood surface for any imperfections, drips, or uneven areas. Touch up any inconsistencies to ensure that the finished surface meets your standards of excellence. This attention to detail will elevate the overall presentation of your woodworking project.
By following these guidelines and taking a meticulous approach to the finishing stage, you can elevate the natural beauty of the wood and ensure that your woodworking project boasts a stunning and enduring finish.
Conclusion
Mastering the art of sanding wood is a transformative journey that empowers woodworking enthusiasts to elevate their projects with precision and finesse. From selecting the right sandpaper grit to meticulously preparing the wood surface, executing the sanding process, and applying the perfect finish, each step contributes to the creation of a flawless and refined wood surface.
By understanding the nuances of sandpaper grit and its impact on material removal, woodworkers can approach each project with confidence, knowing that they possess the knowledge to achieve impeccable results. The careful preparation of the wood surface sets the stage for effective material removal and ensures that the sanding process unfolds seamlessly.
As woodworkers progress through the sanding process, transitioning from coarse to fine grits and paying meticulous attention to detail, they unlock the potential of the wood, revealing its natural beauty and character. This process culminates in the finishing stage, where the application of stains, sealants, or paint enhances the wood’s visual appeal while providing essential protection.
Throughout this journey, woodworkers embrace the artistry and precision required to transform rough, uneven wood into a canvas of unparalleled smoothness and refinement. The dedication to excellence, from the initial selection of sandpaper grit to the final stroke of the finish, reflects a commitment to craftsmanship and a passion for woodworking.
As you embark on your woodworking endeavors, armed with the knowledge and techniques shared in this guide, may each project be a testament to your skill and creativity. Embrace the art of sanding wood as an opportunity to breathe life into raw materials, crafting masterpieces that stand as a testament to your dedication and artistry.
So, pick up your sandpaper, envision the possibilities, and let your woodworking journey unfold with the confidence and precision that comes from understanding the art of sanding wood.
Frequently Asked Questions about How To Sand Wood Using Sandpaper
Was this page helpful?
At Storables.com, we guarantee accurate and reliable information. Our content, validated by Expert Board Contributors, is crafted following stringent Editorial Policies. We're committed to providing you with well-researched, expert-backed insights for all your informational needs.


0 thoughts on “How To Sand Wood Using Sandpaper”