Articles
How To Paint Wood Furniture Without Sanding
Modified: September 1, 2024
Learn how to transform your furniture with our step-by-step guide on painting wood furniture without the hassle of sanding. Achieve a stunning new look for your home with our furniture painting tips and tricks.
(Many of the links in this article redirect to a specific reviewed product. Your purchase of these products through affiliate links helps to generate commission for Storables.com, at no extra cost. Learn more)
Introduction
Welcome to the world of furniture transformation! So, you have a piece of wood furniture that is looking a bit tired and outdated. You may be thinking that the only solution is to sand it down, but what if I told you there’s a way to paint wood furniture without all that tedious sanding? Yes, it’s true! With the right techniques and products, you can achieve a beautiful painted finish on your furniture without the hassle of sanding.
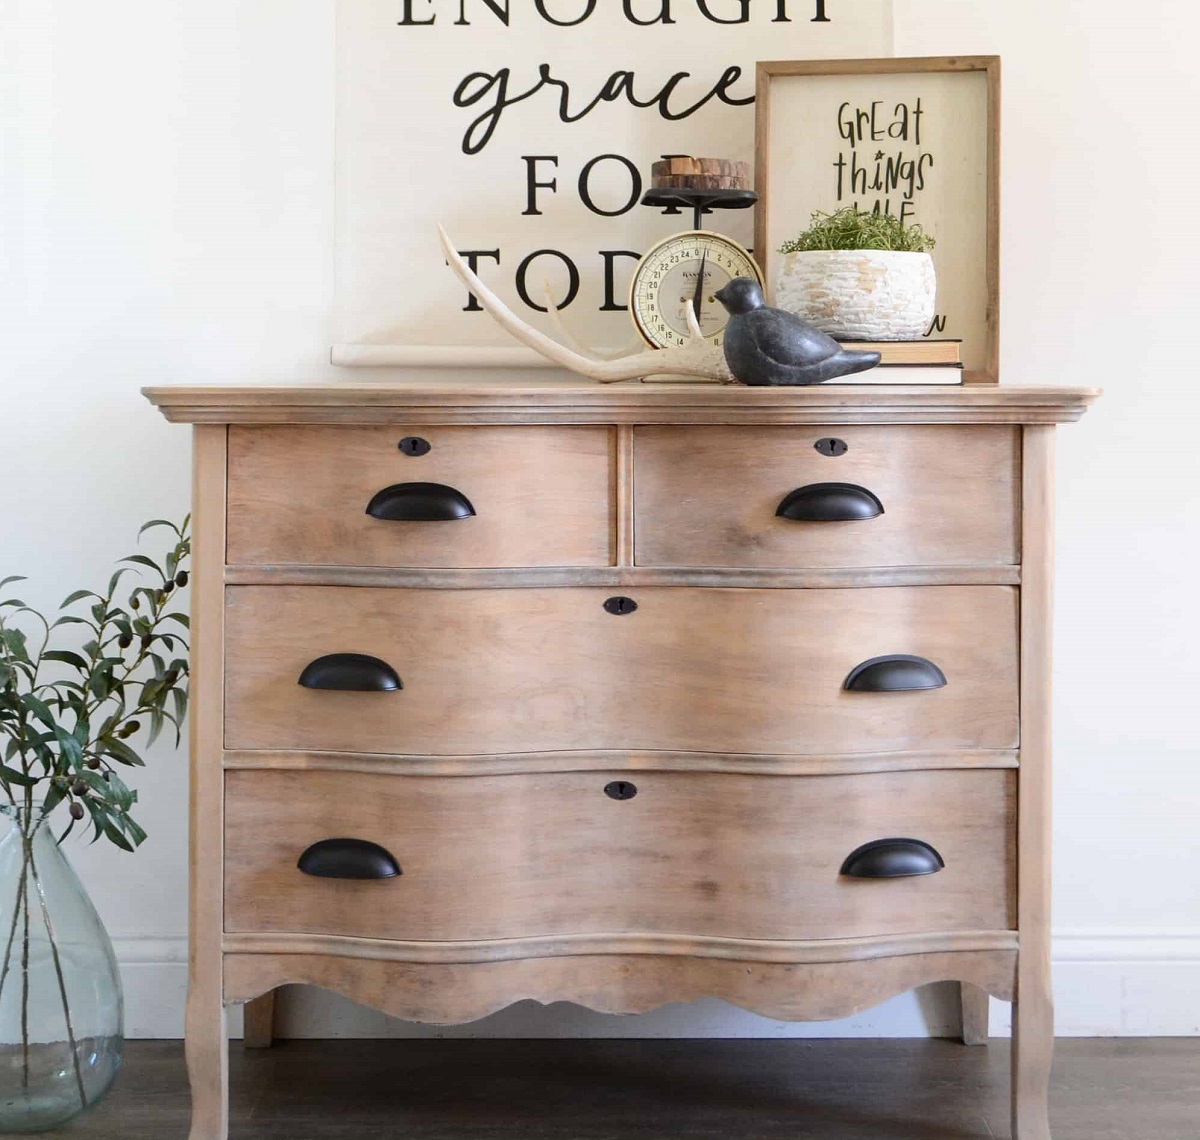
Painting wood furniture without sanding not only saves you time and effort, but it also offers several other benefits. First and foremost, it gives you the opportunity to breathe new life into your furniture and update its look to match your current style and decor. Whether you want to go for a fresh and modern look or a vintage shabby-chic vibe, painting allows you to completely transform the appearance of your furniture.
Another advantage of painting without sanding is that it helps to preserve the natural texture and character of the wood. Sanding can sometimes remove too much of the wood’s surface, leaving it smooth and bland. By skipping the sanding step, you can retain the unique grain patterns and imperfections that give your furniture its charm and personality.
Now that you’re excited about the idea of painting wood furniture without sanding, let’s dive into the process. The key to a successful paint job lies in choosing the right paint and supplies, proper preparation of the wood surface, and employing the correct techniques during the painting process. So, let’s get started on this creative journey and give your furniture a stunning makeover!
Key Takeaways:
- Say goodbye to tedious sanding and hello to a world of furniture transformation! Painting wood furniture without sanding saves time, preserves natural textures, and offers versatile finishes, empowering DIY enthusiasts to achieve stunning results.
- By choosing the right paint and supplies, preparing the wood surface, and utilizing proper painting techniques, you can achieve a professional-looking finish without the hassle of sanding. Embrace the benefits of this method and enjoy the creative journey of furniture transformation!
Benefits of Painting Wood Furniture Without Sanding
Painting wood furniture without sanding offers numerous benefits that make it an attractive option for DIY enthusiasts and furniture lovers alike. Let’s explore some of the advantages of this technique:
- Time-saving: Sanding can be a time-consuming and labor-intensive process, especially if you have multiple pieces of furniture to paint. By skipping the sanding step, you can save valuable time and energy while still achieving a beautiful painted finish.
- Effort reduction: Sanding requires physical exertion and can be tiring, especially if you have large or intricate pieces of furniture. Choosing to paint without sanding eliminates the need for this strenuous task, making the entire process much more manageable.
- Noisy and messy: Sanding generates a significant amount of dust, which can be a hassle to clean up and may require protective gear to prevent inhalation. By bypassing the sanding process, you can avoid the mess and noise associated with sanding.
- Preserves the wood: Sanding removes a layer of the wood’s surface, which can potentially lead to the loss of intricate details, grain patterns, and natural imperfections. Painting without sanding allows you to retain the character and texture of the wood, enhancing its visual appeal.
- Adhesion improvement: Contrary to popular belief, painting without sanding can actually improve paint adhesion. By using the right primer and paint products specifically designed for adhesion, you can achieve a durable and long-lasting finish that adheres well to the wood surface.
- Versatile finishes: Painting wood furniture without sanding opens up a world of possibilities in terms of finish options. Whether you prefer a smooth and sleek finish, a distressed or antique look, or even a creative pattern or design, you can achieve it without the need for sanding.
- Creative expression: Painting furniture allows you to express your creativity and personalize your space. Without the constraints of sanding, you have more freedom to experiment with different colors, techniques, and styles to achieve the desired look.
With all these benefits, it’s no wonder that painting wood furniture without sanding has become a popular choice among DIY enthusiasts and those looking to transform their homes. By saving time, reducing effort, preserving the wood’s natural beauty, and offering versatile and creative finishes, this technique empowers you to revive your furniture with ease and achieve stunning results.
Choosing the Right Paint and Supplies
When it comes to painting wood furniture without sanding, selecting the right paint and supplies is crucial to achieving a professional and long-lasting finish. Here are some considerations to keep in mind:
- Paint type: Choose a paint that is specifically formulated for use on wood surfaces. Look for paint labeled as “furniture paint” or “cabinet paint,” as these are designed to adhere well to wood and provide a durable finish. Acrylic latex paints are a popular choice due to their low odor and ease of use.
- Finish: Consider the desired finish for your furniture. Satin and semi-gloss finishes are commonly used for furniture, as they offer a good balance between durability and aesthetics. However, if you prefer a more matte or glossy finish, there are options available to suit your preference.
- Primer: Using a primer is essential for creating a strong bond between the paint and the wood surface. Look for a primer that is specifically designed for use on wood and is compatible with the type of paint you will be using. Primer helps to seal the wood, prevent bleed-through, and ensure a smooth and even finish.
- Brushes and rollers: Invest in high-quality brushes and rollers to ensure a smooth and professional-looking finish. Choose brushes with synthetic bristles that are suitable for use with water-based paints. Foam or mohair rollers are ideal for applying paint evenly and efficiently.
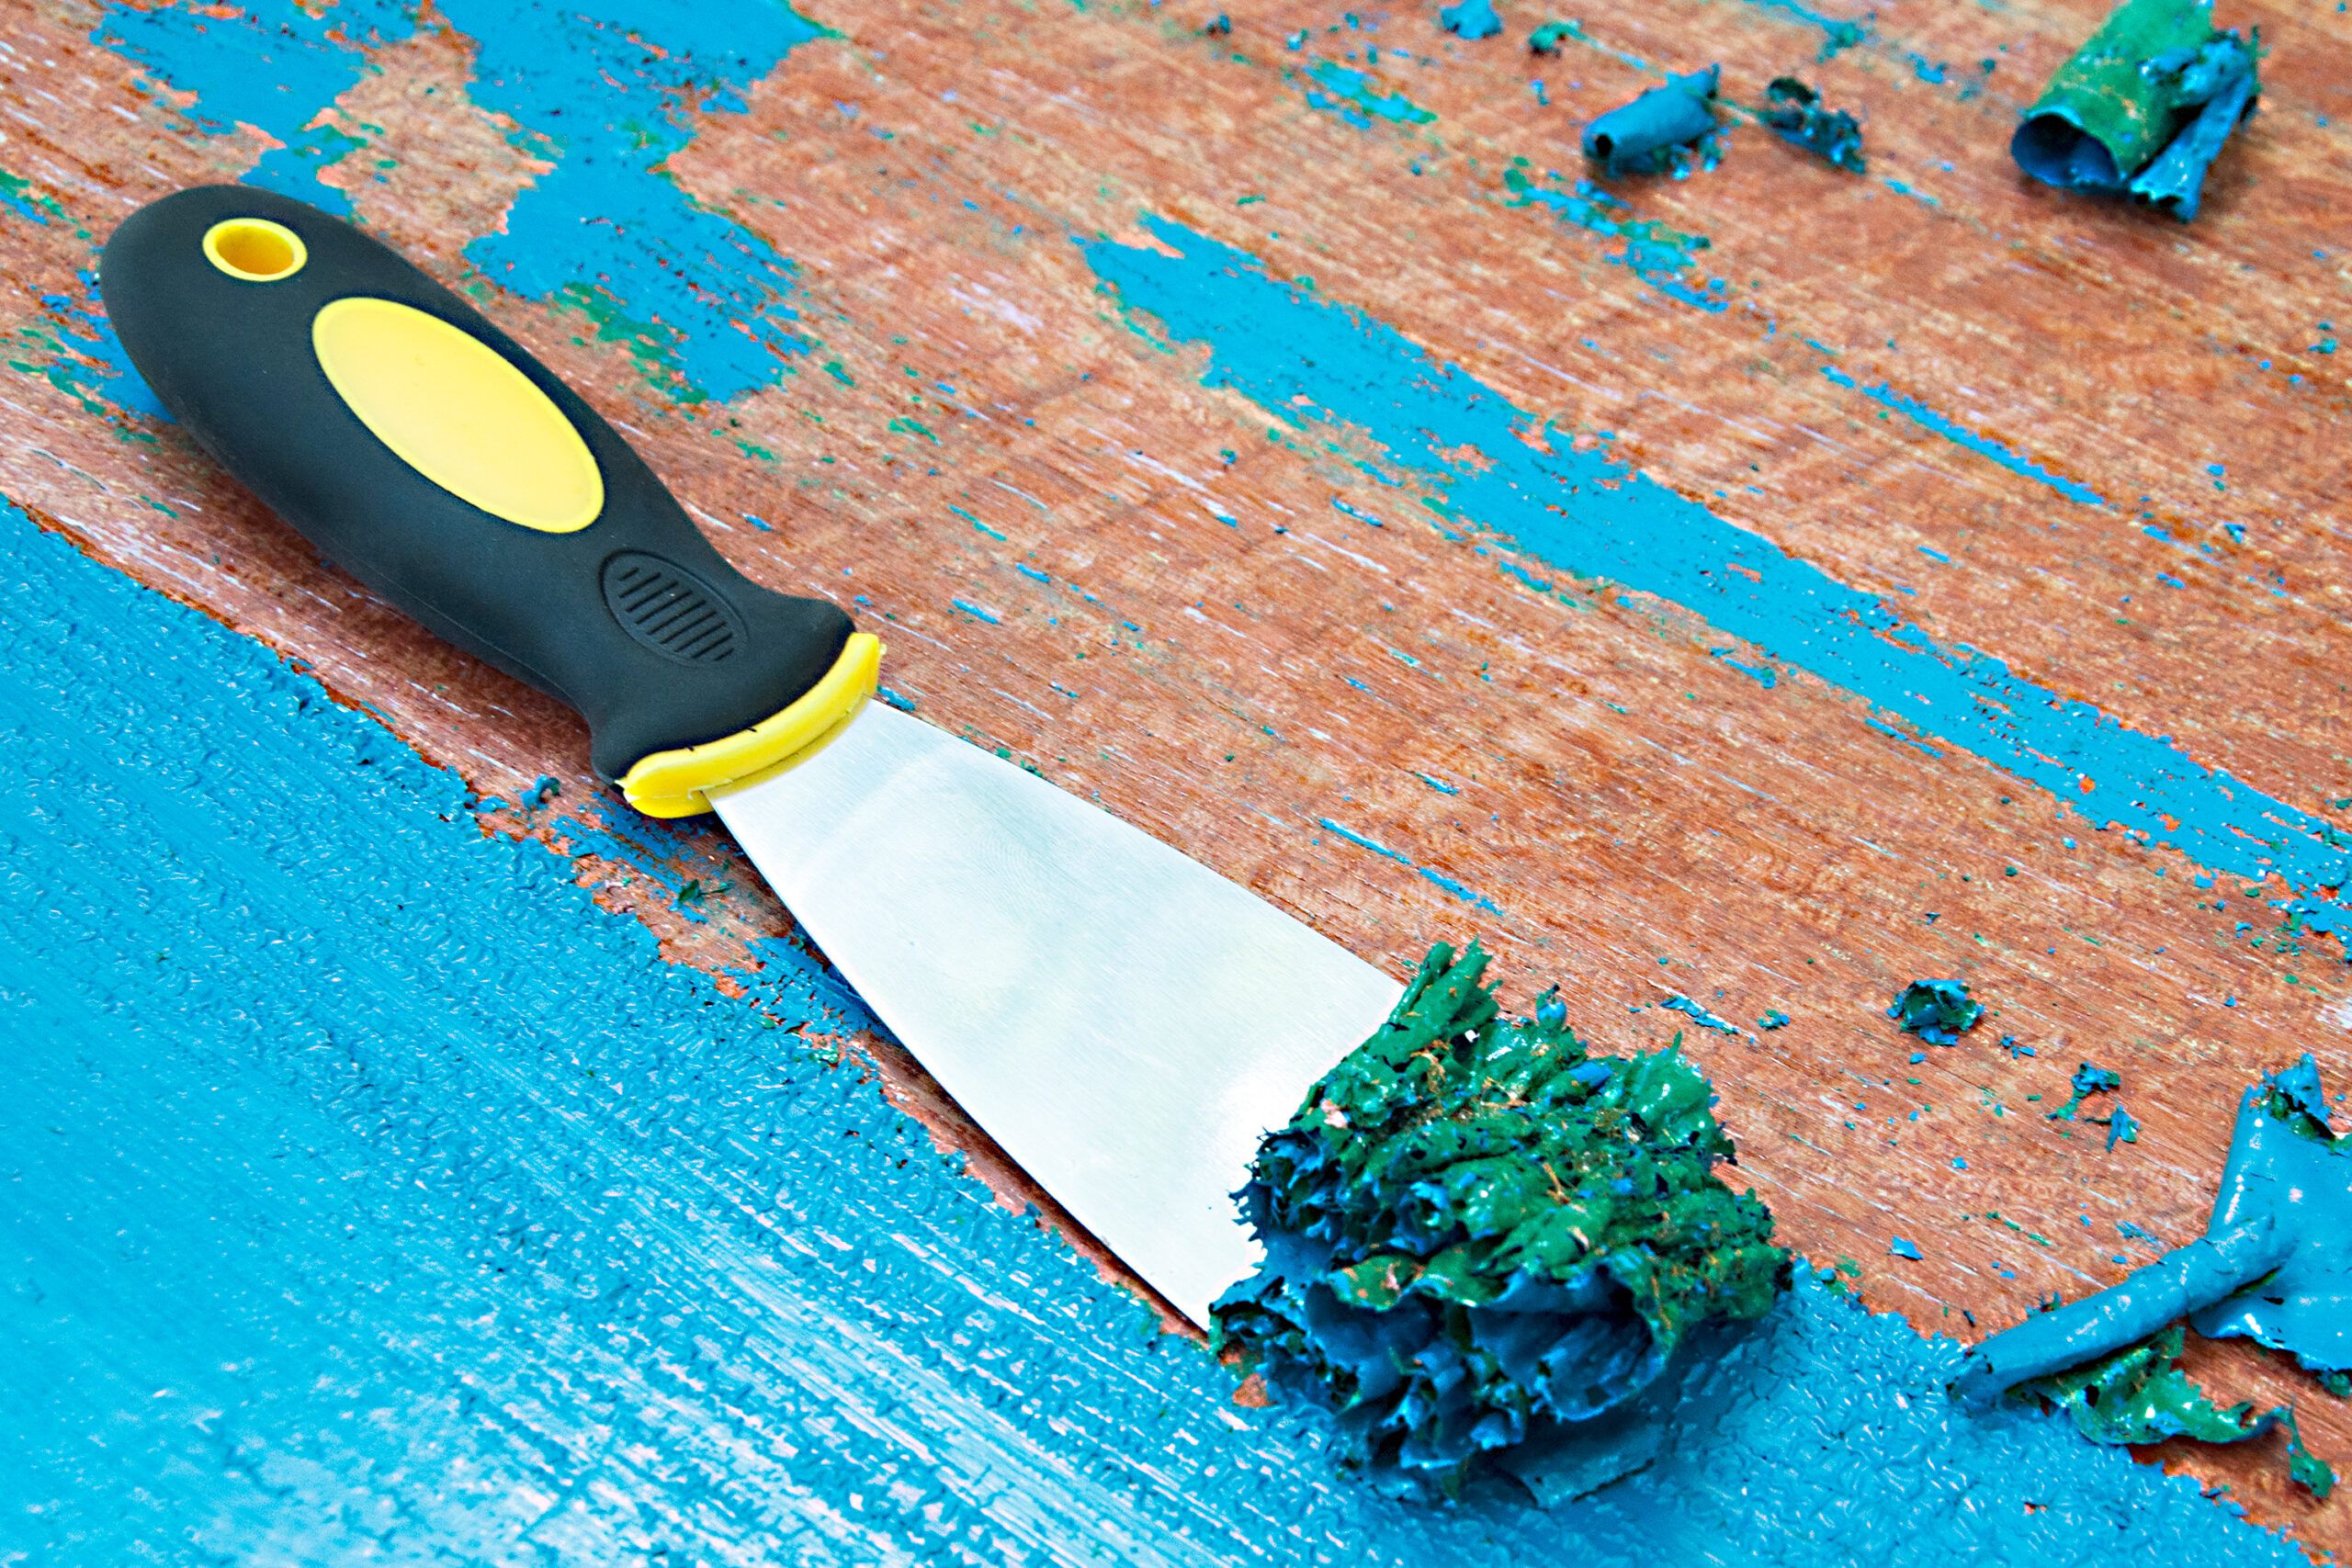
- Preparation tools: While we are skipping the sanding step, some light preparation may be required. You may need tools such as a putty knife for filling in any cracks or holes, sandpaper for smoothing rough edges or imperfections, and a tack cloth for removing dust and ensuring a clean surface.
- Protective gear: Don’t forget to protect yourself during the painting process. Wear gloves, a mask, and safety glasses to safeguard your skin, respiratory system, and eyes from any potential hazards, such as fumes or paint splatters.
- Drop cloths and tape: To protect the surrounding area from paint splatters and spills, lay down drop cloths or old sheets. Additionally, use painter’s tape to mask off any areas that you do not want to paint, such as hardware or glass panels.
By selecting high-quality paint, a compatible primer, and the right tools for the job, you can ensure a smooth and professional-looking finish when painting wood furniture without sanding. Take the time to gather all the necessary supplies before you begin, and you’ll be well-prepared for a successful furniture transformation.
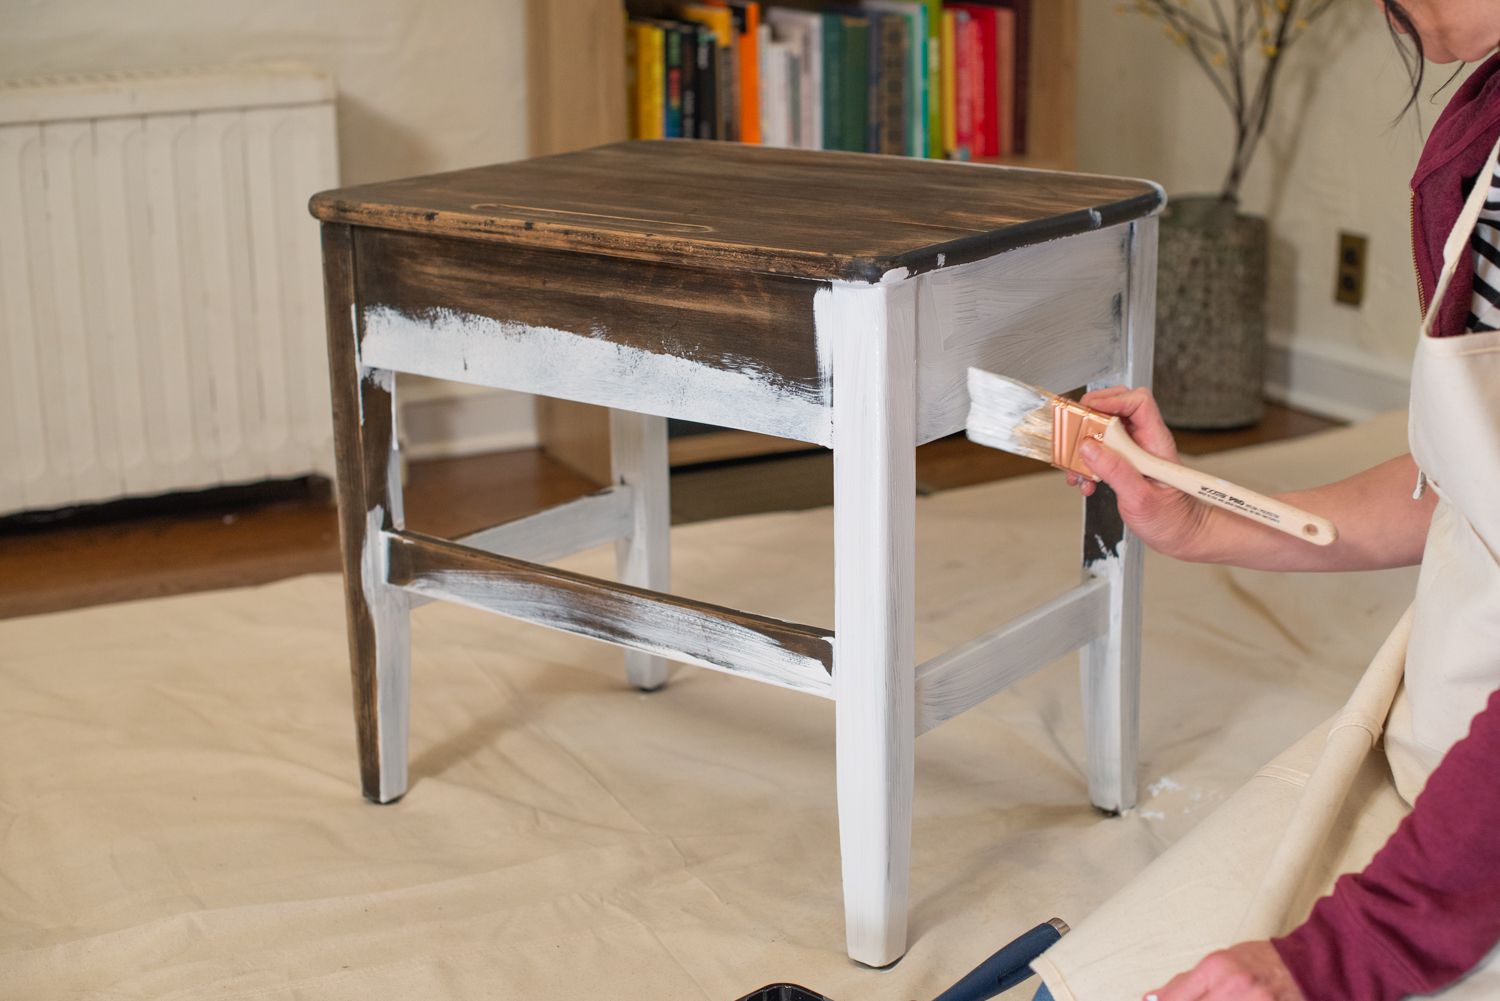
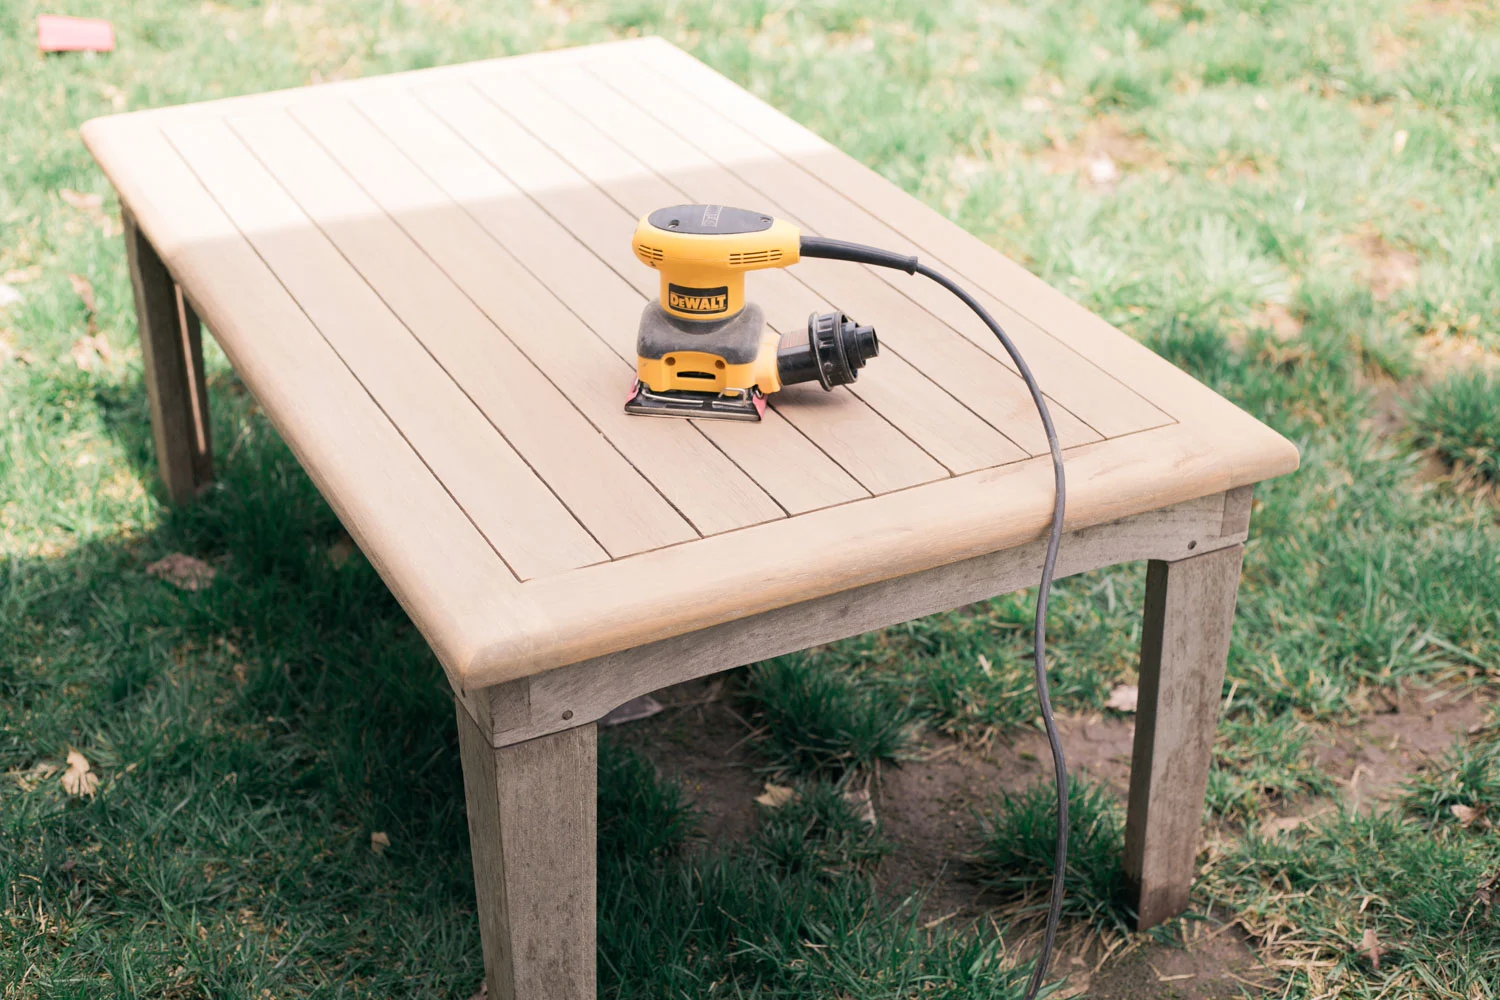
Preparing the Wood Surface
Although we are skipping the traditional sanding step, it is still important to properly prepare the wood surface before painting. This preparation ensures that the paint adheres well and provides a smooth and long-lasting finish. Here’s how to prepare the wood surface:
- Cleaning: Begin by thoroughly cleaning the furniture. Remove any dust, dirt, or grease using a mild detergent or a solution of water and vinegar. Wipe down the entire surface with a clean cloth to ensure that it is free from any contaminants that could affect paint adhesion.
- Repairing any damages: Inspect the furniture for any damages or imperfections, such as cracks, chips, or dents. Use a putty knife and wood filler to fill in these areas and create a smooth surface. Allow the filler to dry completely and then sand it lightly to level it with the rest of the surface.
- Smoothing rough edges: If there are any rough or uneven edges on the furniture, use sandpaper or a sanding block to smooth them out. Lightly sand the edges to create a uniform and seamless look. This step helps ensure that the paint goes on smoothly and provides a professional finish.
- Tack cloth: After cleaning, repairing, and sanding, use a tack cloth to remove any remaining dust or debris from the surface. A tack cloth is a sticky cloth that effectively picks up fine particles, leaving the surface clean and ready for painting.
- Consider primer: Depending on the condition of the wood and the type of paint you are using, you may choose to apply a primer. Primer helps to seal the wood, prevent bleed-through, and improve paint adhesion. If you’re painting over a dark or stained wood, or if you’re using a lighter paint color, a primer can help provide a solid base for the paint.
By following these steps for preparing the wood surface, you can ensure that the paint will adhere properly and that your furniture makeover will be a success. Take the time to clean, repair, and smooth the surface, and consider using a primer to achieve the best possible results.
Cleaning the Furniture
Before you start the process of painting wood furniture without sanding, it is essential to thoroughly clean the surface to ensure proper adhesion and a flawless finish. Here are the steps to effectively clean your furniture:
- Remove dust and dirt: Begin by removing any loose dust and dirt from the furniture using a soft brush or a vacuum with a brush attachment. Pay close attention to corners, crevices, and any intricate details where dust can accumulate.
- Mild detergent or vinegar solution: Mix a solution of warm water and mild dish detergent or white vinegar. Alternatively, you can use a purpose-made wood cleaner following the manufacturer’s instructions. Dip a clean cloth or sponge into the solution and wring out any excess liquid. Gently wipe down the entire surface of the furniture, ensuring that you cover both the visible areas and hard-to-reach spots.
- Don’t soak the wood: It’s important not to saturate the wood with excessive water or cleaning solution. Too much moisture can cause damage or swelling. Wring out your cloth or sponge well and work with a damp, rather than wet, cloth.
- Wipe dry: Once you have cleaned the furniture with the solution, use a separate clean and dry cloth to wipe away any remaining moisture. Ensure that the wood surface is completely dry before proceeding to the next steps. This step is essential to avoid trapping moisture between the paint layers, which can lead to peeling or bubbling over time.
- Stubborn stains: If you come across any stubborn stains or residue, you can try using a mild abrasive cleaner or baking soda mixed with water. Gently scrub the stained area using a soft brush or sponge. Rinse with clean water and dry thoroughly.
- Final dusting: Once the furniture is dry, give it a final dusting using a microfiber cloth or a tack cloth. This step ensures that there is no residual dust or lint on the surface, which could affect the paint application.
By following these steps and ensuring that your furniture is properly cleaned and dried, you create a clean and smooth surface ready for painting. Taking the time to clean your furniture thoroughly allows the paint to adhere properly and ensures a flawless finish that will stand the test of time.
Read more: How To Sand Wood Without Sandpaper
Repairing any Damages or Imperfections
Before painting wood furniture without sanding, it’s important to carefully inspect the piece for any damages or imperfections. Repairing these issues will not only enhance the appearance of your furniture but also ensure that the paint adheres smoothly. Here are steps to follow when repairing any damages or imperfections:
- Cracks and chips: If you notice any cracks or chips in the wood, it’s important to fill them in before painting. Start by cleaning the area around the damaged spot to remove any dirt or debris. Then, use a putty knife to apply wood filler or a suitable wood epoxy product. Follow the manufacturer’s instructions for mixing and applying the filler, making sure to fill the crack or chip completely. Smooth out the surface of the filler using the putty knife and allow it to dry according to the manufacturer’s recommendations.
- Dents and scratches: For minor dents and scratches, you can use a damp cloth or sponge to lightly moisten the area. Gently apply heat using an iron on low heat or a hairdryer on medium heat, focusing on the damaged spot. The heat will help the wood fibers expand and reduce the appearance of the dent or scratch. If the dent or scratch is deeper, you may need to use wood filler or a suitable woodworking putty to fill and level the area.
- Unsightly hardware holes: If your furniture has old screw or nail holes that are no longer needed, you can use wood filler or putty to fill them in. Make sure to clean the area around the hole and apply the filler, smoothing it out with a putty knife. Allow the filler to dry and sand it lightly to create a seamless surface.
- Loose joints: If your furniture has loose joints or wobbly parts, it’s important to reinforce them before painting. Apply wood glue to the joint and use clamps or tape to hold the pieces together while the glue sets. Allow the glue to dry completely before continuing with the painting process.
- Wood damage: If there is any significant wood damage, such as rot or extensive decay, it may be necessary to consult a professional or consider replacing the affected parts of the furniture. Painting over severely damaged wood may not yield satisfactory results.
By repairing any damages or imperfections before painting, you can ensure a smooth and flawless finish. Taking the time to address these issues will improve the overall appearance of your furniture and provide a solid foundation for the paint to adhere to. Remember to follow the manufacturer’s instructions for any repair products used and allow them to fully dry or set before proceeding with the painting process.
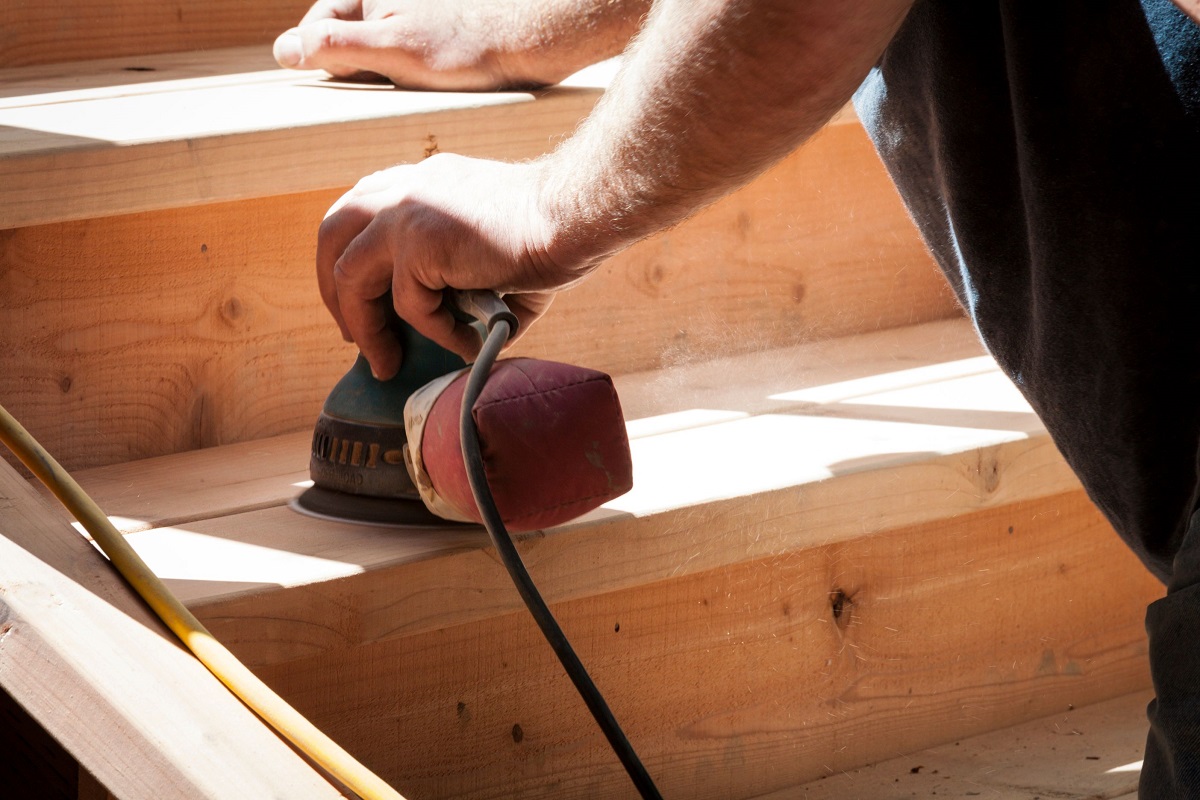
Use a liquid deglosser to remove the glossy finish from the wood furniture before painting. This will save you time and effort by eliminating the need for sanding.
Applying a Primer
When painting wood furniture without sanding, applying a primer is an essential step. A primer acts as a bonding agent between the wood surface and the paint, ensuring better adhesion and a smoother finish. Here’s how to apply a primer to your furniture:
- Choose the right primer: Look for a primer that is specifically designed for use on wood surfaces. Select a primer that is compatible with the type of paint you will be using. Some primers are specifically formulated for water-based paints, while others are suitable for oil-based paints. Read the product label or consult with an expert at your local paint store to choose the appropriate primer.
- Prepare the surface: Ensure that the furniture surface is clean and free from dust, dirt, and any other contaminants. If there are areas that require repairs, such as cracks or dents, make sure they have been properly filled and sanded before applying the primer.
- Protect the surrounding area: Cover the surrounding area with drop cloths or old sheets to protect from primer overspray or drips. Use painter’s tape to mask off any areas that you do not want to be primed, such as hardware or glass panels.
- Stir the primer: Open the can of primer and use a stir stick to thoroughly mix the contents. This ensures that the primer’s components are well blended for optimal performance.
- Apply the primer: Use a high-quality brush or roller to apply an even coat of primer to the wood surface. Work in smooth, overlapping strokes, following the grain of the wood. Pay attention to any difficult-to-reach areas or intricate details, ensuring they are adequately covered with the primer. Avoid applying the primer too thickly, as it may lead to uneven drying and affect the final finish.
- Allow drying time: Follow the manufacturer’s instructions for the recommended drying time of the primer. This typically ranges from 1 to 4 hours, depending on the specific product. Make sure the primer is completely dry before proceeding with the paint application.
- Lightly sand (optional): After the primer is fully dry, you may choose to lightly sand the surface with fine-grit sandpaper. This step helps to smooth out any imperfections and creates a smoother surface for the paint. Use a clean, dry cloth to remove any dust generated from sanding.
Applying a primer is a crucial step when painting wood furniture without sanding. It promotes paint adhesion, enhances the durability of the finish, and provides a smoother and more professional-looking result. Take your time to properly apply the primer, and allow it to dry thoroughly before moving on to the next steps in the painting process.
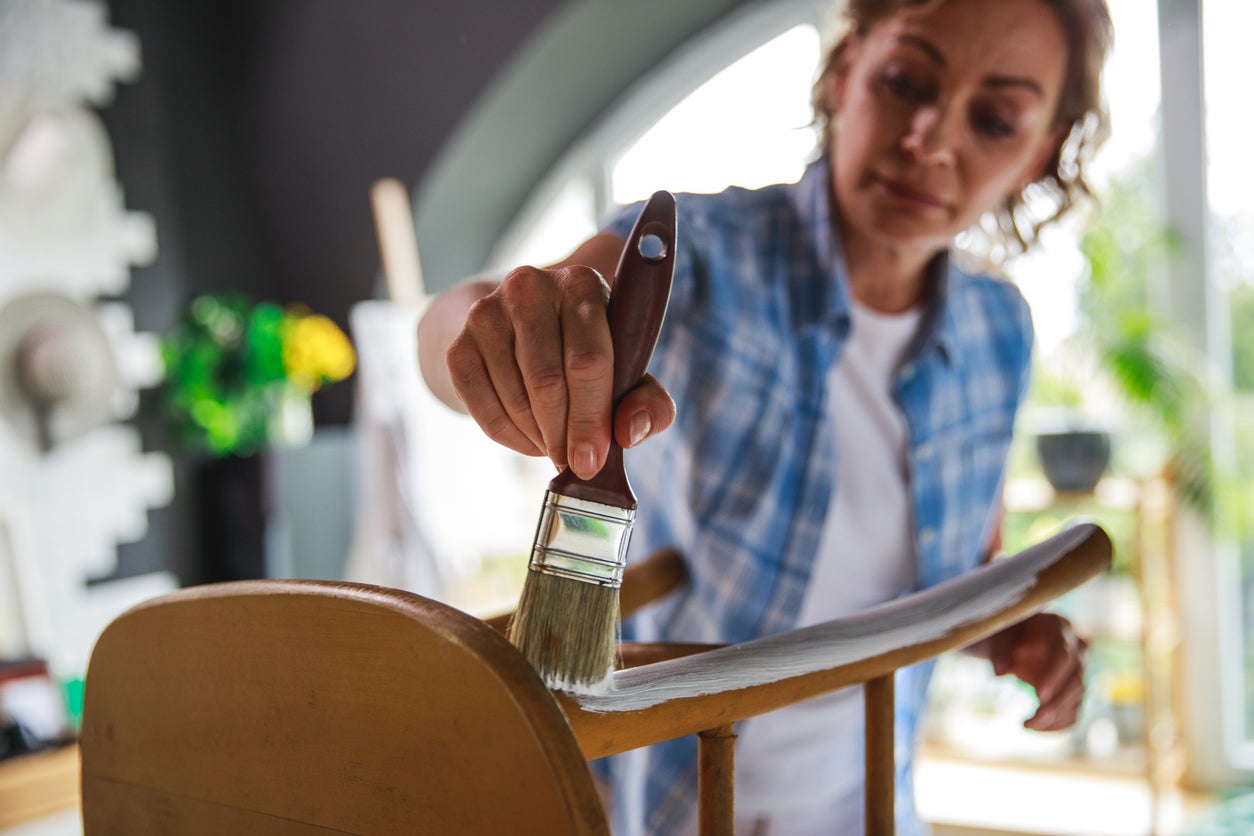
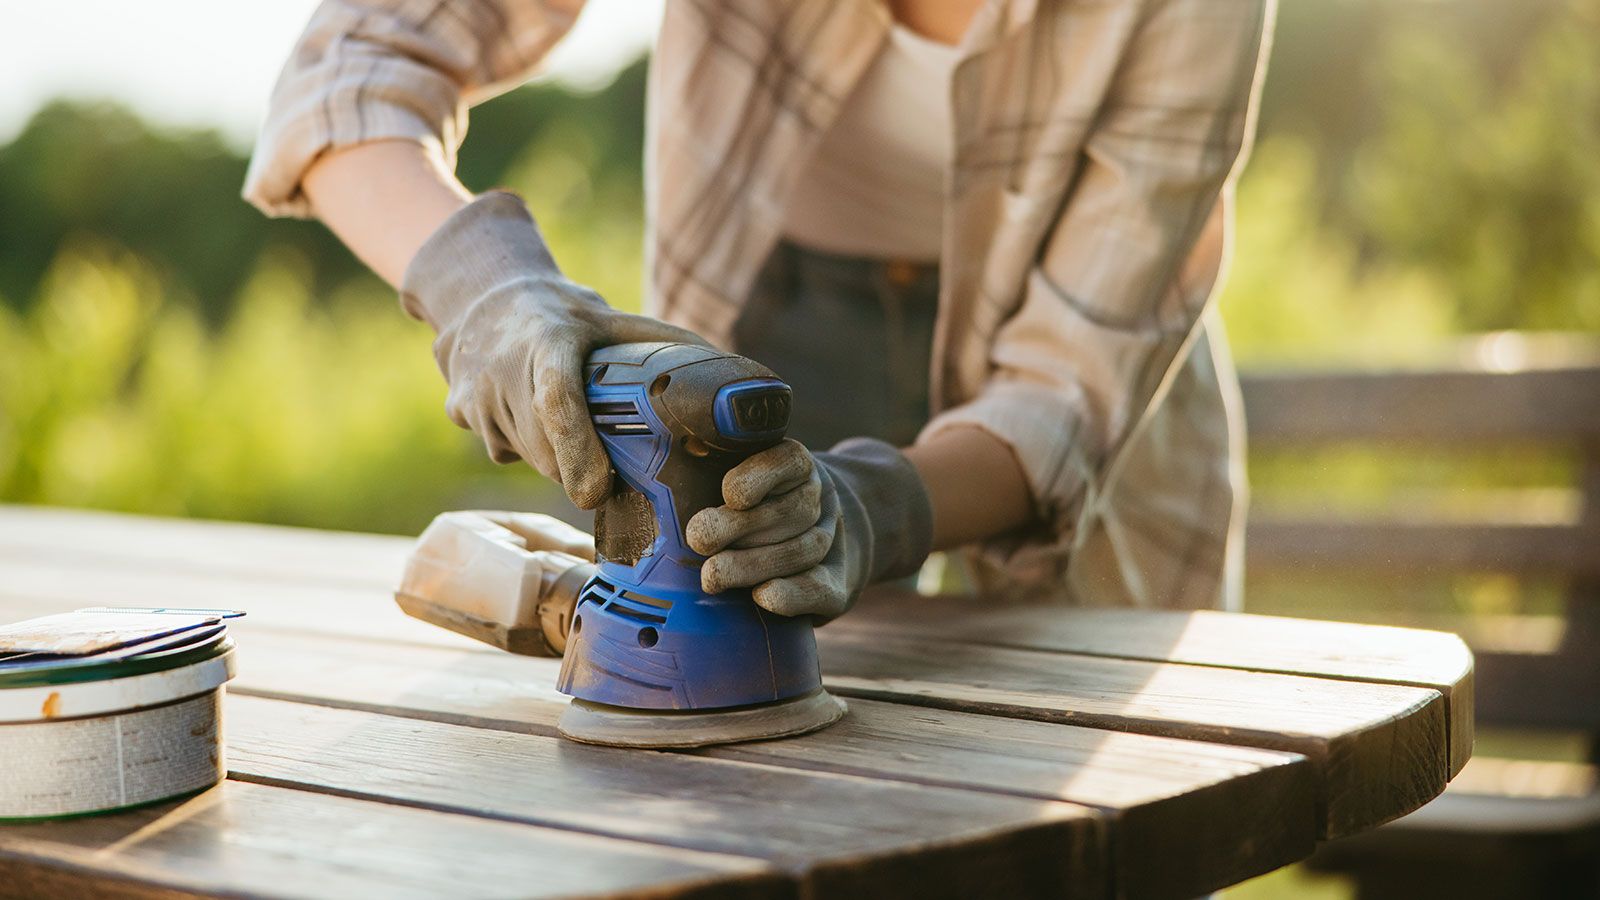
Painting Techniques
Now that you have prepared the wood surface and applied a primer, it’s time to dive into the exciting part: painting wood furniture without sanding. Here are some painting techniques to help you achieve a beautiful and professional-looking finish:
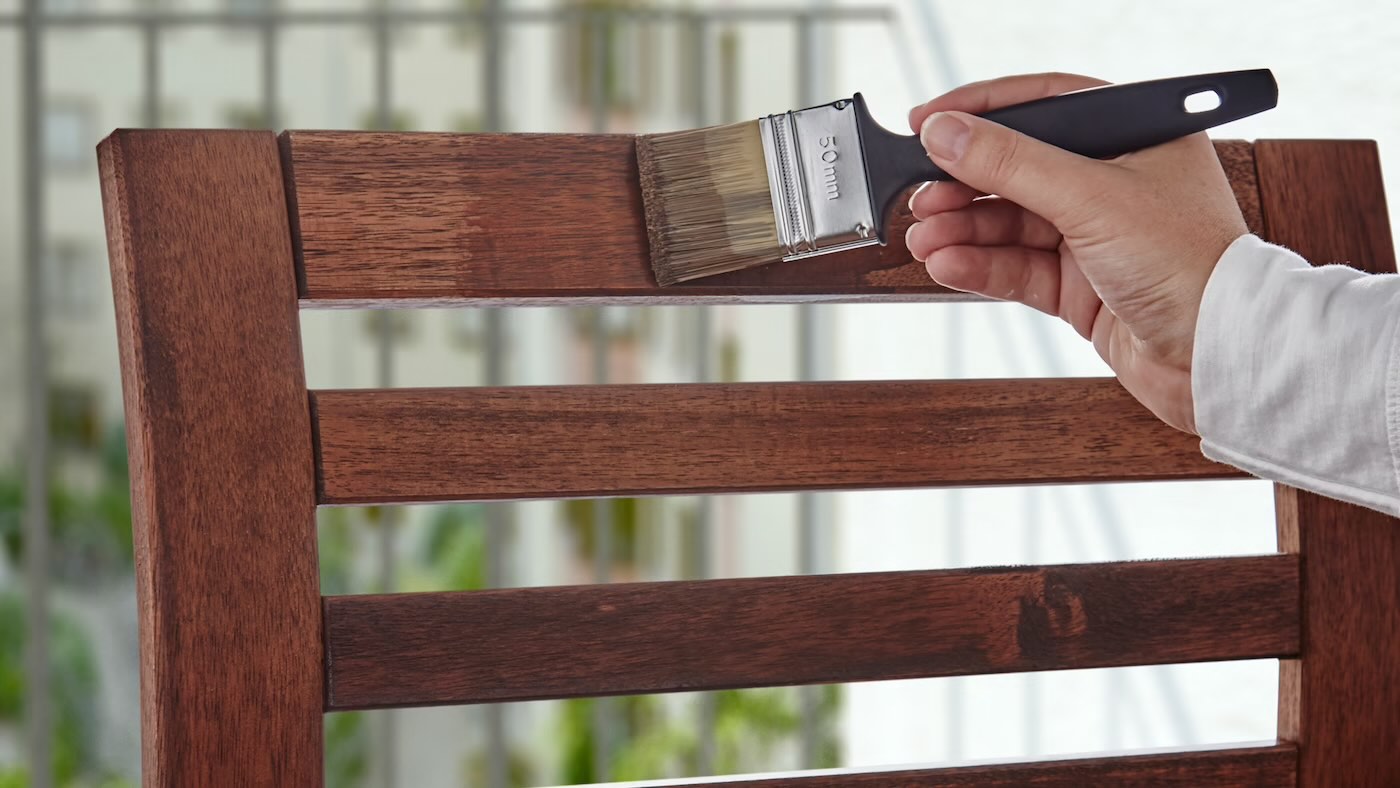
- Choose the right brush or roller: Select a high-quality brush or roller that is appropriate for the size and shape of the furniture. A brush is ideal for intricate details and corners, while a roller is more efficient for larger flat surfaces. Opt for synthetic bristles when using water-based paint and natural bristles for oil-based paint.
- Work in thin, even layers: Instead of applying a thick coat of paint, it’s best to work in thin, even layers. This helps to minimize drips, runs, and uneven drying. Apply the paint in smooth, vertical or horizontal strokes, following the grain of the wood.
- Allow proper drying time: Follow the manufacturer’s instructions for the recommended drying time between each coat of paint. This ensures that the previous layer of paint is completely dry before applying the next, preventing smudging or mixing of colors. Be patient and allow sufficient drying time for a flawless finish.
- Blend brush strokes: If you’re using a brush, take the time to blend your brush strokes as you go. This helps to create a more seamless and professional look. Use light, overlapping strokes to ensure an even distribution of paint and avoid visible brush marks.
- Check for drips and runs: Regularly check for drips and runs while painting. If you notice any, quickly smooth them out with the brush or roller before they dry. Addressing drips and runs as soon as possible helps to maintain an even and smooth surface.
- Take breaks between coats: When applying multiple coats of paint, it’s important to take breaks between each coat. This allows the paint to dry fully and reduces the risk of disturbing the previous layer. Follow the recommended drying time provided by the paint manufacturer before proceeding with the next coat.
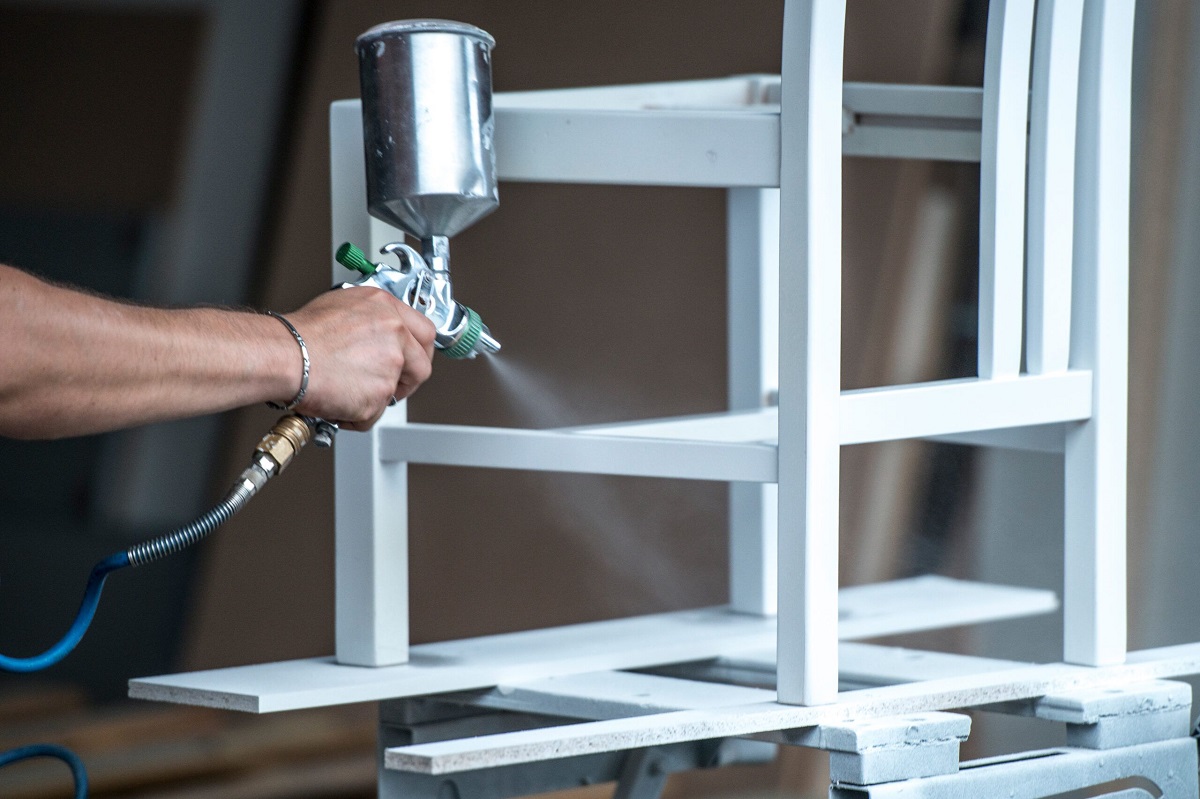
- Consider using a paint sprayer: For larger furniture pieces or if you prefer a more even and smooth finish, you may want to consider using a paint sprayer. Paint sprayers can give you more control and help achieve a professional-looking result. However, it’s essential to follow the manufacturer’s instructions and practice using the sprayer before applying it to your furniture.
By utilizing these painting techniques, you can achieve a beautiful and even finish on your wood furniture. Working in thin, even layers, blending brush strokes, and allowing proper drying time between coats will result in a professional-quality paint job. Whether you choose to use a brush or a roller, taking your time and paying attention to detail will ensure a stunning transformation of your furniture.
Sealing and Protecting the Painted Surface
Once you have completed painting your wood furniture without sanding, it’s important to seal and protect the painted surface. This will ensure the longevity and durability of your newly transformed furniture. Here are some steps to follow for sealing and protecting the painted surface:
- Allow proper drying time: Before applying any protective coating, make sure the paint is thoroughly dry. Follow the manufacturer’s instructions for the recommended drying time, as it may vary depending on the type of paint used.
- Choose the right sealant: Select a suitable sealant or topcoat to protect the painted surface. There are various options available, including polyurethane, varnish, wax, or a clear acrylic sealant. Consider the level of durability and the desired finish when choosing the sealant.
- Apply the sealant: Use a high-quality brush or roller to apply the sealant in thin, even coats. Work in the same direction as the grain of the wood, and avoid over-applying to prevent drips or a cloudy appearance. Follow the manufacturer’s instructions for recommended drying time between each coat.
- Sand between coats (optional): If desired, you can lightly sand the painted surface between coats of sealant to achieve a smoother finish. Use a fine-grit sandpaper, such as 220-grit, and sand in the direction of the wood grain. Wipe away any dust generated from sanding before applying the next coat of sealant.
- Multiple coats (if needed): Depending on the level of protection required, you may need to apply multiple coats of sealant. Each additional coat enhances the durability and provides an extra layer of protection. Follow the manufacturer’s recommendations for the number of coats needed.
- Drying time and curing: After applying the final coat of sealant, allow the furniture to dry and cure according to the sealant manufacturer’s instructions. Keep in mind that the full curing time may take several days or even weeks, so be cautious while using the furniture during this period.
- Maintenance and care: Once the sealant has fully cured, it’s important to maintain and care for your painted furniture properly. Avoid placing hot items directly on the surface, and use coasters or placemats to protect against spills and scratches. Regular dusting and gentle cleaning with a damp cloth will help maintain the appearance and longevity of the painted finish.
By properly sealing and protecting the painted surface, you can extend the life of your furniture makeover. The sealant acts as a barrier, protecting the paint from scratches, stains, and other daily wear and tear. Remember to choose a high-quality sealant and follow the application instructions carefully for the best results.
Read more: How To Paint Dresser Without Sanding
Tips and Tricks for a Professional Finish
Painting wood furniture without sanding can be a rewarding and satisfying DIY project. To ensure a professional-looking finish, here are some valuable tips and tricks to keep in mind:
- Proper ventilation: Work in a well-ventilated area or open windows to allow for proper airflow. This helps to eliminate fumes and reduces the drying time of the paint.
- Temperature and humidity: Choose the right conditions for painting. Avoid extremely high or low temperatures, as they can affect the consistency and drying time of the paint. Also, be mindful of humidity levels, as excessive moisture can cause the paint to take longer to dry and may affect the quality of the finish.
- Lighting: Ensure adequate lighting in your work area. Good lighting helps you see any imperfections or uneven spots in the paint and allows for a more precise and accurate application.
- Test the paint: Before starting your project, it’s a good idea to test the paint and primer on a small, inconspicuous area of the furniture. This helps you ensure that the colors and products you’ve chosen work well together and achieve the desired result.
- Work in thin coats: Rather than applying a thick coat of paint, it’s better to work in thin, even coats. This prevents the paint from dripping or running and allows for better control over the final finish.
- Blend paint edges: When applying each coat of paint, overlap the edges slightly to blend them with the previous coat. This technique helps create an even and seamless finish.
- Use a wet edge: When painting larger surfaces, it’s important to maintain a “wet edge” to prevent visible brush or roller marks. Work in small sections and keep a wet edge by slightly overlapping each stroke while the paint is still wet.
- Keep a clean brush or roller: Regularly clean your brush or roller during the painting process. This helps prevent buildup of dried paint on the bristles, which can affect the quality of the application.
- Patience is key: Take your time and be patient throughout the process. Rushing can lead to mistakes, uneven application, or a less-than-perfect finish. Allow each coat of paint to dry completely before applying the next, and take breaks to ensure that you’re working with a steady hand.
- Follow the manufacturer’s instructions: Always read and follow the instructions provided by the paint and primer manufacturers. They provide valuable information regarding application techniques, drying times, and any specific precautions or recommendations for successful results.
By incorporating these tips and tricks into your painting process, you can achieve a professional finish when painting wood furniture without sanding. Remember to work in thin coats, maintain a wet edge, and have patience throughout the process. With careful attention to detail and a little bit of practice, you’ll be able to transform your furniture into stunning pieces that enhance the overall aesthetic of your space.
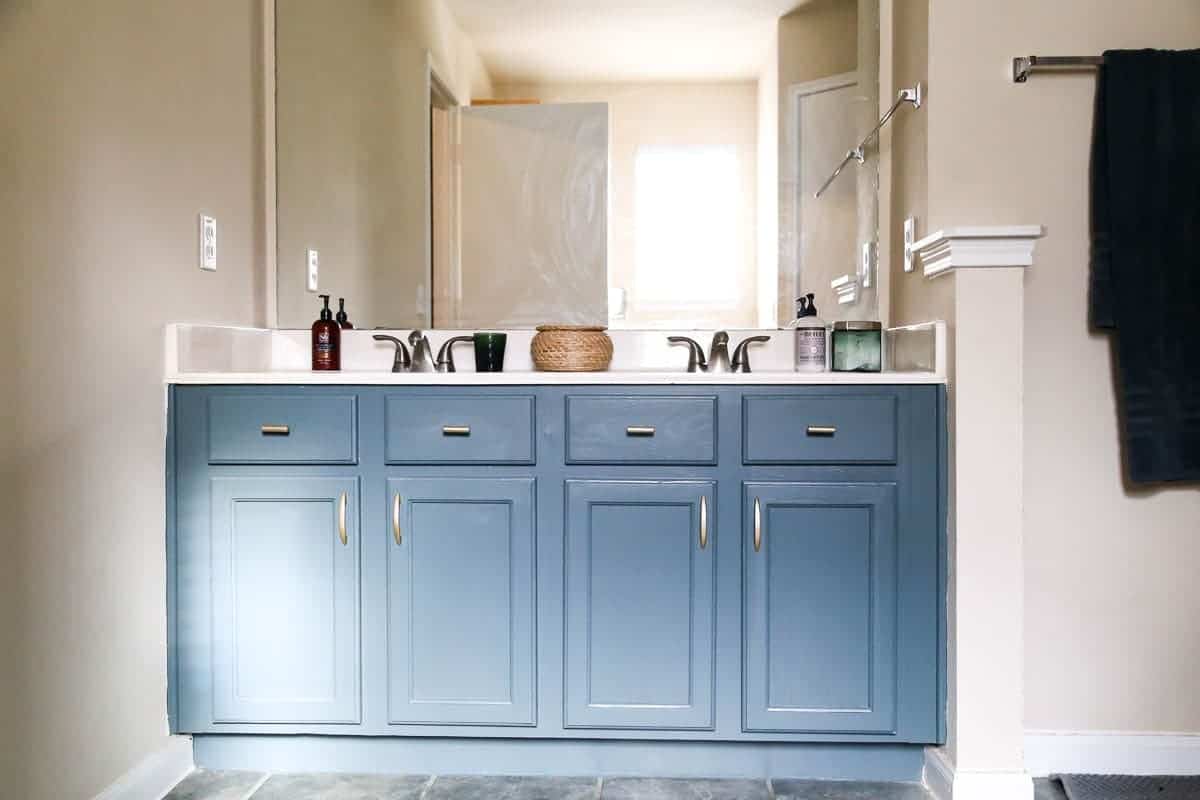
Conclusion
Painting wood furniture without sanding offers an exciting and transformative way to update and rejuvenate your pieces. By following the right techniques and using appropriate products, you can achieve a professional-looking finish without the hassle of sanding. Throughout the process, consider the benefits of this method, including saving time, preserving the natural texture of the wood, and allowing for versatile finishes.
Choosing the right paint and supplies is essential to the success of your project. Select furniture paint specifically formulated for wood surfaces and ensure you have the necessary brushes, rollers, and protective gear. Preparing the wood surface by cleaning and repairing any damages or imperfections sets the stage for a flawless application.
When it comes time to paint, thin and even coats are the key to achieving a smooth and professional finish. Take breaks between each coat to allow for proper drying time, and utilize techniques like blending brushstrokes and maintaining a wet edge to achieve an even and seamless appearance. Seal and protect the painted surface with an appropriate topcoat, following the manufacturer’s instructions for the number of coats and drying times.
Remember to follow essential tips such as ensuring proper ventilation, working within suitable temperature and humidity conditions, testing the paint beforehand, and maintaining a clean brush or roller. Patience and attention to detail throughout the process will contribute to the overall success of your painted furniture.
Finally, enjoy the fruits of your labor and take pride in the transformation you have achieved. With the right techniques and a touch of creativity, you can breathe new life into your furniture and create visually stunning pieces that reflect your personal style and enhance your living space.
So, go ahead and embark on your furniture painting adventure. Say goodbye to the sanding process and hello to a world of possibilities for reviving and reinventing your beloved wood furniture!
Frequently Asked Questions about How To Paint Wood Furniture Without Sanding
Was this page helpful?
At Storables.com, we guarantee accurate and reliable information. Our content, validated by Expert Board Contributors, is crafted following stringent Editorial Policies. We're committed to providing you with well-researched, expert-backed insights for all your informational needs.


0 thoughts on “How To Paint Wood Furniture Without Sanding”