Home>Storage Ideas>Storage Baskets>How To Make Felt Baskets
Storage Baskets
How To Make Felt Baskets
Modified: February 23, 2024
Learn how to make stylish and practical storage baskets with our step-by-step guide. Crafted from felt, these baskets are perfect for organizing any space.
(Many of the links in this article redirect to a specific reviewed product. Your purchase of these products through affiliate links helps to generate commission for Storables.com, at no extra cost. Learn more)
Introduction
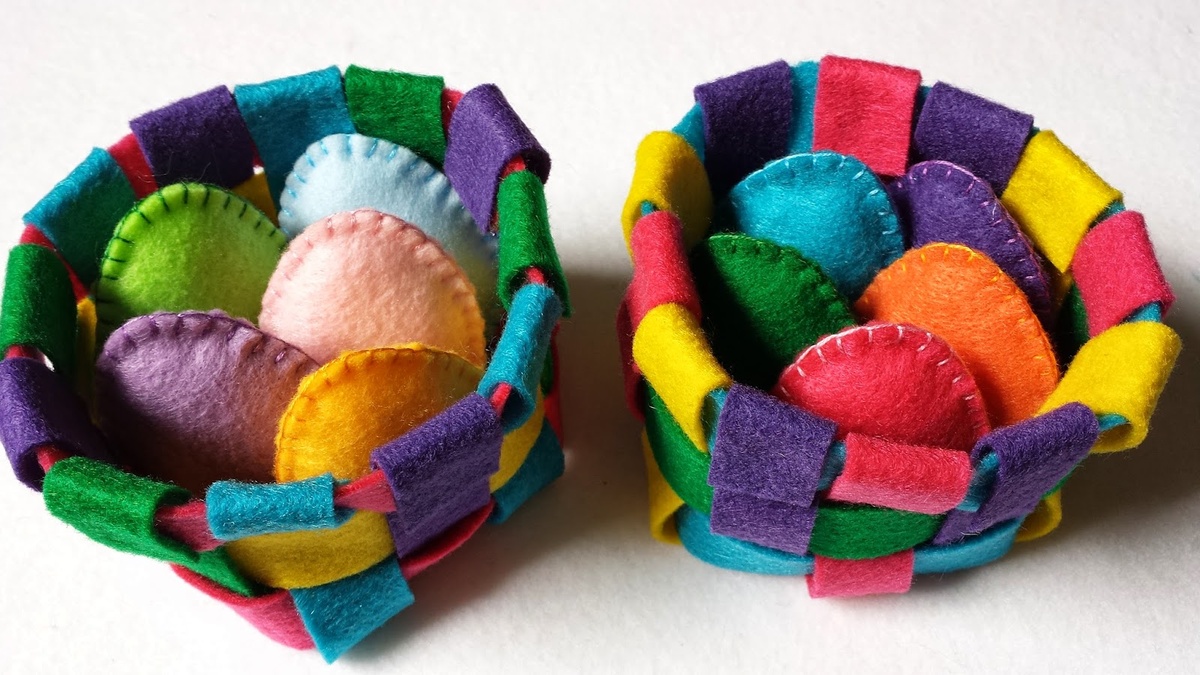
Storage baskets are a practical and stylish way to keep your home organized. Whether you need a place to stow away blankets, toys, or other household items, a felt basket can be the perfect solution. Not only are they functional, but they also add a touch of warmth and texture to any room.
In this article, we will guide you through the process of making your own felt baskets. You don’t need to be an expert crafter to create beautiful and useful storage baskets. With a few simple materials and some basic sewing skills, you can customize your baskets to fit your specific design preferences and storage needs.
The joy of making felt baskets lies not only in the end result but also in the process. It is a creative and fulfilling activity that allows you to unleash your artistic side. So, gather your materials and let’s get started on creating some beautiful and functional storage baskets!
Key Takeaways:
- Crafting felt baskets is a creative and fulfilling activity that adds warmth and functionality to any home. With basic materials and sewing skills, you can customize baskets to fit your design preferences and storage needs.
- Adding handles and decorative elements to felt baskets enhances their practicality and visual appeal. Embrace imperfections as a testament to your creativity, and share the joy of crafting with family and friends!
Read more: How To Make Felted Coasters
Materials Needed
Before you begin making felt baskets, ensure that you have the following materials on hand:
- Felt fabric: Choose a quality felt fabric in the colors of your choice. You will need enough fabric to create the desired size and number of baskets.
- Scissors: A sharp pair of fabric scissors will be essential for cutting the felt fabric accurately.
- Needle and thread: Use a strong thread that matches the color of the felt. A medium-sized needle will work well for sewing the baskets.
- Measuring tape: This handy tool will help you determine the size and dimensions of your baskets.
- Chalk or fabric marker: Use chalk or a fabric marker to mark the cutting lines on the felt fabric.
- Ruler or straight edge: A ruler or straight edge will assist in measuring and cutting straight lines on the felt fabric.
- Handles (optional): If you want to add handles to your baskets, gather materials such as fabric strips, rope, or leather straps.
- Decorative elements (optional): If you wish to embellish your felt baskets, collect items like buttons, ribbons, or embroidery thread.
- Pins: Use pins to hold the felt fabric in place while sewing.
Note: The quantity of felt fabric, thread, and other materials will depend on the size and number of baskets you plan to make. It’s always better to have more materials on hand than you think you’ll need, to ensure you have enough for your project.
Step 1: Choosing the Design and Size
The first step in making felt baskets is to decide on the design and size of your baskets. Consider the purpose of the baskets and where you plan to use them. Are you looking to create small organizers for your office desk, or larger baskets to hold blankets in your living room?
Once you have determined the purpose, think about the shape and style of the baskets. Do you prefer round baskets, square ones, or maybe even a unique geometric shape? Consider the aesthetic of your home and choose a design that complements your existing decor.
Next, measure the desired dimensions for your basket. Use a measuring tape to determine the height, width, and depth of the basket. Keep in mind the items you plan to store in the baskets, ensuring they will fit comfortably.
Once you have decided on the design and dimensions, you can move on to the next step of cutting the felt fabric. Remember, creativity knows no bounds when it comes to customizing your felt baskets, so feel free to experiment with different designs and sizes!
Step 2: Cutting the Felt
With the design and dimensions of your felt baskets determined, it’s time to cut the felt fabric. Follow these steps to ensure clean and precise cuts:
- Start by laying the felt fabric on a flat surface. Smooth out any wrinkles or creases.
- Using a ruler or straight edge, measure and mark the dimensions of the basket on the felt fabric. You can use chalk or a fabric marker for this purpose.
- Take your scissors and carefully cut along the marked lines. Use smooth, long cuts to ensure clean edges.
- Repeat this step for the number of sides needed for your basket. For example, if you are making a square basket, you will need four equal-sized sides.
- For round or curved designs, consider creating a template out of paper or cardboard first. Place the template on the felt fabric and trace around it before cutting.
- If you plan to add handles to your basket, cut out two additional strips of felt fabric to the desired size and shape.
- Once all the pieces are cut, double-check that they fit together well and make any necessary adjustments.
Remember to take your time and cut carefully to ensure accurate pieces for your felt basket. With the felt fabric cut to size, you are ready to move on to the next step of sewing the sides together.
Step 3: Sewing the Sides Together
Now that you have your felt fabric pieces cut to size, it’s time to sew the sides of the basket together. Follow these steps to assemble your basket:
- Take one of the side pieces and align it with another side piece, ensuring that the edges line up perfectly.
- Secure the pieces together by pinning them in place. Insert the pins vertically along the edges, making sure to leave a gap for sewing.
- Thread your needle with a matching thread and tie a knot at the end.
- Starting at one end, sew the sides of the basket together using a basic running stitch. Insert the needle through the felt fabric, coming up from the bottom, and then go back down through the fabric a short distance away.
- Continue sewing along the edges, removing the pins as you go. Try to keep your stitches even and consistent for a neat appearance.
- When you reach the end of the first side, tie off the thread by sewing a few small stitches and then securing it with a knot at the back of the fabric.
- Repeat this process to sew the remaining sides of the basket together, until all the sides are connected.
- Double-check that the seams are secure and reinforce any areas if needed.
Once all the sides are sewn together, you should have the basic structure of your felt basket. It’s starting to take shape! In the next step, we will explore adding handles to make the basket more functional and convenient.
When making felt baskets, be sure to use a sturdy felt fabric to ensure the basket holds its shape. Additionally, consider adding a lining to the basket for added durability and a polished finish.
Read more: How To Make Felt Wine Glass Coasters
Step 4: Adding Handles (Optional)
If you want to enhance the functionality and aesthetic of your felt basket, you can consider adding handles. Handles make it easier to carry the basket and can also add a decorative element. Here’s how you can add handles to your felt basket:
- Take the two additional strips of felt fabric that you cut earlier for the handles.
- Decide on the desired length and width of the handles based on the size and design of your basket.
- Place one end of a handle strip on the inside of the basket, approximately 1-2 inches below the top edge. Pin it in place.
- Repeat the same process on the opposite side of the basket with the other end of the handle strip.
- Sew the handles in place using a strong thread and a whip or running stitch. Ensure that the stitches are secure by sewing through multiple layers of felt fabric.
- Once the handles are attached, reinforce the stitching by going back and forth a few times.
- Repeat these steps for the second handle on the other side of the basket.
- Double-check that the handles are securely attached and aligned properly with the basket.
Adding handles not only adds practicality to your felt basket but also gives it a finished and professional look. Customizing the handles with decorative stitching or attaching embellishments, such as buttons or ribbons, can further enhance the appearance of your basket.
If you prefer not to add handles, you can move on to the next step of adding decorative elements to personalize your felt basket.
Step 5: Adding Decorative Elements (Optional)
If you want to add a personal touch and make your felt basket even more visually appealing, you can consider adding decorative elements. Here are some creative ideas to customize your basket:
- Embroidery: Use colorful embroidery thread to add intricate designs or patterns to the sides of your basket.
- Applique: Cut out felt or fabric shapes and attach them to the basket using a blanket stitch or a whip stitch.
- Ribbon: Attach ribbons around the top edge of the basket or create bows for an elegant touch.
- Buttons: Sew buttons onto the sides of the basket for a charming and whimsical look.
- Pom-poms or tassels: Add playful accents by attaching pom-poms or tassels to the corners of the basket.
- Fabric flowers: Create fabric flowers using different colored felt or fabric scraps, and attach them to the basket using a strong adhesive or hand-stitching.
- Personalized monogram: Cut out felt letters to spell out initials or names and sew them onto the basket to make it uniquely yours.
These are just a few ideas to get you started, but feel free to let your creativity run wild! Experiment with different combinations of colors, textures, and embellishments to create a felt basket that reflects your personal style and complements your home’s decor.
Once you have added the desired decorative elements, take a moment to admire your handiwork. Your felt basket is almost complete! In the final step, we will cover some finishing touches to ensure your basket is durable and long-lasting.
Step 6: Finishing Touches
As you near the completion of your felt basket, it’s time to add a few finishing touches to ensure its durability and longevity. Follow these final steps:
- Check all the seams and handles to make sure they are securely attached. If any areas seem loose, reinforce them with additional stitching.
- Trim any excess thread or fabric that may be sticking out to create a neat and tidy appearance.
- If desired, you can use a hot glue gun or fabric glue to secure any loose edges or embellishments that may need extra reinforcement.
- Gently press the sides and bottom of the basket to shape and flatten them, if needed.
- Give the entire basket a final inspection, ensuring that all the decorative elements are firmly in place and that there are no loose threads or fabric.
- Take a step back and admire your beautifully crafted felt basket!
Congratulations! You have successfully created your very own felt basket. With its functional design, personalized touches, and durable construction, your basket is ready to be put to use in organizing and beautify your home.
Remember that the beauty of handcrafted items lies in their imperfections and unique characteristics. Even if your basket is not flawless, it is a testament to your creativity and effort.
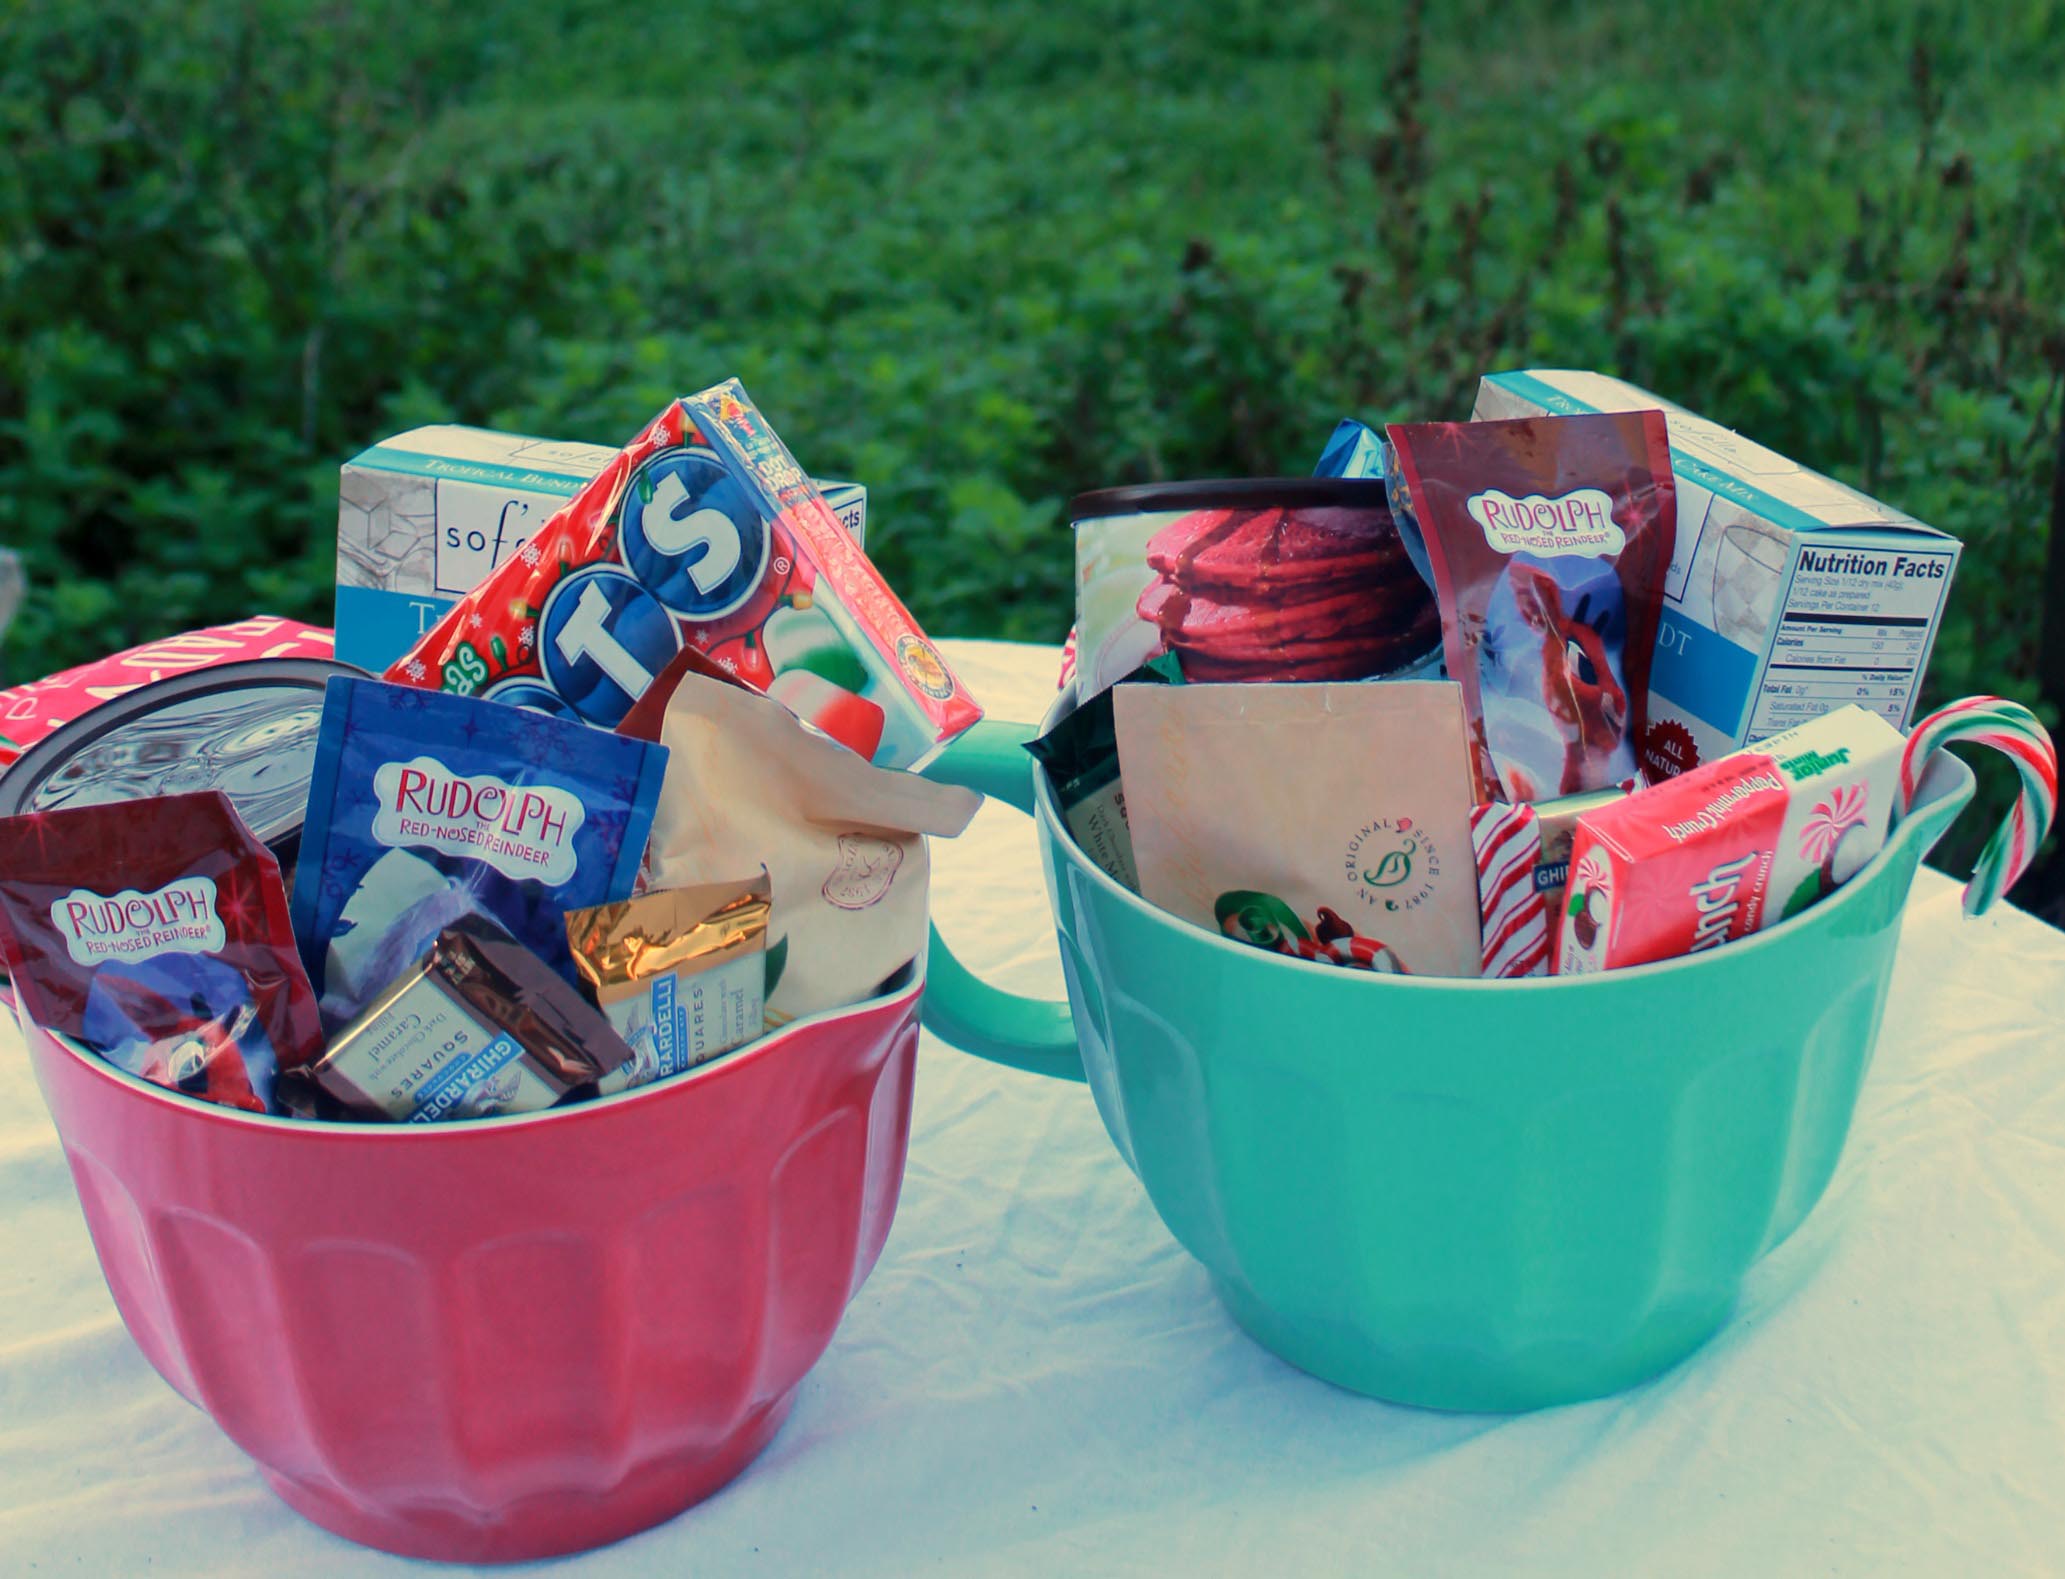
Now that you have mastered the art of making felt baskets, you can create additional ones in different sizes, styles, and colors. They also make wonderful gifts for family and friends!
Happy organizing and crafting!
Conclusion
Congratulations on completing your felt basket! Through this crafting journey, you have transformed simple materials into a functional and aesthetically pleasing storage solution. Your newly created felt basket is not only a practical organizational tool but also a piece of art that adds warmth and texture to any room.
By following the steps outlined in this article, you have learned how to choose a design and size, cut the felt fabric, sew the sides together, add optional handles and decorative elements, and apply final touches to your basket. Each step allowed you to put your own personal touch into the creation process, resulting in a unique and customized masterpiece.
Whether you use your felt basket to hold blankets, toys, or office supplies, it will serve as a beautiful addition to your home. The craftsmanship and attention to detail that went into making the basket will be appreciated by all who come into contact with it.
Remember to continue exploring your creativity and experimenting with different designs, colors, and embellishments for future felt basket projects. Share your newfound skills with others and inspire them to embark on their own crafting adventures.
Thank you for joining us on this journey to create felt baskets. We hope you have enjoyed the process and gained valuable insights into the art of basket-making. Happy crafting and may your felt baskets bring both joy and organization to your life!
Frequently Asked Questions about How To Make Felt Baskets
Was this page helpful?
At Storables.com, we guarantee accurate and reliable information. Our content, validated by Expert Board Contributors, is crafted following stringent Editorial Policies. We're committed to providing you with well-researched, expert-backed insights for all your informational needs.

0 thoughts on “How To Make Felt Baskets”