Home>Storage Ideas>Kitchen Storage>Cleaning A Kitchen Sink Drain: Expert Tips For Removing Unwanted Buildup
Kitchen Storage
Cleaning A Kitchen Sink Drain: Expert Tips For Removing Unwanted Buildup
Modified: October 20, 2024
Learn expert tips for cleaning a kitchen sink drain and removing unwanted buildup. Discover effective kitchen storage ideas to keep your space organized and clutter-free.
(Many of the links in this article redirect to a specific reviewed product. Your purchase of these products through affiliate links helps to generate commission for Storables.com, at no extra cost. Learn more)
Introduction
Welcome to the heart of the home – the kitchen! A clogged sink drain can quickly turn this bustling hub of culinary activity into a frustrating and messy ordeal. Whether it’s a buildup of grease, food particles, or soap scum, a clogged kitchen sink drain can disrupt your daily routine and lead to unpleasant odors. However, fear not! With a few expert tips and some simple tools, you can tackle this common household issue and restore your kitchen sink to its pristine condition.
In this comprehensive guide, we will delve into the signs of a clogged kitchen sink drain, the essential tools and materials needed for the task, and a step-by-step walkthrough of the most effective methods for removing unwanted buildup. From utilizing natural cleaning agents to employing tried-and-true techniques, you’ll be equipped with the knowledge and confidence to conquer any kitchen sink drain clog. So, roll up your sleeves, gather your tools, and let’s dive into the world of kitchen sink drain maintenance!
Key Takeaways:
- Say goodbye to clogged kitchen sink drains! Recognize signs early, use simple tools like plunger and baking soda, and prevent future buildup for a smoothly flowing sink.
- Keep your kitchen sink drain clog-free! Clean the P-trap, use a drain snake for stubborn clogs, and adopt preventive measures like regular cleaning and proper disposal of grease.
Read more: How To Clean A Drain And A Kitchen Sink
Signs of a Clogged Kitchen Sink Drain
Before diving into the cleaning process, it’s crucial to recognize the telltale signs of a clogged kitchen sink drain. Identifying these indicators early on can help prevent a minor inconvenience from escalating into a major plumbing issue.
- Slow Drainage: One of the most common signs of a clogged kitchen sink drain is slow drainage. If you notice that water takes longer than usual to drain from the sink, there’s a high likelihood that a clog is obstructing the flow.
- Pooling Water: When water begins to pool around the drain instead of swiftly disappearing, it’s a clear indication that a clog is impeding the drainage system.
- Unpleasant Odors: A foul smell emanating from the sink can be a result of trapped food particles and organic matter within the drain, signaling the presence of a clog.
- Gurgling Sounds: If you hear gurgling or bubbling noises coming from the drain when water is running, it could indicate that air is trapped in the pipes due to a clog, disrupting the normal flow of water.
- Backflow: In severe cases, a clogged kitchen sink drain may lead to water or waste backing up into the sink from the drain, posing a messy and unsanitary situation.
By staying vigilant and recognizing these signs, you can address a clogged kitchen sink drain in its early stages, preventing potential damage to your plumbing system and maintaining a smoothly functioning kitchen sink.
Tools and Materials Needed
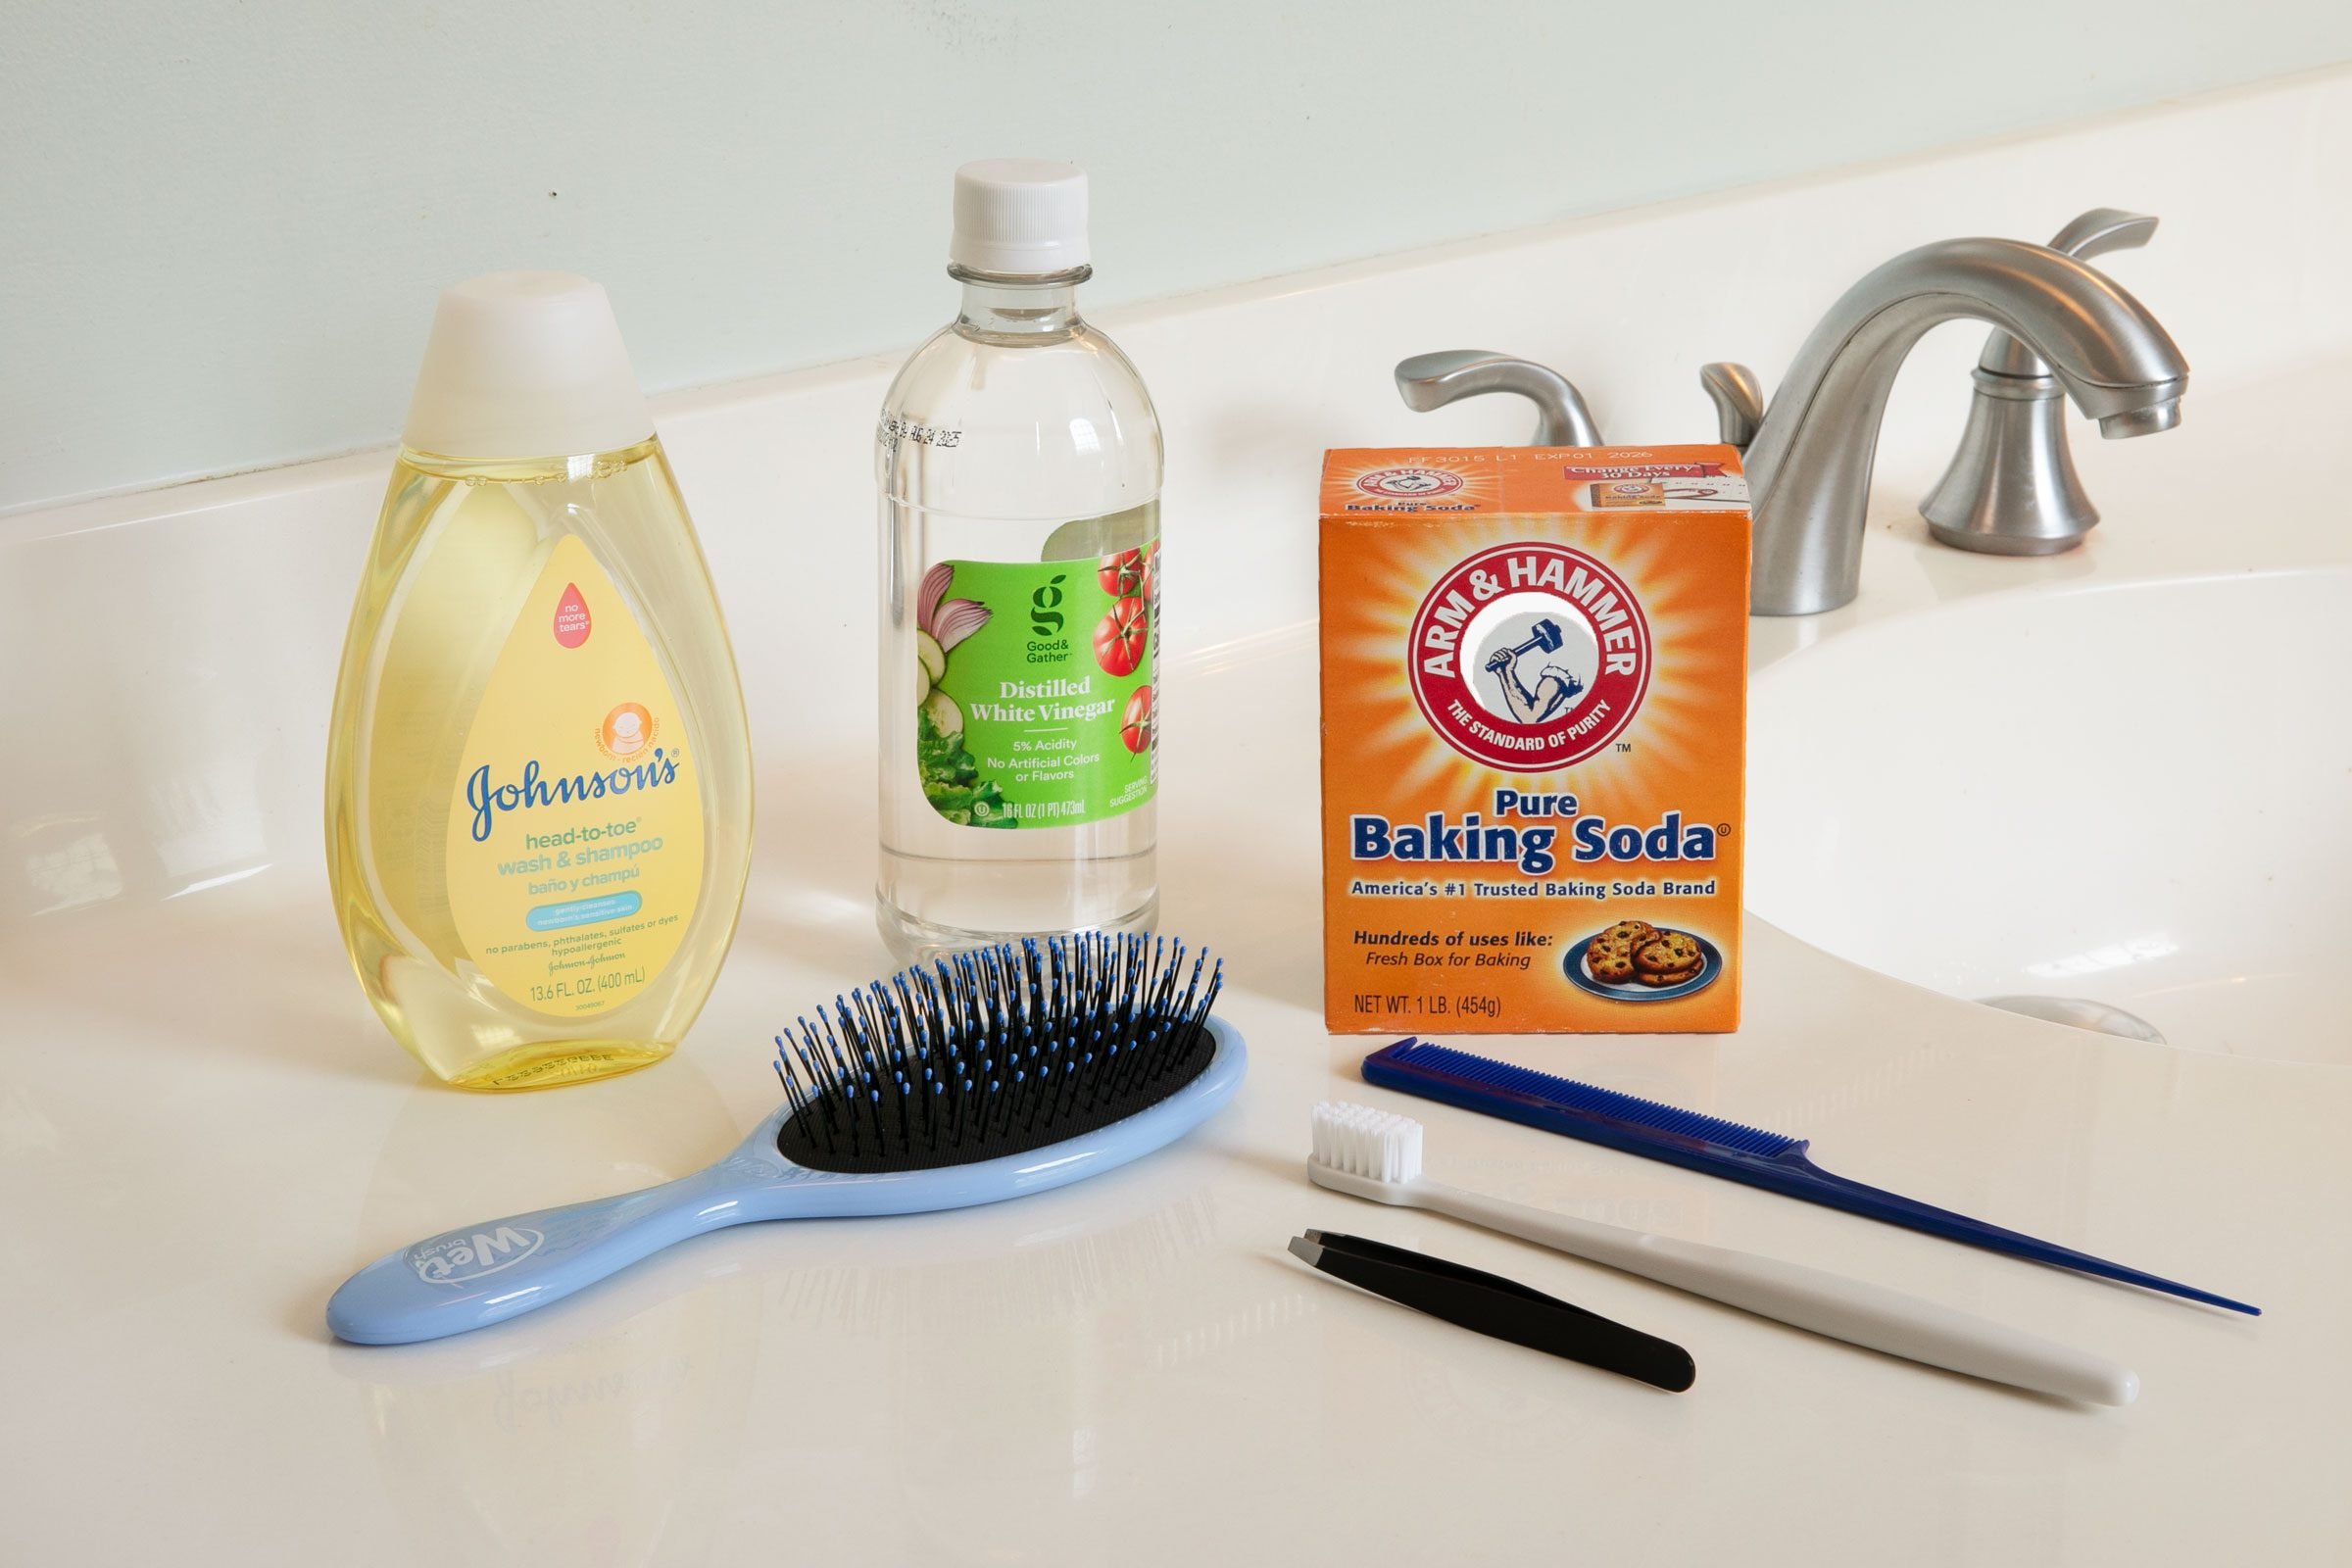
Before embarking on the journey to unclog your kitchen sink drain, it’s essential to gather the necessary tools and materials. Having the right equipment at your disposal will streamline the cleaning process and ensure that you can tackle the issue with confidence.
Here’s a list of the essential tools and materials you’ll need:
- Plunger: A standard cup plunger is an indispensable tool for dislodging minor clogs in the kitchen sink drain. Its suction power can help break up and remove obstructions.
- Baking Soda and Vinegar: These household staples are a dynamic duo when it comes to natural cleaning. When combined, they create a fizzy reaction that can help dissolve organic matter and clear minor clogs.
- Boiling Water: Boiling water is a simple yet effective weapon against grease and soap scum buildup. It can help melt and flush away these substances, restoring proper drainage.
- Adjustable Pliers: A pair of adjustable pliers will come in handy for removing the P-trap, a curved pipe beneath the sink, to access and clean out any trapped debris.
- Bucket: Keeping a bucket nearby is essential for catching water and debris when disassembling the P-trap or conducting more extensive cleaning procedures.
- Wire Drain Snake: A flexible wire drain snake or auger is a valuable tool for dislodging stubborn clogs that are out of reach of a plunger or chemicals.
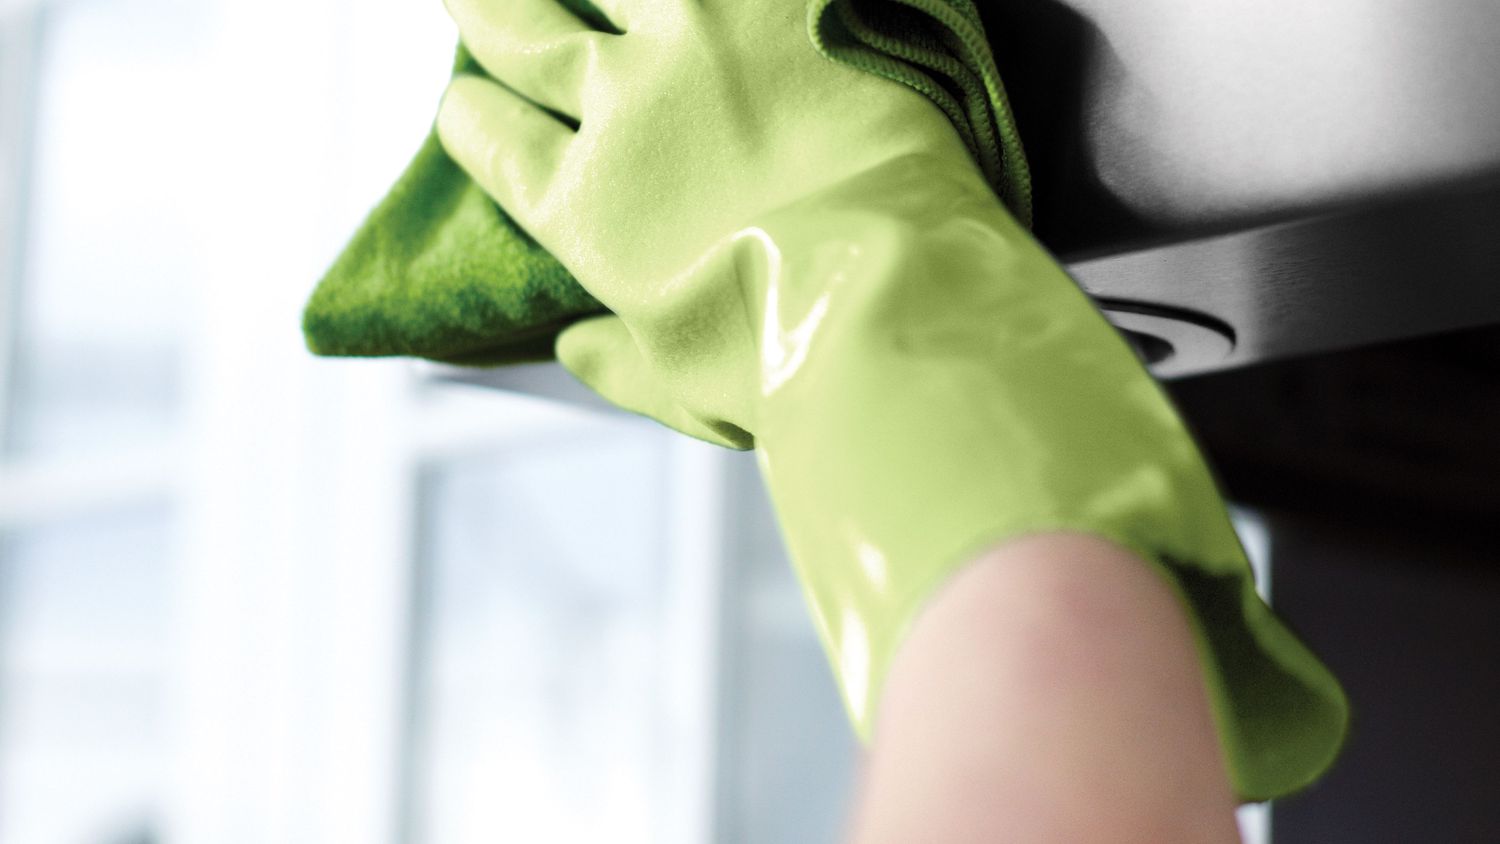
- Rubber Gloves: Protect your hands with a pair of rubber gloves, especially when dealing with potentially unsanitary conditions within the drain.
- Cleaning Brush: A small cleaning brush or bottle brush can be used to scrub and dislodge buildup from the sink stopper and drain opening.
By ensuring that you have these tools and materials on hand, you’ll be well-prepared to tackle a clogged kitchen sink drain using a variety of effective methods. With the right arsenal at your disposal, you can approach the task with confidence and efficiency.
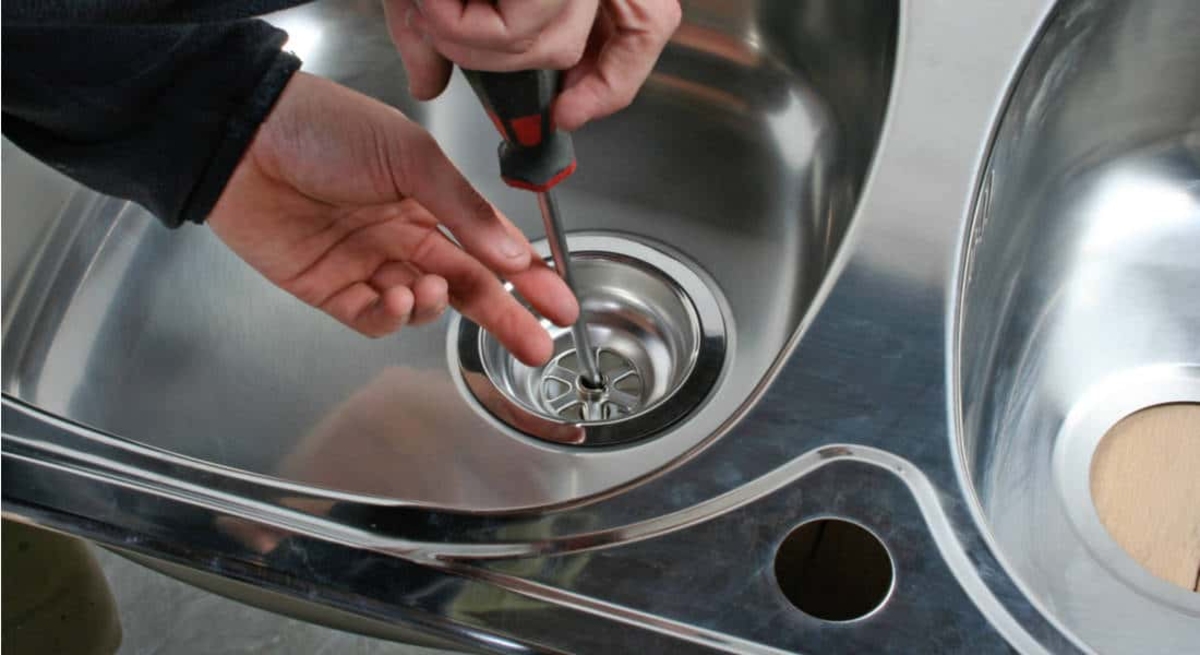
Step 1: Remove and Clean the Sink Stopper
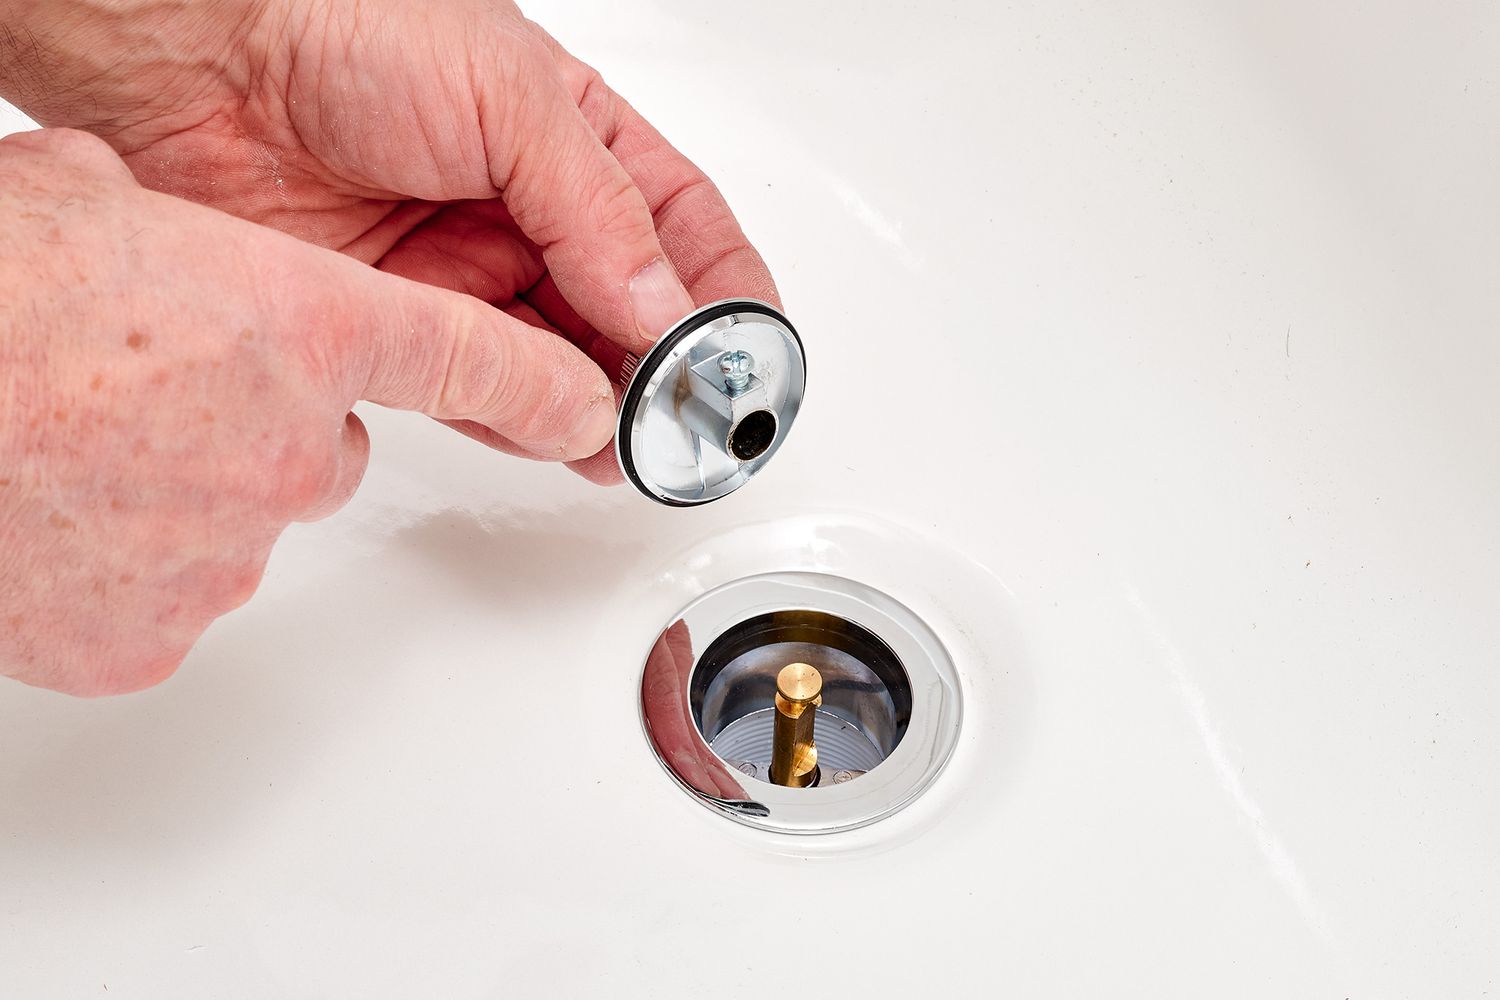
The first step in addressing a clogged kitchen sink drain is to remove and clean the sink stopper. Over time, the sink stopper can accumulate a buildup of soap scum, hair, and debris, contributing to drainage issues. Here’s how to tackle this essential first step:
- Locate the Sink Stopper: Depending on the type of sink stopper you have, you may need to unscrew it from the drain or simply lift it out. Look for a knob, lever, or ring that allows you to disengage the stopper from the drain.
- Inspect and Clean the Stopper: Once the stopper is removed, inspect it for any visible debris or buildup. Use a cleaning brush or bottle brush to scrub the stopper thoroughly, removing any accumulated gunk and grime.
- Clean the Drain Opening: With the stopper removed, take the opportunity to clean the drain opening using a cleaning brush and a mixture of warm water and mild dish soap. Clearing any visible debris from the drain can help improve water flow.
- Rinse and Reinstall: After cleaning the stopper and drain opening, rinse the stopper thoroughly and reinstall it in the drain. Ensure that it fits securely and forms a tight seal to prevent future buildup from accumulating beneath it.
By starting with this foundational step, you can eliminate potential obstructions caused by a dirty or malfunctioning sink stopper. This simple yet crucial task sets the stage for further cleaning and unclogging methods, laying the groundwork for a smoothly flowing kitchen sink drain.
Step 2: Use a Plunger
When faced with a stubborn clog in the kitchen sink drain, a trusty plunger can be a game-changer. The suction and pressure created by a plunger can effectively dislodge minor blockages and restore proper drainage. Here’s how to wield this essential tool with precision:
- Fill the Sink: Begin by filling the sink with enough water to cover the plunger’s rubber cup. The water helps create a seal and enhances the plunging action.
- Position the Plunger: Place the plunger over the drain, ensuring that it forms a tight seal around the opening. The rubber cup should be fully submerged in the water.
- Apply Firm Pressure: With a firm grip on the plunger handle, push and pull it in a rapid and steady motion. The goal is to create a strong suction force that dislodges the clog.
- Repeat as Needed: Continue plunging for several minutes, periodically checking to see if the water begins to drain. If the water starts to recede, this indicates that the clog is clearing.
- Test the Drainage: Once you’ve plunged the sink thoroughly, remove the plunger and run water to test the drainage. If the water flows freely down the drain, you’ve successfully cleared the clog using this method.
By harnessing the power of a plunger, you can tackle minor clogs in the kitchen sink drain with ease. This tried-and-true technique leverages the principles of pressure and suction to dislodge obstructions, offering a simple yet effective solution to restore proper drainage.
Read more: How To Clean Calcium Buildup In Sink
Step 3: Pour Boiling Water
When it comes to combating grease and soap scum buildup in the kitchen sink drain, a straightforward yet potent method involves the use of boiling water. The high temperature of the water can help dissolve and flush away these stubborn substances, promoting improved drainage. Here’s how to employ this simple yet effective technique:
- Boil a Pot of Water: Fill a pot with water and bring it to a rolling boil on the stovetop. The boiling water will serve as a potent weapon against greasy buildup in the drain.
- Pour the Boiling Water: Carefully carry the pot of boiling water to the kitchen sink. Slowly and steadily pour the entire contents of the pot down the drain, ensuring that it makes direct contact with the clog.
- Allow the Water to Work: Let the boiling water sit in the drain for several minutes to allow it to penetrate and break down the grease and soap scum. The heat will help melt these substances, facilitating their removal.
- Test the Drainage: After allowing the boiling water to work its magic, run hot water from the tap to test the drainage. If the water flows freely down the drain without backing up, the boiling water has likely succeeded in clearing the clog.
By harnessing the power of boiling water, you can effectively target and dissolve stubborn grease and soap scum that contribute to clogs in the kitchen sink drain. This method offers a natural and straightforward approach to promoting improved drainage and preventing future buildup.
To keep your kitchen sink drain clean, pour boiling water down the drain once a week to help prevent buildup and keep it flowing smoothly.
Step 4: Use Baking Soda and Vinegar
Harnessing the natural cleaning prowess of baking soda and vinegar can be a highly effective strategy for tackling clogs and deodorizing the kitchen sink drain. When combined, these household staples create a fizzy reaction that can help break down organic matter and clear minor obstructions. Here’s how to leverage this dynamic duo for optimal results:
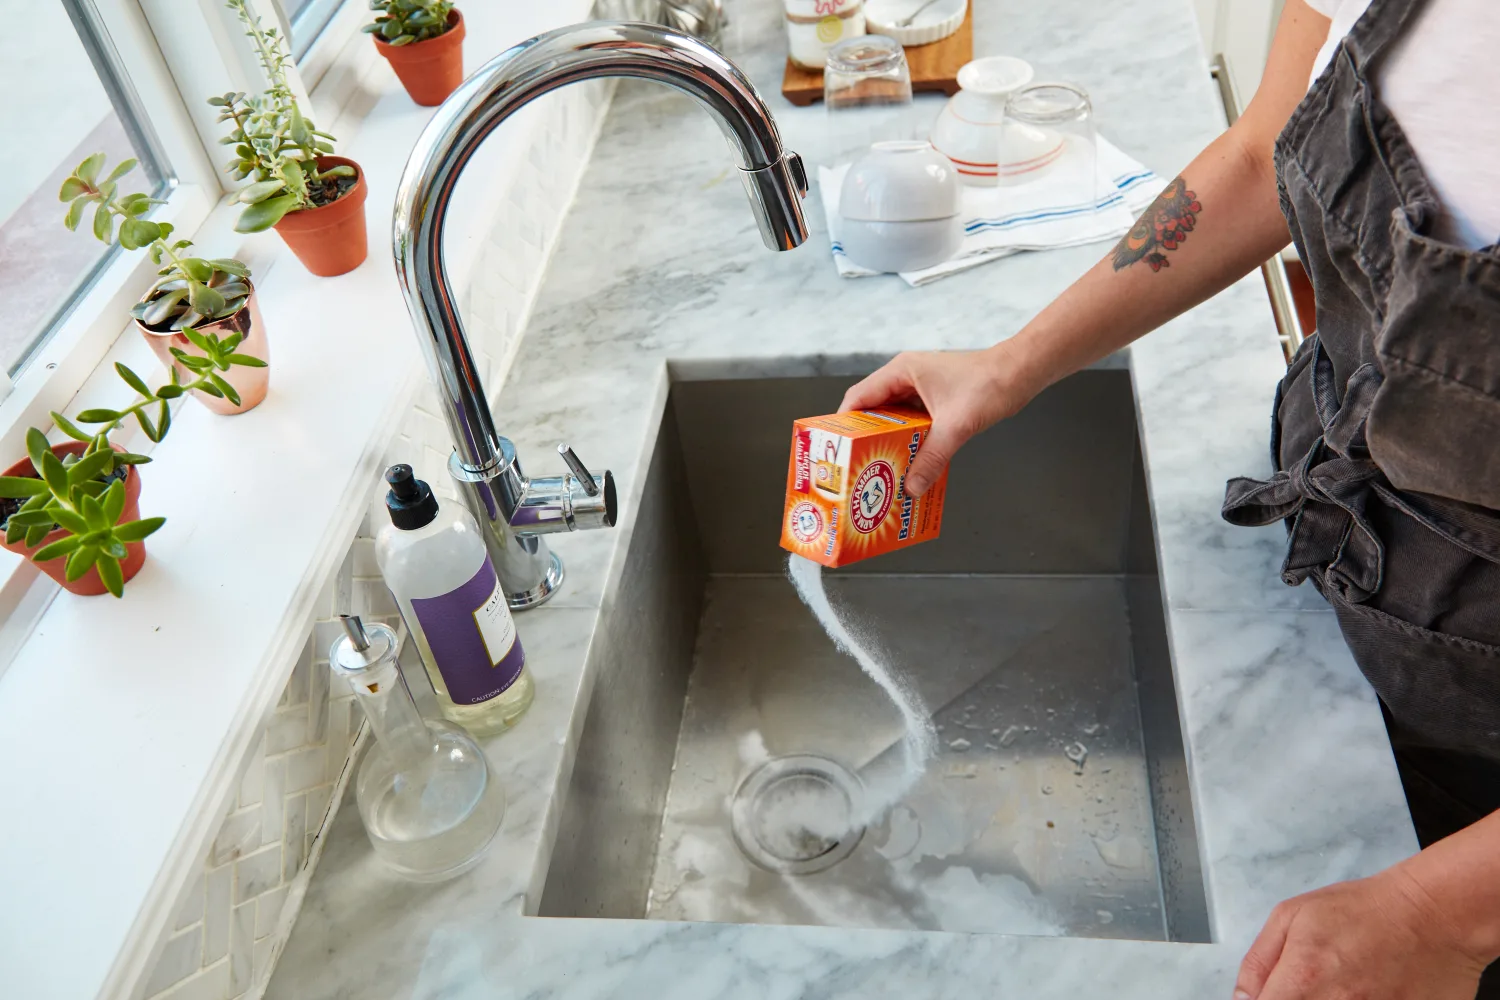
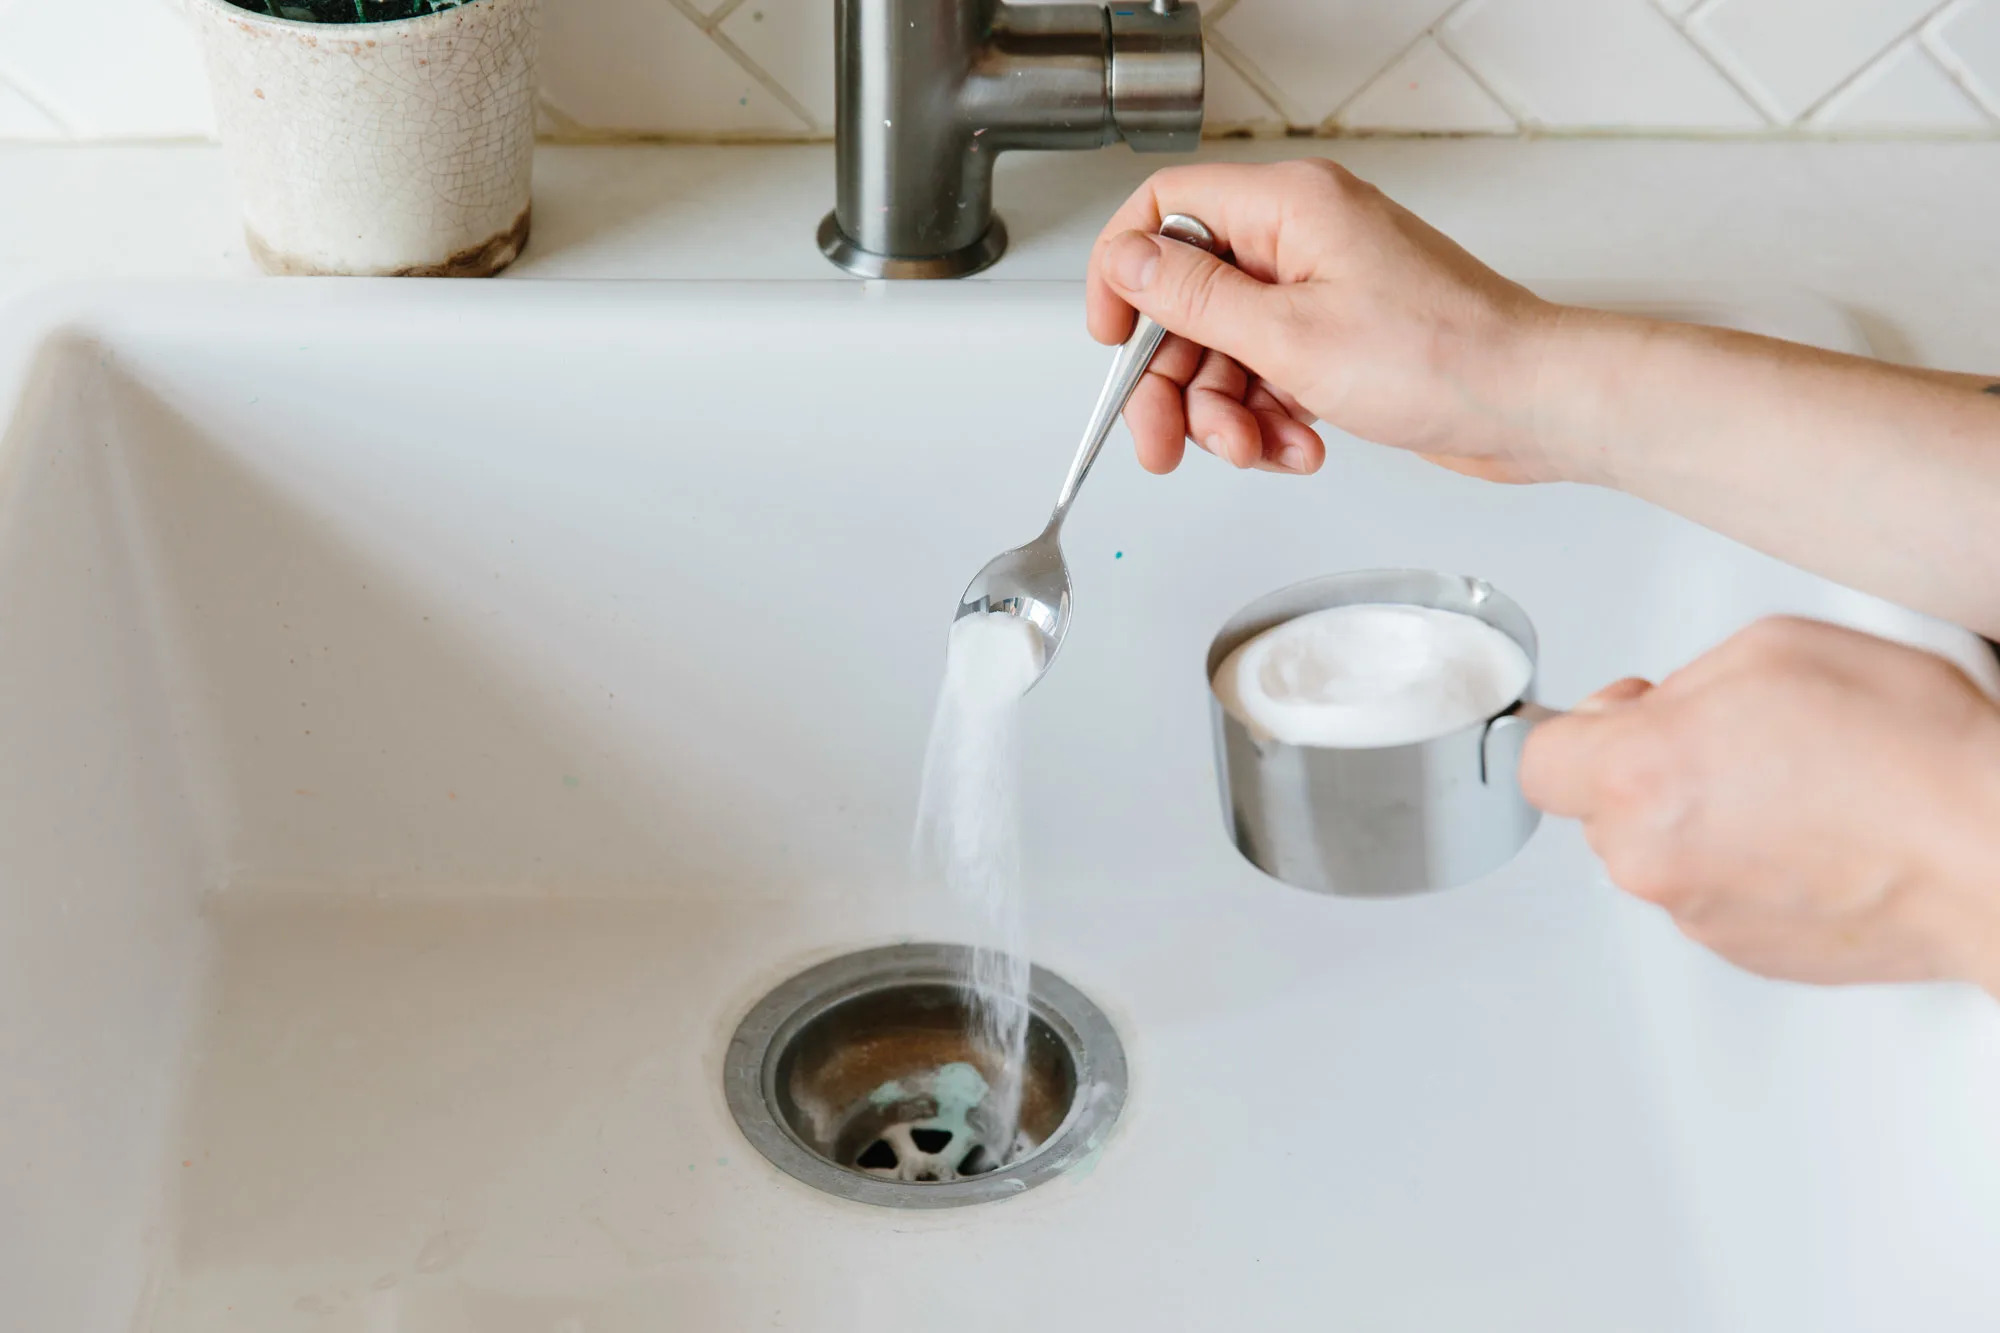
- Pour Baking Soda Into the Drain: Start by pouring about half a cup of baking soda directly into the kitchen sink drain. The baking soda will act as a gentle abrasive and deodorizer, targeting organic buildup.
- Follow with Vinegar: After the baking soda, pour an equal amount of vinegar down the drain. As the vinegar comes into contact with the baking soda, it will produce a fizzy reaction that helps dislodge and dissolve debris.
- Let the Mixture Work: Allow the baking soda and vinegar mixture to sit in the drain for at least 15 minutes. During this time, the fizzy reaction will help break down organic matter and loosen minor clogs.
- Flush with Hot Water: After the waiting period, run hot water from the tap to flush the drain. The hot water will help wash away the dissolved debris and clear the drain of any remaining residue.
By incorporating baking soda and vinegar into your cleaning regimen, you can harness their natural cleaning properties to tackle minor clogs and maintain a fresh-smelling kitchen sink drain. This eco-friendly and wallet-friendly method offers a gentle yet effective approach to promoting optimal drainage and cleanliness.
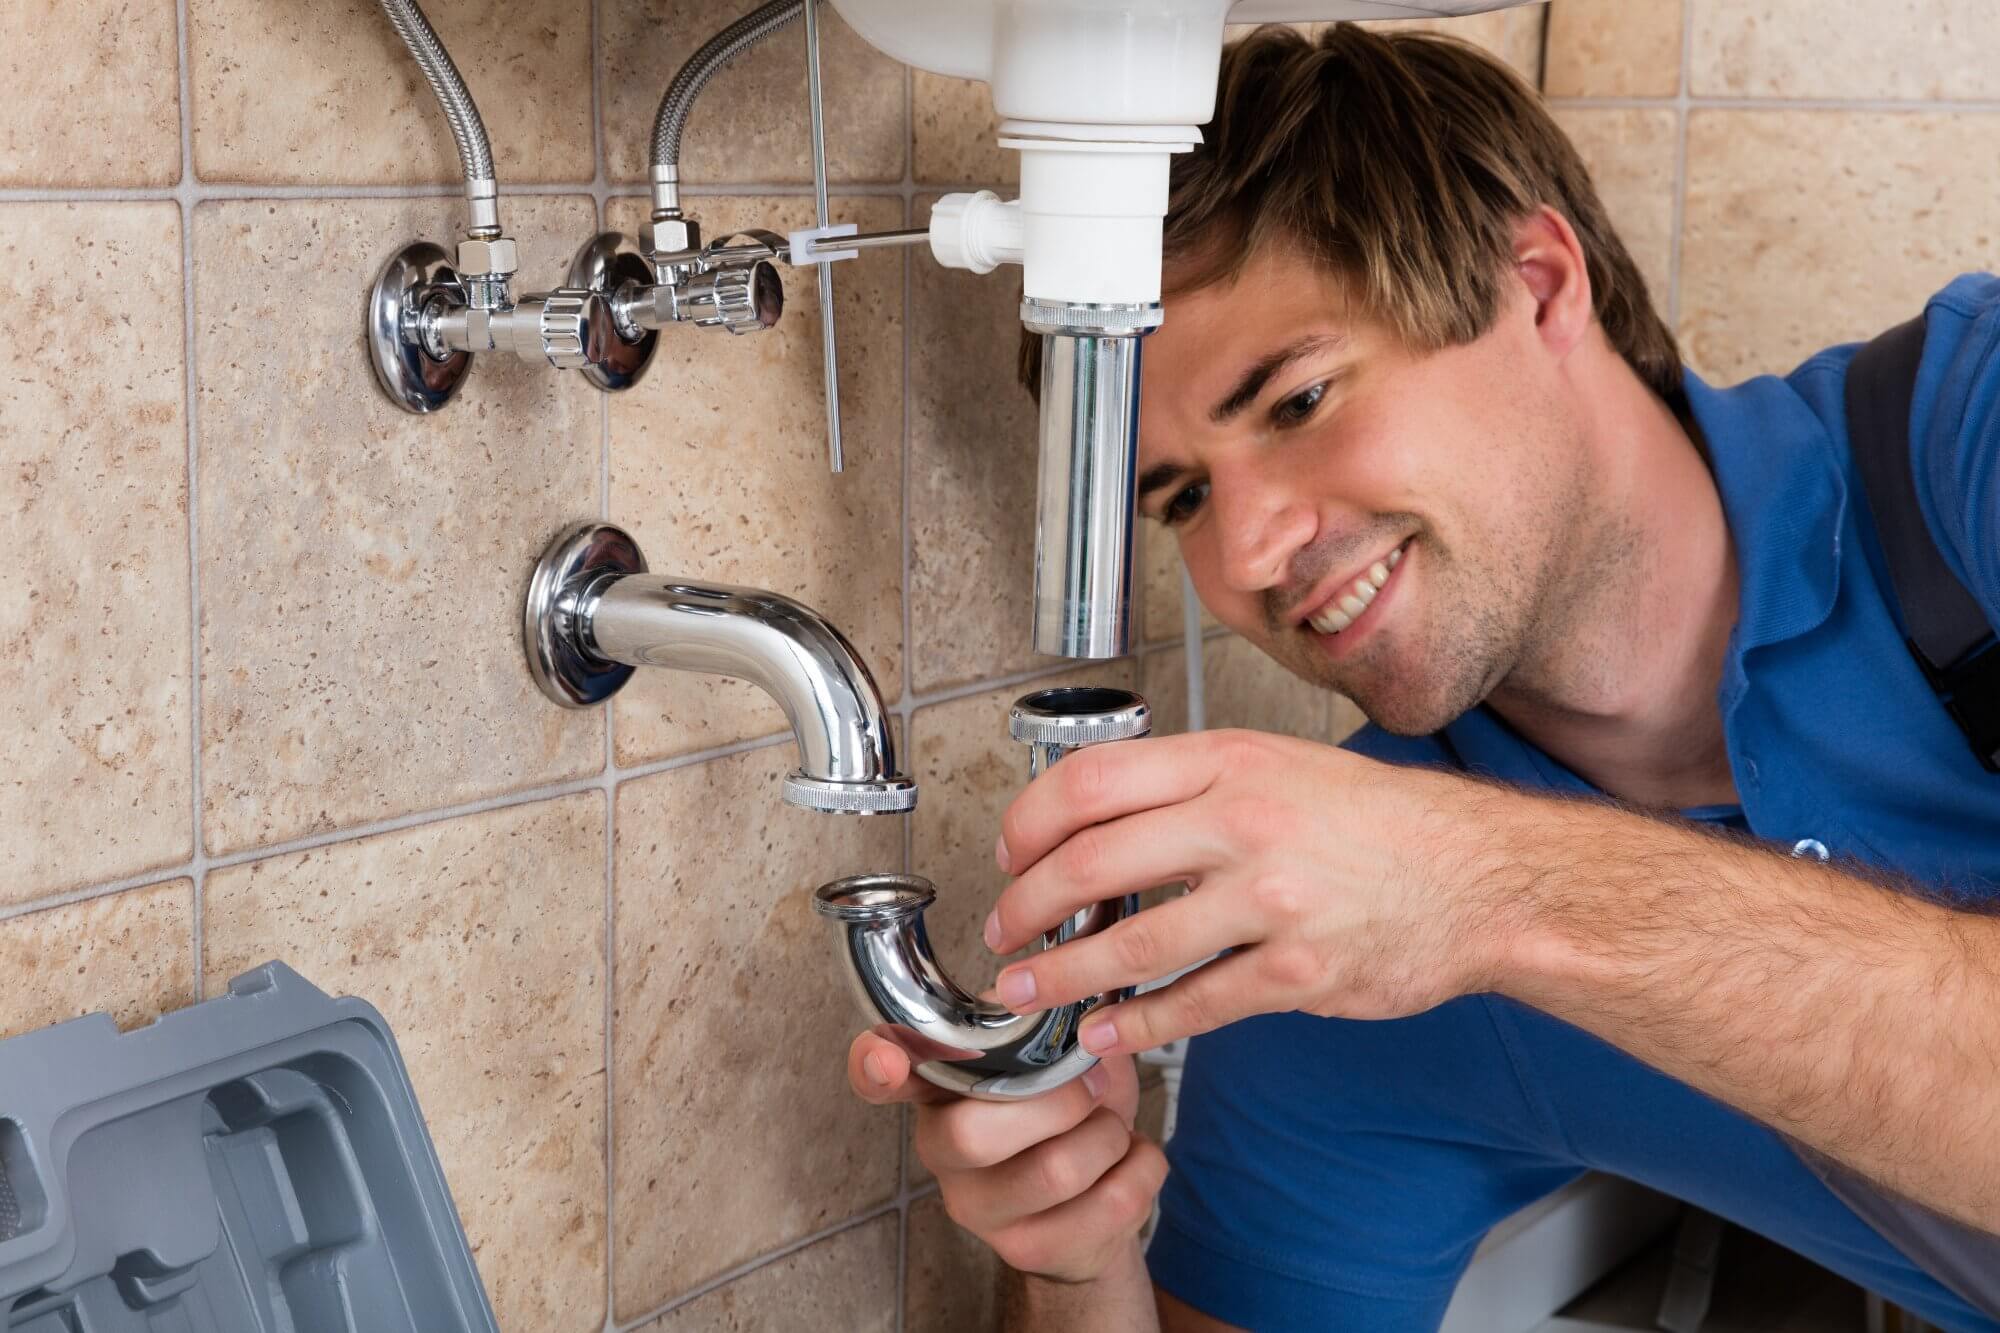
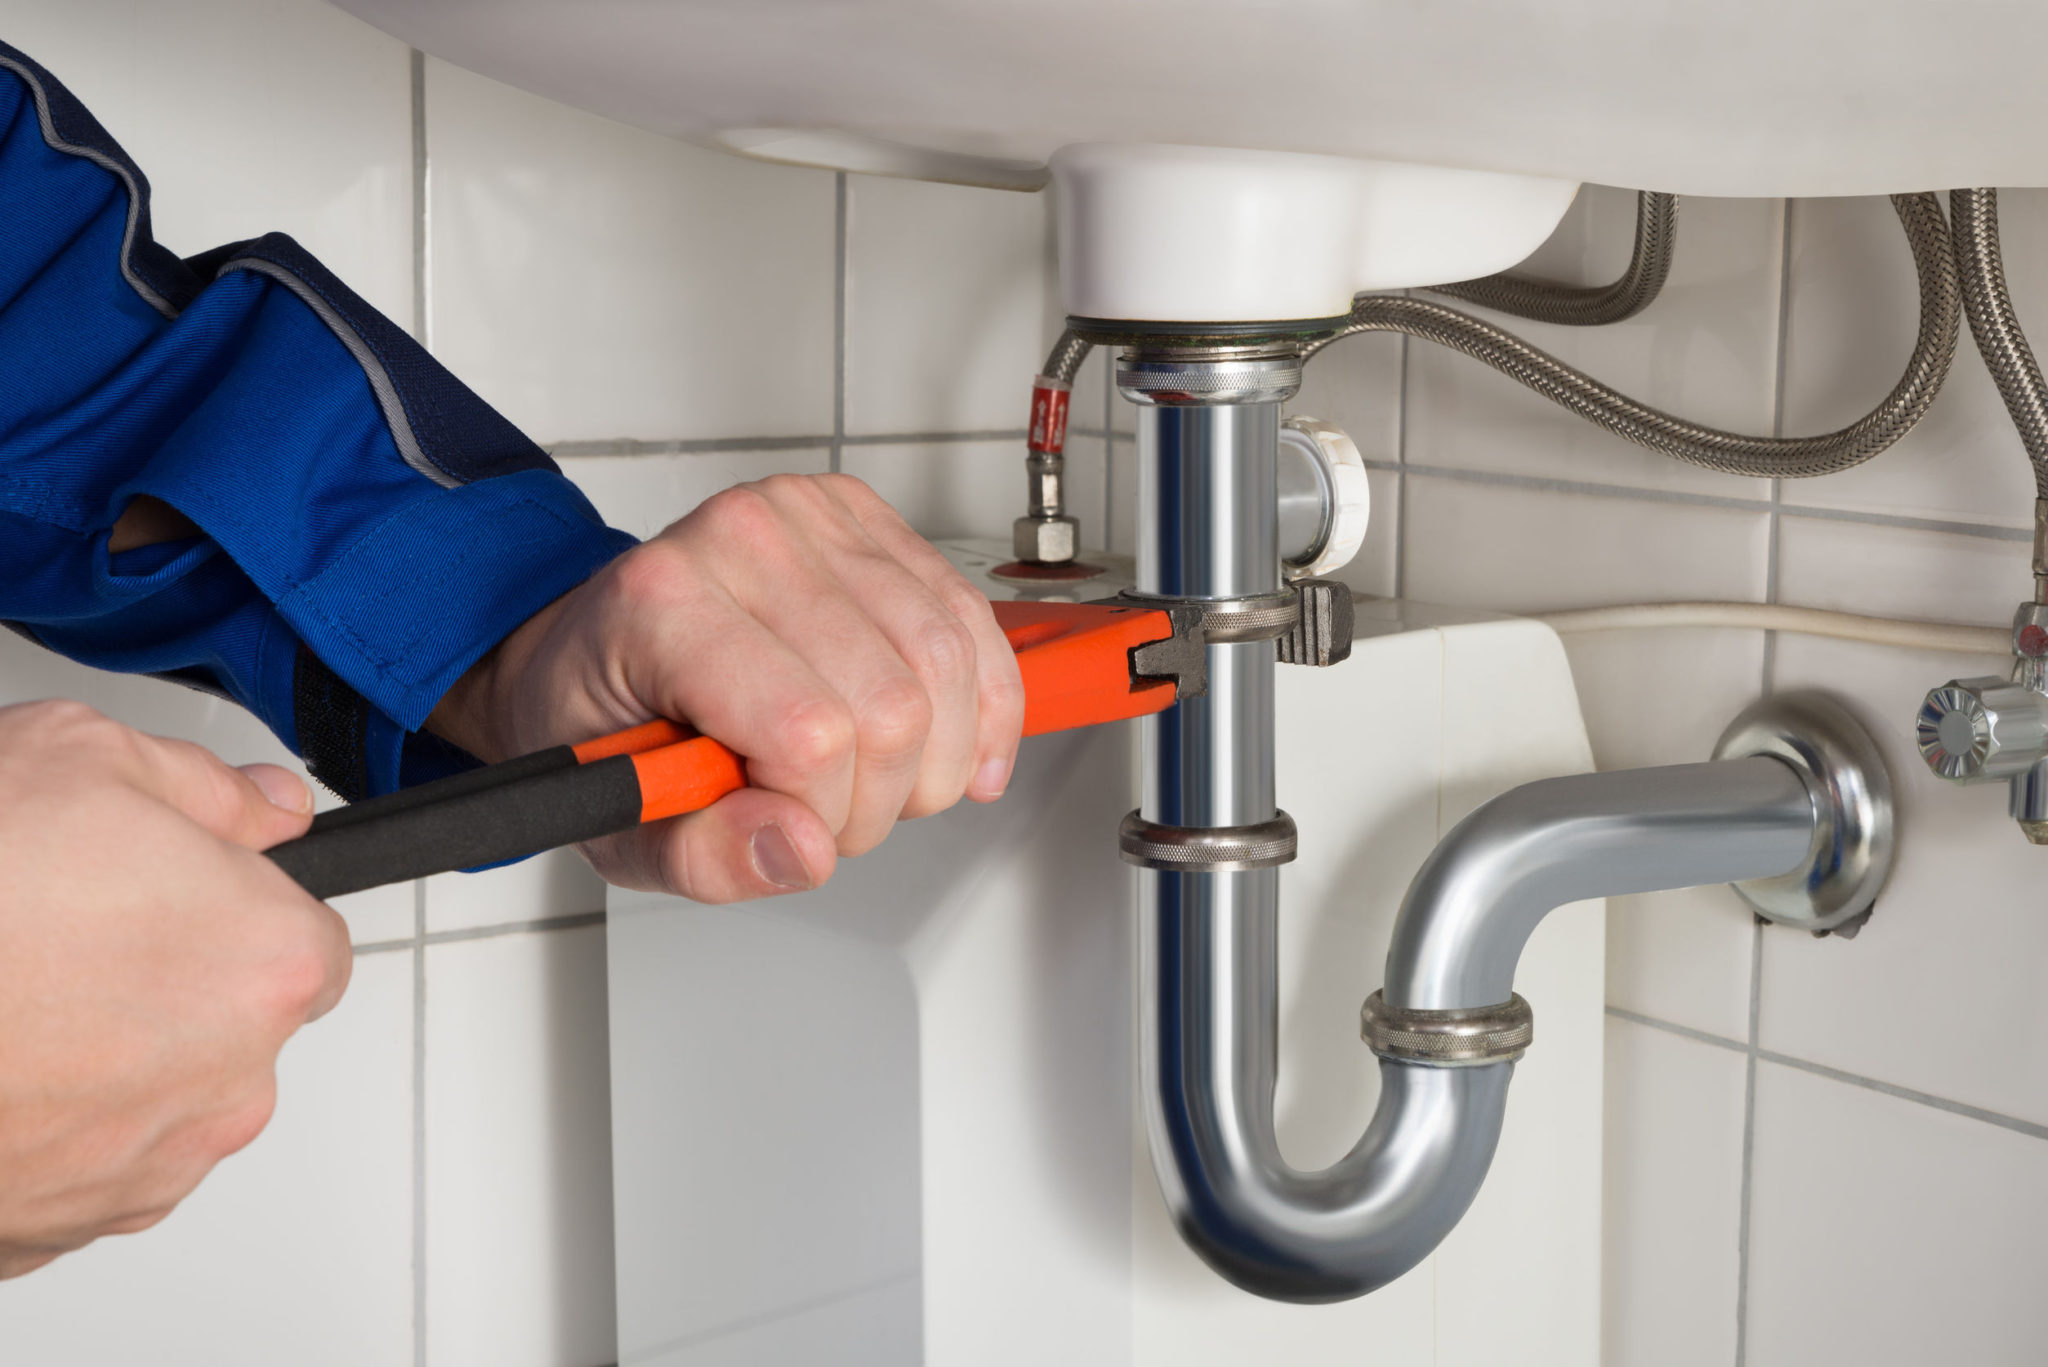
Step 5: Clean the P-Trap
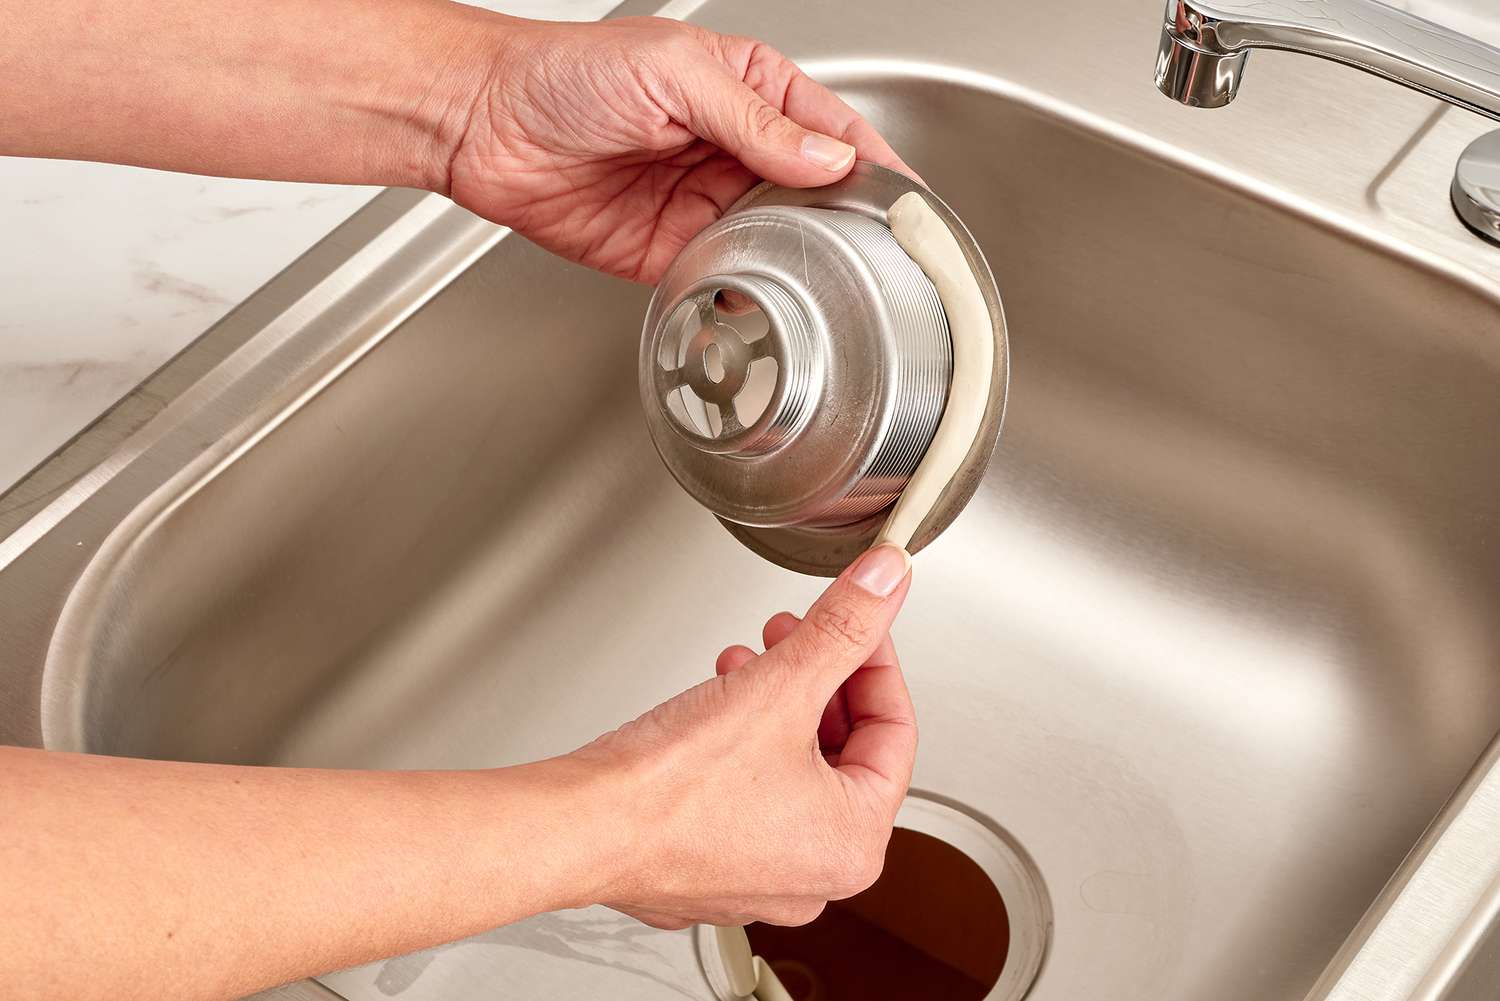
When conventional methods fail to clear a stubborn clog in the kitchen sink drain, the culprit may be lurking within the P-trap, a curved pipe located beneath the sink. Debris and gunk can accumulate in this crucial plumbing component, impeding the flow of water. Cleaning the P-trap is a more involved yet highly effective approach to addressing persistent clogs. Here’s how to tackle this essential step:
- Gather Your Tools: Before proceeding, gather a pair of adjustable pliers and a bucket to catch water and debris. It’s essential to be prepared for disassembling the P-trap.
- Place the Bucket: Position the bucket beneath the P-trap to catch any water and debris that may spill out during the cleaning process. This helps prevent mess and facilitates cleanup.
- Loosen the P-Trap Connections: Using the adjustable pliers, carefully loosen the slip nuts or connectors that secure the P-trap to the drain pipe and the vertical extension coming from the sink drain.
- Remove the P-Trap: Once the connections are loosened, carefully detach the P-trap from the drain pipe and the vertical extension. Keep in mind that the P-trap may contain standing water and debris, so handle it with care.
- Clean the P-Trap: Empty the contents of the P-trap into the bucket and inspect it for any accumulated debris or clogs. Use a cleaning brush and warm, soapy water to scrub the interior of the P-trap thoroughly, removing any buildup or obstructions.
- Reassemble the P-Trap: After cleaning the P-trap, reattach it to the drain pipe and the vertical extension, ensuring that the slip nuts are securely tightened. Double-check for any leaks before proceeding.
- Test the Drainage: With the P-trap reassembled, run hot water from the tap to test the drainage. If the water flows freely and without obstruction, you’ve successfully cleared the P-trap of any clogs.
By undertaking the task of cleaning the P-trap, you can address more stubborn clogs and remove accumulated debris that may be impeding the flow of water in the kitchen sink drain. While this method requires a bit more effort, it offers a comprehensive solution to persistent drainage issues, restoring the sink to optimal functionality.
Step 6: Use a Drain Snake
When traditional methods prove ineffective in clearing a stubborn clog from the kitchen sink drain, a drain snake, also known as a drain auger, can be a valuable tool for reaching and dislodging obstructions deep within the plumbing. This flexible and versatile tool allows you to navigate through the pipes and break up tough clogs with precision. Here’s how to effectively utilize a drain snake to tackle persistent blockages:
- Select the Right Drain Snake: Choose a drain snake that is suitable for the size and configuration of your kitchen sink drain. Opt for a flexible and slender snake that can navigate through the twists and turns of the pipes.
- Insert the Drain Snake: Carefully feed the end of the drain snake into the kitchen sink drain, guiding it through the pipes with a gentle and steady hand. Slowly rotate the handle as you advance the snake, allowing it to navigate through the plumbing system.
- Break Up the Clog: Once the drain snake encounters resistance, continue to feed it into the drain while gently maneuvering and rotating it. The snake’s protruding tip can help break up and dislodge the clog as it navigates through the pipes.
- Retract the Drain Snake: After reaching the clog and breaking it up, slowly retract the drain snake from the drain, ensuring that it captures any dislodged debris as it is withdrawn.
- Flush the Drain: Once the drain snake is removed, run hot water from the tap to flush the drain and clear away any remaining debris. This helps ensure that the clog has been effectively dislodged and removed from the plumbing system.
By employing a drain snake, you can target and dislodge stubborn clogs that are out of reach of traditional cleaning methods. This tool offers a proactive and precise approach to restoring proper drainage in the kitchen sink, providing a comprehensive solution to persistent clogging issues.
Step 7: Preventing Future Buildup
After successfully clearing a clogged kitchen sink drain, it’s essential to implement preventive measures to minimize the likelihood of future buildup and obstructions. By adopting proactive habits and maintenance routines, you can sustain optimal drainage and keep your kitchen sink in top condition. Here are some effective strategies for preventing future buildup in the kitchen sink drain:
- Regular Cleaning: Incorporate regular cleaning of the sink stopper, drain opening, and P-trap into your household maintenance routine. This helps prevent the accumulation of debris and organic matter that can lead to clogs.
- Use a Sink Strainer: Install a sink strainer or drain filter to capture food particles, grease, and other debris before they enter the drain. This simple yet effective tool can significantly reduce the risk of clogs.
- Dispose of Grease Properly: Avoid pouring grease, oils, and fats down the kitchen sink drain, as they can solidify and contribute to blockages. Instead, collect and dispose of grease in a designated container for proper disposal.
- Run Hot Water Regularly: Routinely flush the kitchen sink drain with hot water to help melt and wash away grease and soap scum. This preventive measure can help maintain clear and unobstructed drainage.
- Be Mindful of Food Waste: Use a compost bin or designated trash receptacle for food scraps and avoid allowing large quantities of food waste to enter the drain. Minimizing the introduction of organic matter can reduce the risk of clogs.
- Professional Maintenance: Consider scheduling periodic professional drain cleaning and maintenance to ensure that the plumbing system remains free of obstructions and functioning optimally.
By integrating these preventive measures into your kitchen sink maintenance routine, you can proactively mitigate the risk of future buildup and clogs, preserving the efficiency and functionality of your sink’s drainage system. These simple yet impactful strategies contribute to a consistently clear and smoothly flowing kitchen sink drain.
Conclusion
Congratulations! By following the expert tips and methods outlined in this comprehensive guide, you’ve gained the knowledge and skills to effectively address a clogged kitchen sink drain and restore optimal drainage. From recognizing the signs of a clog to utilizing a range of proven techniques and tools, you’ve embarked on a journey to maintain a clean, functional, and odor-free kitchen sink. By incorporating preventive measures into your maintenance routine, you can minimize the risk of future buildup and enjoy uninterrupted use of your kitchen sink.
Remember, staying proactive and attentive to the condition of your kitchen sink drain is key to preserving its efficiency and preventing disruptive clogs. Whether it’s employing natural cleaning agents, disassembling and cleaning the P-trap, or utilizing a drain snake to dislodge stubborn obstructions, you now have a diverse toolkit at your disposal to combat clogs with confidence.
By adopting these expert strategies and making them a part of your regular home maintenance, you can ensure that your kitchen sink remains a hub of cleanliness and convenience. With a clear and smoothly flowing drain, you can tackle culinary tasks with ease and enjoy a hygienic and pleasant kitchen environment.
So, armed with your newfound expertise and the tools of the trade, you’re well-equipped to conquer any clog that dares to disrupt the harmony of your kitchen sink. Here’s to a future of unobstructed drainage and a kitchen that exudes cleanliness and functionality!
Frequently Asked Questions about Cleaning A Kitchen Sink Drain: Expert Tips For Removing Unwanted Buildup
Was this page helpful?
At Storables.com, we guarantee accurate and reliable information. Our content, validated by Expert Board Contributors, is crafted following stringent Editorial Policies. We're committed to providing you with well-researched, expert-backed insights for all your informational needs.


0 thoughts on “Cleaning A Kitchen Sink Drain: Expert Tips For Removing Unwanted Buildup”