Articles
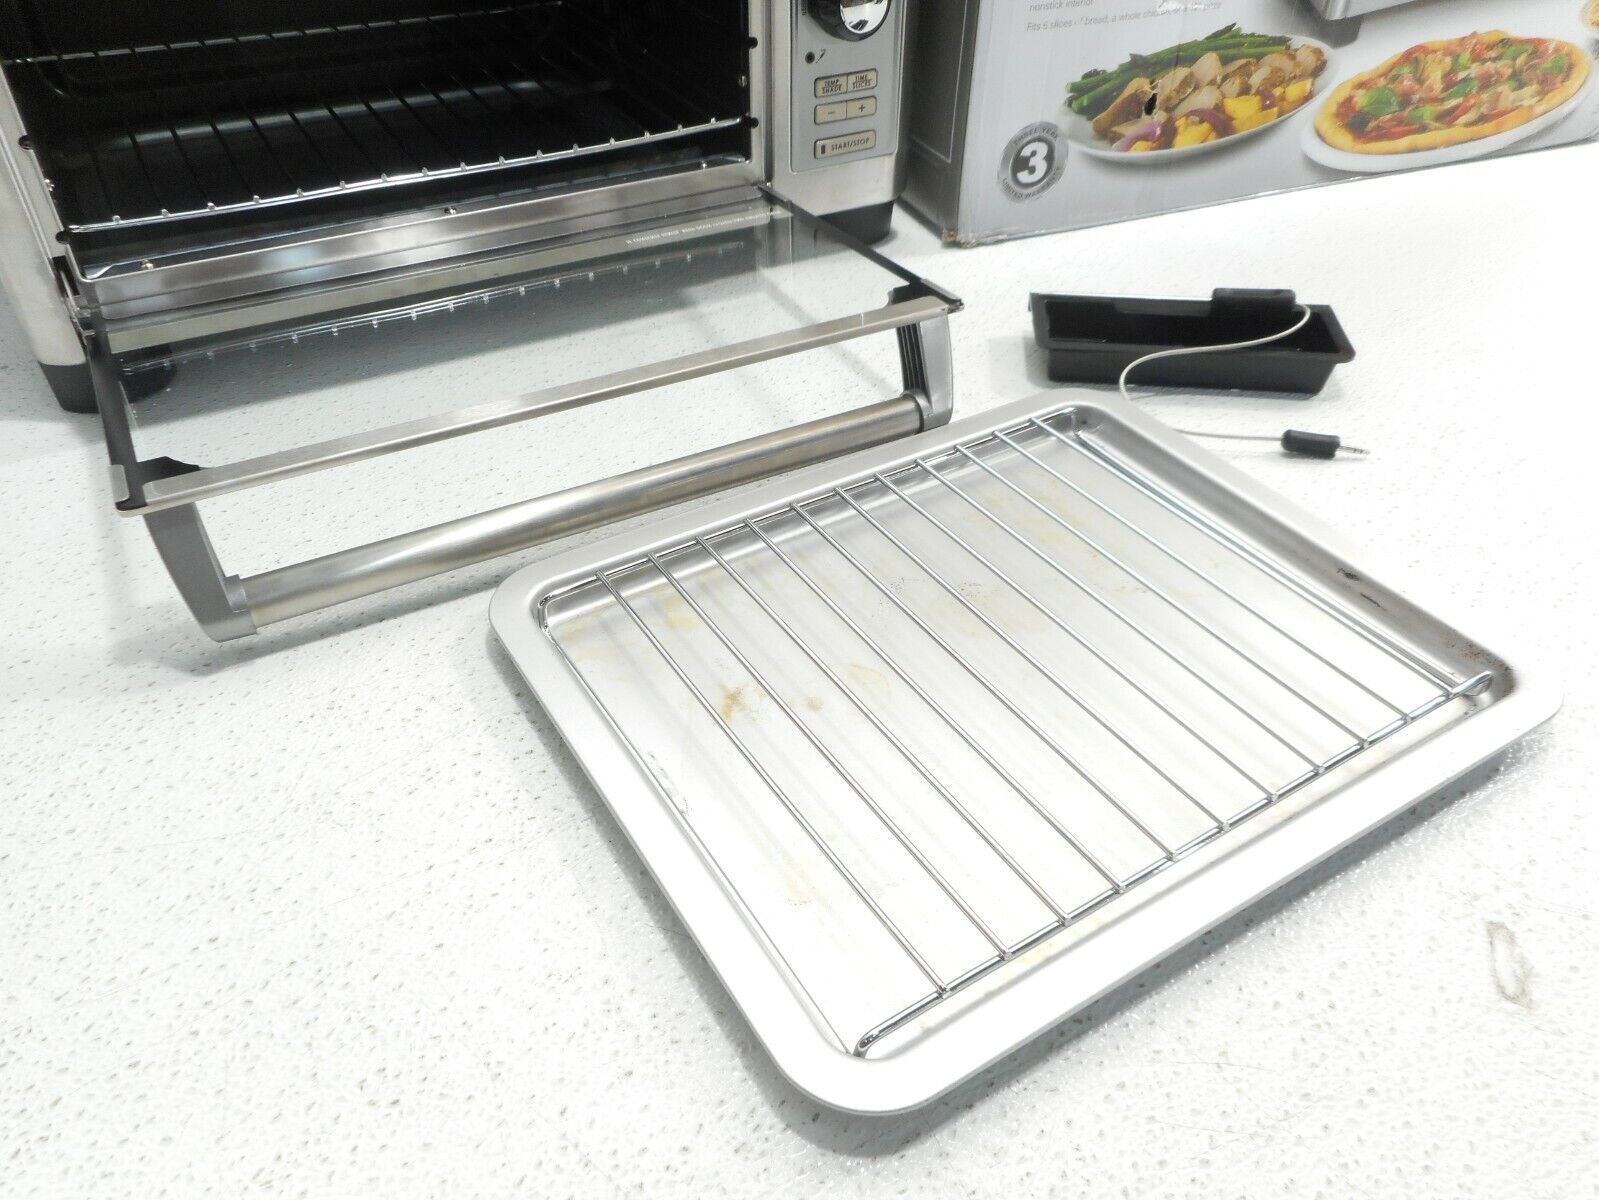
How To Put In Oven Racks
Modified: September 2, 2024
Discover the proper technique for placing oven racks in your kitchen furniture. Follow this step-by-step guide for seamlessly positioning your oven racks in place to ensure even baking and cooking results.
(Many of the links in this article redirect to a specific reviewed product. Your purchase of these products through affiliate links helps to generate commission for Storables.com, at no extra cost. Learn more)
Introduction
When it comes to cooking in your oven, having properly placed oven racks is crucial for an even distribution of heat and optimal baking or roasting results. Whether you’re replacing old oven racks or simply repositioning them, knowing how to put in oven racks correctly is essential. In this guide, we will walk you through the step-by-step process of putting in oven racks to ensure that your cooking experience is hassle-free and produces delicious meals every time.
Before we dive into the details, it’s important to note that oven racks come in various shapes and sizes, depending on the type and brand of your oven. It’s recommended to consult your oven’s manual for specific instructions on how to handle and install oven racks.
Now, let’s get started with the process of putting in oven racks and achieving perfectly cooked dishes!
Key Takeaways:
- Properly placing oven racks is crucial for even heat distribution and optimal cooking results. Follow the step-by-step guide to ensure hassle-free installation and delicious meals every time.
- Prioritize safety, proper placement, and stability testing for a seamless oven rack installation. Consult your oven’s manual and enjoy efficient and delicious cooking results.
Read more: How To Put Up Towel Rack
Step 1: Preparing the Oven
Before you start inserting the new oven racks, it’s essential to prepare the oven to ensure a safe and seamless installation process. Here’s what you need to do:
- Turn off the oven: Begin by turning off the oven and unplugging it from the power source. This will prevent any accidental injuries or damage while you are working on installing the racks.
- Let it cool down: If the oven was recently used, give it enough time to cool down completely. This will ensure that you won’t burn yourself when handling the racks.
- Clean the oven: Take the opportunity to clean the oven before installing the new racks. Remove any food residues or grease that might have accumulated. A clean oven not only prevents odors but also ensures better cooking performance.
- Check for obstructions: Before proceeding, make sure there are no obstructions in the oven, such as pots, pans, or baking sheets. Clear the oven of any items to avoid interference when inserting the racks.
By following these simple steps, you’ll ensure that your oven is in the ideal condition for inserting the new racks and that you can work safely and efficiently.
Step 2: Removing the Existing Racks
Before you can insert new oven racks, you’ll need to remove the existing ones. Here’s how to do it:
- Open the oven door: Gently open the oven door to gain access to the inside. Take caution as the oven might still be warm from previous use.
- Locate the rack levers: Look for the levers or tabs on the sides of the oven walls that hold the racks in place. These levers are usually found on the front edges of the racks.
- Release the levers: Push or pull the levers to the unlocked position. This will disengage them from the rack supports and allow you to remove the racks.
- Remove the racks: Carefully lift the rack at an angle and pull it out from the oven. Be mindful not to scrape or damage the interior of the oven while doing so.
- Repeat for multiple racks: If your oven has multiple racks, repeat the above steps to remove each rack, starting from the top and working your way downwards.
Remember to handle the racks with care to avoid any injuries or damage. Once you have removed all the existing racks, you can proceed to the next step of preparing the new oven racks for installation.
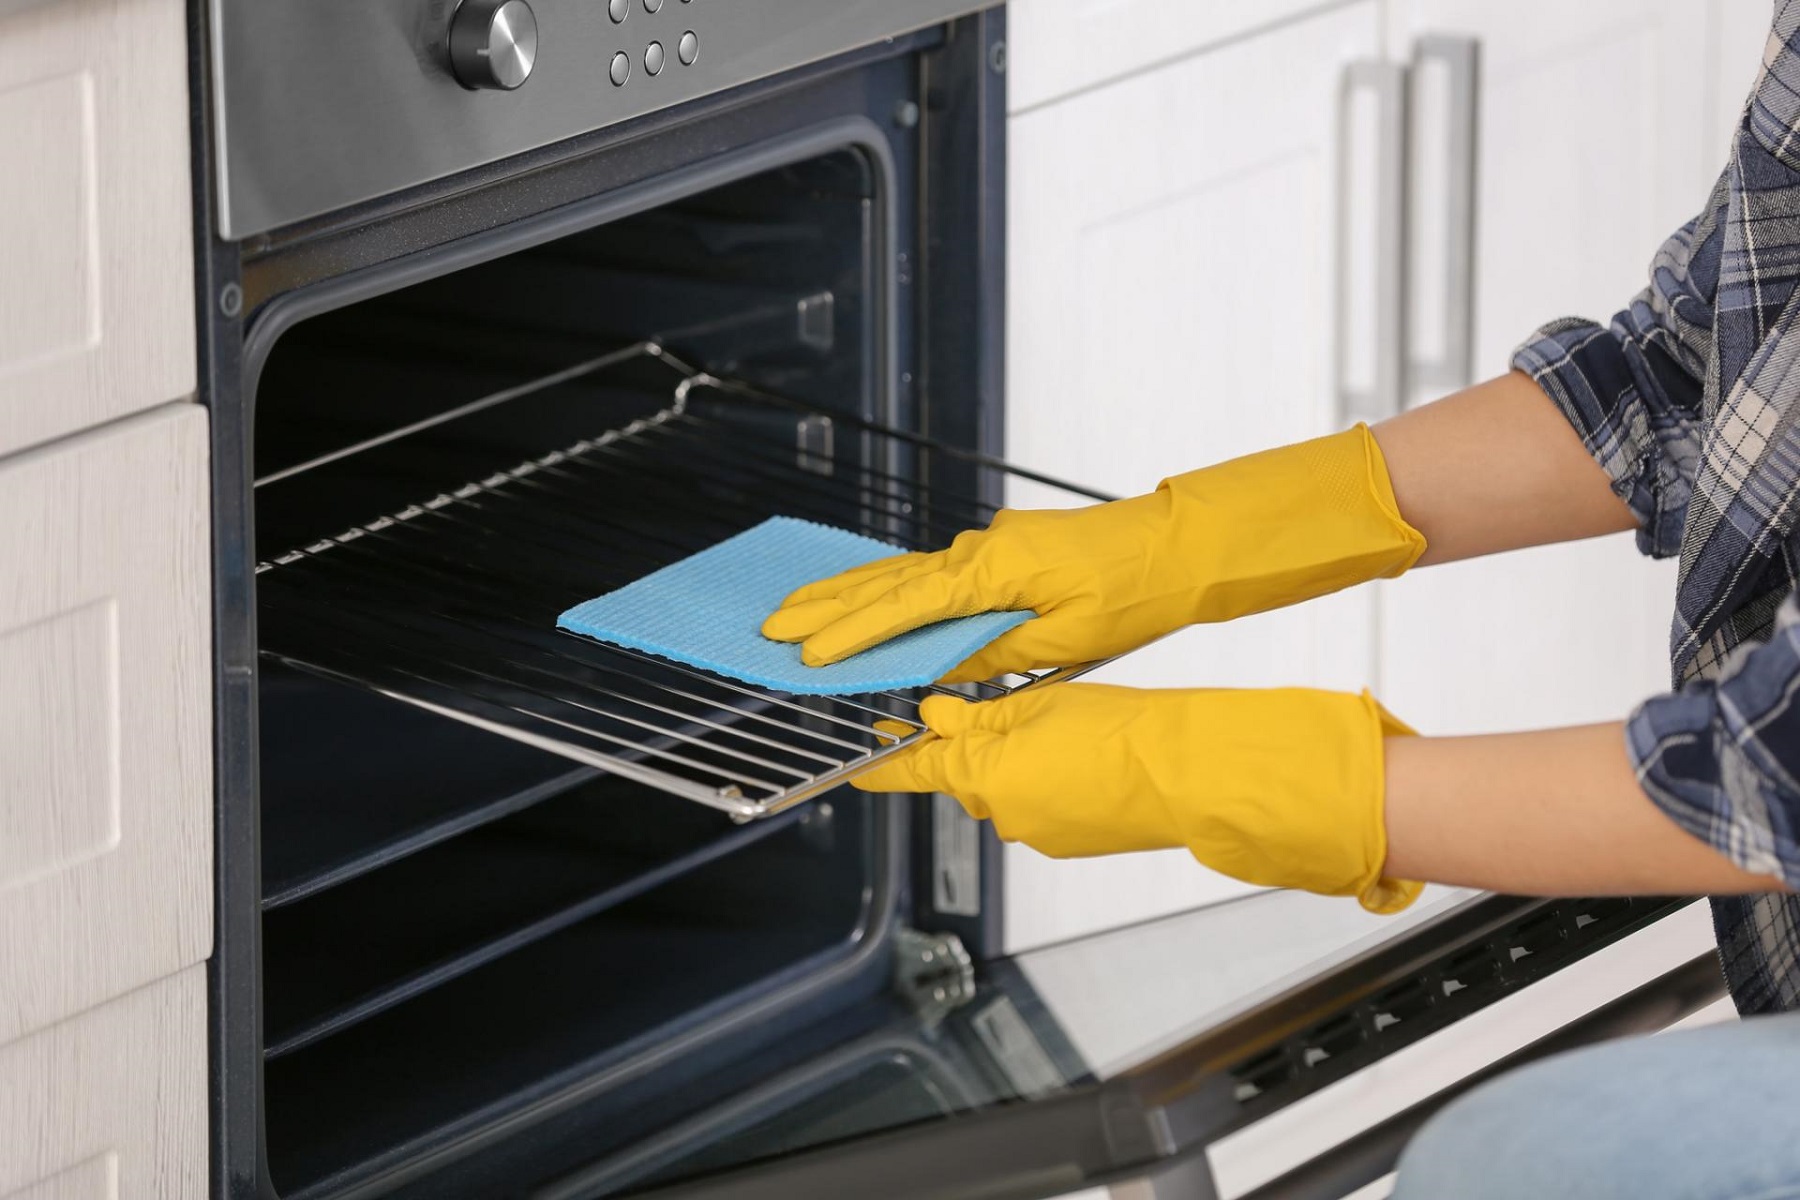
Step 3: Preparing the New Oven Racks
After removing the existing oven racks, it’s time to prepare the new ones for installation. Follow these steps to ensure your new oven racks are ready:
- Inspect the new racks: Before installing the new oven racks, carefully inspect them for any defects or damage. Ensure that all the parts, including supports and levers, are intact.
- Clean the new racks: Even if the new racks appear clean, it’s a good idea to give them a quick wipe-down. Use a damp cloth or sponge to remove any dust or debris that may have accumulated during storage or transportation.
- Check compatibility: Verify that the new oven racks are compatible with your specific oven model and size. Refer to your oven’s manual or contact the manufacturer if you have any doubts.
- Position the rack guides: Some oven racks may require adjusting or positioning guides before installation. Follow the manufacturer’s instructions to align the rack guides properly.
- Assemble if necessary: If your new oven racks come in separate pieces, such as removable supports or attachments, assemble them according to the provided instructions. Ensure that all components fit securely together.
By taking the time to inspect and prepare the new oven racks, you’ll ensure a trouble-free installation process and make sure that they are ready to be placed inside your oven.
When putting oven racks back in, make sure to align the rack with the grooves on the sides of the oven. Slide the rack in gently and evenly to avoid any damage to the oven walls or the rack itself.
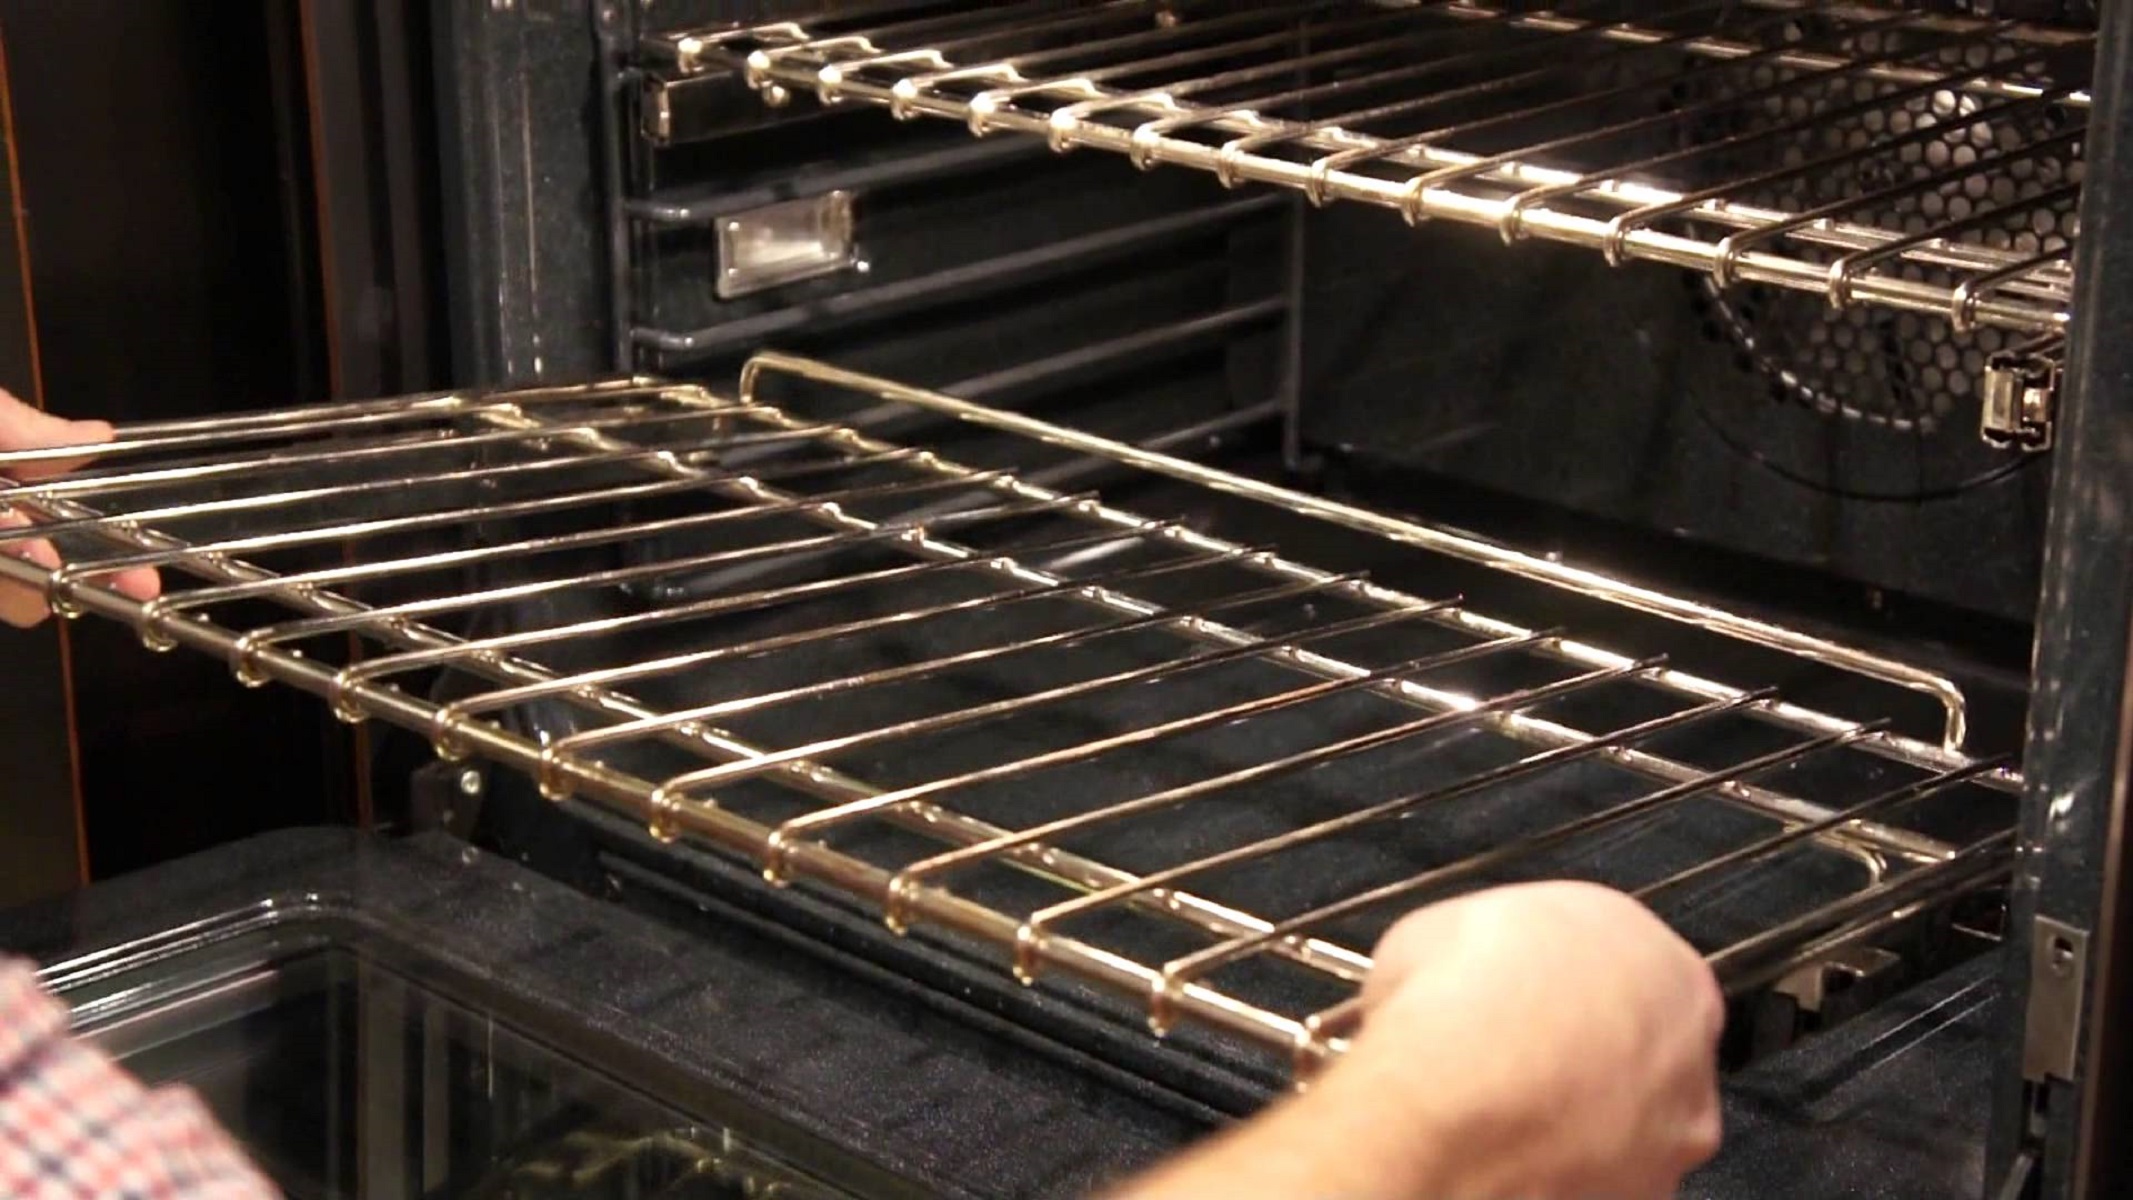
Step 4: Inserting the New Oven Racks
Now that you have prepared the new oven racks, it’s time to insert them into your oven. Follow these steps for a seamless installation:
- Locate the rack supports: Identify the rack supports inside your oven. These are typically metal tracks or grooves on both sides of the oven walls.
- Align the rack with the supports: Hold the new oven rack at a slight angle and align the rack’s notches or hooks with the rack supports. Ensure that the rack is centered between the sides of the oven.
- Push the rack into place: Gently push the rack toward the back of the oven, sliding it along the rack supports. Apply even pressure to ensure that the rack glides smoothly into position.
- Double-check the alignment: Once the rack is inserted, double-check that it is correctly positioned and level within the oven. Adjust if needed by lifting and reinserting the rack.
- Repeat for additional racks: If you have multiple racks to install, repeat the above steps for each rack, starting from the top and working your way down.
Remember to handle the new oven racks carefully to prevent any damage or injuries. Take your time to make sure that each rack is securely and properly inserted into the oven.
Read more: How To Clean Oven Racks In Bathtub
Step 5: Ensuring Proper Placement of Racks
After inserting the new oven racks, it’s important to verify that they are correctly positioned for optimal cooking results. Follow these steps to ensure proper rack placement:
- Position racks for desired cooking: Consider the type of food you plan to cook and determine the appropriate rack position for optimal results. For example, if you’re baking cookies, the middle rack is usually recommended for even heat distribution.
- Leave space for air circulation: Ensure that there is enough space between the racks to allow for proper air circulation within the oven. This allows the heat to circulate evenly, preventing uneven cooking or baking.
- Avoid overcrowding: Avoid placing too many pans or trays on each rack, as this can obstruct the heat flow and result in uneven cooking. If necessary, use multiple racks with enough space between them for better heat circulation.
- Consider cooking time and temperature: Adjust the rack placement based on the cooking time and temperature specified in your recipe. Higher temperatures may require lower rack positions to prevent excessive browning or burning.
- Make adjustments if needed: If you find that your dishes are not baking or roasting evenly, experiment with different rack positions to achieve the desired results. Keep track of the adjustments you make for future reference.
Remember, proper rack placement is key to achieving evenly cooked and delicious meals. Take the time to consider your cooking needs and make necessary adjustments to ensure the best outcome for your dishes.
Step 6: Testing the Stability of Racks
Once you have installed and positioned the new oven racks, it is essential to test their stability to ensure they are securely in place. Follow these steps to test the stability of the racks:
- Apply light pressure: Gently press down on each rack to check for any noticeable movement or wobbling. The racks should feel stable and firmly in position.
- Check side-to-side movement: With your hand on each side of the rack, give it a gentle side-to-side wiggle. There should be minimal or no movement. If a rack feels loose, remove it and reinsert it to ensure a secure fit.
- Verify weight-bearing capacity: If you plan on placing heavy dishes or cookware on the racks, double-check the weight-bearing capacity of the oven and the racks. Refer to your oven’s manual or contact the manufacturer for specific weight limits.
- Ensure smooth gliding: Slide each rack in and out of the oven to test its smoothness. The racks should glide easily along the rack supports without any resistance or obstruction.
- Inspect for damage: While testing the stability of the racks, also visually inspect them for any signs of damage or wear. Look for bent or broken parts and ensure that all components are intact.
If you encounter any issues during the stability test or notice any damages, it is recommended to contact the oven manufacturer or a professional for assistance. A secure and stable rack placement is crucial for safe and efficient cooking.
Conclusion
Putting in oven racks may seem like a simple task, but it is crucial to follow the correct steps for optimal safety and cooking results. By preparing the oven, removing the existing racks, preparing the new racks, inserting them properly, ensuring correct placement, and testing their stability, you can enjoy hassle-free cooking experiences and delicious meals.
Remember to consult your oven’s manual for specific instructions and guidance regarding your oven model and racks. Additionally, always prioritize safety by turning off the oven, letting it cool down, and handling racks with care to avoid injuries.
Proper oven rack placement allows for even heat distribution, ensuring that your food is cooked or baked to perfection. Be mindful of the weight-bearing capacity of your oven and racks, as well as the spacing between racks to allow for adequate air circulation. Adjust the rack positions as needed based on the cooking time, temperature, and desired results mentioned in your recipe.
Regularly inspect and clean your oven racks to maintain their functionality and longevity. If you notice any damages or issues with the racks, it is recommended to contact the oven manufacturer or seek professional assistance.
By following these step-by-step instructions and taking the time to ensure proper rack installation and placement, you can enjoy efficient and delicious cooking results with your oven. Happy cooking!
Now that you've got your oven racks perfectly positioned, why not give your kitchen an extra edge? Check out our guide on essential oven accessories, perfect for anyone looking to enhance their cooking experience with some handy tools. Plus, if you're grappling with space in your cookery, don't miss our savvy tips on kitchen organization to streamline and maximize every inch of your culinary area. Both articles are packed with practical advice to make your kitchen more functional and enjoyable!
Frequently Asked Questions about How To Put In Oven Racks
Was this page helpful?
At Storables.com, we guarantee accurate and reliable information. Our content, validated by Expert Board Contributors, is crafted following stringent Editorial Policies. We're committed to providing you with well-researched, expert-backed insights for all your informational needs.

0 thoughts on “How To Put In Oven Racks”