Home>Storage Ideas>Kitchen Storage>How To Clean Your Oven With Lemon: The Experts Swear By It
Kitchen Storage
How To Clean Your Oven With Lemon: The Experts Swear By It
Modified: October 20, 2024
Incorporate lemon to clean your oven and achieve expert-level results. Discover the power of this simple yet effective kitchen storage idea.
(Many of the links in this article redirect to a specific reviewed product. Your purchase of these products through affiliate links helps to generate commission for Storables.com, at no extra cost. Learn more)
Introduction
Welcome to the ultimate guide on how to clean your oven with lemon. We all know that oven cleaning can be a daunting task, but with the power of lemon, it becomes a breeze. Lemon is not only a versatile and refreshing fruit, but it also has natural cleaning properties that can effectively tackle stubborn stains and grease in your oven. In fact, many cleaning experts swear by using lemon as a non-toxic and eco-friendly alternative to harsh chemical cleaners.
Using lemon to clean your oven has several benefits. Firstly, it is a natural and safe option. Unlike commercial cleaners that often contain harmful chemicals, lemon is a non-toxic and environmentally friendly alternative. This is especially important if you have small children or pets at home.
Secondly, lemon is a powerful degreaser. The citric acid present in lemon helps to break down grease and grime, making it easier to remove. It cuts through the toughest stains, leaving your oven sparkling clean.
Furthermore, lemon leaves behind a fresh and citrusy aroma. After cleaning your oven with lemon, you won’t have to worry about unpleasant chemical odors lingering in your kitchen.
In this comprehensive guide, we will walk you through the step-by-step process of using lemon to clean your oven effectively. We will also provide tips and tricks to tackle stubborn stains and grease. So, roll up your sleeves and get ready to discover the wonders of lemon in transforming your oven from grimy to gleaming.
Key Takeaways:
- Embrace the power of lemon to effortlessly clean your oven. Its natural citric acid cuts through grease, leaving a fresh, citrusy aroma without harsh chemicals. Safe, effective, and eco-friendly!
- Say goodbye to daunting oven cleaning tasks and hello to the wonders of lemon. Its natural degreasing properties and versatility make it a safe, effective, and environmentally friendly solution for a sparkling clean oven.
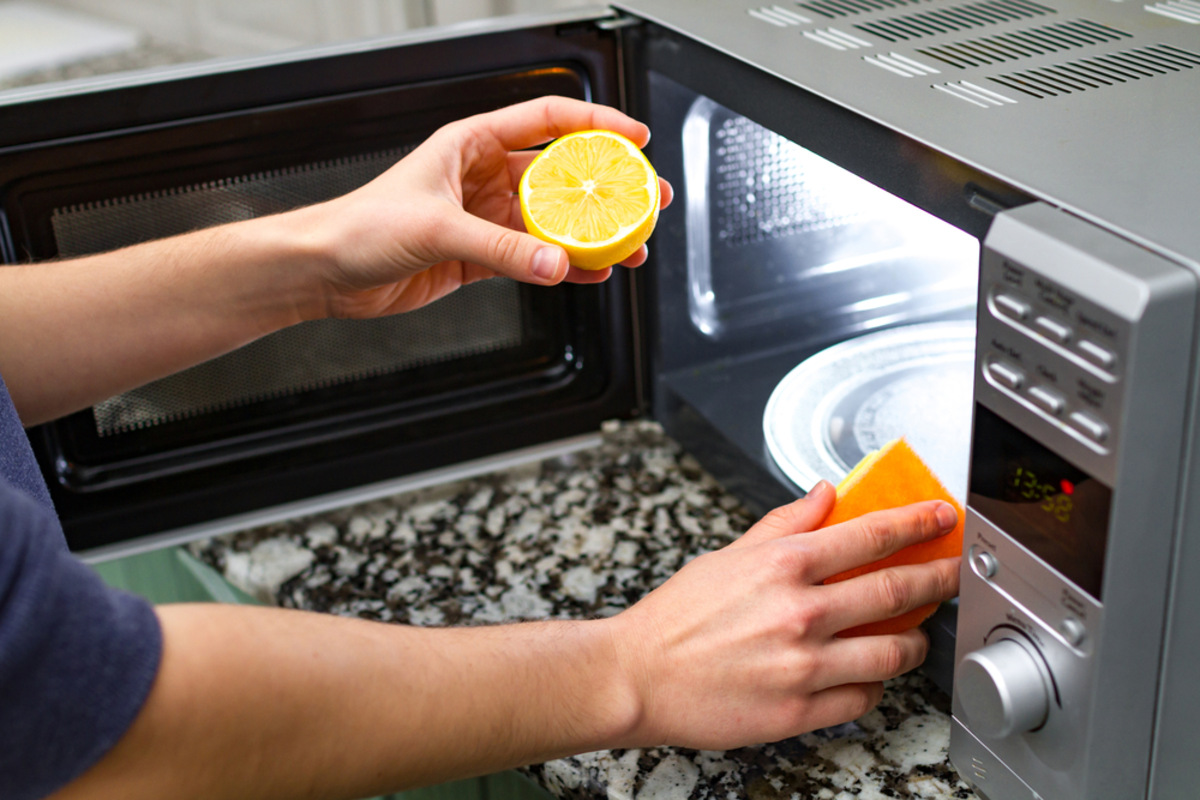
Read more: How To Clean Microwave Oven With Lemon Juice
Benefits of Using Lemon to Clean Your Oven
When it comes to cleaning your oven, using lemon as a natural cleaning agent offers numerous benefits. Let’s explore some of the advantages:
- Natural and Safe: One of the primary advantages of using lemon to clean your oven is that it is a natural and safe option. Unlike commercial oven cleaners that often contain harsh chemicals, lemon is a non-toxic alternative. This makes it a great choice, especially if you have children or pets in your home. You can have peace of mind knowing that you are not exposing yourself or your loved ones to potentially harmful substances.
- Effective Degreaser: Lemon is a powerful degreaser due to the citric acid it contains. This natural acid helps to break down grease and grime, making it easier to remove. By using lemon, you can effectively cut through tough grease build-up that accumulates over time in your oven.
- Eco-Friendly: Using lemon to clean your oven is an eco-friendly option. Commercial oven cleaners often contain chemicals that can pollute the environment when they are washed down the drain. Lemon, on the other hand, is a natural fruit that is biodegradable. By opting for lemon, you are making a small but significant contribution to reducing your environmental impact.
- Pleasant Aroma: Lemon leaves behind a fresh and citrusy aroma after cleaning your oven. Unlike harsh chemical cleaners that can leave behind strong and unpleasant odors, lemon provides a refreshing scent that lingers in your kitchen. This natural fragrance helps to create a clean and inviting atmosphere.
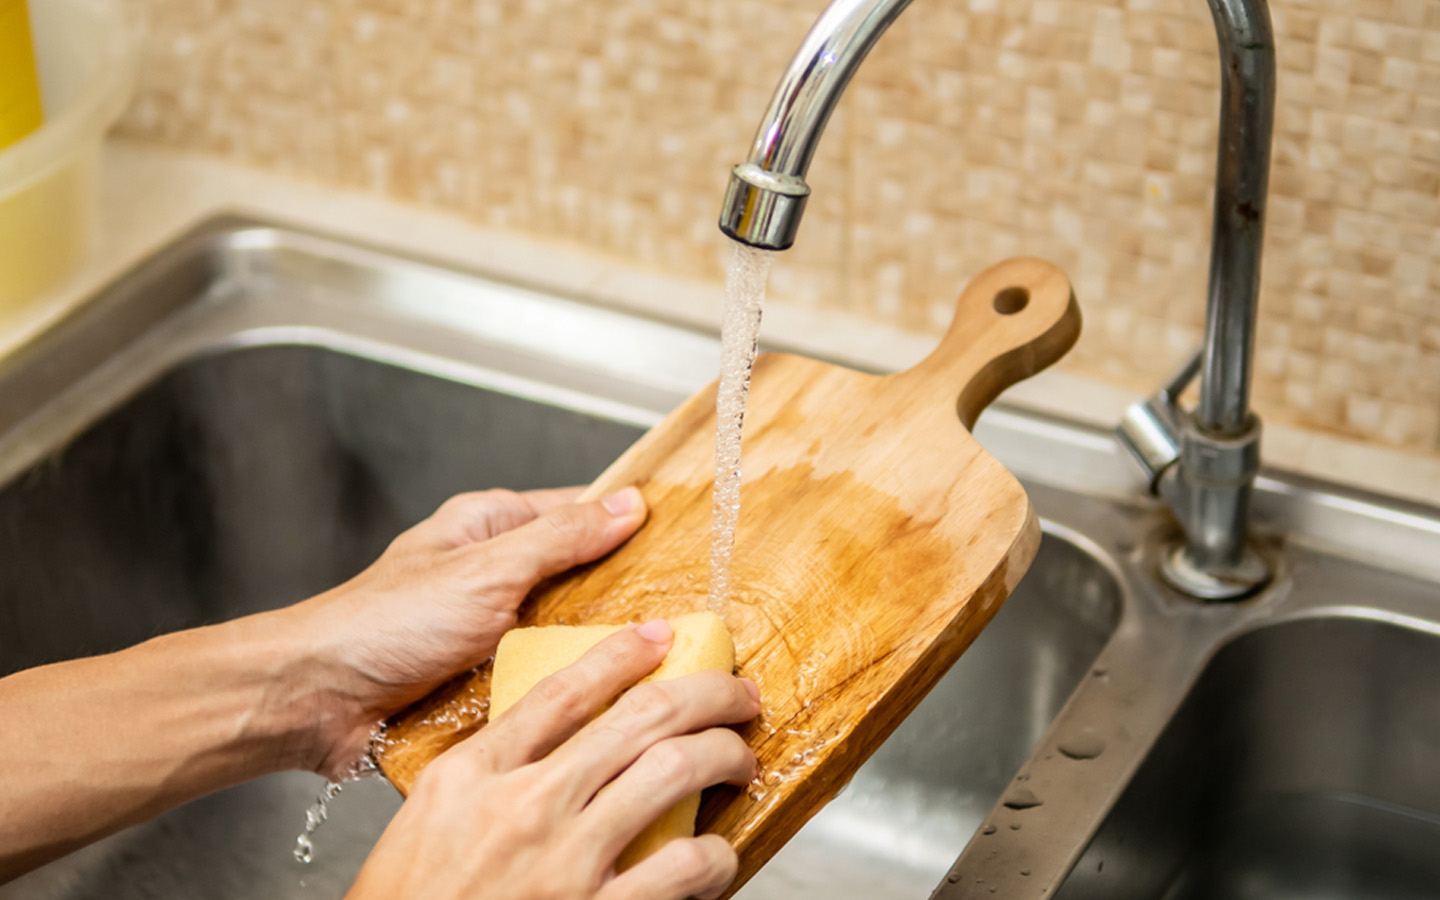
- Versatility: Lemon is a versatile fruit that can be used in various cleaning applications. In addition to cleaning your oven, you can use lemon to freshen up your cutting boards, remove stains from countertops, and even brighten your stainless steel appliances. Having lemon on hand means you have a multi-purpose cleaning solution readily available.
With these benefits in mind, it’s clear that using lemon to clean your oven is an excellent choice. It not only provides effective cleaning power but also promotes a safer and more environmentally friendly approach to maintaining a clean and healthy kitchen.
Preparing the Lemon Cleaning Solution
Before you start cleaning your oven with lemon, you’ll need to prepare the lemon cleaning solution. Fortunately, it’s a simple and straightforward process. Here’s how you can do it:
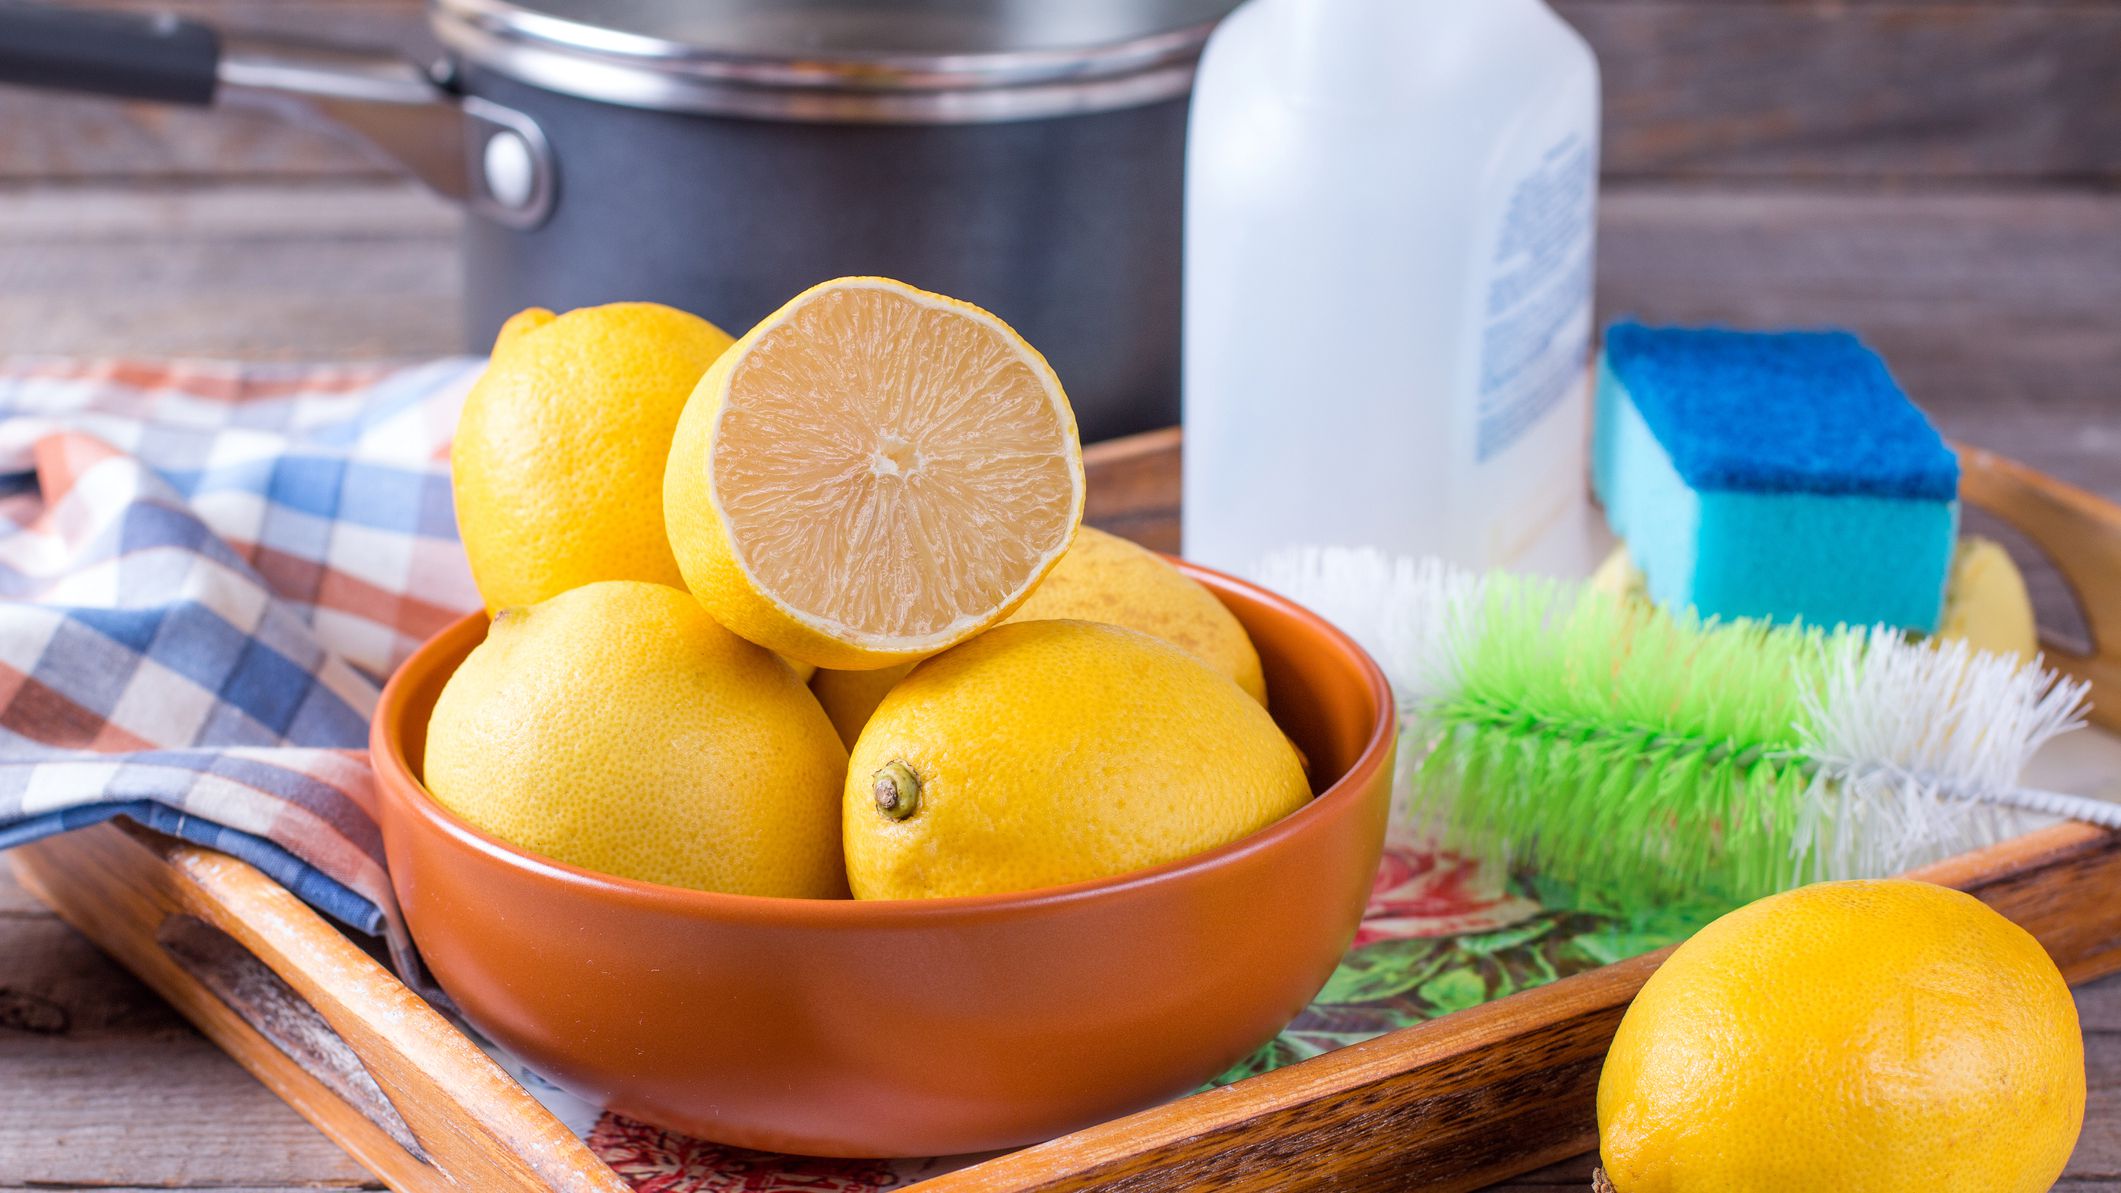
- Gather Your Ingredients: To make the lemon cleaning solution, you’ll need a few key ingredients: lemons, water, and baking soda. Lemons are the star of the show, providing the cleaning power with their natural citric acid. You’ll also need water to dilute the lemon juice and baking soda to enhance the cleaning effectiveness.
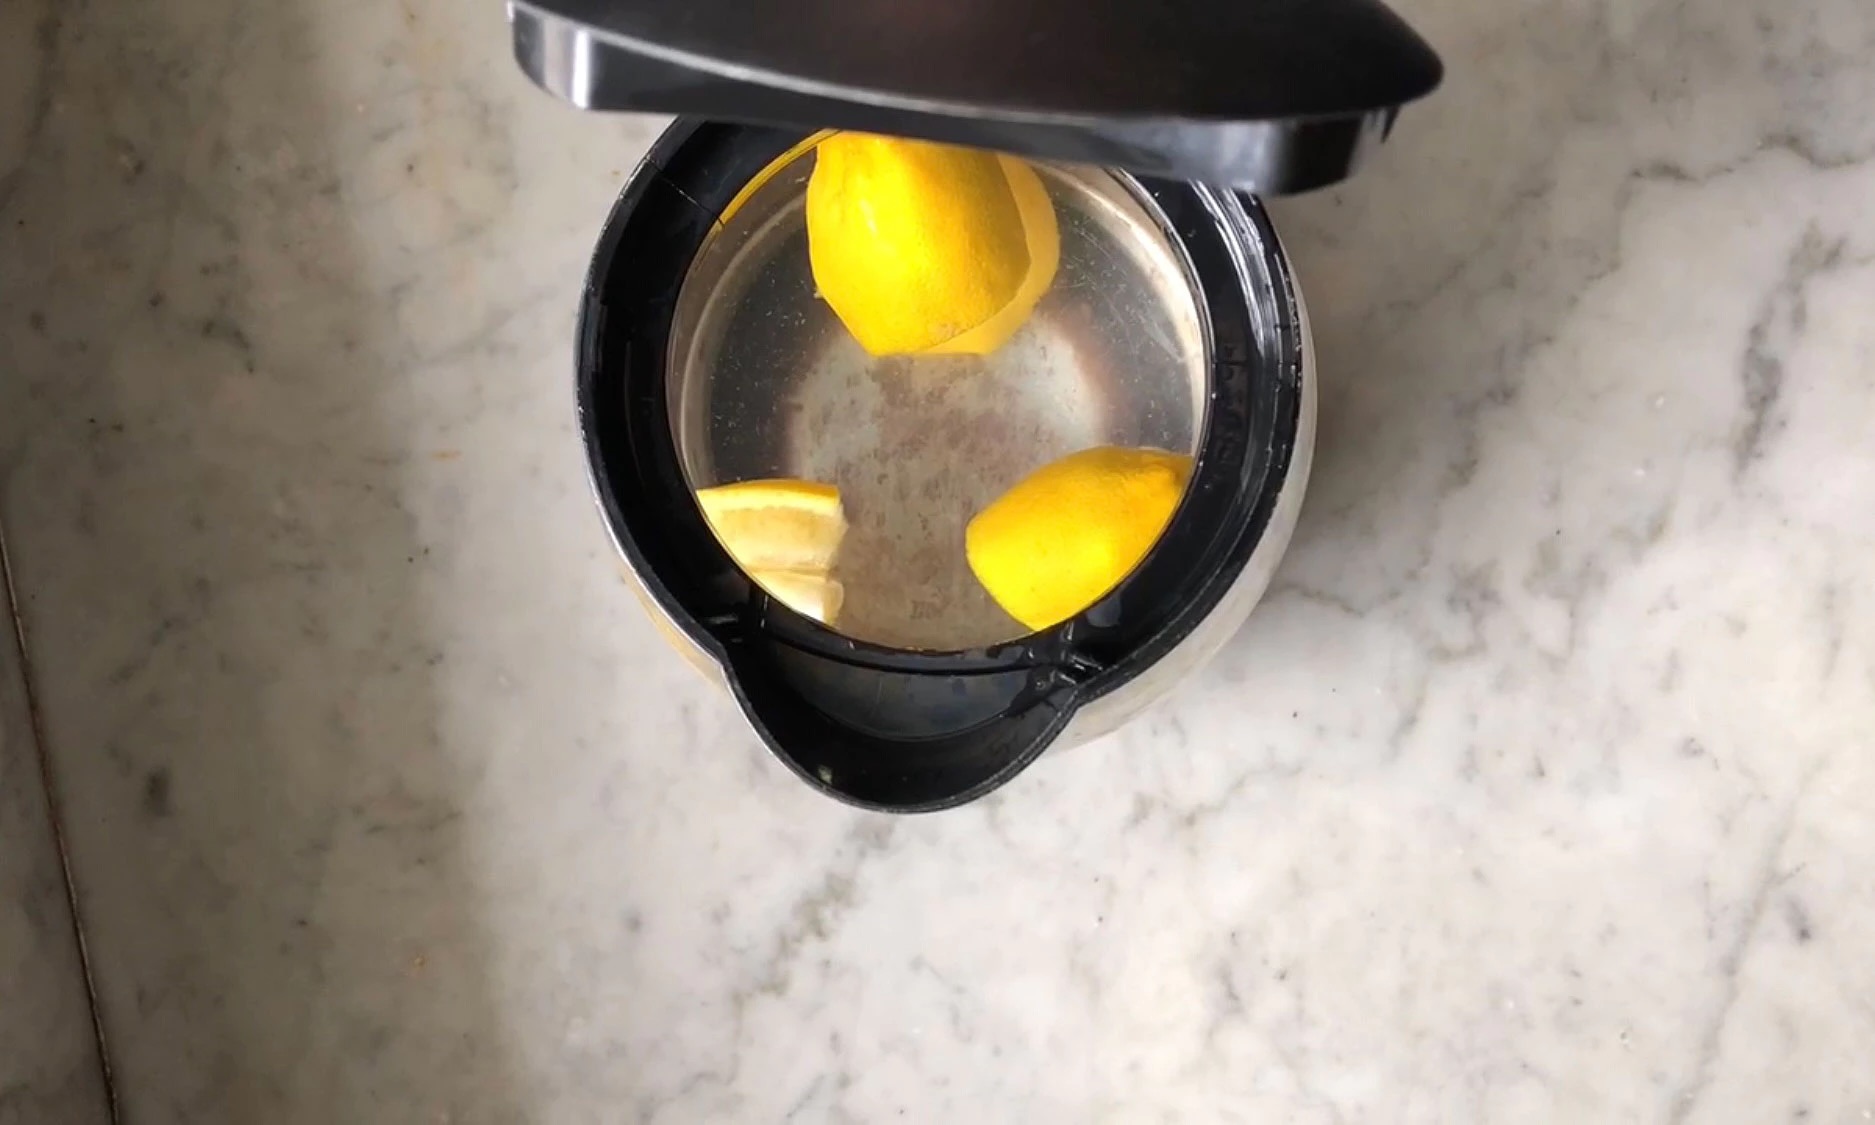
- Squeeze Lemon Juice: Start by squeezing the juice from several lemons. The exact number of lemons you’ll need will depend on the size and juiciness of the fruit, as well as the severity of the stains in your oven. Generally, aim for about half a cup to one cup of lemon juice.
- Dilute with Water: Once you have the lemon juice, you’ll need to dilute it with water. Mix equal parts lemon juice and water in a bowl or container. This dilution helps to avoid any potential damage to the surfaces of your oven while still allowing the citric acid to work its magic on the stains and grease.
- Add Baking Soda: To enhance the cleaning power of the lemon solution, add a tablespoon or two of baking soda to the mixture. Baking soda is a natural abrasive that can help lift stubborn stains and residues. Stir the mixture well to ensure that the baking soda is evenly distributed.
- Mix Thoroughly: Once all the ingredients are combined, mix the solution thoroughly until the baking soda is fully dissolved. The resulting mixture should have a slightly frothy texture and a tangy citrus scent, signaling that it’s ready to use.
Now that you have prepared the lemon cleaning solution, you’re all set to start cleaning your oven. But before you dive in, let’s walk through the step-by-step process to ensure that you achieve the best results.
Step-by-Step Guide on Cleaning Your Oven with Lemon
Now that you have your lemon cleaning solution ready, it’s time to dive into the step-by-step process of cleaning your oven. Follow these simple steps to achieve a sparkling clean result:
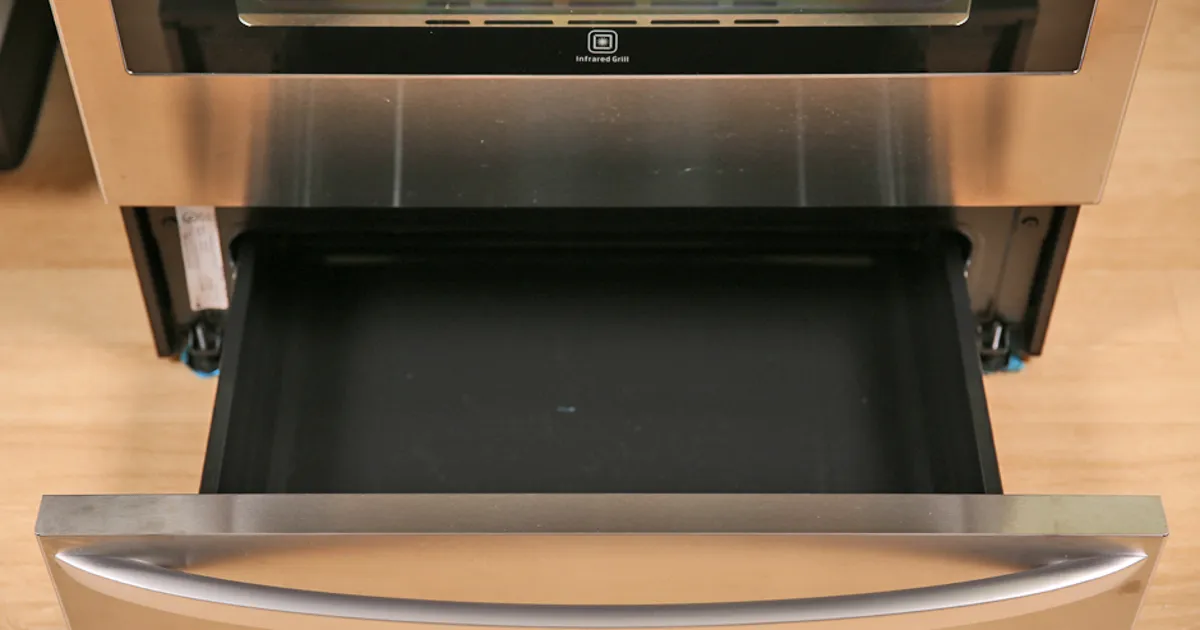
- Preparation: Begin by removing any racks, trays, and other removable parts from your oven. This will give you better access to the interior and make the cleaning process easier. Set these parts aside and soak them separately in warm soapy water for later cleaning.
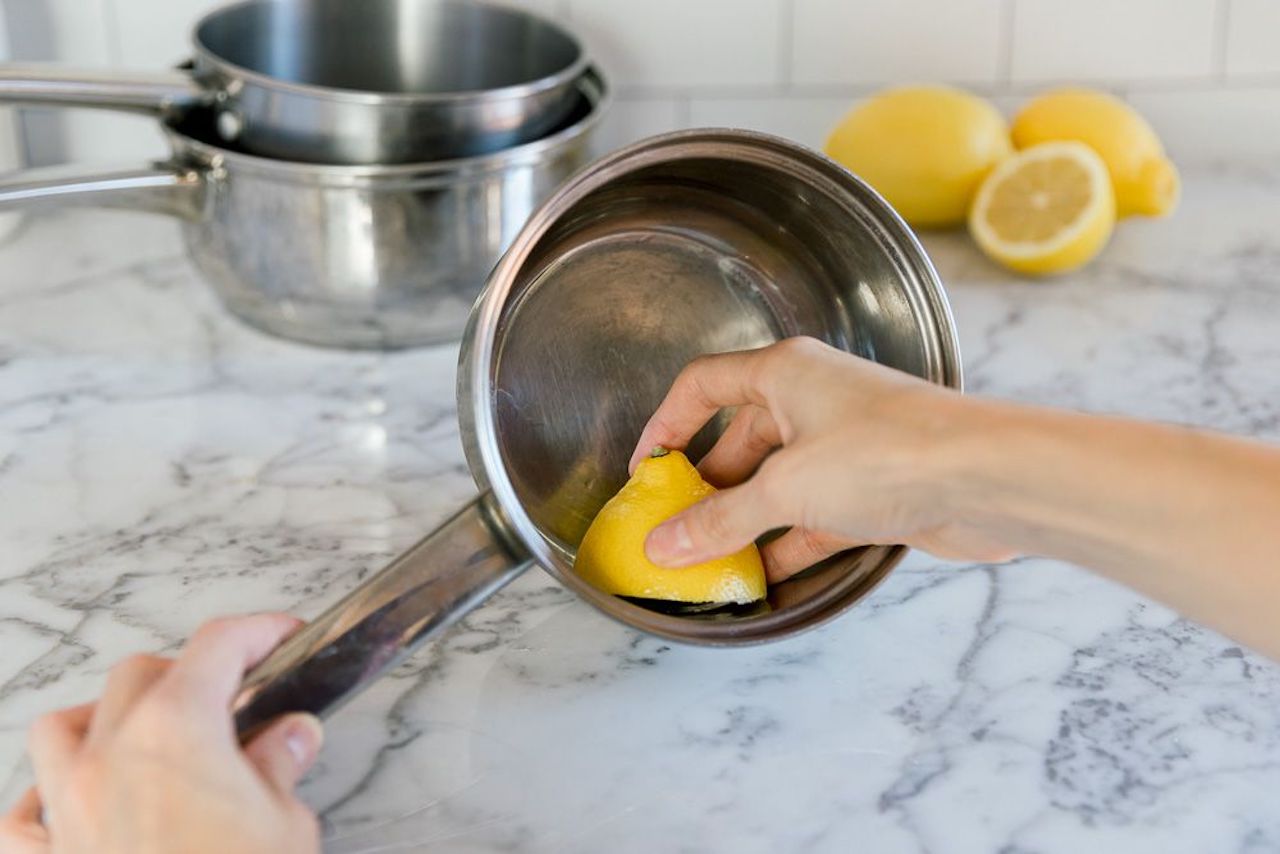
- Apply the Lemon Solution: With a clean cloth or sponge, dip it into the prepared lemon cleaning solution. Gently apply the solution to the interior surfaces of your oven, focusing on areas with heavy grease or stains. Ensure that the surfaces are well-coated with the solution, allowing it to penetrate and break down the grime.
- Let it Sit: After applying the lemon solution, close the oven door and let it sit for about 30 minutes to an hour. This allows the citric acid in the lemon to work on loosening the grime and stains, making them easier to remove.
- Scrubbing: After the waiting period, take a damp cloth or sponge and start scrubbing the interior surfaces of your oven. The combination of the lemon solution and the citric acid should have loosened the dirt and grime, making it easier to remove. Use circular motions and apply gentle pressure to effectively clean the surfaces. For stubborn stains, you can use a soft-bristle brush or a toothbrush for more targeted scrubbing.
- Rinse: Once you have finished scrubbing and removed the dirt and stains, dampen another clean cloth or sponge with water and wipe down the interior surfaces of your oven. This step is important to remove any residue from the lemon solution. Ensure that you wring out excess water from the cloth or sponge to avoid oversaturation of the oven surfaces.
- Dry & Reassemble: After rinsing, use a dry cloth to wipe the interior surfaces of your oven to remove any remaining moisture. Then, allow the oven to air dry completely. While the oven is drying, clean the racks and trays that you set aside earlier using warm soapy water. Once everything is dry, reassemble the oven by placing the racks and trays back into their original positions.
Voila! Your oven is now clean and ready to be used. With this step-by-step guide, using lemon to clean your oven becomes a simple and effective process. But what if you encounter stubborn stains and grease that are more challenging to tackle? Don’t worry! We have some additional tips and tricks to help you out.
Removing Stubborn Stains and Grease
While the lemon cleaning solution is effective in tackling most stains and grease in your oven, there may be some stubborn spots that require extra attention. Here are some additional tips and tricks to help you remove those tough stains:
- Baking Soda Paste: Create a paste by combining baking soda and water in a small bowl. Apply the paste to the stubborn stains and let it sit for about 15 to 20 minutes. Then, use a damp cloth or sponge to scrub the stains in a circular motion. The abrasive nature of the baking soda will help break down the stains for easier removal.
- Vinegar Solution: If the stains persist, you can try using a vinegar solution. Mix equal parts white vinegar and water in a spray bottle. Spray the solution onto the stubborn stains and let it sit for a few minutes. Then, scrub the stains with a cloth or sponge. The acidity of the vinegar helps to dissolve the tough residue, making it easier to clean.
- Steam Cleaning: For particularly stubborn grease and grime, you can try steam cleaning your oven. Fill a heatproof dish with water and place it in your oven. Preheat the oven to a high temperature for about 20 minutes, allowing the steam to build up. Then, turn off the oven and let it cool down. Once it’s cool, use a cloth or sponge to wipe away the loosened grease and stains. Steam helps to soften and loosen stubborn dirt, making the cleaning process more effective.
- Commercial Oven Cleaner: If all else fails, you can resort to using a commercial oven cleaner as a last resort. Follow the instructions provided with the cleaner and ensure proper ventilation while using it. Be cautious and use protective gloves to avoid any skin irritation. Remember to thoroughly rinse the oven after using the cleaner to remove any remaining residue.
- Regular Maintenance: To prevent stubborn stains and grease buildup in the future, it’s important to practice regular maintenance of your oven. Wipe up spills and splatters as soon as they occur, and perform routine cleaning using the lemon cleaning solution to keep your oven in top condition. Regular maintenance will make future cleaning tasks easier and less time-consuming.
By incorporating these additional tips and tricks, you can effectively tackle even the most stubborn stains and grease in your oven. Remember, patience and persistence are key. With a little effort and the power of lemon, your oven will be clean and sparkling in no time.
Mix lemon juice with water and vinegar in a spray bottle. Spritz the inside of the oven and let it sit for 30 minutes. Wipe clean with a damp cloth for a fresh and natural clean.
Tips and Tricks for Effective Oven Cleaning
Cleaning your oven can be a challenging task, but with these tips and tricks, you can make the process more efficient and effective:
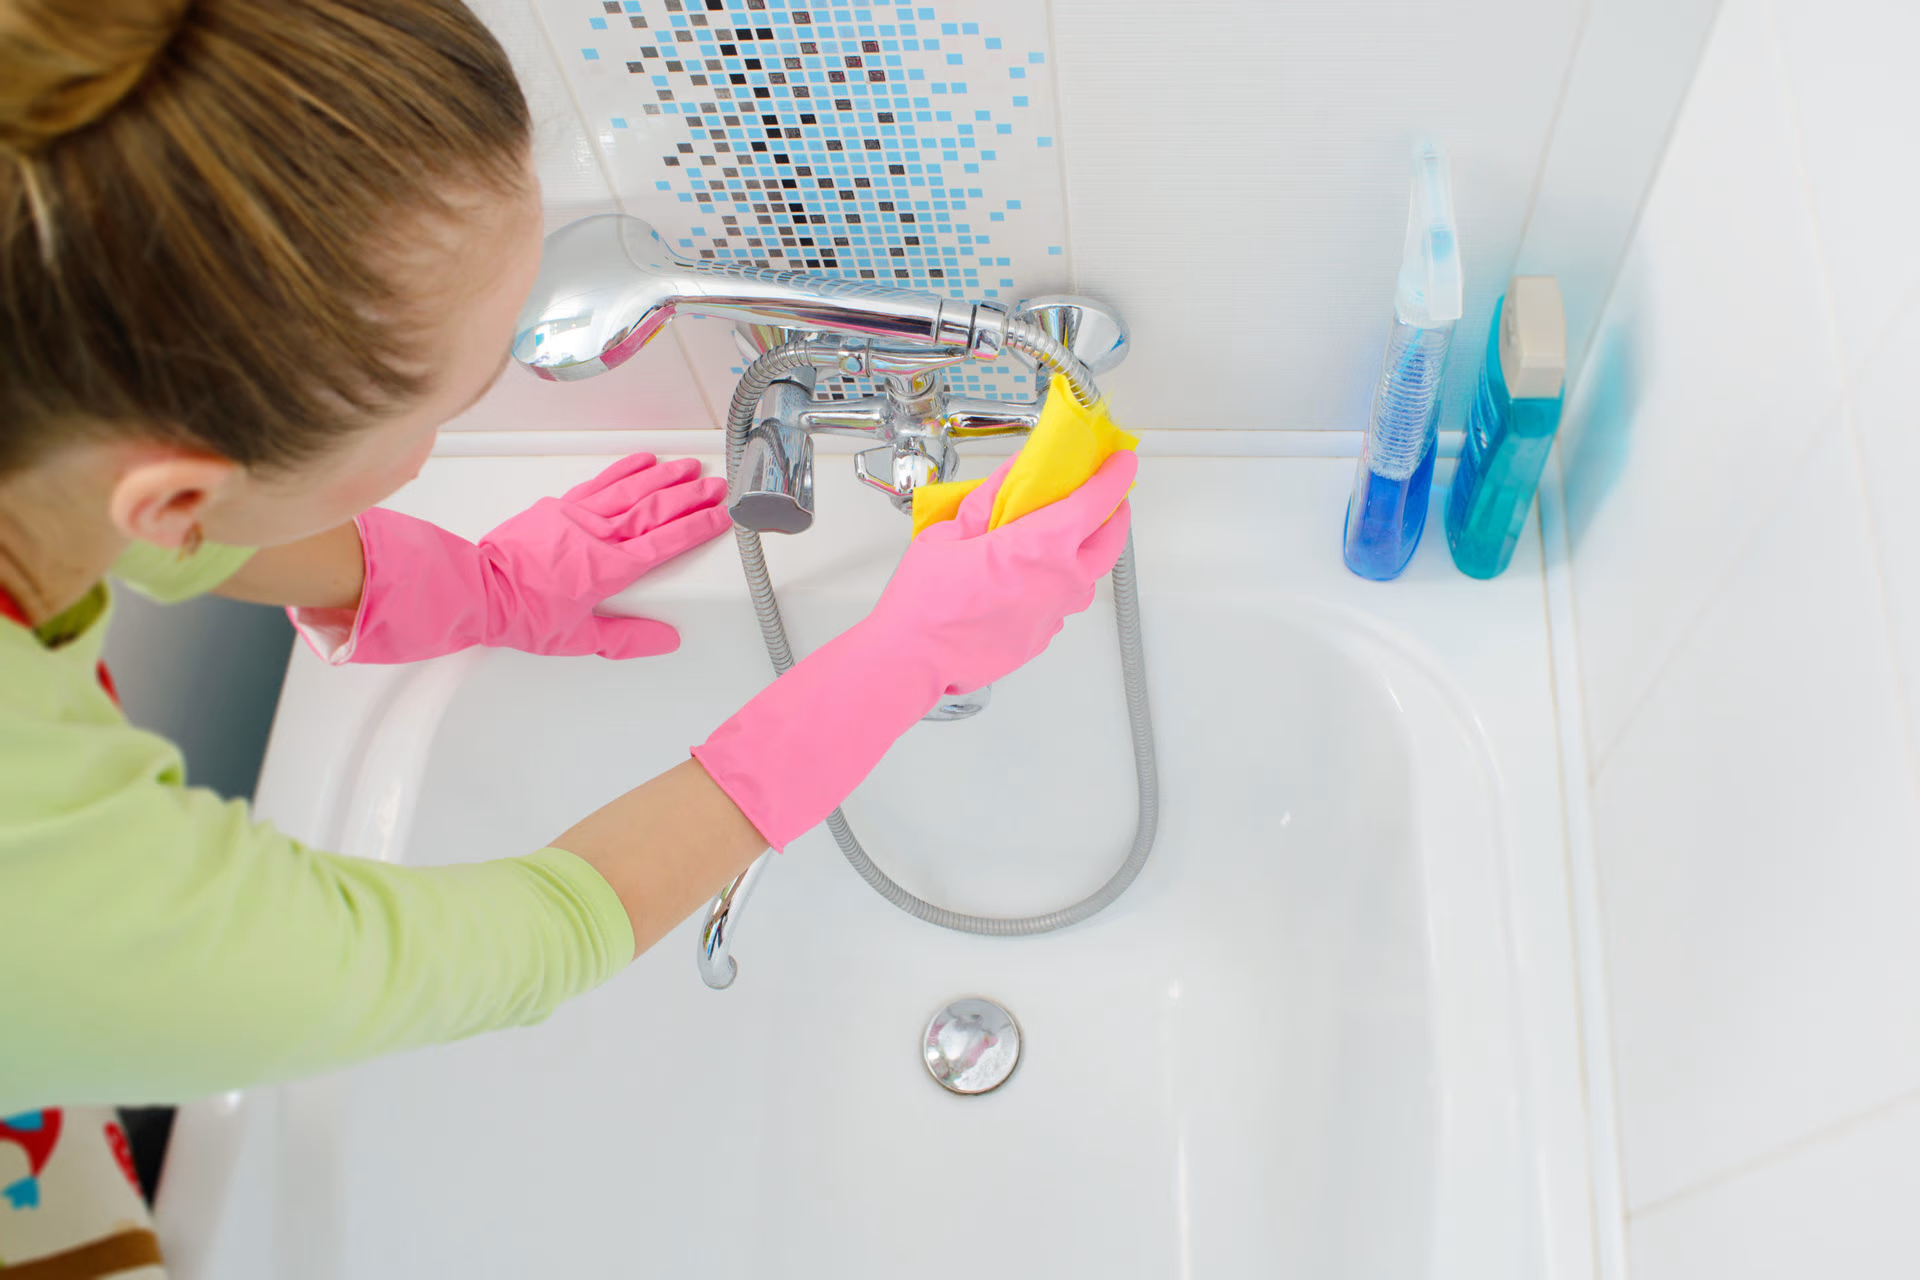
- Protective Gear: Before you start cleaning, it’s essential to protect yourself. Wear rubber gloves to shield your hands from any harsh cleaning products or residues. Additionally, consider wearing safety goggles and a face mask to protect your eyes and respiratory system from any potential irritants.
- Remove Loose Debris: Prior to applying any cleaning solution, use a brush or vacuum cleaner with a brush attachment to remove any loose debris, such as crumbs or food particles, from the oven. This will make the cleaning process more effective and prevent any lingering smells when using the oven later on.
- Use the Right Tools: Select the appropriate cleaning tools for your oven. Opt for non-abrasive cleaning cloths or sponges to prevent scratching the oven’s surfaces. Soft-bristle brushes or toothbrushes can be helpful for scrubbing hard-to-reach areas. Consider using a plastic scraper or spatula for removing hardened residues or baked-on spills.
- Be Patient: It’s important to allow sufficient time for the cleaning solution to work its magic. Whether you’re using the lemon cleaning solution or any other cleaning method, give it enough time to penetrate and loosen the dirt and grime. Patience pays off when it comes to achieving a thoroughly clean oven.
- Regular Maintenance: To prevent excessive buildup of grease and stains, make it a habit to clean your oven regularly. Performing routine maintenance on a monthly or quarterly basis will make the cleaning process quicker and easier. Regular maintenance also helps to prolong the life of your oven and maintain its optimal performance.
- Remove Oven Racks: When cleaning your oven, it’s best to remove the oven racks and clean them separately. Soak them in warm, soapy water and scrub them with a sponge or brush to remove any grease or residue. Cleaning the racks separately ensures a more thorough cleaning and prevents any obstructions or damage to the oven’s interior surfaces.
- Ventilate the Area: Maintain proper ventilation while cleaning your oven. Open windows or turn on fans to ensure adequate airflow and prevent the buildup of fumes from cleaning products. Proper ventilation will also help in dissipating any residual odors or vapors during and after the cleaning process.
- Spot Clean Spills Immediately: It’s easier to clean up spills as soon as they occur, rather than letting them harden and become more difficult to remove. If you notice any spills or splatters in your oven while cooking, wipe them up with a damp cloth or sponge as soon as possible to prevent them from becoming hardened stains later on.
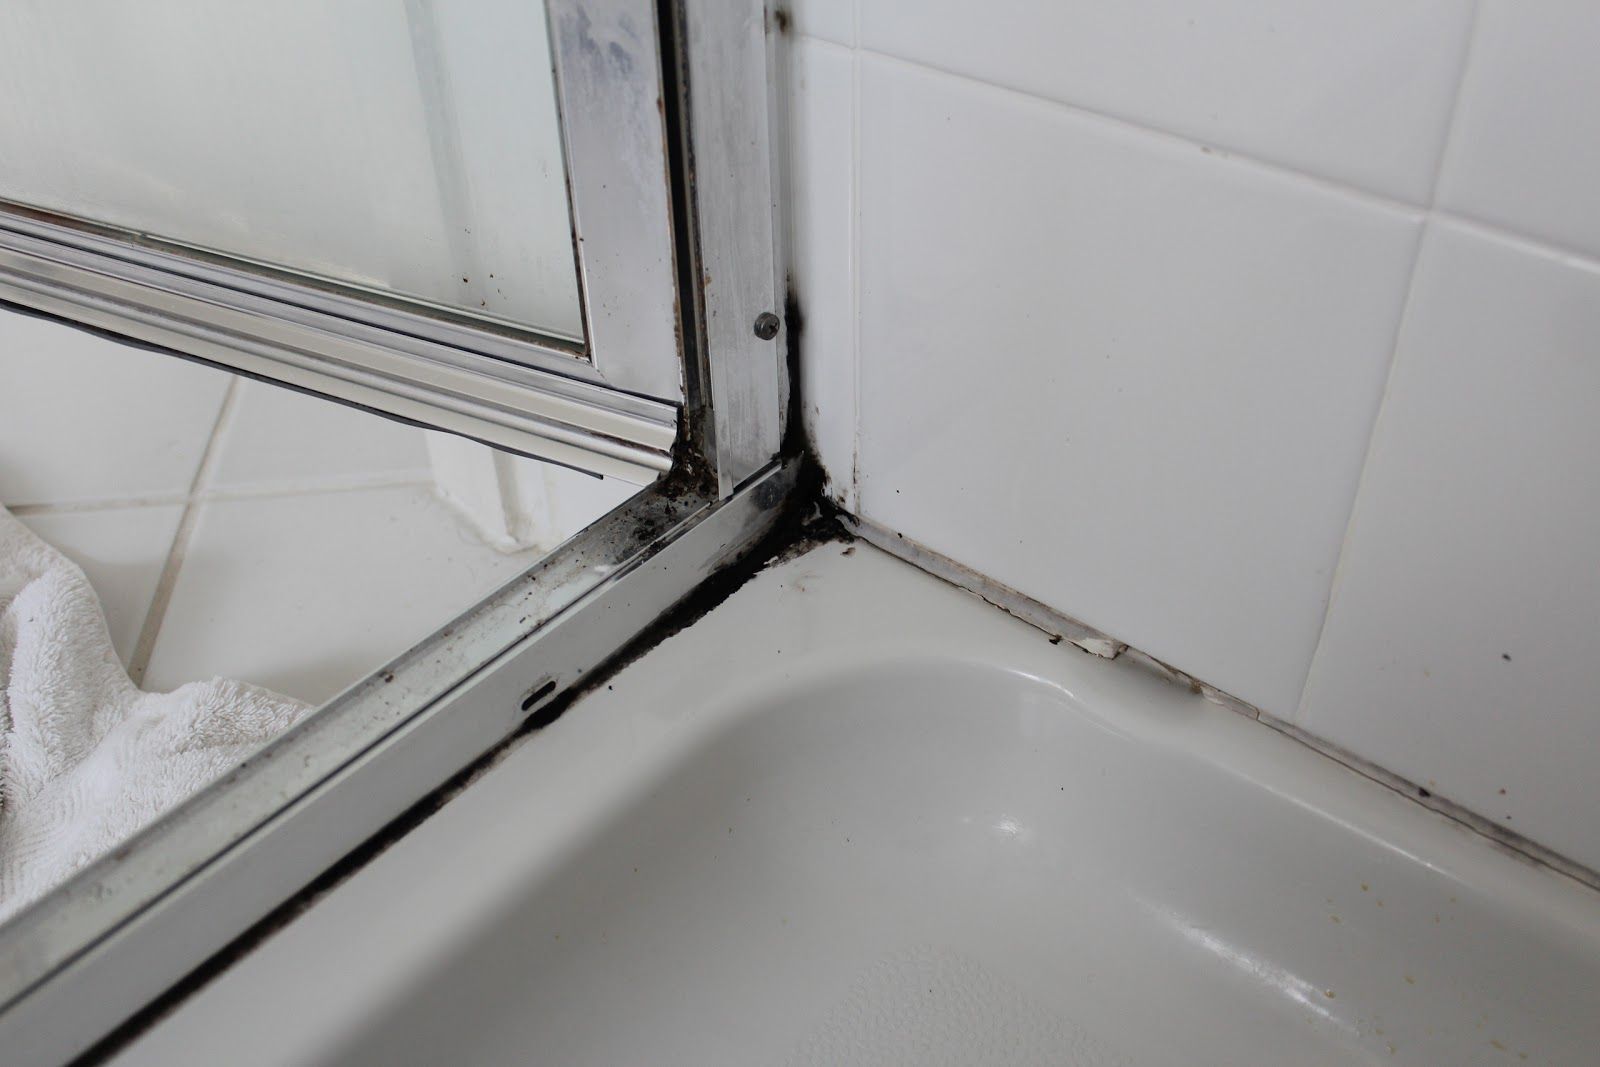
- Regularly Clean Oven Seals: Don’t forget about the oven seals! Over time, grease and dirt can accumulate on the oven door seals, compromising their effectiveness. Use a mild soapy solution or vinegar-water mixture to clean the seals gently. Wipe them down regularly to ensure a tight seal and prevent any heat and energy loss.
By following these tips and tricks, you can make your oven cleaning process more effective and efficient. Remember to take precautions, be patient, and practice regular maintenance to keep your oven in optimal condition.
Safety Precautions to Consider
When it comes to cleaning your oven, it’s important to prioritize safety. Here are some key safety precautions to consider:
- Ventilation: Ensure proper ventilation while cleaning your oven. Open windows, turn on exhaust fans, or use a portable fan to circulate the air. This helps to dissipate any fumes or odors that may arise from cleaning products and prevents them from accumulating in your kitchen.
- Protective Gear: Wear rubber gloves to protect your hands from potentially harsh cleaning chemicals or residues. Additionally, consider wearing safety goggles and a face mask to shield your eyes and respiratory system from any irritants or fumes.
- Read Product Instructions: If you choose to use a commercial oven cleaner, carefully read and follow the instructions provided by the manufacturer. Use the product as directed, and be aware of any precautions or warnings mentioned on the label.
- Avoid Contact with Heating Elements: When cleaning the oven interior, be cautious and avoid coming into direct contact with the heating elements or any hot surfaces. Ensure that the oven has completely cooled down before you begin the cleaning process.
- Proper Drying: After cleaning your oven, ensure that all surfaces are dry before using it. Moisture on the interior surfaces can cause steam or even damage the oven when heated. Use a dry cloth or allow the oven to air dry completely before turning it on.
- Keep Children and Pets Away: During the cleaning process, keep children and pets away from the area to prevent accidental exposure to cleaning chemicals or hot surfaces. Store all cleaning products securely and out of their reach.
- Avoid Mixing Cleaning Chemicals: Be cautious when using multiple cleaning products simultaneously. Avoid mixing different cleaning chemicals together, as this can create hazardous reactions or release toxic fumes. Stick to using one cleaning solution at a time.
- Store Cleaning Products Properly: After use, store cleaning products in their original containers and in a secure place, away from food and out of reach of children. Keep the area well-ventilated and maintain the recommended storage conditions for each cleaning product.
- Follow Electrical Safety Guidelines: If you need to unplug your oven for cleaning or maintenance purposes, ensure that you follow proper electrical safety guidelines. Turn off the oven and unplug it from the power source before accessing any electrical components.
By adhering to these safety precautions, you can ensure a safe and successful oven cleaning experience. Always prioritize your well-being and take the necessary steps to protect yourself and those around you while cleaning your oven.
Frequently Asked Questions (FAQs)
Here are some common questions about cleaning your oven with lemon:
- Is it safe to clean my oven with lemon?
- Can I use any type of lemon?
- Can I use lemon to clean a self-cleaning oven?
- How often should I clean my oven with lemon?
- What if the lemon solution doesn’t remove all the stains?
- Can I use lemon to clean the outside of my oven?
Yes, cleaning your oven with lemon is safe and non-toxic. Lemon is a natural and gentle cleaning agent compared to harsh chemical cleaners. However, always take necessary precautions, such as wearing gloves and proper ventilation, to ensure your safety.
Any type of lemon can be used for oven cleaning. Whether you have regular lemons, Meyer lemons, or even bottled lemon juice, they all contain citric acid, which is the active component that helps break down grease and stains.
Cleaning a self-cleaning oven with lemon is not necessary. Self-cleaning ovens have a built-in feature that heats the oven to high temperatures to burn off and eliminate grease and spills. Follow the manufacturer’s guidelines when using the self-cleaning function.
The frequency of cleaning your oven with lemon depends on your oven usage and personal preference. If you notice significant grease or stains, it’s a good idea to clean your oven with lemon every few months or as needed. Regular maintenance cleaning can also be done monthly to prevent excessive buildup.
If you encounter stubborn stains that the lemon solution alone cannot remove, you can try using additional methods such as a baking soda paste or vinegar solution. These can provide extra cleaning power to tackle tough stains. Further, there are commercial oven cleaners available as a last resort, but be sure to follow the instructions carefully and use protective gear.
Yes, lemon can be used to clean the outside of your oven. Mix lemon juice with water and apply it to a cloth or sponge, then wipe down the surfaces. Lemon’s natural cleaning properties can help remove dirt and grease. For stainless steel surfaces, wipe with the grain to avoid scratching.
If you have any other questions or concerns, it’s always best to consult your oven’s manufacturer guidelines or seek advice from a professional.
Conclusion
Cleaning your oven can be a laborious task, but using lemon as a natural cleaning agent can make the process easier, safer, and more environmentally friendly. The citric acid in lemon helps to break down grease and stains, while its refreshing scent leaves your kitchen smelling clean and citrusy.
In this comprehensive guide, we have explored the many benefits of using lemon to clean your oven. Not only is it a natural and safe option, but it is also a powerful degreaser and versatile cleaning agent. By following the step-by-step guide, preparing the lemon cleaning solution, and implementing the tips and tricks provided, you can achieve a sparkling clean oven.
Remember to prioritize safety by wearing protective gear, ensuring proper ventilation, and following product instructions. Regular maintenance and addressing spills promptly can also prevent excessive buildup and make future cleaning tasks easier.
Whether you’re dealing with everyday grime or stubborn stains, lemon can be a reliable and effective solution. However, if you encounter persistent stains that require additional cleaning methods or resort to commercial oven cleaners, always follow the instructions carefully and take necessary precautions.
Cleaning your oven with lemon not only ensures a clean and hygienic cooking environment but also contributes to a greener and more sustainable lifestyle. By reducing your reliance on harsh chemicals, you’re making a positive impact on your health and the environment.
So, the next time your oven needs a thorough cleaning, reach for the power of lemon. Embrace this natural and refreshing approach, and enjoy the satisfaction of a sparkling clean oven that is safe for you, your family, and the planet.
Frequently Asked Questions about How To Clean Your Oven With Lemon: The Experts Swear By It
Was this page helpful?
At Storables.com, we guarantee accurate and reliable information. Our content, validated by Expert Board Contributors, is crafted following stringent Editorial Policies. We're committed to providing you with well-researched, expert-backed insights for all your informational needs.


0 thoughts on “How To Clean Your Oven With Lemon: The Experts Swear By It”