Articles
How To Apply Stain To Wood Floor
Modified: October 19, 2024
Discover the step-by-step process of applying stain to wood floors with our informative articles. Achieve a professional finish and enhance the natural beauty of your floors.
(Many of the links in this article redirect to a specific reviewed product. Your purchase of these products through affiliate links helps to generate commission for Storables.com, at no extra cost. Learn more)
Introduction
Welcome to our guide on how to apply stain to a wood floor! Adding a beautiful stain to your wood floor can completely transform the look of your space, giving it a rich and sophisticated appearance. Whether you’re refinishing an old wood floor or applying stain to a newly installed one, the process can be both rewarding and enjoyable.
Staining a wood floor involves several steps, including preparation, sanding, cleaning, applying the stain, wiping off the excess, and allowing it to dry and cure. In this comprehensive guide, we will walk you through each step, ensuring that you have all the information you need to achieve stunning results.
But first, let’s discuss a few essential things you need to know before you begin. Choosing the right stain is crucial for achieving the desired color and finish on your wood floor. Stains come in a variety of shades, from light to dark, and different types, such as oil-based and water-based stains. Consider the style and color scheme of your space when selecting a stain that complements your design aesthetic.
Additionally, it’s essential to prepare the surface properly before applying the stain. This involves sanding the wood floor to remove any previous finish, dirt, or imperfections. A smooth and clean surface ensures that the stain adheres evenly and gives you the best possible results.
Now that you have a basic understanding of what’s involved, let’s dive into the step-by-step process of applying stain to a wood floor. Follow along, and soon you’ll have a beautifully stained wood floor that adds warmth and character to your home or business.
Key Takeaways:
- Proper preparation, including clearing the area, cleaning the floor, and wearing protective gear, is crucial before applying stain to a wood floor. This sets the stage for achieving a professional and flawless finish.
- Applying stain to a wood floor is a rewarding process that requires attention to detail, patience, and adherence to manufacturer’s instructions. The result is a stunning transformation that adds warmth and character to any space.
Read more: How To Apply Polyurethane To Wood Floors
Step 1: Preparation
Before you begin the process of applying stain to your wood floor, it’s crucial to properly prepare the area. This step will ensure that you have a clean, smooth, and well-protected space to work in. Here are the essential tasks to complete during the preparation stage:
- Clear the Area: Remove all furniture, rugs, and other items from the room where you’ll be working. This will give you ample space to move around and access the entire floor surface.
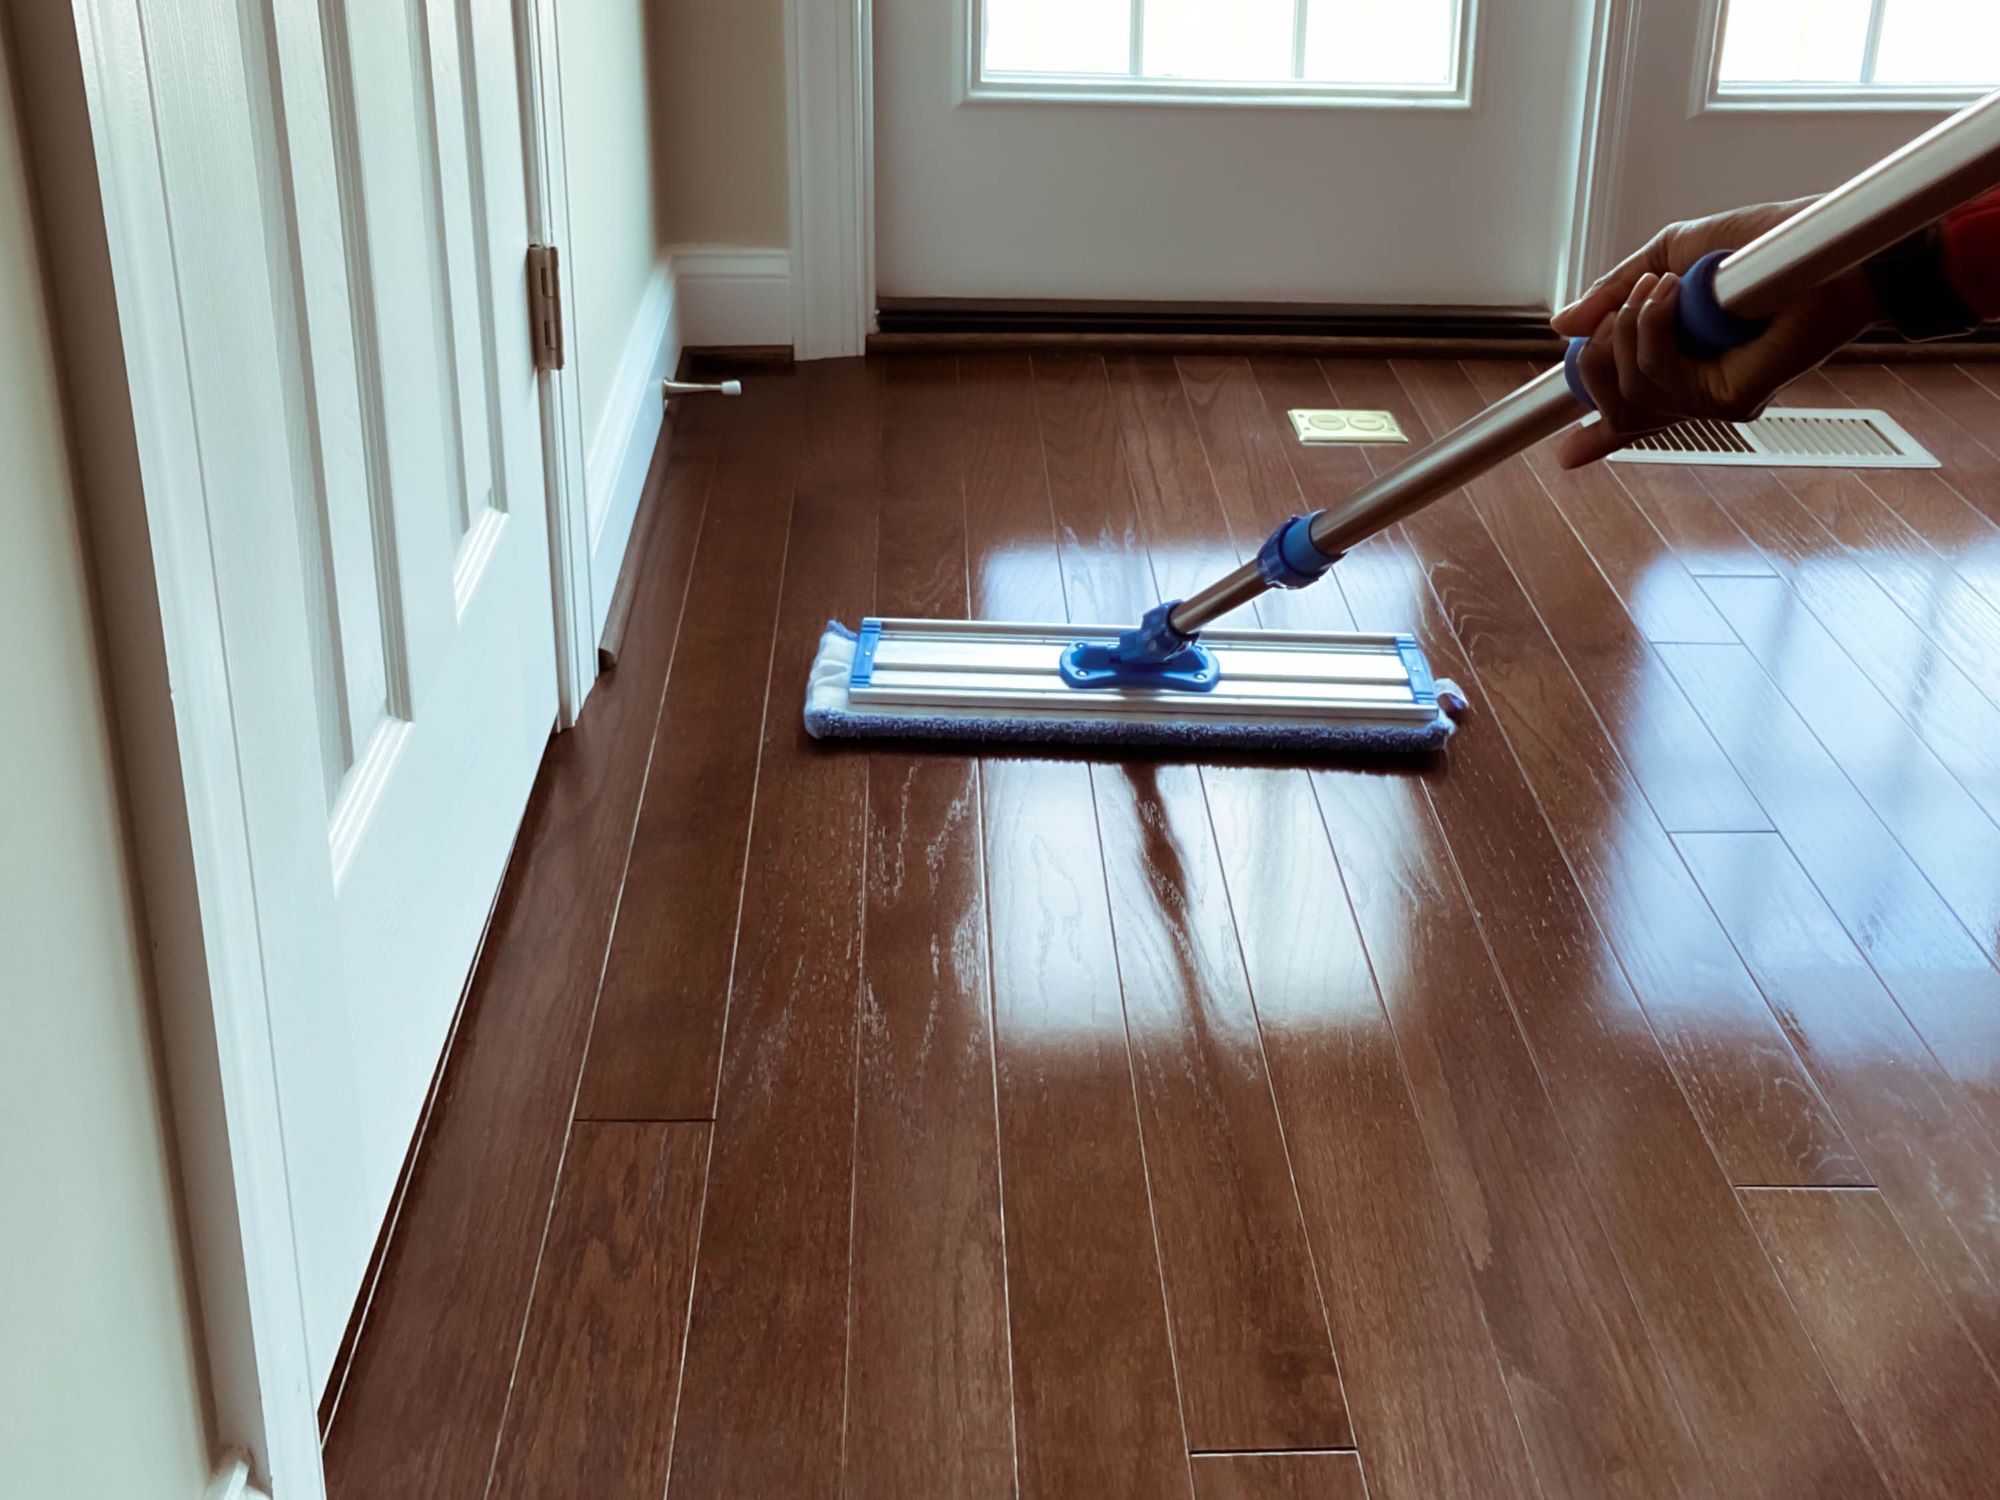
- Clean the Floor: Sweep or vacuum the wood floor to remove any dust, dirt, or debris. Pay extra attention to corners and edges, as these areas often accumulate more dirt. Use a damp mop or cloth to further clean the floor, ensuring that it’s free from any residues that could affect the staining process.
- Protect Adjacent Surfaces: Cover any adjacent surfaces, such as baseboards or walls, with painter’s tape or plastic sheeting. This will prevent any accidental splatters or stains from reaching these areas.
- Ventilate the Area: Stain application can release fumes that may be harmful if inhaled. Make sure the room is well-ventilated by opening windows and doors. Consider using fans or air circulation devices to improve airflow.
- Wear Protective Gear: Stains contain chemicals that can be irritating to the skin and eyes. Wear protective gear, including gloves, safety glasses, and a respirator or mask, to protect yourself from any potential harm.
By following these preparation steps, you’ll create an optimized work environment that allows you to focus on the staining process without any unnecessary interruptions or safety concerns. A clean and protected area will also help prevent any unwanted staining or damage to surrounding surfaces.
Step 2: Sanding the Wood Floor
Once you’ve prepared the area, it’s time to move on to the next crucial step: sanding the wood floor. Sanding is essential to remove any previous finish, smooth out imperfections, and create a clean and even surface for the stain to adhere to. Here’s how to properly sand your wood floor:
- Choose the Right Sandpaper: Select the appropriate grit sandpaper for your project. For initial sanding or removing the previous finish, start with a coarser grit (around 40 or 60). As you progress, switch to finer grit sandpaper (around 80 or 120) for a smoother finish. If your wood floor has deep scratches or uneven spots, you may need to use even coarser grit sandpaper initially.
- Prepare the Sanding Equipment: Attach the appropriate sandpaper to a drum sander or a handheld orbital sander. Follow the manufacturer’s instructions for loading and securing the sandpaper onto the equipment. Make sure the sandpaper is tightly attached to avoid any mishaps during the sanding process.
- Sand in the Direction of the Wood Grain: Start at one edge of the room and sand in the direction of the wood grain. Move the sander smoothly and evenly across the floor, overlapping each pass slightly. Avoid applying excessive pressure, as this can result in uneven sanding or damage to the wood. Repeat this process for the entire wood floor.
- Pay Attention to Edges and Corners: Use a sanding block or handheld sander to sand areas that the drum sander couldn’t reach, such as edges, corners, and around obstacles. Take your time and ensure that these areas are adequately sanded to achieve a consistent finish across the entire floor.
- Clean the Sanding Dust: After sanding, it’s essential to remove all the sanding dust before proceeding. Vacuum the floor thoroughly, use a tack cloth to wipe away any remaining dust, and follow up with a damp mop or cloth to ensure the surface is clean and ready for the next step.
Sanding the wood floor may require some time and physical effort, but it is a crucial step in achieving a smooth and flawless surface for the stain. Take your time and be thorough during the sanding process to ensure the best possible results.
Step 3: Cleaning the Wood Floor
After sanding the wood floor, it’s essential to thoroughly clean the surface to remove any residual dust, dirt, or debris. Cleaning the floor will ensure that the stain adheres evenly and produces a professional-looking finish. Follow these steps to effectively clean your wood floor:
- Vacuum the Floor: Use a vacuum cleaner with a brush attachment to remove any loose dust and debris from the floor. Pay attention to corners, edges, and hard-to-reach areas. Vacuuming will help ensure a clean foundation for the stain application.
- Use a Damp Mop or Cloth: Fill a bucket with warm water and add a small amount of a mild wood floor cleaner. Dip a mop or cloth into the solution, wring out any excess water, and gently wipe the entire surface of the floor. Be careful not to saturate the wood, as excessive moisture can damage it.
- Address Stubborn Stains: If there are any stubborn stains or spots on the wood floor, treat them with a specialized wood floor cleaner or a gentle solvent recommended for the type of stain. Follow the manufacturer’s instructions and use a soft cloth or sponge to gently clean and remove the stain.
- Dry the Floor Thoroughly: After cleaning, use a dry towel or mop to remove any excess moisture from the surface. Allow the floor to air dry completely before proceeding to the next step. Avoid walking on the wet floor to prevent any accidental damage or shifting of the newly cleaned surface.
- Inspect for Residues: Once the floor is dry, inspect it carefully for any remaining residues or debris. If you notice any, repeat the cleaning process to ensure a pristine surface for the stain application.
Cleaning the wood floor is a crucial step that should not be overlooked. It helps achieve a clean and well-prepared surface for the stain, ensuring optimal adhesion and a more professional-looking finish. Take your time during this step to ensure that the floor is thoroughly cleaned before moving on to the next stage.
Step 4: Applying the Stain
Now that you’ve prepared and cleaned the wood floor, it’s time to move on to the exciting part – applying the stain. Follow these steps to ensure a smooth and even application of the stain:
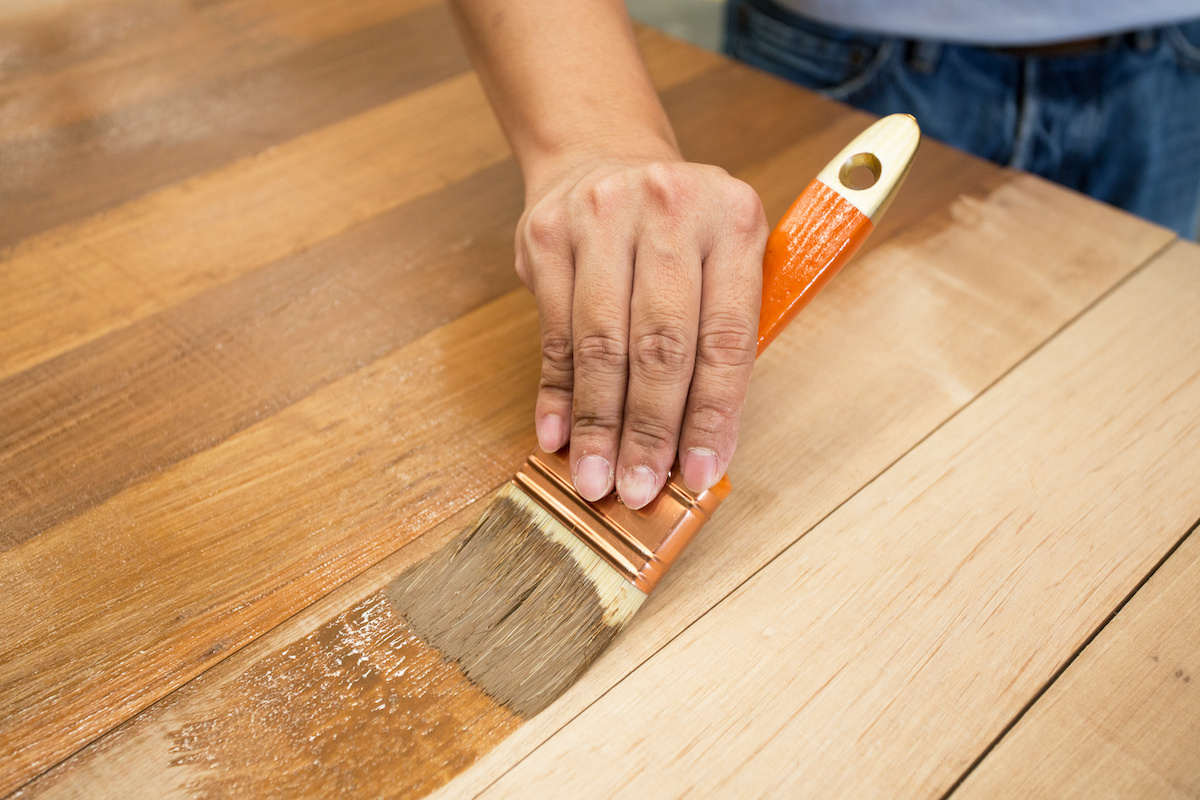
- Choose a Stain Application Method: There are several ways to apply stain to a wood floor, including using a brush, roller, or cloth. The method you choose depends on personal preference and the size of the project. A brush is great for precise application, while a roller or cloth can cover larger areas more quickly.
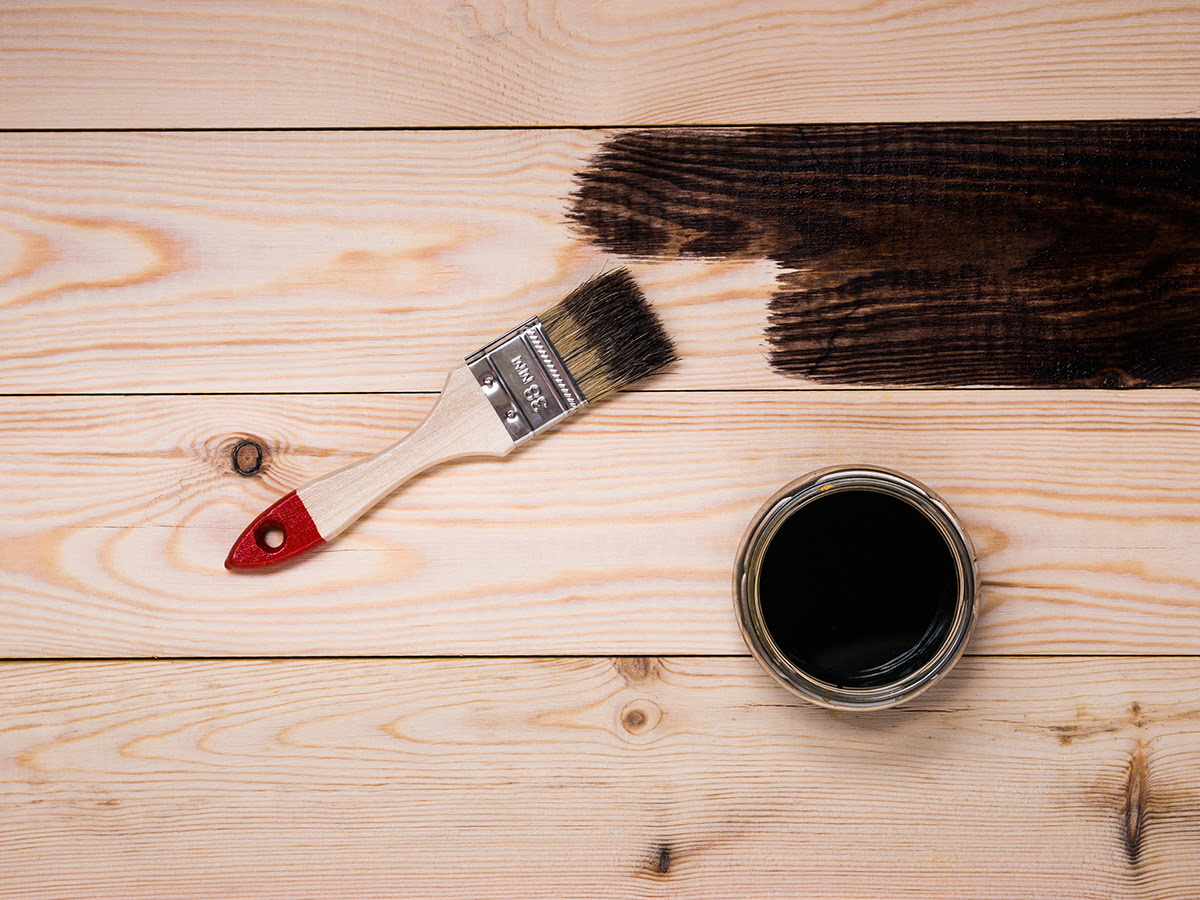
- Stir the Stain: Before applying the stain, thoroughly stir it with a stir stick or a paint mixer. This will ensure that the color pigments are evenly distributed and that you achieve a consistent color result.
- Start in a Far Corner: Begin applying the stain in a far corner of the room, away from the exit point. This will allow you to work your way towards the exit without stepping on the freshly stained areas. Start with a small section to get comfortable with the application process before moving on to larger areas.
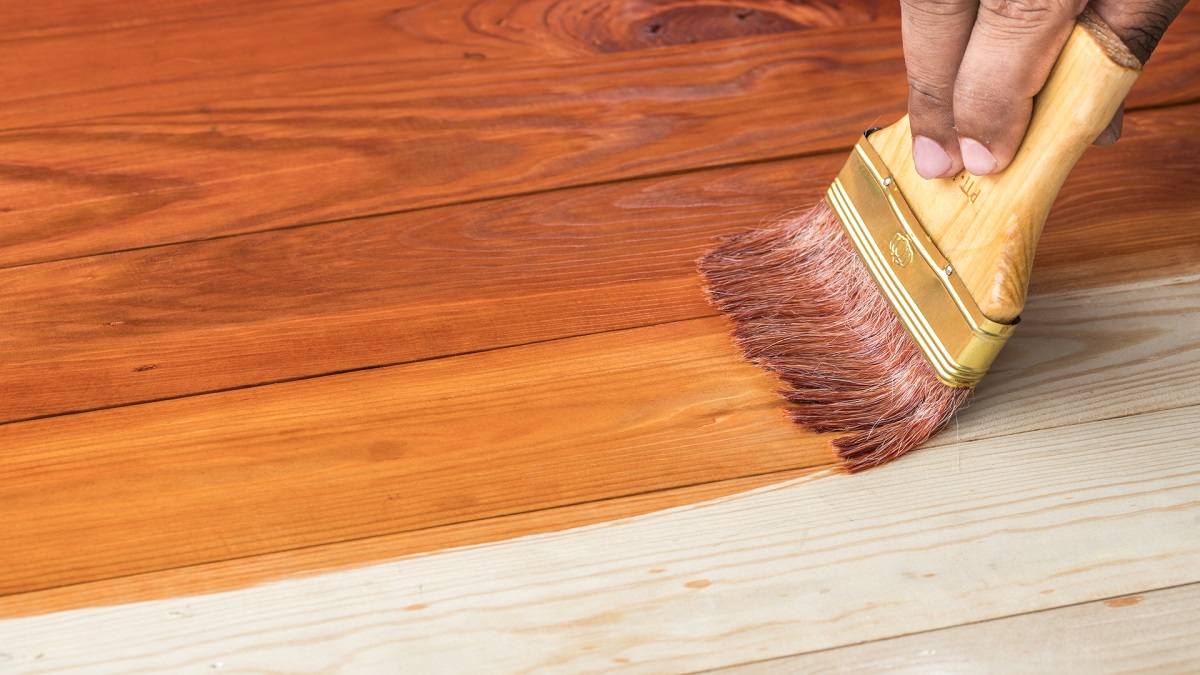
- Apply the Stain: Dip the brush, roller, or cloth into the stain and start applying it to the wood floor. Work in manageable sections, applying the stain in the direction of the wood grain. Use even strokes and ensure that the stain is applied evenly to achieve a consistent color result throughout.
- Overlap Strokes: To avoid creating noticeable lines or streaks, overlap each stroke slightly with the previous one. This will help blend the stain and create a smooth finish. Be careful not to apply excess stain, as this can result in a blotchy appearance.
- Work in a Timely Manner: Stain can dry quickly, especially in warm or dry conditions. Work in a timely manner, completing one small section before moving on to the next. This will ensure that the stain remains wet enough to blend and achieve a seamless finish.
- Keep a Wet Edge: When working on larger areas, it’s important to maintain a wet edge. This means overlapping each new section with the previous one while the stain is still wet. This technique helps prevent visible lines or streaks between sections.
Remember to follow the manufacturer’s instructions for recommended drying times between coats if you plan to apply multiple coats of stain. This will allow each coat to properly dry and enhance the richness of the color.
Applying the stain is an exciting step that allows you to see the transformation of your wood floor unfold. Take your time, work methodically, and enjoy the process of adding depth and beauty to your space.
Before applying stain to a wood floor, make sure to thoroughly clean and sand the surface to ensure even absorption. Test the stain on a small, inconspicuous area to ensure it achieves the desired color before applying it to the entire floor.
Read more: How To Get Water Stain Out Of Wood Floor
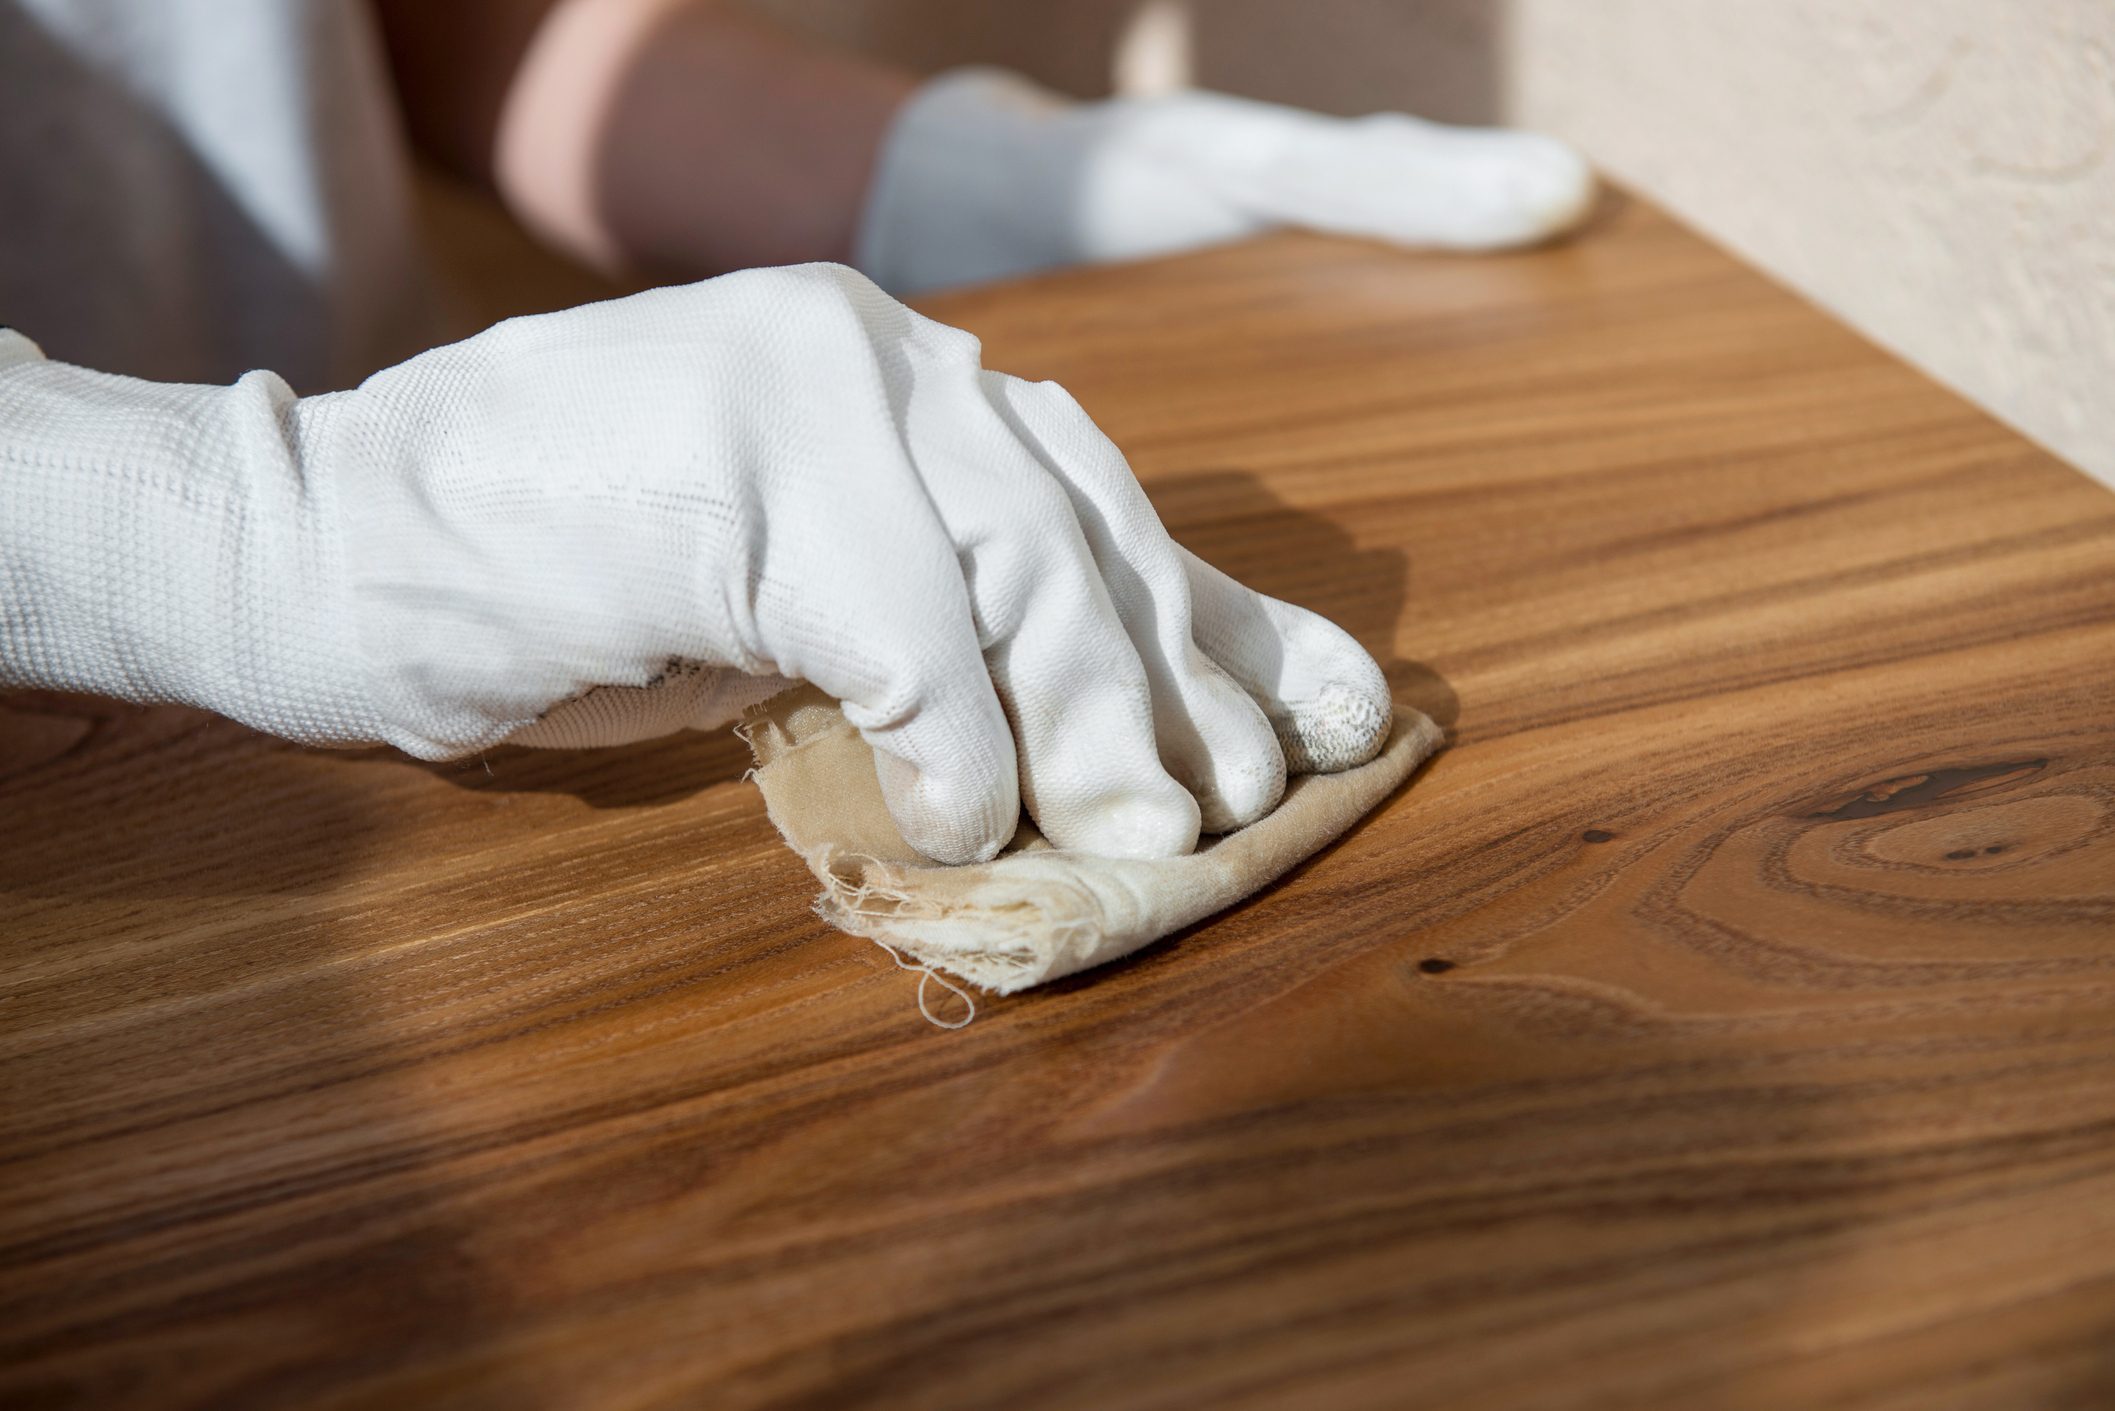
Step 5: Wiping off the Excess Stain
After applying the stain to your wood floor, it’s important to wipe off the excess stain to avoid any uneven spots or pooling of the color. This step helps achieve a more uniform and professional-looking finish. Follow these steps to wipe off the excess stain:
- Wait for the Stain to Penetrate: Allow the stain to penetrate into the wood for the recommended amount of time, as indicated by the manufacturer. This usually ranges from a few minutes to 15 minutes, depending on the type of stain and the desired color intensity.
- Prepare Clean Cloths or Rags: Prepare clean, lint-free cloths or rags for wiping off the excess stain. It’s recommended to have a few cloths on hand to ensure that you can switch to a clean cloth if one becomes saturated with stain.
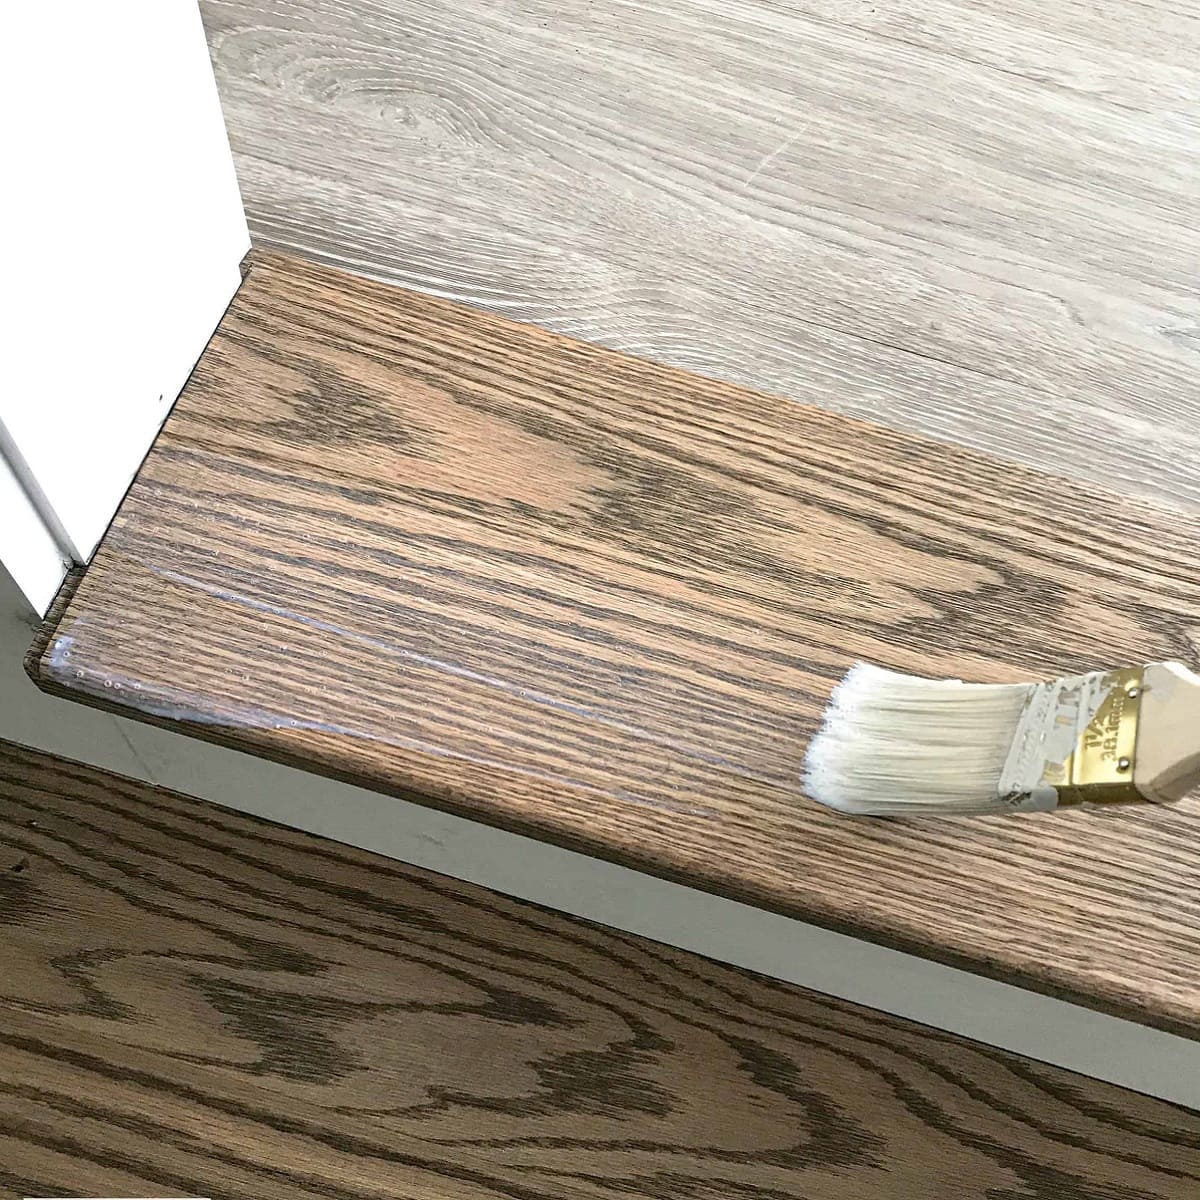
- Gently Wipe off the Excess Stain: With a cloth or rag, gently wipe off the excess stain by following the wood grain. Apply light pressure and be careful not to remove too much stain from the wood. This step helps even out the stain application and create a consistent color across the floor.
- Pay Extra Attention to Corners and Edges: Areas such as corners and edges may have a tendency to accumulate more stain or create blotchy spots. Use a smaller cloth or a cotton swab to carefully remove any excess stain from these areas, ensuring an even appearance.
- Check for any Drips or Puddles: After wiping off the excess stain, inspect the floor for any drips or puddles that may have formed during the application process. Use a clean cloth to carefully blot or remove any excess stain to avoid leaving noticeable marks or spots on the wood.
- Allow the Stain to Dry: Once you’ve wiped off the excess stain, allow the floor to dry completely according to the recommended drying time provided by the manufacturer. This is typically between 24 to 48 hours. Avoid walking on the floor or placing any furniture or rugs on it until it is fully dry.
Wiping off the excess stain is an important step in achieving a smooth and flawless finish. Take your time during this step and ensure that you remove any excess stain without overdoing it. This will result in a beautifully stained wood floor that showcases the true colors and grain of the wood.
Step 6: Drying and Curing the Stain
After wiping off the excess stain, the next step is to allow the stain to dry and cure. Drying and curing times can vary depending on factors such as the type of stain, humidity levels, and temperature. Follow these guidelines to ensure proper drying and curing of the stain on your wood floor:
- Follow Manufacturer’s Instructions: Check the stain manufacturer’s instructions for specific drying and curing times. These guidelines will give you a general idea of how long it will take for the stain to fully dry and cure. Avoid rushing the process to ensure optimal results.
- Avoid Foot Traffic: During the drying and curing process, it’s crucial to avoid walking on the stained areas. This prevents smudging, imprints, or any other damage to the stain. Plan your schedule accordingly and keep foot traffic to a minimum until the stain has fully dried and cured.
- Create Adequate Ventilation: Proper airflow and ventilation are essential for the drying and curing process. Open windows or doors to allow fresh air to circulate in the room. This helps to speed up the drying process and ensures that any lingering fumes disperse more quickly.
- Control Humidity Levels: High humidity can hinder the drying process and result in longer curing times. If the humidity levels are high, consider using dehumidifiers or fans to reduce moisture in the room. This will help the stain dry and cure more efficiently.
- Avoid Direct Sunlight: Exposing the stained wood floor to direct sunlight can lead to uneven drying and potential color fading. Close blinds or curtains during peak sun hours to protect the stained floor from direct sunlight. This is especially important during the initial drying phase.
- Patience is Key: It’s important to exercise patience during the drying and curing process. Rushing this stage can compromise the final outcome. Allow the stain ample time to dry and cure fully, ensuring a durable and long-lasting finish on your wood floor.
By following these guidelines, you will ensure that the stain on your wood floor dries and cures properly. This will result in a more resilient and beautiful finish that will stand the test of time.
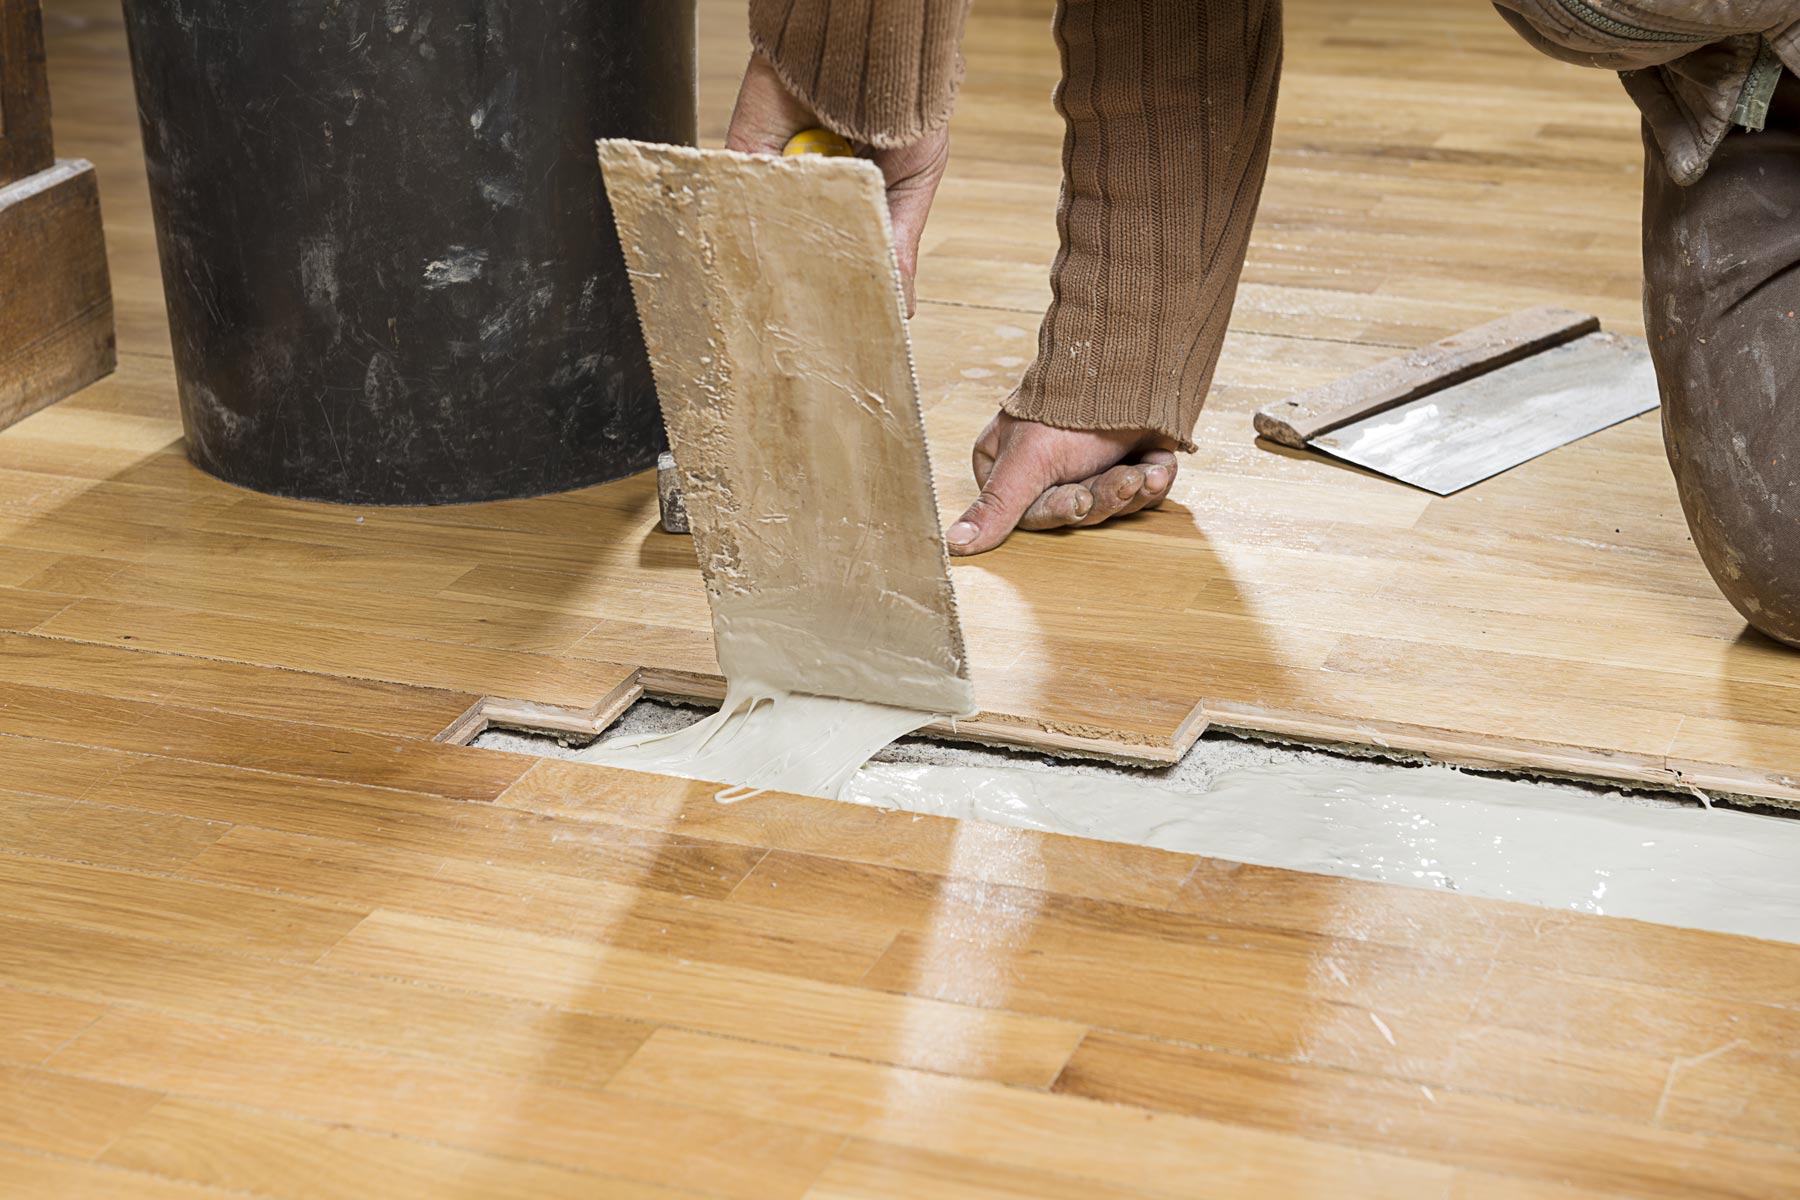
Step 7: Applying Sealant or Topcoat (optional)
After the stain has fully dried and cured, you have the option to apply a sealant or topcoat to further protect and enhance the appearance of your wood floor. Sealants or topcoats provide an extra layer of durability, help prevent scratches and stains, and can add a subtle sheen or glossy finish to the floor. Follow these steps to apply a sealant or topcoat:
- Choose the Right Product: There are various types of sealants or topcoats available, such as polyurethane, varnish, or lacquer. Consider the type of wood floor you have and determine which product is the most suitable. Read the manufacturer’s instructions to ensure compatibility with the stain you have used.
- Prepare the Area: Before applying the sealant or topcoat, make sure the area is clean and free from any dust or debris. Vacuum or sweep the floor to remove any loose particles. If necessary, use a damp cloth to wipe away any remaining dust.
- Stir the Sealant or Topcoat: Just like with the stain, thoroughly stir the sealant or topcoat to ensure proper mixing of the ingredients. This step helps to achieve an even application and consistent results.
- Apply a Thin and Even Coat: Using a brush or applicator suitable for the specific product, apply a thin and even coat of the sealant or topcoat to the wood floor. Work in small, manageable sections, following the direction of the wood grain. Avoid applying too much product to prevent uneven drying or a tacky finish.
- Allow the First Coat to Dry: Follow the manufacturer’s instructions for the recommended drying time between coats. Allow the first coat to dry thoroughly before applying subsequent coats. This typically ranges from a few hours to overnight, depending on the product used.
- Sand between Coats (optional): If desired, you can lightly sand the floor between coats to achieve a smoother finish. Use a fine-grit sandpaper and gently sand the surface to remove any imperfections or raised grain. Wipe away any sanding dust before applying the next coat.
- Apply Additional Coats (if desired): Depending on the desired level of protection and sheen, you can apply additional coats of sealant or topcoat. Follow the same application process as before, ensuring proper drying time between coats.
- Allow the Final Coat to Cure: After applying the final coat, allow the sealant or topcoat to cure for the recommended time specified by the manufacturer. This usually ranges from a few days to a week. Avoid placing any furniture or rugs on the floor until it has fully cured.
Applying a sealant or topcoat is optional, but it can greatly enhance the longevity and appearance of your stained wood floor. It provides an extra layer of protection against everyday wear and tear. Take your time during this step to ensure a smooth and even application, and enjoy the added beauty and durability that the sealant or topcoat brings to your wood floor.
Conclusion
Congratulations! You have successfully learned how to apply stain to a wood floor. By following the step-by-step process outlined in this guide, you have transformed your wood floor into a stunning focal point that adds warmth and character to your space. Let’s recap the key points:
1. Preparation: Clear the area, clean the floor, protect adjacent surfaces, ventilate the area, and wear protective gear.
2. Sanding the Wood Floor: Choose the right sandpaper, prepare the sanding equipment, sand in the direction of the wood grain, pay attention to edges and corners, and clean the sanding dust.
3. Cleaning the Wood Floor: Vacuum the floor, use a damp mop or cloth to clean, address stubborn stains, dry the floor thoroughly, and inspect for residues.
4. Applying the Stain: Choose a stain application method, stir the stain, start in a far corner, apply the stain, overlap strokes, work in a timely manner, and keep a wet edge.
5. Wiping off the Excess Stain: Wait for the stain to penetrate, prepare clean cloths or rags, gently wipe off the excess stain, pay extra attention to corners and edges, and check for any drips or puddles.
6. Drying and Curing the Stain: Follow the manufacturer’s instructions, avoid foot traffic, create adequate ventilation, control humidity levels, avoid direct sunlight, and exercise patience.
7. Applying Sealant or Topcoat (optional): Choose the right product, prepare the area, stir the sealant or topcoat, apply a thin and even coat, allow the first coat to dry, sand between coats if desired, apply additional coats if desired, and allow the final coat to cure.
Remember, the key to achieving beautiful results is to take your time, follow the manufacturer’s instructions, and pay attention to detail. Staining a wood floor is a rewarding process that allows you to transform your space and showcase the natural beauty of the wood.
Now that you have completed the staining process, take a step back and admire your handiwork. Your newly stained wood floor will surely be a source of pride and admiration for years to come.
Frequently Asked Questions about How To Apply Stain To Wood Floor
Was this page helpful?
At Storables.com, we guarantee accurate and reliable information. Our content, validated by Expert Board Contributors, is crafted following stringent Editorial Policies. We're committed to providing you with well-researched, expert-backed insights for all your informational needs.


0 thoughts on “How To Apply Stain To Wood Floor”