Home>Storage Ideas>Storage Shelves>35 Quick And Easy DIY Storage Shelves

Storage Shelves
35 Quick And Easy DIY Storage Shelves
Modified: December 6, 2023
Quickly learn how to make your own storage shelves! There's no need to buy expensive shelves when you can DIY your own unique set.
(Many of the links in this article redirect to a specific reviewed product. Your purchase of these products through affiliate links helps to generate commission for Storables.com, at no extra cost. Learn more)
The recent wave of repurposing things around the house has raised awareness regarding the importance of reducing unwanted wastage. Why not rejuvenate old pieces of furniture to complement the aesthetics of your space? Here are some easy and cost-friendly ways to DIY storage shelves. For more inspiration, check out our ultimate guide on storage ideas.

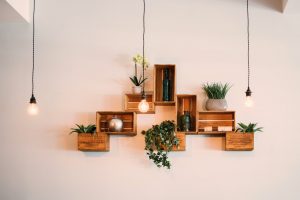
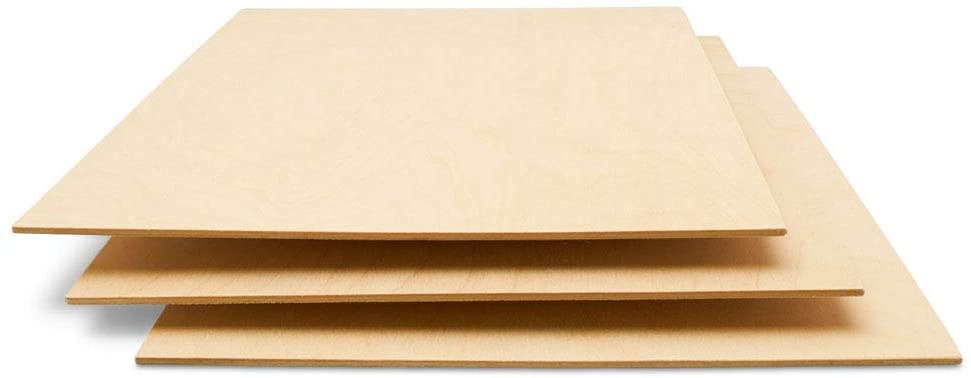
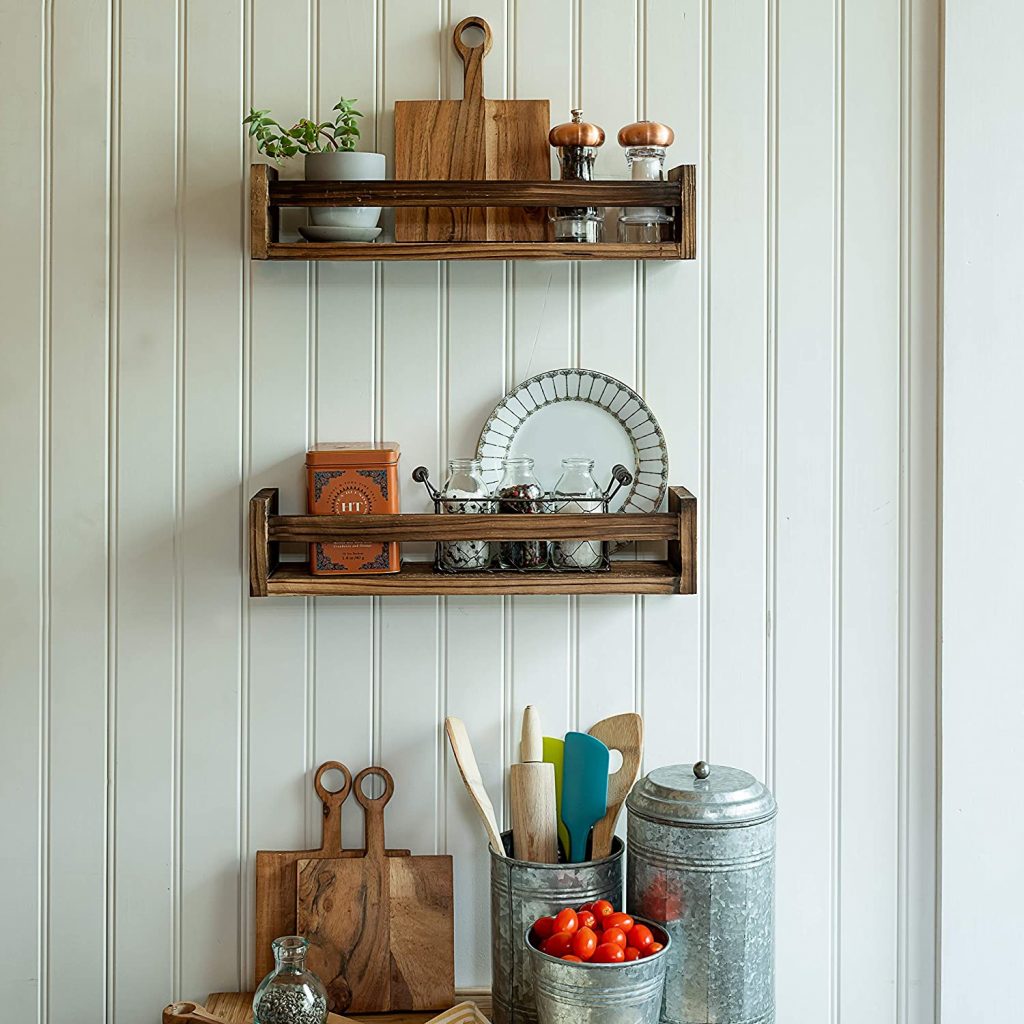
What better way to make use of barren vertical space than to create floating shelves using brackets. If you’re a person who enjoys little side hobbies and sprucing up your home regularly, then you are sure to have lots of wooden boards from previous projects. Grab a few of those boards to start this next home improvement activity.
Before beginning, remember to sand down the edges of the boards with sandpaper. Stain the board with a clean cloth for that old-fashioned rustic look or paint the boards white for a more clean and contemporary edge. A quick tip: although time-consuming, wall anchors will ensure longer-lasting durability for the shelves.
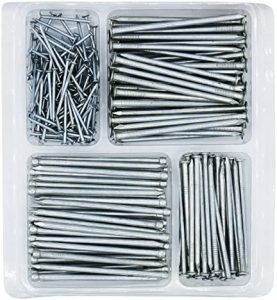
All you need for this project is a few sets of brackets, plywood, screw anchors, and screws to mount them up.
2. Drawer Shelves
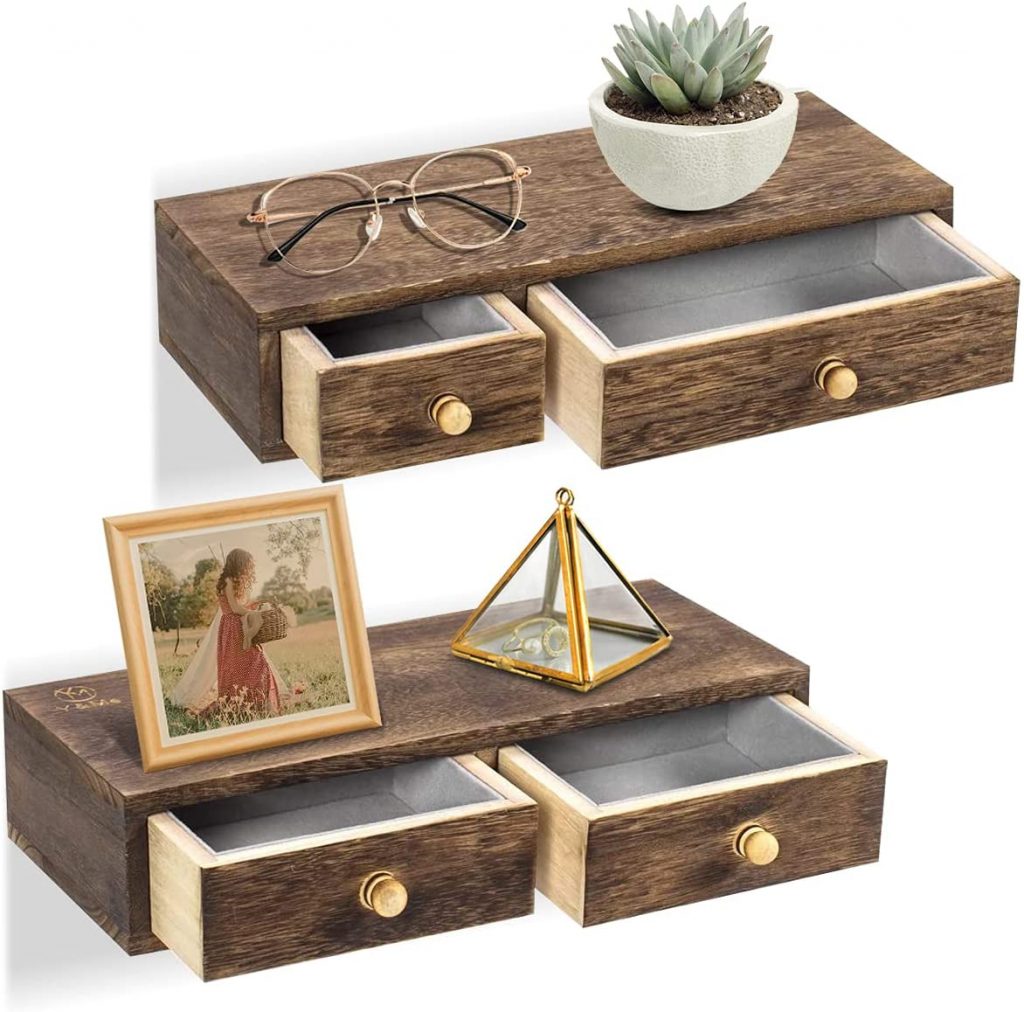
Why not add a vintage look to your home this season by upcycling old drawers that have done their time. Use any shape of drawers to suit the configuration of your space.
Begin by scrubbing the inside of the drawer with a rough brush. Sand down the outside of the drawer with sandpaper before painting it to match your home decor. Afterward, include wallpaper on the insides of the drawers for a more trendy look.
If you’re planning to keep the drawers in their original appearance, you might want to give them a fresh coat of primer and eggshell-finish latex paint. If you’re fixing more than one drawer, remember to measure their placement before putting up your shelf.
To try out this DIY hack, you will need these items to mount the drawers:
There you have it: extra storage space for your kids’ toys or book collection!
Read more: DIY Guide To Building Custom Shelving Units
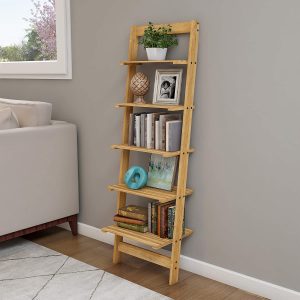
3. Old Ladder Bookshelf
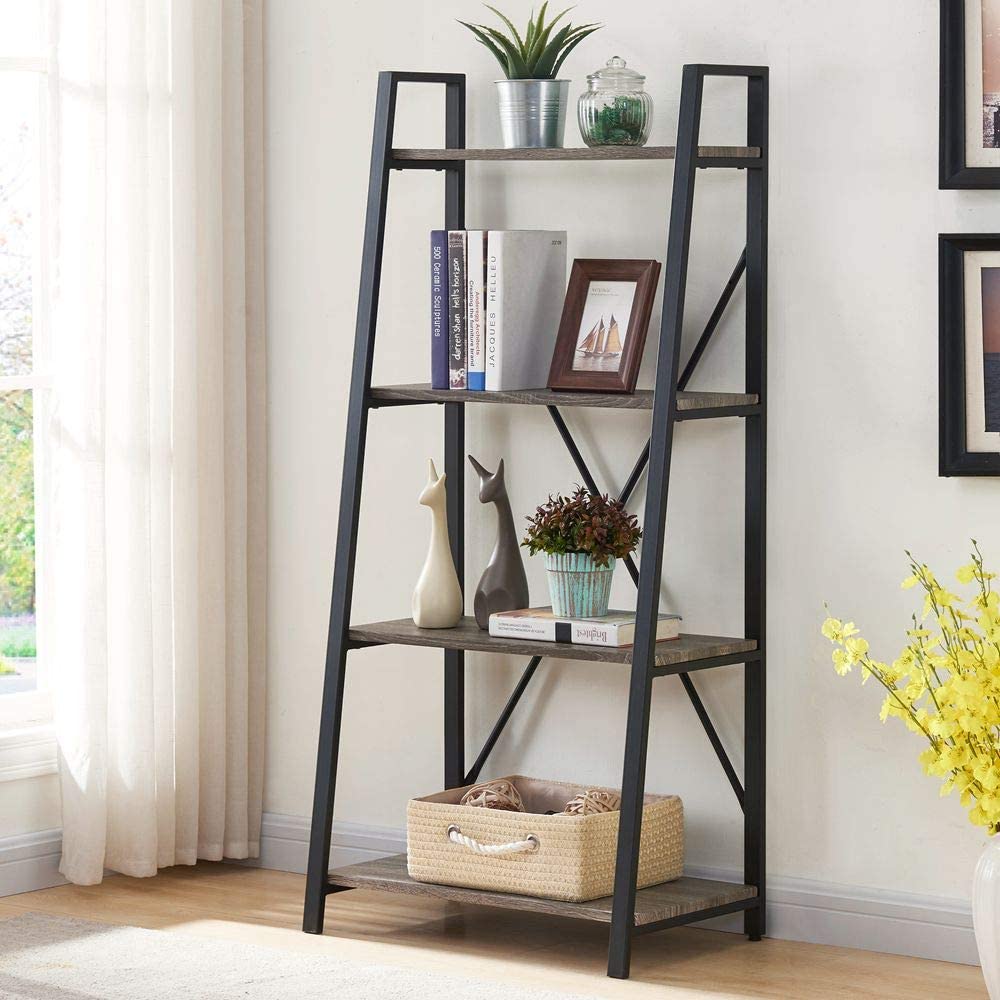
This has to be one of the most creative usages of old ladders we could think of. How wonderful to revamp an old ladder into a bookshelf and still add a little pizzazz to your storage space. Remember to sand down the ladder before adding the metal braces to the ladder steps. You must also make sure that the metal braces are aligned to have a leveled shelf.
The last thing you want is to have crooked shelves that can’t hold up your books. Do the same on the other side of the ladder. Don’t forget to add wood support underneath the shelves so they don’t slide off the ladder steps. This will help support the weight of the books you will be putting on display. You can also place the shelf in the backyard for potted plants or gardening supplies.
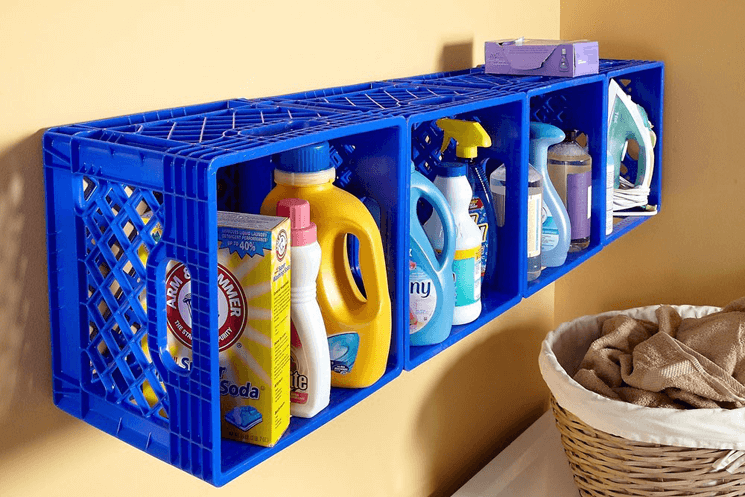
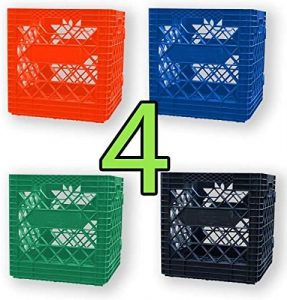
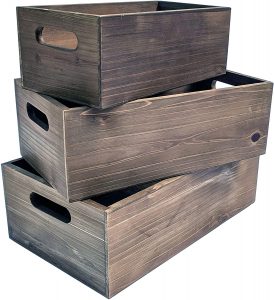
Here, we have the humble plastic crate – sturdy, lightweight, and completely versatile. This Super CRATES 4 Pack can be repurposed as a shoe storage unit or durable bookshelf. Channel your inner Martha Stewart and get creative with this project. You will need as many crates as you wish to create storage with, screws to mount the product, screw anchors to support the screws, a drill, and some zip ties.
Start by zip-tying the plastic crates to suit your wall space. You may screw them together to add durability, but the zip tie would work as well. If you have plywood laying around from previous projects, you can stack the plastic crates in between the wood boards to make a table shelf. Finally, don’t be afraid to grab a can of spray paint from your local hardware store to coordinate with your decor. These make the perfect DIY garage shelves!
Things You’ll Need:

Certainly, many of us have come across disembodied furniture before like a headboard or a broken table. In this project, you will see that sometimes a crazy idea can bring about the ‘wow’ factor you want to have for your home. Using a circular saw, cut the headboard in half vertically. Place them at a 90-degree angle and nail them together.
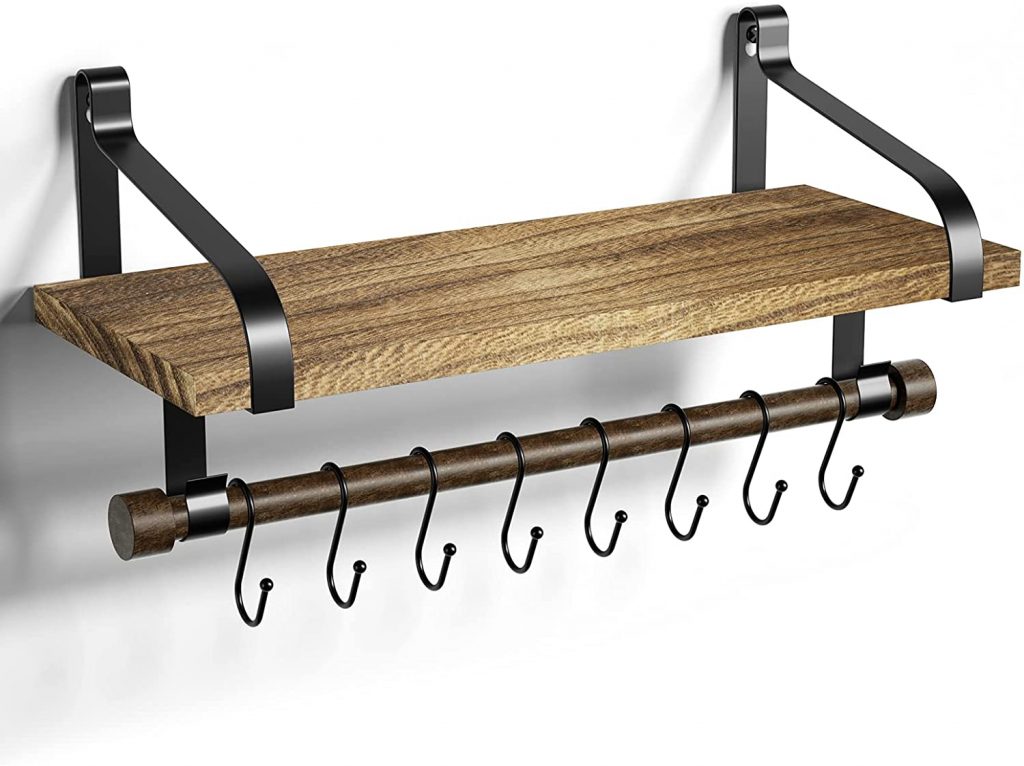
If the headboard looks new, you could stick to its original look and save cost. Otherwise, add some color to brighten up your space at home. If you add a bunch of mug hooks, it can be used as a focal point in your dining area or kitchen. Just make sure the hooks are at least 3-4 inches apart or 6-7 inches if you want the headboard shelf to double up as a coat rack. This is one of the prettiest and easiest DIY storage shelves for a bedroom there is.
6. Shutter Corner Shelf
Jazz up your corners with this repurposed shutter shelf. Why not add more storage to small spaces with this repurposed shutter corner shelf. Make this inexpensive storage space with just two shutters and some plywood (you can even pick some up from furniture stores).
After measuring the appropriate dimensions for the shelf, cut and nail the shelves into the brackets. Remember to dry brush the shutter and shelves with some chalk paint for that added distressed wood look. If your budget allows it, kick things up a notch by adding a door light to the shelf. This will serve as the perfect display for your book collection.
7. Old Door Corner Shelf
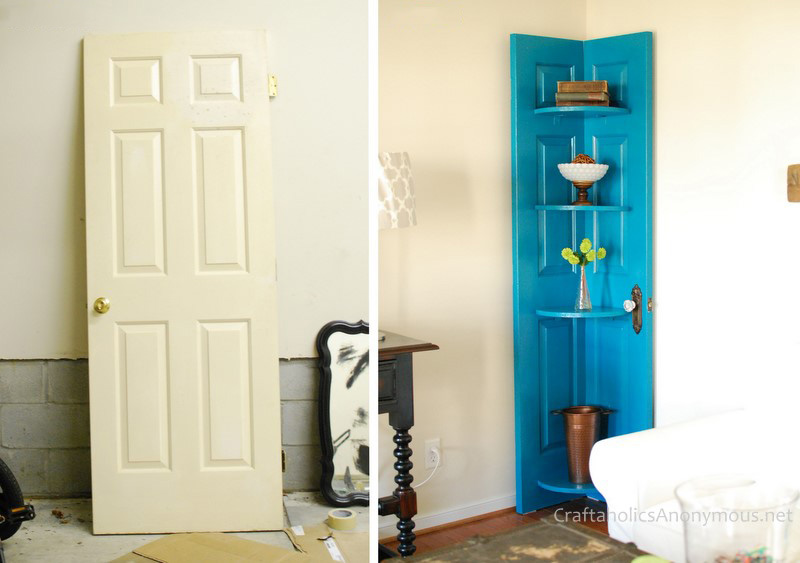
Photo from Pinterest
Here’s another corner shelf to fill up all those extra space in your home, using an old door. It doesn’t even cost that much.
Start by using a circular saw to cut the door in half. Using clamps secure the two halves of the door at a 90-degree angle. After measuring and cutting out the shelves remember to sand down rough edges with sandpaper. All you need is some spray paint to match your home decor or you can stain the wood to give it a natural rustic vibe.
Change out the doorknob for one that fits the vintage feel. Similar to making the shutter corner shelf, if your budget allows it, fix a light at the top of the shelf for that added cozy feel to your living space. All you need for this project is a saw, screwdrivers, screws, 90-degree metal L brackets, and sandpaper.
Read more: How Deep Are Pantry Shelves
8. Pallet Storage Shelf
Photo from publico
Upcycled Pallets are probably one of the most unique ways of creating storage space for your home. For this easy DIY project, just pick up a few pallets from your local hardware or furniture store. Pry the boards of the pallets, either using a hammer or a crowbar. Measure and cut 1-2 inches above the higher wood strip. Remember to sand down the rough edges of the wood strips with a power sander or a hand sander. You may want to paint or stain your pallet to suit your existing decor.
Once dried, remember to fit the shelf to the configuration of your space. This is such a great idea and it doesn’t even cost that much.
9. Old Leather Belt Shelf
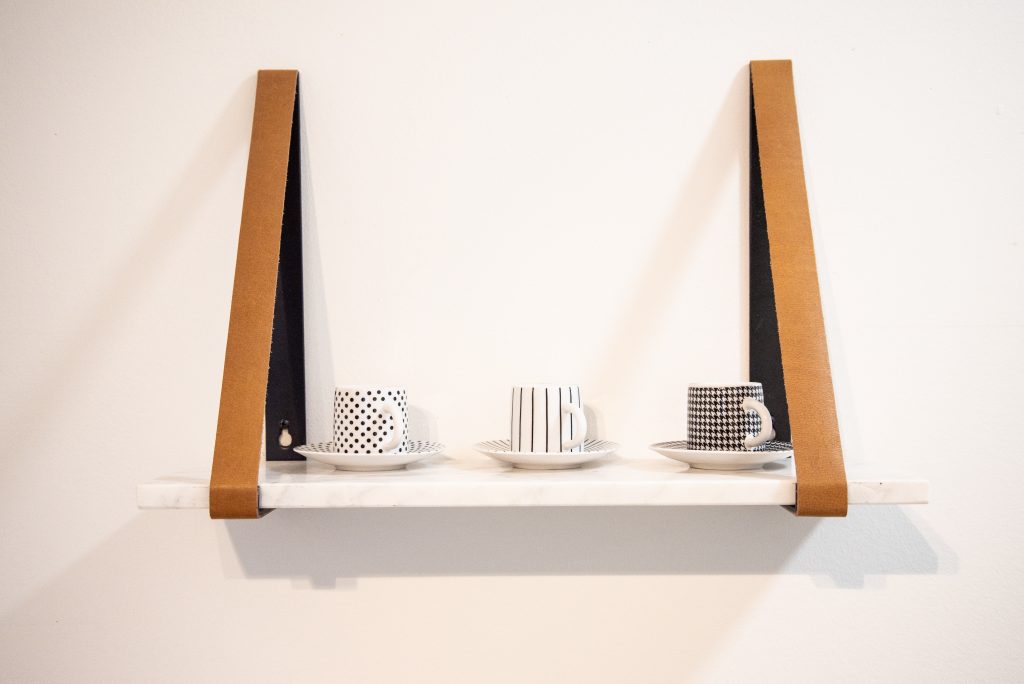
Photo from Unsplash
Done with your belts? Don’t throw them out just yet, repurpose them into a fun and stylish addition to your home. Although it may sound like a crazy idea, you would be surprised that the results will add a rustic and luxurious vibe to your space.
Start by cutting your board to your desired shelf length. Sand down the wood strip before painting or staining it. Once dry, lay the wood strip on the ground. Loop the belt around the shelf strip and cut the folded end. Punch a hole at the tip of the belt and measure the shelf’s placement on the wall. After inserting anchors and screw belts to the wall, you are finally ready to mount your upcycled belt shelf.
With this last hack, we have found a trendy way to save money and create more storage space. Yet, another great way to repurpose something you have at home.
Read also: 13 Best Cubbies Storage Shelves For 2025
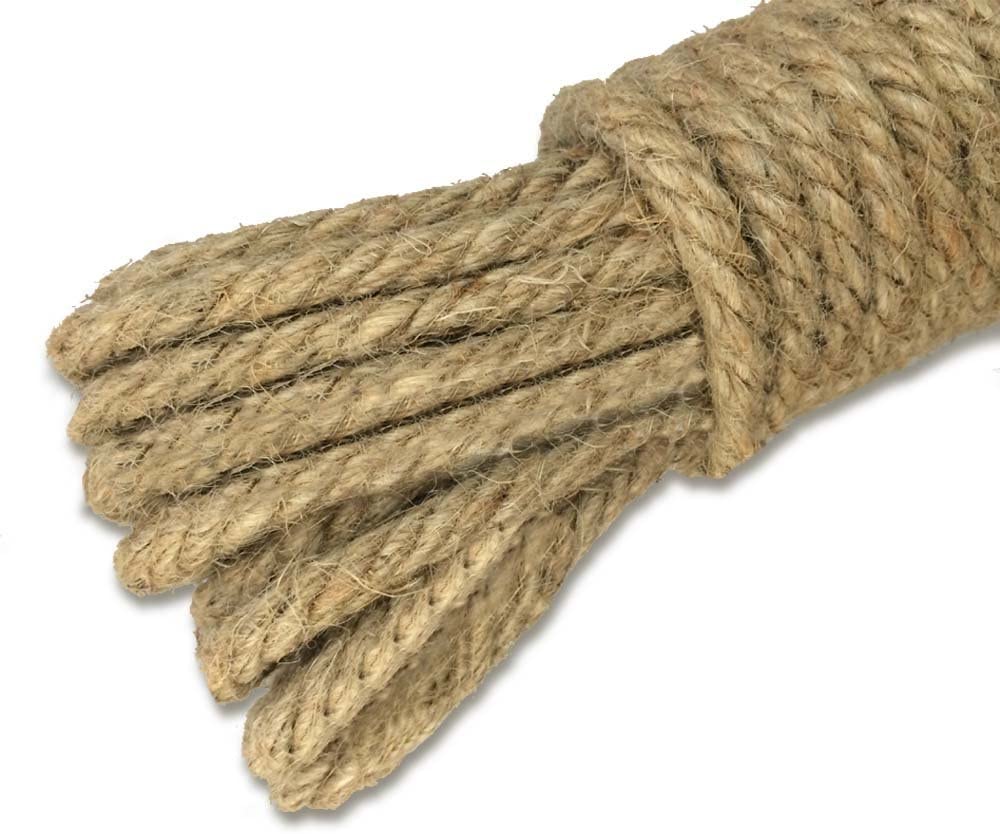
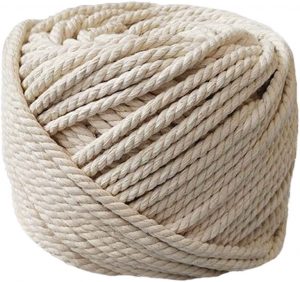
10. Rope Shelf
Have a few spare boards and rope from previous projects lying around in your garage? These are the perfect materials to make a rope shelf and jazz your interiors up a bit.
Cut the wood into your desired lengths, paint or stain the wood using your favorite colors, mark 1.5-inch holes in the 4 corners of the wood, and thread the knotted rope through them. If your shelf is multi-tiered, you could also add dowel pieces beneath each hole of the top two shelves. Voila! You now have yourself a neat little shelf.
11. Repurposed Dresser Shelf

Photo from lizmarieblog
Is your dresser old and faded, but you just can’t bear to throw it away? You can easily turn it into a very useful shelf: here’s how.
Sand your dresser using a sander, and dislodge the side drawer supports using a hammer. Give the top of the dresser a nice coat of water-based matt varnish, and prime the rest of it. The final step is to add some MDF shelves, 3 to 4 generous layers of paint, and extras like label holders if you like.
12. Bucket Shelves
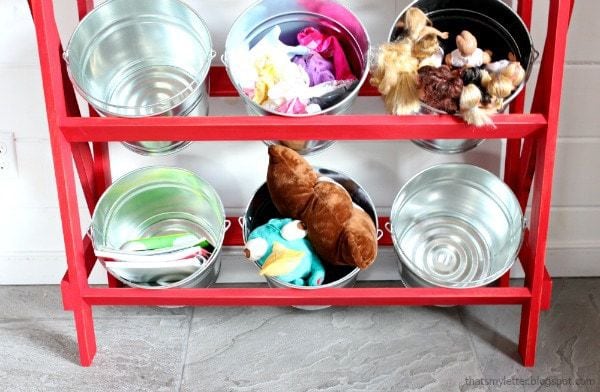
Photo from jaimecostiglio
Did this get you smiling? You should, because you are about to create something fantastic for your bedroom or kitchen. Buckets that are durable and strong will be perfect for this DIY storage shelf.

The next time you get hold of a paint bucket, cut off the top of the bucket and clean it. You can use glue to fix any bucket you are using from the bottom onto the wall. Using more than one color or a single color is beautiful. Arrange your books inside them in different dimensions for a fun interior aesthetic.
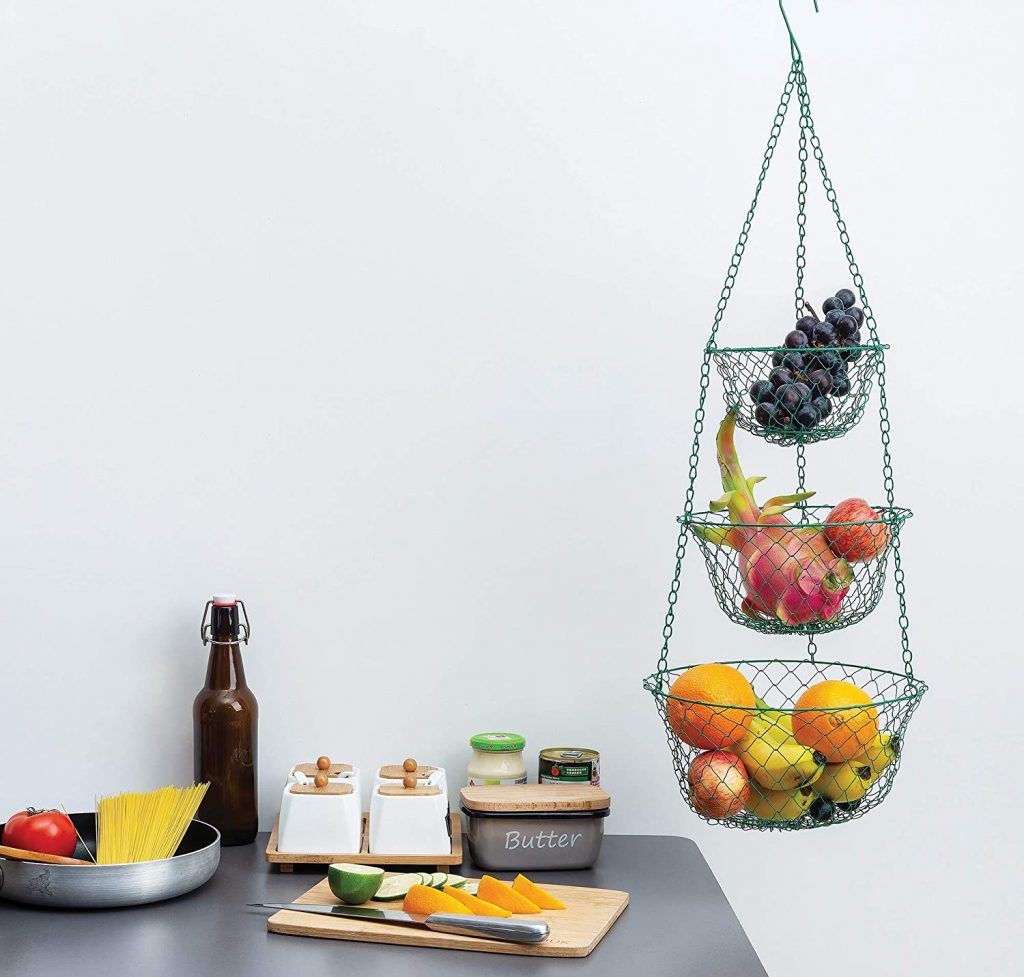
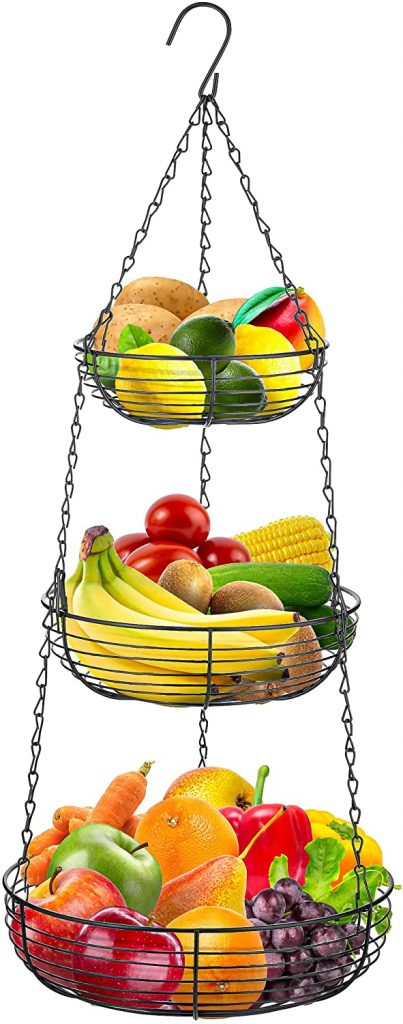
13. Fruit Basket-Shelves
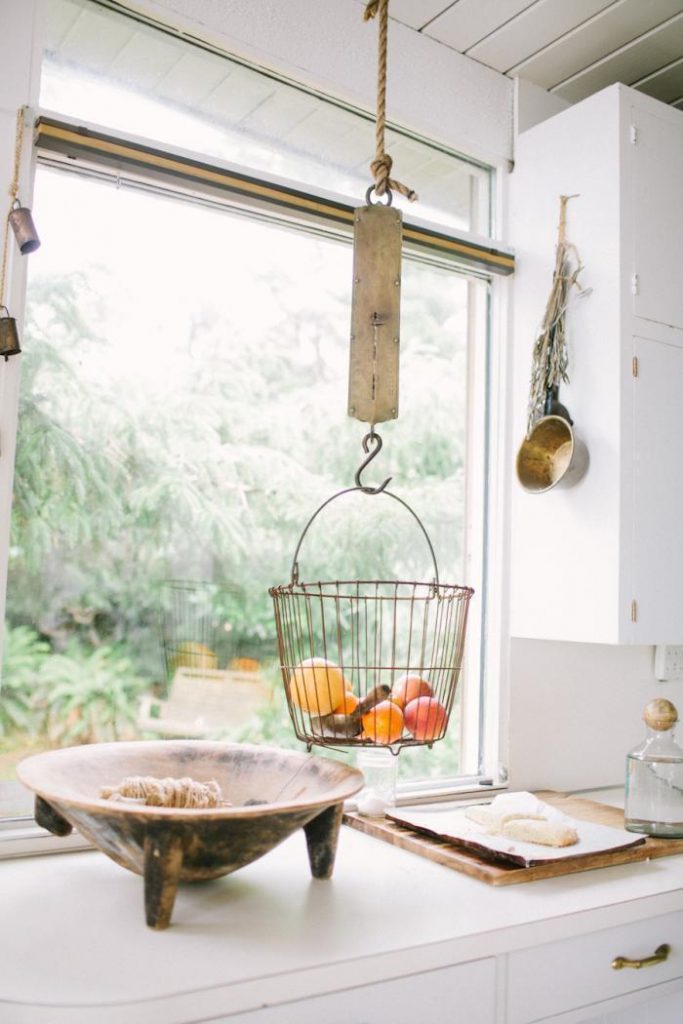
Photo from Pinterest
The majority of us have neglected some of our old-fashioned fruit baskets for modern ones. But instead of chucking those away in a bin, you can repurpose these fruit baskets to breathe new life into your modern kitchen. Regardless of which you prefer, fruit baskets can be useful in the hallway. They can be used to collect outdoor wear such as socks, gloves, hats, etc., and will save you time and stress, especially if you have kids. All you need to do is instruct them to always drop their clothes in the fruit basket.
14. Driftwood Shelf
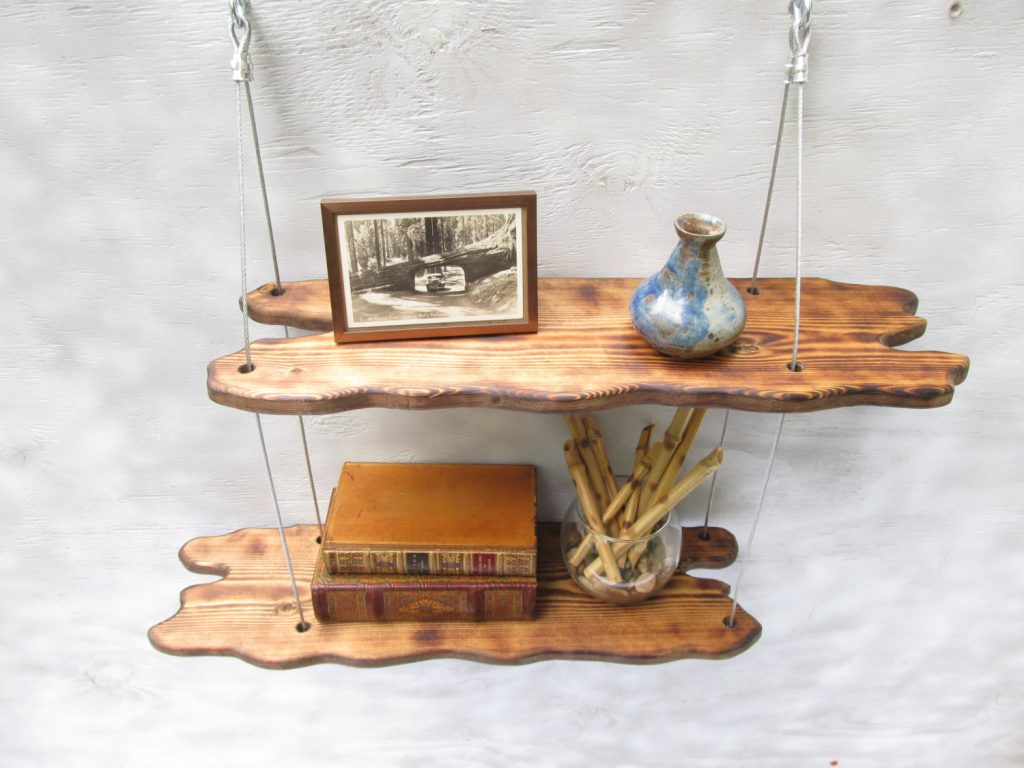
Photo from Etsy
If you want to try a DIY shelf that will always make you smile at yourself. Just get a light-weighted wood from the yard, drill, and mark the perfect location for it. Drill the wall with a standard drill bit. Then, hammer in the wall plugs and screw in the long screws. Ensure your screw length is long enough for your light wood to sit on. That’s all it takes to create a driftwood shelf. It is neither expensive nor time-consuming.
15. Attach Baskets To Floating Shelves
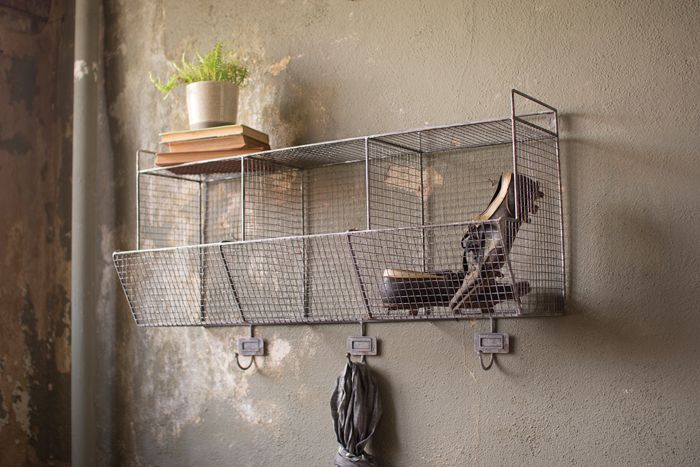
Photo from Pinterest
If you have floating shelves mounted on your walls, here is another method to revamp them and get more storage out of them. All you need is to tie some rope around the small baskets’ handles and hang them on the hook under the floating shelves. Once this is done, you can start arranging more things like wine, cups, books, and others. In case you don’t have baskets to spare, you can buy a few of them for a few dollars. Purchase different colors to add to the floating shelves’ aesthetic.
16. Pegboard Shelf
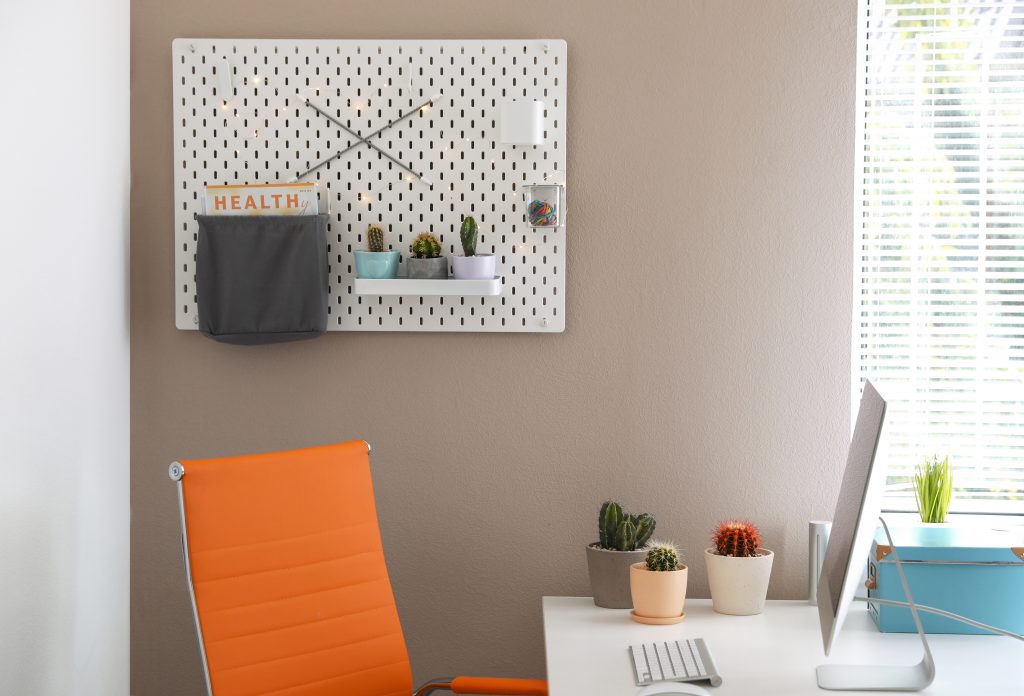
Photo from Adobe Stock
Pegboard is among the most versatile organizers. If you have pegboards at home then you should try to create shelves out of them. Although you may not get massive shelves from this, you will have some extra space to secure your keys, jewelry, purse, bags, and other small items. To create this shelf, you will need to place some planks over the pegs. Of course, you can also just move the entire pegboard into your bedroom and use the pegs to hang your hats, coats, bags, and more.
Read also: 14 Best Storage Bins For Shelves For 2025
17. Rustic Pallet Shelf
Here is another fast and straightforward DIY storage shelf. You can position this in your bedroom or bathroom. Know that you will not get much space out of this if you are not creative enough or use much wood.
You will need to get about six pieces of 20-inch wood, depending on your need, and 3 or 4 flat planks that will serve as shelves. Nail each tall plank on the wall to form a board and then fix some screws on the wood board to hold the planks in place. You can design it in diverse colors.
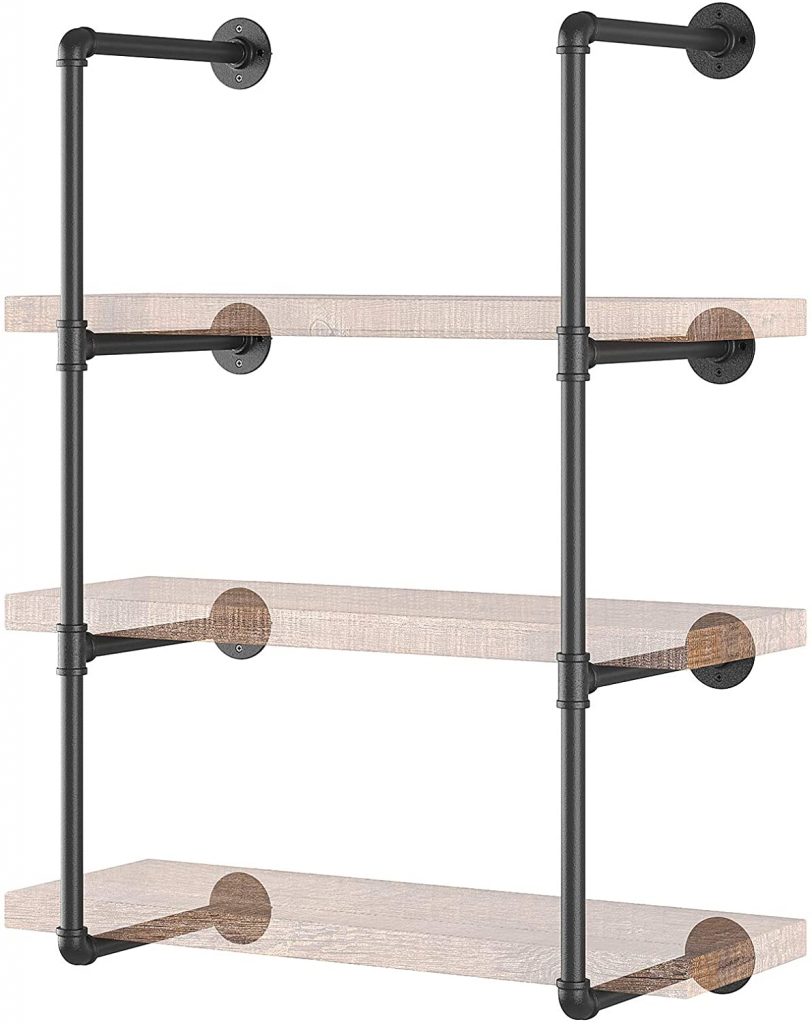
18. Ceiling Shelves

Photo from Pinterest
Oh! You already have shelves mounted on your wall, and you need more space to tidy up your home, then create ceiling shelves. To do so, fix pipes on the ceiling, and ensure they are capable of carrying the shelves.
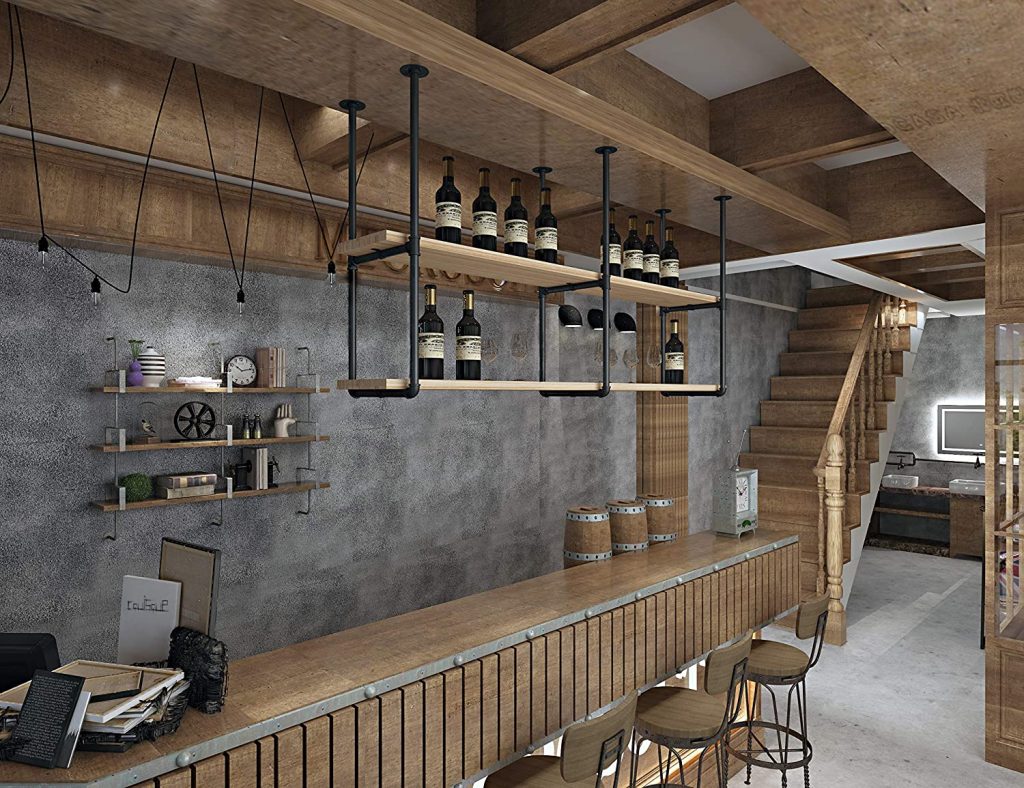
Tie twines around flat planks and hangs them on the pipe. You have just created a ceiling shelf. This DIY Shelf is a good idea but has to be fixed close to the wall, to protect it from swinging.
19. Under The Stair Shelves

Photo from Adobe Stock
Stairs! Don’t underestimate them again. Although this requires little effort from you, it will offer shelving space more than other DIY shelves. You will need a hammer, nail gun, nails, and flat planks. Become a carpenter and arrange the boxes under the stairs. You can make these stair shelves a place to store those infrequently used items.
20. Corner Shelves
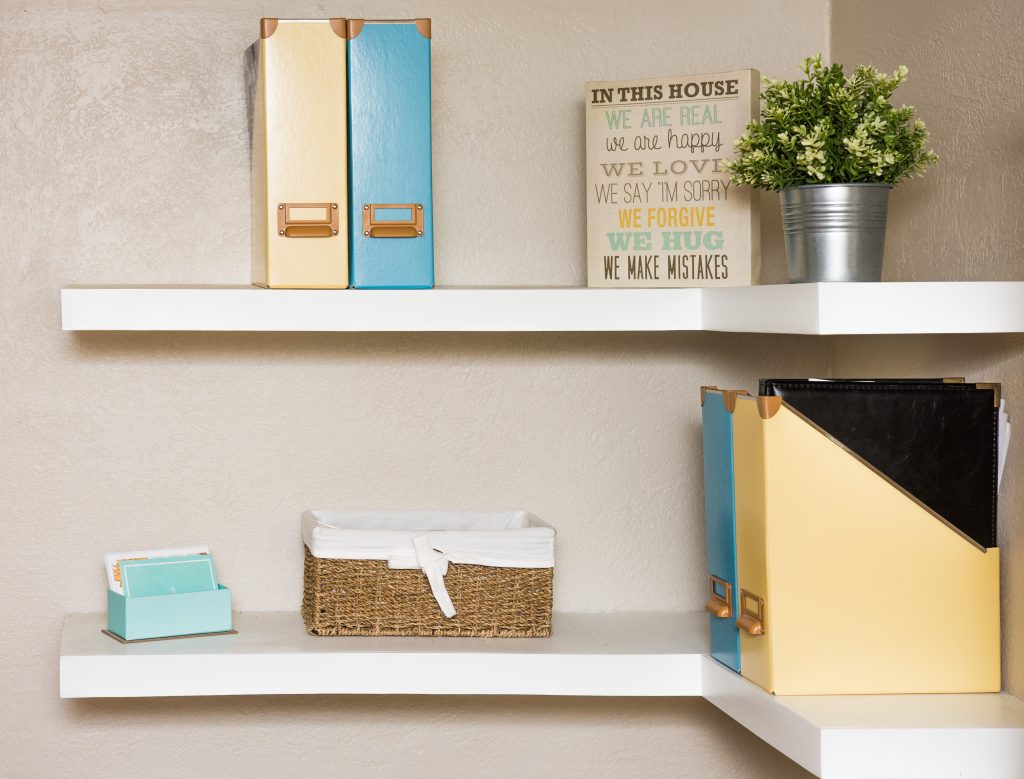
Photo from Shutterstock
You can create a floating corner shelf using this method. Simply get your planks of equal size and locate the corner space you want. Then, install the planks in the ruled location. Fasten them with a headlock to make them sturdy. Yippee! You can now begin to organize your stuff on the new corner shelf.
21. Skateboard Shelves
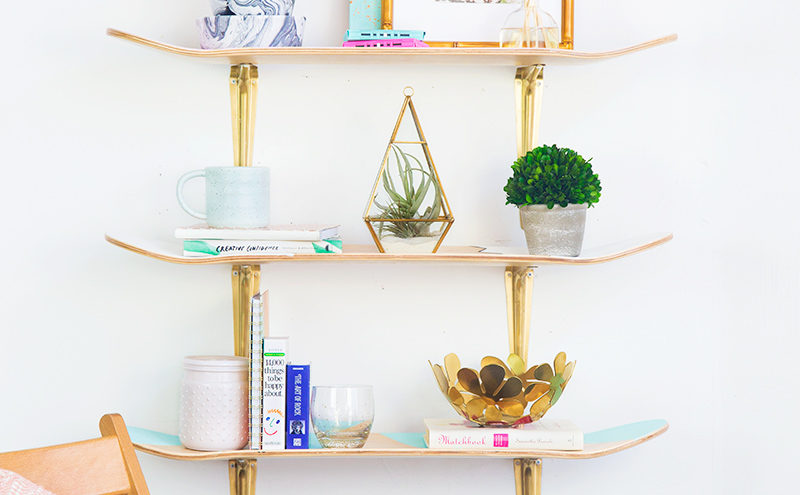
Photo from bemakeful.com
If you have an old skateboard, why not transform them into a shelf. You will need to fix two pipes on the wall to hold the skateboards in place. Well, the skateboards don’t have enough space since they are not wide, but you will still have some space to arrange tiny antiques, photo frames, a bunch of keys, and more.
Aside from the fact that you are getting little space, skateboards are a way of telling your visitors you are the boss in creativity. This is more perfect in the sitting room or the boys’ bedroom.
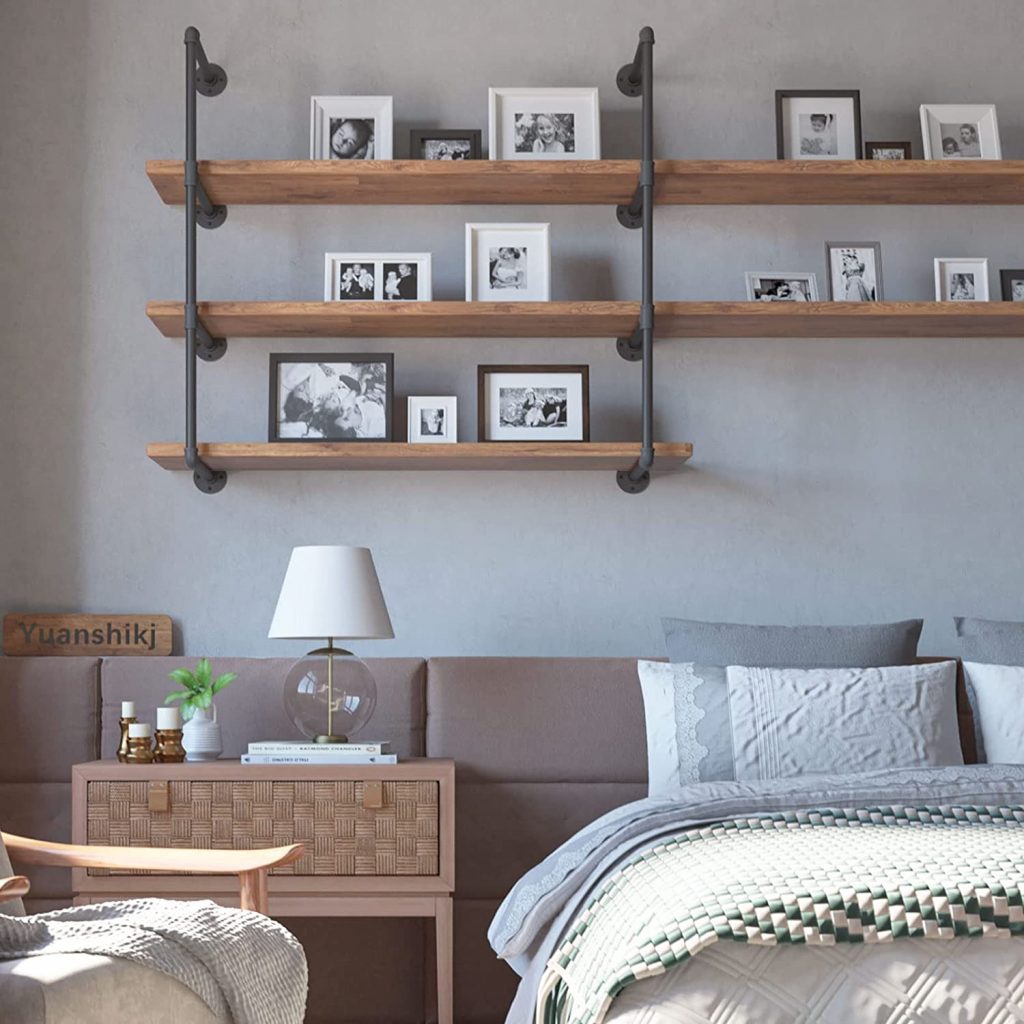
22. Pipe Shelves
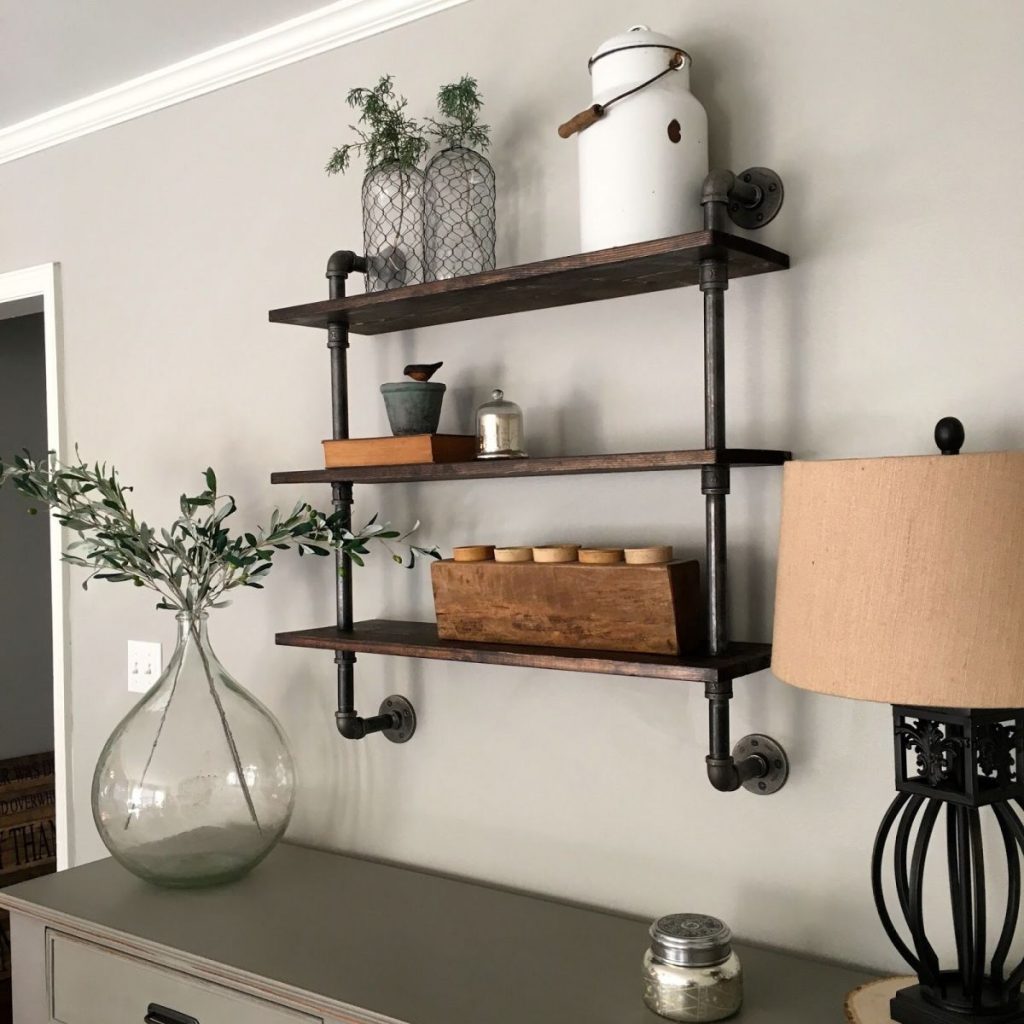
Photo from Pinterest
Creating DIY storage shelves for bedrooms is more comfortable with the combination of industrial pipe and some pieces of planks. This can be better off in your kiddo’s bedroom to organize their petite boots, books, hats, and more. Although the pipes are a bit costly, you shouldn’t mind the dollars for the durability and versatility of the shelves. Purchase 4 pipes and two kinds of wood of your preferred measurements. That provides you with two shelves.
23. Hanging Box Shelves
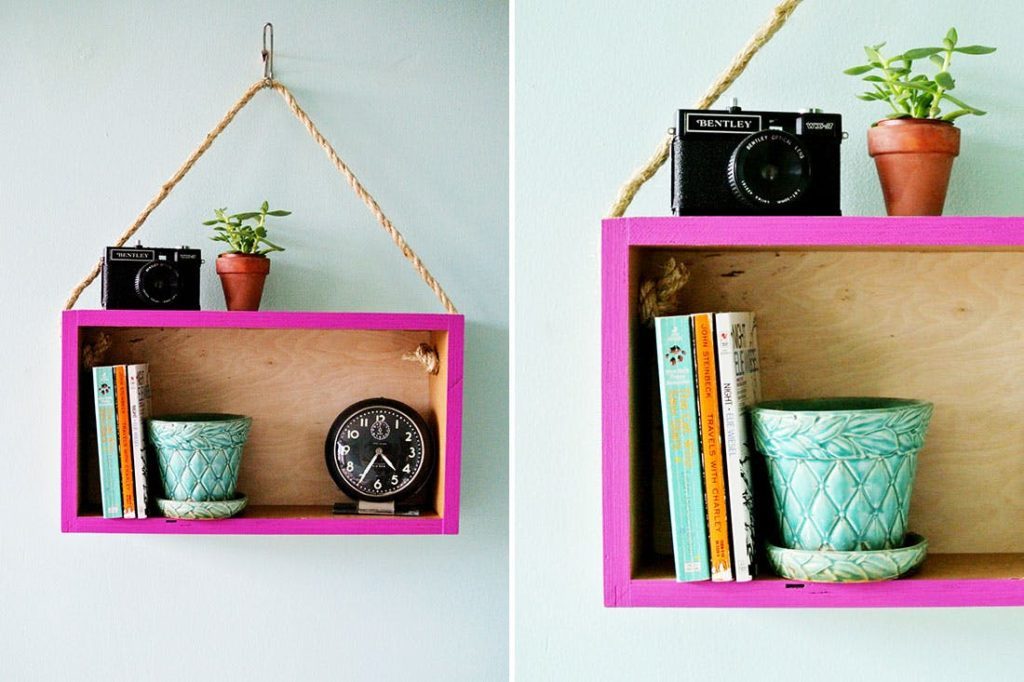
Photo from Pinterest
We have so many things to hang on the hooks to create a storage shelf; boxes are not excluded. You will need to get twine and then fix it across the middle region of the box. Voila! That’s a fantastic storage shelf. Hang it on a compelling hook, due to its weight and the weight of other things you will store in the box. Ensure the box is light and the twine is strong. Dig out those wooden boxes that don’t appeal to you anymore and create shelves in your room, kitchen, bedroom, or sitting room. You can spray them with paints in a creative manner.
Read also: 10 Best Wall Storage Shelves For 2025
24. Radiator Storage Shelves
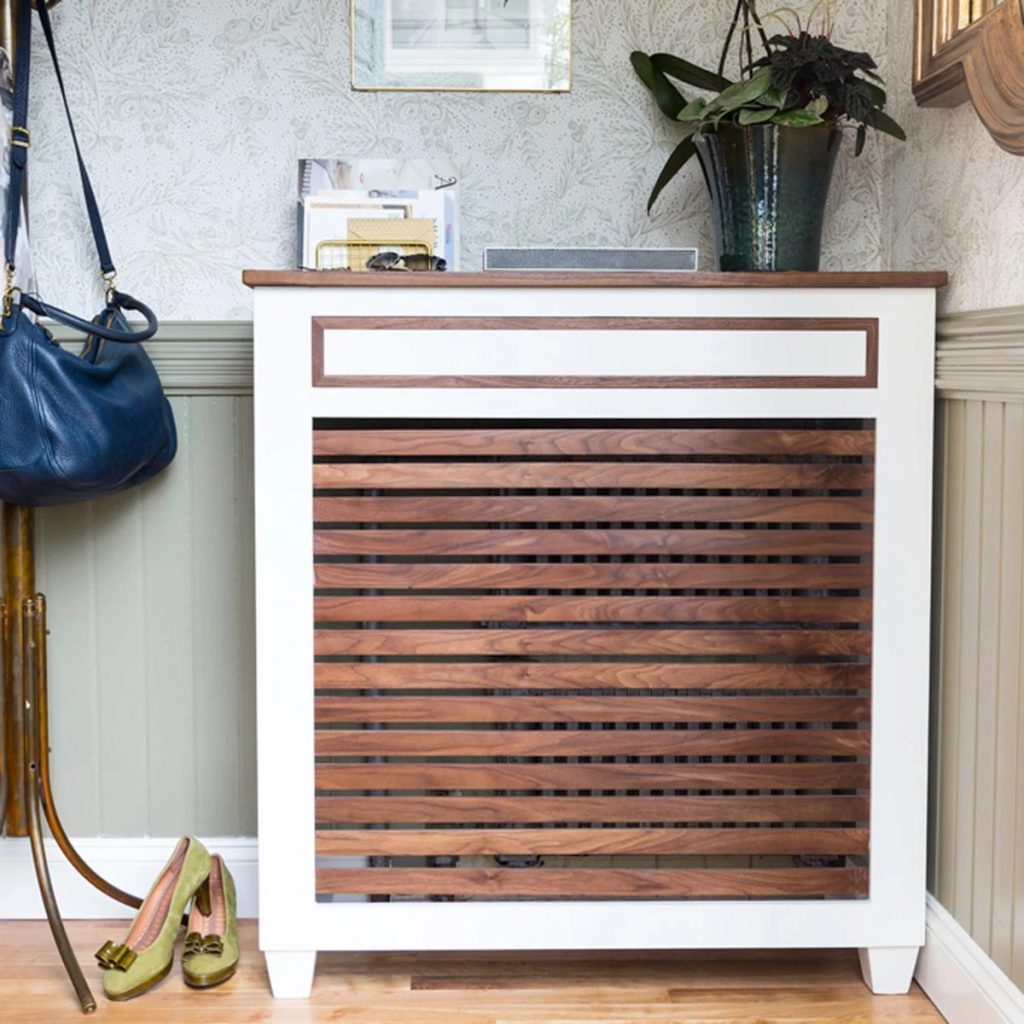
Photo from The Family Handyman
You may be wondering why a radiator is fit for a DIY storage shelve. If you are one of the people that own an old or bad radiator and it seems useless to you. Now that you realize your radiator is no longer trash. transform it into a shelf. The good thing about using a radiator is that it has enough space for you to store books and other stuff you may like to keep in it.

25. Concrete Shelves
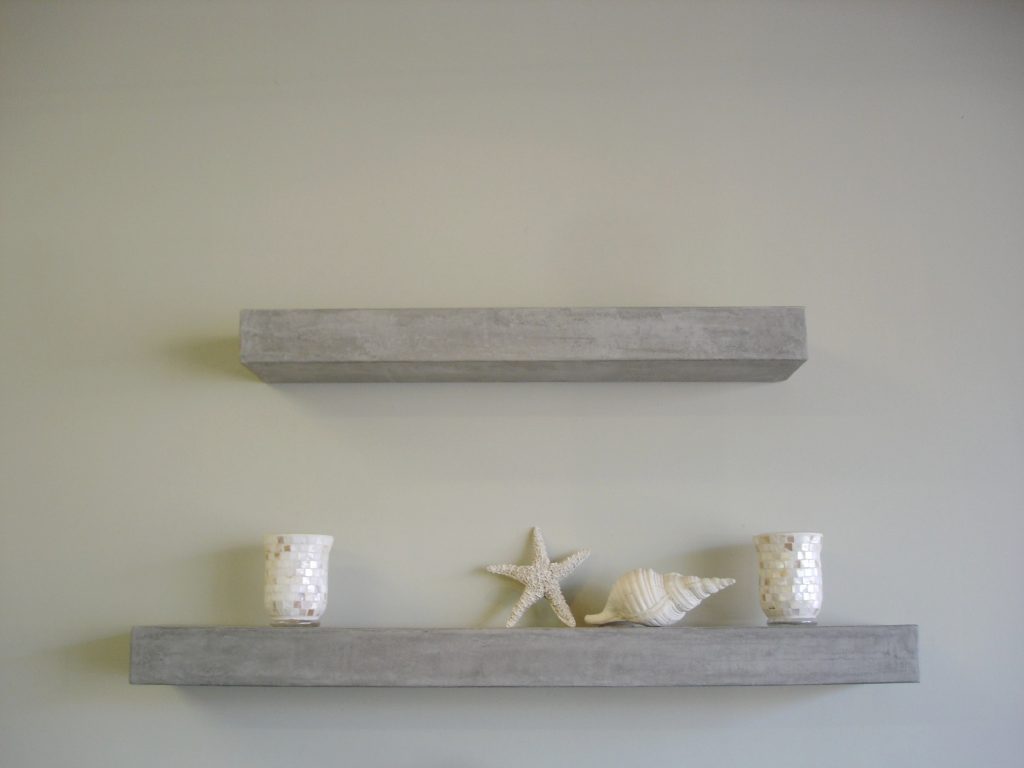
Photo from Pinterest
If you don’t mind trying something out of the ordinary, this concrete shelve idea is for you. It’s very easy and fast to set up. You will need 4 whole concrete slabs with 2 half-measure concrete slabs and 2 long and wide planks.
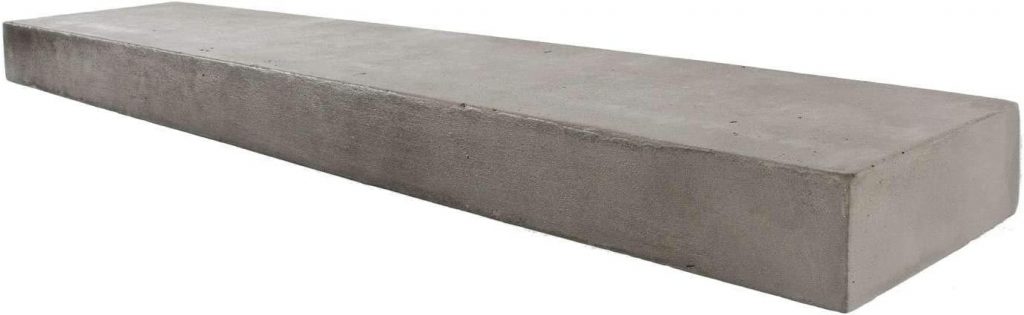
The length of the planks will determine how far you will place the concretes. Two concrete will be on the ground at a distance that can fit the planks. Put a plank on them and set another two concretes apart on the plank, place the last plank on them, and set the last ½ concretes on the last plank. With this, you have just created two shelves. You can paint the concrete with the wall color to create a matching color.
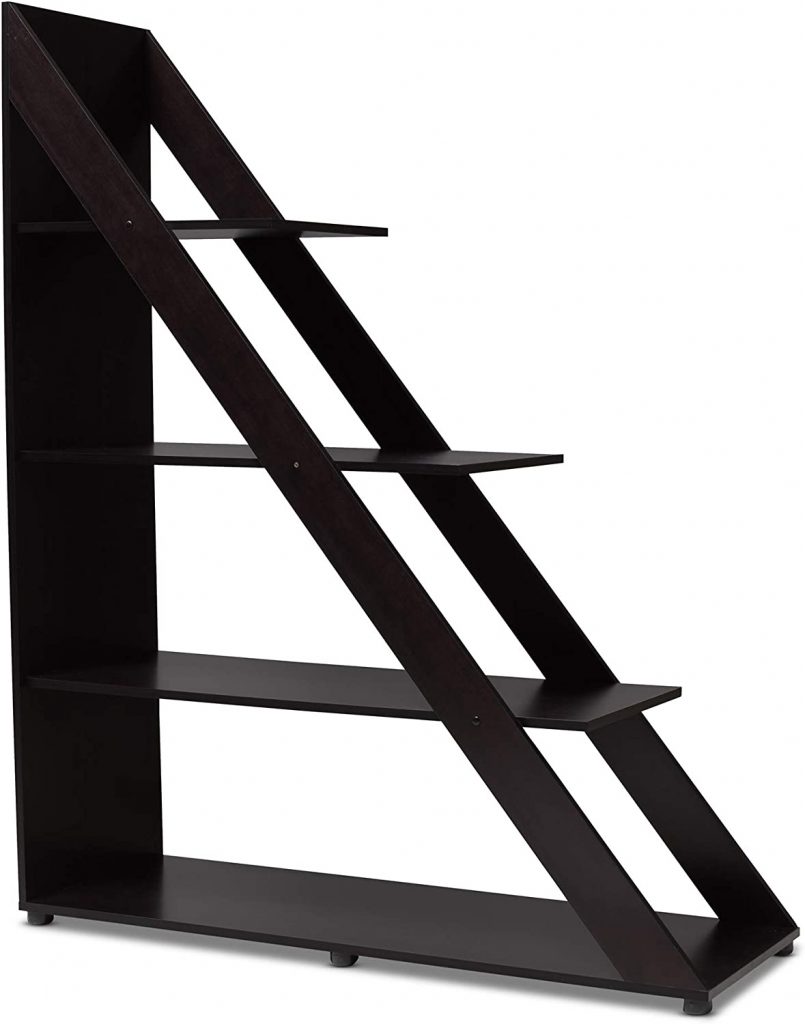
26. DIY Ladder Shelf
Photo from Adobe Stock
This option is probably our favorite and if you haven’t tried it already, we highly suggest you do. You can go crazy in terms of creativity with ladder shelves. If you already have a ladder, you should consider turning it into your very own go-to shelf. Your imagination is the only limit with these DIY ladder shelves.
Things You’ll Need:
So, there are essentially two ways to create this particular ladder shelf. If you already have a spare ladder then you’ll save yourself a lot of time. Working with a spare ladder is easier because you’ll already have the basic structure at hand to work with. Here’s what you’ll need to do:
Working With A Spare Ladder:
- Cut the wooden planks to size using a chop saw.
- Make sure you cut the wooden planks to a size that can easily fit the ladder.
- Stack the wooden planks on each step making sure the plank is wider than the ladder.
- Use nails and a drilling machine to join the wooden planks together with the ladder to strengthen the shelf so that it can easily hold heavyweight objects.
Making A Ladder Shelf From Scratch:
- Use your plywood wooden board and cut it to size.
- First, begin chopping your wooden board using a table saw or chop saw. Cut out the side panels/legs for the ladder.
- Once you have the side ready, cut the shelf pieces, and trim the pieces so that they fit the space between the two legs or panels of the ladder.
- Go ahead and glue the shelf pieces to the ladder legs using a glue gun.
- Trim out any excess wood that may be sticking out.
And that’s pretty much it. You now have plenty of space to store books, accessories, decoration pieces, or anything else you want really. You can even use it as a shoe rack. It’s just as easy as it sounds, and is definitely one of the best DIY storage shelves for a bedroom that you go ahead and start working on right away.
Read also: 13 Best Storage Boxes For Shelves For 2025
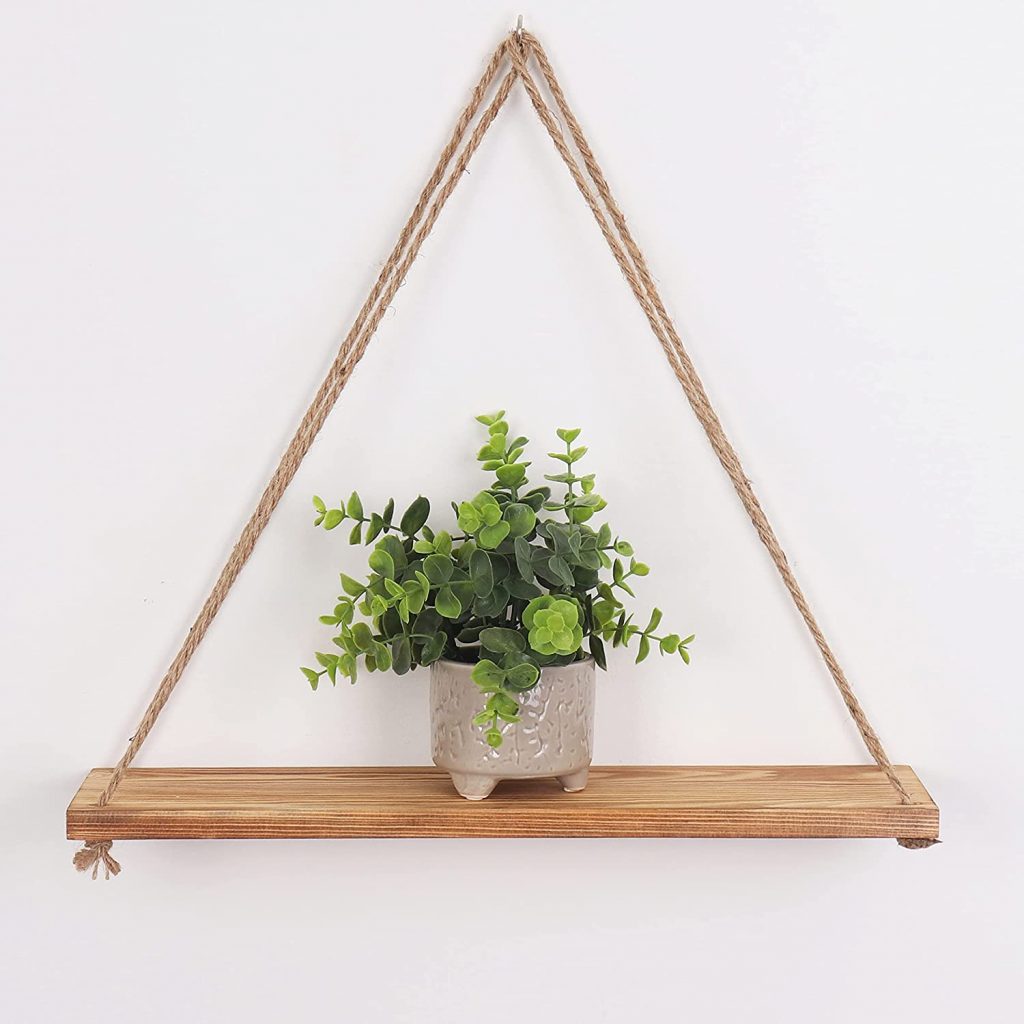
27. DIY Swing Shelf

Photo from Adobe Stock
Ever thought of hanging a swing in your room? Well, that’s exactly what you’ll need to do to make this DIY shelf. This is one of the easiest of all DIY storage shelves for the bedroom, which you can craft within minutes. All you need is a simple wooden plank and a rope.
Things You’ll Need:
Steps:
- Start by cutting two wooden planks to size.
- Drill two holes on both sides of each plank.
- Thread a rope through both sides.
- Tie the ropes from below to create a swing, and you’re done. Now all you have to do is find the best spot to hang this beautiful shelf. It’s better to place it on an empty wall so it stands out.
You can even make multiple swing shelves for your room. After all, it’s not only easy to create but super cost-friendly as well. You don’t have to worry about the final look because if you do it right, it’s one of the best-looking DIY shelves for the bedroom as it has a very neat and artsy look.
These shelves are ideal for showpieces, indoor plants, or small personal belongings. Although it is completely up to you as to how you’d like to utilize them.
28. DIY Crate Shelf
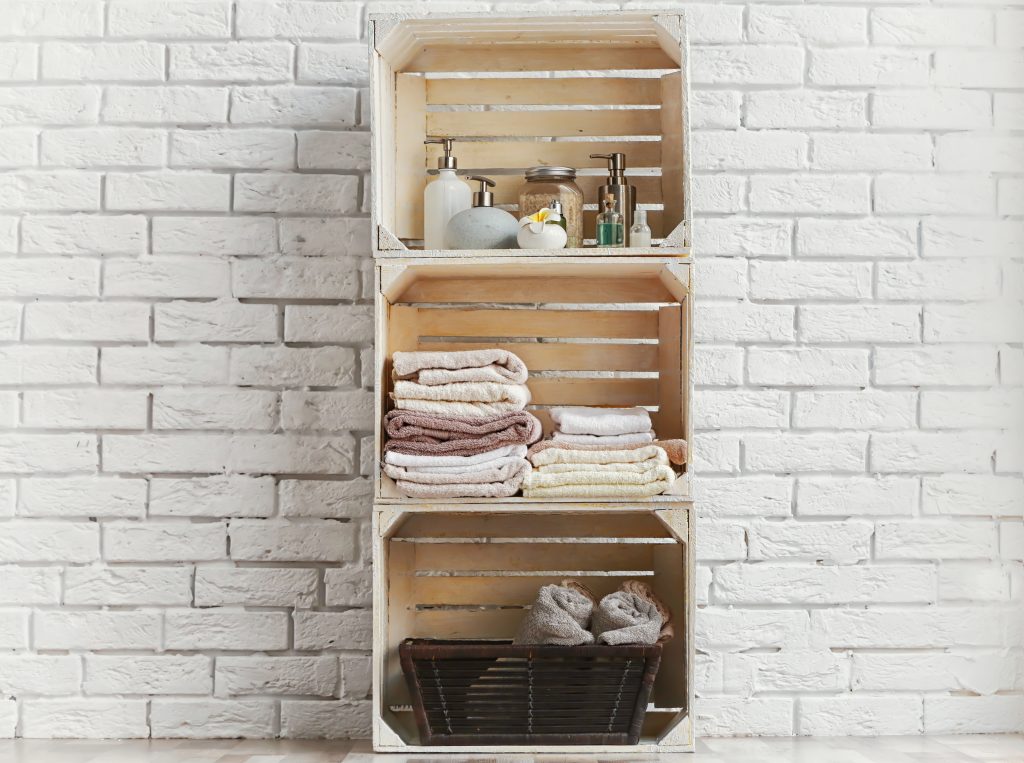
Photo from Adobe Stock
Did you know you could create spacious storage shelves with just a few crates? Who would’ve thought? For this DIY shelf, all you need is some crate boxes and a drill machine kit, and that’s about it. One wouldn’t consider crate boxes to come so in handy but they can easily be used to create a lot of bedroom storage, making them one of the easiest and cheapest out of majority storage solutions.
Things You’ll Need:

So, for this DIY shelf, you need to first identify where you’ll be placing the storage shelf so you can purchase or utilize crates accordingly. You can use from 2 to an unlimited number of crates according to your available space.
Steps:
- After you get a hold of crates, all you have to do is stack those crates together, however you please. It’s like putting together a simple puzzle.
- Drill them together once you’ve achieved your desired look.
- In fact, you can also paint the shelf according to the color theme of your bedroom.
But do make sure that whatever crate you use has an ample amount of space to store your belongings.
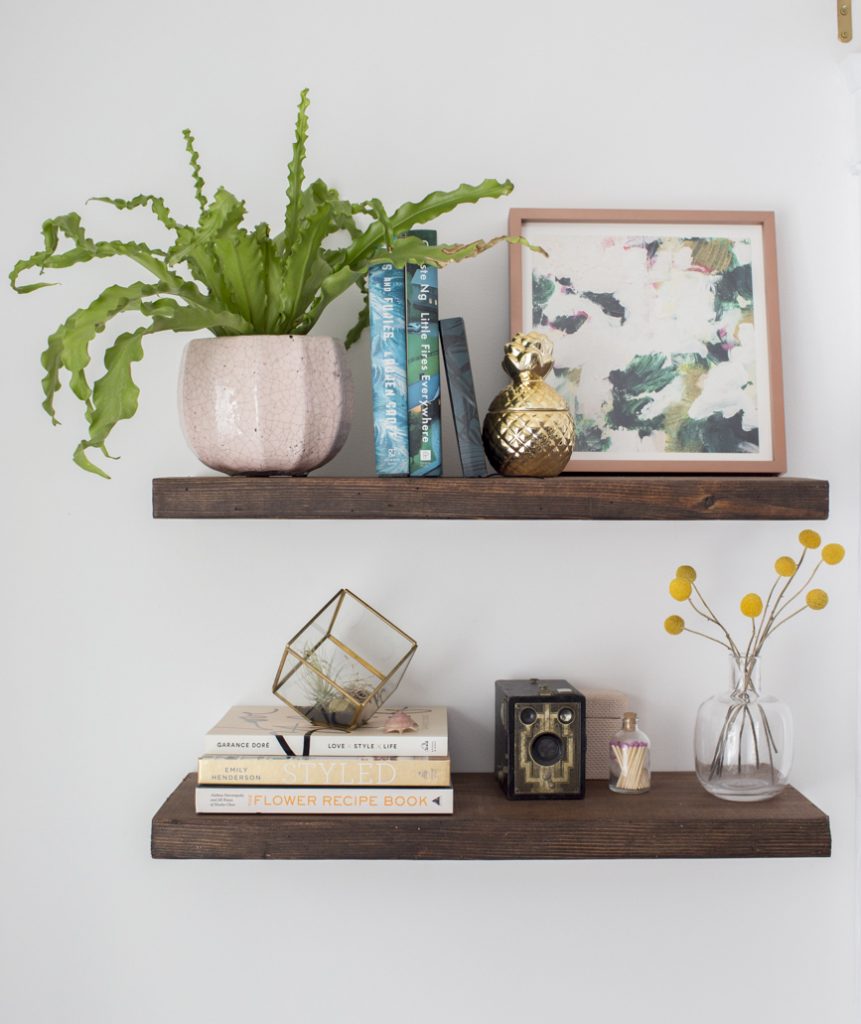
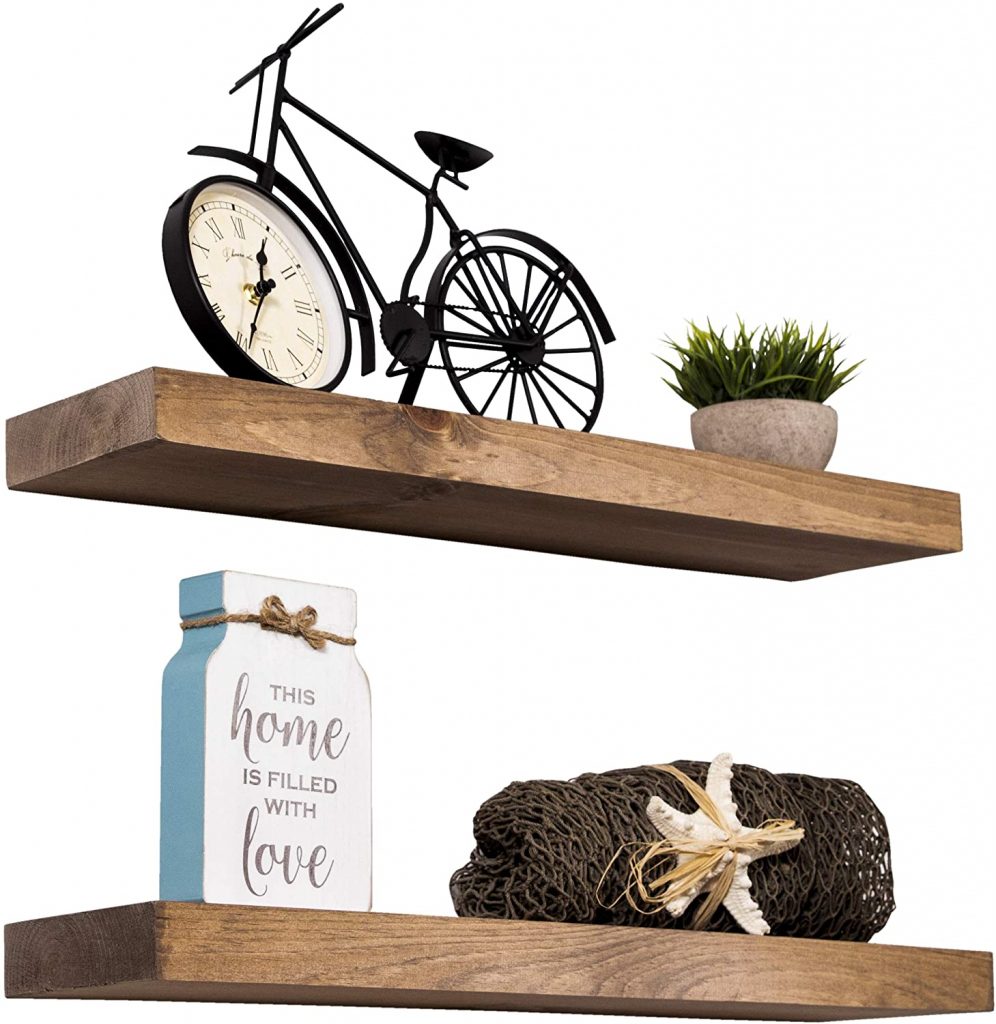
29. DIY Floating Shelf

Photo from Shutterstock
Floating shelves have always been appealing to look at and handy to store things at the same time. There are many ways to create floating shelves for your bedroom, and it’s one of the simplest storage solutions there is.
Things You’ll Need:

Steps:
- First, you need to mark holes on your wall exactly where you’d like your shelf to be.
- Now you need to drill those holes and insert a thread bar into the hole of your shelf and tighten the nut with a spanner.
- You can cut off the remaining extra thread bar if need be.
- Cut your wooden plank board to size using a table saw or chop saw.
- Sand your wooden plank with sandpaper.
- Paint the shelf however you like.
- Mount your wooden plank onto the fixed area.
- Now the final step is to place your storage items onto the shelf, then stand back and admire your storage solution or dare we say, work of art.
30. DIY Hanging Shelf
Photo from Depositphotos
When you have a ladder in the store, there are way too many possibilities. Here is another DIY shelf you can create easily with a ladder. For this DIY shelf, you’ll be using only a few supplies to create a hanging shelf.
This shelf is not just an ordinary shelf you stack your stuff on, but it’s a clothing rack that’ll make your room even more organized. Nothing makes a room look cluttered more than a bunch of clothes lying here and there. Well, no need to worry, grab your supplies and get to work.
Things You’ll Need:
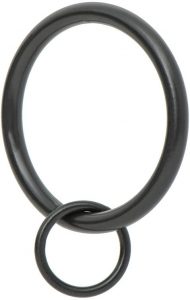

Steps:
- First, you need to mark holes on your wall exactly where you’d like your floating shelf to be.
- Cut the wooden board to size.
- Drill holes in the wooden board, making sure you measure the spacing between each hole.
- Sand your board and smoothen out rough edges.
- Once your board is ready, insert thread bars through those holes.
- Fold the thread bars through the black ring.
- Hang your shelf.
You can further customize your shelf by painting it any color you like. Make sure you choose a color that suits the overall decor of your space.
Read also: 13 Best Storage Boxes For Shelves For 2025
31. DIY Fruit Basket Storage Shelf
Who says fruit baskets are only meant to be hung in the kitchen? They are actually a pretty good storage solution for your bedroom as well. This DIY shelf hack requires nearly no effort, all you have to do is get your fruit basket, and hang it wherever you want to in your bedroom.
These baskets are ideal to store socks, hats, scarves, and other personal belongings. All you need to do is, get a fruit basket and hang it against your door or wall or even ceiling.
Steps:
- Get a wire basket. You can find these at really cheap prices.
- Use the rope and loop it through the handles of the basket.
- Cut off excess rope.
- Tie the ends of the rope into a tight knot.
- Hang your basket storage.
32. DIY Head Board Storage Shelf
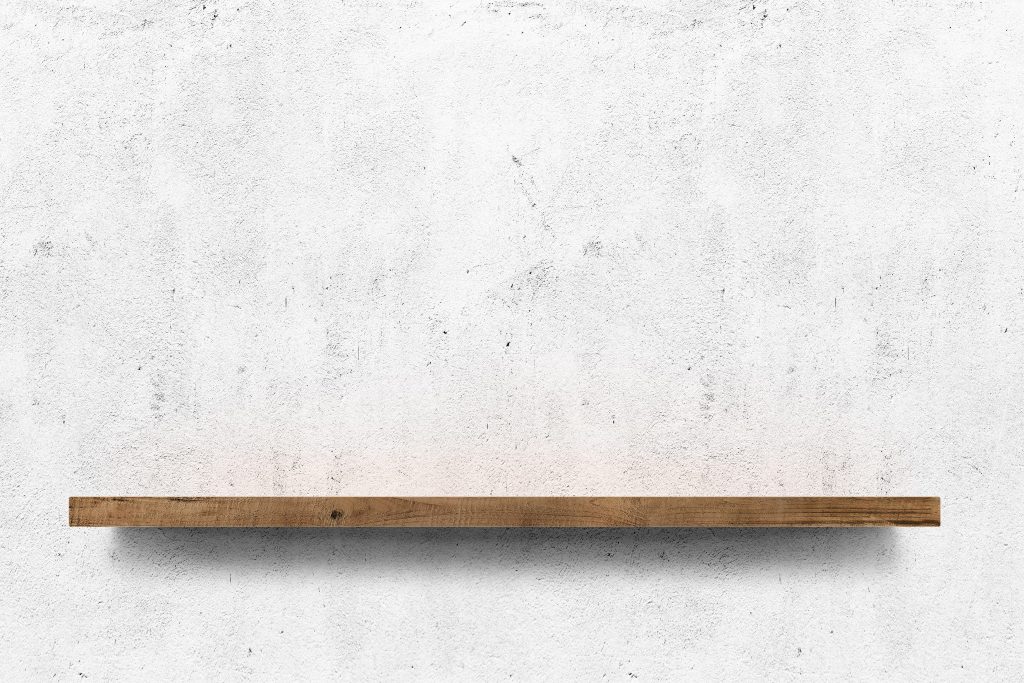
Photo from Adobe Stock
Who needs a big headboard that’s of no use, when you can get storage shelves instead? Here’s how you can transform your headboard into one of the best storage solutions.
Things You’ll Need:

Steps:
- Cut out the unnecessary sides of your headboard if it’s too big and you don’t have extra space to build shelves around it.
- Then take measurements of the shelf area you want to utilize using a measuring tape.
- Mark the placement of the shelf on the wall with a pencil.
- Drill holes into the marks and mount your wooden shelf using nails and a hammer.
These DIY storage shelves for bedrooms are ideal for keeping books, lamps, and showpieces.
33. DIY Metal Basket Storage Shelf

Photo from Adobe Stock
One of the easiest DIY storage shelves for the bedroom is the metal basket storage shelf. All you need to create these are some metal wire baskets. You can easily find these at any second-hand free market in case you don’t have them lying around at your house.
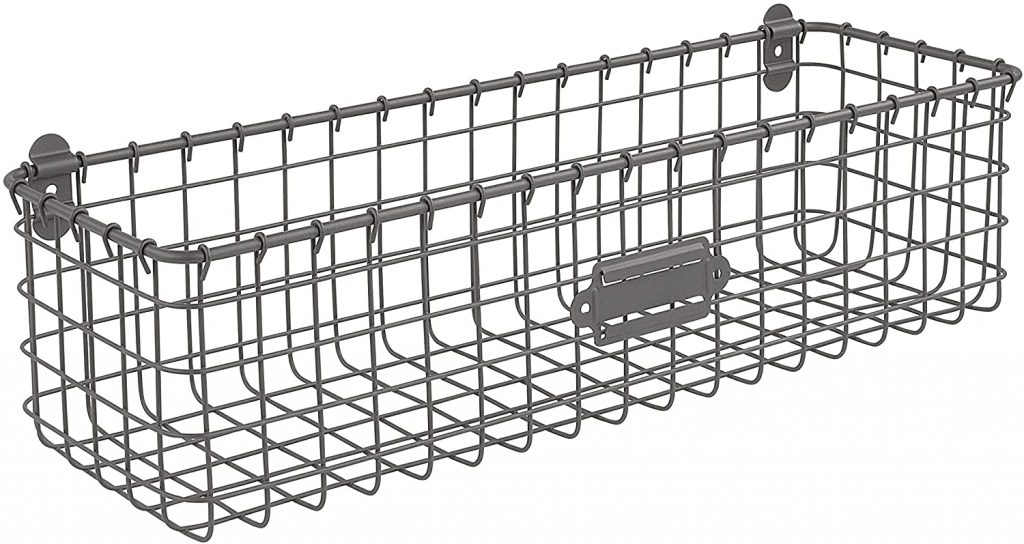
These baskets are not only easy to find but won’t cost you more than a few bucks, so if you’re looking to get some extra storage around your bedroom at a minimal cost, this shelf is your savior.
The DIY is quite simple as it appears. All you need to do is attach a basket or few to any empty wall area around your room. And the final step is to stack your excess items into the basket for a tidier room. You can use it to stack books, clothes, or just about anything you need storage for.
Read also: 13 Best Storage Boxes For Shelves For 2025
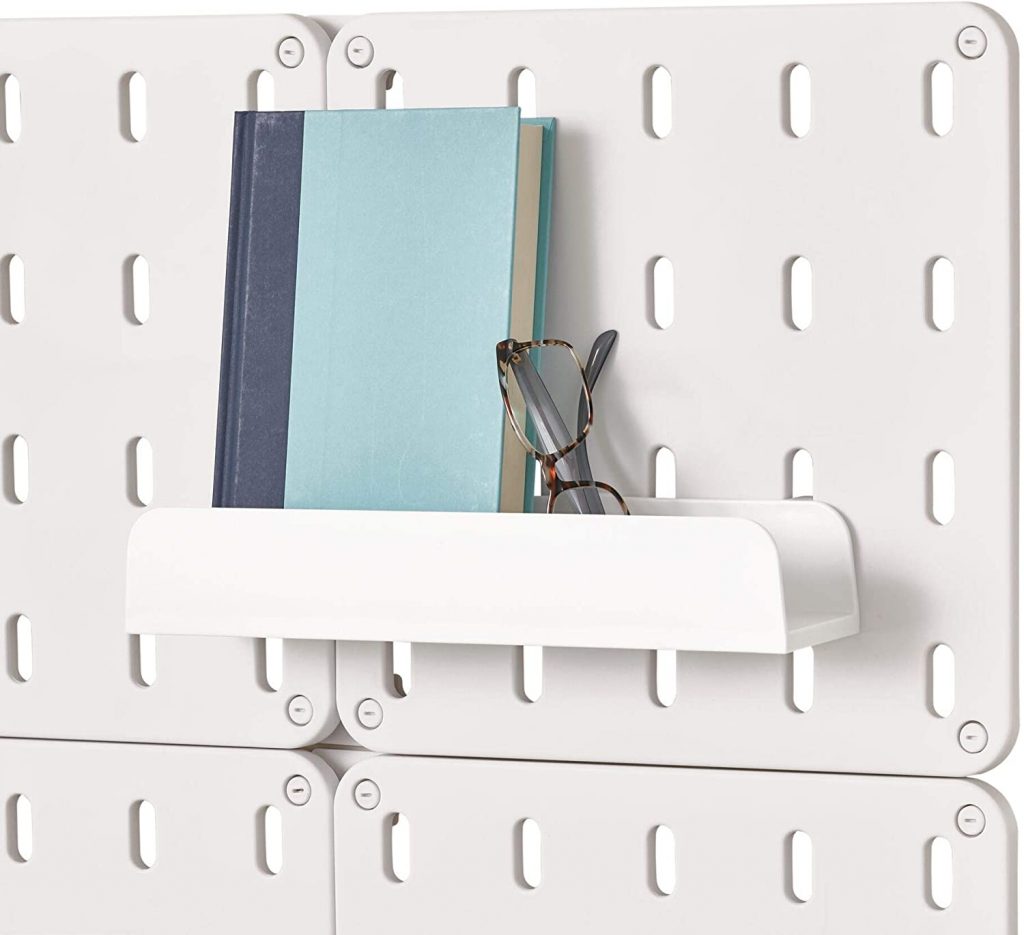
34. DIY Peg Board for Bedroom Storage
Photo from Adobe Stock
If you’re looking for unique DIY storage shelves for bedrooms, this DIY idea is for you. We often see small-sized pegboards in houses, offices, and other places but have you ever seen a large-sized one? Pegboards are not only easy to create but are the best way to utilize space in terms of storage as they can store/hang plenty of stuff all at once.
Things You’ll Need:

Steps:
- All you need is to get a wooden board according to your required measurements.
- Use a drill machine to drill holes in that wooden board at an equal distance each.
- Drill as many holes as you want until you can start the board taking a pegboard shape.
- Then you can fill as many holes with cylinder-shaped wooden pieces, and use them as hangers.
- You can even use hooks to attach things to it or attach wooden planks onto it and create multiple shelves.
A DIY Pegboard shelve can be made in various sizes, according to whatever you want to hang or store on it.
35. DIY Paint Bowl Shelves
Photo from Adobe Stock
Who knew paint buckets could turn into beautiful wall shelves. If you’re looking to create wall shelves that will give your bedroom a nice modern or chic touch, then these are for you.
Finding a few paint buckets shouldn’t be much of a hurdle, most of us have them lying around our garages or storeroom. If not, you can get empty paint buckets from hardware stores, for very little cost.

Steps:
- All you need to do is get a few paint buckets.
- Shape them according to your requirements, and paint them as you please.
- Then you can drill these buckets to your wall and complete the look by storing your smaller belongings in them, such as a watch, decoration piece, maybe your keys and glasses. The good thing is you get to decide.
These are super simple projects to add a big impact on your living space, try thinking outside of the box with these DIY ideas and include your own personalized touch. You’ll be surprised how much fun you have recreating them!
Was this page helpful?
At Storables.com, we guarantee accurate and reliable information. Our content, validated by Expert Board Contributors, is crafted following stringent Editorial Policies. We're committed to providing you with well-researched, expert-backed insights for all your informational needs.
0 thoughts on “35 Quick And Easy DIY Storage Shelves”