Articles
Install Simple Closet Shelves
Modified: March 1, 2024
Looking to install simple closet shelves? Our articles provide step-by-step guides and expert tips to help you get organized and maximize storage space.
(Many of the links in this article redirect to a specific reviewed product. Your purchase of these products through affiliate links helps to generate commission for Storables.com, at no extra cost. Learn more)
Introduction
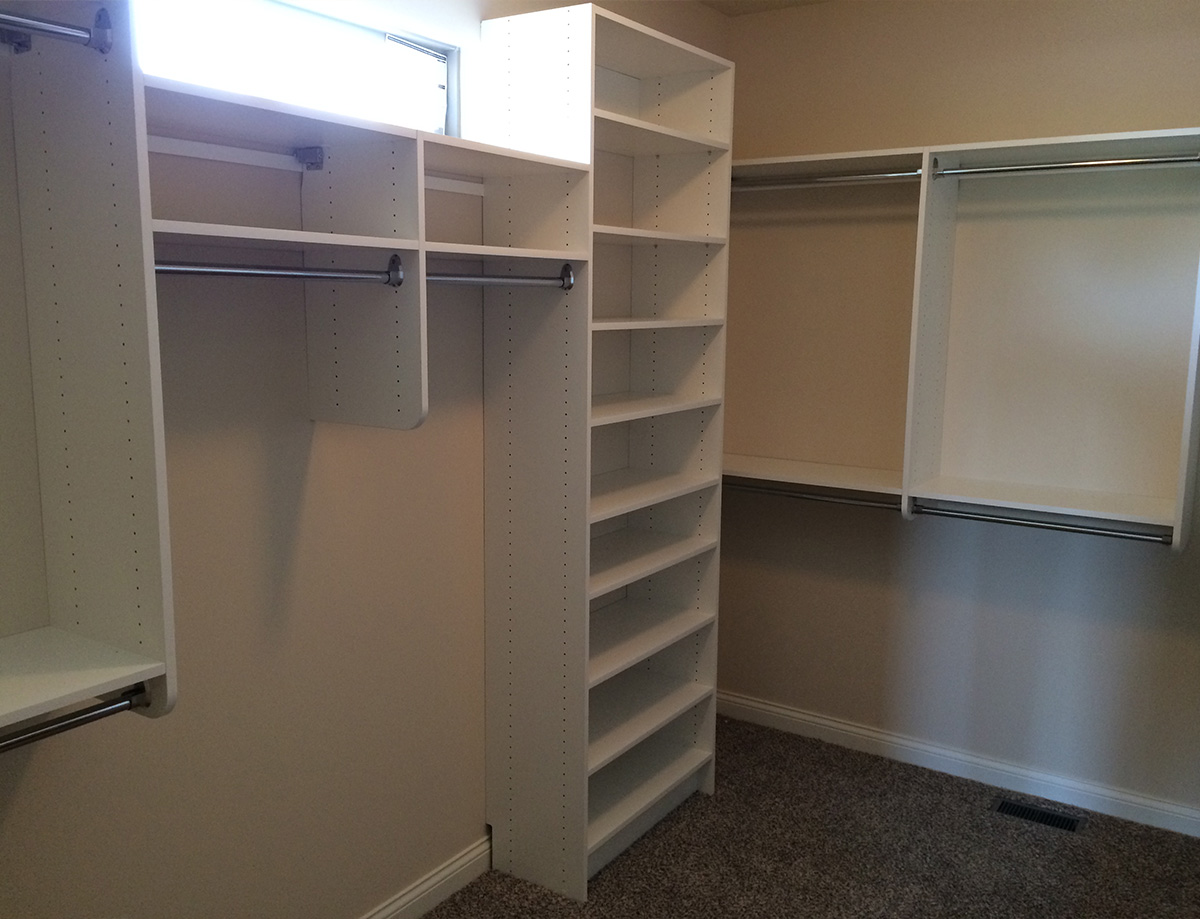
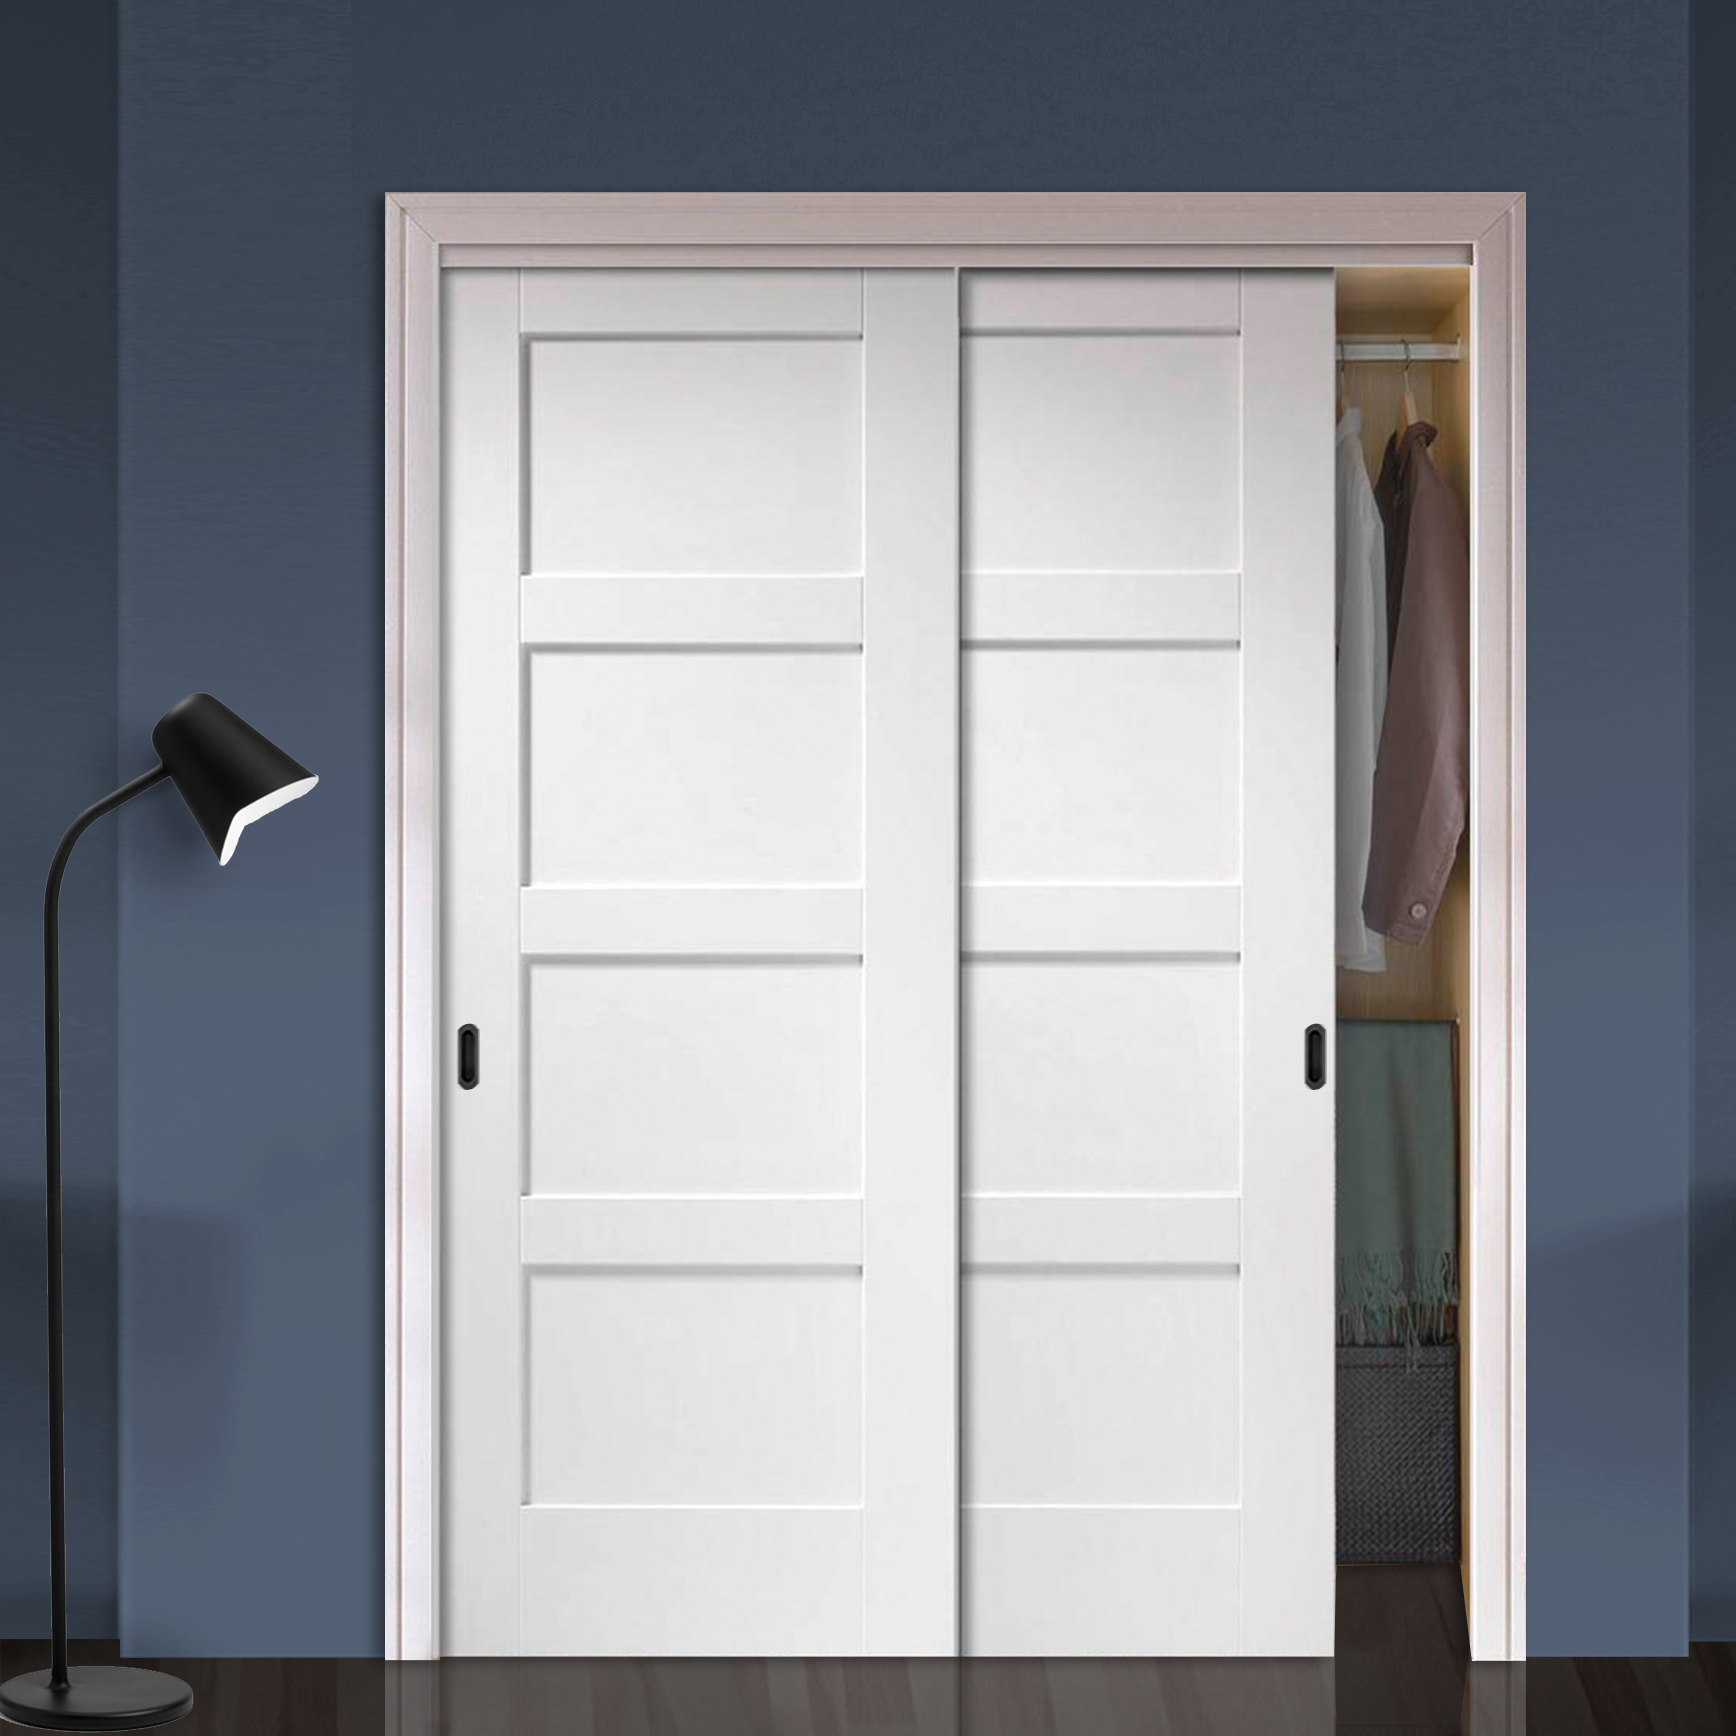
Welcome to this step-by-step guide on how to install simple closet shelves. Whether you’re a DIY enthusiast or just looking for an efficient way to organize your belongings, adding shelves to your closet can significantly increase storage space and enhance the overall functionality of your closet. In this article, we’ll walk you through the process of measuring, purchasing materials, preparing the closet, assembling the shelves, and installing them.
A well-organized closet not only saves you time and frustration when locating your items but also helps to keep your living space neat and clutter-free. By installing simple closet shelves, you’ll have dedicated spaces for your clothes, shoes, accessories, and other personal belongings, making it easier to find and retrieve them when needed.
Before we dive into the installation process, let’s go over the materials you’ll need to complete this project.
Key Takeaways:
- Transform your closet into a well-organized space by following our step-by-step guide to installing simple shelves. Enjoy efficient storage and easy access to your belongings!
- Maximize your closet’s functionality with sturdy shelves, proper preparation, and personalized organization. Create a clutter-free and enjoyable storage experience for your daily routine.
Read more: How To Put Shelves In Closet
Materials Needed
Before you get started, gather the following materials:
- Measuring tape
- Pencil
- Level
- Stud finder
- Shelf brackets
- Shelf boards
- Screws
- Drill
- Screwdriver
- Saw (if necessary)
These materials will ensure you have everything necessary to complete the installation process successfully. Depending on the size of your closet and the number of shelves you plan to install, you may need to adjust the quantities accordingly. It’s always better to have a few extra materials on hand in case of any unexpected mishaps.
Now that you have everything you need, let’s proceed to the first step of the installation process: measuring the closet.
Step 1: Measuring the Closet
Before you start installing the shelves, it’s crucial to accurately measure your closet space. This will help determine the appropriate size for the shelves and ensure they fit properly. Here’s how to measure your closet:
- Clear out the closet: Remove all clothing, shoes, and other items from the closet to provide a clear space for measuring.
- Measure the width: Use a measuring tape to measure the width of the closet from one side to the other. Make note of this measurement as it will determine the length of your shelf boards.
- Measure the depth: Measure the depth of the closet, from the back wall to the front edge of the closet. Take into account any molding or baseboards that may affect the depth available for the shelves.
- Measure the height: Measure the height of the closet, again taking into account any molding or trim that may need to be accommodated. This measurement will determine the height of the brackets and the spacing between shelves.
Once you have these measurements, you’ll have a clear idea of how many shelves you can install and the dimensions they need to be. Additionally, it’s important to locate the studs in the walls to provide proper support for your shelves. Use a stud finder to locate the studs and mark them on the wall.
With accurate measurements and stud locations in hand, you’re ready to move on to the next step: purchasing the necessary materials.
Step 2: Purchasing Materials
Now that you have measured your closet space and identified the studs, it’s time to purchase the materials needed for your closet shelves. Here are some tips to help you make the right choices:
- Choose the right shelf brackets: Look for sturdy and durable brackets that can support the weight of your items. Consider the weight capacity of the brackets and ensure they are compatible with the shelf boards you plan to use.
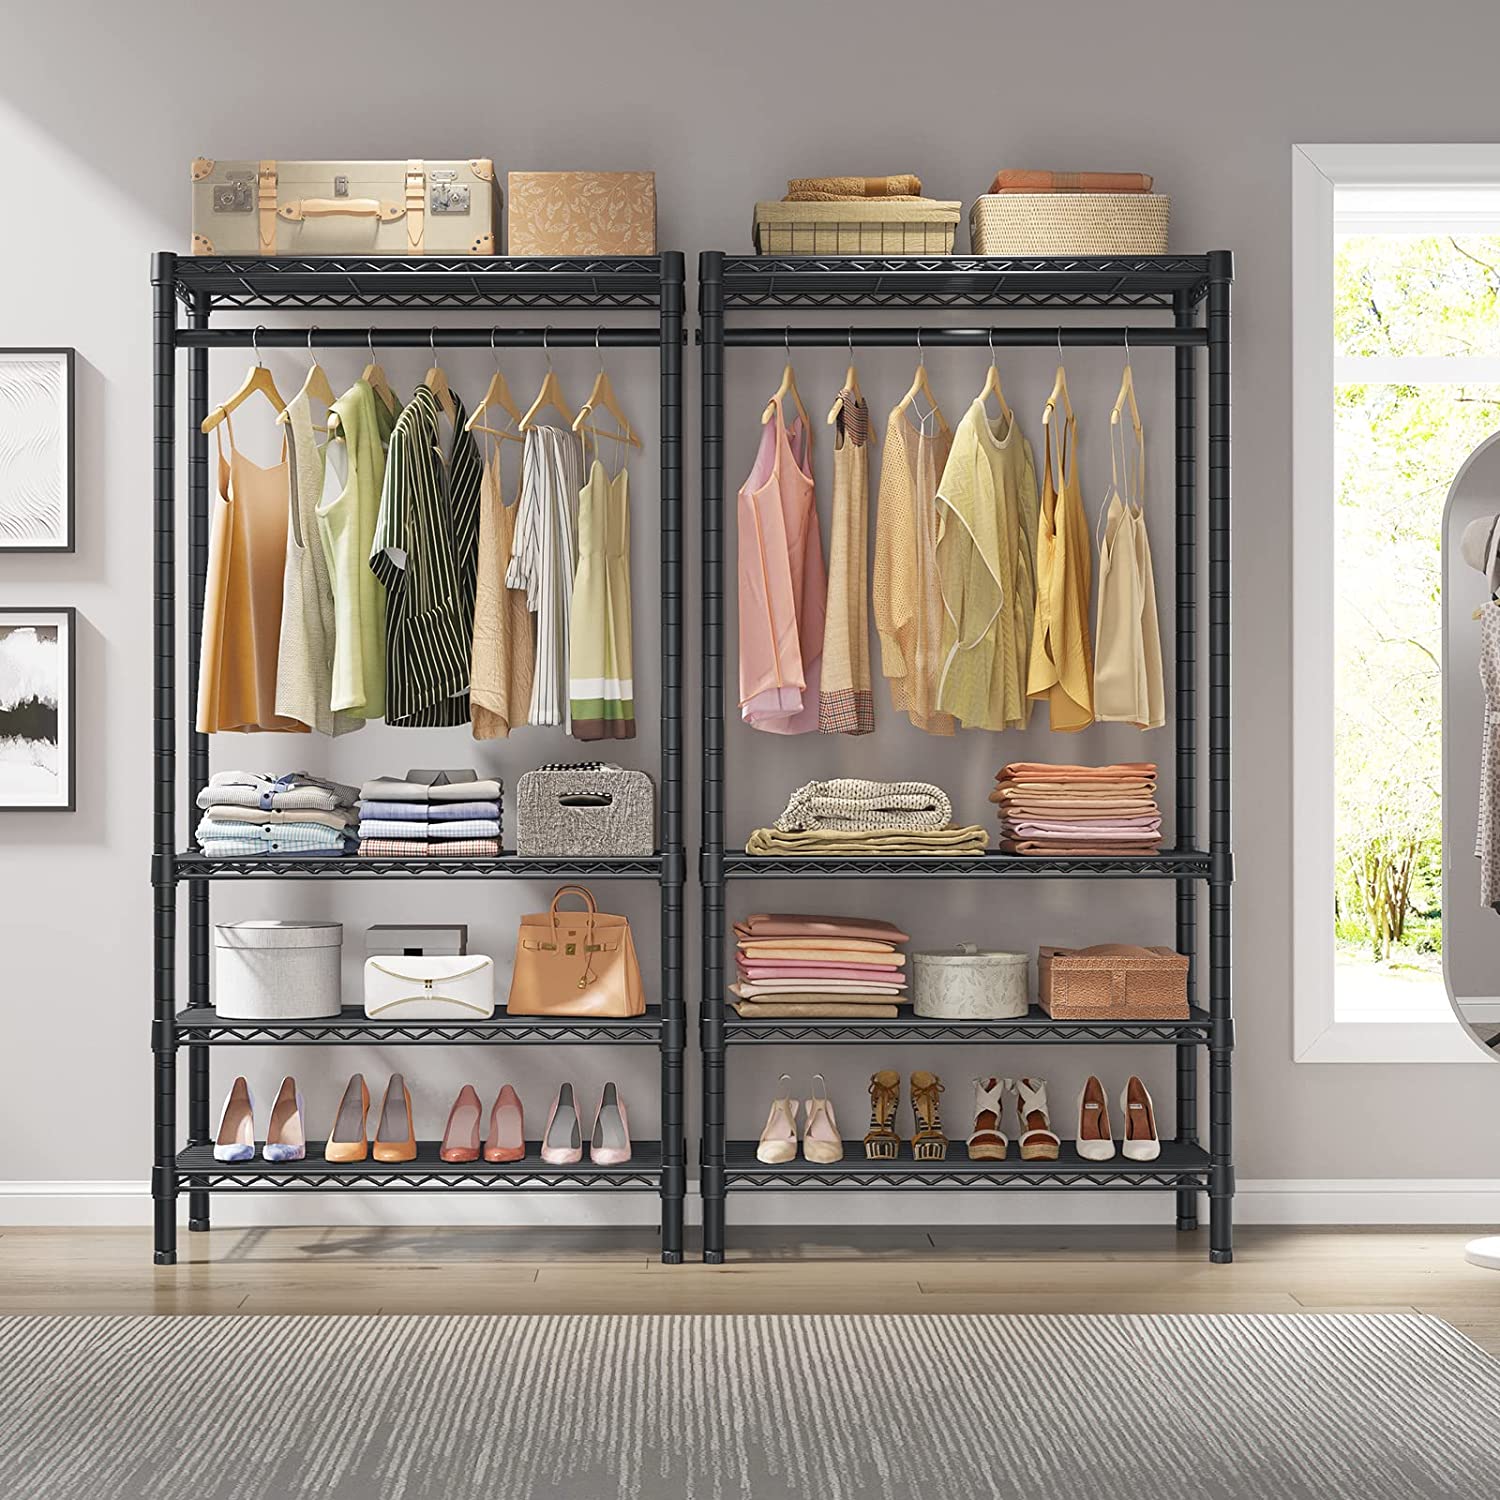
- Select the appropriate shelf boards: Opt for high-quality shelf boards that are the appropriate length and depth to fit your closet. You can choose from materials such as wood, melamine, or wire shelves, depending on your preferences and budget.
- Ensure you have the necessary screws: Check the packaging of the brackets and shelf boards to see if screws are included. If not, make sure to purchase screws of the appropriate size and type for your project.
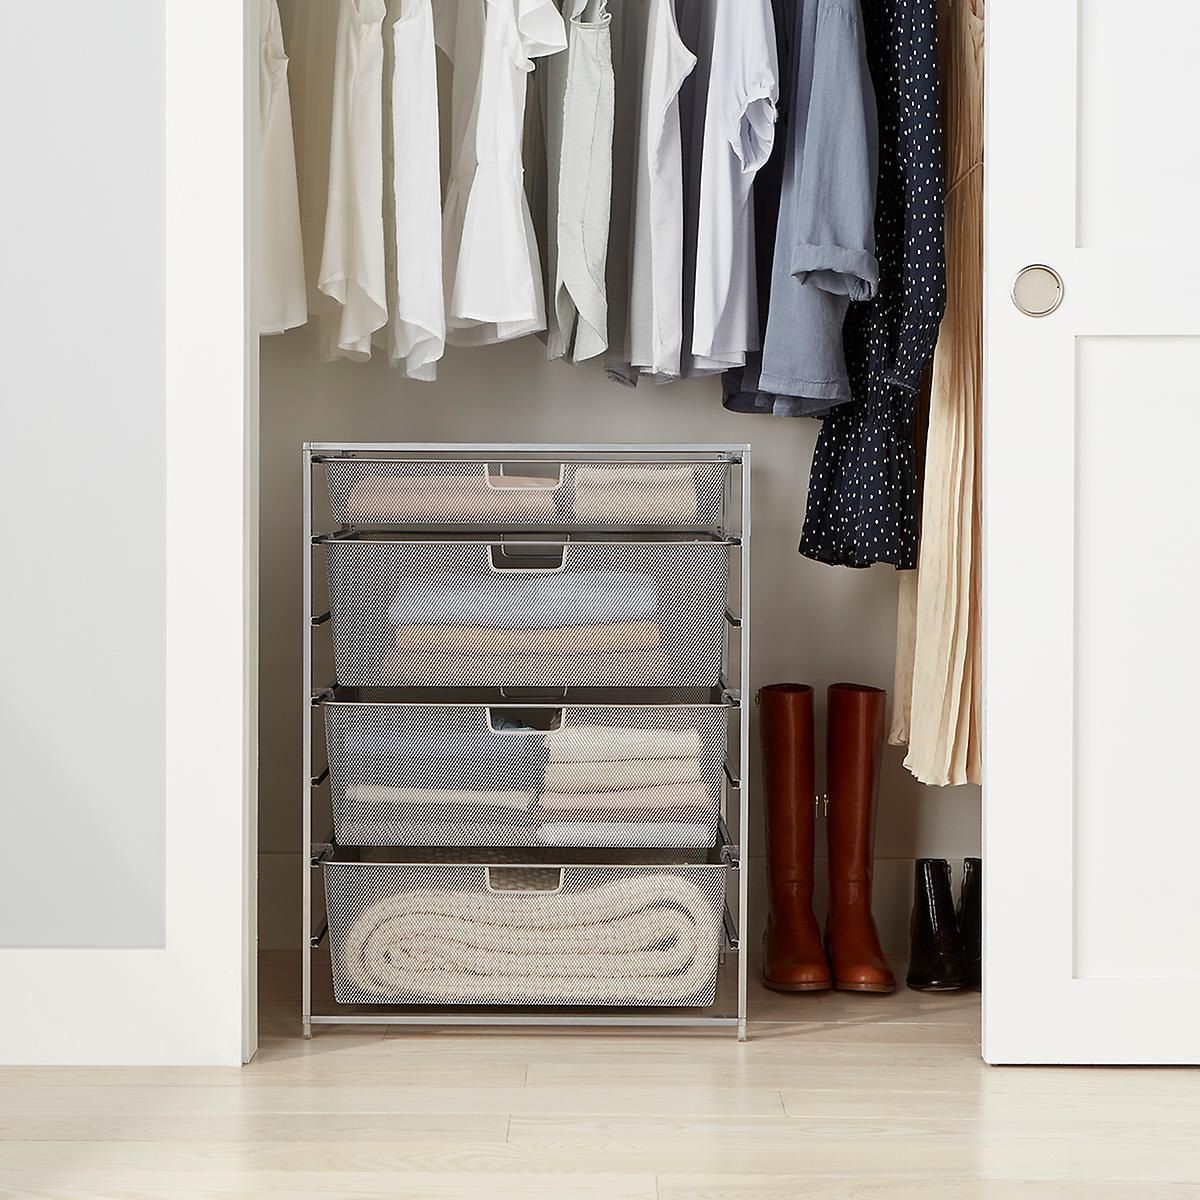
- Consider additional accessories: Depending on your storage needs, you may want to consider purchasing accessories such as drawer units, shoe racks, or hanging rods to further optimize your closet space.
When shopping for your materials, you can visit your local home improvement store or shop online for convenience. Take your measurements and stud locations with you to ensure you purchase the correct sizes and quantities. It’s also a good idea to consult with a sales associate if you have any questions or need assistance in selecting the right materials for your project.
Once you have all the materials ready, you can move on to the next step: preparing the closet for installation.
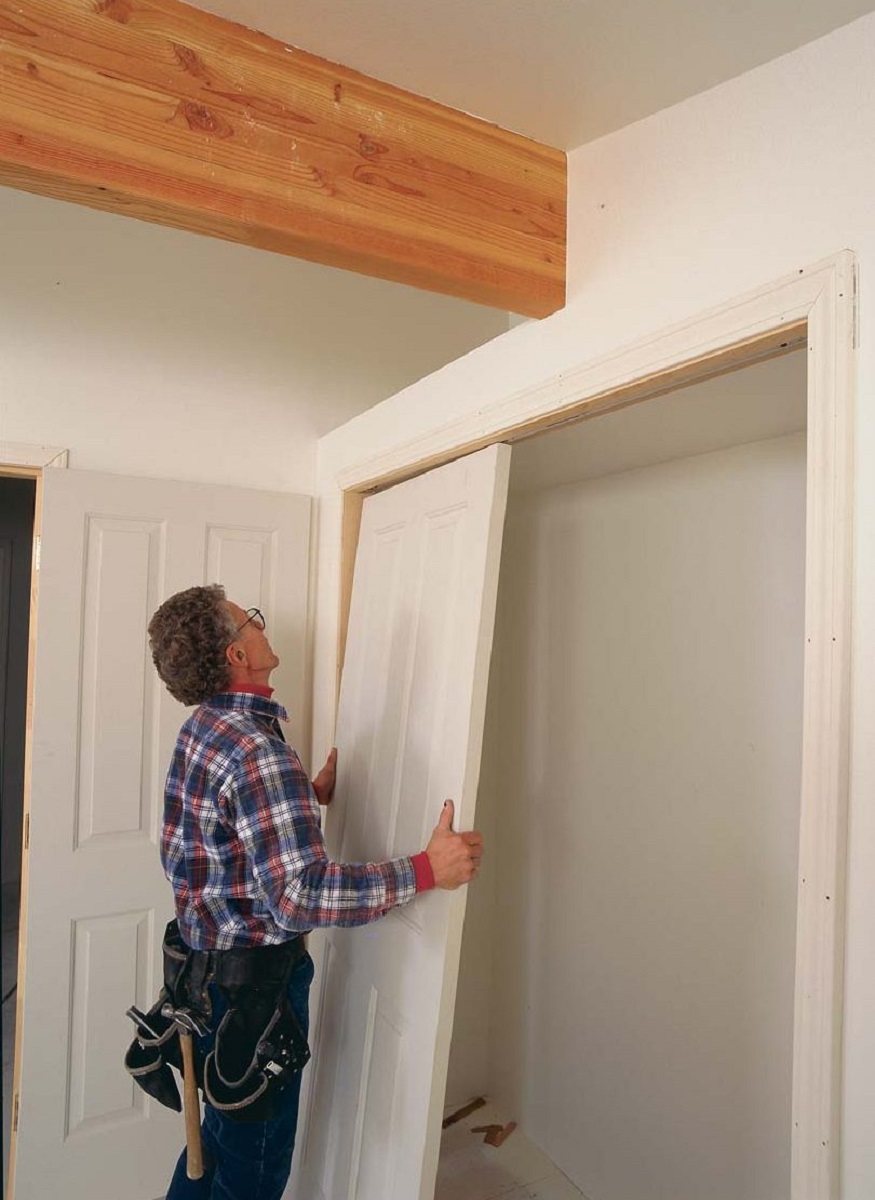
Step 3: Preparing the Closet
Before you can start installing the shelves, it’s important to properly prepare the closet. This step will ensure a smooth and efficient installation process. Follow these steps to prepare your closet:
- Clear out the closet: Remove all remaining items from the closet, including clothing, shoes, and any other belongings. This will provide you with a clear workspace and prevent any damage to your items during the installation process.
- Repair any damage: Inspect the walls and flooring of the closet for any damage or issues. Repair any holes, cracks, or uneven surfaces that may affect the stability of the shelves.
- Clean the closet: Thoroughly clean the closet, removing any dust, debris, or cobwebs. A clean surface will ensure proper adhesion and support for the shelf brackets.
- Mark the stud locations: Use a pencil or marker to mark the locations of the studs you identified earlier. This will serve as a guide when attaching the brackets.
By clearing out the closet and preparing the space, you’ll have a clean and stable environment for installing your shelves. It’s important to take the time to complete these steps before moving on to the next phase of the installation process.
With your closet now prepared, you can proceed to the next step: assembling the shelves.
When installing simple closet shelves, make sure to measure the space accurately before purchasing or cutting the shelves. Use a level to ensure they are installed straight and secure them properly to the wall for stability.
Read more: How To Make Shelves For Closet
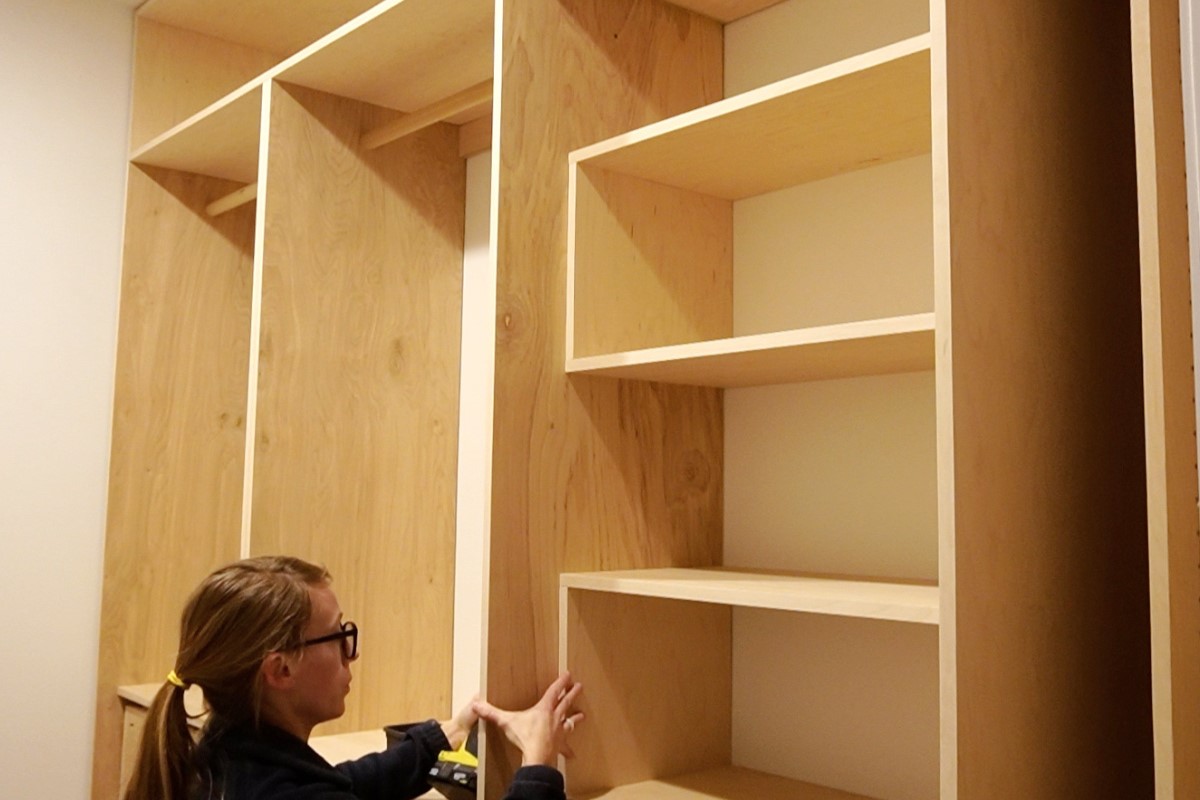
Step 4: Assembling the Shelves
Now that you have measured, purchased materials, and prepared the closet, it’s time to assemble the shelves. Follow these steps to complete this phase of the installation process:
- Attach the brackets to the shelf boards: Position the brackets evenly along the length of the shelf boards. Use a pencil or marker to mark the screw holes on the shelf boards. Then, using a drill, attach the brackets securely to the boards using the appropriate screws.
- Double-check the alignment: Ensure that all brackets are level and aligned with one another. Use a level to verify their horizontal position and make any necessary adjustments.
- Test the stability: Once the brackets are attached to the shelf boards, do a quick test to ensure they are stable and can support the expected weight. Apply gentle pressure and ensure that there is no wobbling or movement.
- If necessary, make any final adjustments: If you encounter any issues during the assembly process, such as brackets not fitting properly or shelf boards being too long, now is the time to make any necessary adjustments. Use a saw or other appropriate tools to trim the shelves or brackets to the correct size.
By following these steps, you will have successfully assembled the shelves and brackets, ensuring they are stable and ready for installation. With the shelves now assembled, it’s time to move on to the next step: installing the shelves in the closet.
Step 5: Installing the Shelves
With the shelves assembled, it’s time to install them in your closet. Follow these steps to complete the installation process:
- Position the first shelf: Start by positioning the first shelf in your desired location within the closet. Use a level to ensure it is perfectly horizontal. Align the brackets with the previously marked stud locations on the wall.
- Attach the brackets to the wall: Once the shelf is in position, use a drill and screws to securely attach the brackets to the wall, making sure to screw directly into the studs for maximum stability.
- Repeat the process: Continue the installation process by repeating the previous steps for the remaining shelves. Measure the desired spacing between shelves and use a level to ensure each one is positioned accurately.
- Test the stability: Once all the shelves are installed, give them a gentle push to test their stability. Ensure that they are securely attached to the brackets and there is no excessive movement.
As you install each shelf, take your time to ensure it is properly aligned and securely attached to the wall. This will ensure the longevity and stability of your closet shelves.
Once all the shelves are installed, you can move on to the final step: adding the finishing touches.
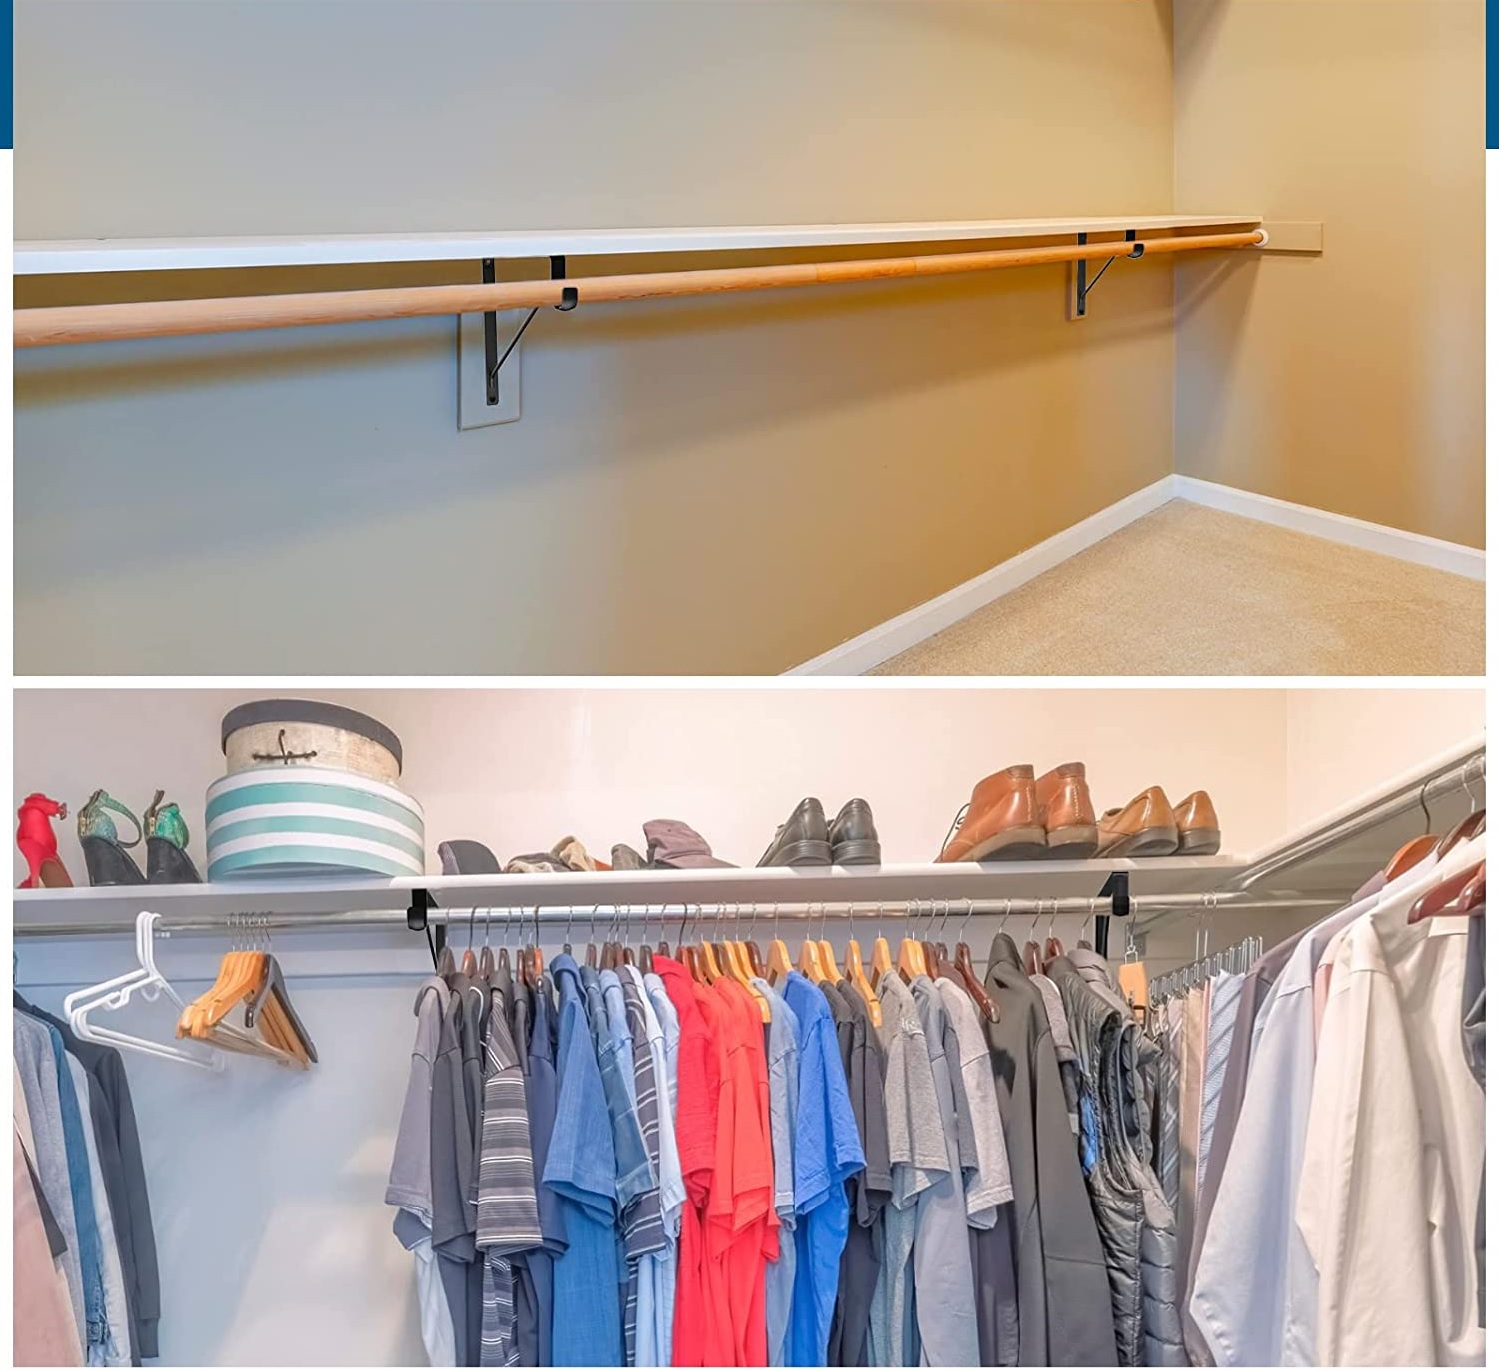
Step 6: Finishing Touches
Now that the shelves are installed, it’s time to add some finishing touches to maximize the functionality and aesthetics of your closet. Consider the following steps to complete the project:
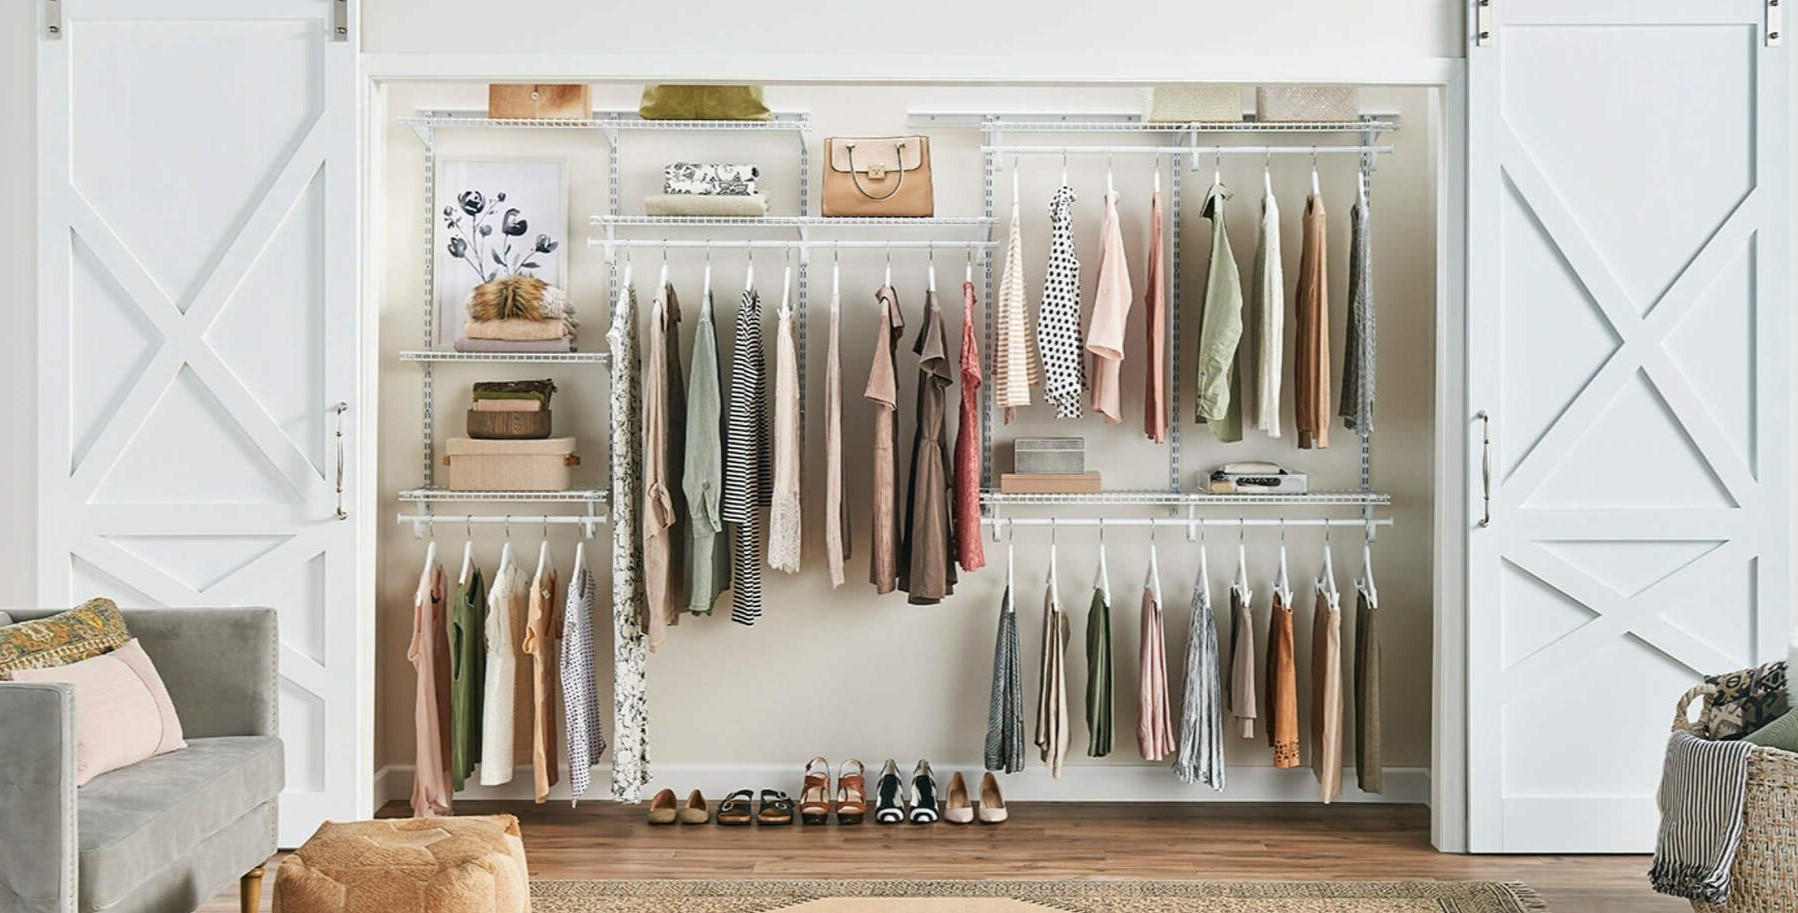
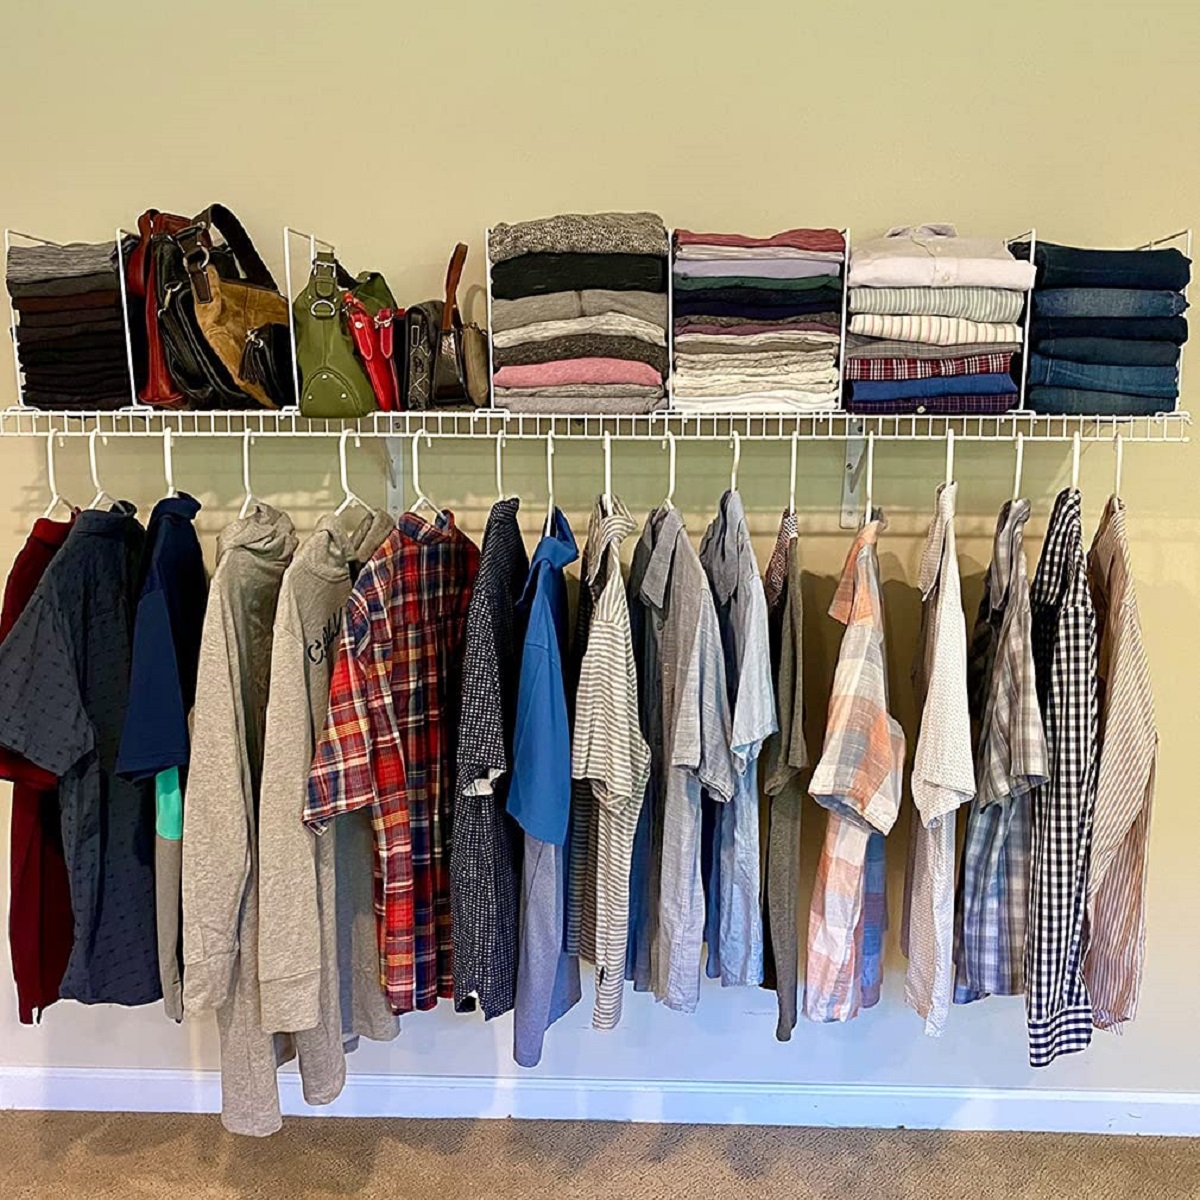
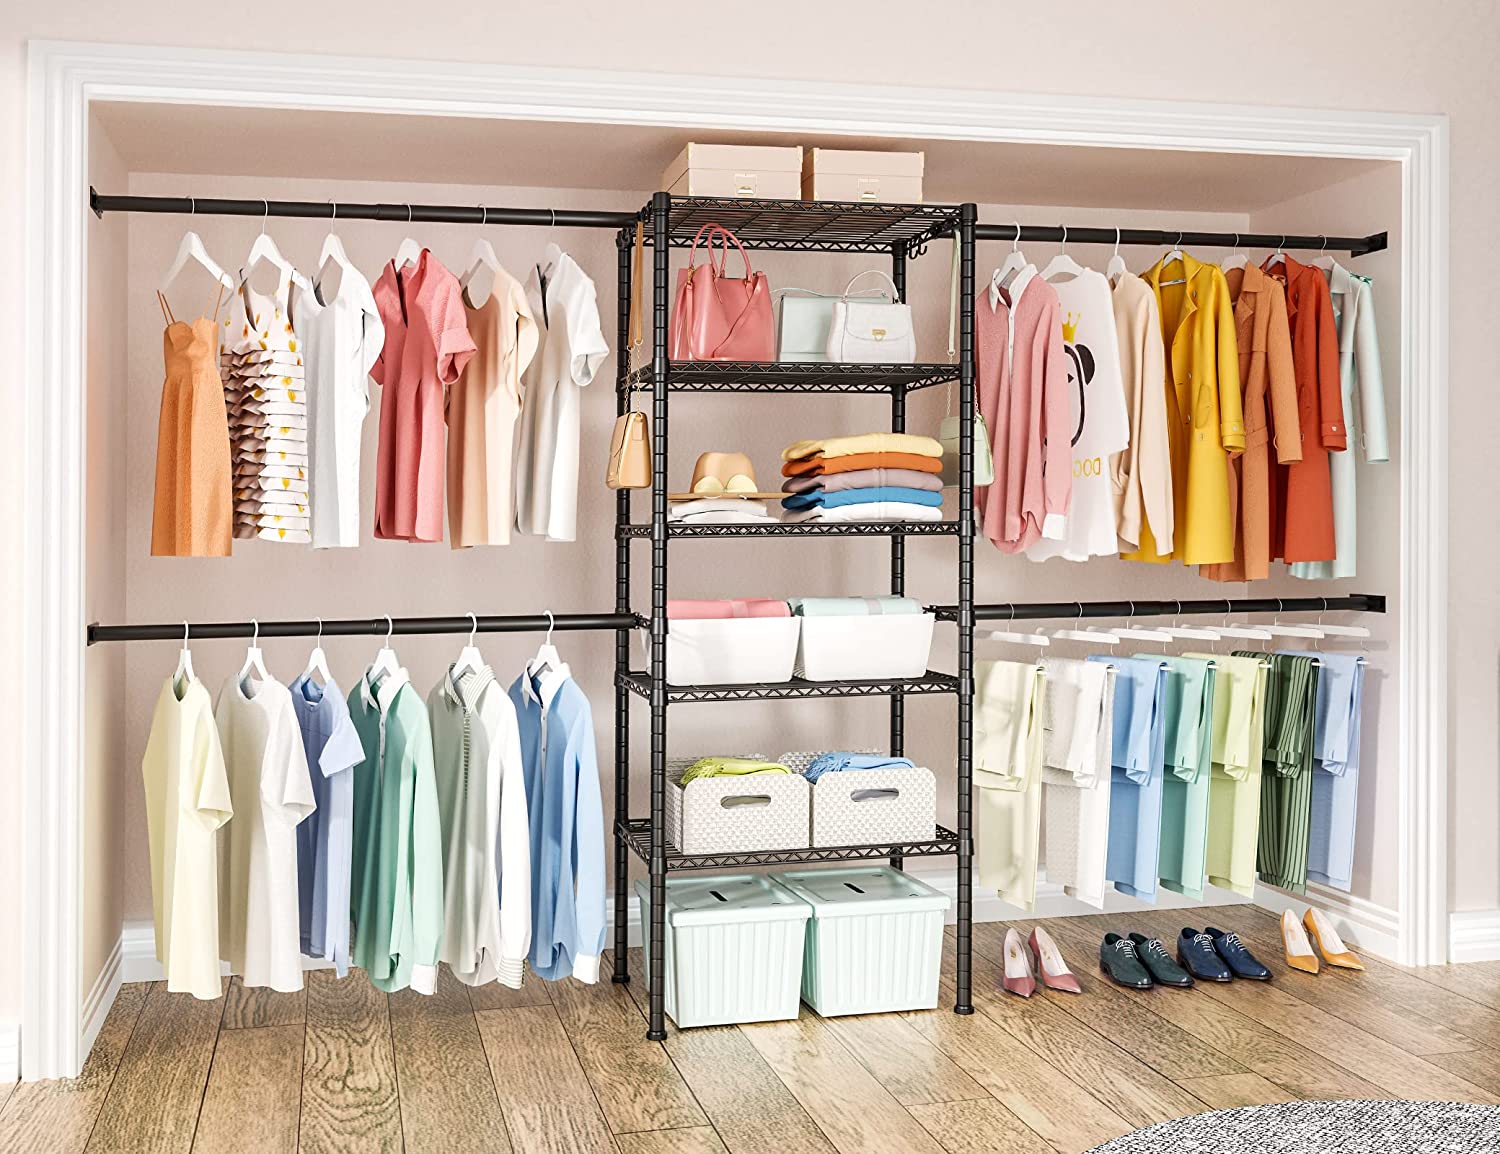
- Organize your items: Take this opportunity to organize your clothing, shoes, and other belongings on the newly installed shelves. Group similar items together and arrange them in a way that suits your needs and preferences.
- Add storage accessories: Depending on your storage requirements, consider adding storage accessories such as drawer units, shoe racks, or hanging rods to further optimize your space. These additions can help you make the most of your closet and keep it tidy and organized.
- Label and categorize: Use labels or tags to identify different sections or categories within your closet. This will make it easier to locate specific items and maintain organization in the long run.
- Maintain cleanliness: Regularly clean and declutter your closet to keep it looking its best. Remove any unused or seasonal items and donate them if necessary. This will help maintain an organized and functional space.
By adding these finishing touches, you can truly customize your closet to suit your needs and preferences. Organizing your belongings and maintaining cleanliness will ensure that your newly installed shelves continue to serve their purpose effectively.
Congratulations! You have successfully installed simple shelves in your closet. Enjoy your newly organized and efficient storage space!
Conclusion
Congratulations on completing the installation of simple closet shelves! By following the step-by-step guide outlined in this article, you have transformed your closet into a well-organized and functional space. The addition of shelves provides ample storage and helps you keep your belongings neatly arranged, making it easier to locate items and maintain a clutter-free environment.
Remember, the key to a successful installation is accurate measuring, choosing the right materials, proper preparation, and careful assembly. By taking the time to measure your closet, select high-quality materials, prepare the space, assemble the shelves correctly, and install them securely, you have created a sturdy and reliable storage solution.
Once the shelves are installed, don’t forget to add your personal touch with organizing and labeling. This will help you optimize the space and maintain the organization in the long run. Regular maintenance and cleaning will ensure that your closet remains functional and tidy, providing you with an enjoyable experience whenever you access your belongings.
We hope this guide has been informative and helpful in your quest for a more organized and efficient closet. With your new closet shelves in place, you can now enjoy the benefits of a well-structured storage system that improves your daily routine and reduces the time spent searching for items.
Thank you for following along, and best of luck with your newly installed closet shelves!
Frequently Asked Questions about Install Simple Closet Shelves
Was this page helpful?
At Storables.com, we guarantee accurate and reliable information. Our content, validated by Expert Board Contributors, is crafted following stringent Editorial Policies. We're committed to providing you with well-researched, expert-backed insights for all your informational needs.


0 thoughts on “Install Simple Closet Shelves”