Home>Technology>Home Entertainment Systems>Epson Projector: How To Flip Image
Home Entertainment Systems
Epson Projector: How To Flip Image
Modified: February 26, 2024
Learn how to flip images on your Epson projector for an enhanced home entertainment experience. Discover the best tips for optimizing your home entertainment systems.
(Many of the links in this article redirect to a specific reviewed product. Your purchase of these products through affiliate links helps to generate commission for Storables.com, at no extra cost. Learn more)
Introduction
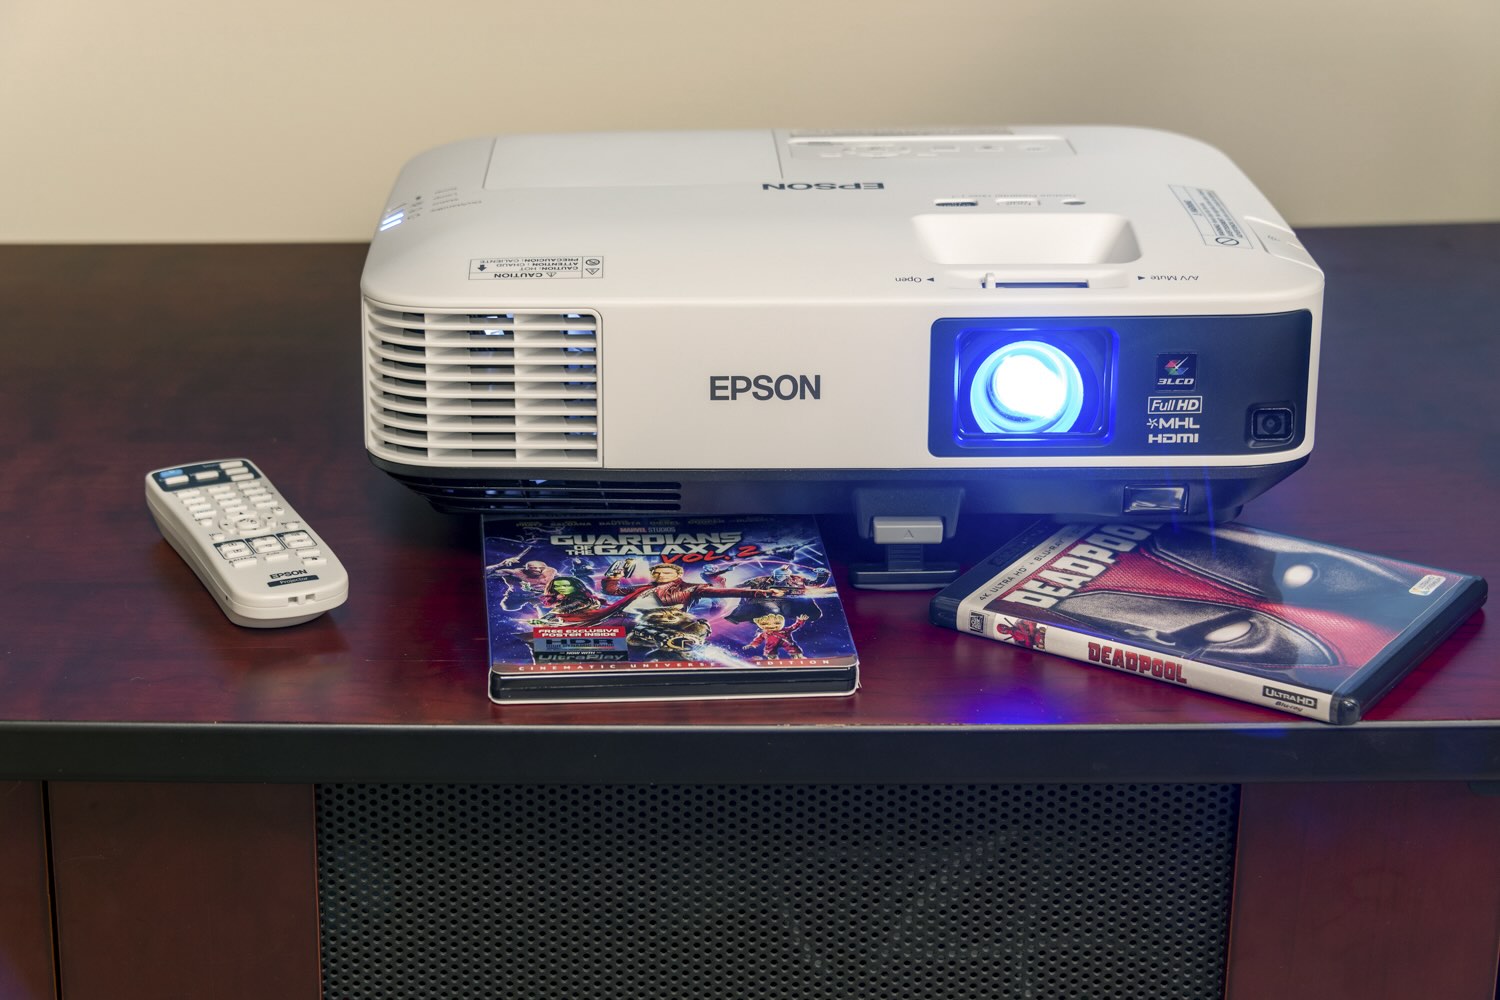
Welcome to the world of home entertainment, where the Epson projector takes center stage as a versatile and powerful device for bringing your favorite movies, TV shows, and presentations to life on the big screen. Whether you're a seasoned enthusiast or a newcomer to the realm of projectors, understanding how to maximize the capabilities of your Epson projector is essential for creating an immersive viewing experience.
In this comprehensive guide, we'll delve into the intricacies of the Epson projector, focusing specifically on the process of flipping the image. By the end of this article, you'll have a clear understanding of the various methods for flipping the image on your Epson projector, allowing you to tailor the viewing experience to your specific needs.
So, grab your popcorn, settle into your favorite spot, and let's embark on a journey to unlock the full potential of your Epson projector. Whether you're looking to adjust the image orientation for a ceiling-mounted setup, a rear projection configuration, or simply to accommodate a unique viewing environment, we've got you covered. Let's dive into the world of Epson projectors and master the art of flipping the image to suit your preferences.
Key Takeaways:
- Master the art of flipping the image on your Epson projector using the remote control or onboard menu options for a tailored and immersive viewing experience.
- Troubleshoot common issues with image flipping on your Epson projector to ensure seamless and optimized projection adjustments.
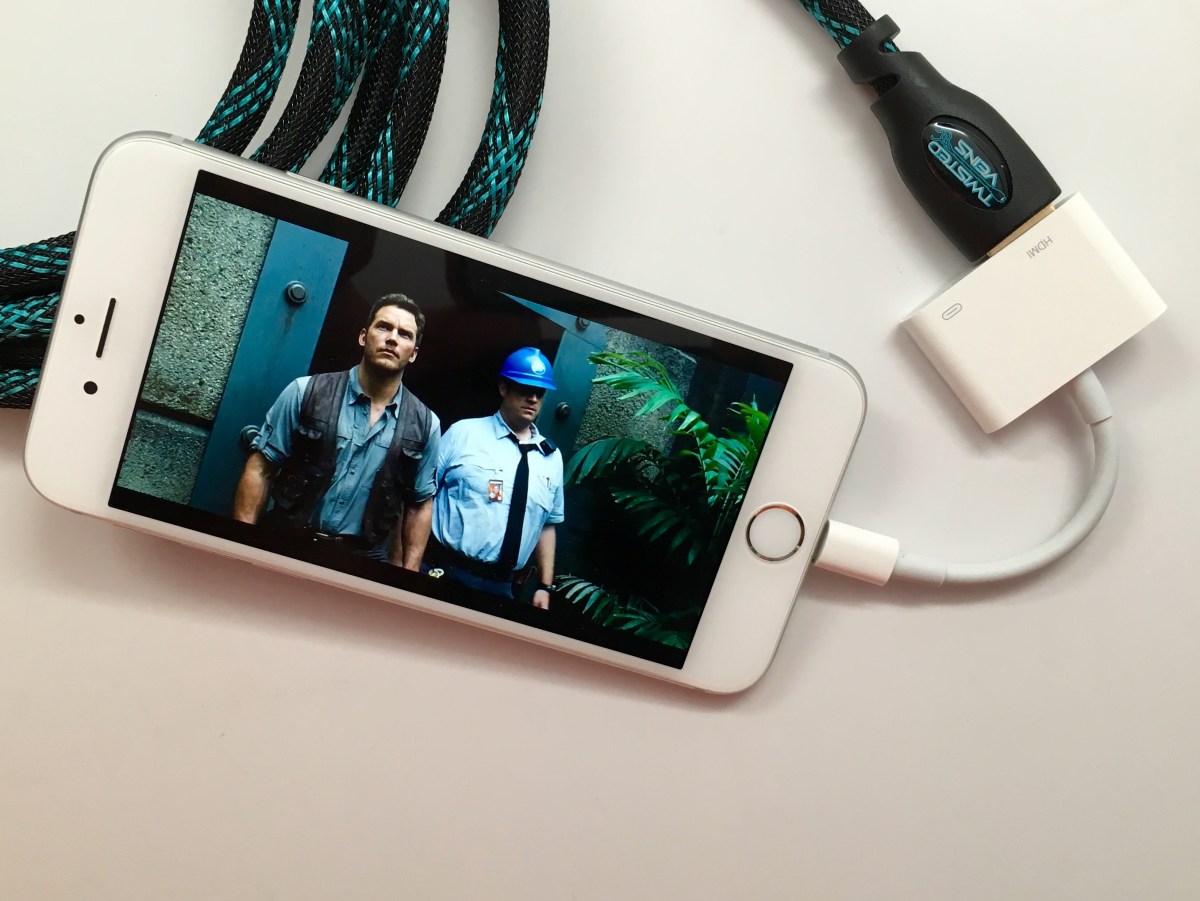
Read more: How To Flip A Projector Image
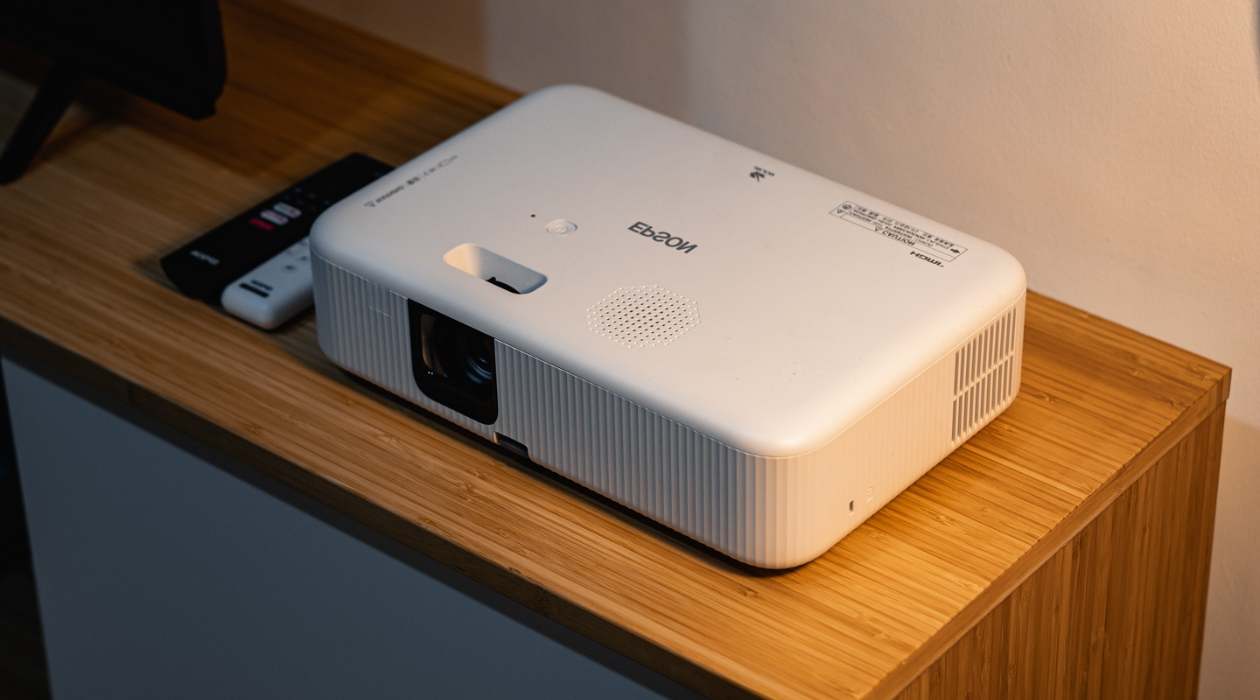
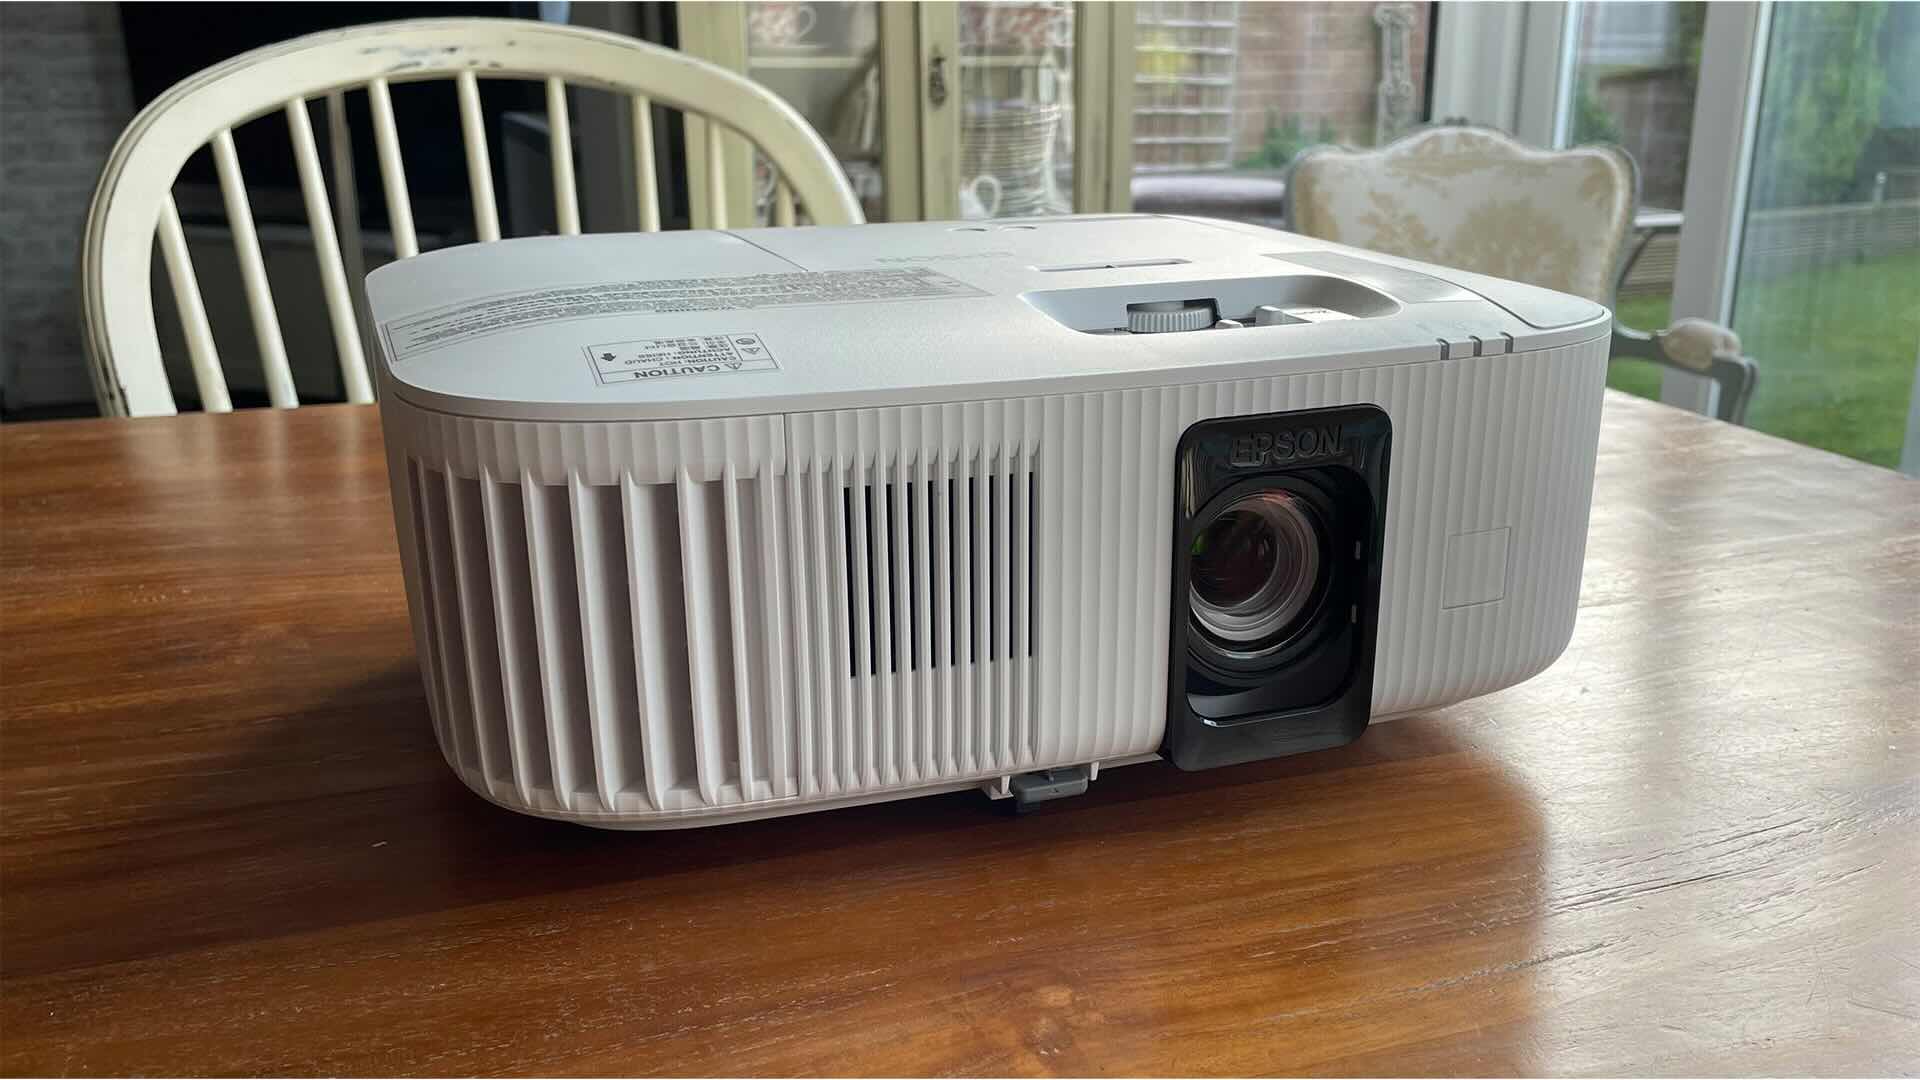
Understanding the Epson Projector
Before delving into the specifics of flipping the image on an Epson projector, it’s essential to grasp the fundamental workings of this impressive piece of technology. Epson projectors are renowned for their exceptional image quality, robust features, and user-friendly interfaces, making them a popular choice for both home theater setups and professional presentations.
At the heart of the Epson projector lies advanced imaging technology, including high-quality lenses, powerful light sources, and precise image processing capabilities. These components work in harmony to deliver stunning visuals with vibrant colors, sharp details, and impressive brightness levels, ensuring an engaging viewing experience for audiences of all kinds.
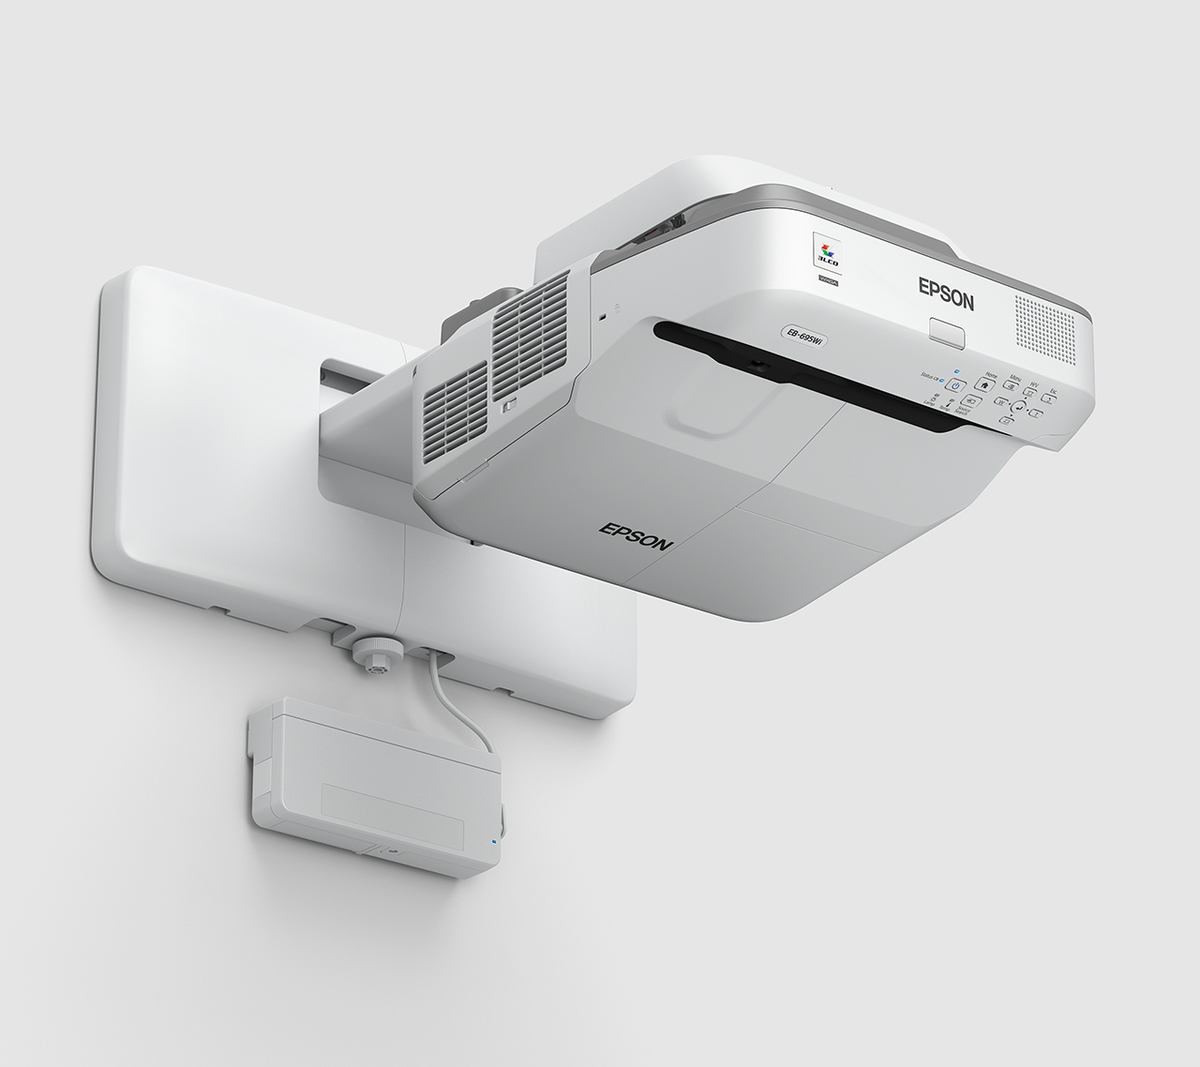
Furthermore, Epson projectors are designed to offer versatility in terms of installation and usage. Whether you opt for a ceiling-mounted setup, rear projection configuration, or a traditional placement on a table or stand, Epson projectors provide the flexibility to adapt to diverse environments and spatial constraints.
Additionally, many Epson projectors boast advanced connectivity options, allowing seamless integration with various devices such as laptops, Blu-ray players, gaming consoles, and streaming devices. This versatility enables users to enjoy a wide range of content, from blockbuster movies to live sports events and engaging multimedia presentations.
Understanding the key features and capabilities of your Epson projector sets the stage for exploring the process of flipping the image, a valuable technique that can enhance your viewing experience in numerous scenarios. Whether you’re looking to optimize the projection for a specific room layout or accommodate unconventional viewing angles, mastering the art of flipping the image will empower you to make the most of your Epson projector’s capabilities.
Now that we’ve gained insight into the foundational aspects of Epson projectors, it’s time to shift our focus to the practical steps involved in flipping the image on these impressive devices.
Flipping the Image on an Epson Projector
When it comes to adjusting the image orientation on an Epson projector, you have multiple options at your disposal. Whether you need to flip the image for a ceiling-mounted setup, a rear projection configuration, or a unique viewing environment, understanding the methods for achieving this adjustment is crucial for tailoring the projection to your specific needs.
Here, we’ll explore two primary methods for flipping the image on an Epson projector: using the remote control and accessing the menu options directly on the projector. Both approaches offer flexibility and convenience, allowing you to seamlessly adjust the image orientation to suit your preferences.
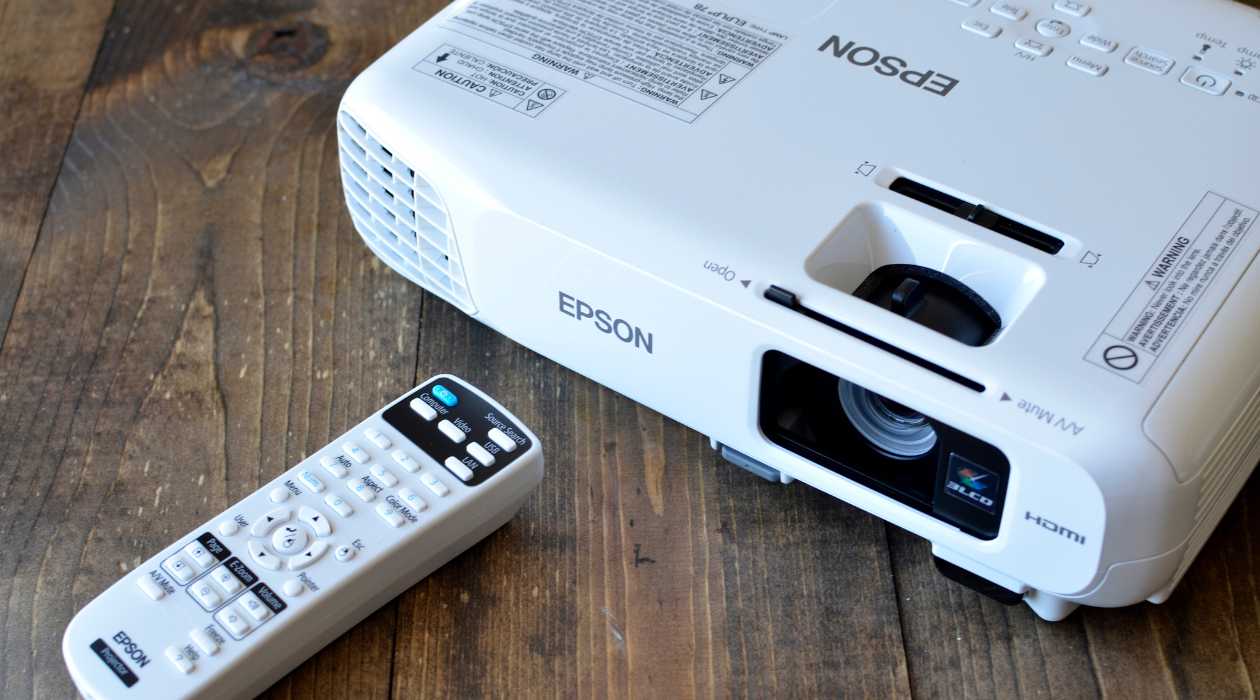
Using the Remote Control
The remote control serves as a convenient tool for making real-time adjustments to the image orientation without the need to physically interact with the projector. To flip the image using the remote control, follow these simple steps:
- Locate the “Menu” button on the remote control and press it to access the projector’s menu.
- Navigate to the “Settings” or “Image” section within the menu using the arrow keys on the remote control.
- Look for the “Projection” or “Orientation” option, which allows you to adjust the image orientation. Select this option to proceed.
- Within the “Projection” or “Orientation” submenu, you’ll find the settings for flipping the image vertically or horizontally. Use the arrow keys to highlight the desired flip option, and press the “Enter” or “OK” button to apply the change.
- Once the image has been flipped to your satisfaction, exit the menu by pressing the appropriate button on the remote control, typically labeled “Exit” or “Menu.”
By utilizing the remote control, you can effortlessly modify the image orientation to accommodate various projection setups and spatial requirements, ensuring a seamless viewing experience without the need for manual adjustments directly on the projector.
Using the Menu Options
If you prefer to adjust the image orientation directly on the projector, you can access the menu options using the onboard controls. Here’s a step-by-step guide for flipping the image using the menu options on an Epson projector:
- Locate the “Menu” button on the projector and press it to bring up the onscreen menu.
- Navigate to the “Settings” or “Image” section within the menu using the directional buttons on the projector.
- Look for the “Projection” or “Orientation” option, which allows you to modify the image orientation. Select this option to proceed.
- Within the “Projection” or “Orientation” submenu, you’ll find the settings for flipping the image vertically or horizontally. Use the directional buttons to highlight the desired flip option, and press the “Enter” button to apply the change.
- Once the image has been flipped to your satisfaction, exit the menu by navigating to the appropriate option and pressing the “Enter” button to confirm.
By leveraging the menu options directly on the projector, you can swiftly adjust the image orientation to suit your specific viewing requirements, providing a tailored and immersive visual experience without the need for external devices or accessories.
Now that we’ve explored the practical methods for flipping the image on an Epson projector, it’s important to address potential troubleshooting scenarios that may arise during this process. By understanding how to troubleshoot common issues related to image flipping, you can overcome challenges and ensure a seamless projection experience.
Using the Remote Control
When it comes to making real-time adjustments to the image orientation on your Epson projector, the remote control serves as a valuable tool for seamless and convenient operation. With its intuitive functionality, the remote control allows you to flip the image without the need to physically interact with the projector, providing flexibility and ease of use for optimizing your viewing experience.
To begin the process of flipping the image using the remote control, follow these straightforward steps:
- Accessing the Menu: Locate the “Menu” button on the remote control and press it to bring up the projector’s menu interface. This action serves as the gateway to accessing the various settings and options for adjusting the image orientation.
- Navigating the Menu: Once the menu is displayed on the screen, use the arrow keys on the remote control to navigate to the “Settings” or “Image” section within the menu. This section houses the essential parameters for modifying the projection settings, including the image orientation options.
- Projection Settings: Within the “Settings” or “Image” section, look for the “Projection” or “Orientation” option, which allows you to make adjustments to the image orientation. Selecting this option will lead you to a submenu dedicated to fine-tuning the projection settings according to your preferences.
- Flipping the Image: Within the “Projection” or “Orientation” submenu, you’ll encounter settings for flipping the image vertically or horizontally. Use the arrow keys on the remote control to highlight the desired flip option, and press the “Enter” or “OK” button to apply the change. This action instantly modifies the image orientation to align with your specific viewing setup.
- Exiting the Menu: Once you’ve achieved the desired image orientation, exit the menu interface by pressing the appropriate button on the remote control, typically labeled “Exit” or “Menu.” This action finalizes the adjustments and returns you to the main viewing interface, ready to enjoy the optimized projection.
By utilizing the remote control, you can effortlessly and precisely modify the image orientation to accommodate diverse projection setups and spatial constraints. Whether you’re adjusting the projection for a ceiling-mounted installation, a rear projection configuration, or a unique viewing environment, the remote control empowers you to tailor the image orientation with ease and efficiency.
As you master the art of using the remote control to flip the image on your Epson projector, you’ll gain confidence in optimizing the viewing experience to suit your specific preferences, ensuring that every viewing session unfolds with immersive visuals and seamless projection adjustments.
Using the Menu Options
When it comes to adjusting the image orientation directly on your Epson projector, the onboard menu options provide a straightforward and accessible method for fine-tuning the projection settings to align with your specific viewing requirements. By leveraging the menu options, you can swiftly and precisely flip the image without the need for external devices or accessories, ensuring a seamless and tailored viewing experience.
To initiate the process of flipping the image using the menu options on your Epson projector, follow these simple steps:
- Accessing the Menu: Locate the “Menu” button on the projector and press it to bring up the onscreen menu interface. This action grants you access to the comprehensive range of settings and options available for adjusting the image orientation directly on the projector.
- Navigating the Menu: Once the menu interface is displayed on the projector’s screen, use the directional buttons on the projector to navigate to the “Settings” or “Image” section within the menu. This section serves as the hub for modifying the projection settings, including the image orientation parameters.
- Projection Settings: Within the “Settings” or “Image” section, locate the “Projection” or “Orientation” option, which provides the pathway to adjusting the image orientation directly on the projector. Select this option to proceed to a dedicated submenu designed for fine-tuning the projection settings according to your preferences.
- Flipping the Image: Within the “Projection” or “Orientation” submenu, you’ll encounter settings for flipping the image vertically or horizontally. Use the directional buttons to highlight the desired flip option, and press the “Enter” button to apply the change. This action promptly modifies the image orientation to align with your specific viewing setup.
- Exiting the Menu: Once you’ve achieved the desired image orientation, exit the menu interface by navigating to the appropriate option and pressing the “Enter” button to confirm. This action finalizes the adjustments and returns you to the main viewing interface, ready to immerse yourself in the optimized projection.
By utilizing the menu options directly on the projector, you can efficiently and precisely adjust the image orientation to accommodate a wide range of projection setups and spatial constraints. Whether you’re fine-tuning the projection for a ceiling-mounted installation, a rear projection configuration, or a unique viewing environment, the onboard menu options empower you to tailor the image orientation with ease and accuracy.
As you become proficient in using the menu options to flip the image on your Epson projector, you’ll gain the confidence to effortlessly optimize the viewing experience, ensuring that every projection aligns with your specific preferences and spatial considerations, delivering an immersive and personalized visual journey.
Troubleshooting
While flipping the image on an Epson projector is typically a straightforward process, there are instances where you may encounter challenges or unexpected issues during the adjustment. Understanding how to troubleshoot common problems related to image flipping ensures that you can swiftly address any concerns and maintain a seamless projection experience.
Image Reversal or Distortion
If you notice that the flipped image appears reversed or distorted after making adjustments, there are several troubleshooting steps you can take to rectify the issue:
- Check Projection Mode: Verify that the projector is set to the correct projection mode, such as front projection or rear projection, to ensure that the image orientation aligns with the intended setup.
- Review Flip Settings: Return to the projection or orientation settings within the menu and double-check the selected flip option to confirm that it corresponds to the desired image adjustment.
- Reset and Reapply: If the image appears reversed or distorted, reset the flip settings to their default position and reapply the desired flip option to see if this resolves the issue.
Read more: How To Focus Epson Projector
Remote Control Functionality
In the event that you encounter difficulties while using the remote control to flip the image, consider the following troubleshooting measures:
- Battery Check: Ensure that the batteries in the remote control are fully charged or replaced with fresh batteries to guarantee optimal functionality when making image adjustments.
- Signal Interference: Check for any potential sources of signal interference, such as other electronic devices or obstacles obstructing the line of sight between the remote control and the projector, and reposition as needed.
- Remote Pairing: If the remote control is not responding, consider re-pairing it with the projector according to the manufacturer’s instructions to establish a reliable connection.
Menu Navigation on the Projector
If you encounter challenges while navigating the menu options directly on the projector to flip the image, consider the following troubleshooting steps:
- Keypad Functionality: Ensure that the directional buttons on the projector are responsive and functioning as intended, and clean the keypad if there are any obstructions or debris affecting the input.
- Menu Visibility: Verify that the projector’s menu interface is clearly visible and free from any obstructions or environmental factors that may hinder navigation and menu selection.
- Software Update: Check for available software updates for the projector that may address any menu navigation issues, and install the updates if applicable to enhance functionality.
By applying these troubleshooting strategies, you can effectively address common challenges related to image flipping on an Epson projector, ensuring a smooth and optimized projection experience that aligns with your specific viewing preferences and spatial requirements.
To flip the image on an Epson projector, go to the “Settings” or “Menu” on the remote control or projector itself. Look for the “Image” or “Projection” settings, and then select the “Flip” or “Invert” option to change the orientation of the image.
Conclusion
Congratulations on embarking on a journey to unlock the full potential of your Epson projector by mastering the art of flipping the image. Throughout this comprehensive guide, we’ve delved into the intricacies of adjusting the image orientation on an Epson projector, equipping you with the knowledge and practical techniques to tailor the projection to your specific needs and preferences.
By understanding the foundational aspects of Epson projectors and the advanced imaging technology that powers them, you’ve gained insight into the versatility and exceptional capabilities of these impressive devices. Whether you’re creating a captivating home theater setup, delivering impactful presentations, or enjoying immersive gaming experiences, the Epson projector stands as a reliable and versatile companion for bringing visuals to life on the big screen.
Through the exploration of practical methods for flipping the image on an Epson projector, including using the remote control and leveraging the onboard menu options, you’ve acquired valuable insights into the seamless and flexible approaches for adjusting the image orientation. Whether you opt for the convenience of the remote control or prefer direct interaction with the projector’s menu, you now possess the tools to fine-tune the projection settings with precision and efficiency.
Furthermore, by addressing potential troubleshooting scenarios related to image flipping, you’ve equipped yourself with the knowledge to swiftly overcome challenges and maintain a seamless projection experience. Whether it’s rectifying image reversal or distortion, optimizing remote control functionality, or ensuring smooth menu navigation on the projector, you’re well-prepared to address any concerns that may arise during the image adjustment process.
As you apply the insights and techniques from this guide, you’ll embark on a seamless and tailored visual journey, where every projection unfolds with immersive visuals that align with your specific preferences and spatial considerations. The ability to flip the image on your Epson projector empowers you to create an engaging and personalized viewing experience, whether you’re enjoying cinematic adventures, delivering impactful presentations, or immersing yourself in the world of gaming.
So, as you settle into your favorite spot and prepare to indulge in the captivating visuals brought to life by your Epson projector, remember that the power to tailor the projection to your preferences is at your fingertips. With a newfound understanding of image flipping and the versatile capabilities of your Epson projector, you’re poised to elevate every viewing session into a truly immersive and personalized experience.
Frequently Asked Questions about Epson Projector: How To Flip Image
Was this page helpful?
At Storables.com, we guarantee accurate and reliable information. Our content, validated by Expert Board Contributors, is crafted following stringent Editorial Policies. We're committed to providing you with well-researched, expert-backed insights for all your informational needs.


0 thoughts on “Epson Projector: How To Flip Image”