Home>Technology>Home Entertainment Systems>How To Project An Image To Trace Without A Projector
Home Entertainment Systems
How To Project An Image To Trace Without A Projector
Published: December 30, 2023
Learn how to project an image to trace without a projector using simple home entertainment systems. Enhance your DIY projects with this easy technique!
(Many of the links in this article redirect to a specific reviewed product. Your purchase of these products through affiliate links helps to generate commission for Storables.com, at no extra cost. Learn more)
Introduction
Welcome to the world of DIY projection art! Have you ever wanted to trace an image onto a larger surface but didn’t have access to a projector? Fret not, as I’m about to share a clever and cost-effective method to project an image for tracing without the need for a traditional projector. Whether you’re an aspiring artist, a hobbyist, or simply in need of a creative solution, this technique is sure to come in handy. With a few simple materials and a bit of ingenuity, you’ll be able to enlarge and transfer images onto various surfaces with ease. So, gather your supplies and let’s dive into the exciting world of image projection without a projector!
Key Takeaways:
- Create stunning art without a projector by using a smartphone, clear surface, and light source. Trace images onto any medium with ease and unleash your creativity!
- Embrace the magic of hand-tracing to bring images to life. Experiment with different surfaces, lighting angles, and share your unique creations with fellow artists.
Materials Needed
Before embarking on your image projection adventure, it’s essential to gather the necessary materials. Here’s what you’ll need:
- Smartphone or Tablet: You’ll require a smartphone or tablet with the image you wish to project loaded onto the screen. Ensure that the device is fully charged to avoid interruptions during the tracing process.
- Clear Plastic Sheet or Glass Pane: A transparent surface, such as a clear plastic sheet or a glass pane, will serve as the base for projecting the image. This surface should be large enough to accommodate the projected image at the desired scale.
- Desk Lamp or Flashlight: A reliable light source is crucial for illuminating the image. A desk lamp with an adjustable neck or a powerful flashlight will work well for this purpose.
- Blank Surface for Tracing: Prepare the surface onto which you’ll be tracing the projected image. This could be a canvas, a sheet of paper, a wall, or any other suitable tracing medium.
- Tape or Clamps: To secure the clear plastic sheet or glass pane in place, you’ll need tape or clamps to prevent any movement during the projection and tracing process.
- Dark Environment: To enhance the visibility of the projected image, it’s advisable to work in a dimly lit or dark environment. This will allow the projected image to stand out clearly against the background.
With these materials in hand, you’re well-equipped to embark on the exciting process of projecting an image for tracing without the use of a traditional projector.
Setting Up the Image
Now that you have all the necessary materials assembled, it’s time to set up the image for projection. Follow these steps to ensure a smooth and effective setup:
- Select the Desired Image: Begin by choosing the image you wish to project onto the tracing surface. This could be a sketch, a photograph, a drawing, or any other visual content stored on your smartphone or tablet.
- Prepare the Clear Surface: Place the clear plastic sheet or glass pane on a flat, stable surface. Ensure that it’s clean and free from any obstructions or smudges that could interfere with the projection.
- Position the Light Source: Set up your desk lamp or flashlight in a way that allows it to shine directly onto the clear surface. Position it at a suitable distance and angle to achieve optimal illumination without casting shadows on the projected image.
- Turn Off Ambient Lights: Dim the ambient lighting in the room to create a darker environment. This will enhance the visibility of the projected image and make it easier to trace onto the desired surface.
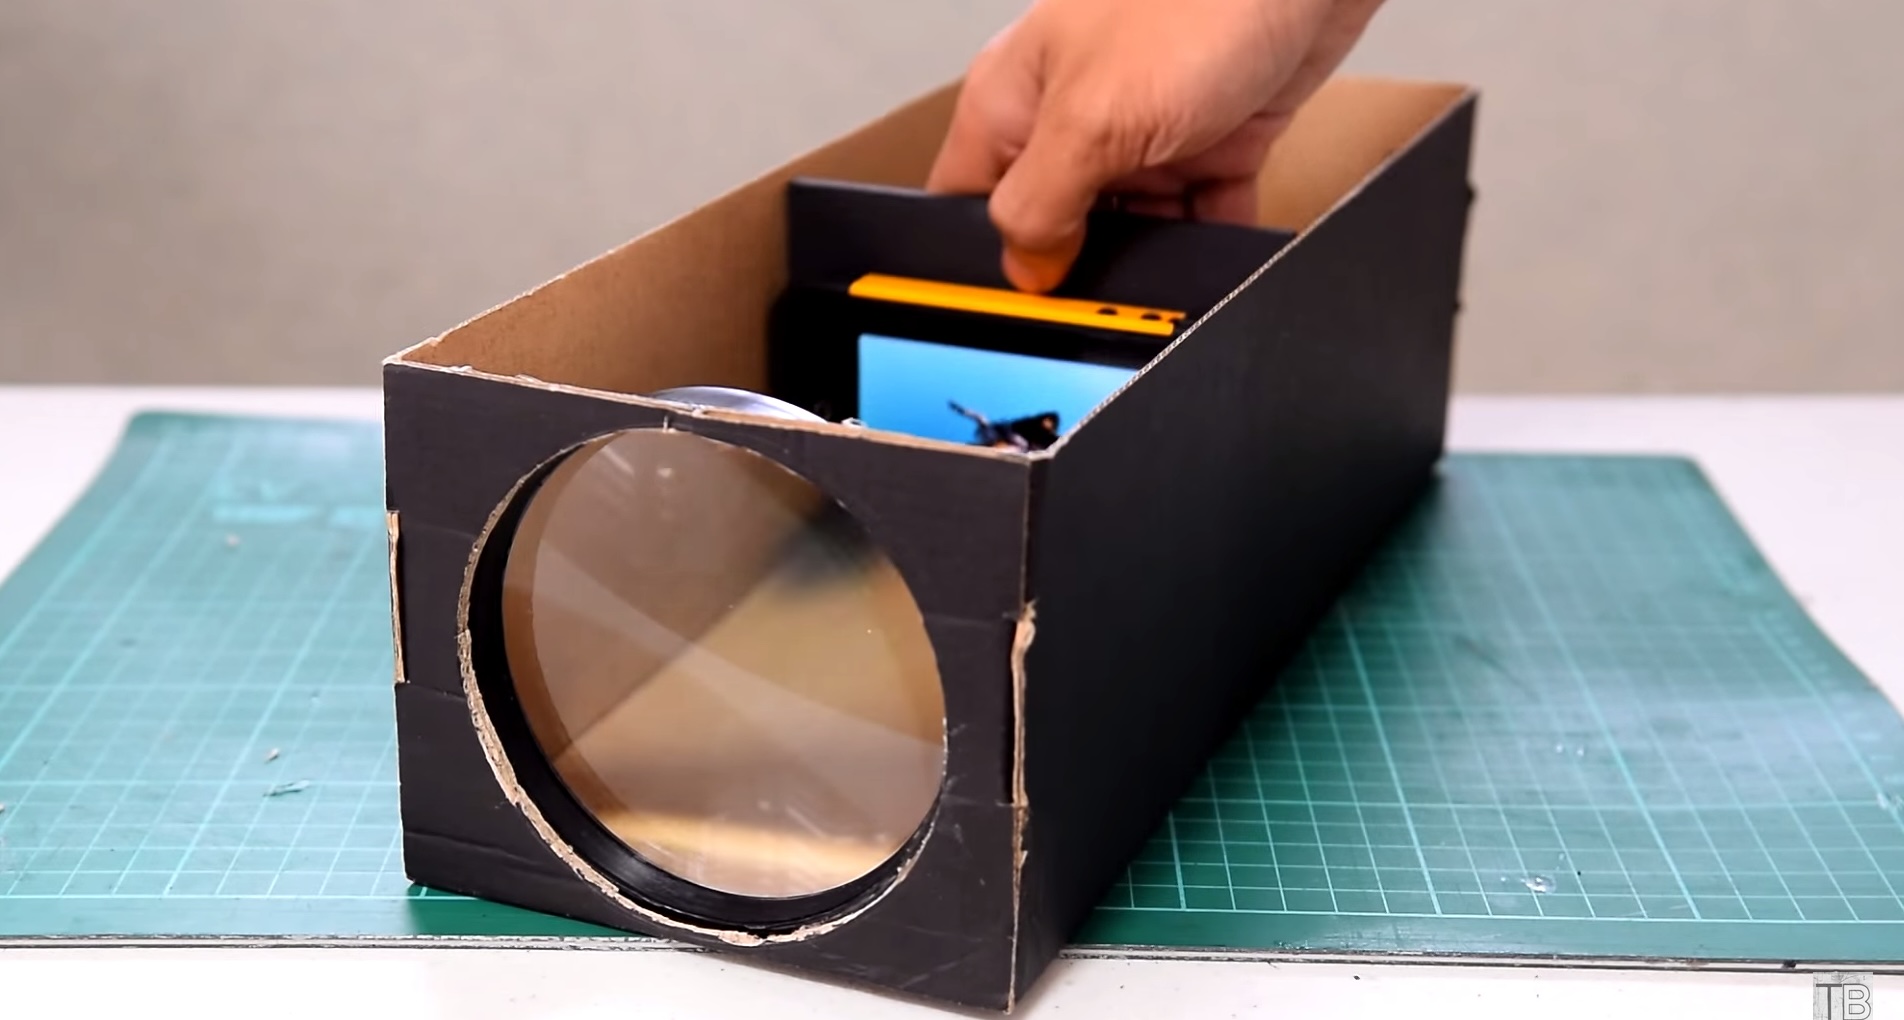
- Place the Smartphone or Tablet: Position your smartphone or tablet so that the image fills the screen. For best results, set the device to maximum brightness to ensure a clear and bright projection.
- Align the Image and Surface: Carefully align the projected image with the clear surface, making any necessary adjustments to center and scale the image as desired.
- Secure the Setup: Once the image and surface are aligned, use tape or clamps to secure the clear sheet or glass pane in place, ensuring that it remains steady throughout the tracing process.
With the image properly set up and aligned for projection, you’re now ready to move on to the exciting phase of tracing the projected image onto your chosen surface.
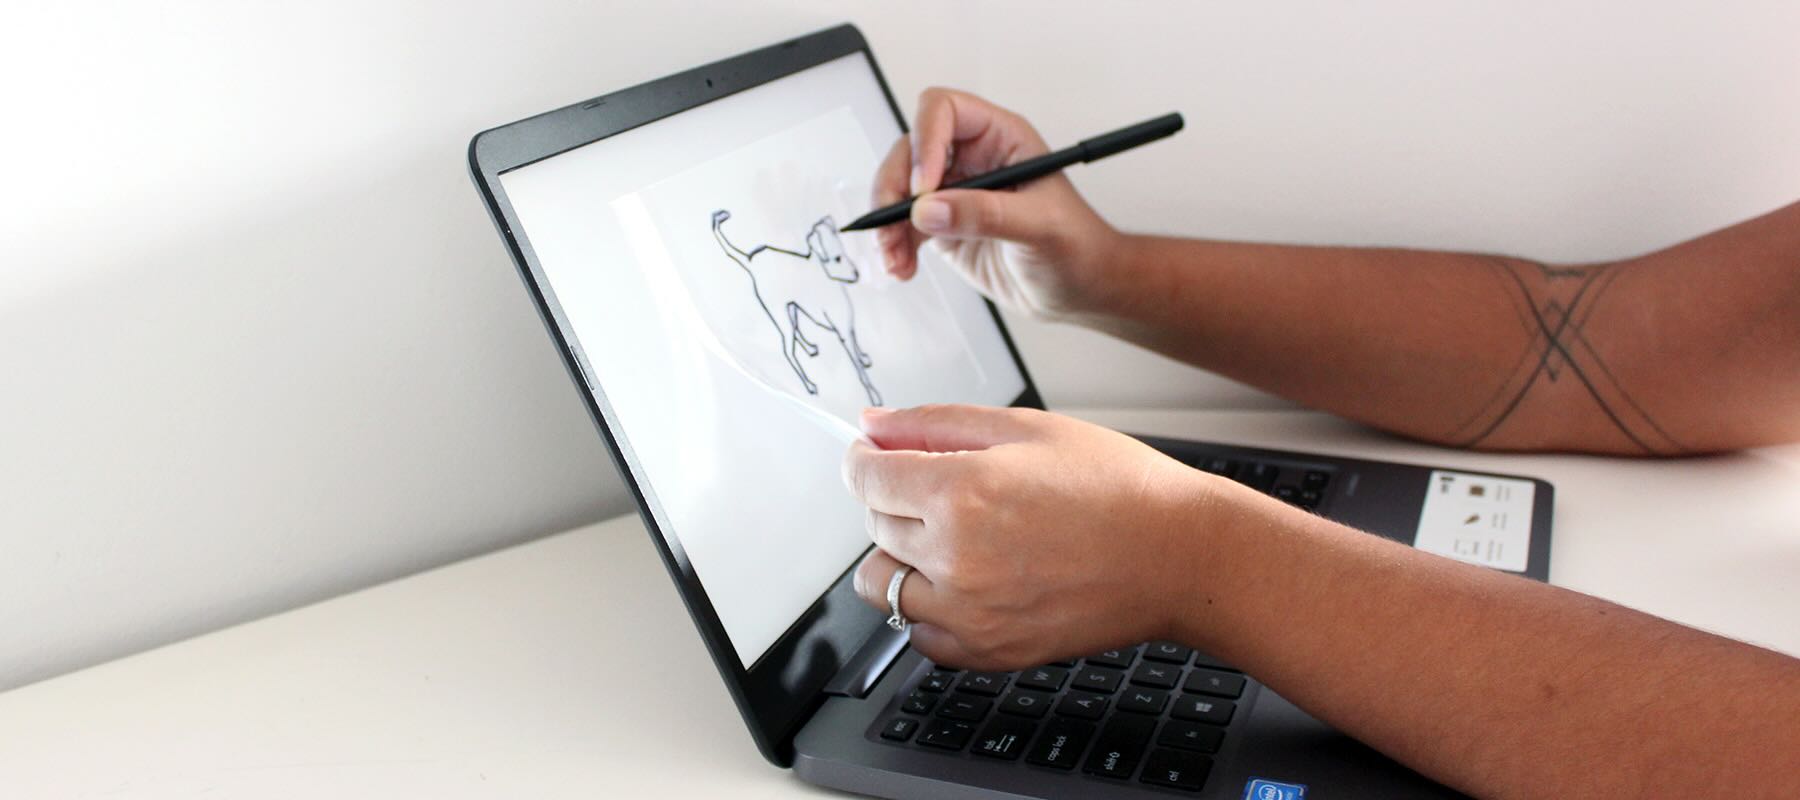
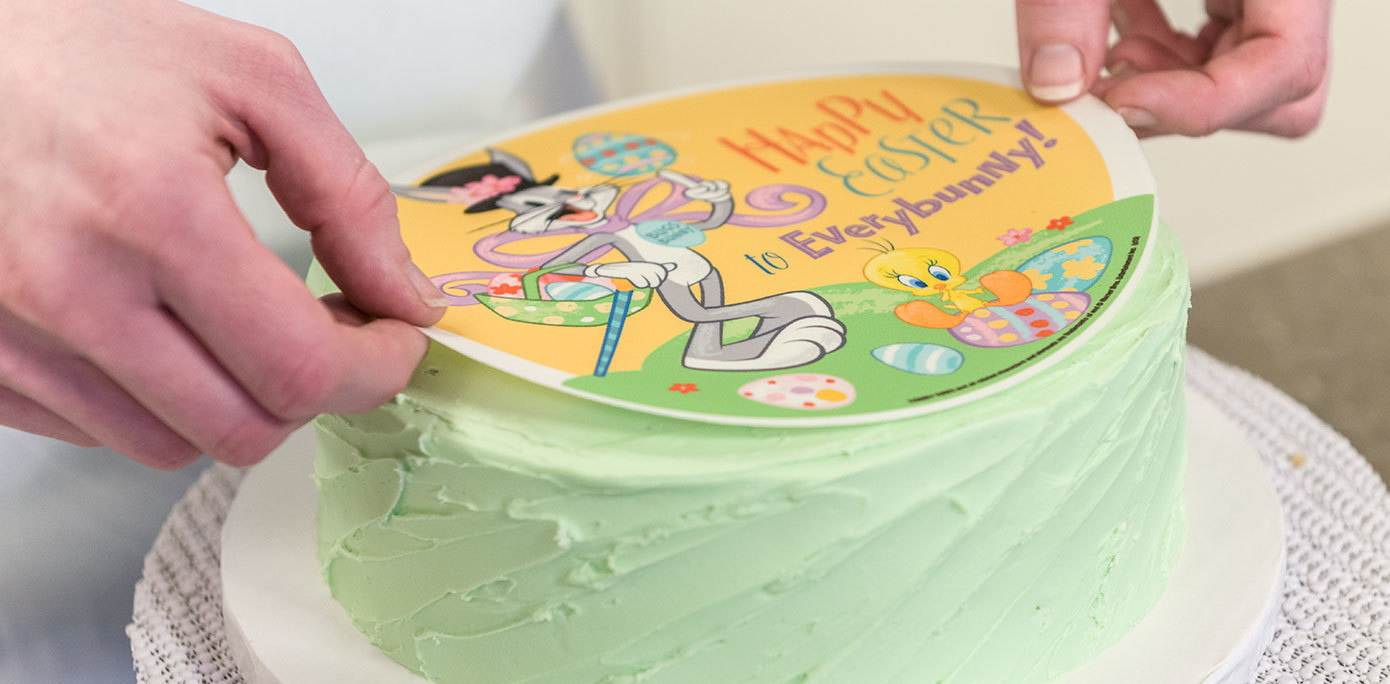
Use a bright light source, like a window or lamp, to shine light on the image. Place a piece of tracing paper over the image and trace the outlines with a pencil.
Tracing the Image
With the image successfully projected onto the clear surface, it’s time to bring your creative vision to life through tracing. Follow these steps to ensure accurate and precise tracing of the projected image:
- Prepare Your Tracing Medium: Whether you’re tracing onto a canvas, paper, or another surface, ensure that it’s positioned comfortably for tracing. If using paper, secure it in place to prevent any movement while tracing.
- Choose the Right Tools: Select a suitable tracing tool based on the surface and your personal preference. This could be a pencil, pen, marker, or any other implement that will effectively transfer the image onto the chosen medium.
- Focus and Precision: Begin tracing the projected image with a steady hand and a keen eye for detail. Take your time to capture the intricate elements of the image, ensuring that the traced lines accurately represent the projected content.
- Work in Sections: If the projected image is complex or extensive, consider tracing it in manageable sections to maintain focus and accuracy. This approach can also help prevent smudging or accidental disruptions to the projected image.
- Check for Consistency: Periodically assess your progress to ensure that the traced lines align with the projected image. Make any necessary adjustments to maintain consistency and fidelity to the original content.
- Refine and Detail: Once the primary outlines are traced, take the opportunity to add finer details and embellishments as needed. This step allows you to infuse your personal touch and creativity into the traced image.
- Review and Finalize: Upon completing the tracing process, carefully review the traced image for accuracy and completeness. Make any final touch-ups or refinements to ensure that the traced rendition faithfully reflects the projected image.
By following these steps and exercising patience and precision, you’ll successfully transfer the projected image onto your chosen medium, resulting in a beautifully traced creation that captures the essence of the original image.
Tips and Tricks
As you venture into the realm of projecting images for tracing without a traditional projector, consider the following tips and tricks to enhance your experience and achieve optimal results:
- Optimize Image Contrast: Prior to projecting the image, adjust its contrast and brightness on your smartphone or tablet to enhance visibility and clarity during the tracing process.
- Experiment with Surfaces: Explore tracing onto various surfaces such as textured paper, canvas, or even wood to add depth and character to your traced creations.
- Utilize Grid Projection: If precision is paramount, consider overlaying a grid onto the projected image using image editing software. This grid can serve as a guide for accurate scaling and proportionate tracing.
- Explore Negative Space: Embrace the negative space around the projected image as an opportunity for creative interpretation and artistic expression, allowing it to influence your tracing process.
- Experiment with Light Angles: Adjust the angle and distance of the light source to explore different shadow effects and perspectives, adding depth and dimension to the projected image for a unique tracing experience.
- Embrace Imperfections: Embrace the organic nature of hand-tracing, allowing subtle variations and imperfections to contribute to the charm and individuality of your traced artwork.
- Document Your Process: Consider documenting your image projection and tracing process through photographs or time-lapse videos, offering insight into your creative journey and serving as inspiration for others.
- Share Your Creations: Once your traced artwork is complete, share it with fellow enthusiasts and artists to garner feedback, inspiration, and a sense of community within the creative sphere.
By incorporating these tips and tricks into your image projection and tracing endeavors, you’ll not only refine your artistic technique but also uncover new dimensions of creativity and expression.
Read more: How To Flip A Projector Image
Conclusion
Embarking on the journey of projecting images for tracing without a traditional projector opens up a world of creative possibilities and artistic exploration. By leveraging simple materials and innovative techniques, you’ve discovered a versatile method for enlarging and transferring images onto various surfaces with precision and ingenuity.
As you’ve delved into the process of setting up the image, tracing it with care and creativity, and exploring valuable tips and tricks, you’ve not only honed your artistic skills but also unlocked a pathway to boundless creativity. The tactile and immersive nature of hand-tracing allows for a deeply personal connection to the artwork, infusing each creation with a unique essence that transcends the digital realm.
Whether you’re a seasoned artist seeking new avenues of expression or an enthusiastic hobbyist eager to bring visions to life, the ability to project images for tracing without a projector empowers you to engage with art in a tangible and captivating manner. By embracing the nuances of this technique and infusing it with your individual flair, you’re poised to craft traced masterpieces that resonate with authenticity and originality.
As you continue to explore the realms of image projection and tracing, remember to embrace experimentation, celebrate imperfections, and share your creations with a community of fellow artists and enthusiasts. Your journey is not merely about tracing images, but about fostering a deeper connection to the creative process and the boundless potential of artistic expression.
So, armed with your smartphone or tablet, a clear surface, and a dash of artistic spirit, you’re now equipped to project and trace images with finesse and imagination. Let the captivating world of image projection without a projector be your canvas, and may your traced creations inspire and delight all who behold them.
Frequently Asked Questions about How To Project An Image To Trace Without A Projector
Was this page helpful?
At Storables.com, we guarantee accurate and reliable information. Our content, validated by Expert Board Contributors, is crafted following stringent Editorial Policies. We're committed to providing you with well-researched, expert-backed insights for all your informational needs.


0 thoughts on “How To Project An Image To Trace Without A Projector”