Home>Technology>Home Entertainment Systems>How To Connect A DVD Player To Home Theater
Home Entertainment Systems
How To Connect A DVD Player To Home Theater
Modified: August 28, 2024
Learn how to connect a DVD player to your home entertainment system for an immersive movie-watching experience. Follow these simple steps to enhance your home theater setup.
(Many of the links in this article redirect to a specific reviewed product. Your purchase of these products through affiliate links helps to generate commission for Storables.com, at no extra cost. Learn more)
Introduction
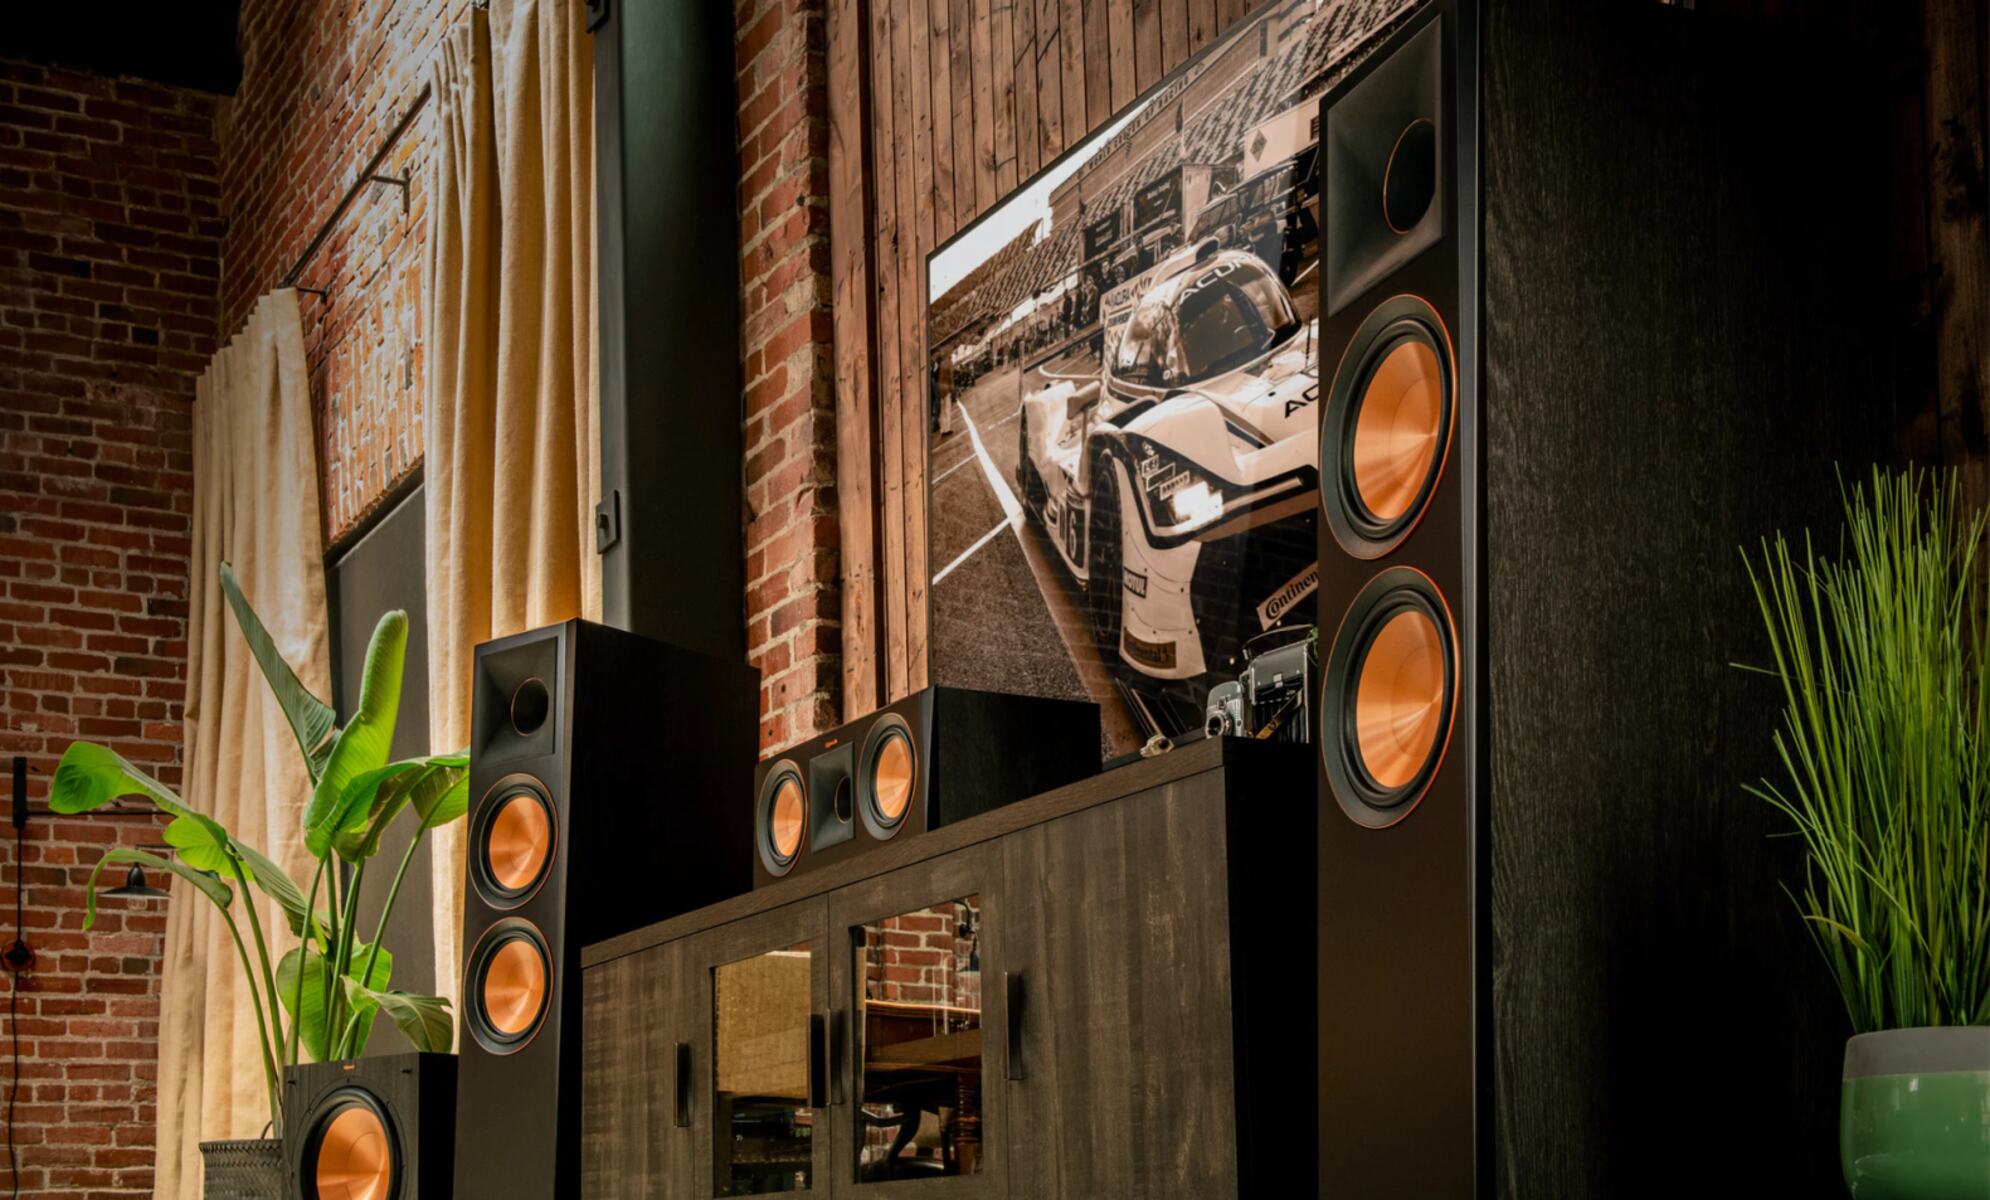
Connecting a DVD player to a home theater system can significantly enhance your entertainment experience, allowing you to enjoy your favorite movies with immersive sound and crisp visuals. Whether you're a cinephile seeking a cinematic experience at home or simply looking to upgrade your entertainment setup, understanding how to seamlessly integrate your DVD player with your home theater system is essential.
In this comprehensive guide, we will walk you through the step-by-step process of connecting your DVD player to your home theater system, ensuring that you can enjoy a seamless and high-quality audio-visual experience. From gathering the necessary cables and equipment to testing the connection and adjusting settings, we've got you covered.
By following these simple yet effective steps, you'll be able to unlock the full potential of your home entertainment system, immersing yourself in the captivating world of movies and music from the comfort of your own living room. So, let's dive in and explore the seamless process of connecting your DVD player to your home theater system, unlocking a world of audio-visual delights.
Key Takeaways:
- Transform your home entertainment experience by seamlessly connecting your DVD player to your home theater system. Gather the right cables, make the right connections, and immerse yourself in captivating audio-visual delights from the comfort of your living room.
- Elevate your movie nights and music experiences by integrating your DVD player with your TV and home theater system. Test the connections, adjust settings, and create a personalized entertainment setup that brings every frame and note to life.
Read more: How To Connect A DVD Player To A Projector
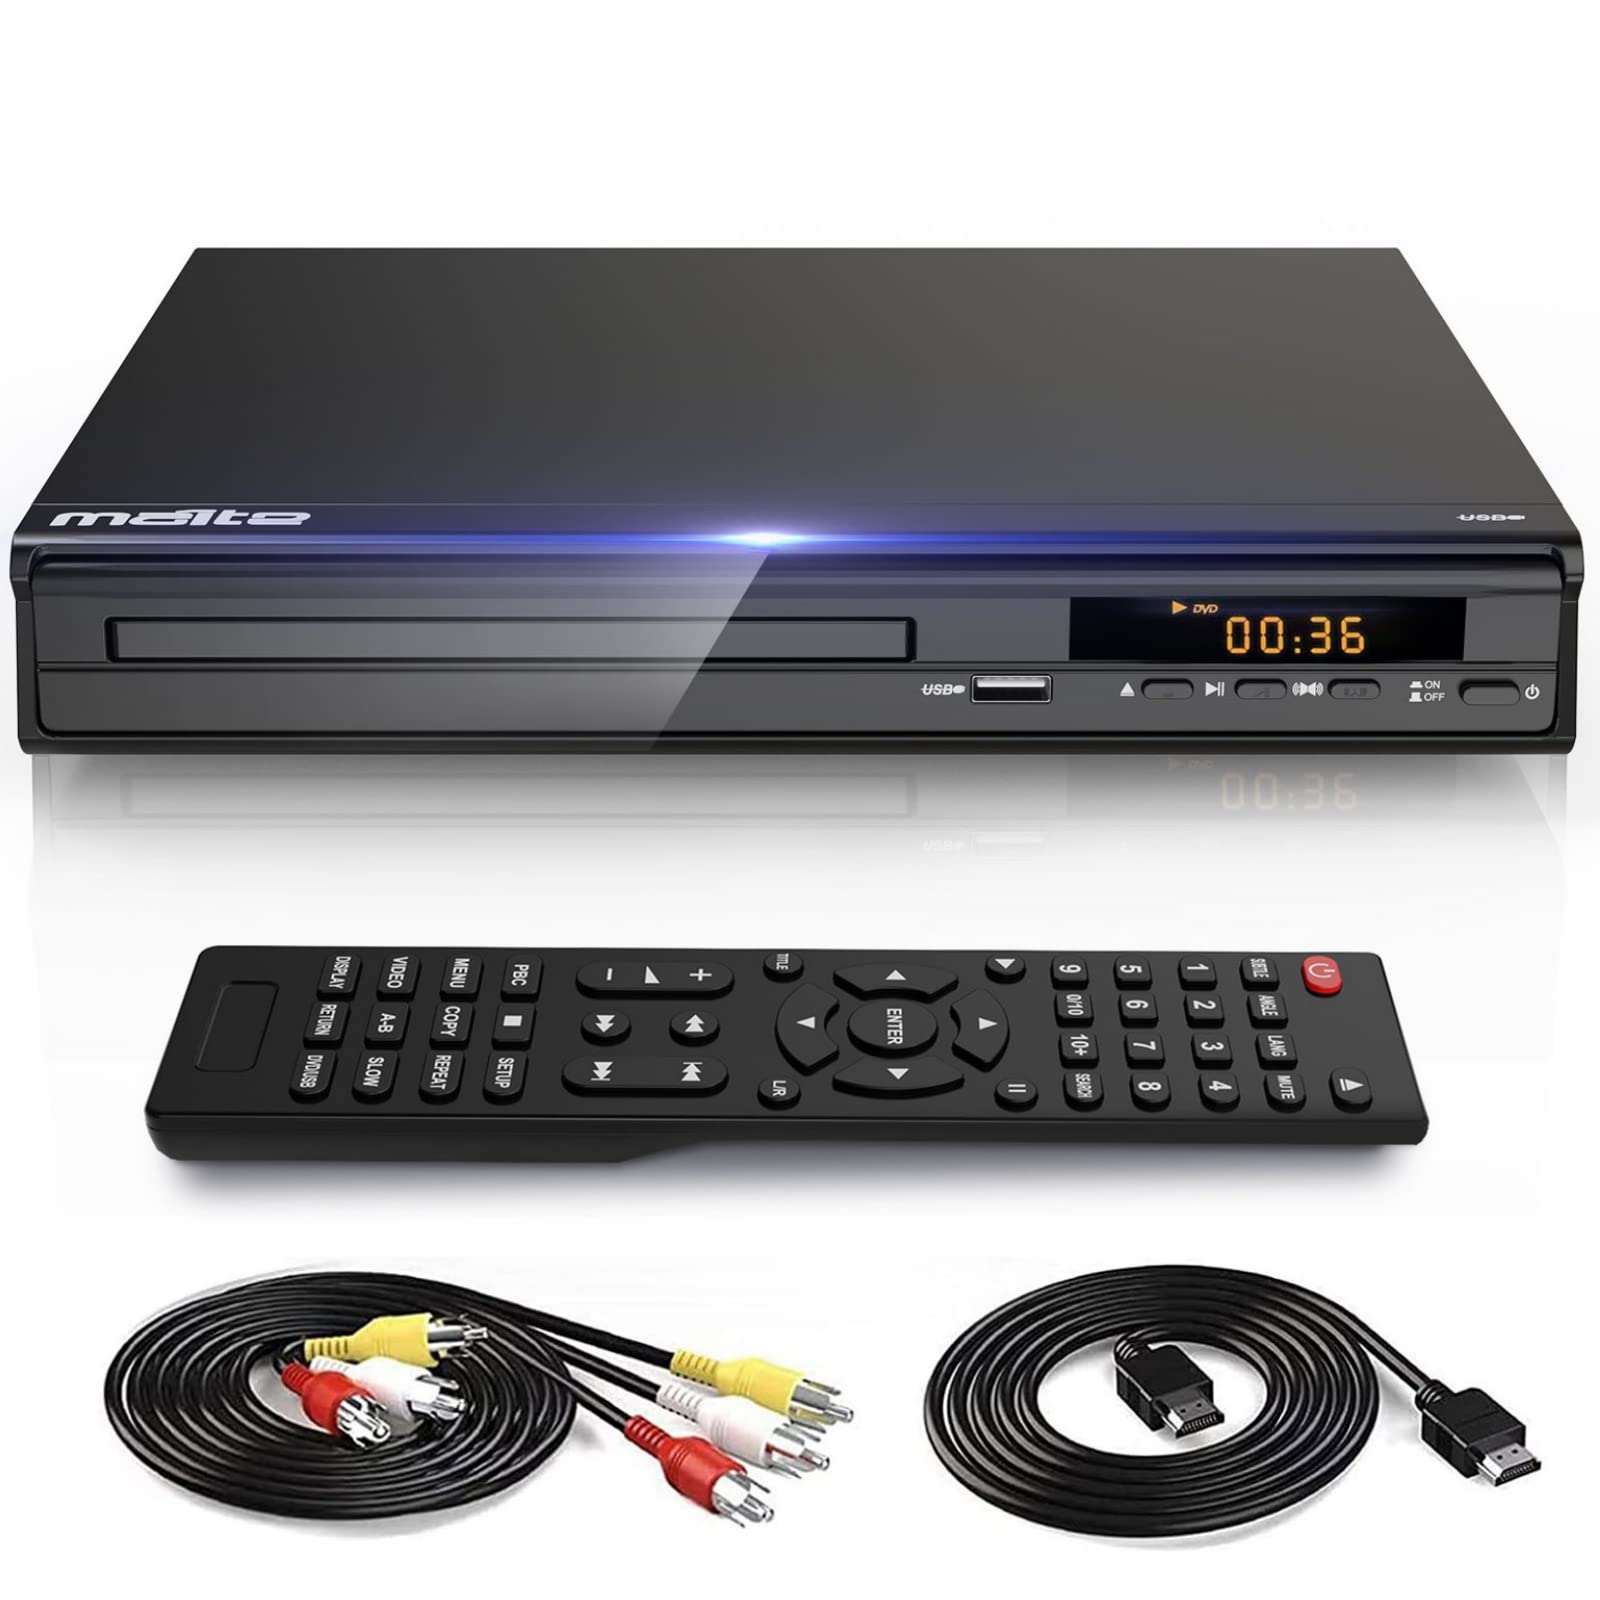
Step 1: Gather the necessary cables and equipment
Before embarking on the process of connecting your DVD player to your home theater system, it's crucial to gather the essential cables and equipment. Ensuring that you have the right components at your disposal will streamline the connection process and pave the way for a seamless integration. Here's what you'll need:
1. HDMI Cable
An HDMI cable is a fundamental requirement for connecting your DVD player to your TV and home theater system. This cable serves as the conduit for transmitting high-definition audio and video signals, delivering a superior viewing and listening experience.
2. Audio/Video Cables
Depending on the type of DVD player and home theater system you have, you may need audio/video cables such as RCA or component cables. These cables facilitate the transmission of audio and video signals between your DVD player, TV, and home theater system.
3. Power Cords
Ensure that you have the necessary power cords for your DVD player and home theater system. Having these cords readily available will enable you to power up the devices once the connections are established.
4. User Manuals
While not a physical component, having the user manuals for your DVD player, TV, and home theater system on hand can be immensely helpful. These manuals contain valuable information about the input/output ports, settings, and configurations, which can guide you through the connection process.
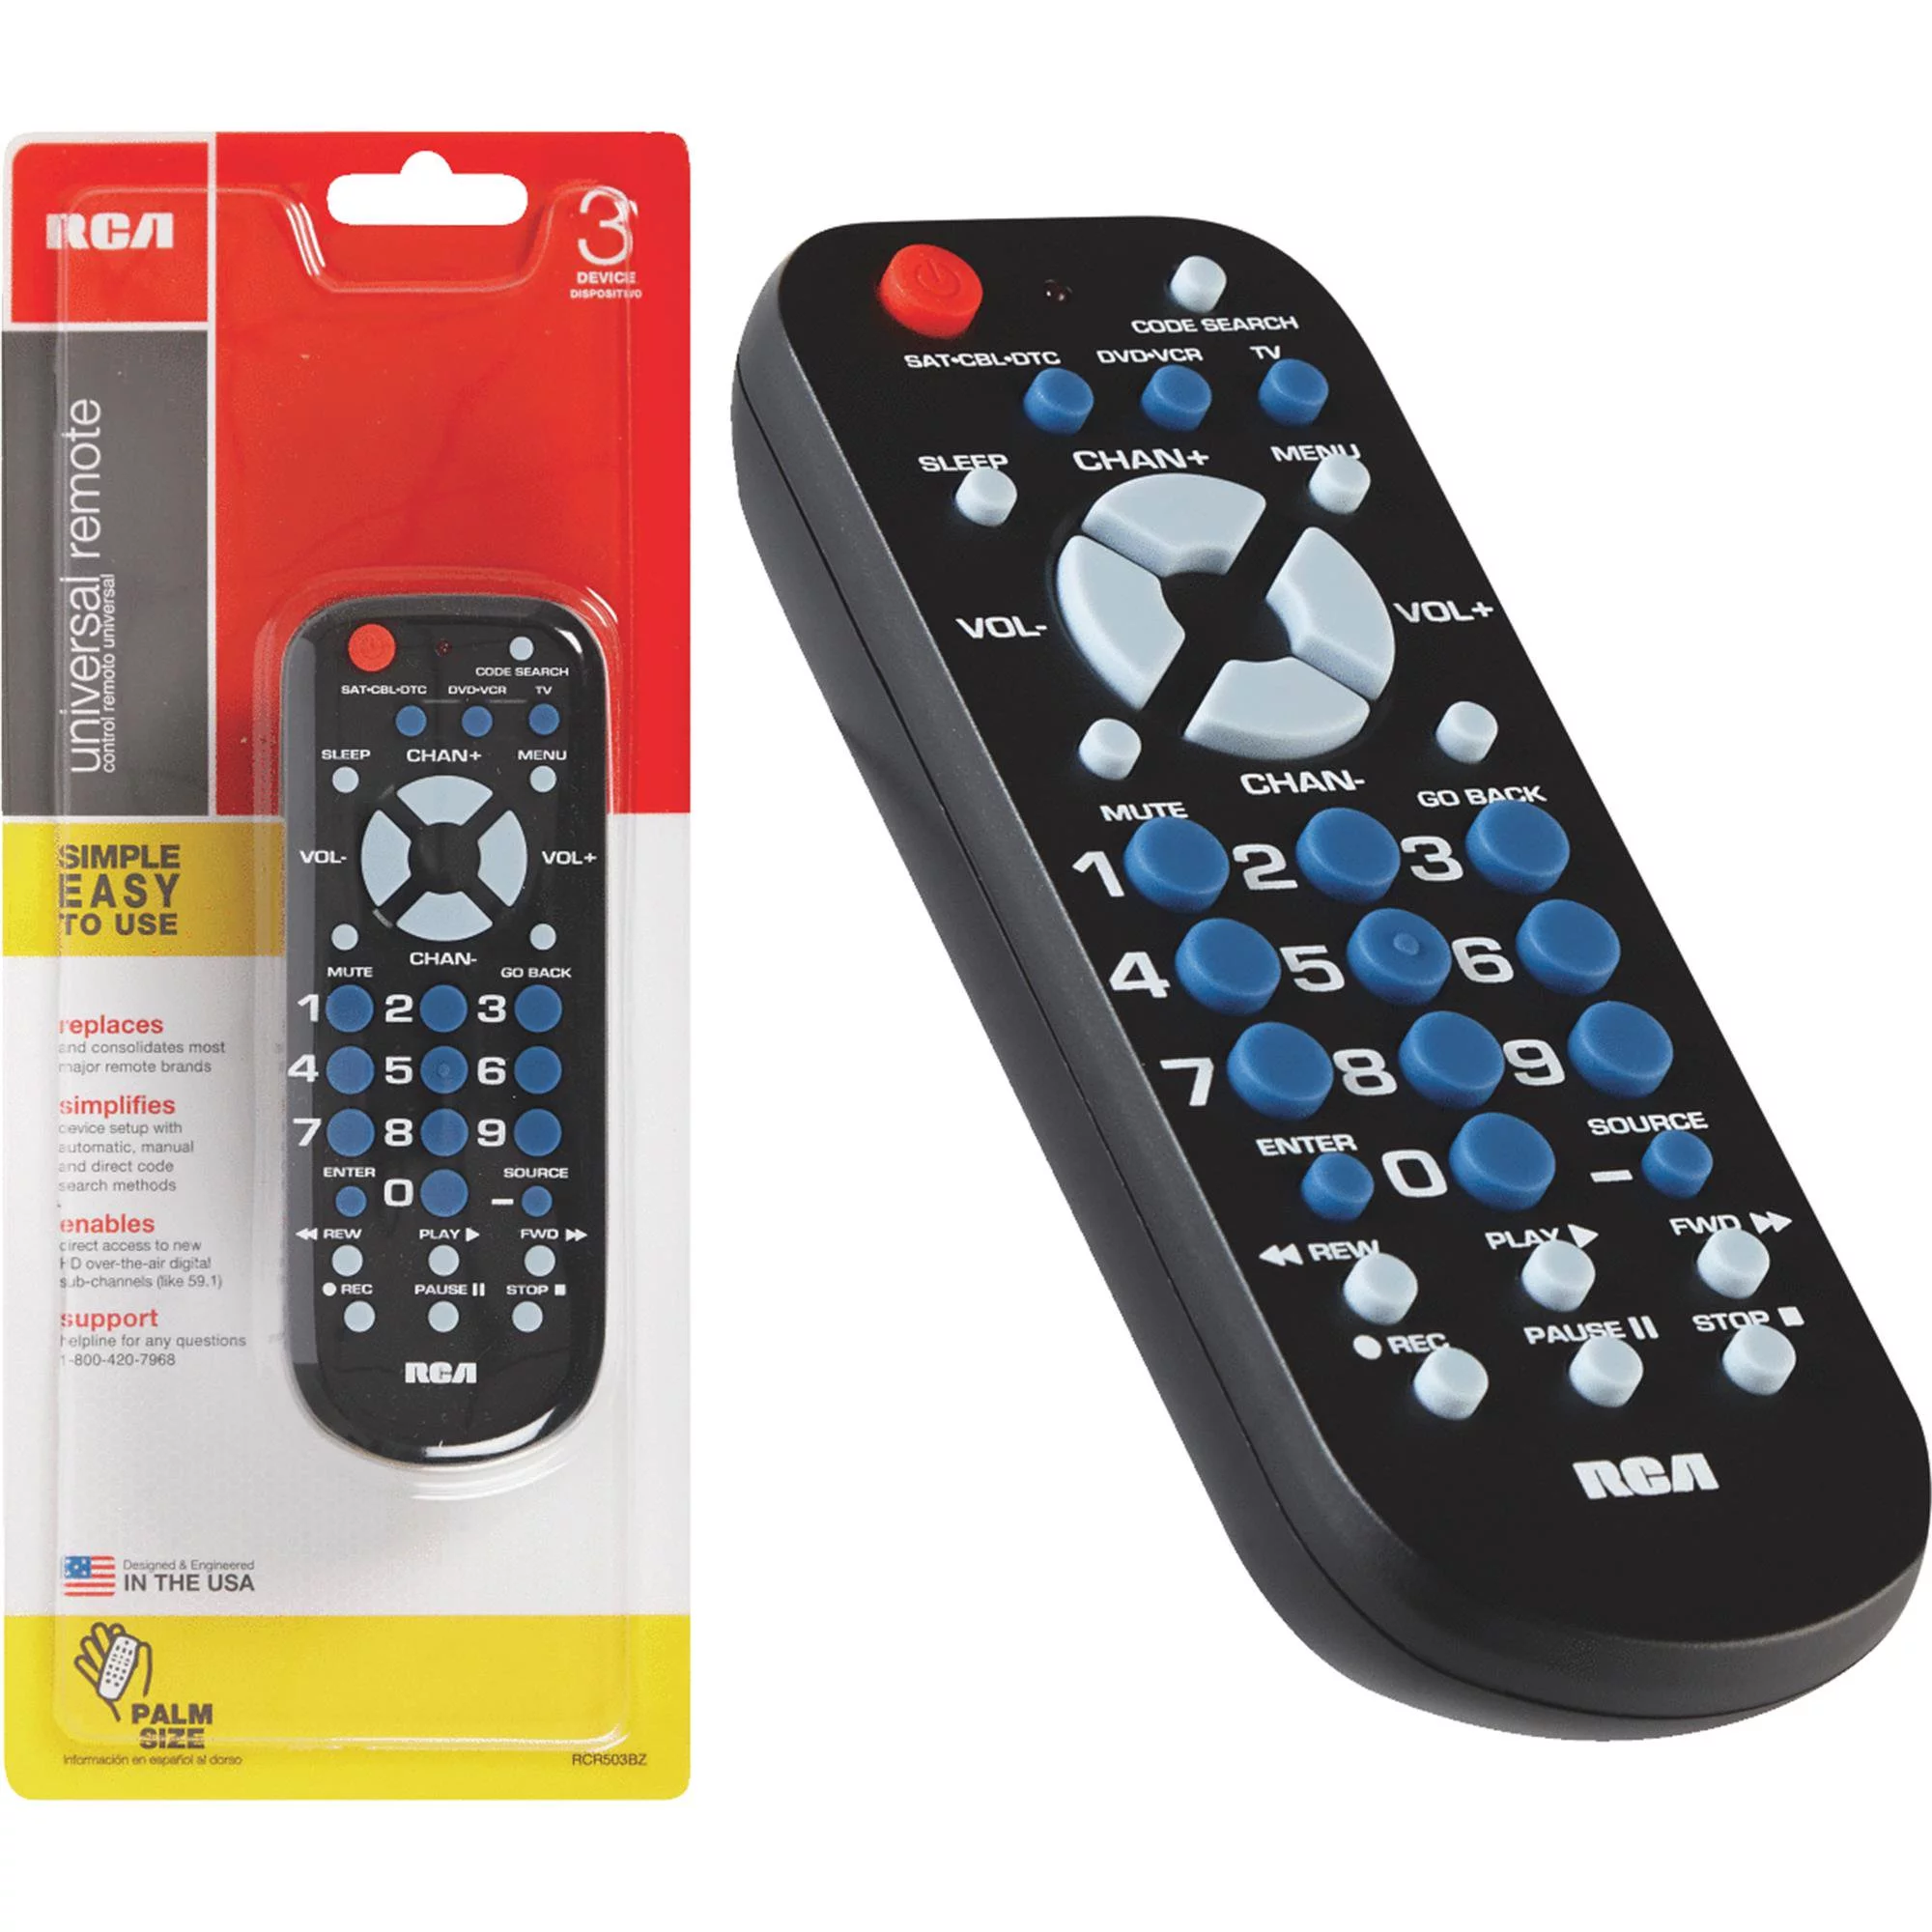
5. Remote Controls
Having the remote controls for your DVD player, TV, and home theater system within reach will allow you to navigate the settings and configurations as needed during the connection process.
By ensuring that you have these essential cables and equipment at your disposal, you'll be well-prepared to proceed with the subsequent steps of connecting your DVD player to your home theater system. With everything in place, you're ready to move on to the next phase of the process, which involves establishing the physical connections between the devices.
Step 2: Connect the DVD player to the TV
Connecting your DVD player to the TV is a pivotal step in integrating it into your home theater system. This connection allows you to enjoy your favorite movies and shows on the big screen while leveraging the audio capabilities of your home theater setup. Here's a detailed guide on how to establish this crucial link:
1. Locate the HDMI Port
Begin by identifying the HDMI port on your TV. This port is typically located at the back or side of the TV and is labeled "HDMI." If your TV has multiple HDMI ports, take note of which port you are using, as you will need this information for the subsequent steps.
Read more: DVD Player In 2022: Do You Still Need One?
2. Connect the HDMI Cable
Take the HDMI cable and insert one end into the HDMI output port on the DVD player. Ensure that the cable is securely plugged in to establish a stable connection. Next, take the other end of the HDMI cable and insert it into the HDMI input port on the TV. Once again, ensure a secure connection to facilitate seamless audio and video transmission.
3. Power Up the Devices
After making the physical connection, power up your DVD player and TV. Use the respective remote controls or power buttons to turn on the devices. Once powered up, your TV should recognize the DVD player as a new input source, allowing you to access its content.
4. Select the Correct Input Source
Using your TV remote control, navigate to the input/source selection menu. Look for the option that corresponds to the HDMI port to which your DVD player is connected. Select this input source to establish the connection between the DVD player and the TV.
5. Test the Connection
Once the input source is selected, play a DVD or Blu-ray disc on the DVD player. Your TV should display the video content from the DVD player, indicating a successful connection. Additionally, ensure that the audio is being transmitted to the TV speakers or the home theater system, depending on your preferred audio setup.
By following these steps, you can seamlessly connect your DVD player to the TV, setting the stage for a captivating home theater experience. With the visual and audio connections established, you're now ready to proceed to the next phase of the integration process, which involves linking the DVD player to the home theater system.
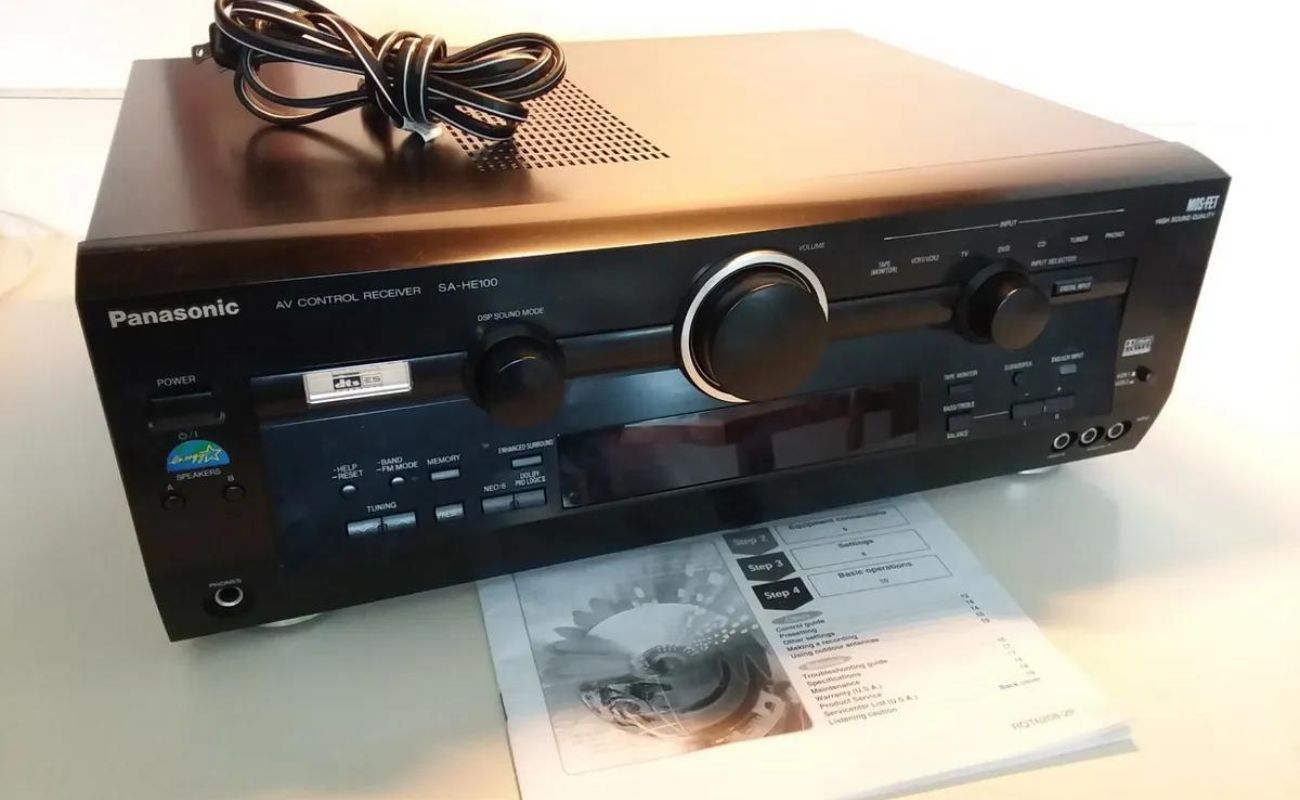
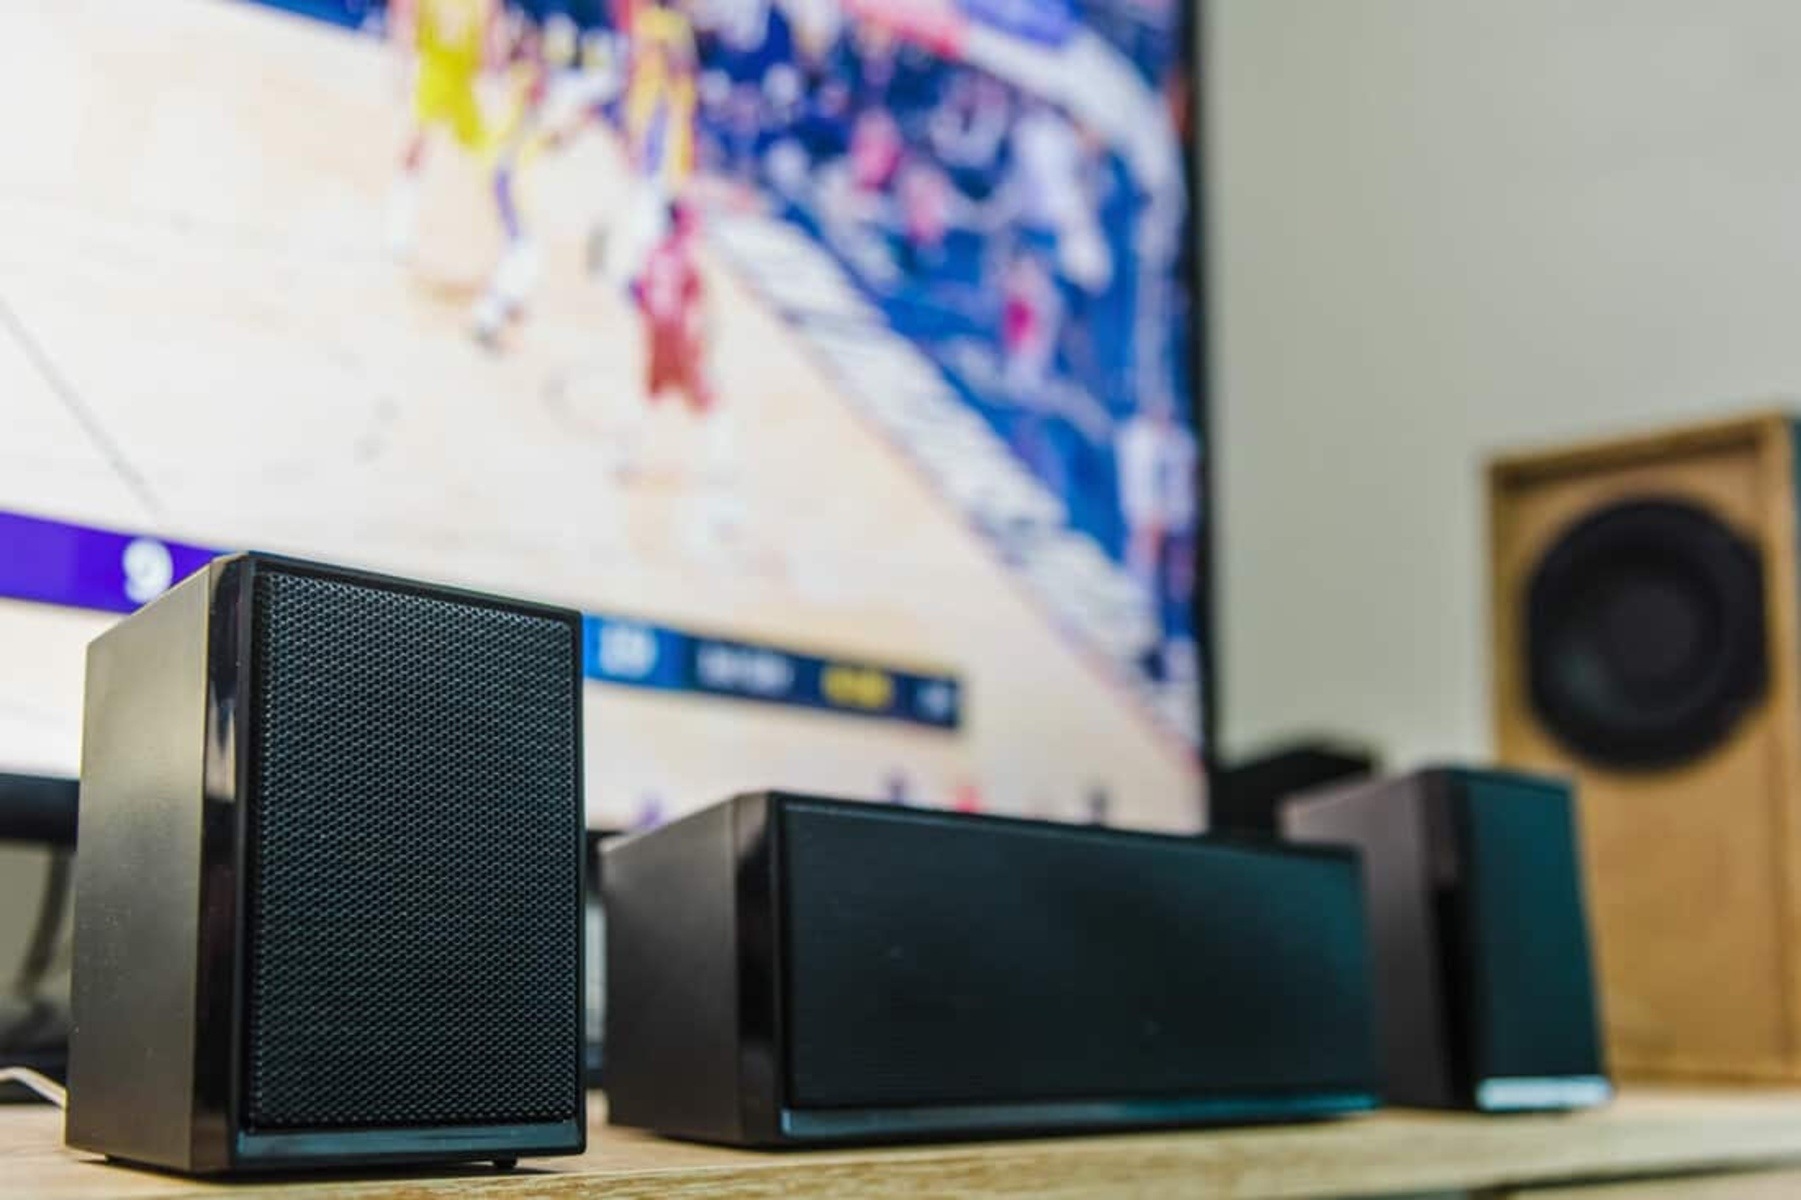
Step 3: Connect the DVD player to the home theater system
After successfully connecting your DVD player to the TV, the next crucial step is to integrate it with your home theater system. This pivotal connection will enable you to harness the full potential of your home entertainment setup, delivering immersive audio that complements the visual experience. Here's a detailed guide on how to seamlessly link your DVD player to the home theater system:
-
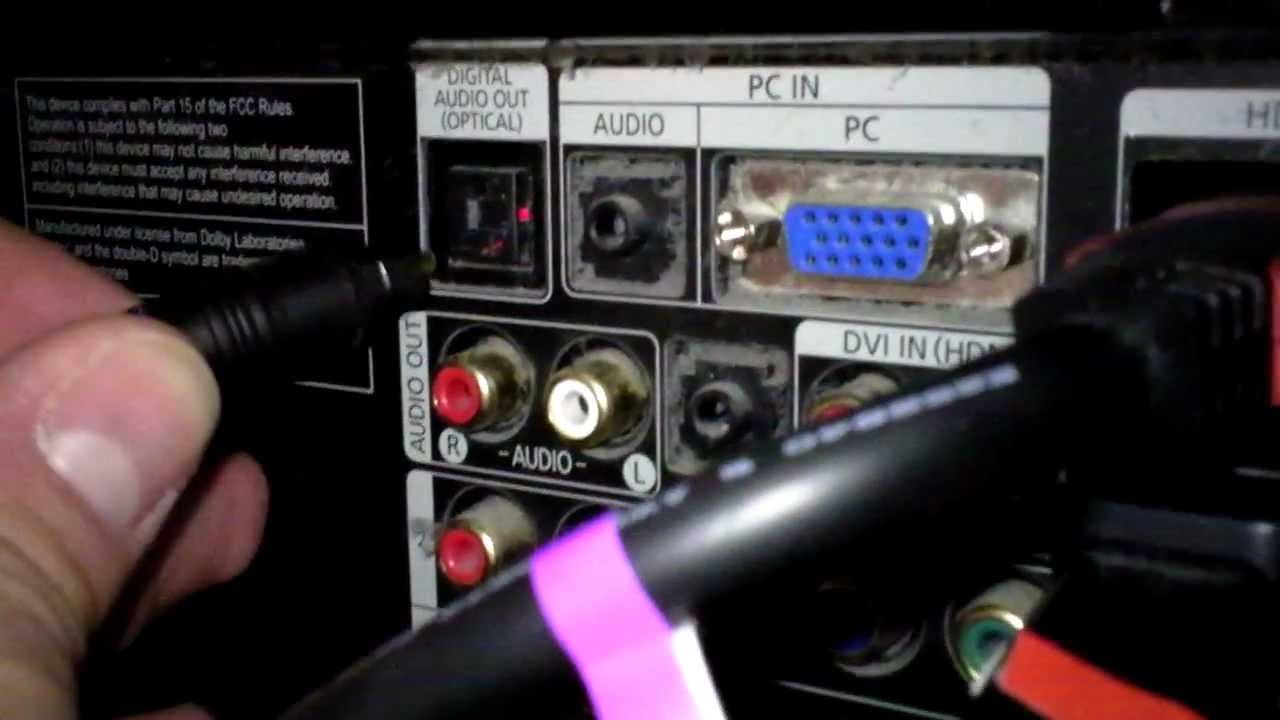
Identify the Audio Input Ports
Begin by identifying the audio input ports on your home theater system. These ports are typically labeled to indicate their respective channels, such as "Audio In," "Auxiliary In," or specific channel designations (e.g., "Front L/R," "Center," "Surround," "Subwoofer"). Refer to the user manual of your home theater system for precise port identification. -
Select the Audio Connection Method
Depending on the available audio output options on your DVD player and the input ports on your home theater system, you can choose the appropriate audio connection method. Common audio connection options include:- Digital Optical Cable: If your DVD player and home theater system support digital optical audio connections, use a digital optical cable to transmit high-quality digital audio signals.
- RCA Cables: For analog audio connections, RCA cables can be utilized to establish the audio link between the DVD player and the home theater system. These cables typically feature red and white connectors for stereo audio transmission.
-
Establish the Audio Connection
Once you've selected the appropriate audio connection method, proceed to connect the audio output ports of your DVD player to the corresponding input ports on the home theater system. Ensure that the connections are secure to facilitate optimal audio transmission. -
Power Up the Home Theater System
After establishing the audio connections, power up your home theater system. Use the remote control or the power button on the system to turn it on. This will activate the audio input channels that are linked to the DVD player, preparing the system to receive audio signals. -
Test the Audio Output
To verify the successful connection, play a DVD or music CD on the DVD player. Listen for the audio output through the speakers of your home theater system. Ensure that the audio is balanced across the various channels, including the front, center, surround, and subwoofer speakers if applicable.
By following these steps, you can seamlessly connect your DVD player to your home theater system, unlocking a captivating audio-visual experience. With the audio link established, you're now poised to indulge in a rich and immersive home entertainment experience, where every sound and image comes to life in stunning clarity and depth.
Step 4: Test the connection and adjust settings if necessary
Once the physical connections between your DVD player, TV, and home theater system are established, it's essential to test the connections and make any necessary adjustments to ensure optimal performance. This crucial step allows you to verify the functionality of the integrated setup and fine-tune the settings for a seamless audio-visual experience.
1. Verify Audio and Video Output
Begin by playing a variety of content, such as DVDs, Blu-ray discs, or streaming services, to test the audio and video output. Pay close attention to the visual clarity and color reproduction on the TV screen, ensuring that the HDMI connection between the DVD player and the TV is delivering high-quality video signals. Simultaneously, listen for the audio output through the speakers of your home theater system, confirming that the sound is immersive and well-distributed across the audio channels.
2. Adjust Display Settings
Access the display settings on your TV to optimize the visual output from the DVD player. Depending on your TV model, you may have options to adjust picture mode, color temperature, contrast, and other display parameters. Fine-tune these settings to achieve a visually pleasing and vibrant image quality that complements the audio experience from your home theater system.
Read more: How To Connect A Home Theater To A TV
3. Configure Audio Settings
Navigate to the audio settings on your DVD player and home theater system to customize the sound output according to your preferences. Adjust the audio equalization, speaker levels, and surround sound settings to create an immersive audio environment that suits your listening preferences. Additionally, explore any audio enhancement features offered by your home theater system to further enrich the sound output.
4. Test Different Content Formats
Play various types of content, including movies with different audio formats (e.g., Dolby Digital, DTS) and music albums, to gauge the performance of the integrated setup across diverse media. This comprehensive testing allows you to ensure that the audio-visual experience remains consistent and captivating across different content genres and formats.
5. Fine-Tune Speaker Placement
If necessary, make adjustments to the placement of your home theater system speakers to optimize the audio distribution within your viewing space. Experiment with speaker positioning and angles to achieve balanced sound projection and an enveloping listening experience that complements the visual immersion.
By meticulously testing the connections and adjusting the settings as needed, you can fine-tune your integrated DVD player, TV, and home theater system setup to deliver a captivating and immersive entertainment experience. This iterative process of testing and refinement ensures that every movie, show, or music performance becomes a truly engaging and enveloping sensory experience within the comfort of your home.
Conclusion
In conclusion, the process of connecting a DVD player to a home theater system is a transformative journey that elevates your home entertainment experience to new heights. By following the step-by-step guide outlined in this comprehensive article, you've gained the knowledge and insights necessary to seamlessly integrate your DVD player with your TV and home theater system, unlocking a world of captivating audio-visual delights within the comfort of your living space.
As you embark on this integration process, you've gathered the essential cables and equipment, ensuring that you have the necessary components to establish the physical connections. From HDMI cables to audio/video cables and power cords, your preparedness has set the stage for a smooth and efficient setup. Additionally, having the user manuals and remote controls at your disposal empowers you to navigate the connection process with confidence and precision.
The meticulous steps involved in connecting the DVD player to the TV and home theater system have allowed you to create a cohesive and immersive entertainment ecosystem. By establishing the HDMI connection between the DVD player and the TV, you've unlocked the visual splendor of your favorite movies and shows on the big screen, complemented by the audio prowess of your home theater system. Furthermore, the audio connection between the DVD player and the home theater system has enriched the sonic landscape of your viewing space, delivering a symphony of sound that enhances every cinematic experience.
As you've tested the connections and fine-tuned the settings, you've personalized the audio-visual environment to suit your preferences, ensuring that every movie, show, or music performance unfolds with stunning clarity and depth. The iterative process of testing different content formats and adjusting display and audio settings has culminated in a tailored entertainment setup that resonates with your unique sensory preferences.
Ultimately, the seamless integration of your DVD player with your home theater system has unlocked a realm of possibilities, where every visual masterpiece and musical composition comes to life with immersive grandeur. Whether you're embarking on a cinematic adventure, indulging in a concert-like music experience, or simply unwinding with your favorite shows, the integrated setup ensures that every moment is enriched by the captivating synergy of audio and visual excellence.
By mastering the art of connecting a DVD player to a home theater system, you've empowered yourself to curate an unparalleled entertainment sanctuary within your home, where every frame and note captivate your senses and transport you to the heart of the narrative. As you immerse yourself in this world of audio-visual splendor, may every viewing and listening experience be a testament to the seamless integration and the boundless joy of home entertainment.
Frequently Asked Questions about How To Connect A DVD Player To Home Theater
Was this page helpful?
At Storables.com, we guarantee accurate and reliable information. Our content, validated by Expert Board Contributors, is crafted following stringent Editorial Policies. We're committed to providing you with well-researched, expert-backed insights for all your informational needs.

0 thoughts on “How To Connect A DVD Player To Home Theater”