Home>Technology>Home Entertainment Systems>How To Connect TV Sound To Home Theater Without HDMI
Home Entertainment Systems
How To Connect TV Sound To Home Theater Without HDMI
Modified: August 16, 2024
Learn how to connect your TV sound to a home theater system without HDMI for an immersive home entertainment experience. Explore easy setup options and enhance your audio with our expert tips.
(Many of the links in this article redirect to a specific reviewed product. Your purchase of these products through affiliate links helps to generate commission for Storables.com, at no extra cost. Learn more)
Introduction
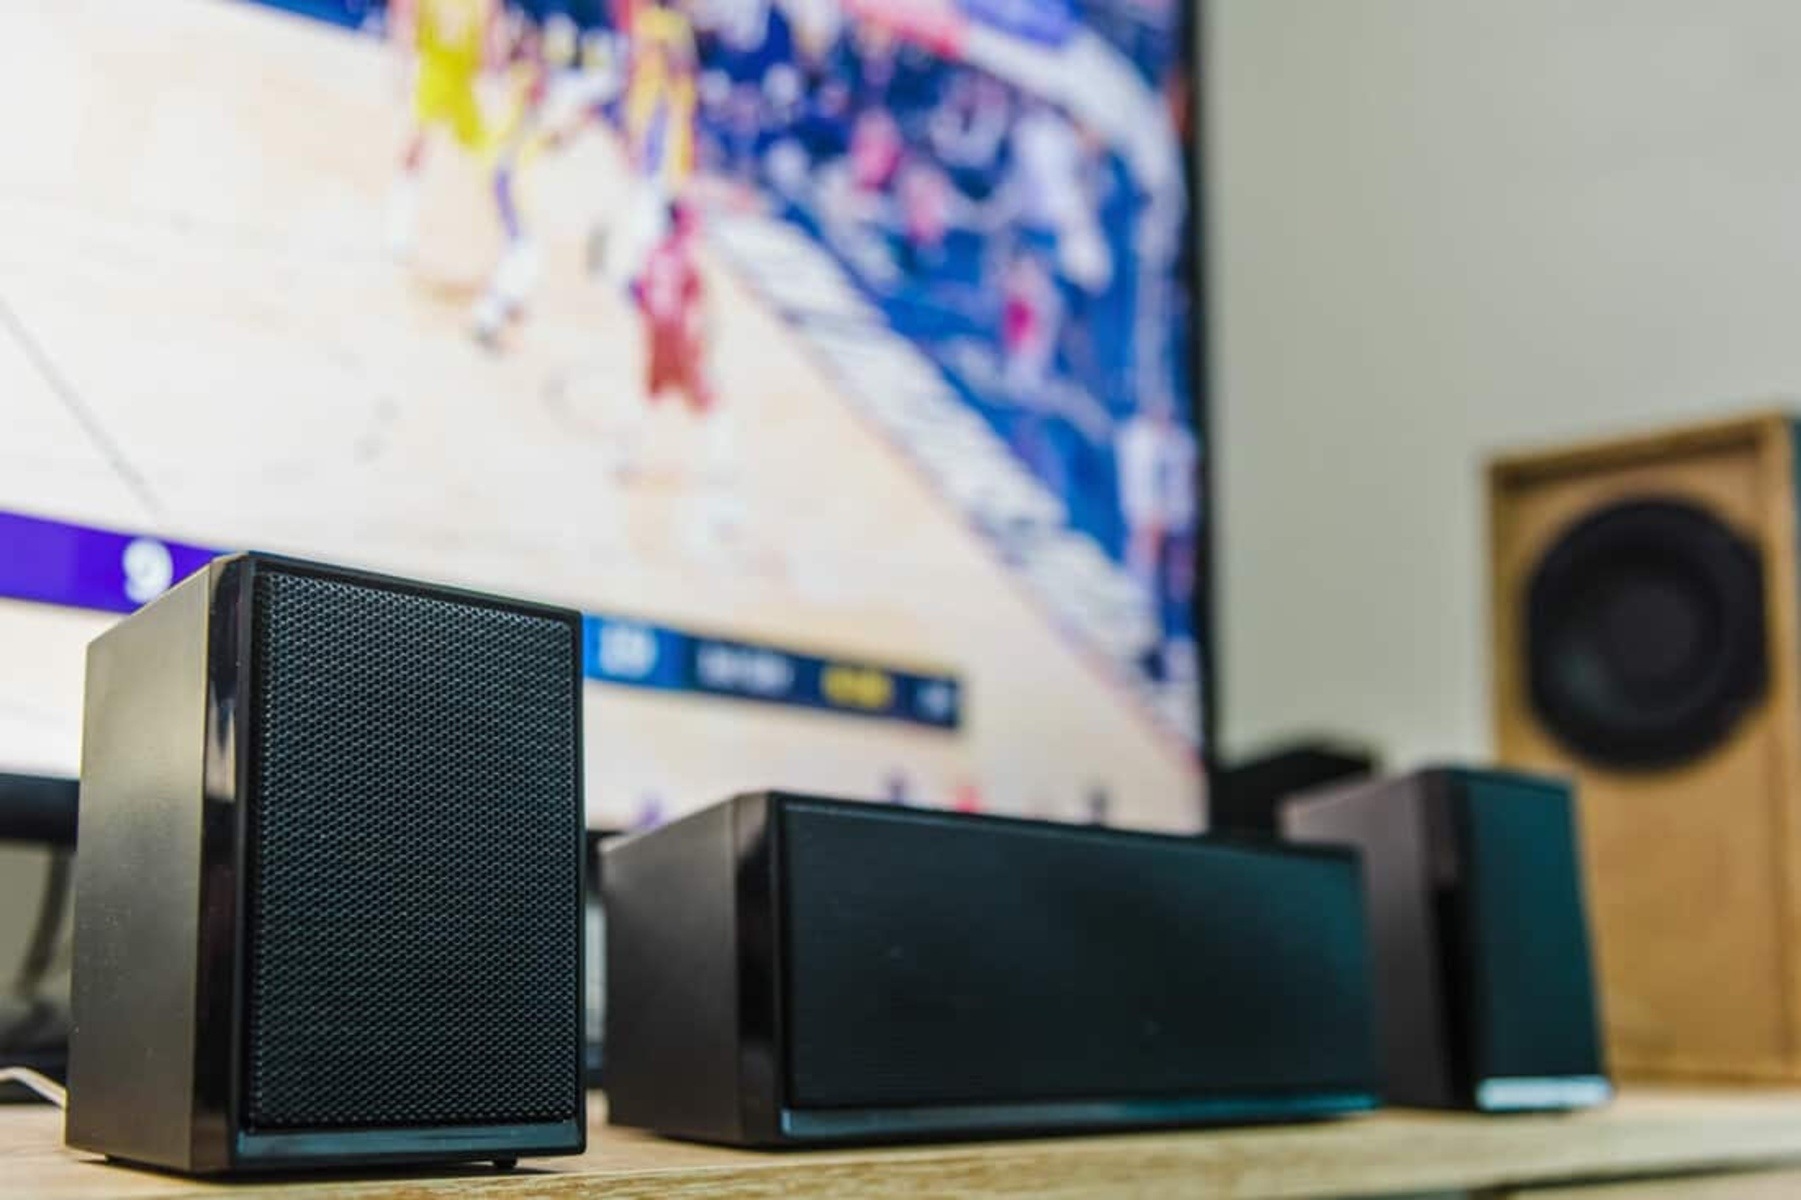
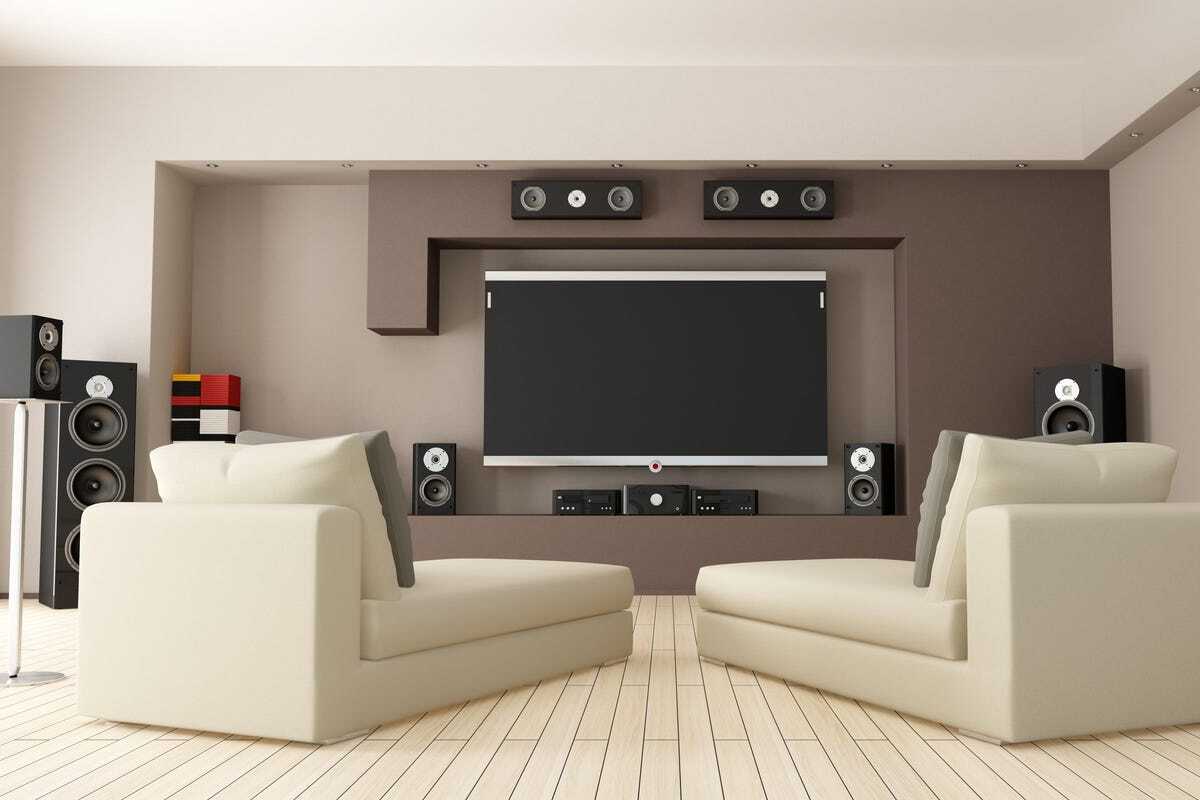
Connecting your TV sound to a home theater system without HDMI can seem like a daunting task, especially if you're not familiar with the various audio connection options available. However, with the right knowledge and equipment, you can easily achieve a seamless audio setup that elevates your home entertainment experience.
In this guide, we'll explore several alternative methods for connecting your TV sound to a home theater system without relying on HDMI. Whether you're dealing with an older TV that lacks HDMI connectivity or simply prefer to explore different audio connection options, this article will provide you with the insights you need to make informed decisions.
By understanding the various audio connection options available, you can tailor your setup to suit your specific needs and preferences. From utilizing optical audio cables and RCA cables to exploring the versatility of 3.5mm audio cables and the convenience of Bluetooth connections, there are multiple pathways to achieving high-quality audio integration between your TV and home theater system.
As we delve into each method, we'll discuss the necessary equipment, the step-by-step connection process, and the potential benefits of each approach. Whether you're aiming to create a cinematic audio experience for movie nights or seeking immersive sound for gaming sessions, the information provided in this guide will empower you to bridge the gap between your TV and home theater system without the need for HDMI connectivity.
With the flexibility and adaptability offered by these alternative audio connection methods, you can optimize your home entertainment setup to deliver rich, high-fidelity sound that complements the stunning visuals on your TV screen. So, let's embark on this audio journey and explore the diverse avenues for connecting TV sound to a home theater system, unlocking a world of captivating audio experiences along the way.
Key Takeaways:
- Elevate your home entertainment experience by connecting TV sound to a home theater system without HDMI. Explore optical, RCA, 3.5mm, and Bluetooth options for seamless audio integration, creating captivating soundscapes that complement your visual content.
- Whether it’s high-fidelity digital audio through optical cables, nostalgic analog sound via RCA cables, simple 3.5mm connections, or wireless freedom with Bluetooth, there’s a method to suit your preferences and elevate your home entertainment experience.
Read more: How To Connect A Home Theater To A TV
Using Optical Audio Cable
Optical audio cables, also known as TOSLINK or SPDIF cables, offer a reliable and high-quality method for transmitting digital audio signals between devices. When connecting your TV sound to a home theater system without HDMI, utilizing an optical audio cable can be an effective solution, especially if both your TV and home theater system are equipped with optical audio ports.
To establish the connection using an optical audio cable, you'll need to ensure that both your TV and home theater system have compatible optical audio ports. Once confirmed, follow these steps to seamlessly integrate the audio from your TV into the home theater system:
-
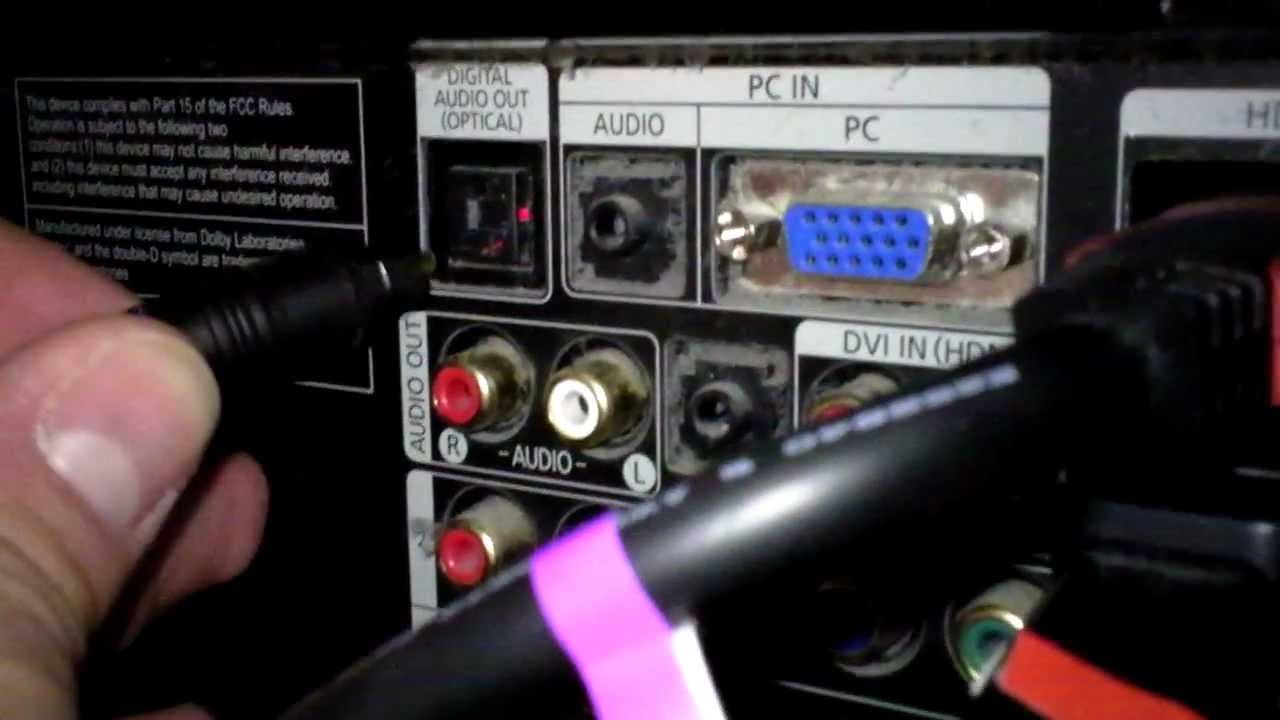
Check for Optical Audio Ports: Begin by identifying the optical audio output port on your TV and the corresponding input port on your home theater system. These ports are typically labeled as "Optical," "TOSLINK," or "SPDIF," and they resemble a small, square-shaped opening.
-
Acquire an Optical Audio Cable: Purchase a high-quality optical audio cable of sufficient length to bridge the distance between your TV and home theater system. Ensure that the cable's connectors are compatible with the optical audio ports on both devices.
-
Connect the Cable: With the TV and home theater system powered off, carefully insert one end of the optical audio cable into the optical output port on your TV. Then, connect the other end to the corresponding optical input port on your home theater system.
-
Select the Optical Input: Power on your home theater system and use its remote control or interface to select the optical input as the audio source. This action ensures that the audio signals transmitted through the optical cable are recognized and processed by the home theater system.
-
Configure TV Audio Settings: Access your TV's audio settings menu and navigate to the audio output options. Select the optical audio output as the preferred audio source to ensure that the TV's audio is routed through the optical cable to the home theater system.
By following these steps, you can effectively harness the capabilities of an optical audio cable to seamlessly connect your TV sound to a home theater system without HDMI. This method allows for the transmission of high-fidelity digital audio signals, enabling you to enjoy immersive soundscapes that complement the visual splendor of your TV content. With the optical audio cable serving as a conduit for pristine audio transmission, you can elevate your home entertainment experience to new heights.
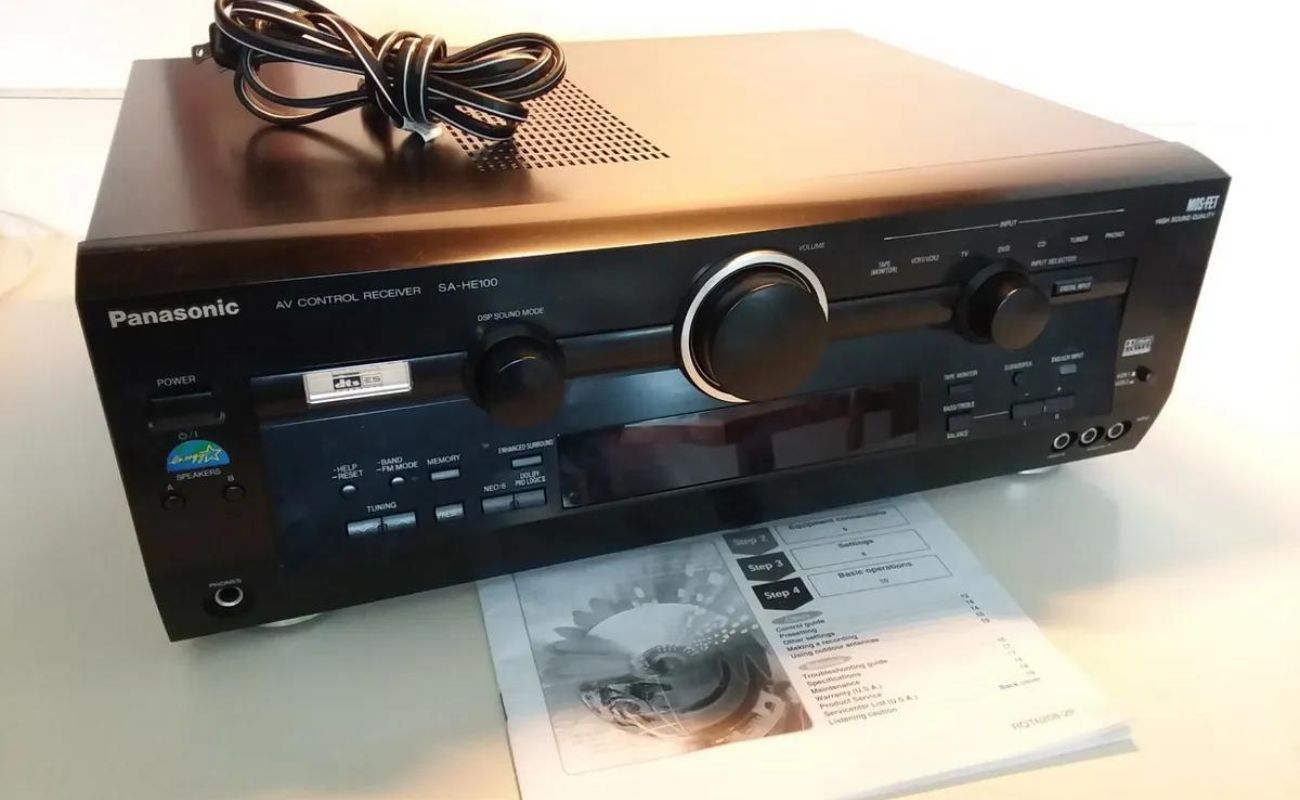
Using RCA Cables
When it comes to connecting TV sound to a home theater system without HDMI, utilizing RCA cables presents a viable alternative that can deliver impressive audio performance. RCA cables, characterized by their distinctive red and white connectors, facilitate analog audio transmission and are widely compatible with various audio-visual equipment, including older TVs and home theater systems.
To establish the connection using RCA cables, you'll need to ascertain the availability of RCA audio output ports on your TV and corresponding input ports on your home theater system. Once confirmed, follow these steps to seamlessly integrate the audio from your TV into the home theater system:
-
Identify RCA Audio Ports: Begin by locating the RCA audio output ports on your TV and the corresponding input ports on your home theater system. The RCA ports are typically color-coded, with red and white connectors denoting the right and left audio channels, respectively.
-
Acquire RCA Cables: Procure a set of RCA cables with connectors that match the RCA audio ports on both your TV and home theater system. Ensure that the cables are of sufficient length to bridge the distance between the two devices.
-
Connect the Cables: With both the TV and home theater system turned off, insert the red and white connectors of the RCA cables into the corresponding output ports on your TV. Then, connect the opposite ends of the cables to the input ports on your home theater system, ensuring a secure and snug fit for each connection.
-
Select the RCA Input: Power on your home theater system and use its remote control or interface to select the RCA input as the audio source. This action directs the audio signals transmitted through the RCA cables to be processed and amplified by the home theater system.
-
Configure TV Audio Settings: Access your TV's audio settings menu and navigate to the audio output options. Select the RCA audio output as the preferred audio source to ensure that the TV's audio is channeled through the RCA cables to the home theater system.
By following these steps, you can effectively harness the capabilities of RCA cables to seamlessly connect your TV sound to a home theater system without HDMI. Despite being an analog audio transmission method, RCA cables can deliver impressive sound quality, making them a practical choice for integrating audio from your TV into the immersive audio environment of a home theater system.
With the RCA cables serving as conduits for analog audio transmission, you can enjoy rich and dynamic sound reproduction that enhances your overall home entertainment experience. Whether you're indulging in movie nights, gaming sessions, or music playback, the utilization of RCA cables can elevate the audio fidelity and immerse you in captivating soundscapes that complement the visual allure of your TV content.
You can use an optical audio cable to connect the TV’s digital audio output to the home theater system’s optical input. This will allow you to enjoy the TV sound through the home theater speakers without using HDMI.
Using 3.5mm Audio Cable
When it comes to connecting TV sound to a home theater system without HDMI, the utilization of a 3.5mm audio cable offers a versatile and straightforward solution. Also known as a stereo mini-jack or auxiliary cable, the 3.5mm audio cable is characterized by its small, cylindrical plug that is commonly found on headphones, smartphones, and various audio devices. This method is particularly useful when your TV and home theater system are equipped with compatible 3.5mm audio ports, allowing for seamless audio integration without the need for HDMI connectivity.
To establish the connection using a 3.5mm audio cable, you'll need to ensure that both your TV and home theater system feature 3.5mm audio ports. Once confirmed, follow these steps to seamlessly integrate the audio from your TV into the home theater system:
-
Locate the 3.5mm Audio Ports: Begin by identifying the 3.5mm audio output port on your TV and the corresponding input port on your home theater system. These ports are typically labeled as "3.5mm," "Aux," or "Headphone," and they accommodate the small plug of the 3.5mm audio cable.
-
Acquire a 3.5mm Audio Cable: Procure a high-quality 3.5mm audio cable of sufficient length to bridge the distance between your TV and home theater system. Ensure that the cable's connectors are compatible with the 3.5mm audio ports on both devices.
-
Connect the Cable: With the TV and home theater system powered off, insert one end of the 3.5mm audio cable into the 3.5mm output port on your TV. Then, connect the other end to the corresponding 3.5mm input port on your home theater system, ensuring a secure and snug fit for each connection.
-
Select the 3.5mm Input: Power on your home theater system and use its remote control or interface to select the 3.5mm input as the audio source. This action ensures that the audio signals transmitted through the 3.5mm cable are recognized and processed by the home theater system.
-
Configure TV Audio Settings: Access your TV's audio settings menu and navigate to the audio output options. Select the 3.5mm audio output as the preferred audio source to ensure that the TV's audio is routed through the 3.5mm cable to the home theater system.
By following these steps, you can effectively harness the capabilities of a 3.5mm audio cable to seamlessly connect your TV sound to a home theater system without HDMI. Despite its compact size, the 3.5mm audio cable facilitates the transmission of stereo audio signals, allowing you to enjoy immersive sound reproduction that complements the visual content on your TV screen.
With the 3.5mm audio cable serving as a conduit for audio transmission, you can experience enhanced audio fidelity and create an engaging home entertainment environment that captivates your senses. Whether you're watching movies, playing games, or streaming music, the utilization of a 3.5mm audio cable can elevate your audio experience, enriching your overall enjoyment of home entertainment.
Using Bluetooth Connection
Utilizing a Bluetooth connection to link your TV sound to a home theater system without HDMI offers a convenient and wireless audio integration solution. This method is particularly advantageous when both your TV and home theater system are equipped with Bluetooth functionality, allowing for seamless pairing and audio transmission without the need for physical cables.
To establish the Bluetooth connection, ensure that both your TV and home theater system support Bluetooth connectivity. Once confirmed, follow these steps to seamlessly integrate the audio from your TV into the home theater system:
-
Activate Bluetooth Functionality: Begin by activating the Bluetooth function on both your TV and home theater system. Access the settings or setup menu on each device to enable Bluetooth pairing mode, allowing them to discover and connect with each other wirelessly.
-
Pairing Process: Initiate the pairing process by selecting the home theater system as the Bluetooth audio output device on your TV. This action prompts the TV to search for available Bluetooth devices, and upon detecting the home theater system, establish a secure and stable connection between the two devices.
-
Confirm Pairing: Once the pairing process is complete, ensure that the TV and home theater system are successfully connected via Bluetooth. Verify the connection status on both devices to confirm the seamless pairing and audio transmission.
-
Audio Source Selection: With the Bluetooth connection established, select the home theater system as the audio output source on your TV. This action directs the TV's audio signals to be transmitted wirelessly to the home theater system, allowing for immersive sound reproduction without the constraints of physical cables.
-
Optimize Audio Settings: Access the audio settings menu on your TV to fine-tune the audio output parameters, ensuring that the Bluetooth-transmitted audio is optimized for the home theater system. Adjust the audio levels and equalization settings to achieve the desired sound quality and balance.
By following these steps, you can effectively harness the capabilities of Bluetooth connectivity to seamlessly connect your TV sound to a home theater system without HDMI. The wireless nature of the Bluetooth connection eliminates the need for physical cables, offering a clutter-free and versatile audio integration solution.
With the Bluetooth connection serving as a conduit for wireless audio transmission, you can enjoy the freedom of immersive sound reproduction that complements the visual content on your TV screen. Whether you're watching movies, gaming, or streaming music, the utilization of Bluetooth connectivity enhances your overall home entertainment experience, providing a seamless and wire-free audio solution.
Read more: How To Get TV Sound Through A Home Theater
Conclusion
In conclusion, the diverse methods for connecting TV sound to a home theater system without HDMI offer a range of options to suit varying preferences and equipment capabilities. Whether you opt for the reliability of optical audio cables, the versatility of RCA cables, the simplicity of 3.5mm audio cables, or the convenience of Bluetooth connectivity, each approach presents unique advantages for seamlessly integrating audio from your TV into the immersive environment of a home theater system.
The utilization of optical audio cables enables the transmission of high-fidelity digital audio signals, delivering pristine sound quality that enhances the overall home entertainment experience. With the capability to transmit multi-channel audio and support advanced audio formats, optical audio cables cater to the demands of modern audiovisual content, making them an ideal choice for discerning enthusiasts seeking uncompromising audio performance.
Similarly, the utilization of RCA cables offers a practical analog audio transmission method, delivering impressive sound quality that resonates with the nostalgic charm of traditional audio connections. Despite being an analog format, RCA cables can effectively bridge the audio gap between your TV and home theater system, providing rich and dynamic sound reproduction that complements a wide range of entertainment content.
The simplicity and versatility of 3.5mm audio cables make them a convenient choice for users seeking a straightforward and direct method of connecting TV sound to a home theater system. With their compact form factor and compatibility with a myriad of devices, 3.5mm audio cables facilitate seamless audio integration, allowing users to enjoy immersive soundscapes that enrich their home entertainment endeavors.
Furthermore, the adoption of Bluetooth connectivity introduces a wireless and clutter-free audio integration solution, enabling users to establish seamless audio transmission between their TV and home theater system without the constraints of physical cables. The wireless nature of Bluetooth connections offers unparalleled convenience, allowing for flexible audio setups and effortless pairing processes that streamline the audio integration experience.
In essence, the exploration of these alternative audio connection methods empowers users to tailor their home entertainment setups to suit their specific needs and preferences. By understanding the capabilities and benefits of each approach, individuals can make informed decisions that optimize their audio experiences, creating captivating soundscapes that complement the visual splendor of their TV content.
Ultimately, the ability to connect TV sound to a home theater system without HDMI opens up a world of possibilities, allowing users to immerse themselves in rich, high-fidelity audio that elevates their home entertainment experiences to new heights. Whether it's the seamless transmission of digital audio signals through optical cables, the nostalgic charm of analog audio via RCA cables, the simplicity of 3.5mm audio connections, or the wireless freedom of Bluetooth connectivity, each method offers a pathway to unlocking captivating audio experiences that resonate with the diverse preferences of home entertainment enthusiasts.
Frequently Asked Questions about How To Connect TV Sound To Home Theater Without HDMI
Was this page helpful?
At Storables.com, we guarantee accurate and reliable information. Our content, validated by Expert Board Contributors, is crafted following stringent Editorial Policies. We're committed to providing you with well-researched, expert-backed insights for all your informational needs.


0 thoughts on “How To Connect TV Sound To Home Theater Without HDMI”