Home>Technology>Home Entertainment Systems>How To Connect To A Epson Projector

Home Entertainment Systems
How To Connect To A Epson Projector
Modified: February 26, 2024
Learn how to connect your home entertainment systems to an Epson projector for an immersive viewing experience. Follow these simple steps to enjoy high-quality entertainment at home.
(Many of the links in this article redirect to a specific reviewed product. Your purchase of these products through affiliate links helps to generate commission for Storables.com, at no extra cost. Learn more)
Introduction
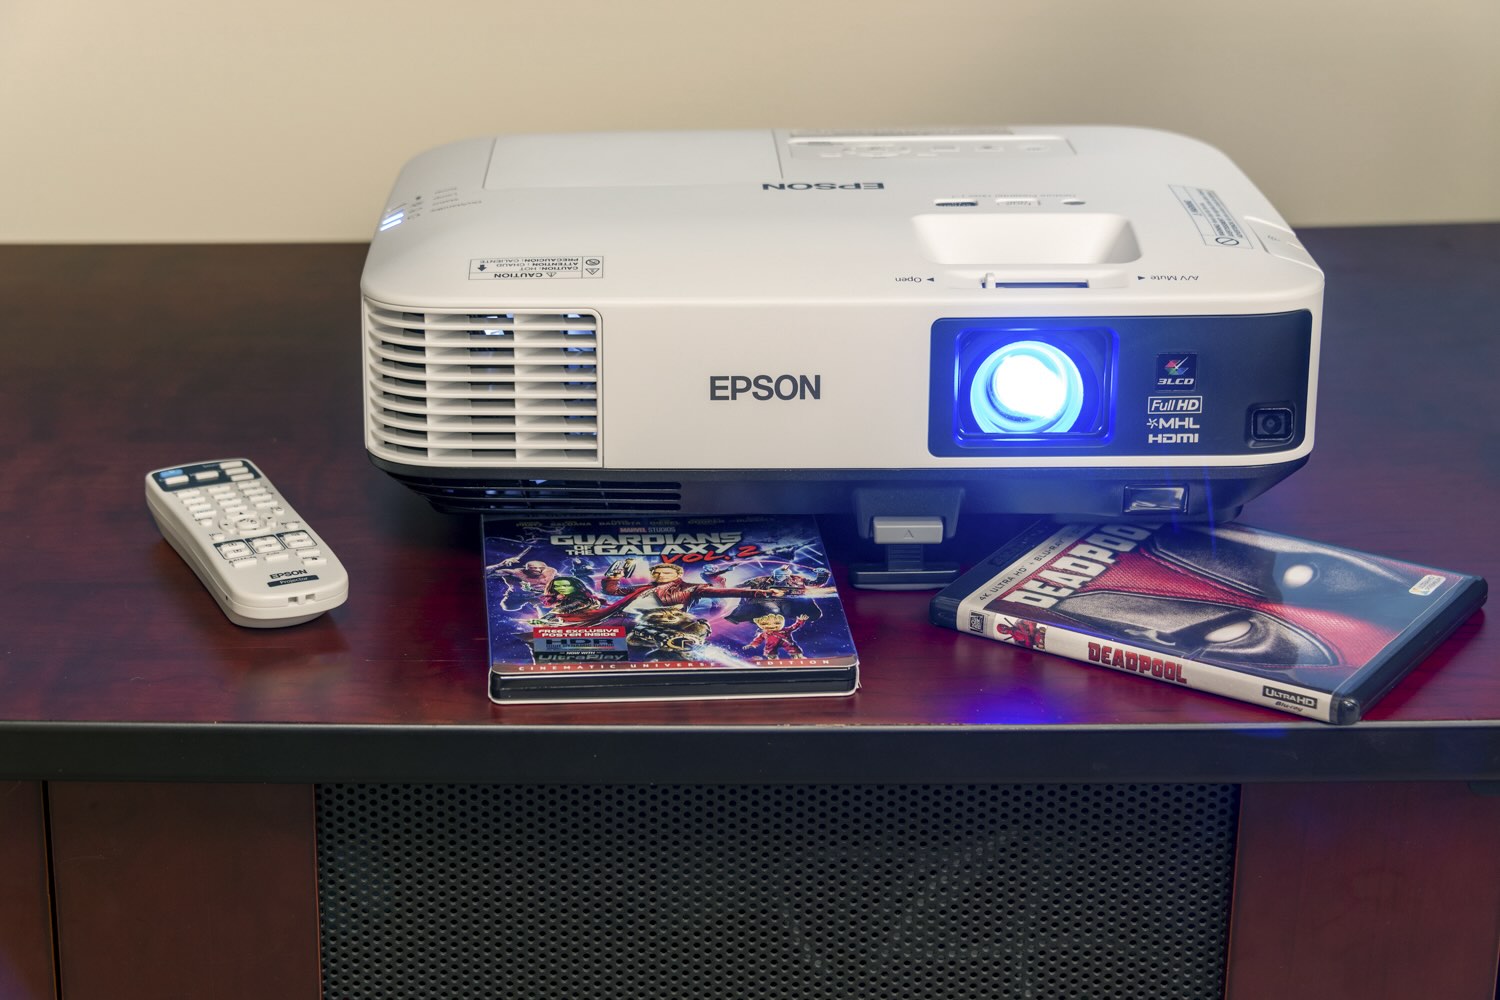
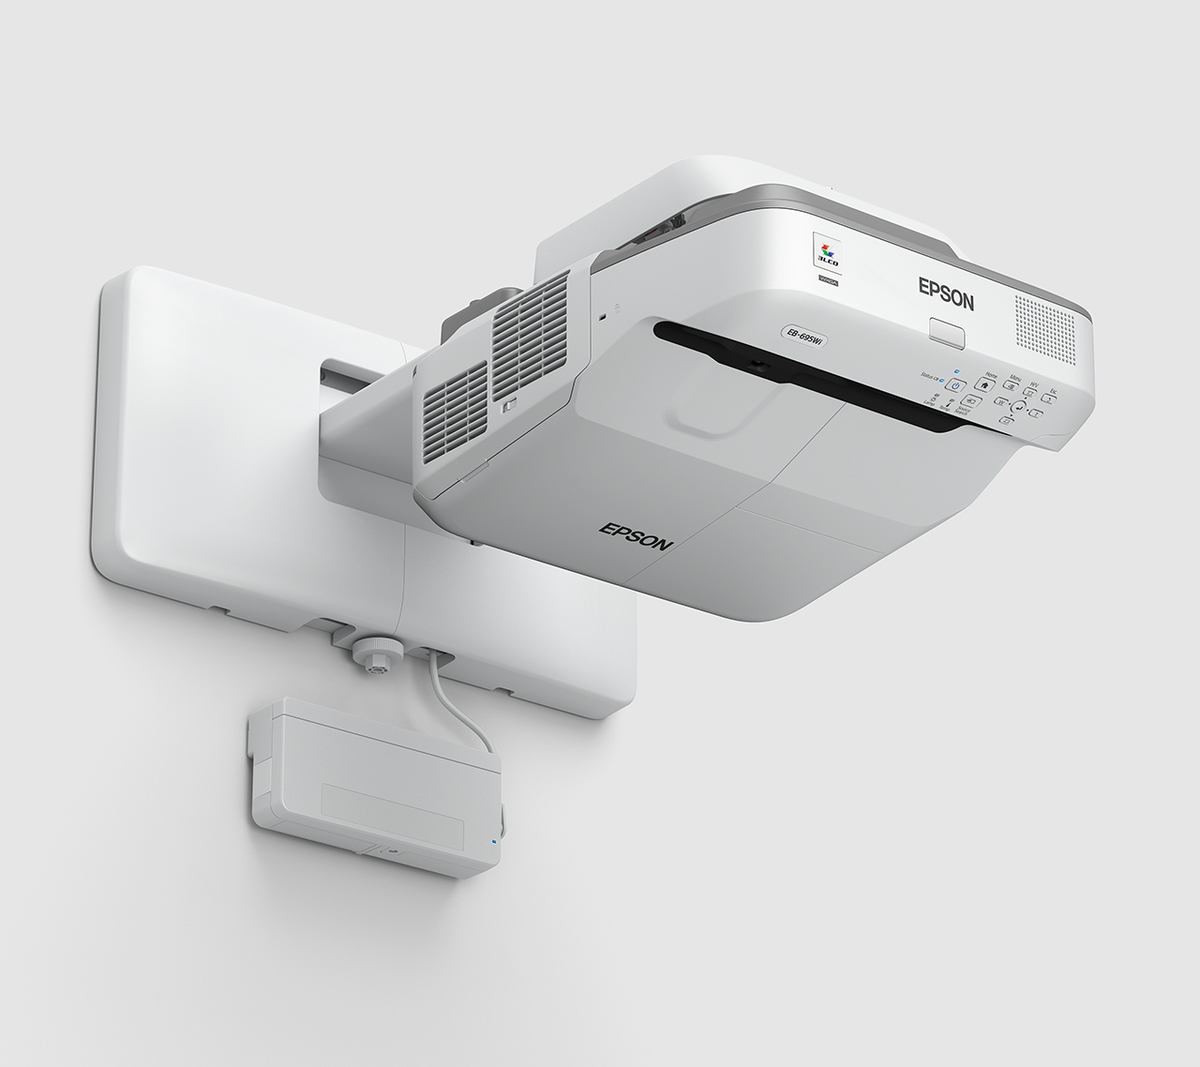
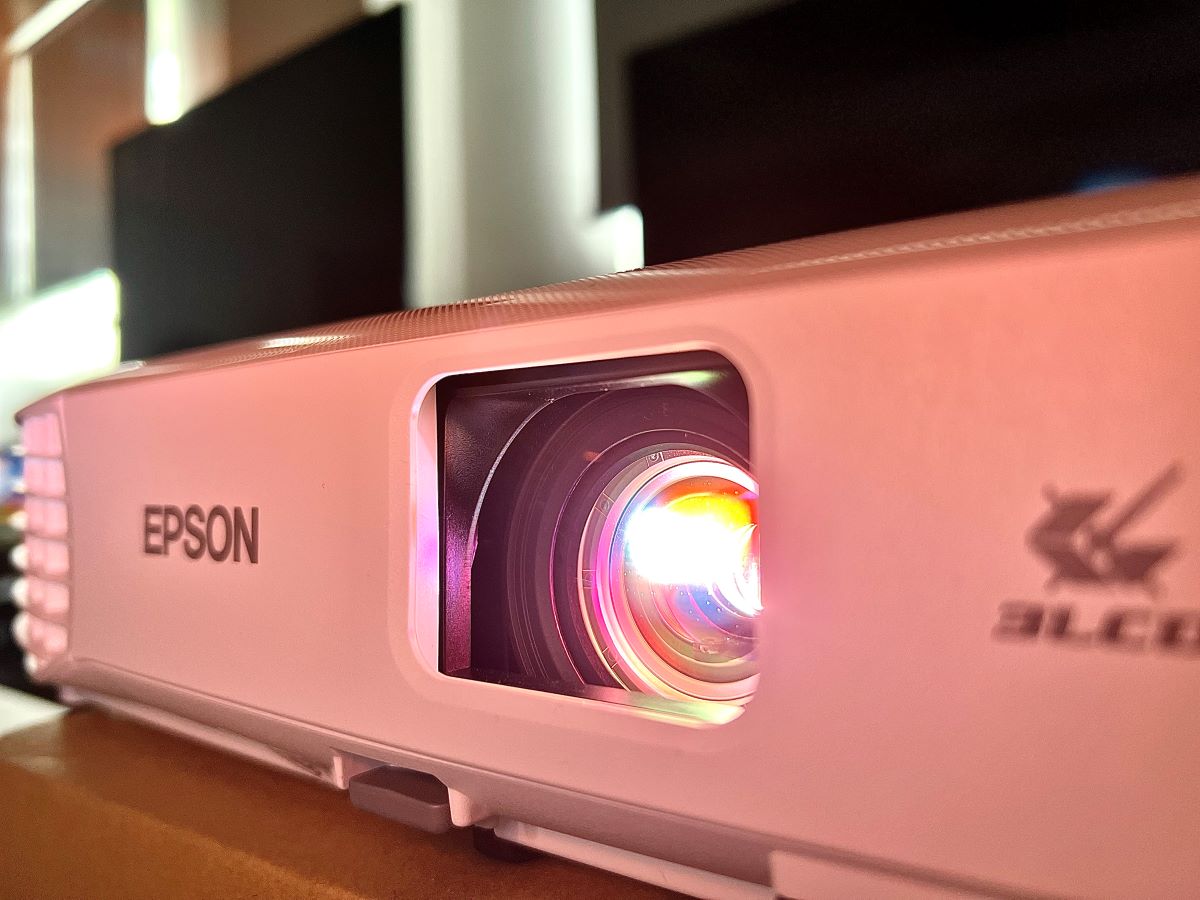
In today's fast-paced world, technology has become an integral part of our daily lives. Whether it's for work, entertainment, or education, the need for high-quality display solutions has never been greater. Epson projectors have earned a stellar reputation for delivering stunning visuals and reliable performance, making them a popular choice for home entertainment systems, classrooms, and business presentations.
Connecting to an Epson projector is a straightforward process that can significantly enhance your viewing experience. Whether you're looking to stream your favorite movies, share engaging presentations, or immerse yourself in the latest video games, a seamless connection to your Epson projector is essential.
In this comprehensive guide, we'll walk you through the step-by-step process of connecting your Epson projector to various devices, including computers and mobile devices. We'll also explore how to adjust the projector settings to optimize the display for your specific needs. Additionally, we'll cover common troubleshooting tips to help you overcome any connectivity issues that may arise.
By the end of this guide, you'll have the knowledge and confidence to harness the full potential of your Epson projector, unlocking a world of captivating visuals and immersive entertainment. Let's dive in and discover the seamless connectivity options that Epson projectors have to offer.
Key Takeaways:
- Easily connect your Epson projector to computers and mobile devices using the right cables and follow simple steps for a seamless and immersive viewing experience.
- Optimize your Epson projector settings for the best visual experience and troubleshoot common connectivity issues to maximize its performance and functionality.
Read more: How To Connect Iphone To Epson Projector
Checking the Required Cables
Before embarking on the process of connecting your Epson projector to a computer or mobile device, it’s crucial to ensure that you have the necessary cables at your disposal. The type of cable needed may vary depending on the specific model of your Epson projector and the device you intend to connect. Here are the primary cables you may need to check for:
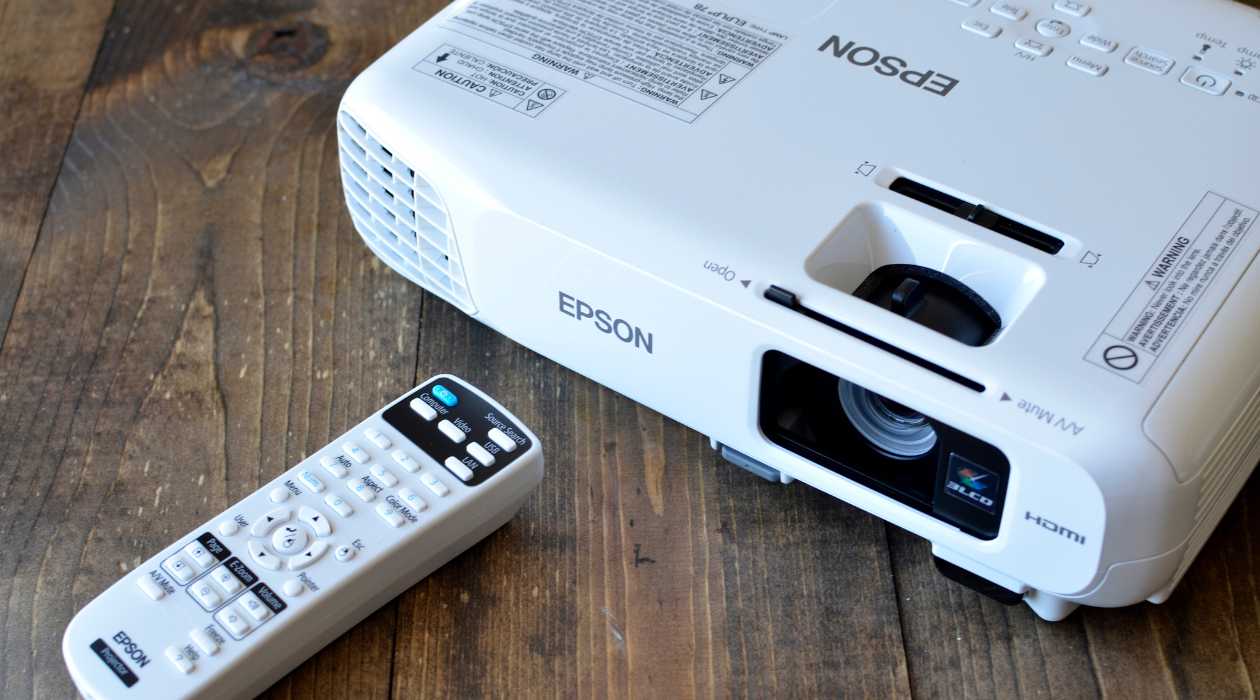
- HDMI Cable: This high-definition multimedia interface cable is commonly used to transmit high-quality audio and video signals from a wide range of devices, including laptops, desktop computers, Blu-ray players, gaming consoles, and more. Most modern Epson projectors are equipped with HDMI ports, making this cable a versatile and widely compatible option for seamless connectivity.
- VGA Cable: While HDMI has become the standard for transmitting digital signals, older devices such as some computers and projectors may still rely on VGA (Video Graphics Array) cables for video output. If your Epson projector or the device you’re connecting it to utilizes VGA connectivity, ensure that you have a functional VGA cable on hand.
- USB Cable: In certain scenarios, you may need a USB cable to establish a direct connection between your computer and the Epson projector. This can be useful for transmitting data, control signals, or facilitating firmware updates. Check the specifications of your specific Epson projector model to determine if a USB connection is required.
- Audio Cable: While HDMI cables can carry both audio and video signals, some setups may necessitate a separate audio cable, such as a 3.5mm stereo cable or RCA cable, to transmit sound from your device to the projector or an external audio system.
Before proceeding with the connection process, carefully inspect the condition of the cables to ensure they are free from physical damage, such as frayed wires or bent connectors. Additionally, verify that the cable lengths are sufficient to reach from your device to the Epson projector with some slack to accommodate positioning flexibility.
By confirming the availability and integrity of these essential cables, you’ll be well-prepared to seamlessly connect your devices to your Epson projector, setting the stage for an immersive visual experience.
Connecting the Projector to a Computer
Connecting your Epson projector to a computer opens up a world of possibilities, whether you’re preparing a captivating presentation, indulging in a gaming marathon, or enjoying a cinematic viewing experience. The process of establishing this connection is relatively straightforward and can be accomplished using different types of cables, depending on the available ports on your computer and projector.
Here’s a step-by-step guide to connecting your Epson projector to a computer:
- Identify the Video Output Port on Your Computer: Most modern computers are equipped with HDMI, VGA, or DisplayPort outputs. Identify the type of video output port available on your computer, as this will determine the cable you need to use for the connection.
- Choose the Appropriate Cable: Based on the video output port on your computer and the input ports on your Epson projector, select the suitable cable for the connection. If your computer and projector both have HDMI ports, an HDMI cable is the optimal choice for transmitting high-definition audio and video signals. If VGA ports are the only available option, a VGA cable will suffice.
- Power On the Epson Projector: Ensure that your Epson projector is powered on and ready to receive the input signal from your computer.
- Connect the Cable: Plug one end of the chosen cable into the video output port on your computer and the other end into the corresponding input port on the Epson projector. For HDMI connections, the cable will transmit both audio and video signals, while VGA connections may require a separate audio cable for sound output.
- Select the Input Source on the Projector: Using the remote control or onboard controls of the Epson projector, navigate to the input source settings and select the appropriate input channel corresponding to the port you used for the connection (e.g., HDMI 1, VGA, etc.).
- Adjust Display Settings on Your Computer: Once the connection is established, configure the display settings on your computer to extend or duplicate the screen to the Epson projector. This can typically be done through the display settings or graphics control panel of your operating system.
- Enjoy the Visual Experience: With the connection successfully established and the display settings configured, you’re now ready to immerse yourself in the stunning visuals projected by your Epson projector. Whether you’re delivering a compelling presentation or unwinding with your favorite content, the seamless connection ensures an engaging viewing experience.
By following these steps, you can effortlessly connect your Epson projector to a computer, unlocking a myriad of possibilities for entertainment, productivity, and visual storytelling.
Make sure your computer and the projector are connected to the same Wi-Fi network. Then, use the Epson iProjection app to easily connect and share your screen.
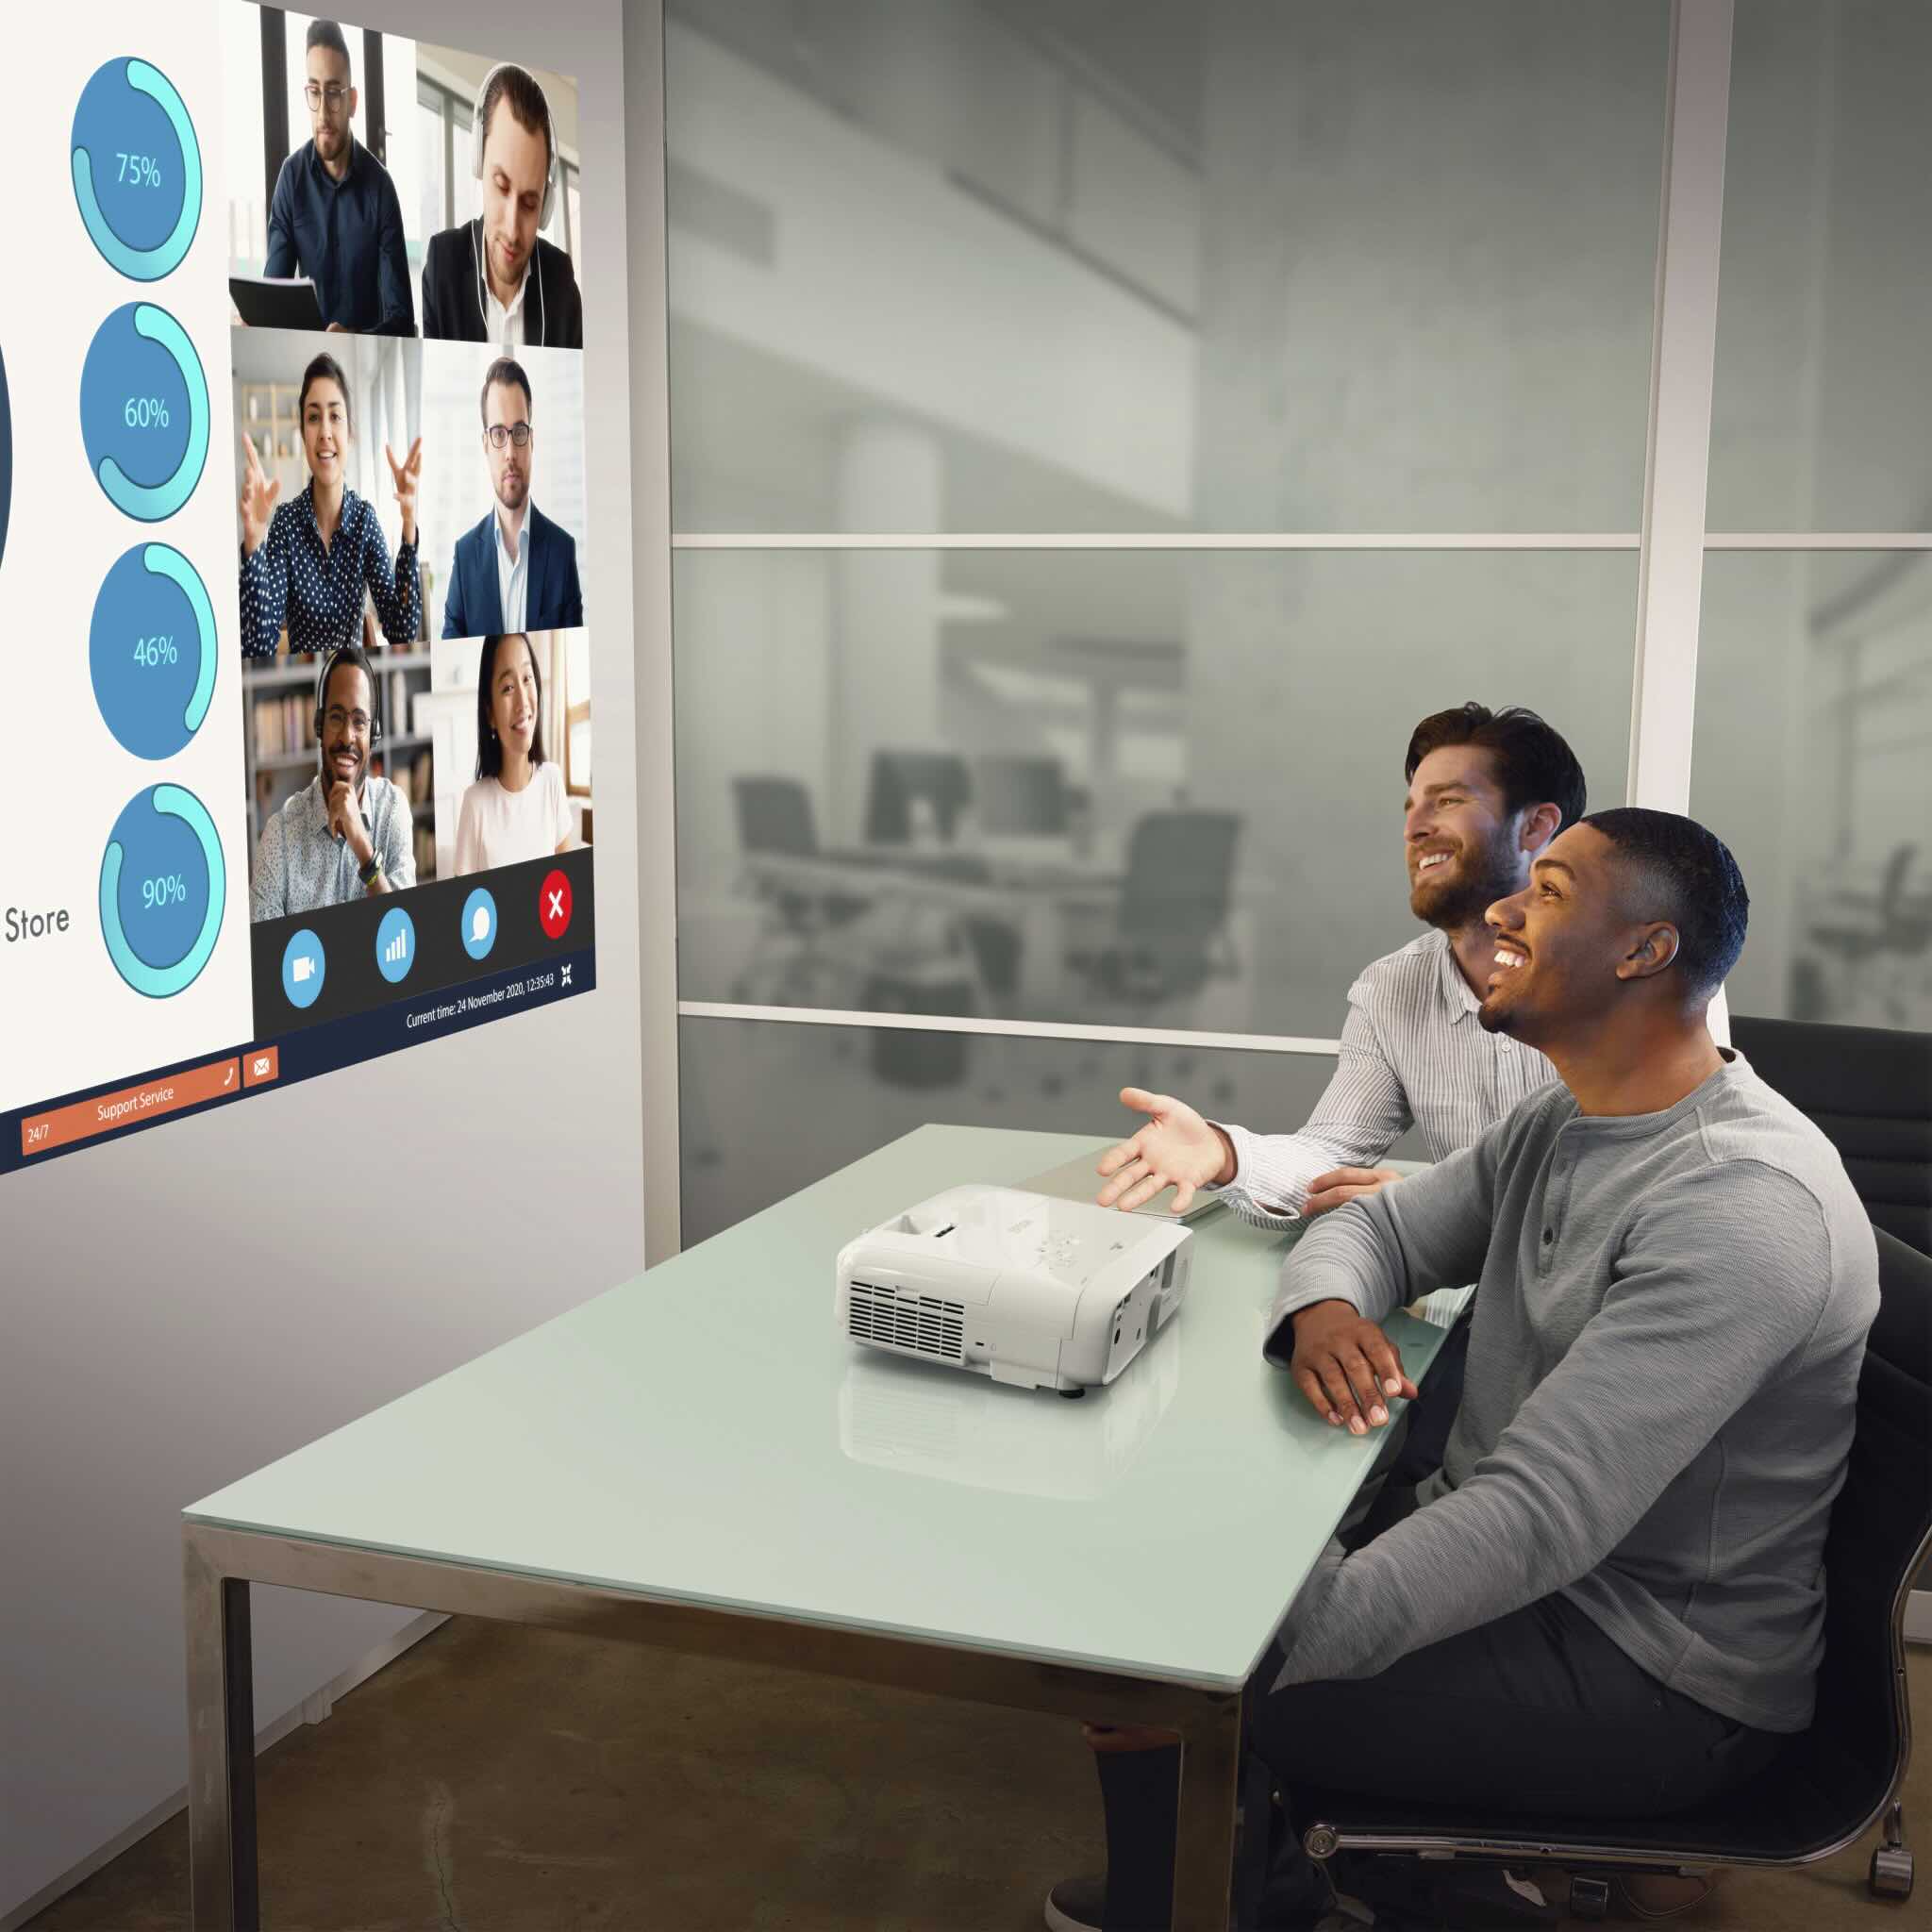
Connecting the Projector to a Mobile Device
With the increasing capabilities of mobile devices, such as smartphones and tablets, connecting your Epson projector to these portable gadgets opens up a world of convenience and versatility. Whether you’re sharing multimedia content with friends and family or delivering a mobile presentation, the ability to seamlessly connect your mobile device to an Epson projector enhances your mobility and amplifies your visual experiences.
Here’s a step-by-step guide to connecting your Epson projector to a mobile device:
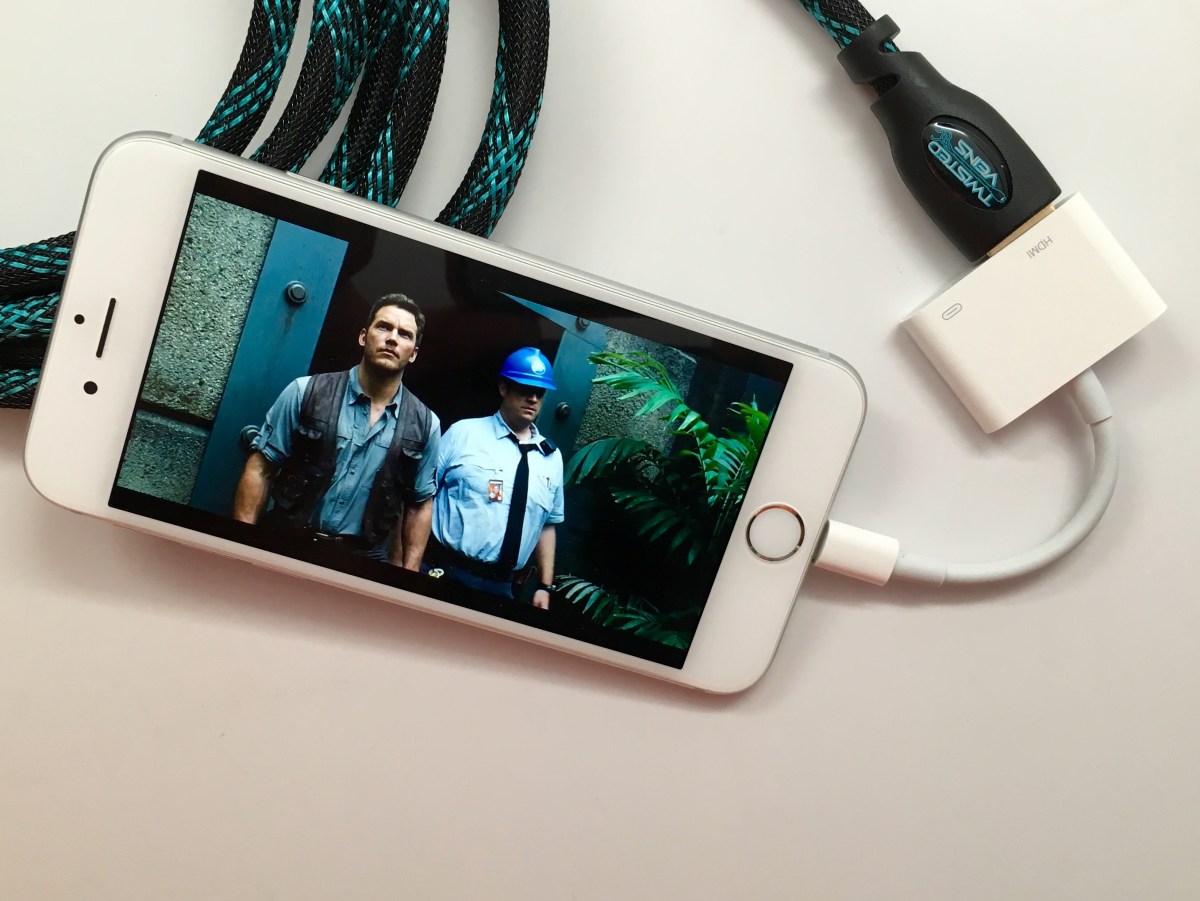
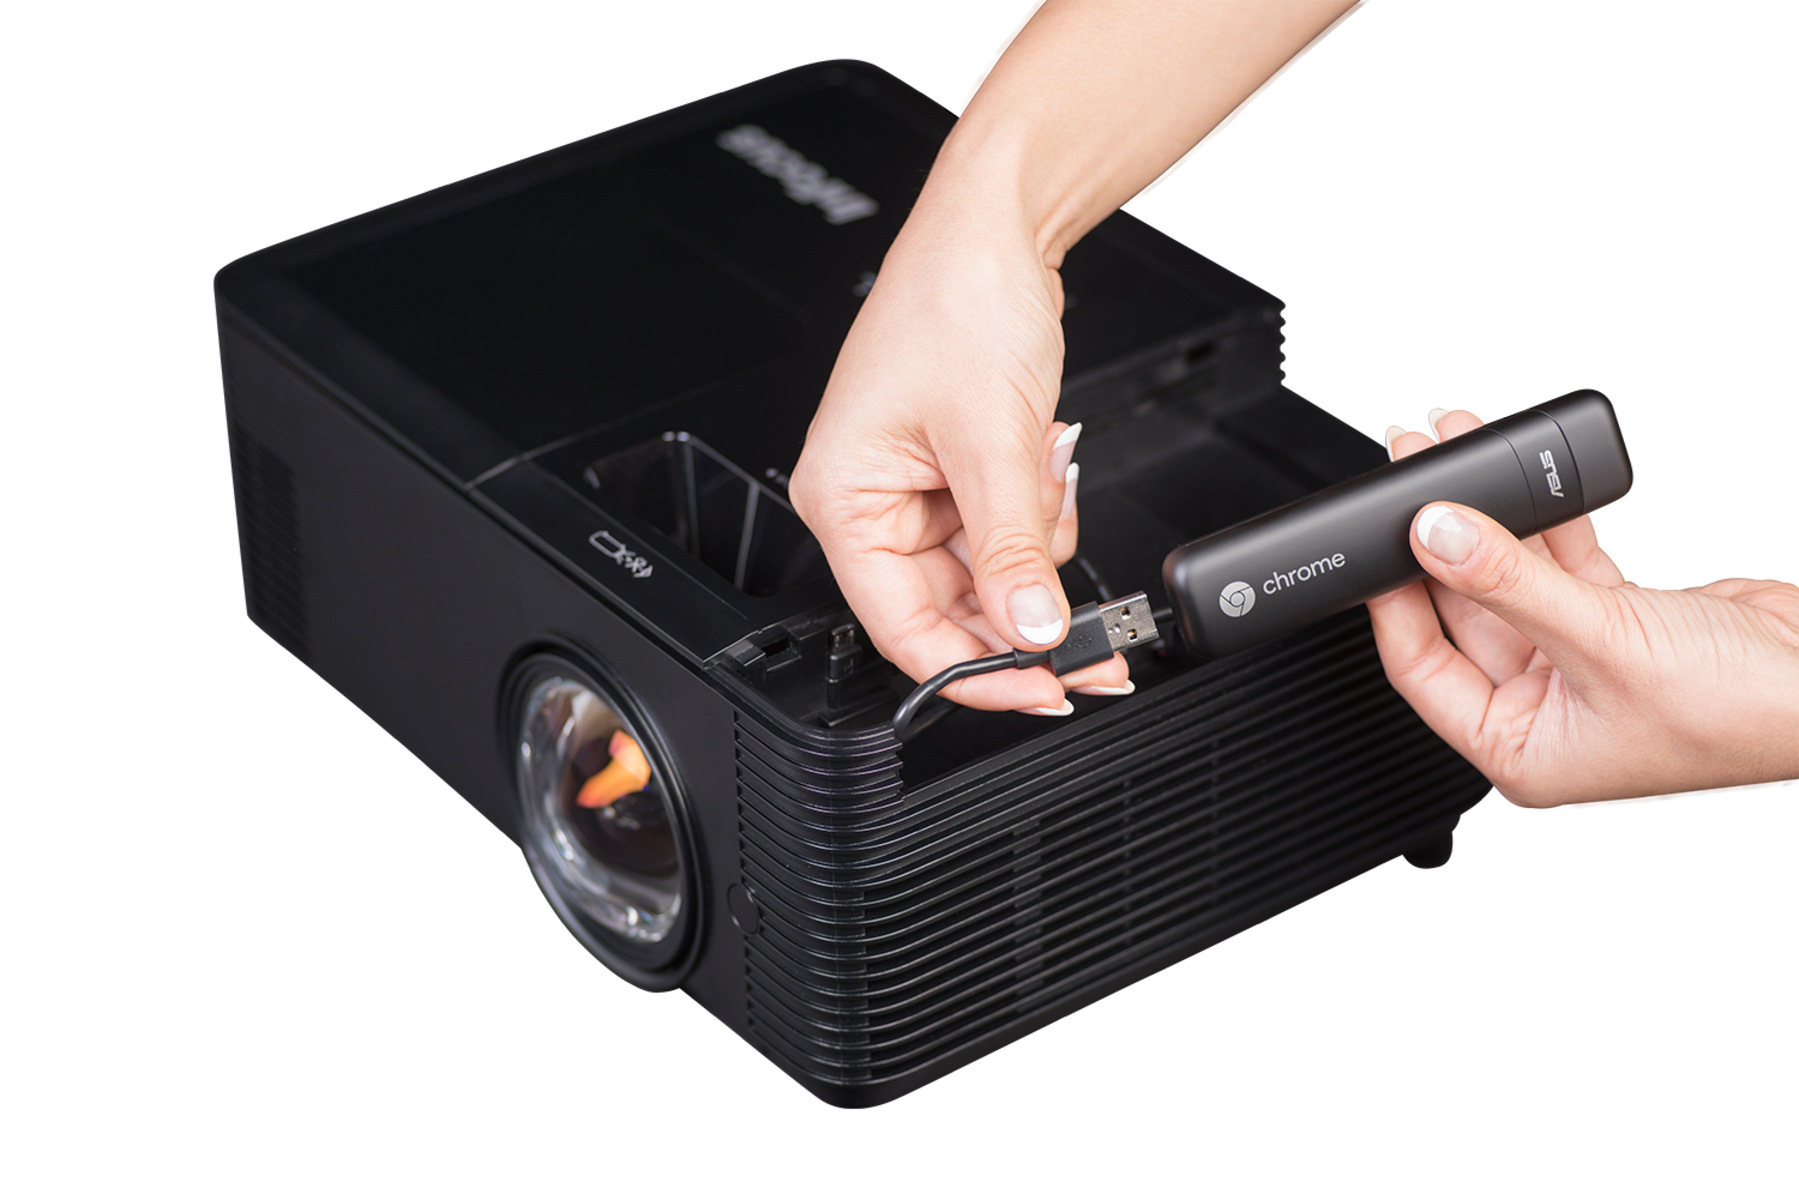
- Check the Mobile Device Compatibility: Verify that your mobile device supports screen mirroring or has the necessary output options, such as HDMI or USB connectivity, to establish a direct connection with the Epson projector. Some mobile devices may require additional adapters or accessories for compatibility.
- Enable Screen Mirroring or Output: Depending on the make and model of your mobile device, navigate to the settings or display options to enable screen mirroring or activate the video output functionality. This step may vary based on the operating system of your mobile device (e.g., iOS, Android, etc.).
- Power On the Epson Projector: Ensure that your Epson projector is powered on and ready to receive the input signal from your mobile device.
- Choose the Connection Method: Depending on the available options, select the appropriate method to connect your mobile device to the Epson projector. If your mobile device supports wireless screen mirroring (e.g., Miracast, AirPlay, or Google Cast), follow the on-screen instructions to establish the connection. Alternatively, if your mobile device offers direct HDMI or USB output, use the corresponding cable or adapter to connect to the projector.
- Select the Input Source on the Projector: Using the remote control or onboard controls of the Epson projector, navigate to the input source settings and select the appropriate input channel corresponding to the connection method used (e.g., HDMI, USB, wireless display, etc.).
- Initiate Screen Mirroring or Output: Once the connection is established, initiate the screen mirroring or output functionality on your mobile device. This may involve selecting the Epson projector from the list of available devices or confirming the output settings on your mobile device.
- Enjoy the Mobile Projection: With the connection successfully established, you can now enjoy the seamless projection of content from your mobile device onto the larger screen provided by the Epson projector. Whether it’s streaming videos, showcasing photos, or delivering a mobile presentation, the enhanced visibility and impact of your content are at your fingertips.
By following these steps, you can effortlessly connect your mobile device to your Epson projector, unlocking the potential for mobile entertainment, collaborative sharing, and on-the-go presentations with captivating visuals.
Adjusting the Projector Settings
Once your Epson projector is successfully connected to your desired devices, it’s essential to optimize the projector settings to achieve the best possible visual experience. Fine-tuning the settings allows you to tailor the display to suit your specific content, environment, and preferences, ensuring that every visual presentation, movie night, or gaming session is truly immersive and visually stunning.
Here are the key aspects of projector settings that you can adjust to enhance your viewing experience:
- Image Quality and Display Mode: Explore the image quality settings on your Epson projector, which may include options such as brightness, contrast, color temperature, and display modes (e.g., standard, cinema, dynamic). Adjust these settings to achieve optimal color accuracy, contrast, and brightness based on the content you’re projecting and the ambient lighting conditions.
- Keystone Correction: If your projector is not perfectly aligned with the projection surface, keystone correction allows you to digitally adjust the image to ensure that it appears rectangular and distortion-free. This feature is particularly useful when the projector cannot be placed directly in front of the screen or wall.
- Aspect Ratio and Screen Size: Ensure that the aspect ratio of the projected image matches the native aspect ratio of your content to prevent distortion. Additionally, adjust the screen size settings to fit the projected image within your desired viewing area, whether it’s a dedicated projection screen, a blank wall, or a retractable screen.
- Sound and Audio Output: If your Epson projector features built-in speakers or audio output options, you can adjust the sound settings to optimize the audio quality. Consider connecting external speakers or a sound system for a more immersive audio experience, especially when watching movies or gaming.
- Input Source Management: Familiarize yourself with the input source management options on your Epson projector, allowing you to quickly switch between different connected devices. This can streamline the process of transitioning from a computer presentation to a mobile device playback without interruption.
- Advanced Settings and Customization: Depending on the model of your Epson projector, explore advanced settings such as color management, gamma adjustment, noise reduction, and image enhancement features. These settings provide a deeper level of customization to fine-tune the visual output according to your preferences and the characteristics of your content.
By carefully adjusting these projector settings, you can elevate the visual impact of your presentations, movies, and multimedia content, creating an immersive viewing experience that captivates your audience or enhances your personal entertainment.
Read more: How To Connect Epson Projector To Mac
Troubleshooting Common Connection Issues
While connecting your Epson projector to various devices can be a seamless process, occasional connectivity issues may arise, hindering the smooth transmission of audio and video signals. Understanding and addressing these common issues can help you troubleshoot and resolve connectivity challenges, ensuring that you can fully harness the capabilities of your Epson projector.
Here are some common connection issues and troubleshooting tips to resolve them:
- No Signal Detected: If the projector displays a “No Signal” message or fails to detect the connected device, double-check the cable connections to ensure they are secure and properly seated in the respective ports. Additionally, verify that the input source on the projector matches the port to which the device is connected.
- Intermittent Signal Loss: If the audio or video signal intermittently drops out during playback, inspect the cables for any signs of damage or wear. Consider using high-quality, shielded cables to minimize signal interference and ensure a stable connection between the devices and the projector.
- Resolution Mismatch: When connecting a computer to the projector, ensure that the display resolution settings on the computer are compatible with the native resolution supported by the Epson projector. Adjust the computer’s display settings to match the optimal resolution for the projector to deliver a clear and crisp image.
- Wireless Connectivity Issues: If you’re using wireless screen mirroring or casting from a mobile device, ensure that both the projector and the mobile device are connected to the same Wi-Fi network. Restarting the wireless connection on both devices and updating the projector’s firmware, if available, can help resolve wireless connectivity issues.
- Audio Output Problems: If you experience issues with audio output, such as no sound or distorted audio, verify that the audio cables are securely connected, and the projector’s audio settings are adjusted to the correct input source. Consider testing the audio output with different devices to isolate the source of the issue.
- Software and Firmware Updates: Regularly check for software updates for your connected devices and firmware updates for your Epson projector. Installing the latest updates can address compatibility issues, improve connectivity stability, and introduce new features to enhance the overall user experience.
By implementing these troubleshooting tips, you can effectively address common connection issues and ensure a reliable and seamless connection between your devices and your Epson projector. Additionally, referring to the user manual or online support resources provided by Epson can offer valuable insights and solutions to specific connectivity challenges.
With a proactive approach to troubleshooting, you can maximize the performance and functionality of your Epson projector, unlocking its full potential for captivating visual experiences in various settings.
Frequently Asked Questions about How To Connect To A Epson Projector
Was this page helpful?
At Storables.com, we guarantee accurate and reliable information. Our content, validated by Expert Board Contributors, is crafted following stringent Editorial Policies. We're committed to providing you with well-researched, expert-backed insights for all your informational needs.


0 thoughts on “How To Connect To A Epson Projector”