
Articles
How To Clean Ring Doorbell Lens
Modified: May 6, 2024
Learn effective techniques and tips for cleaning the lens of your Ring doorbell with our informative articles. Enhance visibility and ensure crystal-clear video recordings.
(Many of the links in this article redirect to a specific reviewed product. Your purchase of these products through affiliate links helps to generate commission for Storables.com, at no extra cost. Learn more)
Introduction
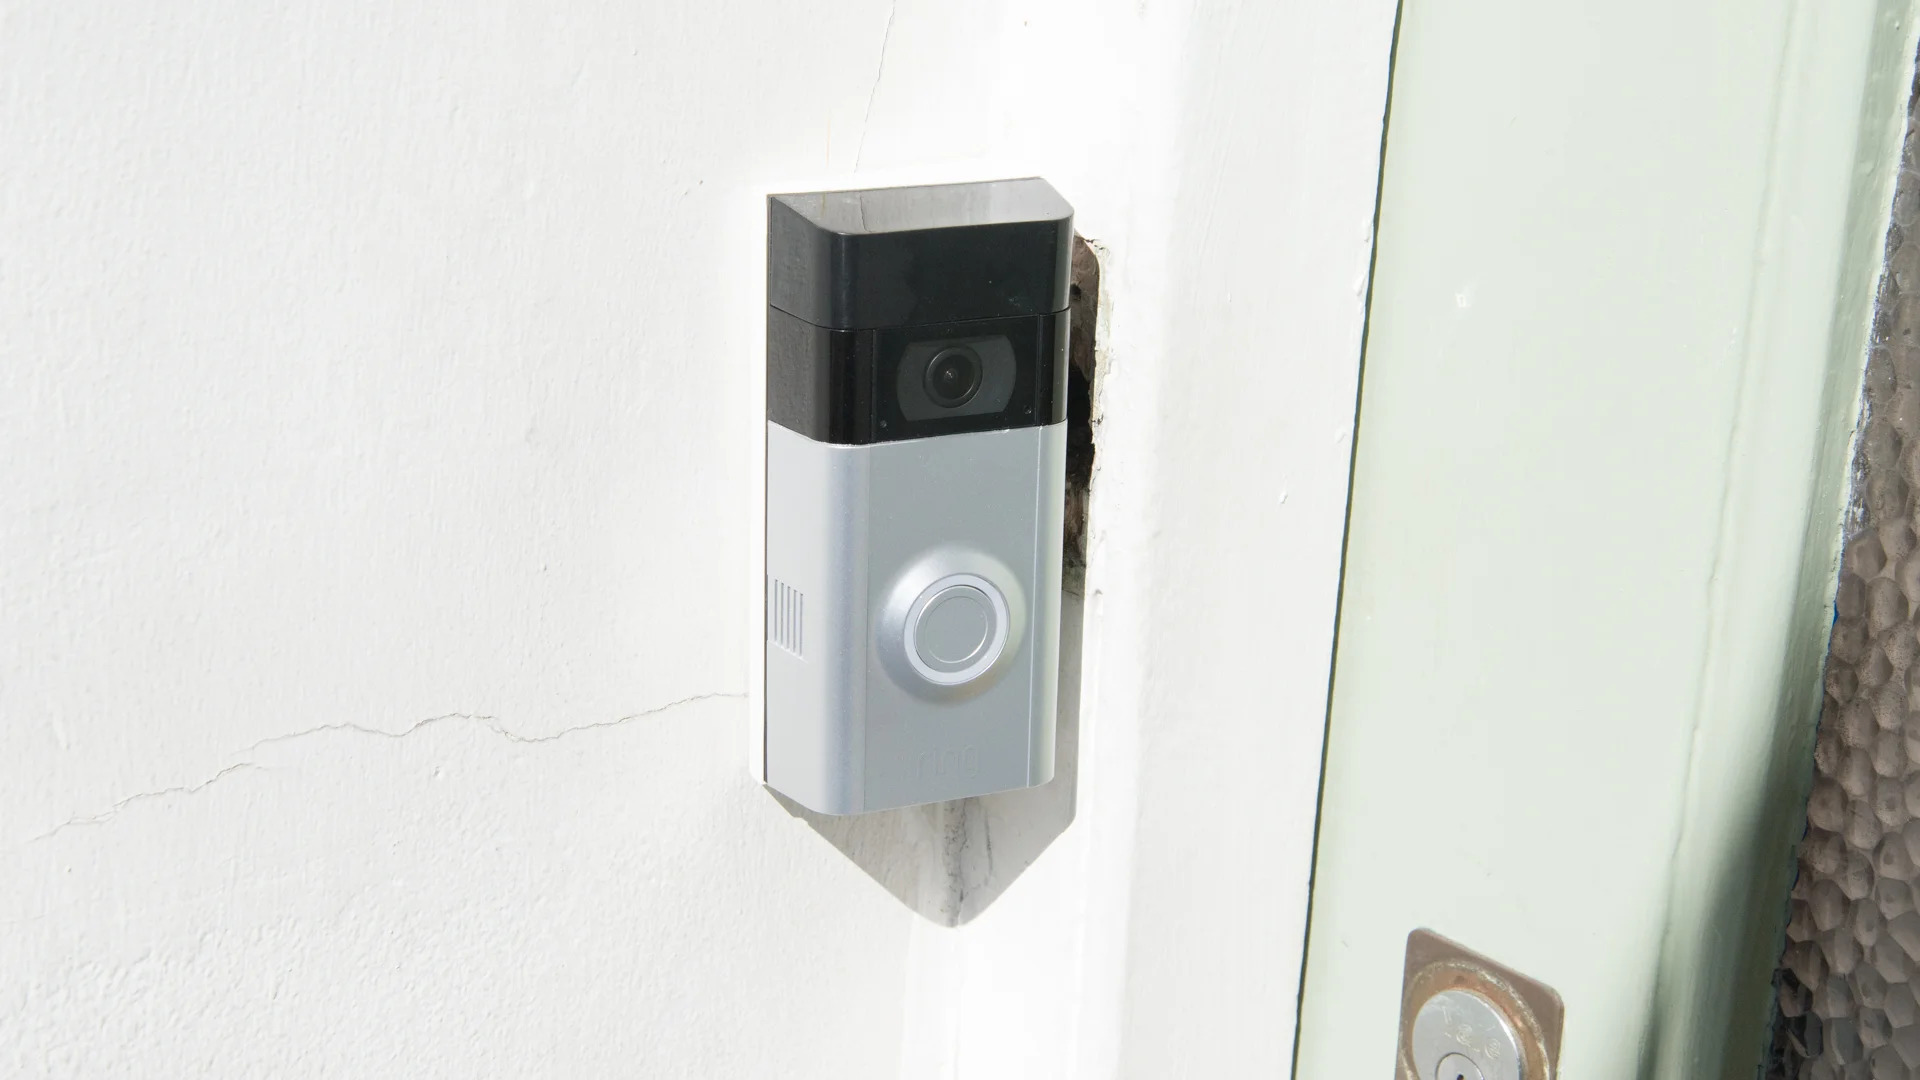
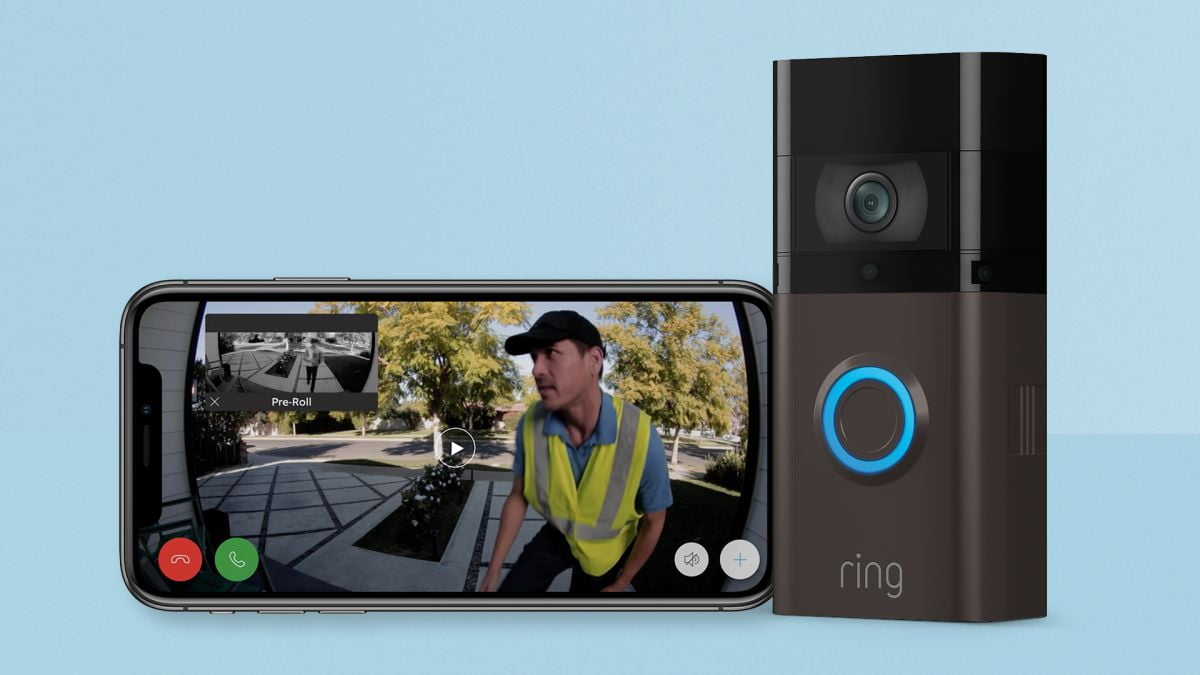
Welcome to our guide on how to clean the lens of your Ring Doorbell. The Ring Doorbell is a popular home security device that allows you to monitor your front door and receive notifications when there is any activity. Over time, the lens of the Ring Doorbell can get dirty and affect the clarity of the video feeds. Cleaning the lens regularly will help ensure that you have a clear view of any visitors or packages at your doorstep.
In this article, we will provide you with a step-by-step guide on how to effectively clean the lens of your Ring Doorbell. We will also discuss the tools required for the task. So, let’s not waste any time and jump right in!
Key Takeaways:
- Regularly cleaning the lens of your Ring Doorbell using simple household tools like microfiber cloth and isopropyl alcohol ensures clear video feeds and enhances home security.
- Taking necessary precautions, such as turning off power and choosing a well-lit area, before cleaning the lens of your Ring Doorbell helps maintain optimal performance and ensures a clear view of any activity at your front door.
Read more: How To Clean Security Camera Lens
Tools Required
Before you begin the process of cleaning the lens of your Ring Doorbell, make sure you have the following tools handy:
- Microfiber cloth: You will need a soft microfiber cloth to clean the lens. Microfiber cloths are gentle on the surface and do not leave behind lint or scratches.
- Isopropyl alcohol: Isopropyl alcohol is a common household cleaning solution that effectively removes smudges, fingerprints, and dirt from surfaces.
- Cotton swabs: Cotton swabs are useful for reaching into small crevices and corners of the Ring Doorbell to remove any stubborn dirt.
- Compressed air: A can of compressed air can be helpful for blowing away any loose debris or dust particles from the lens and surrounding areas.
Ensure that you have all these tools ready before you proceed with the cleaning process. Having the right tools will make the task easier and more efficient.
Step 1: Preparation
Before you start cleaning the lens of your Ring Doorbell, it’s important to take a few precautionary measures to ensure the safety of the device and yourself. Follow these steps to prepare for the cleaning process:
- Turn off power: Start by turning off the power to your Ring Doorbell. This can be done by switching off the circuit breaker that supplies power to the device. This step is crucial to avoid any electrical accidents while handling the device.
- Gather cleaning supplies: As mentioned earlier, gather all the necessary cleaning tools mentioned in the previous section. Having them within reach will save you time and effort during the cleaning process.
- Remove jewelry: It’s recommended to remove any jewelry, including rings, bracelets, or watches, before you start cleaning the lens. This will prevent the risk of scratching the lens or damaging your jewelry in the process.
- Choose a well-lit area: Find a well-lit area, preferably with natural light, to perform the cleaning. This will help you see any dust or smudges on the lens more clearly.
By following these preparation steps, you will create a safe and conducive environment for cleaning the lens of your Ring Doorbell. Once you have completed these steps, you can proceed to the next step of removing the Ring Doorbell from its mounting.
Step 2: Removing the Ring Doorbell
Now that you have prepared for the cleaning process, it’s time to remove the Ring Doorbell from its mounting. Follow these steps:
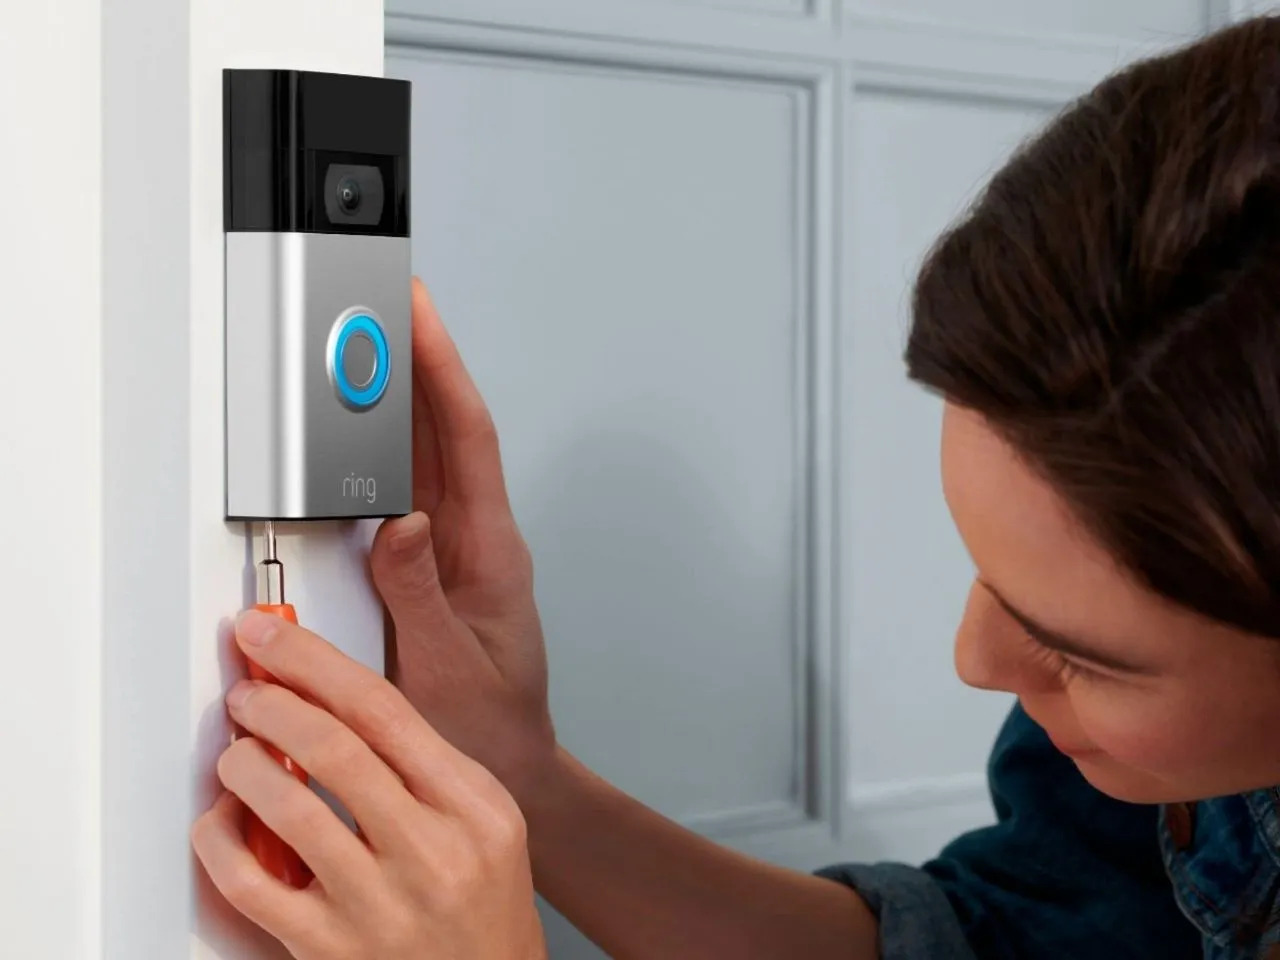
- Locate the mounting screws: The Ring Doorbell is typically secured to its mounting bracket using two screws. These screws are located at the bottom of the device.
- Use the screwdriver: Take a screwdriver that matches the size of the mounting screws and carefully unscrew them. Make sure to hold onto the Ring Doorbell while removing the screws to prevent it from falling.
- Gently detach the Ring Doorbell: Once the screws are removed, the Ring Doorbell should easily detach from its mounting bracket. Slowly slide the device upward and away from the bracket.
- Disconnect any cables: Depending on the model of your Ring Doorbell, there may be cables connected to the back of the device. If necessary, carefully disconnect any cables from the device.
With these steps, you have successfully removed the Ring Doorbell from its mounting. Now, it’s time to clean the lens and ensure clear video feed for your home security needs. Read on for the next steps.
Use a microfiber cloth and a small amount of water or glass cleaner to gently wipe the lens of your Ring doorbell. Avoid using harsh chemicals or abrasive materials to prevent damage.
Step 3: Cleaning the Lens
Now that you have removed the Ring Doorbell from its mounting, it’s time to clean the lens to ensure a clear and crisp video feed. Follow these steps:
- Use the microfiber cloth: Take the microfiber cloth and gently wipe the lens in a circular motion. Start from the center of the lens and gradually move towards the edges. Be sure to apply gentle pressure to avoid scratching the lens.
- Apply isopropyl alcohol: If there are stubborn smudges or fingerprints on the lens, dampen a corner of the microfiber cloth with isopropyl alcohol. Make sure not to oversaturate the cloth. Wipe the affected areas on the lens using gentle circular motions.
- Clean the surrounding areas: Use a cotton swab dipped in isopropyl alcohol to clean any dirt or debris from the crevices and corners around the lens. Be careful not to apply excessive pressure or damage any other components of the Ring Doorbell.
- Blow away loose debris: If there are any loose debris or dust particles on the lens or surrounding areas, use a can of compressed air to blow them away. Hold the can upright and use short bursts of air to avoid damaging the lens.
By following these steps, you can effectively clean the lens of your Ring Doorbell. Take your time and ensure that the lens is free from any smudges or dirt before proceeding to the next step of reinstalling the device.
Read more: Why Is My Ring Doorbell Not Ringing
Step 4: Reinstalling the Ring Doorbell
Now that you have successfully cleaned the lens of your Ring Doorbell, it’s time to reinstall the device back onto its mounting bracket. Follow these steps:
- Position the Ring Doorbell: Align the screw holes on the back of the Ring Doorbell with the screw holes on the mounting bracket.
- Secure the screws: Take the screws that you removed earlier and use a screwdriver to carefully tighten them back into place. Make sure the Ring Doorbell is securely attached to the mounting bracket.
- Reconnect any cables: If you had disconnected any cables in the previous steps, now is the time to reconnect them to the back of the Ring Doorbell. Ensure that they are properly connected and secure.
- Turn on power: Once the Ring Doorbell is securely installed, turn the power back on by switching on the circuit breaker that supplies power to the device.
With these steps, you have successfully reinstalled the Ring Doorbell. The lens should now be clean and ready to provide you with clear video feeds and notifications. Make sure to test the device to ensure that everything is functioning properly.
Remember, it’s a good practice to clean the lens of your Ring Doorbell periodically to maintain optimal performance. Regular maintenance will help ensure that you have a clear view of any activity at your front door and enhance the overall security of your home.
Conclusion
Cleaning the lens of your Ring Doorbell is a simple yet important maintenance task that can greatly enhance the clarity of video feeds and improve the overall performance of the device. By following the steps outlined in this guide, you can effectively remove dirt, smudges, and fingerprints from the lens, ensuring a clear and crisp view of any activity at your front door.
Remember to take the necessary precautions, such as turning off the power and choosing a well-lit area, before you begin the cleaning process. Use the recommended tools, such as a microfiber cloth, isopropyl alcohol, cotton swabs, and compressed air, to clean the lens and surrounding areas. Take your time and be gentle to avoid scratching the lens or damaging any other components of the Ring Doorbell.
Once you have completed the cleaning process, reinstall the Ring Doorbell securely onto its mounting bracket and reconnect any cables if necessary. Turn the power back on and test the device to ensure that everything is functioning properly.
Remember to periodically clean the lens of your Ring Doorbell to maintain optimal performance. Regular maintenance will help ensure that you have a clear and unobstructed view of any visitors, packages, or potential security threats at your doorstep.
We hope this guide has been helpful in guiding you through the process of cleaning the lens of your Ring Doorbell. By taking good care of your Ring Doorbell, you can enjoy its full potential as a reliable home security device.
Now that your Ring doorbell lens is spotless, ensuring clear video quality, you might wonder about other ways to secure your home. Delving into our next feature on home safety provides insights into why robust security measures are pivotal for any household. From deterring potential intruders to providing peace of mind, understanding the fundamentals of safeguarding your space is key. Don't miss out on our compelling discussion on this vital topic.
Frequently Asked Questions about How To Clean Ring Doorbell Lens
Was this page helpful?
At Storables.com, we guarantee accurate and reliable information. Our content, validated by Expert Board Contributors, is crafted following stringent Editorial Policies. We're committed to providing you with well-researched, expert-backed insights for all your informational needs.


0 thoughts on “How To Clean Ring Doorbell Lens”