Home>Technology>Home Entertainment Systems>How To Project HP Laptop To Projector
Home Entertainment Systems
How To Project HP Laptop To Projector
Modified: February 26, 2024
Learn how to project your HP laptop to a projector for a seamless home entertainment system setup. Follow our step-by-step guide for a hassle-free experience.
(Many of the links in this article redirect to a specific reviewed product. Your purchase of these products through affiliate links helps to generate commission for Storables.com, at no extra cost. Learn more)
Introduction
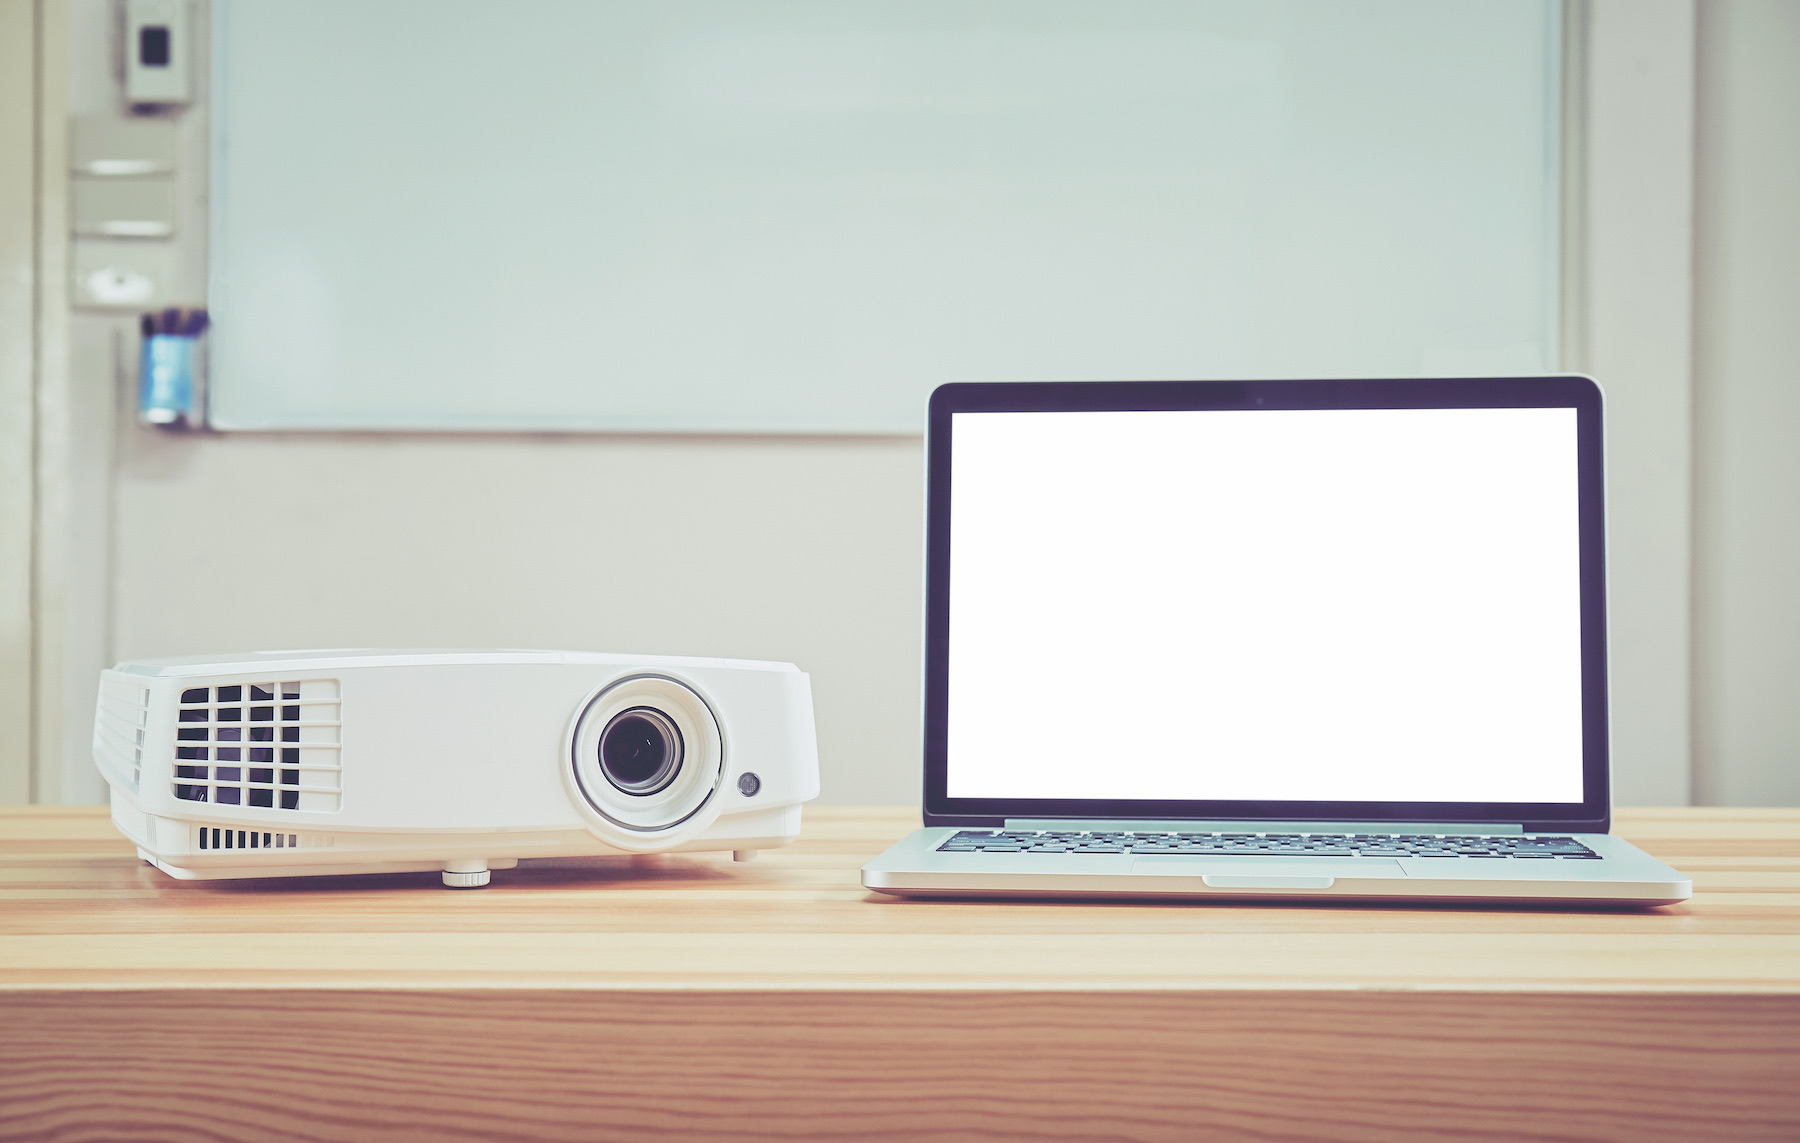
So, you've got an HP laptop and a projector, and you're ready to take your entertainment or presentation to the next level. Whether you're looking to stream movies, share a slideshow, or play your favorite video game on a bigger screen, connecting your HP laptop to a projector can open up a world of possibilities. In this guide, we'll walk you through the process of setting up your HP laptop with a projector, adjusting the display settings for optimal performance, and troubleshooting common issues that may arise along the way.
By the end of this article, you'll have the knowledge and confidence to seamlessly project your HP laptop onto a larger display, unlocking the full potential of your entertainment system or professional presentations. So, grab your laptop, dust off that projector, and let's dive into the exciting world of expanded visual experiences.
Key Takeaways:
- Connecting your HP laptop to a projector is as easy as gathering the right cables, powering off devices, and booting up your laptop. Once connected, adjust display settings for the best viewing experience.
- Troubleshoot common issues like no display, resolution mismatch, audio concerns, and display flickering by checking cable connections, adjusting settings, and keeping drivers updated. Enjoy seamless projection from your HP laptop to the projector!
Setting up the Connection
Before you can start enjoying the benefits of a larger display, you’ll need to establish a physical connection between your HP laptop and the projector. Here’s a step-by-step guide to help you through the process:
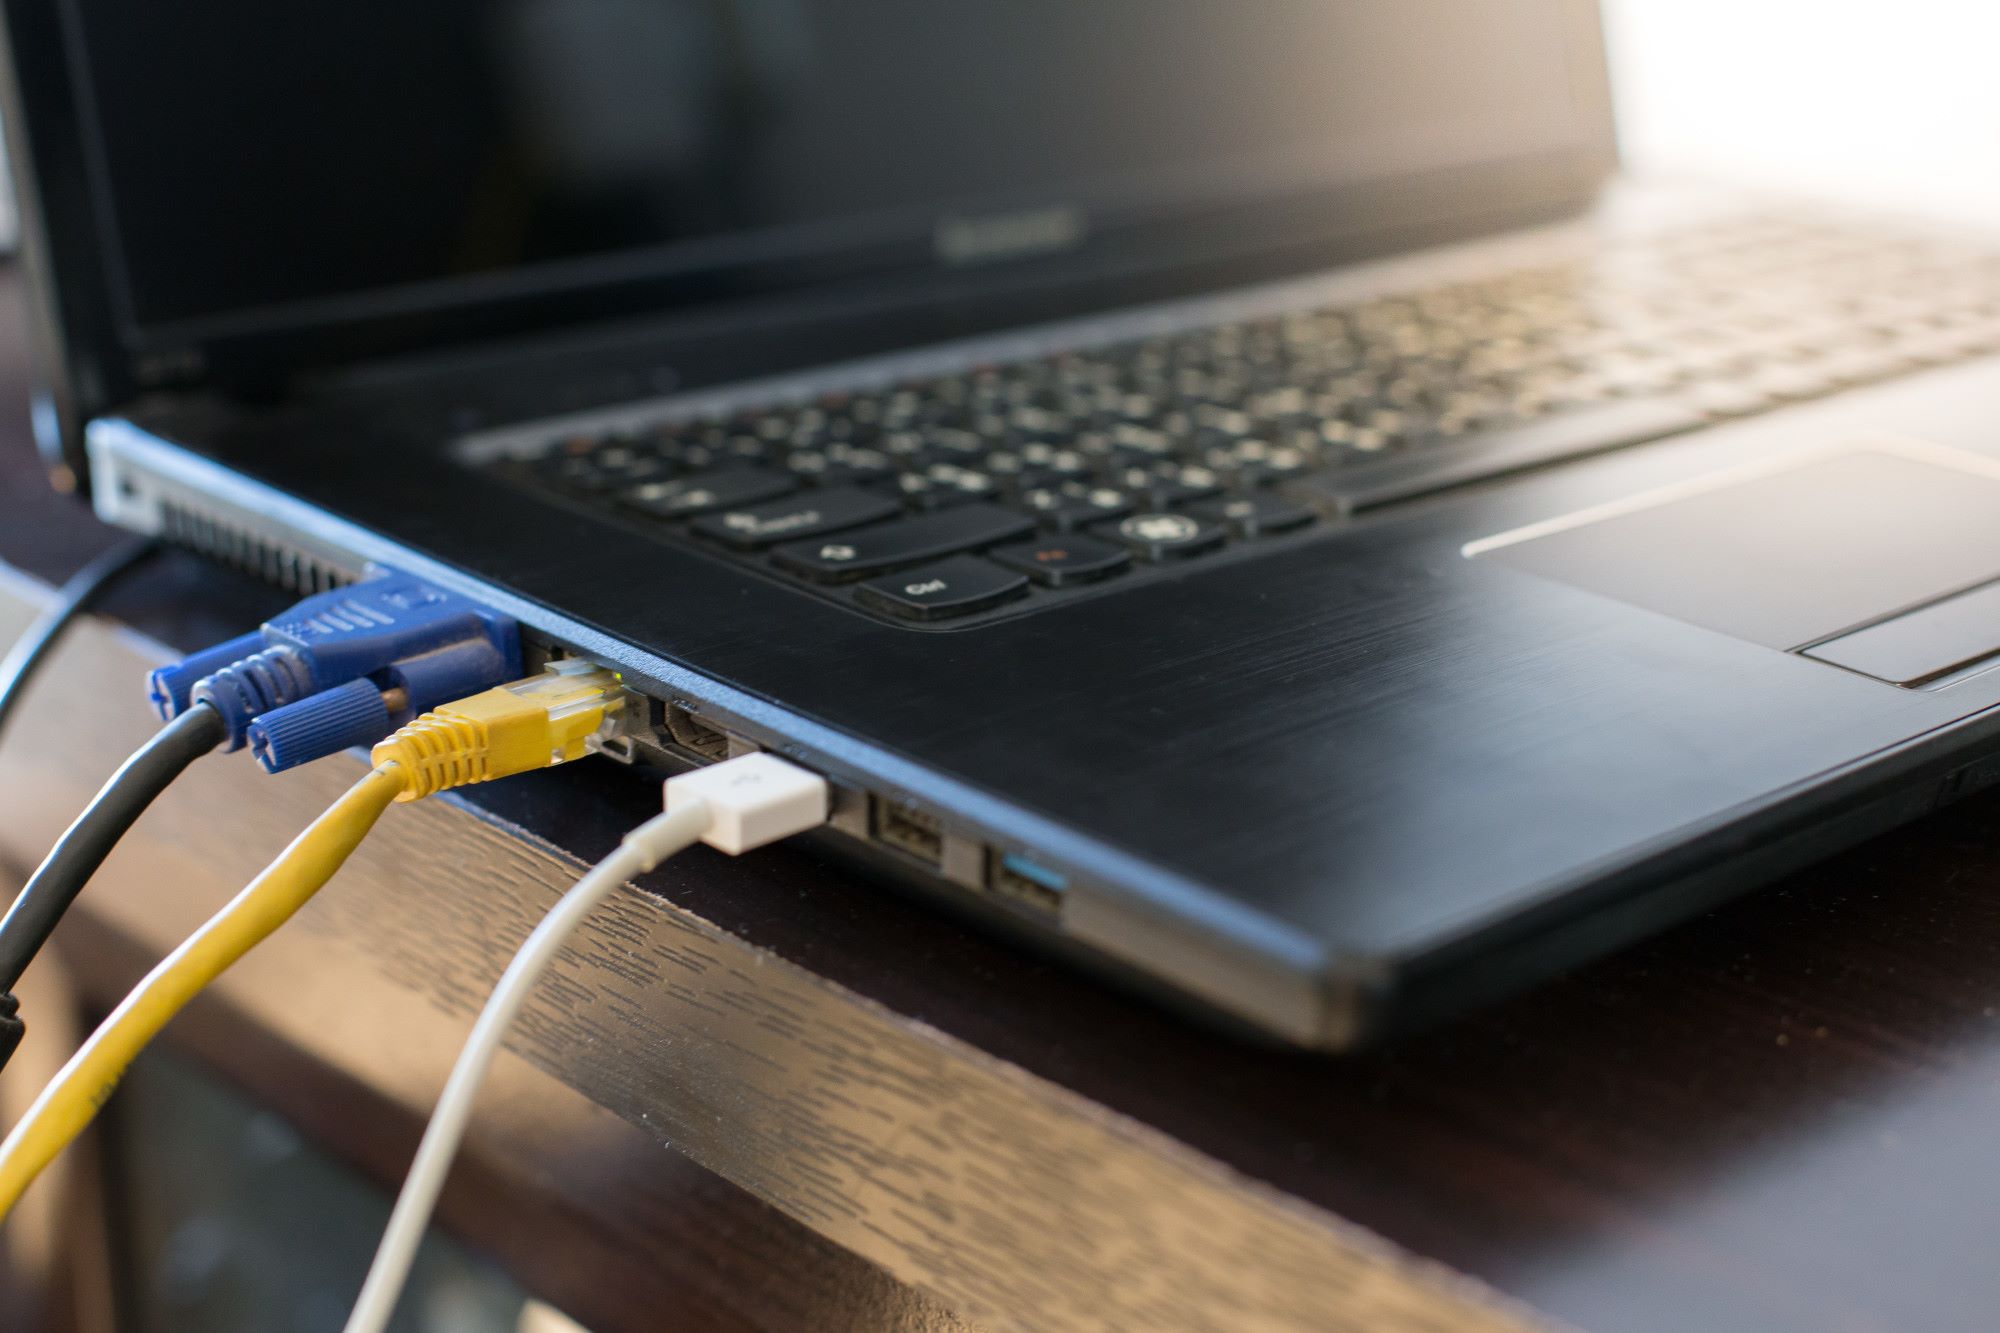
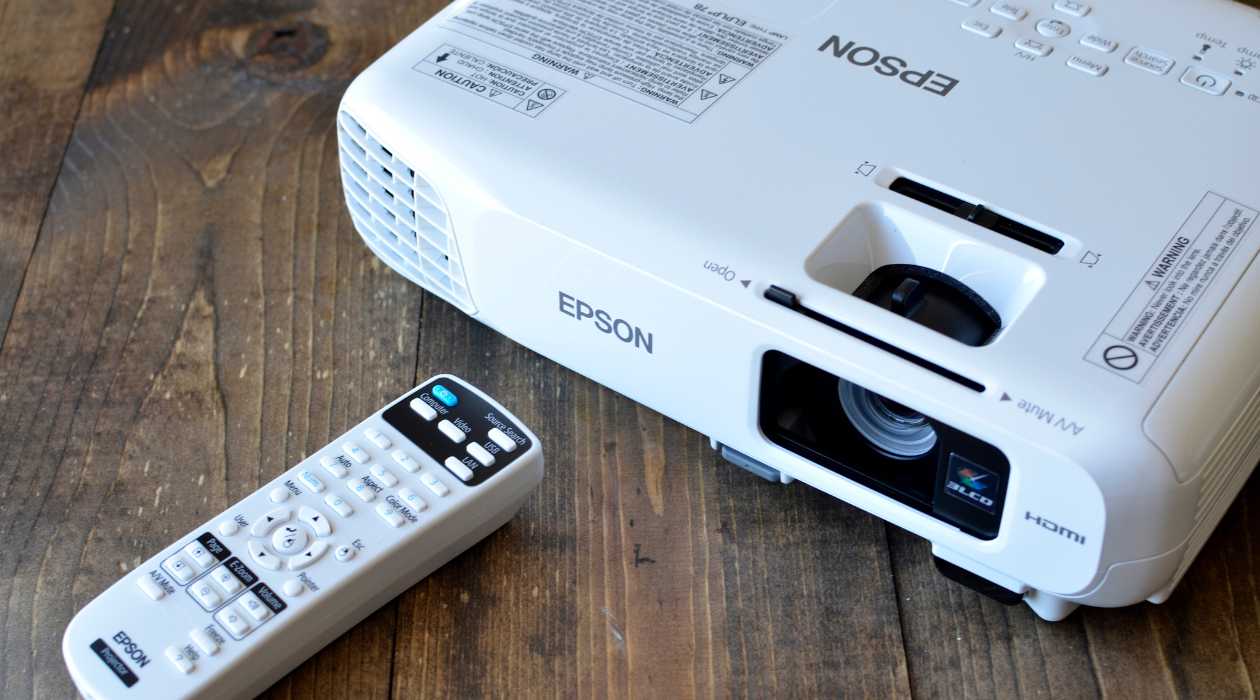
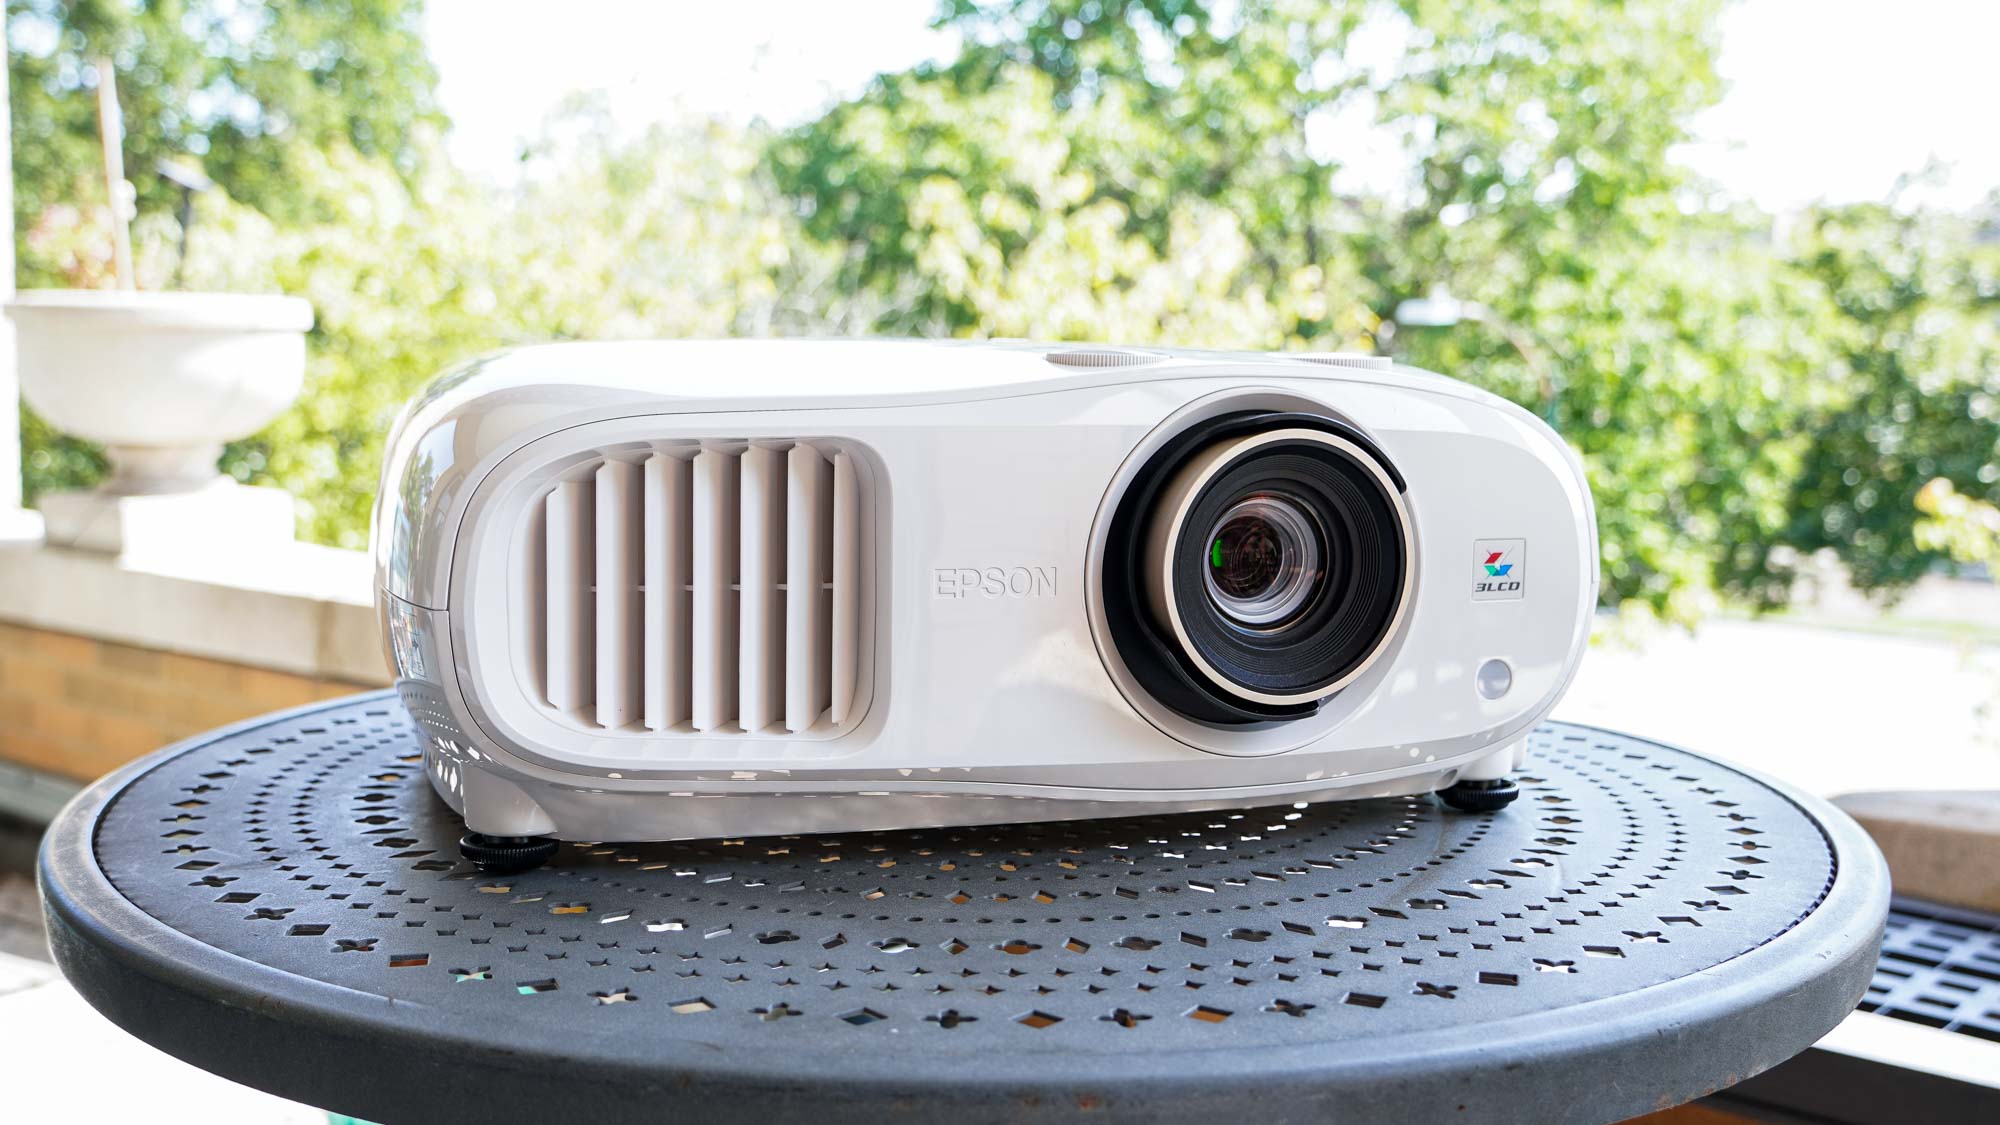
- Gather the Necessary Cables: Ensure you have the appropriate cables to connect your HP laptop to the projector. Most modern projectors and laptops use HDMI or VGA cables for connectivity. If your laptop and projector have different connection types, you may need an adapter to bridge the gap.
- Power Off Devices: Before making any connections, power off both your laptop and the projector to prevent any potential electrical issues.
- Connect the Cable: Locate the video output port on your HP laptop. For HDMI, it’s a small, trapezoid-shaped port, while VGA ports are wider and rectangular with two rows of pins. Connect one end of the cable to your laptop and the other end to the corresponding input port on the projector.
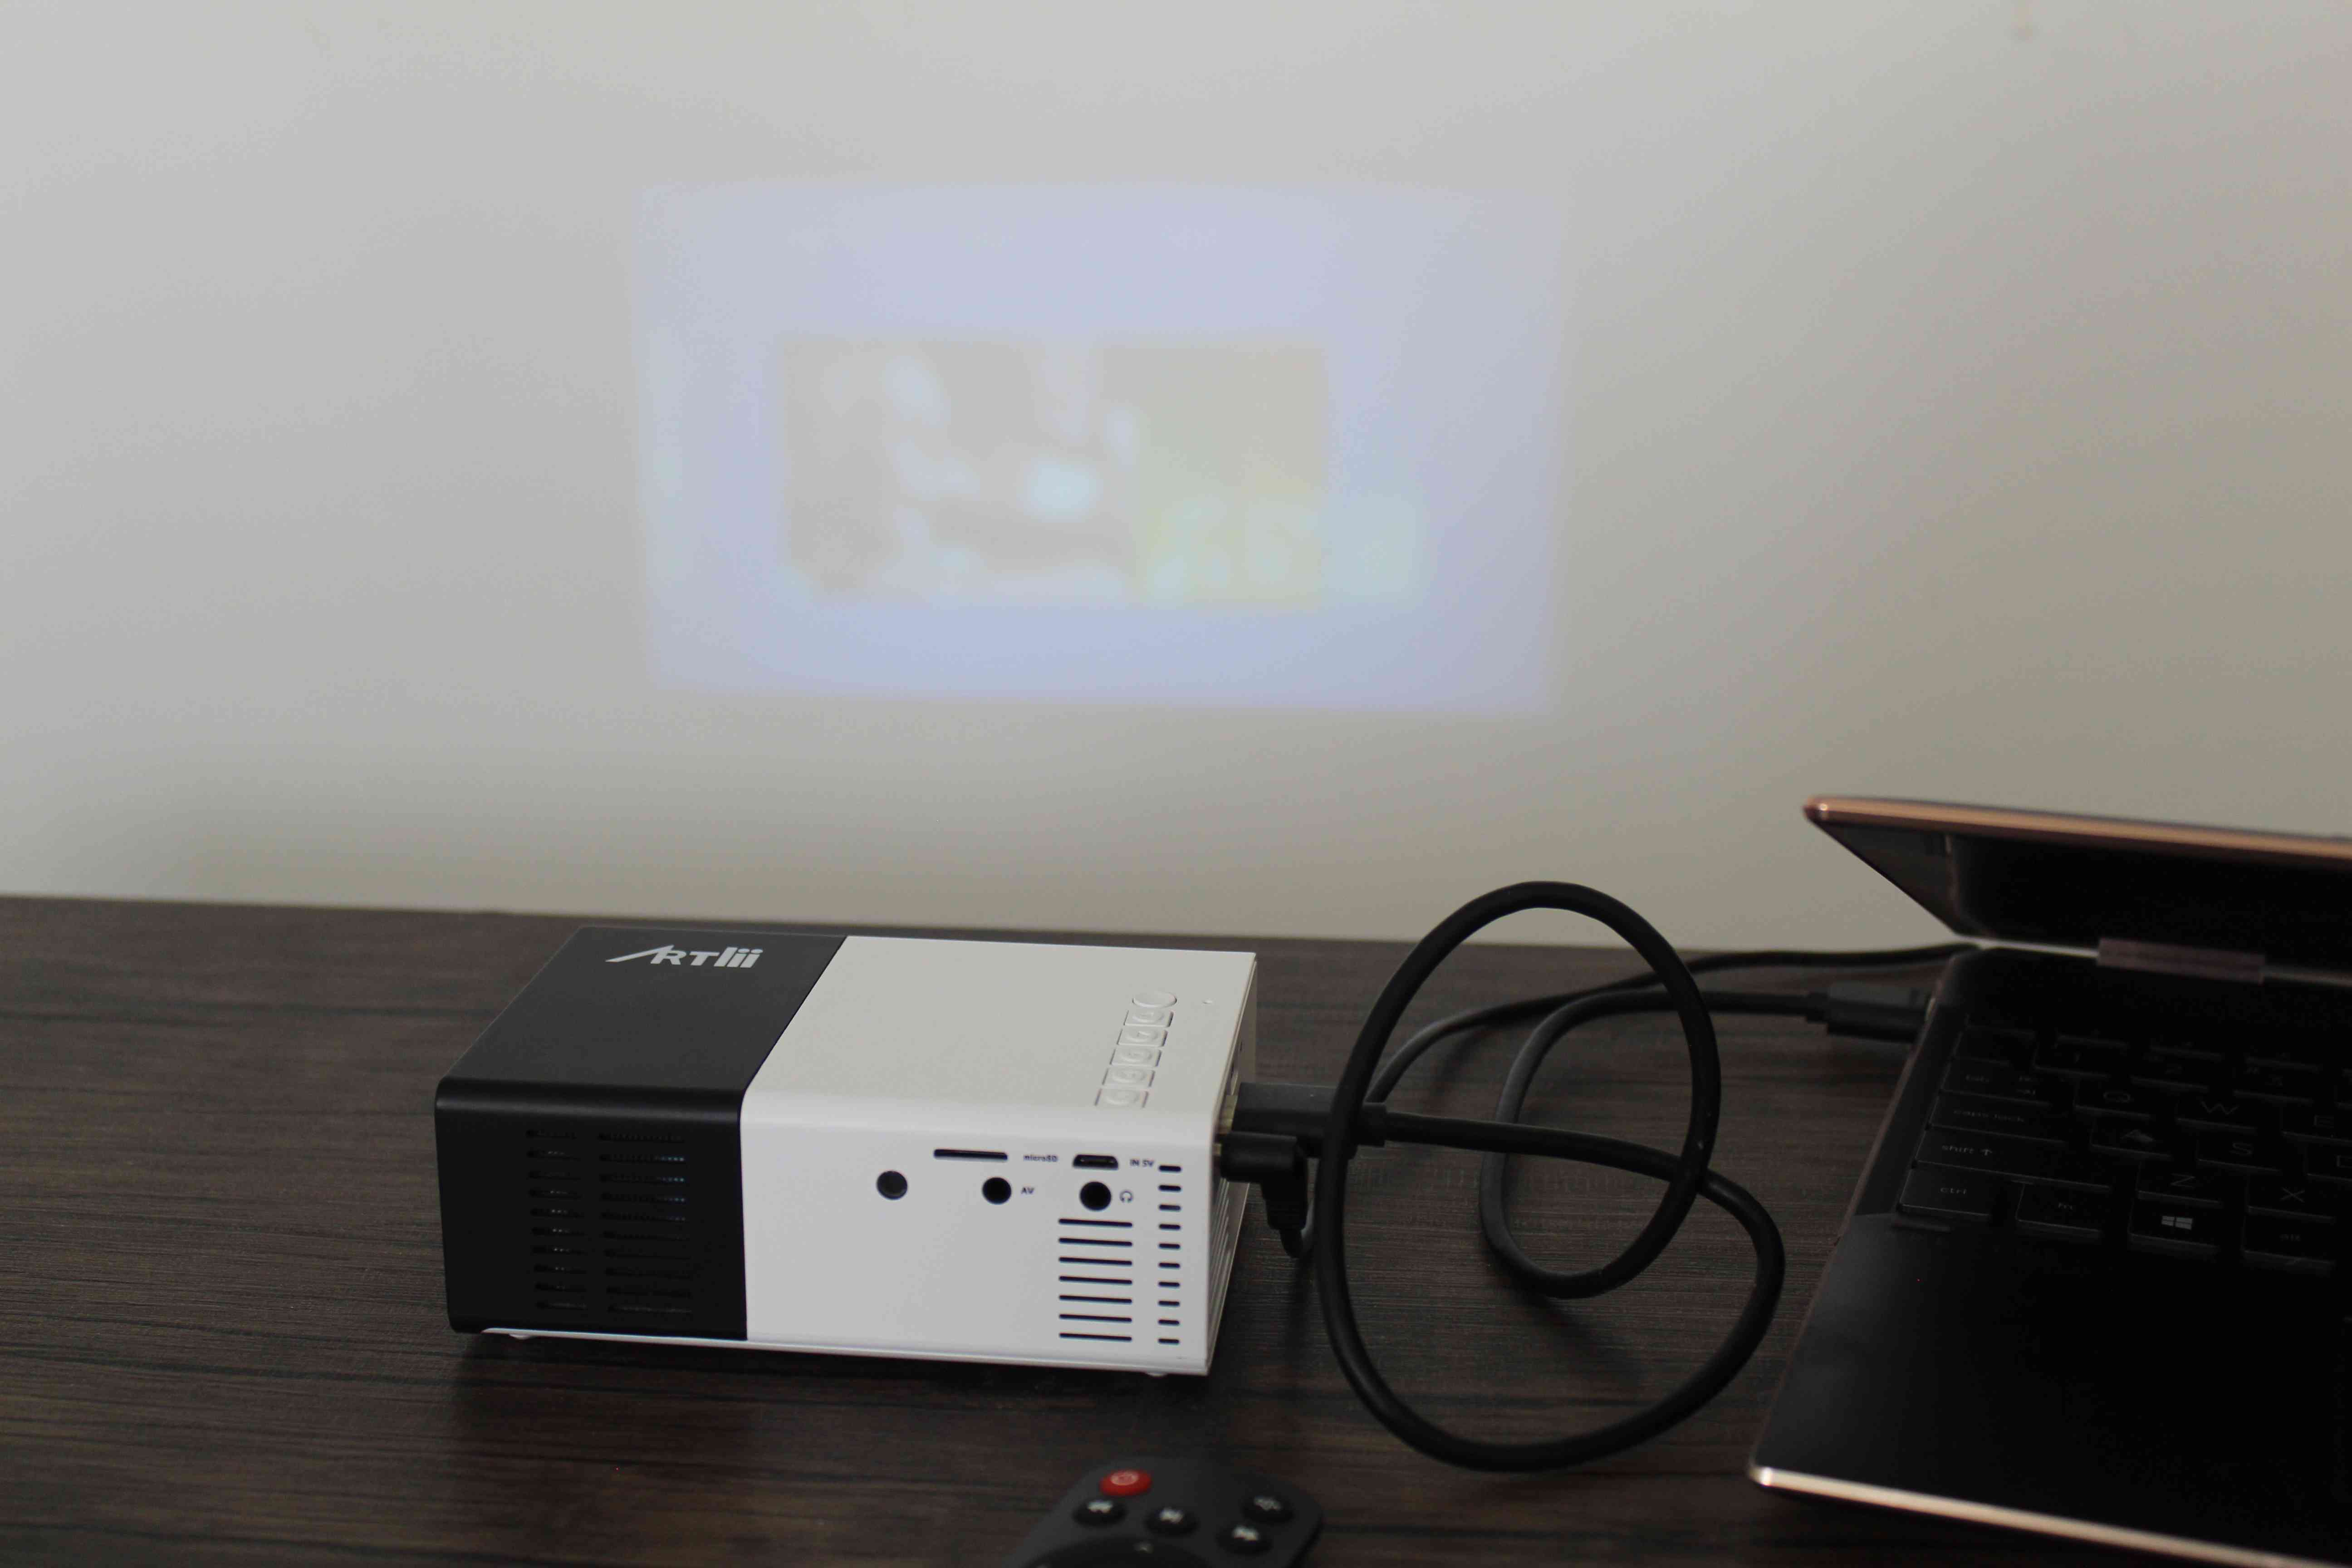
- Power On and Select Input: Power on the projector and set it to the correct input source. This may involve using the projector’s remote control or on-device controls to select the input that corresponds to the port you connected your laptop to (e.g., HDMI 1, VGA, etc.).
- Boot Up Your Laptop: Power on your HP laptop and wait for it to fully boot up. Once it’s ready, it should automatically detect the projector and display the screen content on the larger projection surface.
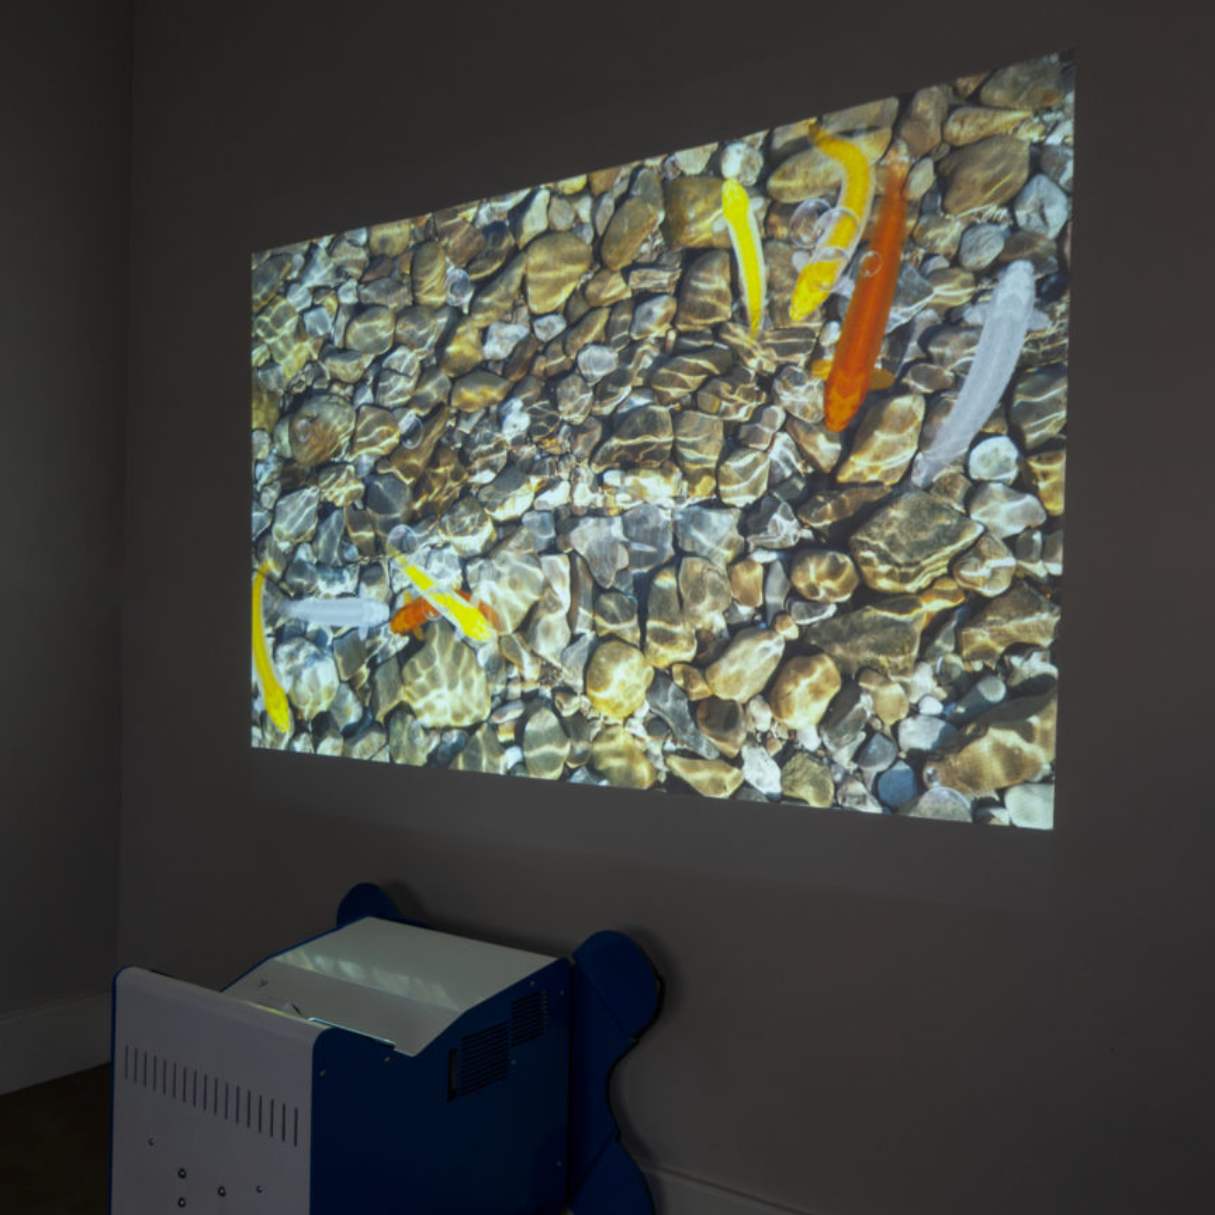
Once you’ve successfully connected your HP laptop to the projector, you’re ready to move on to the next crucial step: adjusting the display settings for an optimal viewing experience.
Adjusting Display Settings
Now that your HP laptop is connected to the projector, it’s time to ensure that the display settings are optimized for the best visual experience. Follow these steps to adjust the display settings on your HP laptop:
- Access Display Settings: On your HP laptop, right-click on the desktop and select “Display settings” from the drop-down menu. This will open the settings menu where you can customize the display options.
- Identify Multiple Displays: If your laptop is not automatically extending the display to the projector, you may need to manually configure this setting. Look for the “Multiple displays” section and choose the option that best suits your preferences. “Extend” will allow you to use the projector as an additional display, effectively extending your desktop onto the larger screen.
- Adjust Resolution and Orientation: Within the display settings, you can fine-tune the resolution and orientation of the projected display. Ensure that the resolution matches the native resolution of the projector for the best image quality. You can also choose between landscape and portrait orientation based on your specific needs.
- Set Primary Display: If you’re using the projector as the primary display for your laptop, you can designate it as the primary display within the settings. This means that all your desktop icons, taskbar, and open windows will appear on the projector screen by default.
- Customize Additional Settings: Depending on your preferences, you can explore additional settings such as scaling, brightness, and color calibration to ensure that the projected display meets your visual requirements.
By carefully adjusting the display settings on your HP laptop, you can tailor the viewing experience to your liking, whether you’re watching movies, delivering presentations, or engaging in immersive gaming sessions. With the display settings optimized, you’re now ready to make the most of your HP laptop and projector setup.
To project your HP laptop to a projector, connect the two using an HDMI or VGA cable. Then, press the “Windows” key + “P” and select “Duplicate” or “Extend” to display your laptop screen on the projector.
Troubleshooting Common Issues
While connecting your HP laptop to a projector is generally straightforward, certain issues may arise that could disrupt your viewing or presentation experience. Here are some common problems and their potential solutions:
- No Display on the Projector: If the projector isn’t displaying the content from your laptop, double-check the cable connections. Ensure that the cable is securely plugged into both the laptop and the projector. Additionally, verify that the correct input source is selected on the projector.
- Resolution Mismatch: If the projected image appears distorted or doesn’t fit the screen properly, revisit the display settings on your laptop. Adjust the resolution to match the native resolution of the projector for optimal clarity and alignment.
- Audio Output Concerns: If you’re encountering issues with audio output, ensure that the audio cable is properly connected between the laptop and the projector, or that the correct audio output source is selected on your laptop.
- Display Flickering or Distortion: In cases of flickering or distorted display, inspect the cable for any damage or try using a different cable to rule out potential connectivity issues. Additionally, check the projector’s bulb and overall condition for any signs of malfunction.
- Driver and Software Updates: Periodically check for driver updates for your laptop’s graphics card and projector compatibility. Keeping the drivers and software up to date can resolve compatibility issues and ensure smooth operation.
By addressing these common issues with practical solutions, you can troubleshoot connectivity and display problems effectively, allowing you to enjoy seamless projection from your HP laptop to the projector. With these troubleshooting tips in mind, you’re well-equipped to overcome potential obstacles and make the most of your enhanced visual setup.
Conclusion
Connecting your HP laptop to a projector opens up a world of possibilities, whether you’re seeking an immersive entertainment experience or a powerful tool for professional presentations. By following the steps outlined in this guide, you’ve learned how to establish the physical connection, adjust display settings, and troubleshoot common issues, ensuring a seamless and enjoyable projection experience.
With the ability to effortlessly project your HP laptop onto a larger display, you can elevate movie nights, share captivating presentations, or indulge in immersive gaming sessions with friends and family. The expanded screen real estate offers a new dimension for creativity, collaboration, and entertainment, enriching your digital experiences in countless ways.
As technology continues to evolve, the synergy between laptops and projectors provides a gateway to larger-than-life visuals, empowering you to captivate audiences and immerse yourself in stunning multimedia content. Whether you’re a movie enthusiast, a professional presenter, or a casual gamer, the fusion of your HP laptop and a projector unlocks a realm of visual potential waiting to be explored.
So, the next time you’re gearing up for a movie marathon, preparing a dynamic presentation, or craving a larger canvas for your digital content, remember the seamless connection between your HP laptop and a projector, and the endless possibilities it brings to your fingertips.
Embrace the power of projection, and let your imagination unfold on the grand canvas of a projector screen, powered by your trusty HP laptop.
Frequently Asked Questions about How To Project HP Laptop To Projector
Was this page helpful?
At Storables.com, we guarantee accurate and reliable information. Our content, validated by Expert Board Contributors, is crafted following stringent Editorial Policies. We're committed to providing you with well-researched, expert-backed insights for all your informational needs.


0 thoughts on “How To Project HP Laptop To Projector”