Home>Technology>Home Entertainment Systems>How To Project Laptop Screen On Wall Without Projector
Home Entertainment Systems
How To Project Laptop Screen On Wall Without Projector
Modified: August 16, 2024
Learn how to project your laptop screen onto a wall without a projector and create a home entertainment system with our simple guide. Discover the ultimate viewing experience.
(Many of the links in this article redirect to a specific reviewed product. Your purchase of these products through affiliate links helps to generate commission for Storables.com, at no extra cost. Learn more)
Introduction
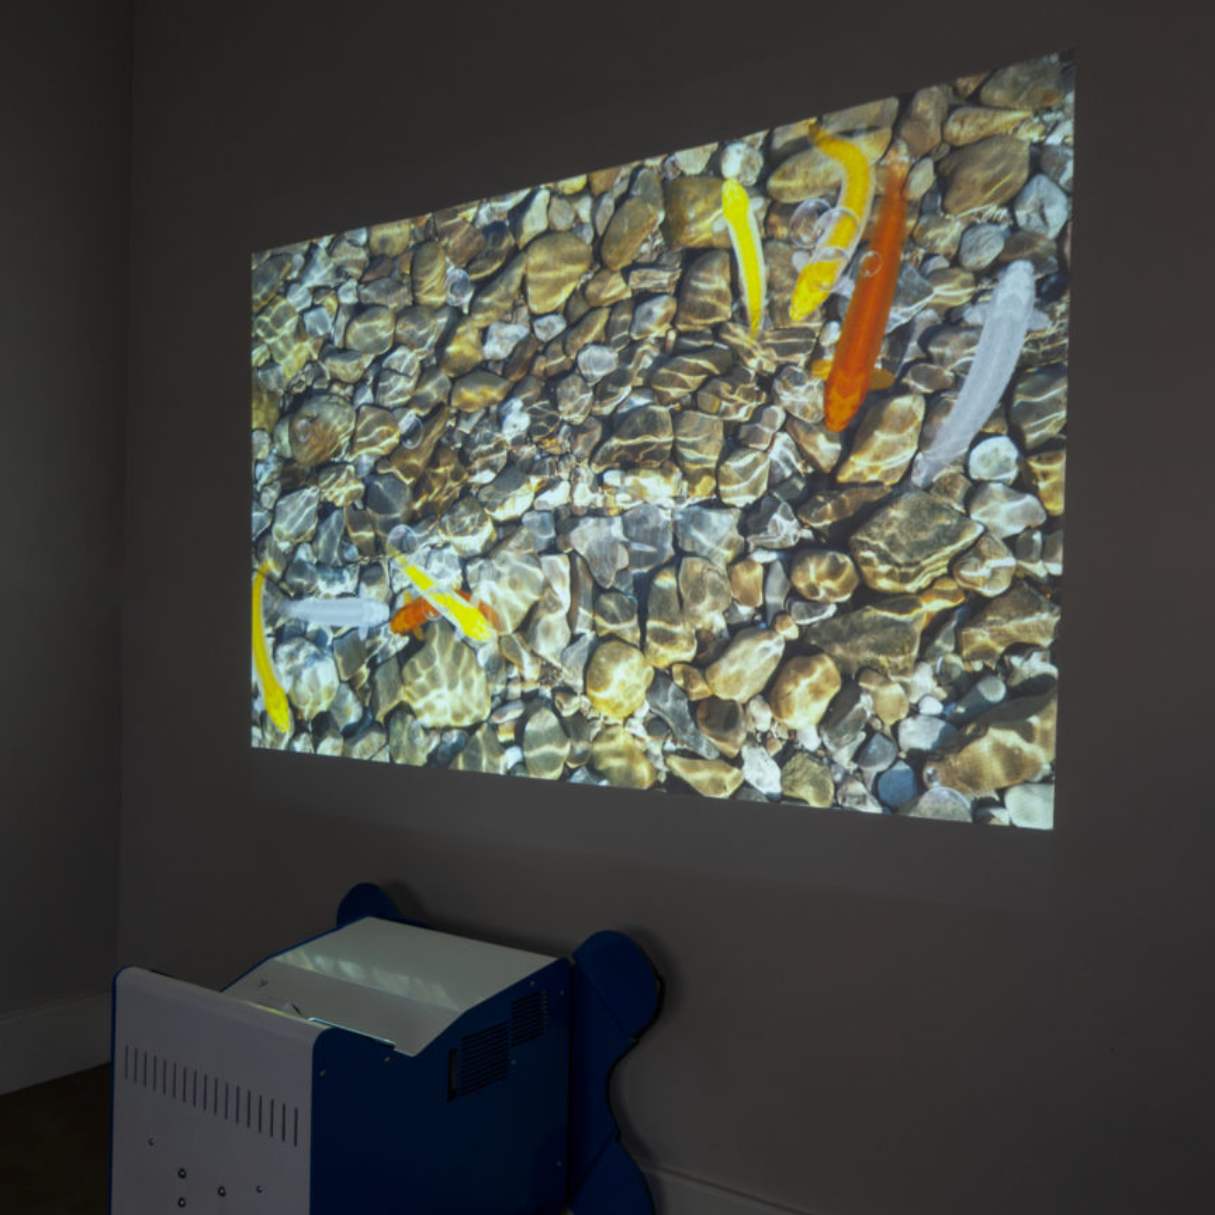
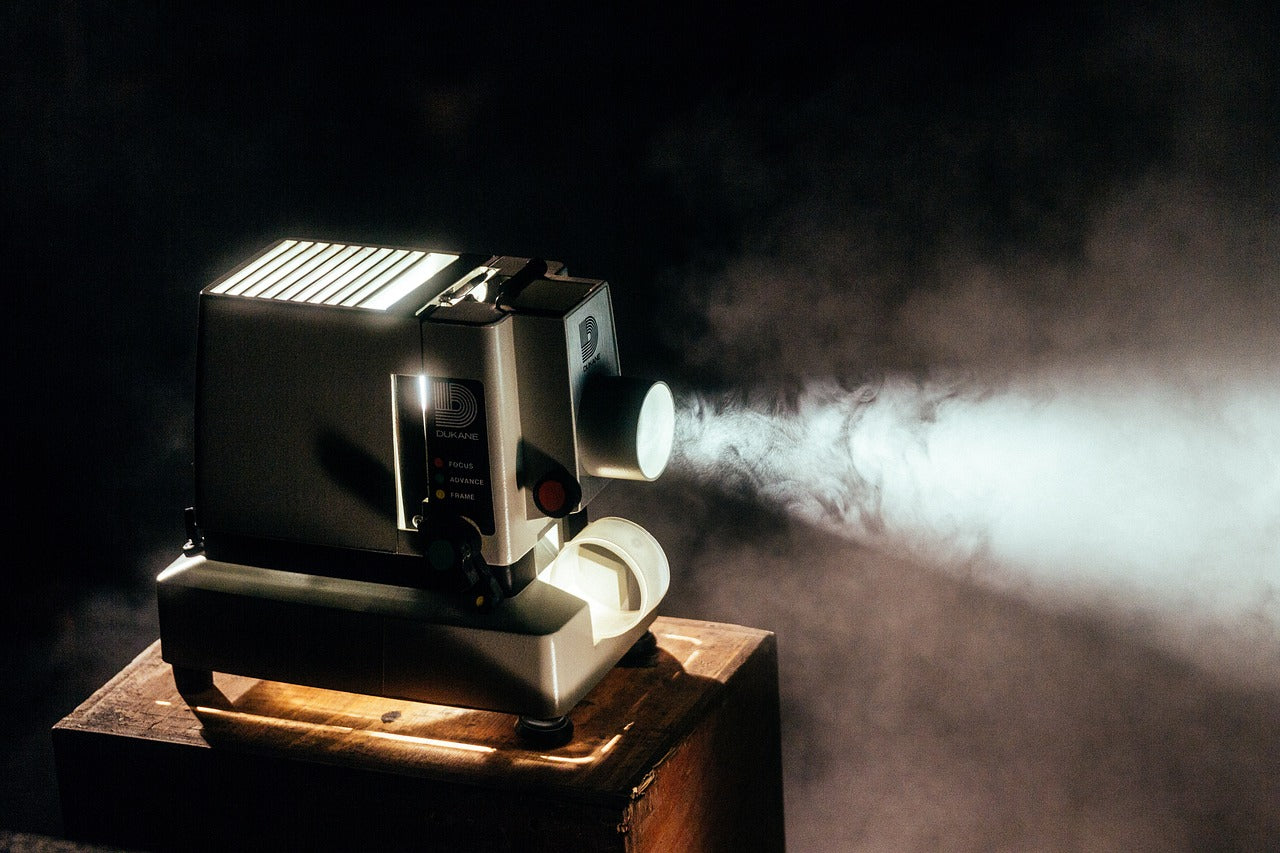
Welcome to the world of home entertainment systems, where the ability to project your laptop screen onto a wall without a projector opens up a realm of possibilities. Whether you're looking to enjoy a movie night with friends, give a presentation in a unique setting, or simply expand your screen real estate, there are several methods to achieve this seemingly magical feat.
In this article, we'll explore various techniques that allow you to project your laptop screen onto a wall without the need for a traditional projector. From utilizing a HDMI cable to leveraging wireless display adapters and cutting-edge technologies like Miracast and USB-C to HDMI adapters, we'll cover the ins and outs of each method, providing you with the knowledge to transform any wall into a canvas for your digital content.
So, whether you're a tech enthusiast seeking innovative ways to enhance your home entertainment experience or a professional looking to deliver impactful presentations in unconventional settings, join us as we delve into the exciting world of projecting your laptop screen onto a wall without a projector. Let's embark on this journey of discovery and empowerment, where the boundaries of traditional screen projection are transcended, and new possibilities are unveiled.
Key Takeaways:
- Transform any wall into a big screen by using a HDMI cable to project your laptop screen without a projector. Enjoy high-quality video and audio for movies, presentations, and gaming with minimal setup.
- Go wireless and project your laptop screen onto a wall using a wireless display adapter. Enjoy the freedom of cable-free connectivity for dynamic presentations, collaborative work, and immersive entertainment experiences.
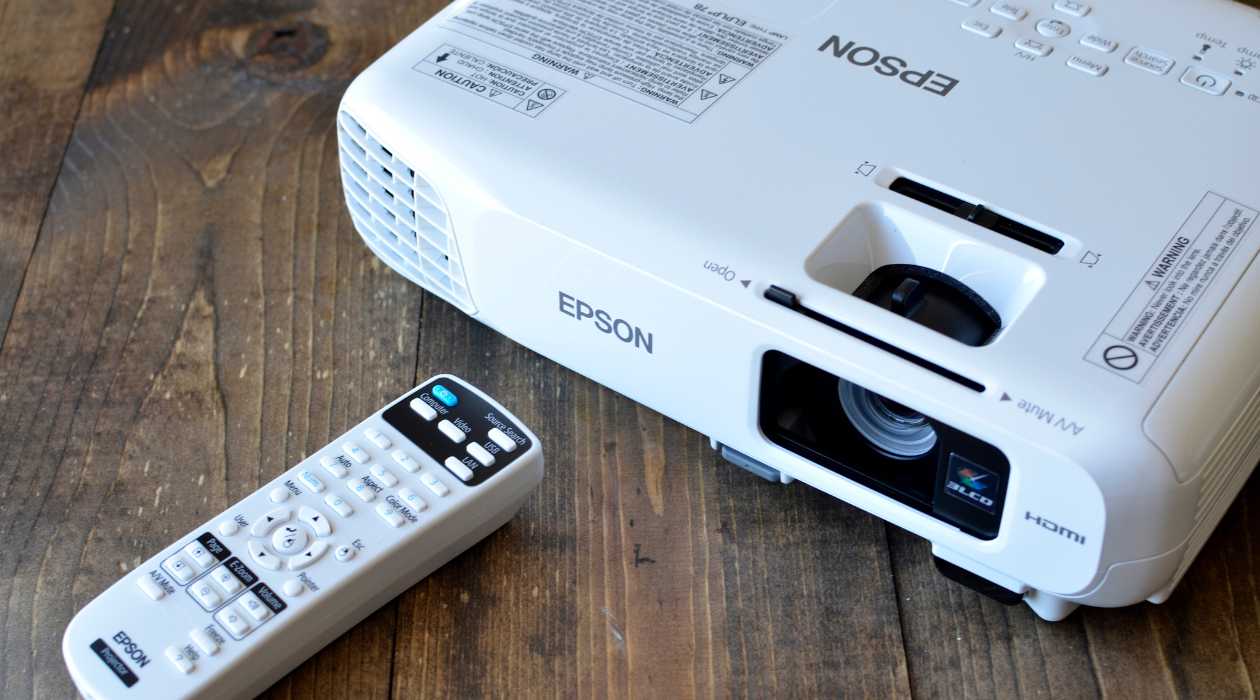
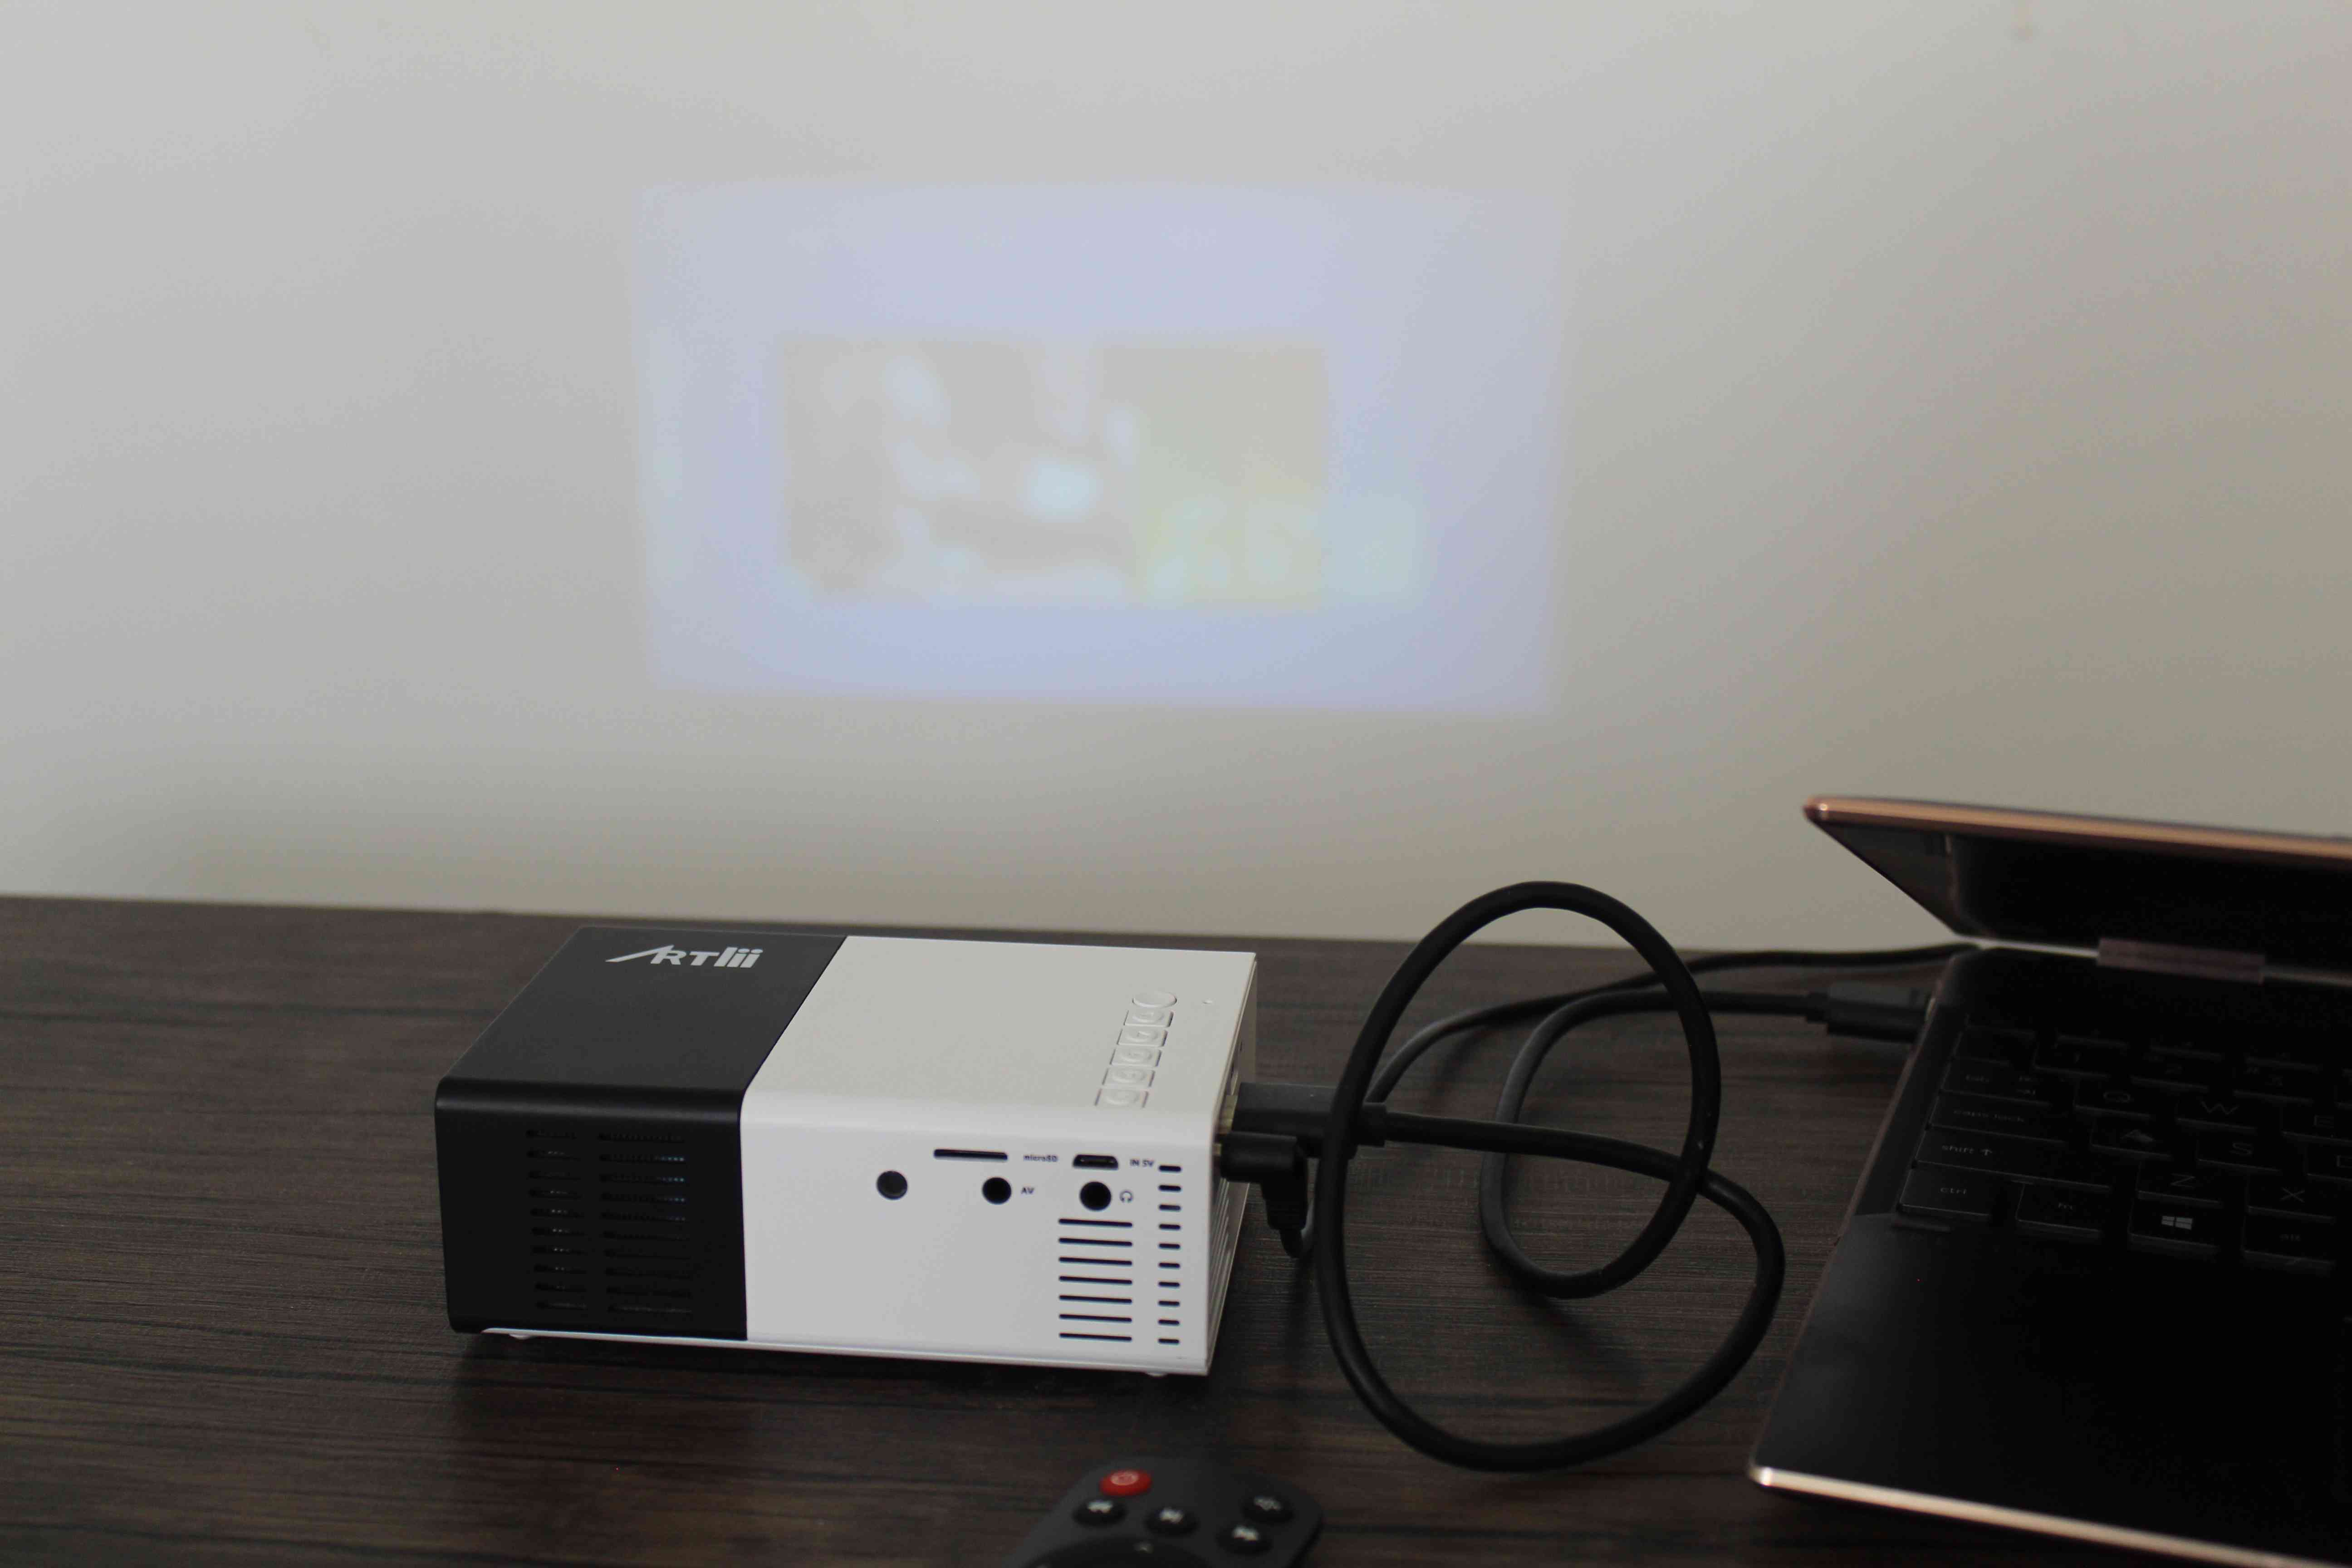
Using a HDMI Cable
One of the most straightforward and reliable methods for projecting your laptop screen onto a wall is by using a HDMI cable. This method offers a seamless connection between your laptop and the display, ensuring high-quality video and audio transmission.
To begin, ensure that your laptop and the wall display (such as a TV or monitor) have HDMI ports. Most modern laptops come equipped with an HDMI output port, allowing for easy connectivity. Once you have confirmed the availability of HDMI ports, simply connect one end of the HDMI cable to your laptop's HDMI output port and the other end to the HDMI input port on the wall display.
Next, switch on your wall display and set it to the corresponding HDMI input source. Depending on your laptop's settings, you may need to adjust the display output to enable the dual-screen or extended display mode. This can typically be done by pressing the Windows key + P on your keyboard and selecting the "Extend" option to project your laptop screen onto the wall display.
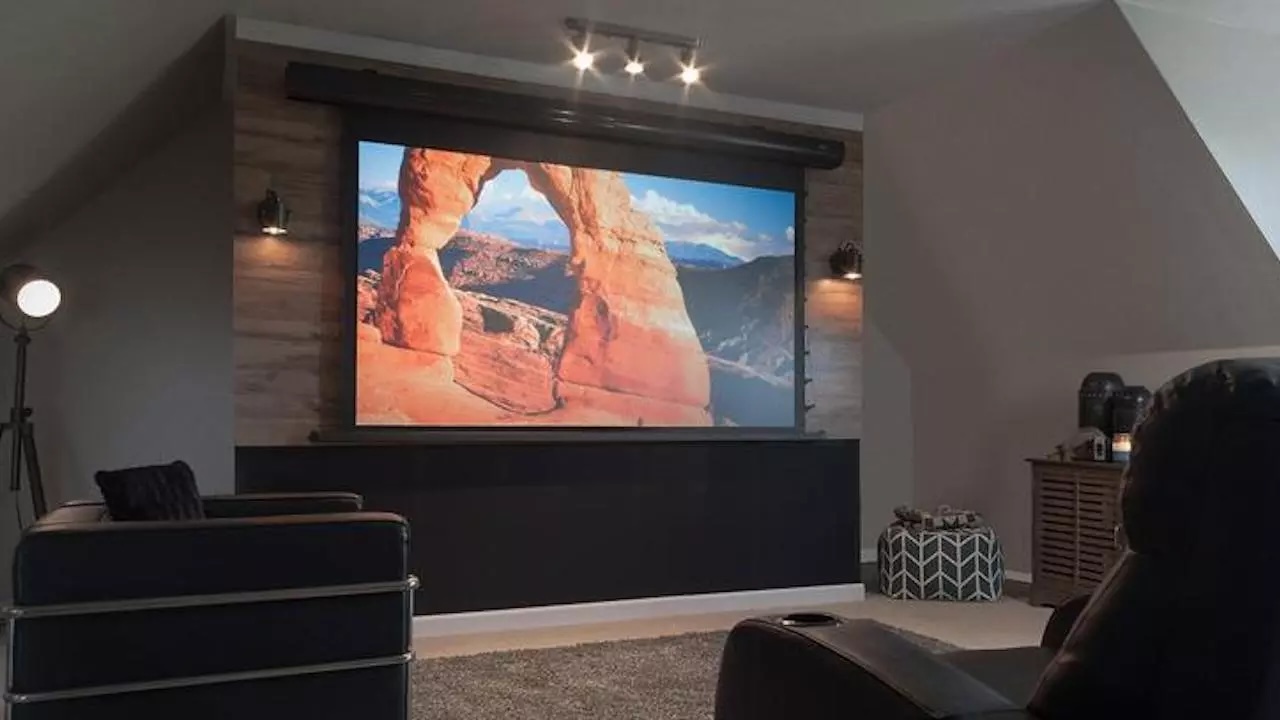
Once the connection is established and the display settings are configured, your laptop screen will be projected onto the wall, providing an immersive viewing experience for movies, presentations, or any other content you wish to share with a larger audience.
Using a HDMI cable offers several advantages, including high-definition video and audio transmission, minimal latency, and broad compatibility with various devices. Additionally, this method eliminates the need for additional software or network connectivity, making it a straightforward and dependable solution for projecting your laptop screen onto a wall.
Whether you're hosting a movie night, delivering a captivating presentation, or engaging in immersive gaming experiences, the simplicity and reliability of using a HDMI cable make it a compelling choice for transforming any wall into a dynamic display for your laptop content.
Using a Wireless Display Adapter
For those seeking a cable-free solution to project their laptop screen onto a wall, a wireless display adapter offers a convenient and versatile option. This method leverages wireless connectivity to seamlessly transmit your laptop’s display to a compatible wall display, providing flexibility and mobility.
To begin, ensure that both your laptop and the wall display support wireless display technology, such as Miracast or Wi-Fi Direct. Additionally, you’ll need a compatible wireless display adapter, such as a Miracast dongle or a Wi-Fi-enabled streaming device.
First, plug the wireless display adapter into the HDMI port of the wall display and power it up. Then, on your laptop, navigate to the display settings and select the option to "Connect to a wireless display" or a similar setting, depending on your operating system.
Once the wireless display adapter is detected, select it from the available devices to initiate the connection. Your laptop’s screen will then be wirelessly transmitted to the wall display, allowing for a seamless and cable-free projection experience.
Using a wireless display adapter offers several advantages, including the freedom of movement, as you’re not tethered to the wall display by a physical cable. This makes it ideal for dynamic presentations, interactive collaborations, and immersive entertainment experiences.
Furthermore, wireless display adapters often support multiple devices and operating systems, allowing for versatile connectivity across various laptops and wall displays. This versatility makes it a valuable tool for environments where multiple users may need to project their screens onto the wall display.
Whether you’re sharing multimedia content, engaging in collaborative work, or simply enjoying the freedom of a cable-free projection experience, a wireless display adapter provides a seamless and flexible solution for projecting your laptop screen onto a wall.
You can use a USB to HDMI adapter to connect your laptop to a TV or monitor, then position the TV or monitor to project the screen onto the wall. This can be a cost-effective alternative to using a traditional projector.
Using Miracast
When it comes to wirelessly projecting your laptop screen onto a wall display, Miracast technology offers a robust and versatile solution. Miracast enables seamless screen mirroring and content sharing between compatible devices, making it an ideal choice for those seeking a streamlined and intuitive projection experience.
To utilize Miracast for projecting your laptop screen onto a wall, ensure that both your laptop and the wall display support Miracast technology. Most modern laptops running Windows 8.1 or later, as well as Android devices, are equipped with Miracast capabilities. Additionally, many smart TVs and streaming devices also support Miracast, providing a wide range of compatible options for wall displays.
Begin by activating the Miracast feature on your wall display. This typically involves navigating to the display settings or the screen mirroring section of your wall display and selecting the option to enable Miracast or screen mirroring. On your laptop, access the display settings and initiate the screen mirroring or projection feature, selecting the option to connect to a wireless display or a similar setting.
Once the Miracast connection is established, your laptop’s screen will be wirelessly mirrored onto the wall display, allowing for a seamless and immersive projection experience. Whether you’re sharing presentations, enjoying multimedia content, or engaging in collaborative work, Miracast provides a reliable and versatile platform for projecting your laptop screen onto a wall.
One of the key advantages of using Miracast is its broad compatibility across a range of devices and operating systems. This means that regardless of the specific make and model of your laptop or wall display, as long as they support Miracast, you can enjoy the benefits of seamless screen mirroring and content sharing.
Furthermore, Miracast offers low-latency and high-definition transmission, ensuring that your content is displayed with clarity and minimal delay, enhancing the overall projection experience. Whether you’re at home, in the office, or in a collaborative workspace, Miracast empowers you to effortlessly project your laptop screen onto a wall display, unlocking new possibilities for sharing and presenting digital content.
Using a USB-C to HDMI Adapter
As technology continues to evolve, many modern laptops are equipped with USB-C ports, which offer versatile connectivity options, including the ability to project your laptop screen onto a wall display using a USB-C to HDMI adapter. This method provides a convenient and straightforward way to transform any wall into a canvas for your digital content.
To begin, ensure that your laptop features a USB-C port that supports video output. Additionally, you’ll need a USB-C to HDMI adapter, which allows you to connect your laptop to the HDMI input port of the wall display.
Start by plugging the USB-C to HDMI adapter into your laptop’s USB-C port. Then, connect one end of the HDMI cable to the adapter and the other end to the HDMI input port of the wall display. Once the physical connections are established, switch on the wall display and set it to the corresponding HDMI input source.
Depending on your laptop’s settings, you may need to navigate to the display settings and configure the output to enable the dual-screen or extended display mode. This can typically be done by accessing the display settings and selecting the option to extend or duplicate the display onto the HDMI-connected wall display.
Using a USB-C to HDMI adapter offers several advantages, including a compact and portable solution for projecting your laptop screen onto a wall. The versatility of USB-C connectivity allows for seamless integration with a wide range of laptops, including many modern ultrabooks and MacBooks that feature USB-C ports.
Furthermore, USB-C to HDMI adapters support high-definition video and audio transmission, ensuring that your content is displayed with clarity and accompanied by immersive sound. This makes it an ideal choice for enjoying movies, sharing presentations, or engaging in gaming experiences on a larger screen.
Whether you’re at home, in a conference room, or at a collaborative workspace, the convenience and versatility of using a USB-C to HDMI adapter empower you to effortlessly project your laptop screen onto a wall display, expanding your digital canvas and enhancing the way you share and interact with content.
Read more: How To Install Projector Screen On Wall
Conclusion
As we conclude our exploration of projecting a laptop screen onto a wall without a projector, we’ve uncovered a multitude of innovative and versatile methods that cater to diverse preferences and technological capabilities. From the simplicity of using a HDMI cable to the wireless freedom offered by Miracast and wireless display adapters, each approach presents unique advantages for transforming any wall into a dynamic display for your laptop content.
Whether you’re seeking high-definition video and audio transmission, the convenience of cable-free connectivity, or the versatility of USB-C integration, the methods discussed in this article cater to a wide range of scenarios, from home entertainment and professional presentations to collaborative work environments.
By leveraging these techniques, you can elevate your viewing experiences, engage in impactful presentations, and explore new dimensions of content sharing. Whether it’s a movie night with friends, a captivating business pitch, or an immersive gaming session, the ability to project your laptop screen onto a wall unlocks a world of possibilities and enriches the way you interact with digital content.
Furthermore, as technology continues to advance, we can anticipate even more innovative solutions and enhancements that further expand the capabilities of projecting laptop screens onto walls. From seamless integration with emerging display technologies to enhanced compatibility across devices and operating systems, the future holds promise for even more immersive and intuitive projection experiences.
As you embark on your journey of projecting your laptop screen onto a wall, consider the specific needs of your environment and the capabilities of your devices to determine the most suitable method for your unique requirements. Whether you opt for the reliability of a HDMI cable, the flexibility of wireless display adapters, the seamless connectivity of Miracast, or the versatility of USB-C to HDMI adapters, the power to transform any wall into a captivating canvas for your digital content lies within your grasp.
Embrace the possibilities, unleash your creativity, and immerse yourself in the boundless potential of projecting your laptop screen onto a wall, where technology converges with imagination to redefine the way we experience and share digital content.
Frequently Asked Questions about How To Project Laptop Screen On Wall Without Projector
Was this page helpful?
At Storables.com, we guarantee accurate and reliable information. Our content, validated by Expert Board Contributors, is crafted following stringent Editorial Policies. We're committed to providing you with well-researched, expert-backed insights for all your informational needs.


0 thoughts on “How To Project Laptop Screen On Wall Without Projector”