Home>Technology>Home Entertainment Systems>How To Connect Epson Projector To Laptop Via USB
Home Entertainment Systems
How To Connect Epson Projector To Laptop Via USB
Modified: February 26, 2024
Learn how to easily connect your Epson projector to your laptop via USB for seamless integration into your home entertainment system. Simplify your setup and enjoy high-quality viewing experiences.
(Many of the links in this article redirect to a specific reviewed product. Your purchase of these products through affiliate links helps to generate commission for Storables.com, at no extra cost. Learn more)
Introduction
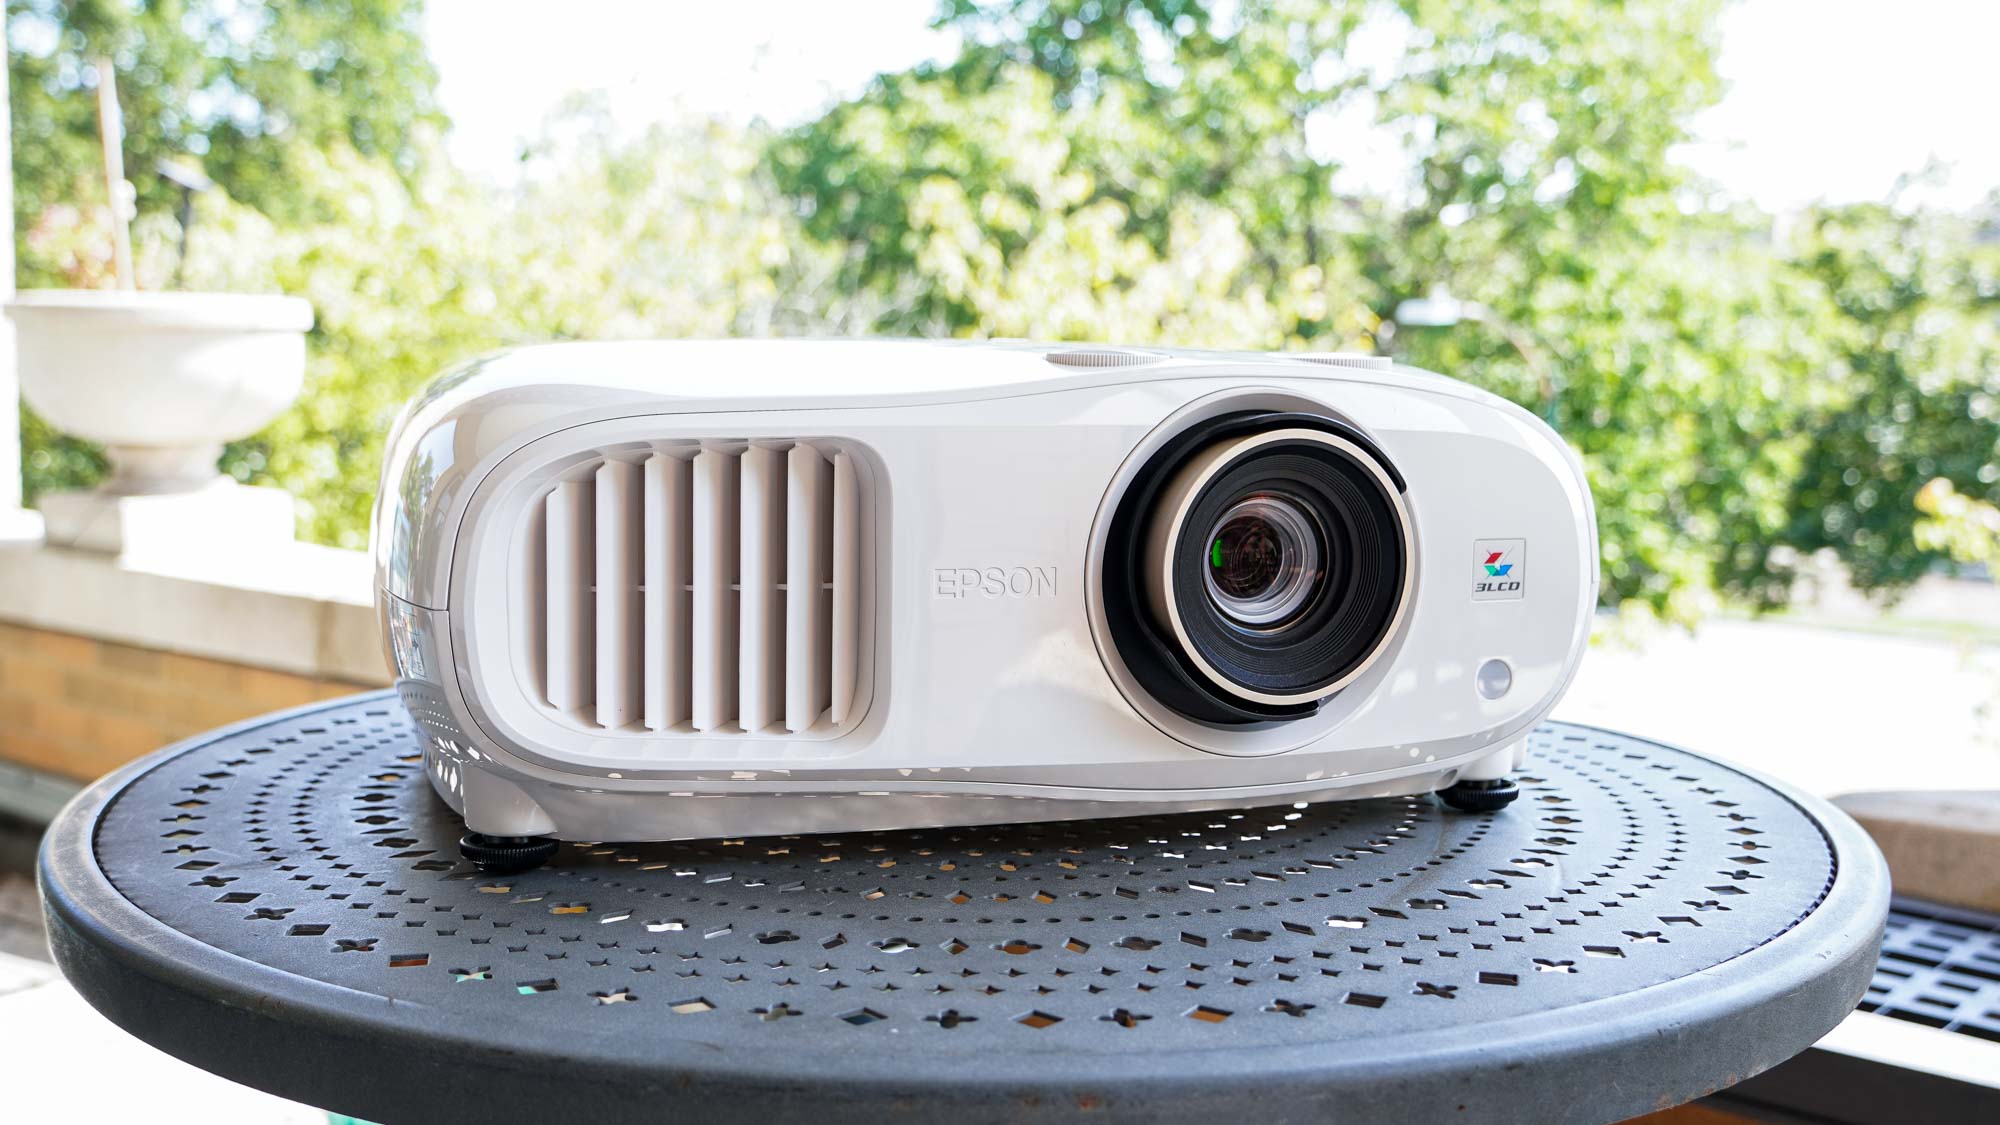
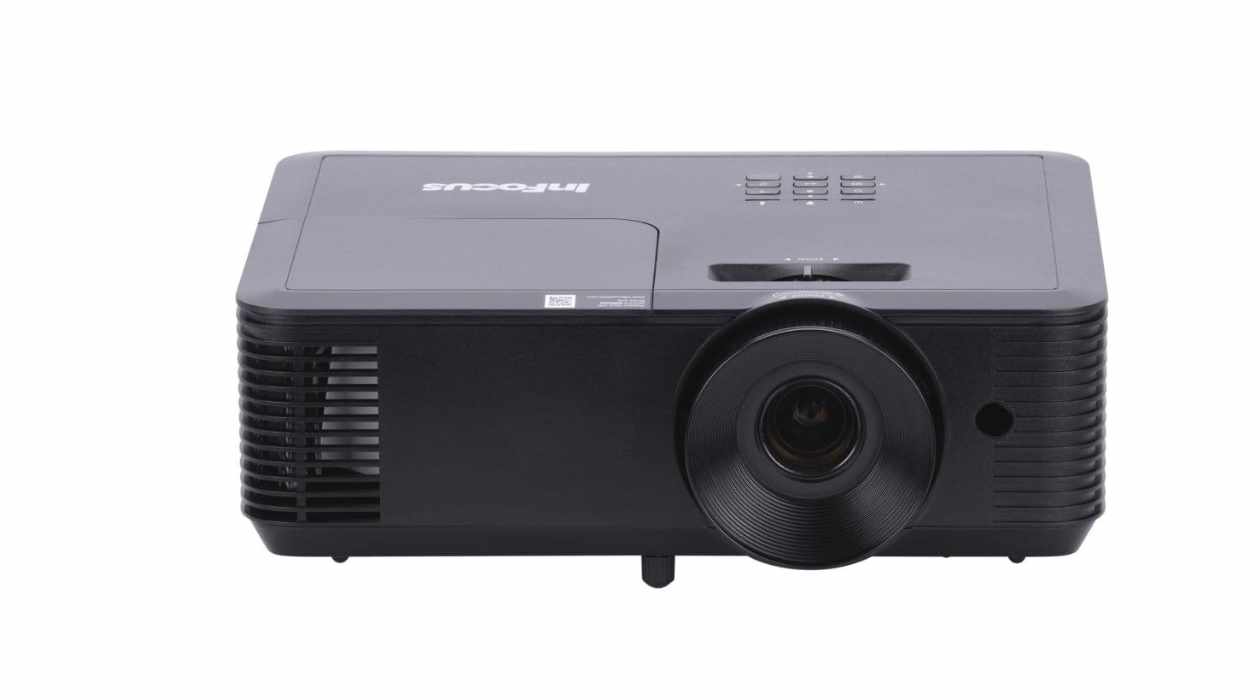
In today's fast-paced world, home entertainment systems have become an integral part of our lives. Whether it's for watching movies, playing video games, or delivering presentations, a high-quality projector can elevate the overall viewing experience. Epson, a renowned name in the world of projectors, offers a wide range of devices that cater to various needs and preferences.
When it comes to connecting an Epson projector to a laptop, the process can seem daunting at first. However, with the right guidance and a clear understanding of the steps involved, you can seamlessly link these two devices to enjoy a larger-than-life display of your content. One of the most convenient methods for connecting an Epson projector to a laptop is through a USB connection. This method offers simplicity and ease of use, making it an attractive option for users looking to avoid the complexities of multiple cables and connections.
In this comprehensive guide, we will walk you through the step-by-step process of connecting your Epson projector to your laptop using a USB cable. By following these instructions, you can harness the full potential of your Epson projector and create a captivating visual experience for yourself and your audience. So, grab your laptop, power up your Epson projector, and let's embark on this journey to seamlessly connect these two devices for an immersive viewing experience.
Key Takeaways:
- You can connect your Epson projector to your laptop using a USB cable for a bigger and better viewing experience. Just make sure they’re compatible, connect the cable, adjust settings, and enjoy seamless visuals!
- By connecting your laptop to your Epson projector via USB, you can easily share presentations, watch movies, and create captivating visual experiences. It’s a simple process that unlocks a world of possibilities for immersive entertainment and impactful storytelling.
Read more: How To Connect Epson Projector With Laptop
Step 1: Check Compatibility
Before diving into the process of connecting your Epson projector to your laptop via USB, it’s crucial to ensure that both devices are compatible and meet the necessary requirements. This initial step can save you time and frustration by preventing potential issues that may arise from incompatible hardware or software.
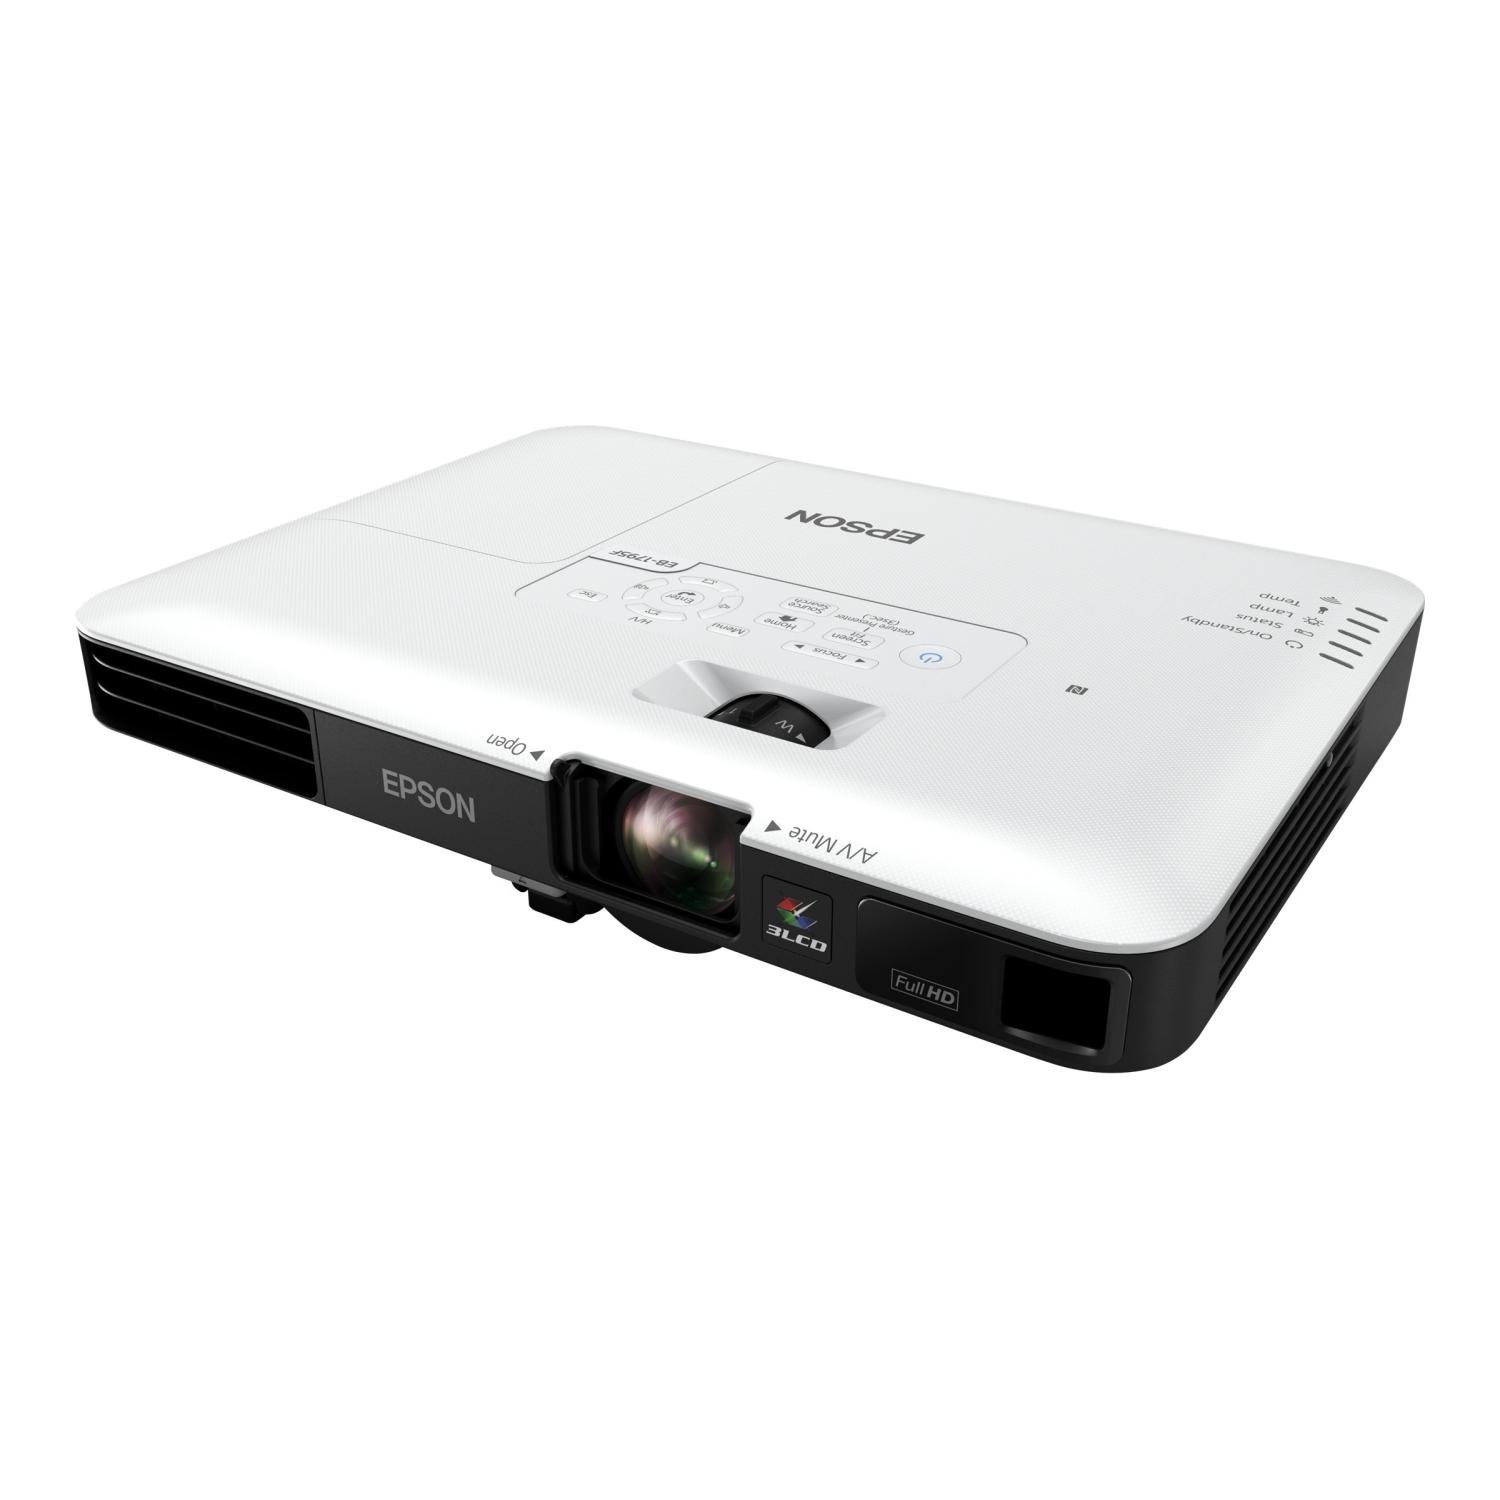
First and foremost, verify that your Epson projector supports USB connectivity. Most modern Epson projectors come equipped with USB ports that allow for direct connections to external devices such as laptops. However, it’s essential to consult the user manual or visit Epson’s official website to confirm the specific model’s USB compatibility and supported functionalities.
Next, check the USB specifications of your laptop. Ensure that your laptop has a USB port that is compatible with the USB version supported by your Epson projector. For instance, if your projector utilizes USB 3.0 technology, ensure that your laptop is equipped with a USB 3.0 port to achieve optimal performance and compatibility.
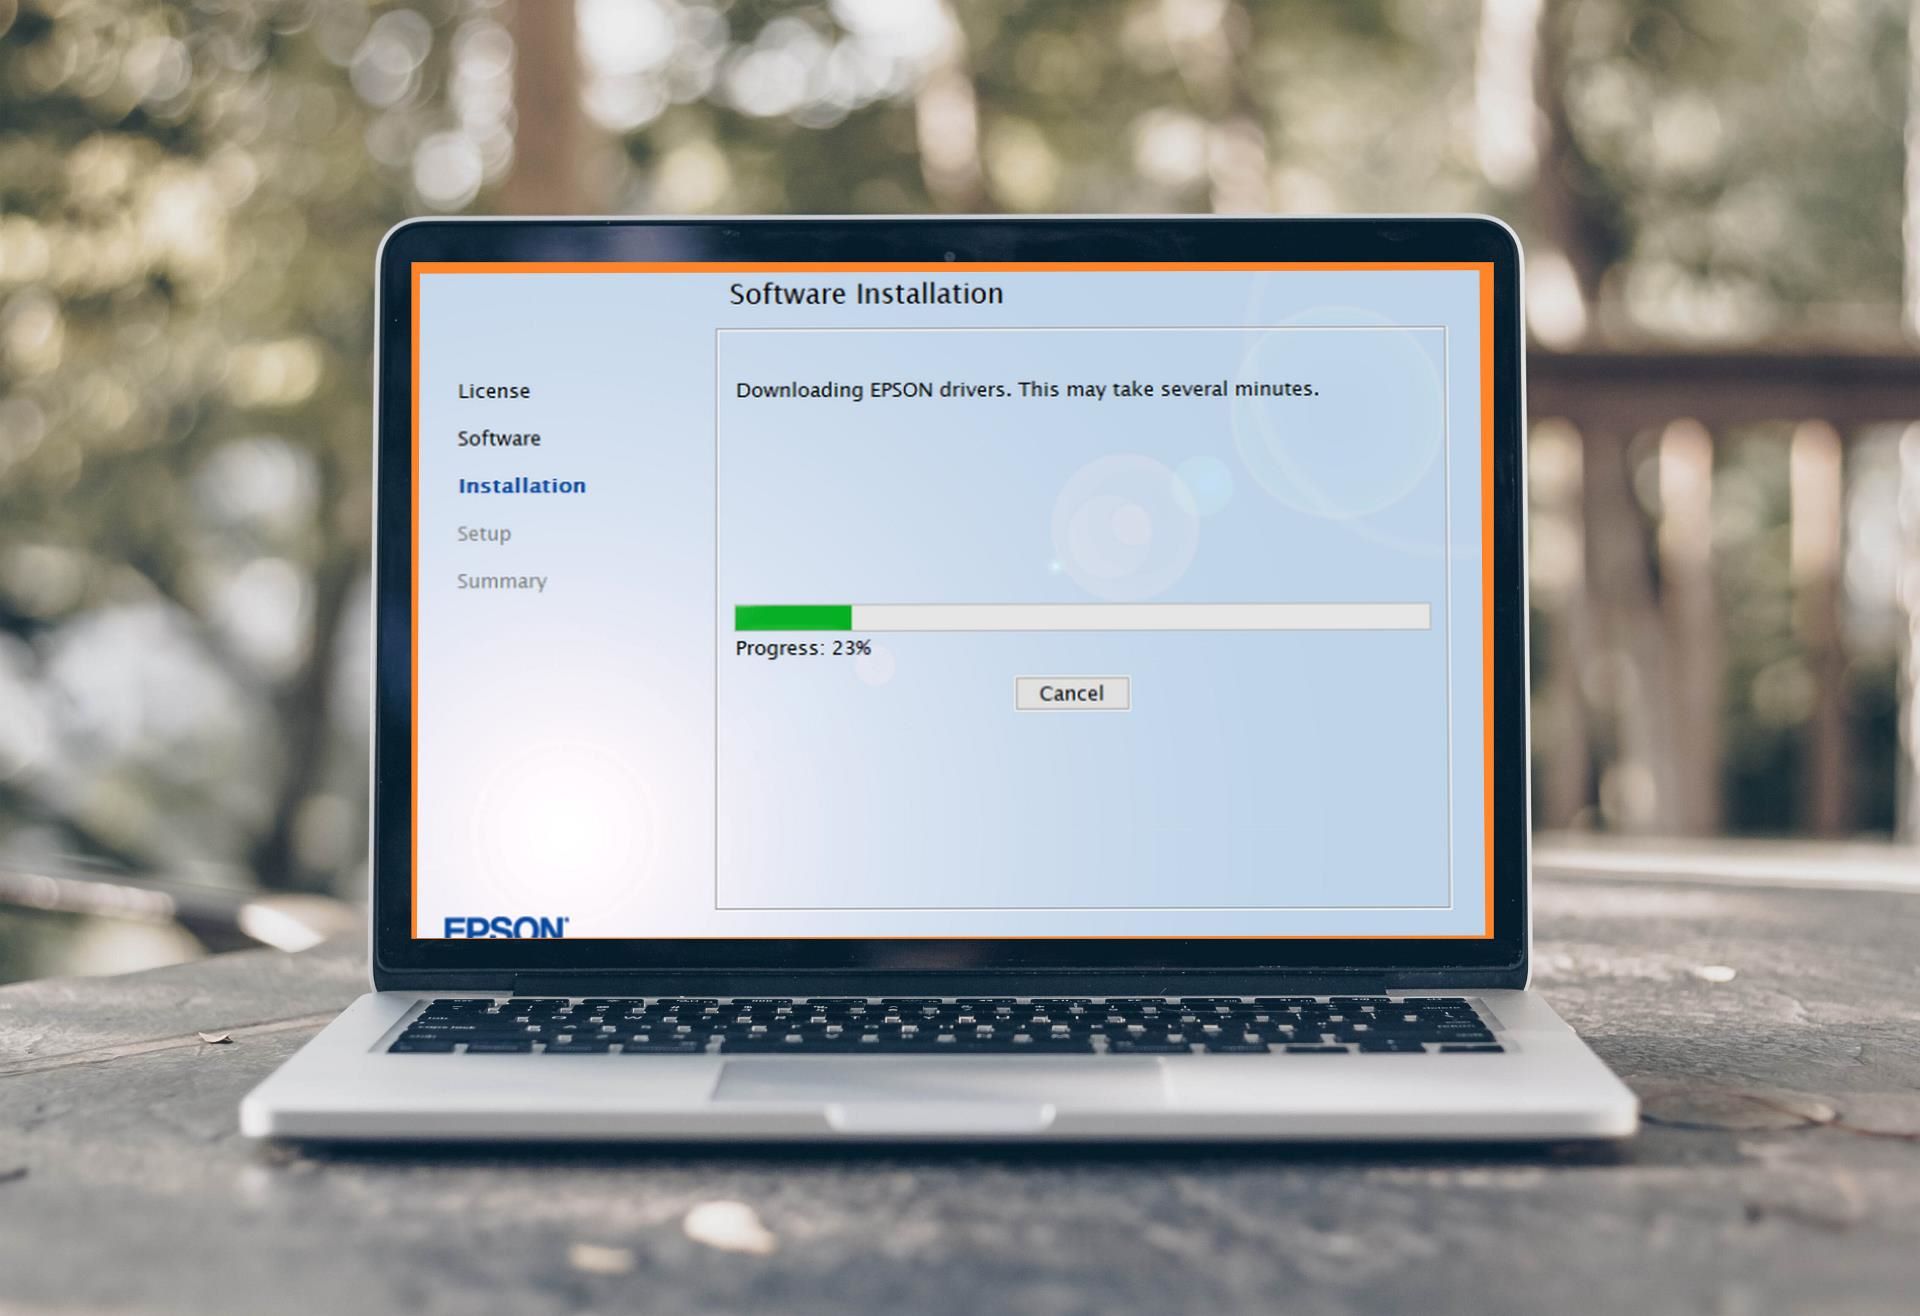
Additionally, consider the operating systems of both your laptop and the Epson projector. Compatibility issues can arise if the operating systems are not aligned. Epson provides drivers and software updates for its projectors, so it’s advisable to visit the official Epson support page to download any necessary drivers or software for your specific projector model and your laptop’s operating system.
By conducting a thorough compatibility check, you can set the stage for a seamless connection between your Epson projector and laptop. This proactive approach ensures that both devices are equipped to communicate effectively via USB, laying the groundwork for a successful and hassle-free connection process.
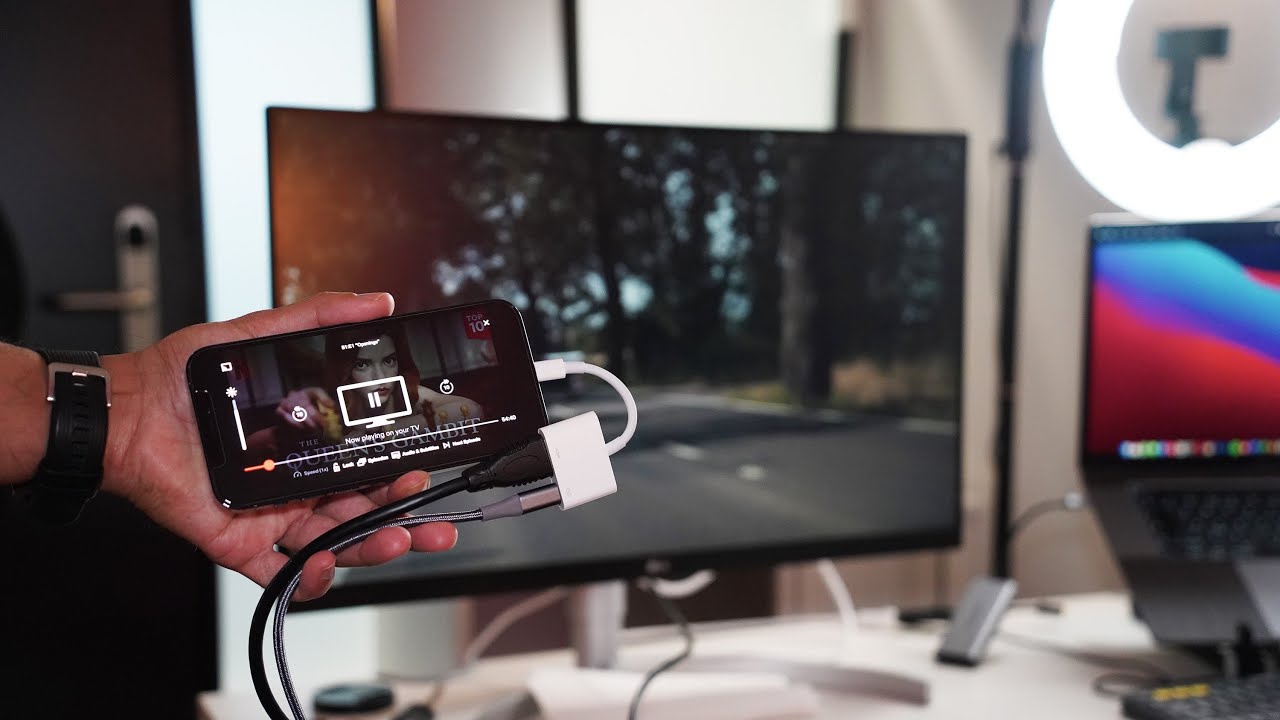
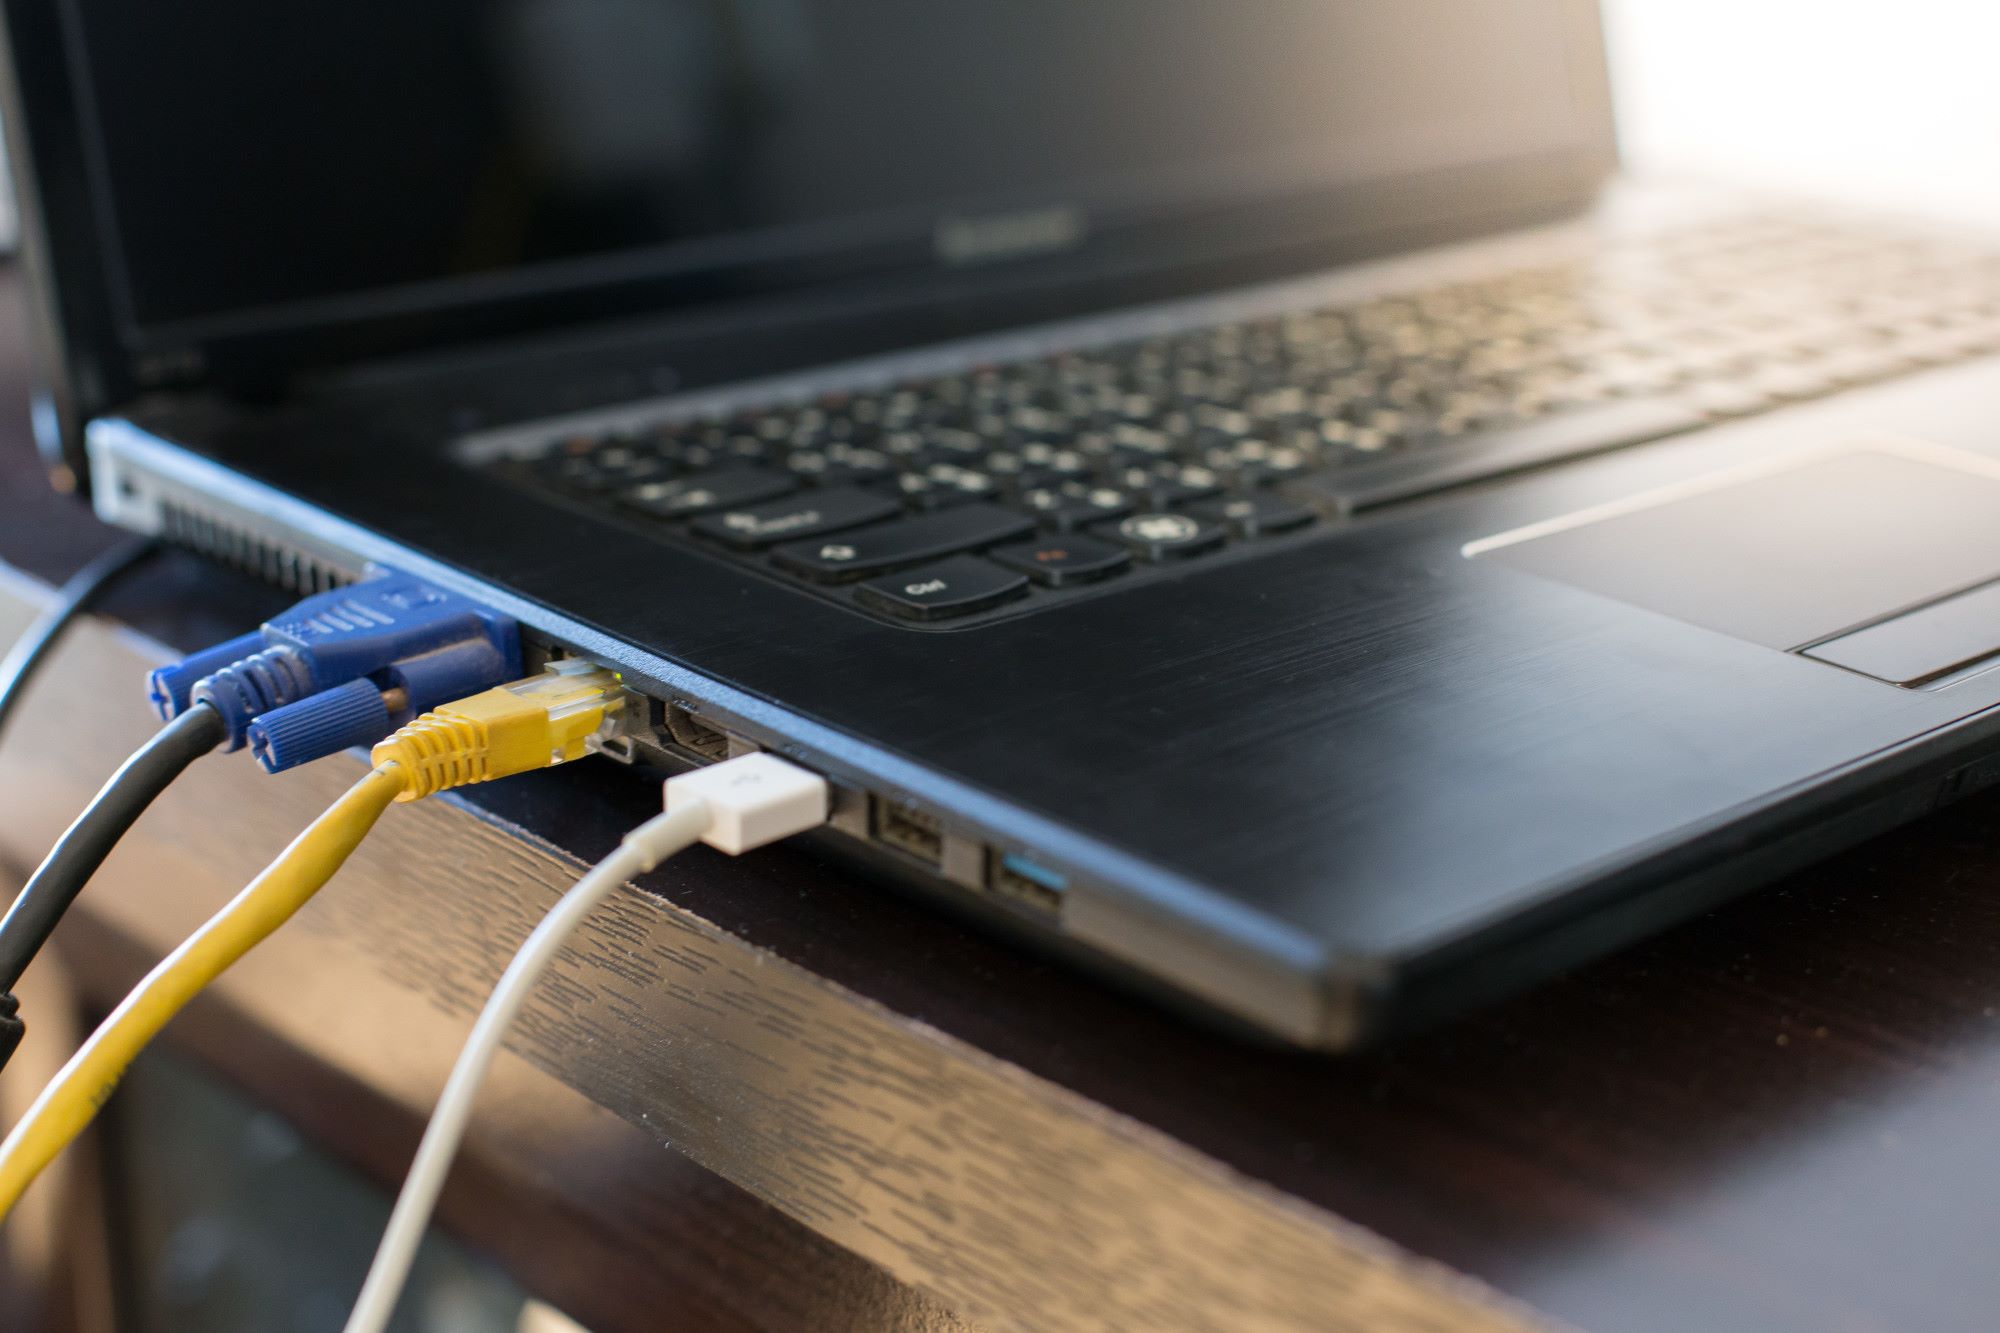
Step 2: Connect the USB Cable
With compatibility confirmed, the next step in connecting your Epson projector to your laptop involves physically linking the two devices using a USB cable. This straightforward process sets the foundation for establishing a direct connection, enabling the transmission of audio, video, and data signals between the projector and the laptop.
Begin by locating the USB port on your Epson projector. Depending on the model, the USB port may be situated on the rear, side, or front panel of the projector. Once you’ve identified the USB port, ensure that the projector is powered off before proceeding with the connection.
Next, take the USB cable that is compatible with both your laptop and the projector. USB cables come in various lengths and configurations, so select a cable that allows for convenient positioning of your laptop and projector while providing a secure and stable connection. With the cable in hand, insert one end into the USB port on the Epson projector, ensuring a snug fit to establish a reliable connection.
Now, turn your attention to your laptop. Locate an available USB port on your laptop, typically found on the sides or back of the device. Gently insert the opposing end of the USB cable into the USB port on your laptop, taking care not to force the connection. The cable should fit securely into the port, forming a physical link between your laptop and the projector.
Once the USB cable is securely connected to both the Epson projector and your laptop, you have effectively bridged the gap between the two devices, paving the way for seamless communication and data transfer. This physical connection serves as the conduit through which audiovisual content and other data will flow from your laptop to the projector, culminating in a captivating display on the big screen.
With the USB cable in place, you are now ready to proceed to the next step of configuring the projector settings to optimize the display and ensure a smooth connection between your laptop and the Epson projector.
Step 3: Configure Projector Settings
Now that the physical connection between your laptop and the Epson projector has been established, it’s time to configure the projector settings to ensure optimal performance and seamless integration with your laptop. This step involves accessing the projector’s settings menu to adjust key parameters that govern the display, input sources, and communication with external devices.
Begin by powering on your Epson projector. Depending on the model, you may need to use the projector’s remote control or onboard controls to turn it on. Once the projector is powered up, you should see the initial startup screen or a blank projection on the display surface.
Access the projector’s settings menu using the provided remote control or onboard controls. Navigate to the “Input” or “Source” option within the menu to select the USB input as the primary source for receiving signals from your laptop. This step ensures that the projector recognizes the USB connection as the designated input channel for receiving content from your laptop.
Within the settings menu, you may also have the option to adjust display settings such as aspect ratio, resolution, and color profiles. Depending on your specific preferences and the nature of the content you intend to display, you can fine-tune these settings to achieve the desired visual output on the projection surface.
Some Epson projectors offer advanced features such as keystone correction, image enhancement, and color calibration. Take this opportunity to explore the projector’s additional settings and features to further optimize the viewing experience and tailor the display to your specific requirements.
During this configuration process, it’s important to refer to the user manual or on-screen prompts provided by the projector to ensure that the settings adjustments align with the manufacturer’s recommendations and best practices. By carefully configuring the projector settings, you can harness the full potential of your Epson projector and create an immersive visual environment for your content.
With the projector settings configured to your satisfaction, you are now prepared to proceed to the next step, which involves connecting your laptop to the projector and initiating the display output.
You cannot connect an Epson projector to a laptop via USB for video. You will need to use a VGA, HDMI, or wireless connection for video. However, you can use a USB cable for remote control and firmware updates.
Step 4: Connect to Laptop
With the projector settings appropriately configured, the next crucial step is to establish the connection between your laptop and the Epson projector, allowing for the seamless transmission of content from your laptop to the projector’s display. This process involves initiating the connection and ensuring that the laptop recognizes the projector as an external display device.
Begin by powering on your laptop and allowing it to boot up to the desktop or home screen. Once your laptop is fully operational, navigate to the display settings, which can typically be accessed through the control panel or system preferences, depending on your operating system.
Within the display settings, locate the option to detect external displays or monitors. This feature enables your laptop to search for and recognize external display devices, including the Epson projector connected via USB. Initiate the detection process to prompt your laptop to identify the projector as an available display output.
Upon successful detection, your laptop should recognize the Epson projector as an external display option. Depending on your operating system and display settings, you may have the flexibility to configure various parameters such as display mirroring, extended desktop mode, or specific display resolutions to optimize the output for the projector.
Select the Epson projector as the desired display output for your laptop. This action instructs your laptop to route the display output to the connected projector, effectively establishing a direct link between the two devices. Once the connection is established, you should see your laptop’s desktop or content mirrored on the projection surface, indicating a successful connection.
At this stage, you have effectively connected your laptop to the Epson projector, leveraging the USB connection to facilitate the seamless transmission of audiovisual content. With the connection established, you are now poised to proceed to the final step, where you will adjust the display settings to ensure optimal visual output on the projector’s display surface.
Step 5: Adjust Display Settings
As the laptop and Epson projector are now successfully connected, the final step involves fine-tuning the display settings to ensure that the projected content meets your specific preferences and requirements. By adjusting the display settings, you can optimize the visual output, enhance clarity, and tailor the display to suit the nature of the content being presented or viewed.
Begin by accessing the display settings on your laptop. Depending on your operating system, these settings can typically be found within the control panel or system preferences under the “Display” or “Graphics” section. Once in the display settings, you can customize various parameters to refine the output for the connected Epson projector.
Consider adjusting the display resolution to ensure that the projected content appears crisp and clear on the projection surface. Select a resolution that aligns with the native resolution supported by the Epson projector, as this can significantly impact the overall visual quality and sharpness of the displayed content.
Explore additional display settings such as screen orientation, color profiles, and display arrangement if you are utilizing extended desktop mode. These settings offer flexibility in tailoring the display output to accommodate specific content types, presentation formats, or viewing preferences.
Take advantage of any advanced display settings provided by your laptop’s graphics or display control panel. Features such as color calibration, contrast adjustments, and display enhancements can further refine the visual output, ensuring an immersive and visually captivating experience for both you and your audience.
Once you have adjusted the display settings on your laptop, direct your attention to the Epson projector. If the projector offers on-screen display (OSD) settings, consider exploring options such as keystone correction, aspect ratio adjustment, and image enhancement to fine-tune the projected display according to your preferences.
By meticulously adjusting the display settings on both your laptop and the Epson projector, you can optimize the visual output, enhance the viewing experience, and ensure that the projected content is presented with exceptional clarity and precision.
With the display settings finely tuned and optimized, you have successfully completed the process of connecting your Epson projector to your laptop via USB, culminating in a seamless and captivating visual experience for your content and presentations.
Conclusion
Connecting your Epson projector to your laptop via USB opens up a world of possibilities for immersive viewing experiences, impactful presentations, and seamless content sharing. By following the step-by-step guide outlined in this comprehensive tutorial, you have gained the knowledge and confidence to effortlessly link these two devices and unleash their combined potential.
Throughout this process, you’ve navigated through essential steps, from checking compatibility and physically connecting the USB cable to configuring projector settings, establishing the connection to your laptop, and fine-tuning display settings. Each step was designed to ensure a smooth and efficient connection, allowing you to harness the full capabilities of your Epson projector and elevate your viewing and presentation experiences.
With the USB connection serving as the bridge between your laptop and the Epson projector, you have unlocked the ability to seamlessly transmit audiovisual content, share presentations, and immerse yourself in larger-than-life entertainment. This connectivity not only enhances convenience but also empowers you to deliver impactful visual experiences in various settings, from home theaters and classrooms to boardrooms and conference venues.
As technology continues to evolve, the seamless integration of devices such as Epson projectors and laptops paves the way for enhanced collaboration, dynamic presentations, and unparalleled visual storytelling. By mastering the art of connecting these devices, you are poised to captivate audiences, unleash creativity, and unlock the full potential of your home entertainment and presentation setups.
So, whether you’re preparing for a movie night, delivering a compelling presentation, or simply seeking to expand your visual horizons, the ability to connect your Epson projector to your laptop via USB empowers you to create unforgettable visual experiences that leave a lasting impression.
With the knowledge and skills acquired from this guide, you are now ready to embark on a journey of seamless connectivity, captivating visual displays, and boundless creativity, all at the touch of a button.
Frequently Asked Questions about How To Connect Epson Projector To Laptop Via USB
Was this page helpful?
At Storables.com, we guarantee accurate and reliable information. Our content, validated by Expert Board Contributors, is crafted following stringent Editorial Policies. We're committed to providing you with well-researched, expert-backed insights for all your informational needs.


0 thoughts on “How To Connect Epson Projector To Laptop Via USB”