Home>Technology>Home Entertainment Systems>How To Retrofit Projector Headlights
Home Entertainment Systems
How To Retrofit Projector Headlights
Modified: January 4, 2024
Upgrade your home entertainment system with our guide on how to retrofit projector headlights. Enhance your viewing experience today! Discover expert tips and tricks.
(Many of the links in this article redirect to a specific reviewed product. Your purchase of these products through affiliate links helps to generate commission for Storables.com, at no extra cost. Learn more)
Introduction
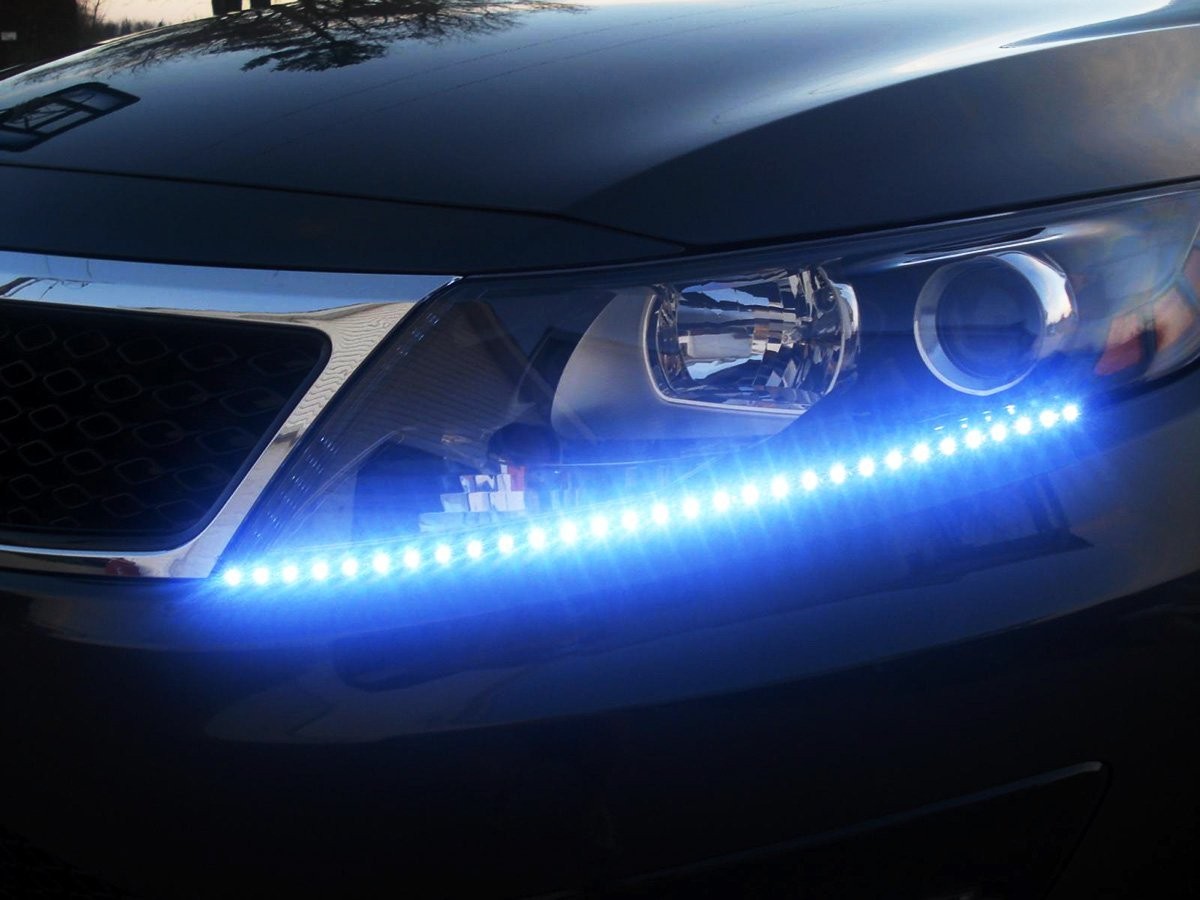
Welcome to the world of projector headlights! If you're a car enthusiast or someone who values improved visibility and aesthetics, retrofitting projector headlights onto your vehicle is a fantastic upgrade. Projector headlights offer superior light output, sharper cutoff lines, and a more focused beam pattern compared to traditional reflector headlights. This not only enhances your driving experience but also contributes to safer road conditions for you and other drivers.
Retrofitting projector headlights may seem like a daunting task, but fear not – with the right guidance and a bit of patience, you can elevate your vehicle's lighting game. In this comprehensive guide, we'll walk you through the process of retrofitting projector headlights, covering everything from understanding the components to the step-by-step installation process.
Whether you're a seasoned DIY enthusiast or a newcomer to automotive modifications, this guide will equip you with the knowledge and confidence to take on this rewarding project. So, buckle up and get ready to illuminate the road ahead with style and functionality!
Key Takeaways:
- Retrofitting projector headlights enhances visibility and safety on the road, offering a more focused beam pattern and reduced glare for oncoming drivers.
- With the right tools and step-by-step guidance, anyone can successfully retrofit projector headlights onto their vehicle, elevating its lighting performance and visual appeal.
Read more: What Bulbs Are Best For Projector Headlights
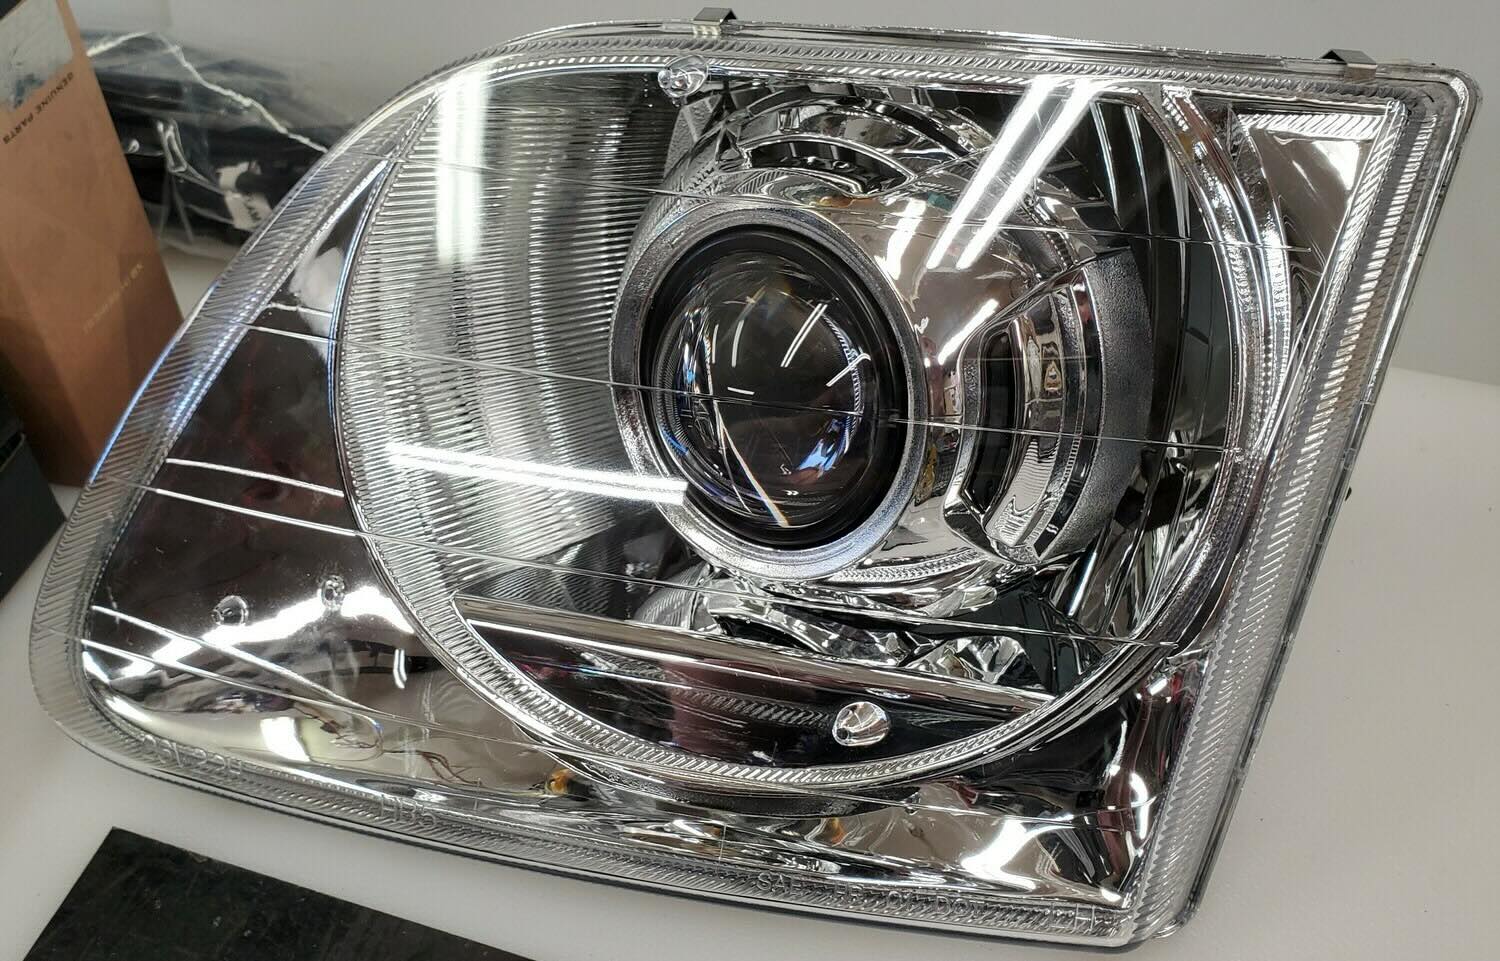
Understanding Projector Headlights
Before delving into the retrofitting process, it’s essential to grasp the fundamental principles of projector headlights. Unlike traditional reflector headlights, which utilize a parabolic-shaped reflective surface to disperse light, projector headlights employ a precisely engineered lens and a cutoff shield to produce a more controlled and focused beam pattern.
The key components of a projector headlight include:
- Projector Lens: This lens is responsible for focusing and directing the light produced by the bulb. Its curvature and shape are meticulously designed to create a sharp and uniform output.
- Cutoff Shield: Positioned within the projector assembly, the cutoff shield serves to define the upper limit of the light beam, preventing glare for oncoming drivers and ensuring a well-defined cutoff line.
- Reflector Bowl: While not present in all projector headlights, the reflector bowl aids in directing light onto the cutoff shield and lens, contributing to the overall light output and pattern.
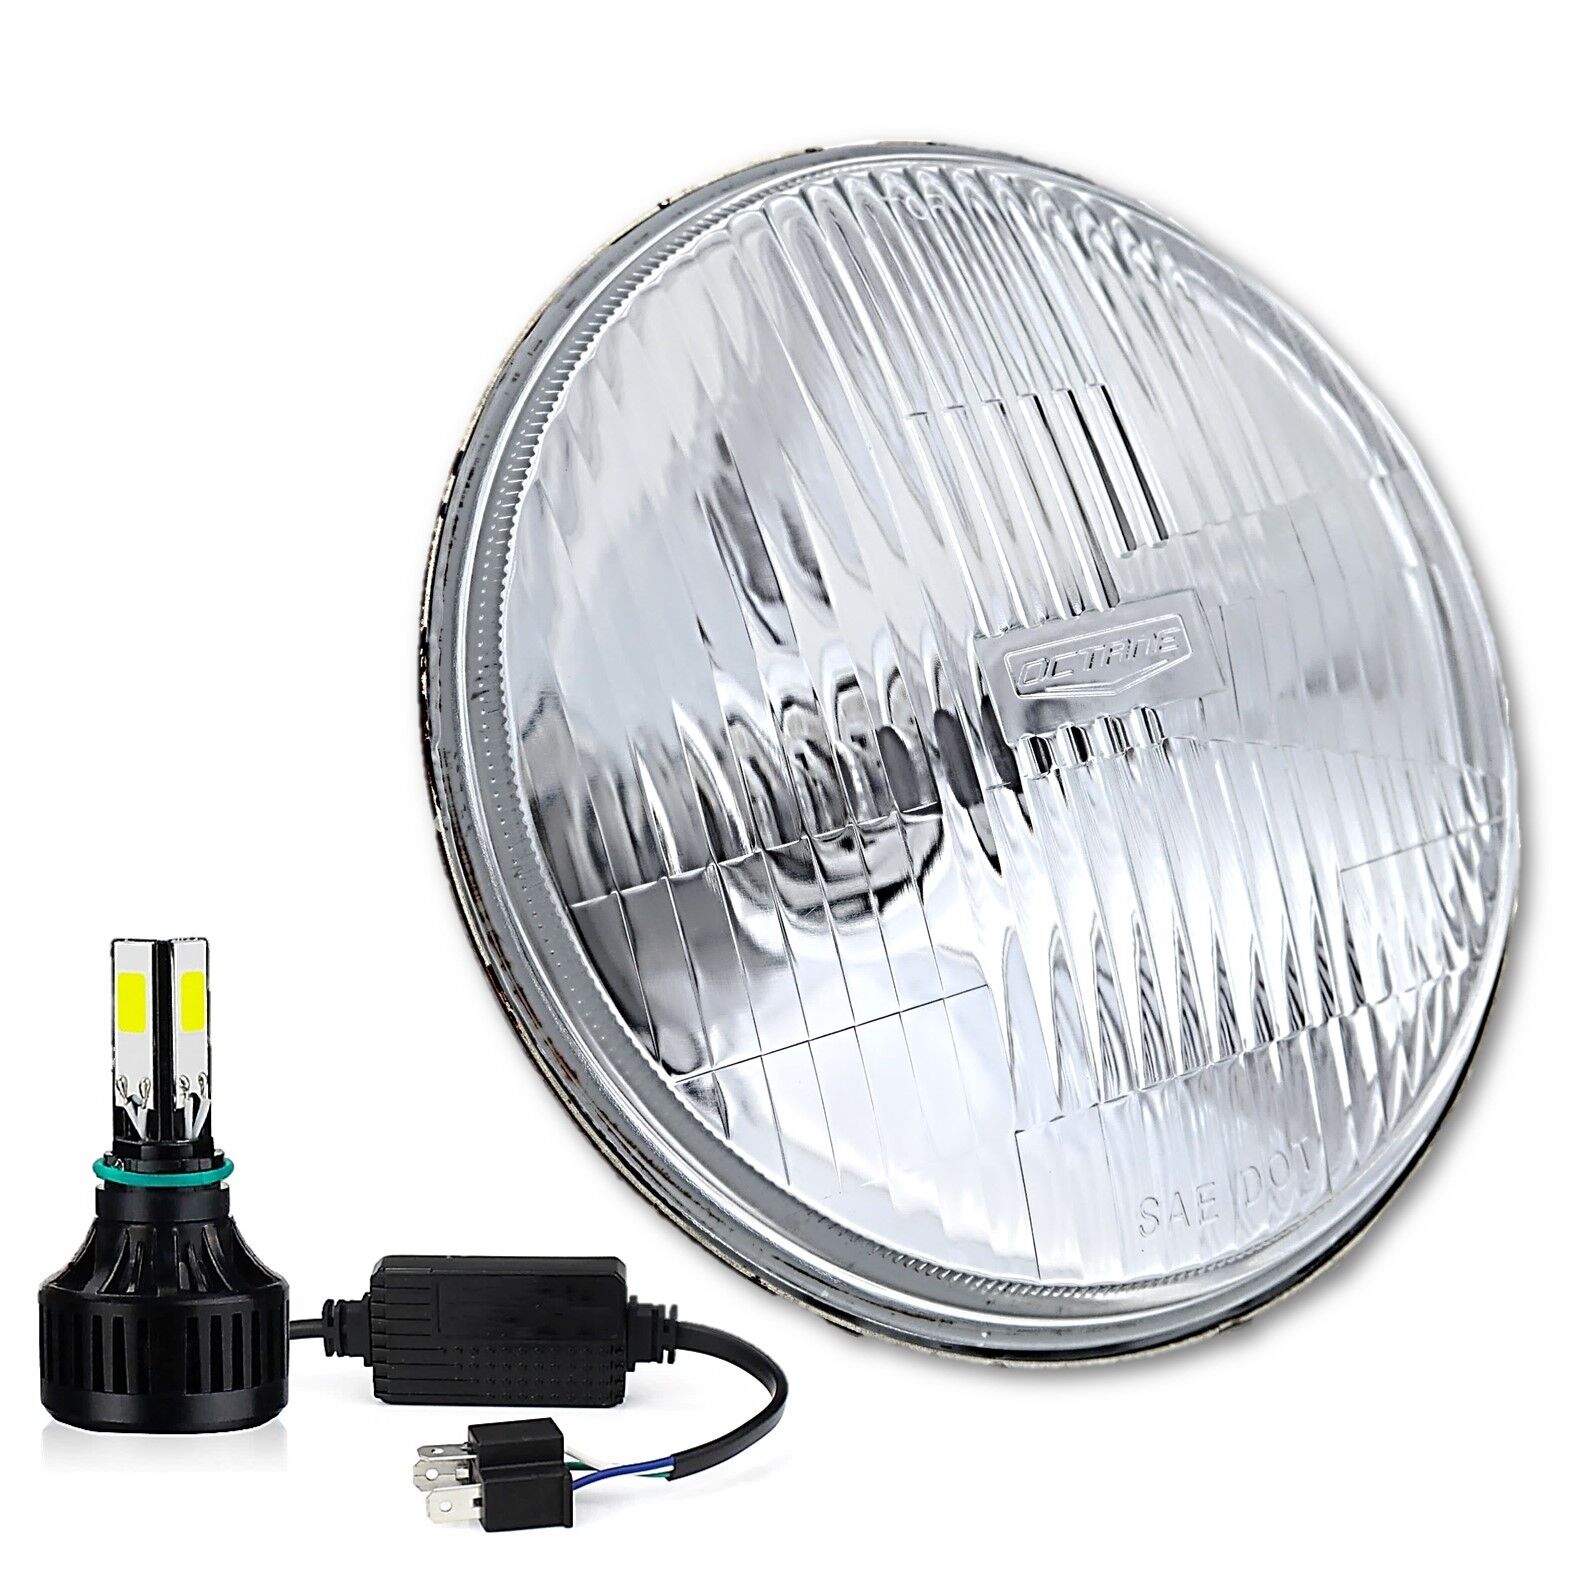
- Light Source: Typically, a high-intensity discharge (HID) bulb or light-emitting diode (LED) module serves as the light source in projector headlights, offering improved efficiency and output compared to conventional halogen bulbs.
Projector headlights are renowned for their ability to produce a more concentrated and uniform beam pattern, resulting in enhanced visibility and reduced light scatter. The distinct cutoff line they create helps minimize glare for oncoming drivers, making them a preferred choice for many automotive enthusiasts.
By understanding the intricacies of projector headlights, you can appreciate the engineering behind their superior performance and aesthetics. This knowledge will prove invaluable as you embark on the journey of retrofitting projector headlights onto your vehicle, ultimately elevating its lighting capabilities to new heights.
Tools and Materials Required
Embarking on the retrofitting journey requires a set of essential tools and materials to ensure a smooth and successful installation process. Here’s a comprehensive list of what you’ll need:
Tools:
- Socket Set: A versatile socket set with various metric and standard sizes will be indispensable for removing and installing components.
- Screwdrivers: Both flathead and Phillips screwdrivers in different sizes will aid in disassembling and reassembling the headlights.
- Trim Removal Tools: These specialized tools are designed to safely remove automotive trim pieces without causing damage to the surrounding surfaces.
- Heat Gun or Oven: Depending on the headlight design, a heat gun or oven may be necessary to soften the adhesive for disassembling the headlights.
- Wire Cutters and Crimpers: These tools are essential for the wiring and electrical aspects of the retrofitting process.
- Drill and Bits: If modifications to the headlight housing are required, a drill and corresponding bits will be needed.
- Masking Tape: Utilized for marking and protecting surfaces during the modification and painting stages.
- Safety Equipment: Safety glasses, gloves, and a dust mask are crucial for protecting yourself during the installation process.
Materials:
- Projector Headlight Kit: This includes the projector lenses, cutoff shields, and associated hardware necessary for installation.
- HID or LED Conversion Kit: If your vehicle isn't already equipped with HID or LED lighting, a conversion kit will be required for optimal performance.
- Butyl Rubber Sealant: This sealant is used to reseal the headlights after modification and assembly.
- Paint and Clear Coat: If cosmetic modifications are planned, automotive-grade paint and clear coat will be essential for a professional finish.
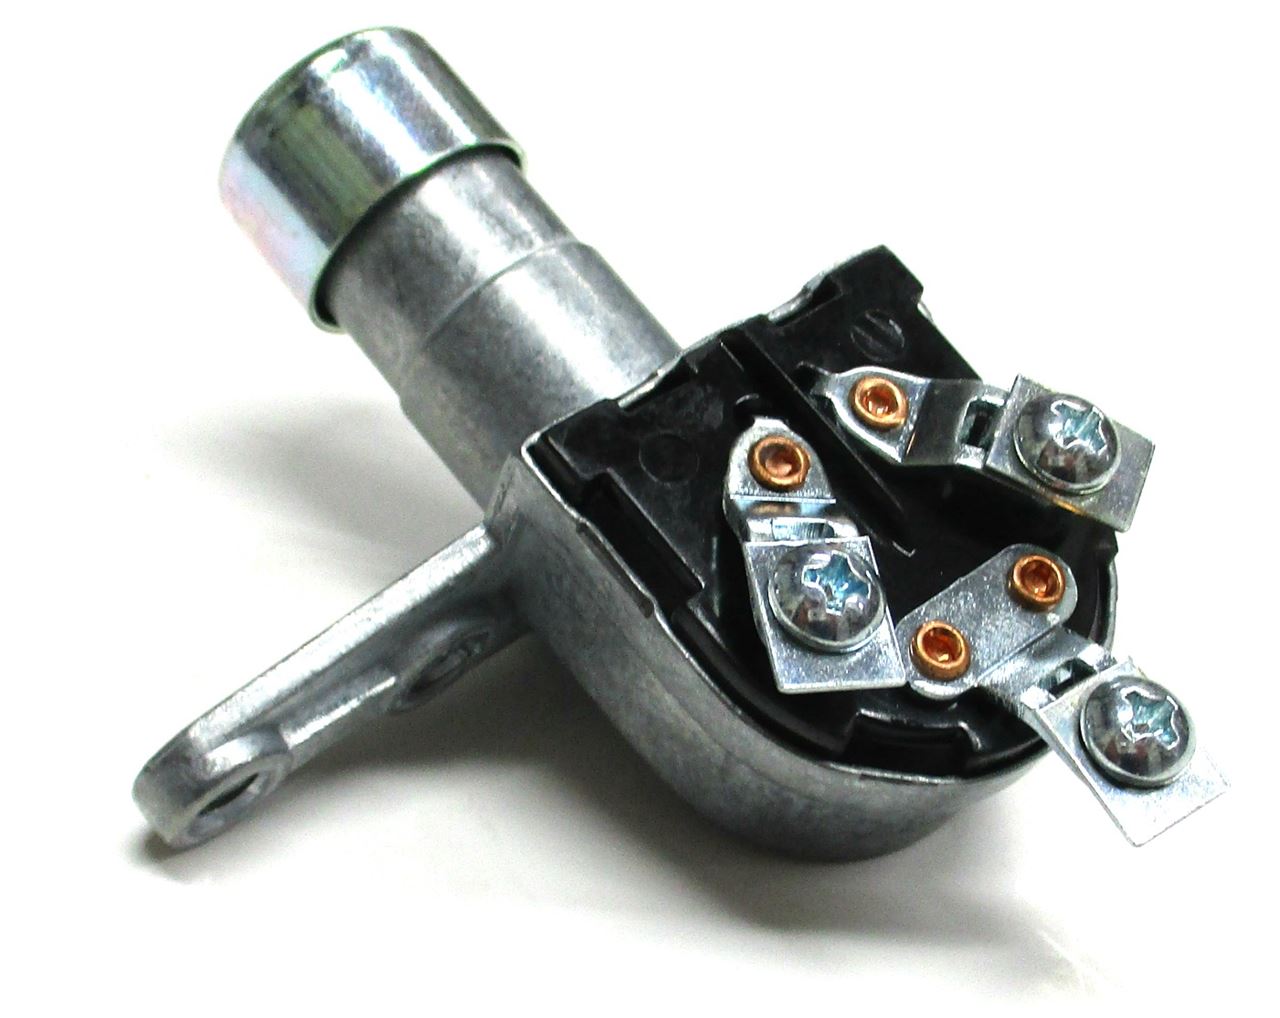
- Wiring Harness and Connectors: These components are necessary for integrating the projectors into the vehicle's electrical system.
- Adhesive Promoter: To ensure a secure bond when resealing the headlights, an adhesive promoter is recommended.
By ensuring you have the requisite tools and materials at your disposal, you’ll be well-prepared to tackle the retrofitting process with confidence and precision. Now that you’re equipped with the necessary resources, it’s time to dive into the step-by-step installation of projector headlights onto your vehicle.
Read more: What Are Halo Projector Headlights
Steps to Retrofit Projector Headlights
Step 1: Remove the Existing Headlights
The first phase of the retrofitting process involves removing the existing headlights from your vehicle. This typically requires accessing the headlight assemblies from the engine bay or, in some cases, through the front grille or bumper area. The specific removal procedure varies depending on the make and model of your vehicle, but it often involves disconnecting the headlight wiring harness, unfastening retaining screws or bolts, and carefully maneuvering the headlight assembly out of its mounting position.
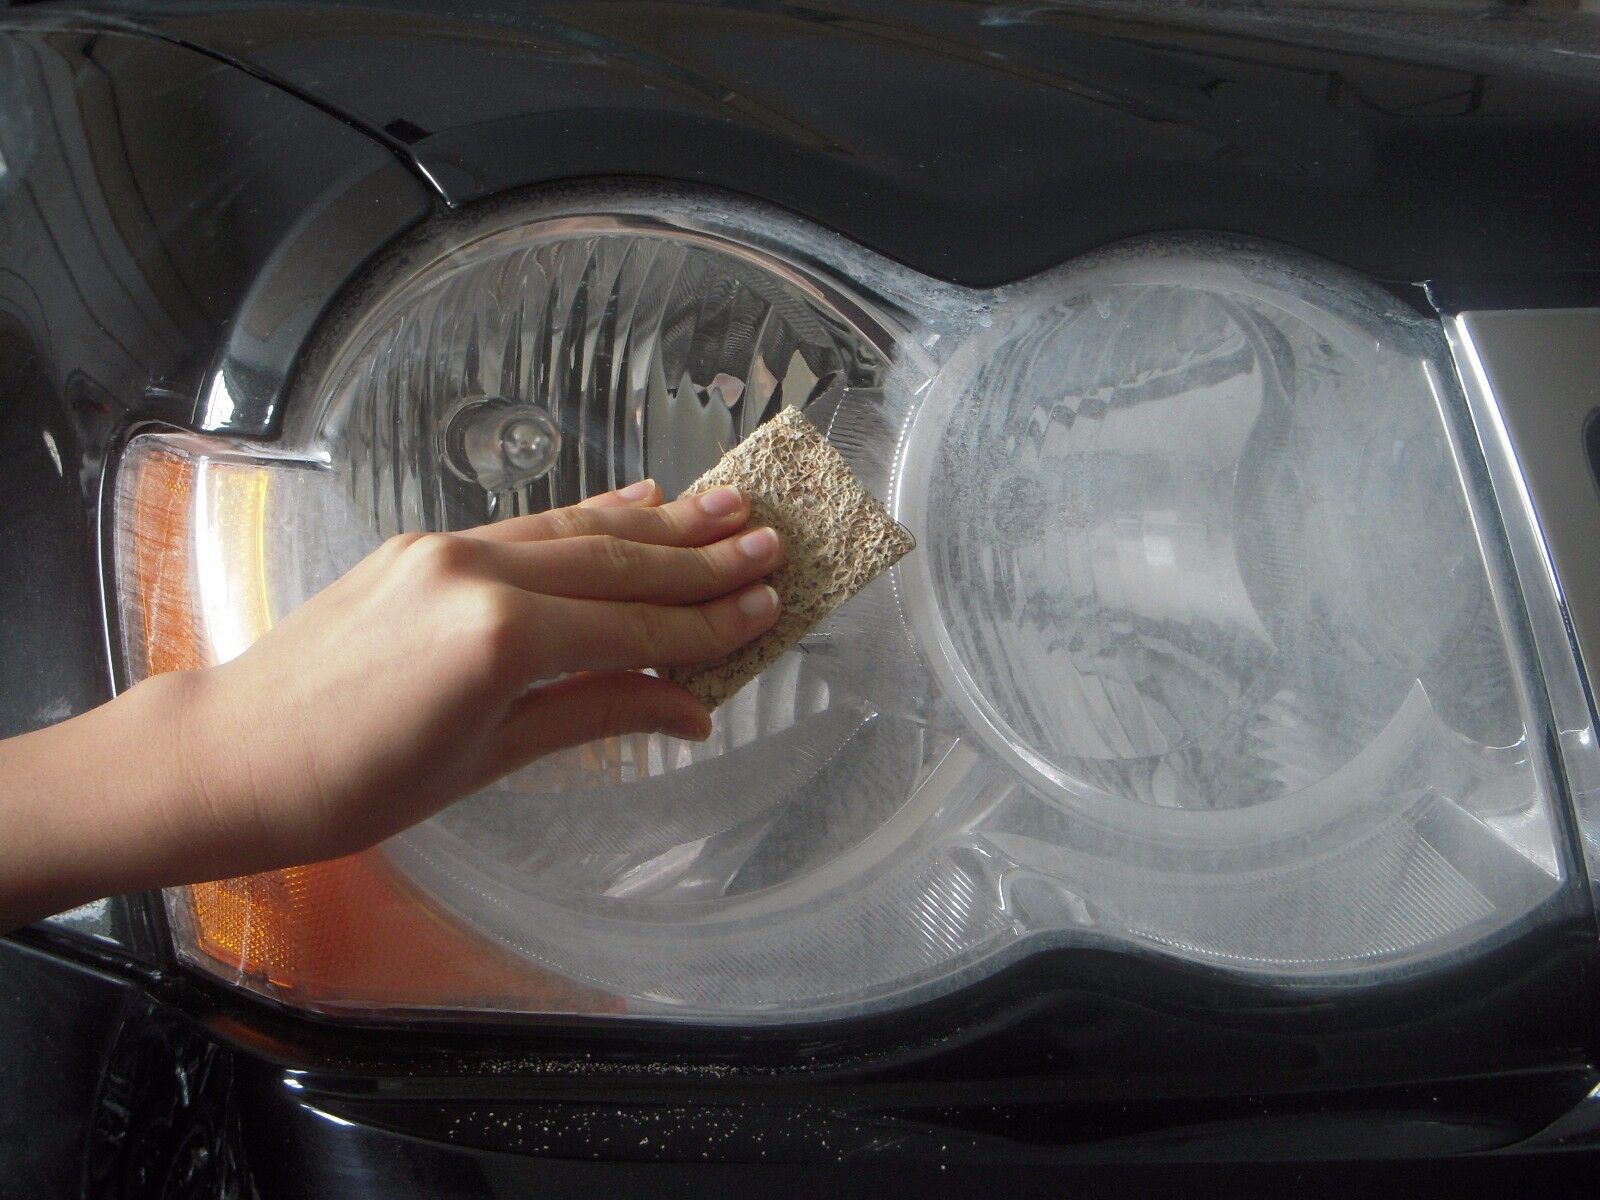
Step 2: Disassemble the Headlights
Once the headlights are removed, the disassembly phase commences. This step often involves softening the factory sealant by heating the headlight assembly in an oven or using a heat gun. With the sealant softened, the lens and housing can be separated, granting access to the internal components. Careful disassembly is crucial to avoid damaging the existing components and ensure a seamless reassembly process later on.
Step 3: Install the Projectors
With the headlights disassembled, the installation of the projectors can begin. This involves fitting the projector lenses and cutoff shields into the headlight housing, aligning them for optimal light output and beam pattern. Precision is key during this step to ensure that the projectors are securely positioned and oriented correctly within the housing.
Read more: How To Tell If You Have Projector Headlights
Step 4: Wiring and Adjustments
Wiring the projectors into the vehicle’s electrical system is a critical aspect of the retrofitting process. This step involves integrating the projectors with the existing wiring harness, often requiring the use of connectors, soldering, or crimping to establish secure electrical connections. Additionally, adjustments to the cutoff shield and beam alignment may be necessary to achieve the desired light output and pattern.
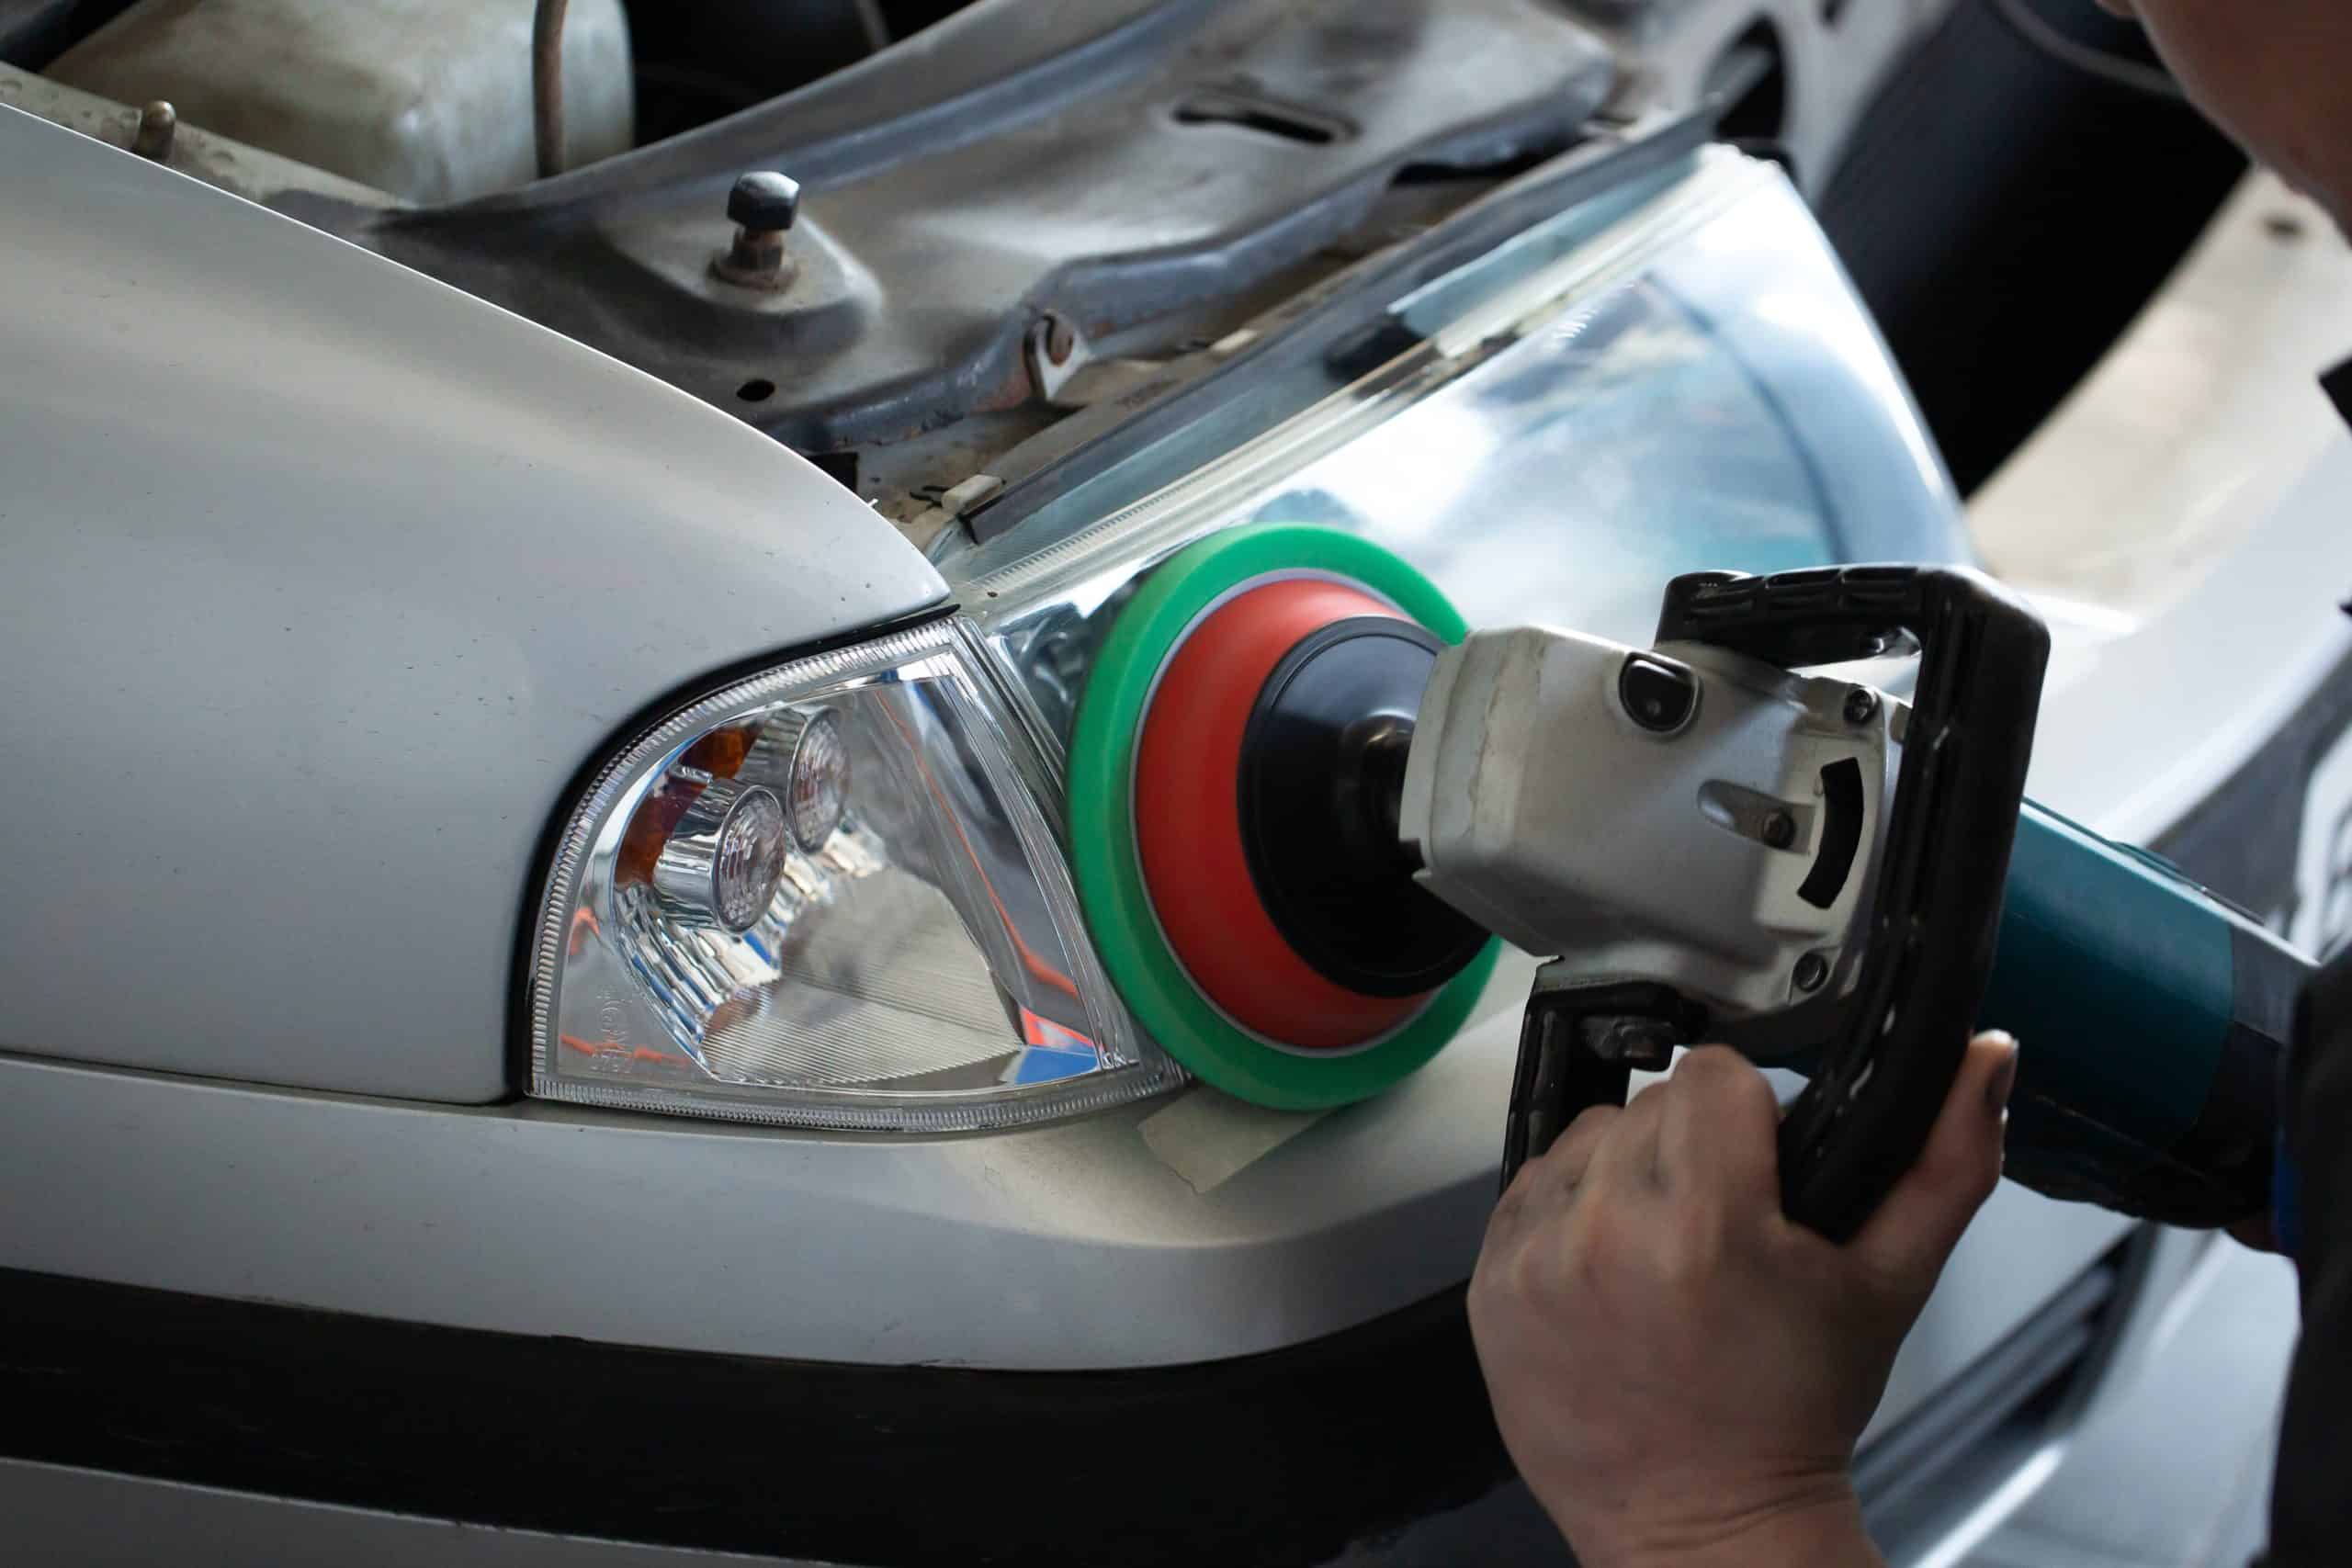
Step 5: Reassemble the Headlights
Once the projectors are installed and the necessary adjustments are made, the reassembly phase can commence. This involves resealing the headlight housing using butyl rubber sealant and carefully reattaching the lens to the housing. Attention to detail is crucial during this step to ensure a watertight seal and proper alignment of the components.
Step 6: Test the New Projector Headlights
With the retrofitting process complete, it’s time to test the newly installed projector headlights. Verify that the lights function as intended, with a well-defined cutoff line and a focused beam pattern. Additionally, ensure that the headlights are securely mounted and that no components interfere with their operation. Once the functionality and alignment are confirmed, you’re ready to enjoy the enhanced visibility and aesthetics provided by your newly retrofitted projector headlights.
By following these comprehensive steps, you can successfully retrofit projector headlights onto your vehicle, elevating its lighting performance and visual appeal.
Conclusion
Congratulations on completing the retrofitting journey and equipping your vehicle with the advanced capabilities of projector headlights. By embracing this process, you’ve not only enhanced your own driving experience but also contributed to safer road conditions for you and fellow motorists.
Through the understanding of projector headlights and the meticulous execution of the retrofitting steps, you’ve gained valuable insights into the intricate world of automotive lighting modifications. The attention to detail and precision exhibited throughout the process reflect your dedication to achieving optimal results.
As you now bask in the improved visibility and refined aesthetics provided by your new projector headlights, take pride in the craftsmanship and expertise you’ve demonstrated. Your vehicle stands as a testament to your commitment to excellence and your willingness to embark on rewarding automotive endeavors.
Remember, the knowledge and skills you’ve acquired during this retrofitting experience can be applied to future automotive projects, further expanding your capabilities as a DIY enthusiast and a connoisseur of automotive enhancements.
So, whether you’re navigating dimly lit roads with confidence or turning heads with the striking visual impact of your projector headlights, revel in the transformation you’ve brought to your vehicle. Embrace the opportunities to share your knowledge and inspire others to embark on similar journeys of automotive innovation and personalization.
With your newfound expertise and the radiance of your projector headlights illuminating the path ahead, the road awaits – filled with endless possibilities and the promise of further adventures in the realm of automotive customization.
Safe travels and may your retrofitted projector headlights continue to light the way for many miles to come.
Frequently Asked Questions about How To Retrofit Projector Headlights
Was this page helpful?
At Storables.com, we guarantee accurate and reliable information. Our content, validated by Expert Board Contributors, is crafted following stringent Editorial Policies. We're committed to providing you with well-researched, expert-backed insights for all your informational needs.


0 thoughts on “How To Retrofit Projector Headlights”