Home>Technology>Home Entertainment Systems>How To Paint A Mural With A Projector

Home Entertainment Systems
How To Paint A Mural With A Projector
Modified: January 9, 2024
Learn how to create a stunning mural using a projector and elevate your home entertainment system. Get step-by-step guidance and tips. Start your mural project today!
(Many of the links in this article redirect to a specific reviewed product. Your purchase of these products through affiliate links helps to generate commission for Storables.com, at no extra cost. Learn more)
Introduction
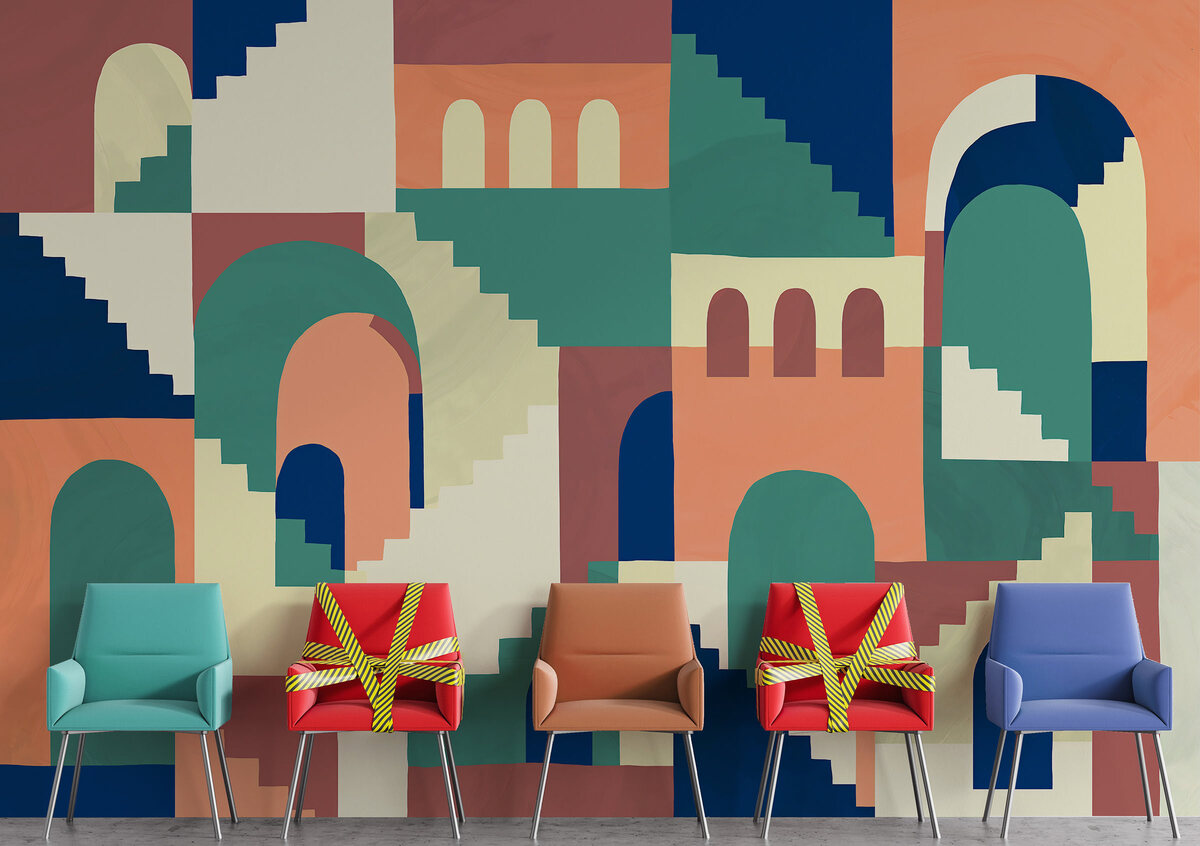
So, you've decided to take your wall from bland to breathtaking by painting a stunning mural. Congratulations on embarking on this creative journey! Whether you're an experienced artist or a novice looking to add a personal touch to your space, using a projector to paint a mural can significantly simplify the process and help bring your vision to life with precision.
In this comprehensive guide, we'll walk through the step-by-step process of painting a mural with the assistance of a projector. From selecting the right projector and image to preparing the surface and adding the final touches, we'll cover everything you need to know to create a captivating mural that reflects your style and personality.
By the time you finish reading this guide, you'll be equipped with the knowledge and confidence to transform any blank wall into a stunning work of art. So, let's dive in and explore the exciting world of mural painting with a projector as your invaluable tool!
Key Takeaways:
- Transform any blank wall into a stunning work of art by painting a mural with a projector. Select the right image, prepare the surface, and bring your vision to life with vibrant colors and details.
- Embrace the joy of artistic expression and bring your vision to life with a projector. From tracing the image to adding final touches, create a captivating mural that reflects your creativity and personality.
Read more: How To Paint An Outdoor Mural
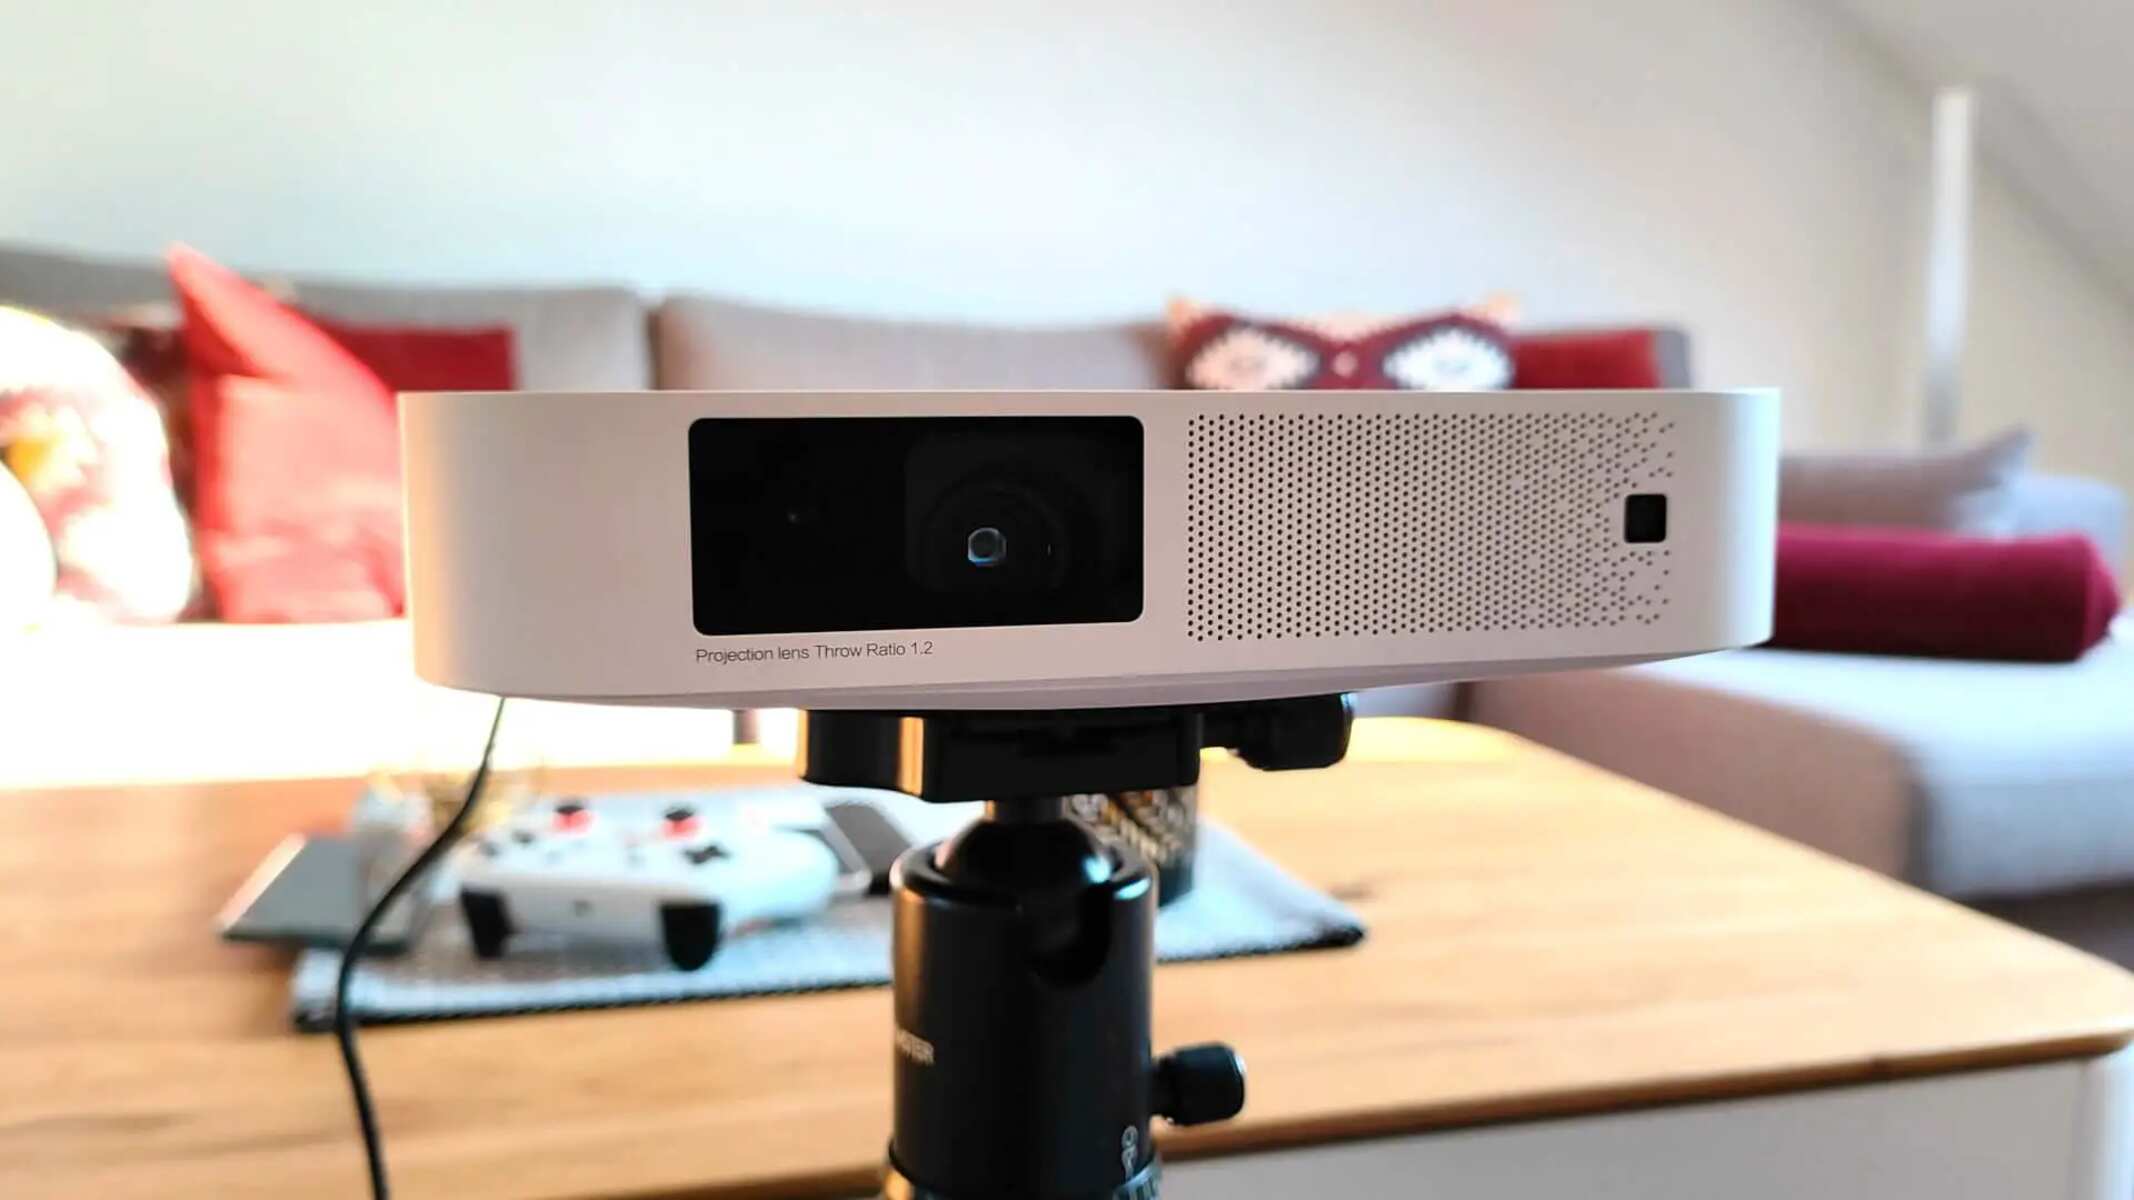
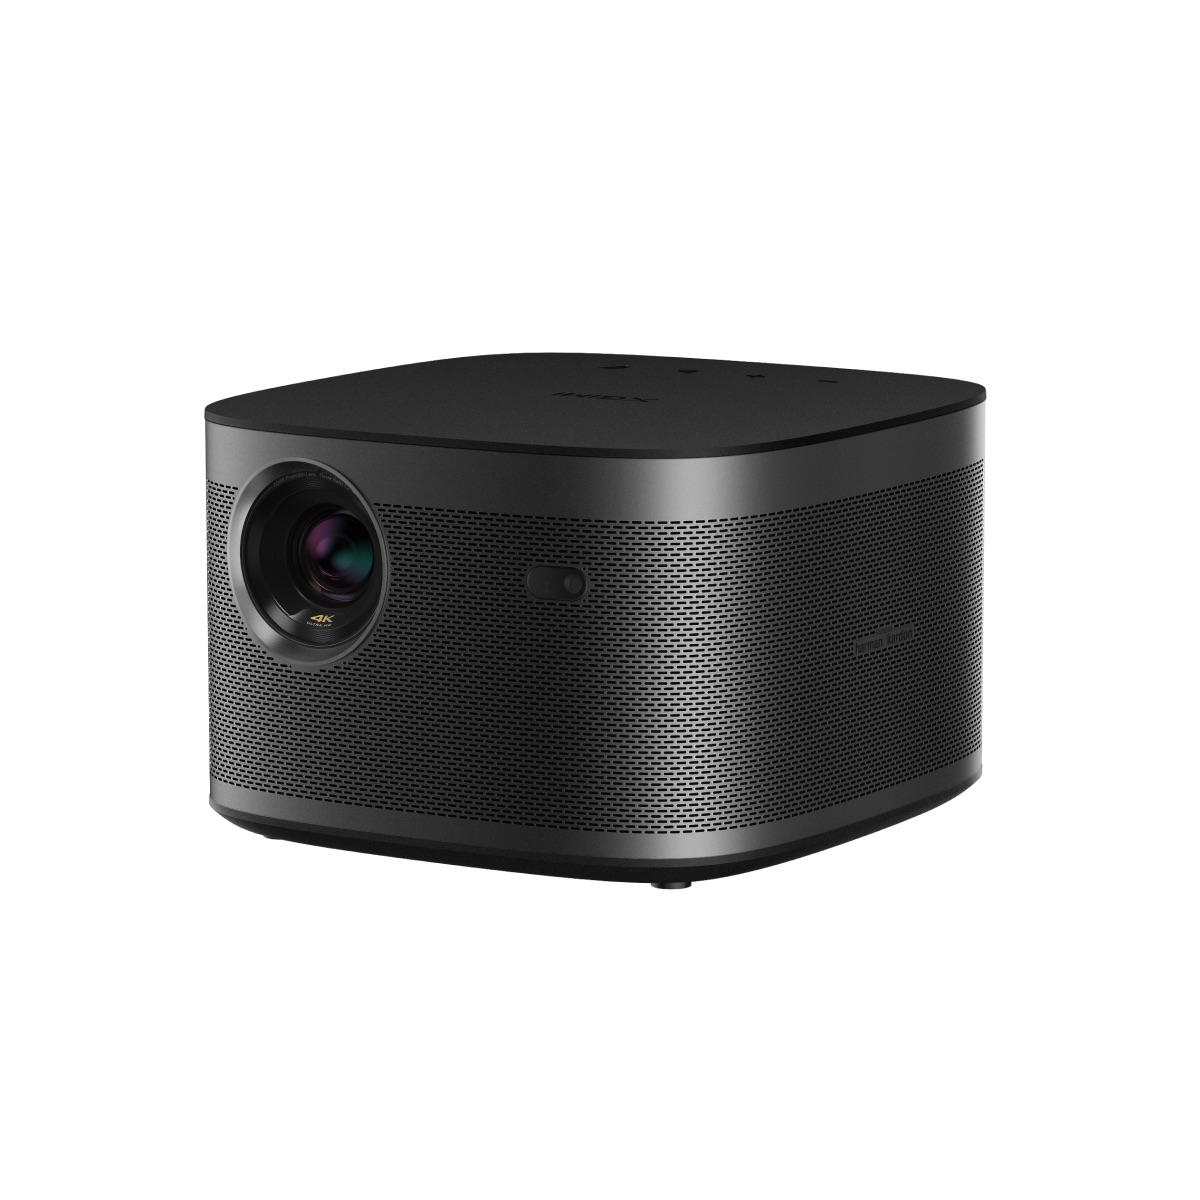
Choosing the Right Projector
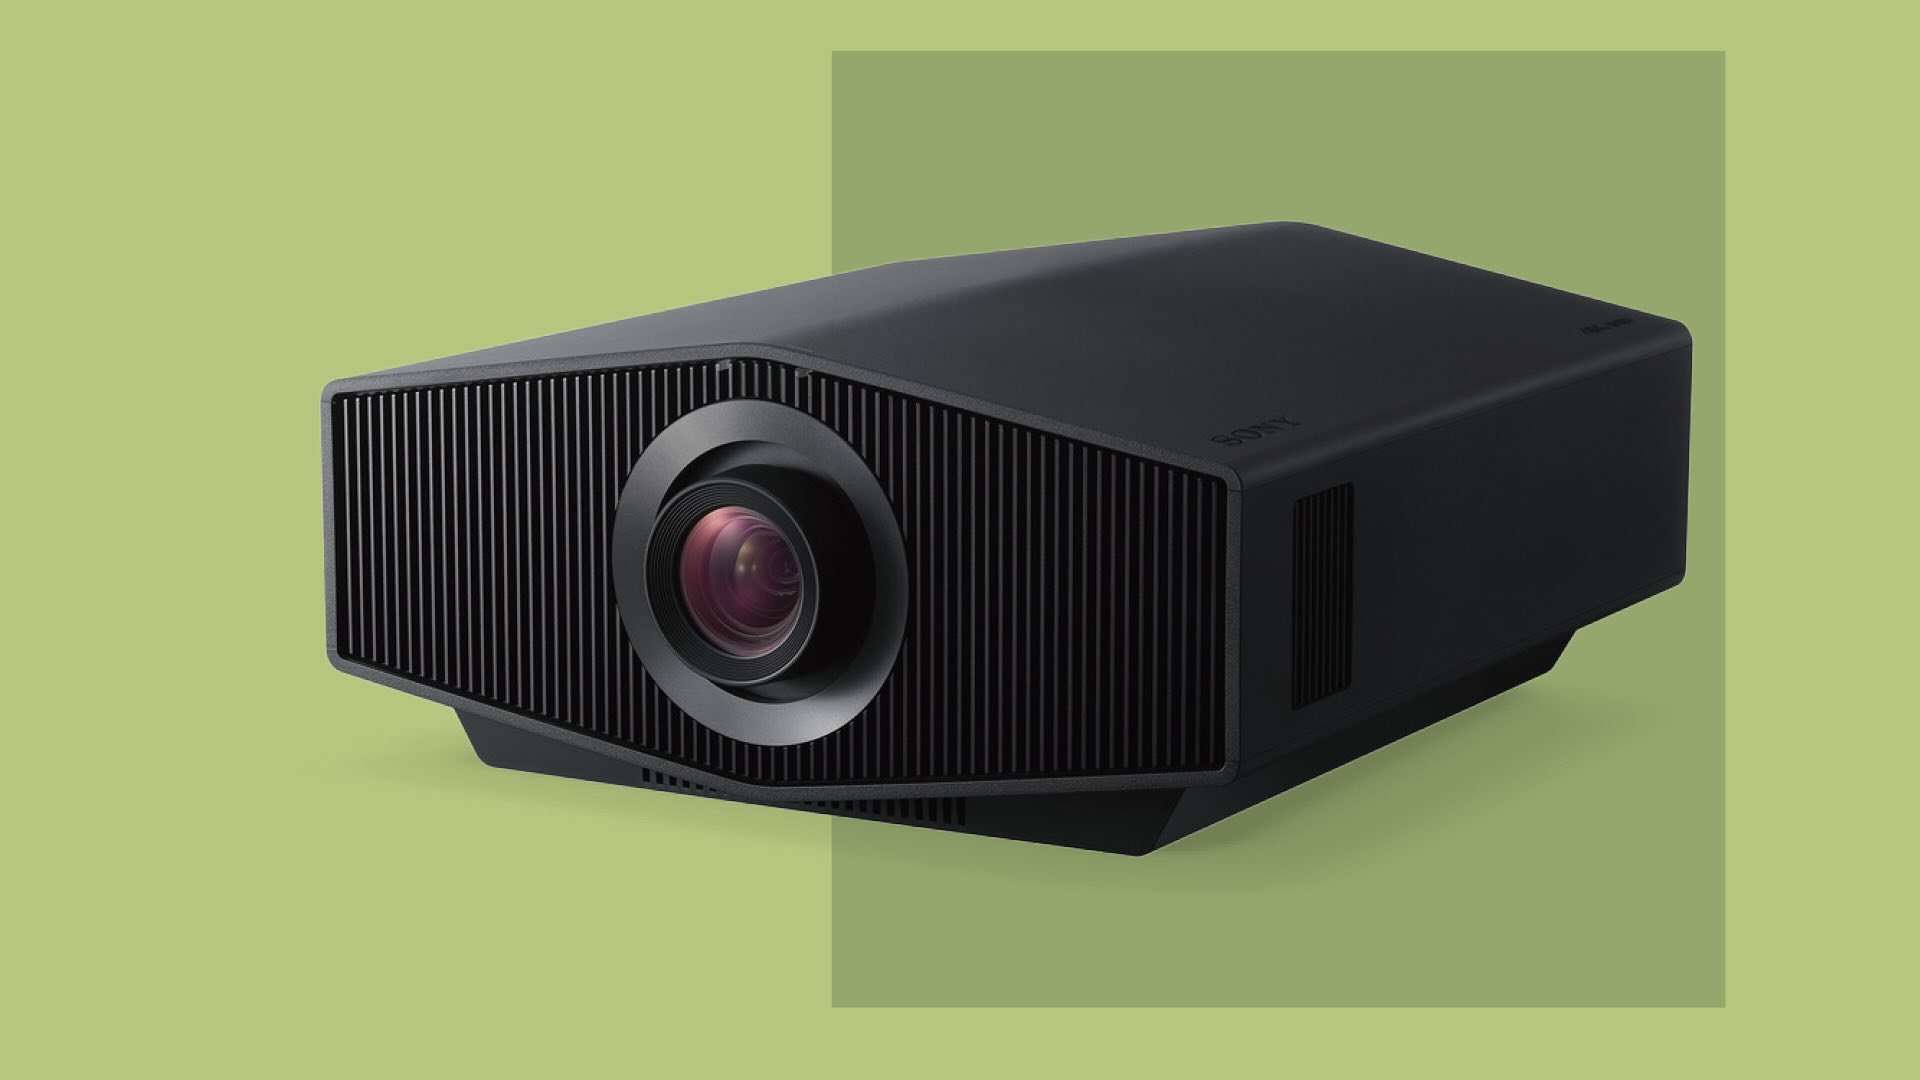
When it comes to painting a mural with a projector, selecting the right projector is crucial for achieving accurate and high-quality results. Here are some key factors to consider when choosing a projector for your mural painting project:
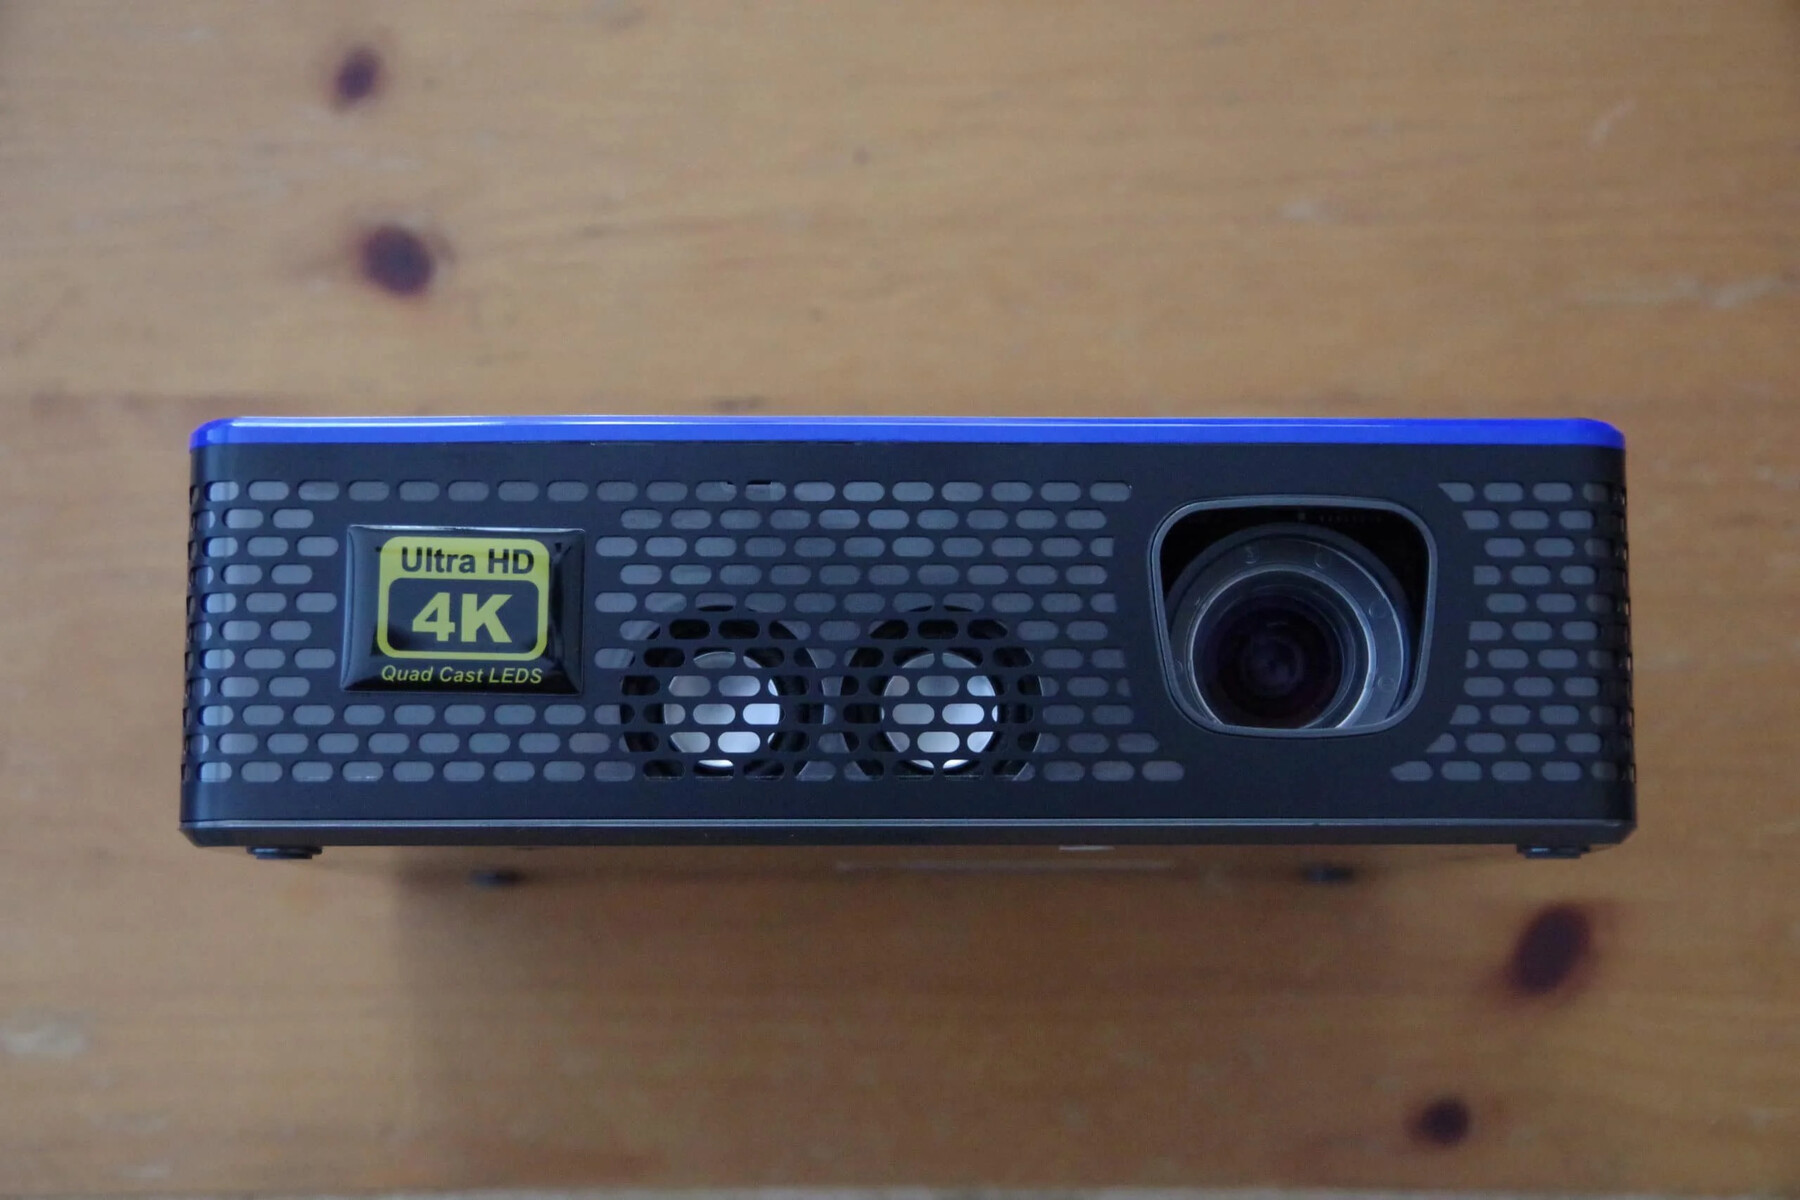
- Resolution: Opt for a projector with a high resolution, such as 1080p or higher, to ensure that the image projected onto the wall is crisp and detailed. This is especially important for intricate or detailed mural designs.
- Brightness: Consider the ambient light conditions in the room where you’ll be painting. If the space tends to be well-lit, a projector with higher lumens (brightness) will ensure that the image remains clear and visible on the wall.
- Throw Distance: The throw distance refers to the distance between the projector and the wall. Depending on the size of the mural and the available space, choose a projector with a throw distance that suits your specific needs.
- Portability: If you plan to paint murals in different locations or need to move the projector around during the painting process, consider a portable and lightweight model for convenience.
- Connectivity: Ensure that the projector is compatible with your devices, whether it’s a laptop, smartphone, or tablet. Wireless connectivity can also offer added flexibility during the mural painting process.
Additionally, it’s important to read reviews and seek recommendations from artists or mural painters who have experience using projectors for their work. By considering these factors and doing thorough research, you can select a projector that aligns with your specific mural painting requirements and enhances the overall painting experience.
Now that you have a clearer understanding of what to look for in a projector, let’s move on to the next step: selecting the perfect image for your mural.
Selecting the Image
Choosing the right image for your mural is a pivotal step in the creative process. Whether you’re aiming for a breathtaking landscape, a vibrant abstract design, or a whimsical scene, the image you select will set the tone for the entire mural. Here are some tips for selecting an image that will translate beautifully onto your wall:
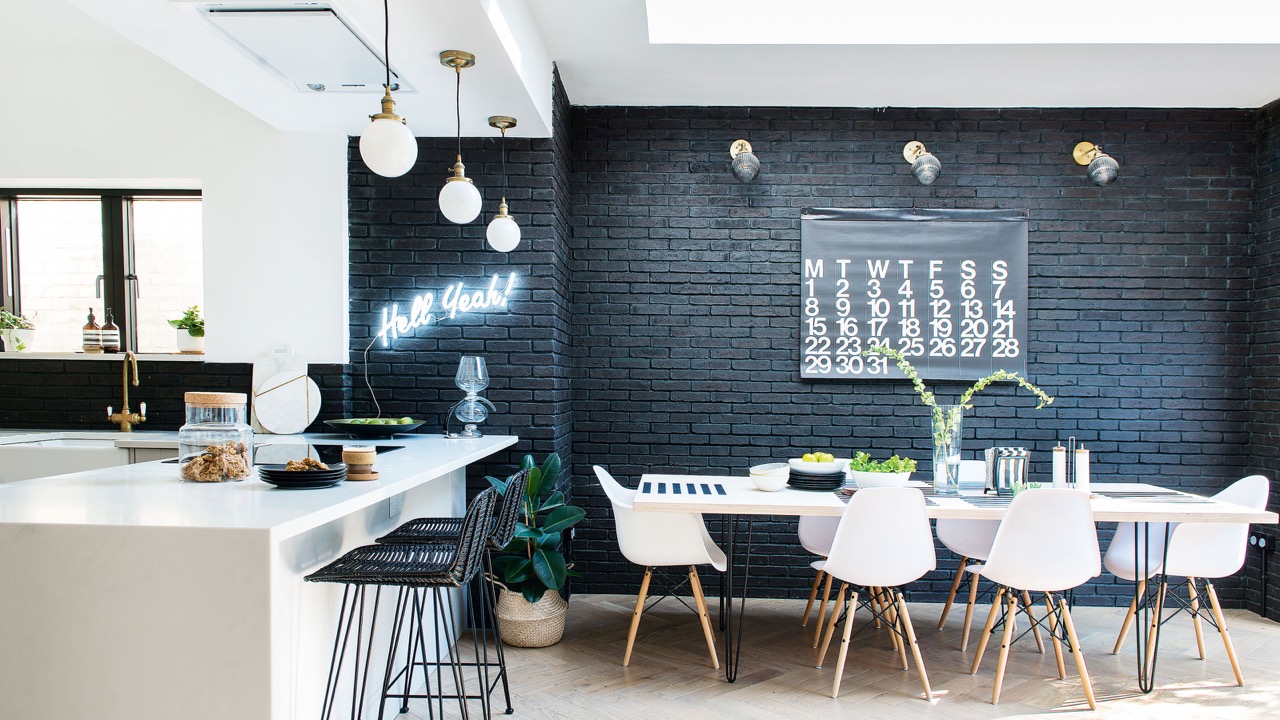
- Consider the Wall Space: Take stock of the wall where you plan to paint the mural. Consider its dimensions, the presence of any architectural features, and how the surrounding space will complement the image. This will help you choose an image that harmonizes with the environment.
- Personal Connection: Select an image that resonates with you on a personal level. Whether it’s a subject matter that holds sentimental value or a visual representation of your passions, choosing an image that speaks to you will infuse the mural with authenticity.
- Scale and Proportion: Assess how the image will translate in terms of scale and proportion on the wall. Depending on the size of the wall and the desired impact of the mural, you may need to adjust the image’s dimensions to achieve the desired visual impact.
- Complexity and Detail: Consider the level of detail in the image and how it will translate onto the wall. Intricate details can create a stunning visual effect, but they may also require more precision during the painting process.
- Adaptability: If you’re new to mural painting, consider choosing an image with clear outlines and distinct shapes. This will make the tracing and painting process more manageable, allowing you to build confidence as you bring the image to life.
Once you’ve identified an image that aligns with your vision and the characteristics of the wall space, it’s time to prepare the surface for the mural. The next section will delve into the essential steps for prepping the wall and ensuring an optimal painting surface for your masterpiece.
Preparing the Surface
Before you begin projecting and painting your mural, it’s crucial to prepare the wall surface to ensure the best possible results. Proper surface preparation will not only contribute to the longevity of your mural but also facilitate smooth and accurate painting. Here’s a step-by-step guide to preparing the surface for your mural:
- Clean the Wall: Start by thoroughly cleaning the wall surface to remove any dirt, dust, or grease. A mixture of mild soap and water can effectively clean the wall, ensuring that the paint adheres properly.
- Repair Imperfections: Inspect the wall for any cracks, holes, or uneven areas. Use spackling compound or filler to repair these imperfections, and sand the patched areas once they’re dry to achieve a smooth and even surface.
- Prime the Wall: Applying a coat of primer to the wall is essential, especially if the wall has been previously painted or if it has a different surface texture. Primer promotes paint adhesion and creates an even base for your mural.
- Choose the Right Paint: Select high-quality acrylic or latex paint suitable for mural painting. Consider the finish as well; a satin or semi-gloss finish is often recommended for its durability and ease of cleaning.
- Mark the Projection Area: Use painter’s tape to outline the area where the image will be projected and painted. This will help you maintain focus and ensure that the mural remains within the desired boundaries.
By meticulously preparing the wall surface, you’ll create an ideal canvas for your mural, setting the stage for a seamless and visually stunning painting process. With the surface prepped and ready, it’s time to set up the projector and bring your chosen image to life on the wall. The following section will guide you through the process of setting up the projector for your mural painting endeavor.
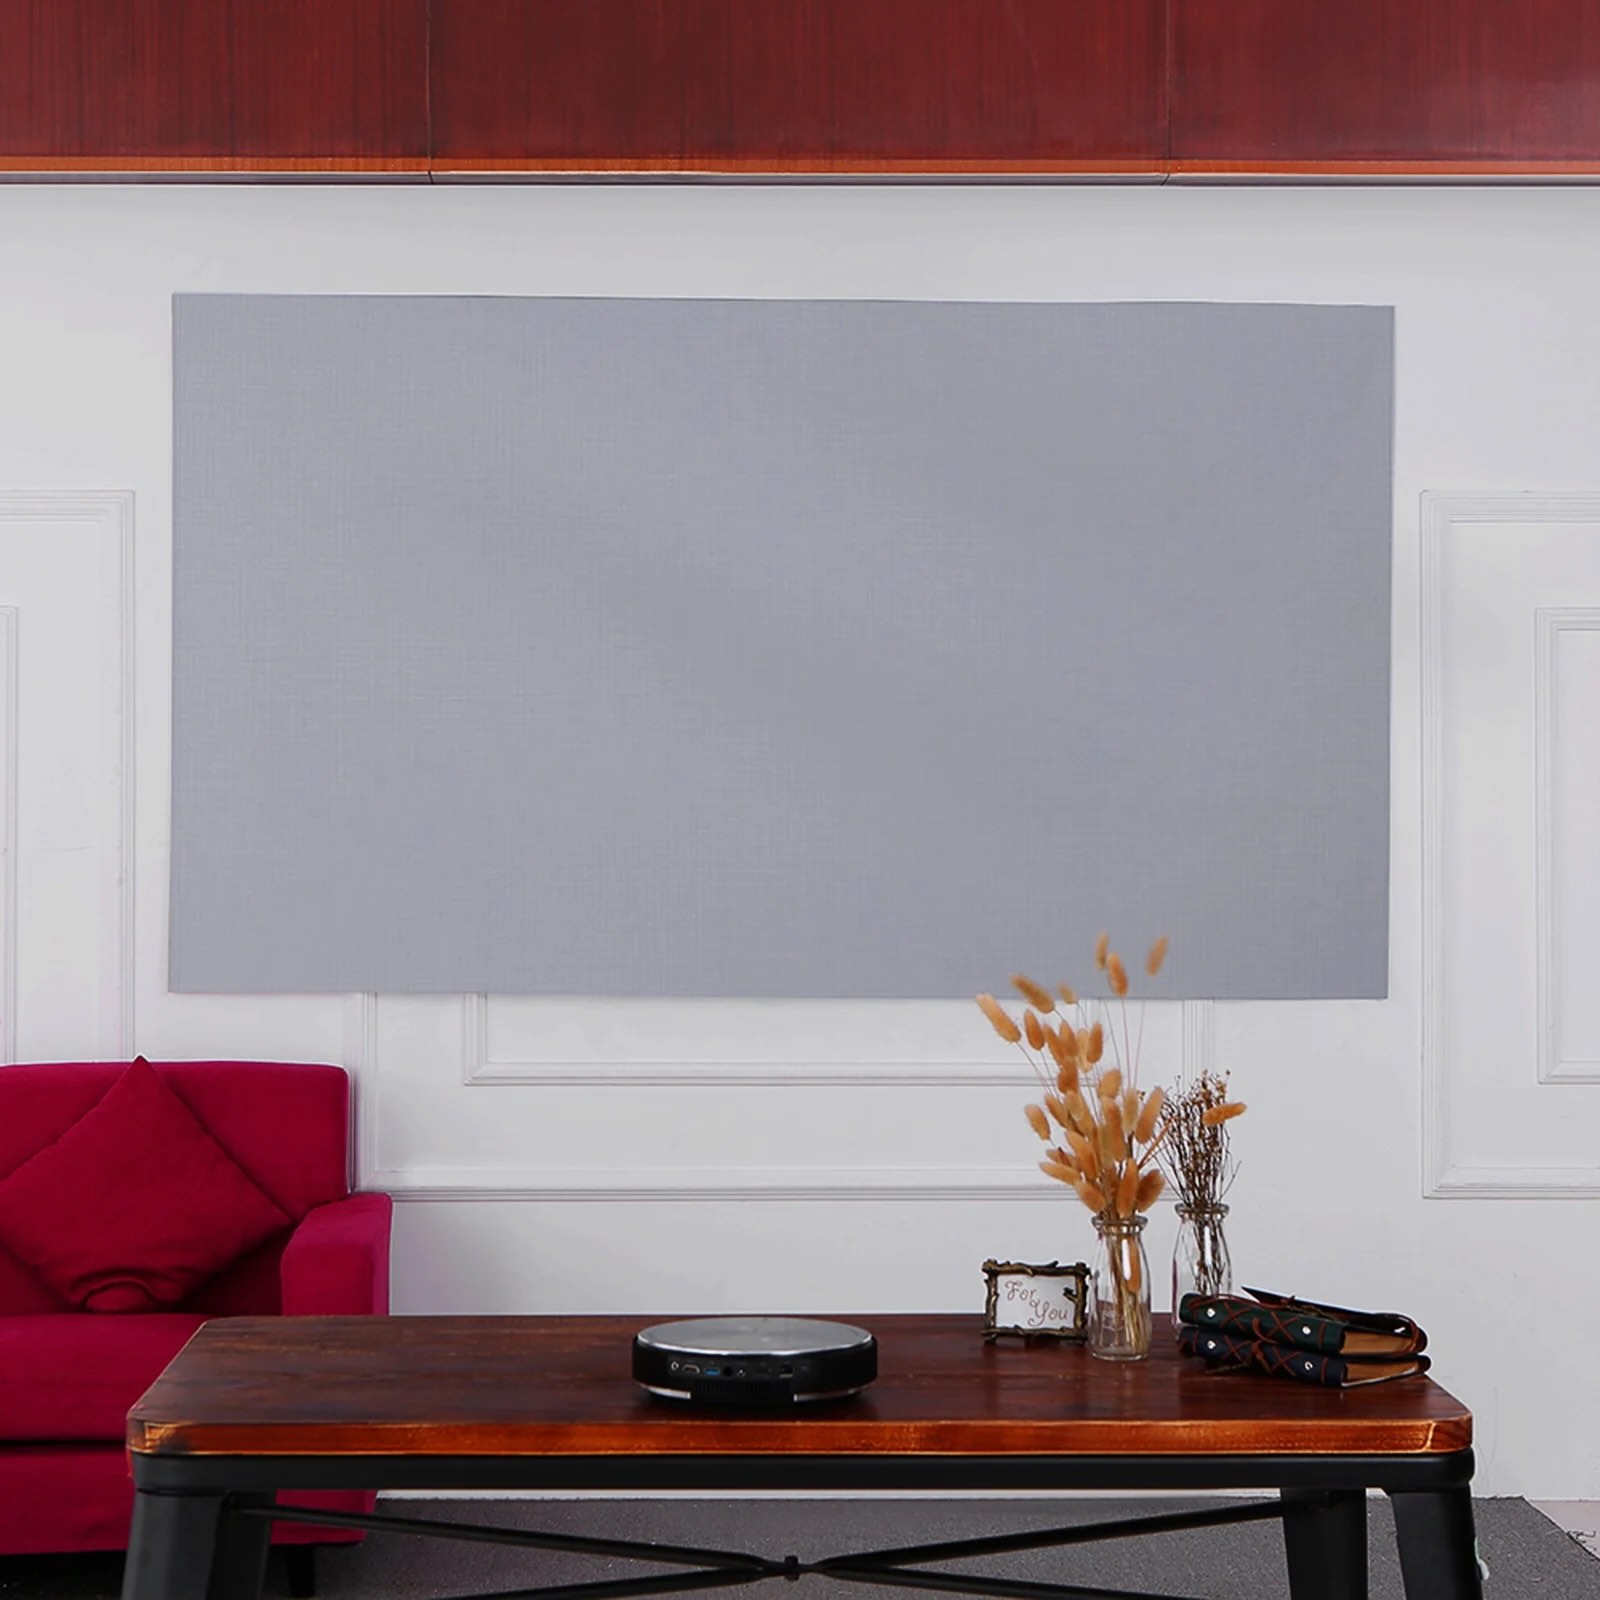
Setting Up the Projector
With the wall surface meticulously prepared, it’s time to set up the projector for the mural painting process. Properly positioning and adjusting the projector will ensure that the image is accurately projected onto the wall, allowing for precise tracing and painting. Here’s a comprehensive guide to setting up the projector for your mural:
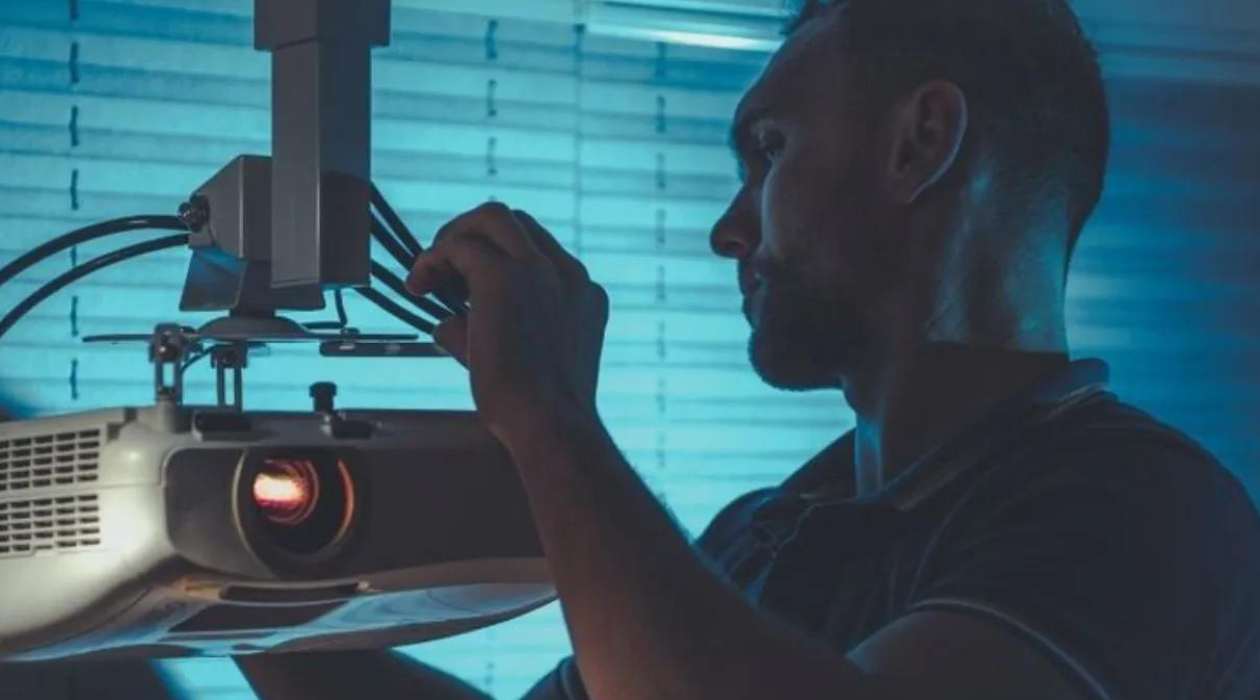
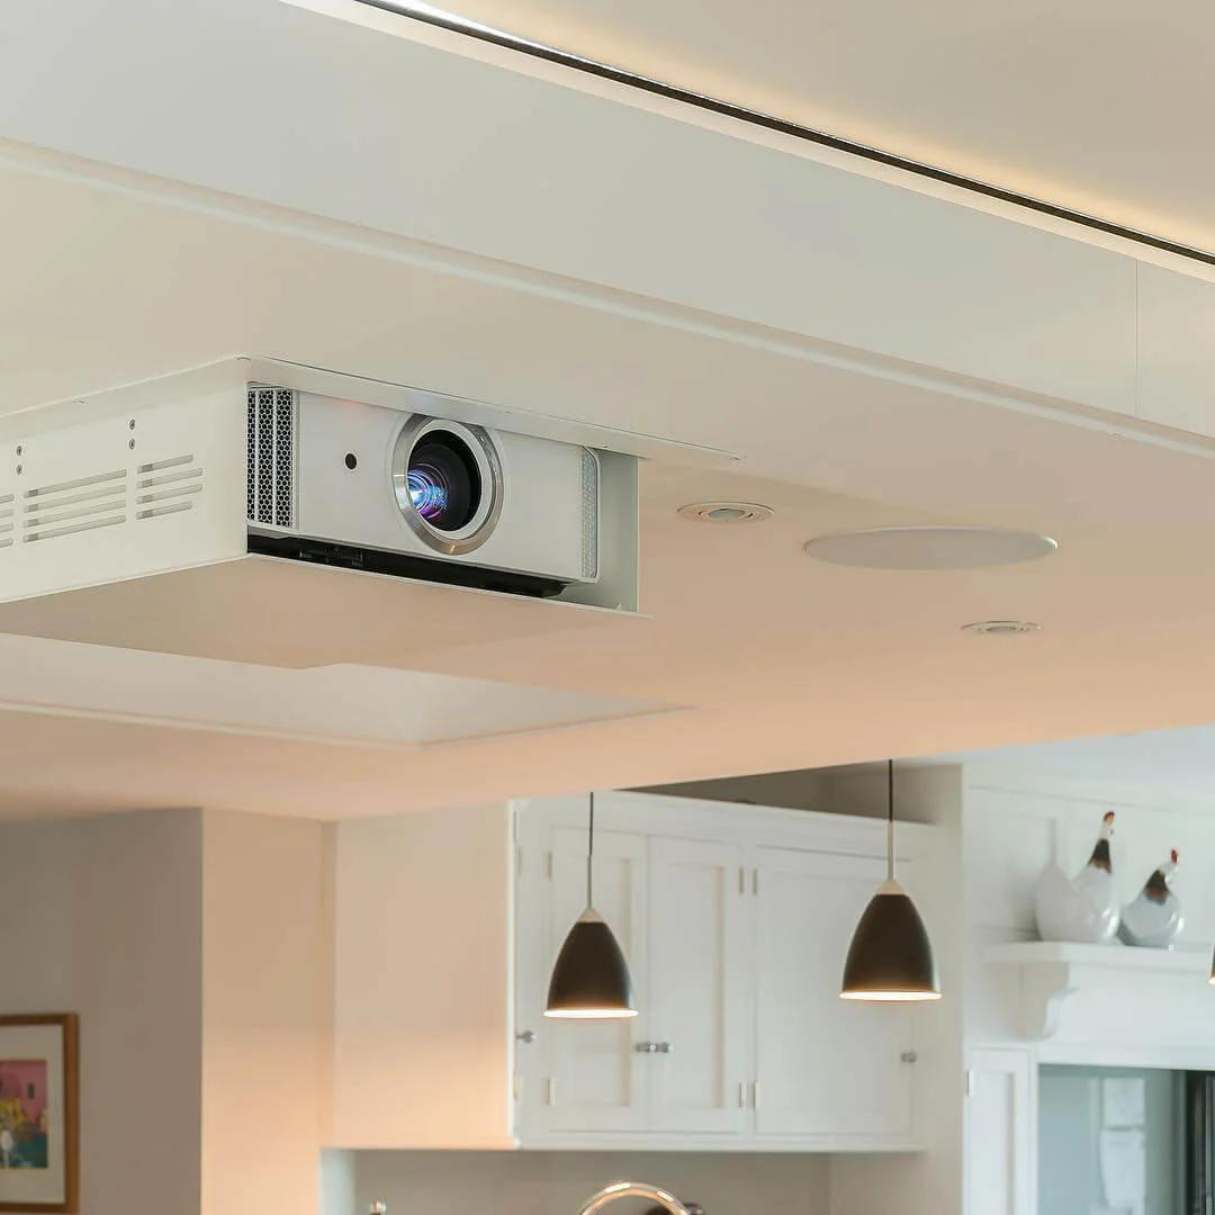
- Positioning the Projector: Place the projector at an optimal distance from the wall, taking into account the throw distance of the projector and the desired size of the projected image. Ensure that the projector is level and stable to avoid any distortion in the projected image.
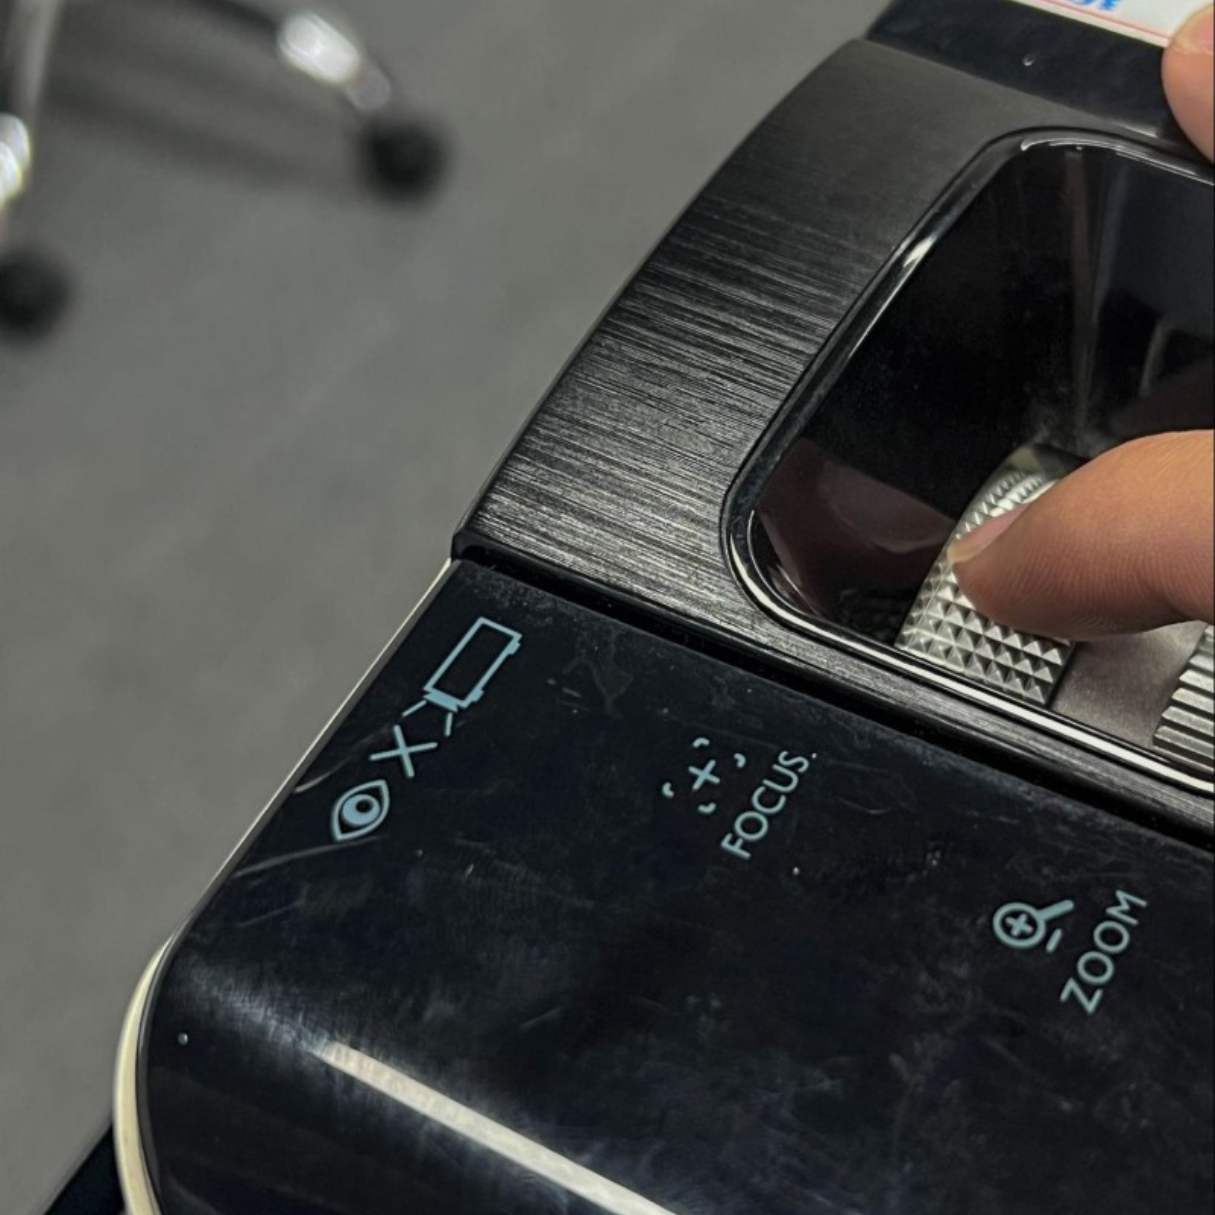
- Adjusting the Image Size: Use the projector’s zoom or focus controls to adjust the size of the projected image to fit the dimensions of the wall and the outlined area. Take your time to achieve the desired scale and proportion for the mural.
- Calibrating Image Alignment: Utilize the projector’s keystone correction and image alignment features to ensure that the projected image is straight, symmetrical, and accurately aligned with the wall surface. This step is crucial for maintaining the integrity of the image during the tracing process.
- Testing the Projection: Before tracing the image, carefully inspect the projected image for clarity, sharpness, and accurate proportions. Make any necessary adjustments to the projector settings to achieve the best possible projection quality.
- Securing the Setup: Once you’re satisfied with the projected image, secure the projector in place to prevent any accidental movement during the tracing and painting process. This may involve using a stable surface or mounting the projector on a stand or tripod.
By following these steps, you’ll ensure that the projector is optimally set up to facilitate the accurate transfer of the chosen image onto the wall. With the projector in position, you’re ready to begin tracing the image onto the wall, marking the exciting transition from projection setup to the commencement of the mural painting process.
Use a projector to trace your mural design onto the wall before painting. This will help you get the proportions and details right.
Read more: How To Seal Outdoor Mural
Tracing the Image
As the projected image comes to life on the wall, the next phase of the mural painting process involves tracing the outlines and finer details of the image to prepare for the painting stage. This step requires precision and attention to detail to accurately transfer the image onto the wall surface. Here’s a comprehensive guide to tracing the projected image for your mural:
- Trace with a Pencil or Chalk: Use a pencil or chalk to carefully trace the outlines of the projected image onto the wall. The goal is to create a clear and visible outline that will guide the subsequent painting process. Avoid pressing too hard to prevent indentations in the wall surface.
- Focus on Key Features: Pay special attention to the key features, contours, and intricate details of the image as you trace. Capturing the essence of the image through precise outlines will serve as a roadmap for the painting phase, ensuring that the mural stays true to the original design.
- Refine the Tracing: Once the primary outlines are traced, take a step back to review the overall accuracy and proportion of the traced image. Make any necessary adjustments to refine the tracing, ensuring that it aligns seamlessly with the projected image.
- Double-Check Alignment: Verify that the traced image remains aligned with the projected image, making any minor corrections as needed. Consistent alignment between the traced outlines and the projection will lay the groundwork for a cohesive and faithful representation of the chosen image.
- Prepare for Painting: Once the tracing is complete and refined, take a moment to visualize the mural’s potential and envision how the painting process will bring the traced outlines to life with vibrant colors and shading. This anticipation sets the stage for the transformative painting phase.
Tracing the projected image onto the wall marks a pivotal stage in the mural painting process, bridging the gap between the initial concept and the tangible canvas for artistic expression. With the image traced and ready for the next phase, it’s time to delve into the immersive and rewarding process of painting the mural itself.
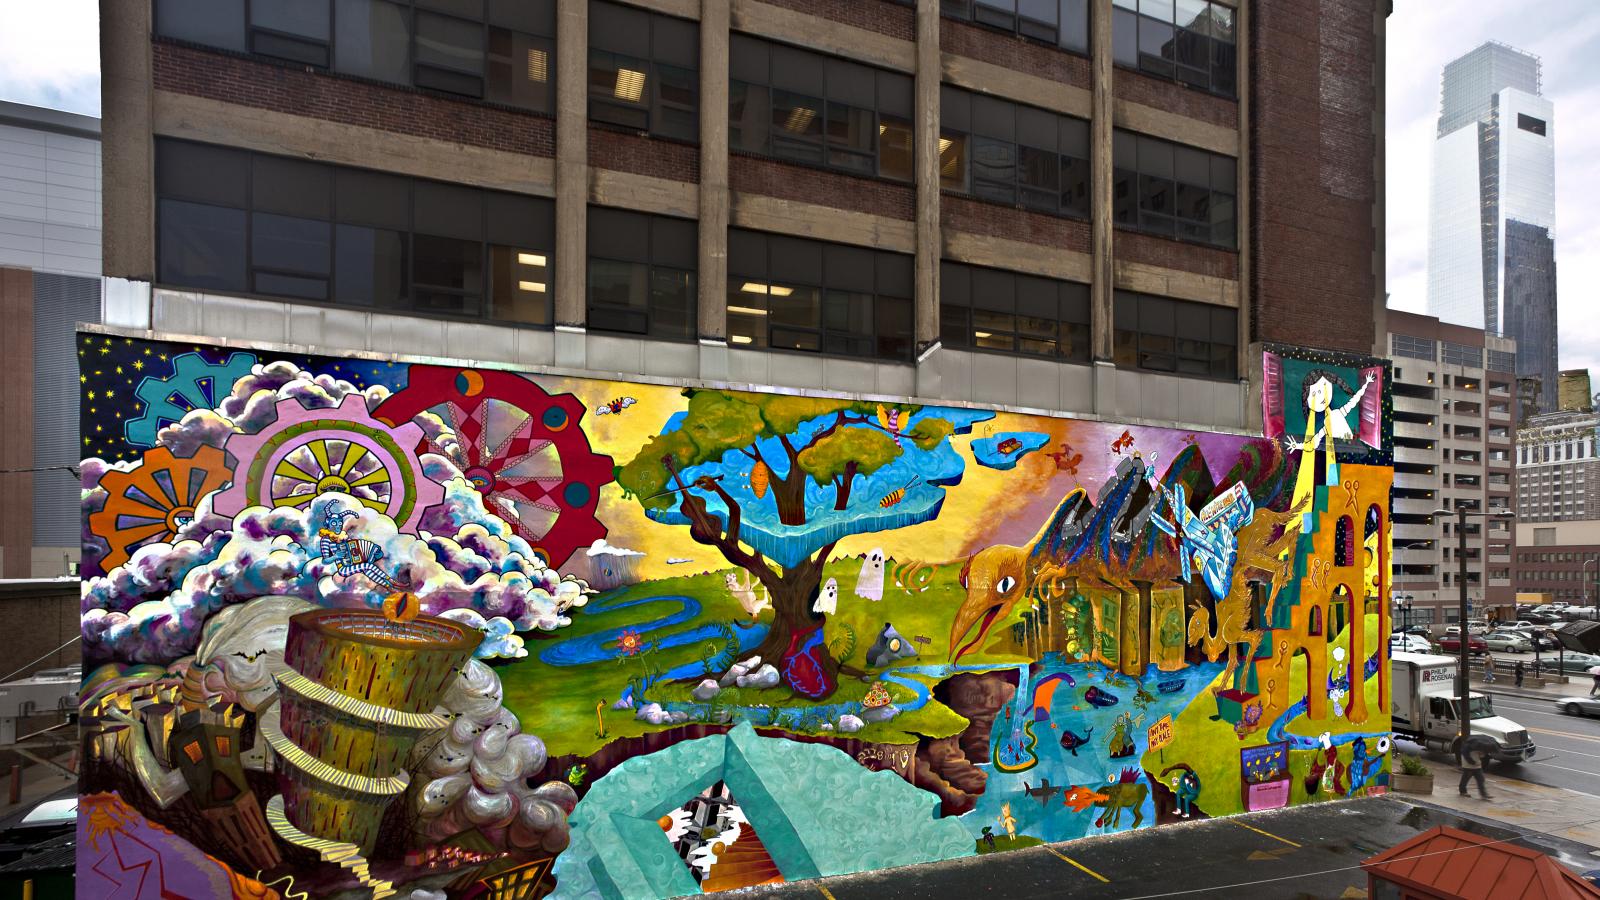
Painting the Mural
With the image meticulously traced onto the wall, the exhilarating phase of painting the mural commences. This stage allows for boundless creativity and artistic expression as you bring the outlined image to life with vibrant colors, nuanced shading, and captivating details. Here’s a comprehensive guide to painting your mural:
- Start with Background Colors: Begin by painting the background colors of the mural, working from the furthest elements in the image to the foreground. This approach establishes a visual depth and sets the stage for adding layers of detail and dimension.
- Layering and Shading: Gradually build up the layers of paint, focusing on shading, highlights, and textural elements to infuse the mural with depth and visual interest. Use a variety of brush sizes and techniques to achieve nuanced transitions and captivating contrasts.
- Attention to Detail: Pay meticulous attention to the finer details of the image, capturing intricate elements with precision and care. This level of detail adds a captivating realism and visual impact to the mural, drawing the viewer into the immersive artwork.
- Blend and Harmonize: Ensure a seamless integration of colors and elements throughout the mural, creating a cohesive and harmonious composition. Blend colors where necessary and maintain a consistent visual language to unify the various components of the image.
- Step Back and Assess: Periodically step back to view the mural from a distance, evaluating the overall composition, proportions, and visual impact. This vantage point offers valuable perspective and allows for adjustments to enhance the mural’s cohesiveness.
Throughout the painting process, embrace the freedom to infuse the mural with your unique artistic flair, allowing the image to evolve and resonate with your personal style. As you progress through the layers of paint and intricate details, the mural will gradually come to life, transforming the wall into a captivating showcase of creativity and imagination.
With the final brushstrokes applied and the mural taking its definitive form, it’s time to add the finishing touches that will elevate the artwork to its fullest potential.
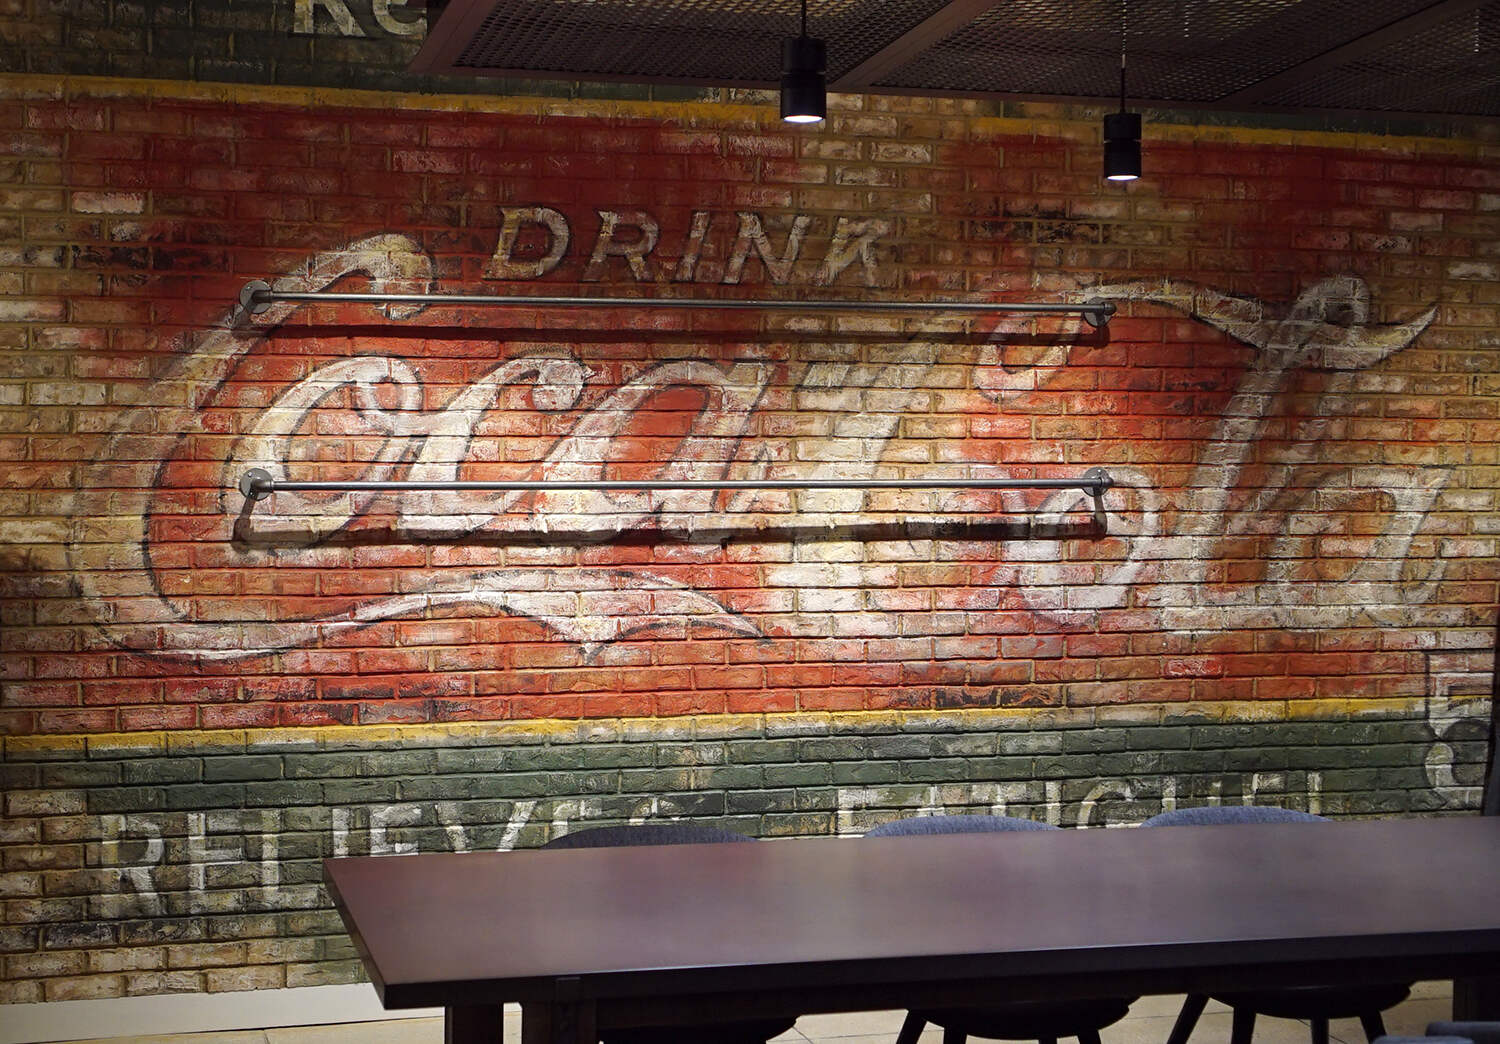
Final Touches
As the painting of the mural nears completion, the final touches play a crucial role in refining the artwork and ensuring a polished, professional finish. These finishing details add depth, dimension, and a sense of completion to the mural, elevating it from a painted image to a captivating visual centerpiece. Here’s a guide to adding the final touches to your mural:
- Refine Edges and Outlines: Take the time to refine the edges and outlines of the mural, ensuring clean, crisp lines and a cohesive visual structure. This step adds a sense of definition and clarity to the overall composition.
- Enhance Depth and Highlights: Introduce subtle highlights and additional shading to enhance the mural’s sense of depth and dimension. Strategic use of highlights can bring certain elements forward, adding a dynamic and three-dimensional quality to the artwork.
- Incorporate Textural Elements: Consider incorporating textural elements into the mural, such as adding tactile details or creating a sense of texture through varying brushwork. These textural nuances can enrich the viewer’s experience and create a tactile connection to the artwork.
- Evaluate Color Balance: Assess the overall color balance of the mural, ensuring that the palette harmonizes cohesively and creates a visually engaging composition. Make any necessary color adjustments to achieve the desired tonal balance and vibrancy.
- Protect and Seal the Mural: Once the painting process is complete, consider applying a clear sealant or varnish to protect the mural from dust, moisture, and potential wear. This protective layer enhances the longevity of the artwork and preserves its vibrant colors.
By attending to these final touches, you’ll infuse the mural with a sense of refinement and artistry, transforming it into a captivating focal point that enriches its surroundings. Each detail contributes to the overall impact of the mural, inviting viewers to immerse themselves in the intricacies and artistry of the painted masterpiece.
With the final touches in place, the mural stands as a testament to your creativity and dedication, ready to captivate and inspire all who encounter its vibrant and immersive presence.
Conclusion
Congratulations are in order as you’ve successfully navigated the exhilarating journey of painting a mural with the aid of a projector. From selecting the perfect image to adding the final touches, each step has contributed to the creation of a captivating and personalized masterpiece that now graces your wall. This transformative process has not only yielded a stunning work of art but has also provided a platform for artistic expression, creativity, and the realization of your vision.
As you reflect on the completion of your mural, it’s important to acknowledge the immersive experience and the valuable lessons learned throughout the painting process. The use of a projector has not only simplified the transfer of the image onto the wall but has also allowed for precision, attention to detail, and the seamless integration of your artistic interpretation.
Moreover, the mural now serves as a dynamic focal point, infusing the space with personality, vibrancy, and a touch of artistic allure. Whether it’s a captivating landscape, a thought-provoking abstract design, or a whimsical scene, the mural stands as a testament to your creativity and serves as a visual narrative that resonates with all who encounter it.
Furthermore, the skills honed and the insights gained from this mural painting endeavor will undoubtedly inform and inspire future artistic pursuits. The confidence gained in using a projector for mural painting, the understanding of color harmony, and the appreciation for the transformative power of art will continue to shape and enrich your creative endeavors.
As you bask in the fulfillment of completing your mural, remember that the artistic journey is an ongoing and evolving exploration. Embrace the joy of artistic expression, the thrill of creative experimentation, and the potential for future mural projects that will continue to breathe life and character into your surroundings.
With your mural now proudly displayed, it stands as a testament to the power of creativity, the beauty of self-expression, and the transformative impact of art. It invites admiration, sparks conversation, and serves as a visual testament to the boundless potential of artistic vision brought to life.
Celebrate this achievement, and may your mural continue to inspire and captivate, serving as a testament to the power of creativity and the enduring allure of artistic expression.
Frequently Asked Questions about How To Paint A Mural With A Projector
Was this page helpful?
At Storables.com, we guarantee accurate and reliable information. Our content, validated by Expert Board Contributors, is crafted following stringent Editorial Policies. We're committed to providing you with well-researched, expert-backed insights for all your informational needs.

0 thoughts on “How To Paint A Mural With A Projector”