Home>Technology>Home Entertainment Systems>How To Adjust Brightness On Projector
Home Entertainment Systems
How To Adjust Brightness On Projector
Published: December 30, 2023
Learn how to adjust the brightness on your home entertainment system projector for the best viewing experience. Enhance your movie nights with the perfect visual settings.
(Many of the links in this article redirect to a specific reviewed product. Your purchase of these products through affiliate links helps to generate commission for Storables.com, at no extra cost. Learn more)
Introduction
Welcome to the world of home entertainment systems, where the magic of cinema comes alive in the comfort of your own living room. Projectors play a pivotal role in transforming any space into a captivating movie theater experience. However, to truly immerse yourself in the cinematic journey, it's essential to understand how to optimize the projector's settings for the best visual performance.
One of the key factors in achieving an exceptional viewing experience is adjusting the brightness of your projector. Whether you're indulging in a thrilling action movie, hosting a gaming marathon, or delivering a captivating presentation, the brightness level can significantly impact the quality of the visuals. In this guide, we will delve into the art of adjusting brightness on a projector, empowering you to harness the full potential of your home entertainment system.
Understanding the nuances of projector controls, navigating the menu settings, and mastering the art of brightness adjustment will elevate your viewing experience to new heights. Join us as we unravel the intricacies of optimizing projector brightness, unlocking the full spectrum of visual brilliance that your projector has to offer. Let's embark on this illuminating journey into the world of projector brightness adjustment, where every frame comes alive with stunning clarity and vibrancy.
Key Takeaways:
- Adjusting brightness on a projector is essential for creating the best visual experience. Use the menu or remote control to make precise adjustments based on ambient lighting and content type.
- Mastering brightness adjustment involves balancing vibrant visuals with viewer comfort. Regular calibration and utilizing preset modes can enhance the overall viewing experience.
Understanding the Projector Controls
Before delving into the specifics of adjusting brightness, it’s crucial to familiarize yourself with the various controls and components of your projector. Understanding these elements will lay the foundation for effectively managing the brightness settings.
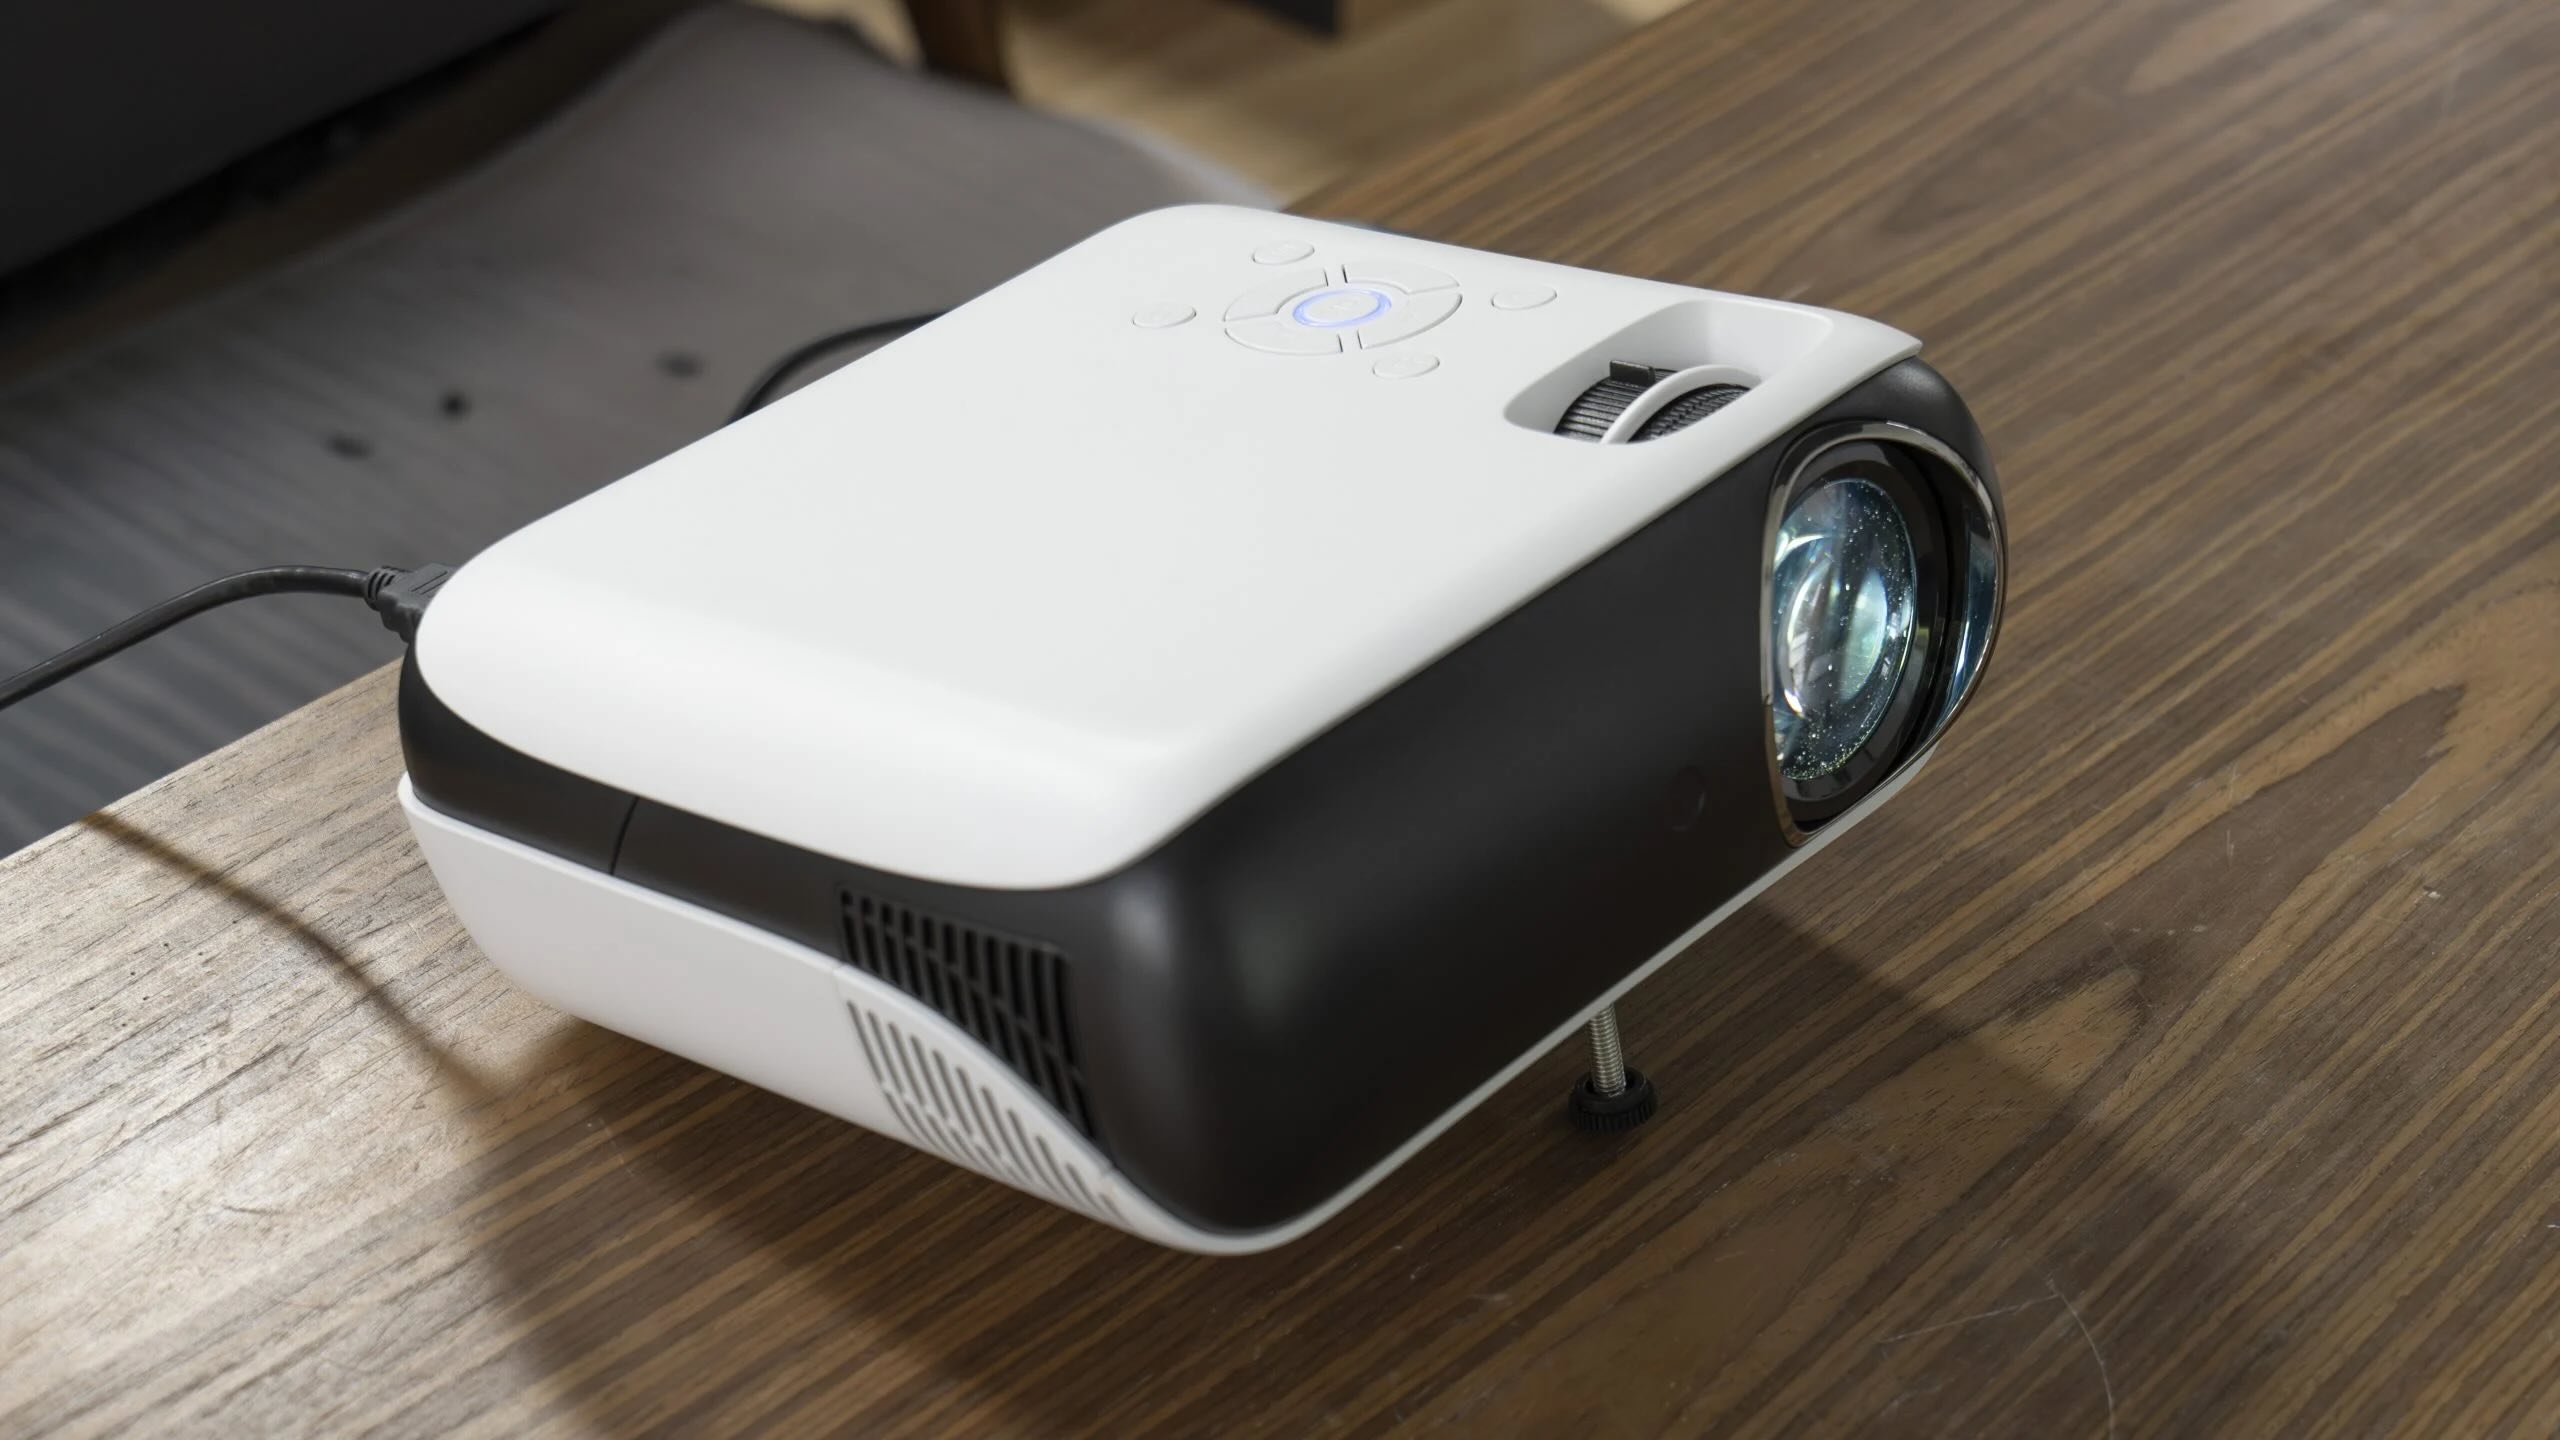
1. Power and Input Controls: The power button, typically located on the top or front panel of the projector, allows you to turn the device on and off. Additionally, the input controls enable you to select the source from which the projector will display content, such as HDMI, VGA, or USB.
2. Menu Navigation: Most projectors are equipped with an intuitive menu system accessible through the control panel or remote. This menu provides access to a range of settings, including brightness, contrast, color temperature, and more. Navigating this menu is essential for adjusting the projector’s brightness to suit your preferences.
3. Keystone Correction: Keystone correction controls, often found within the menu settings, allow you to adjust the trapezoidal distortion that may occur when the projector is not positioned directly in front of the screen. Understanding and utilizing this feature ensures optimal image geometry.
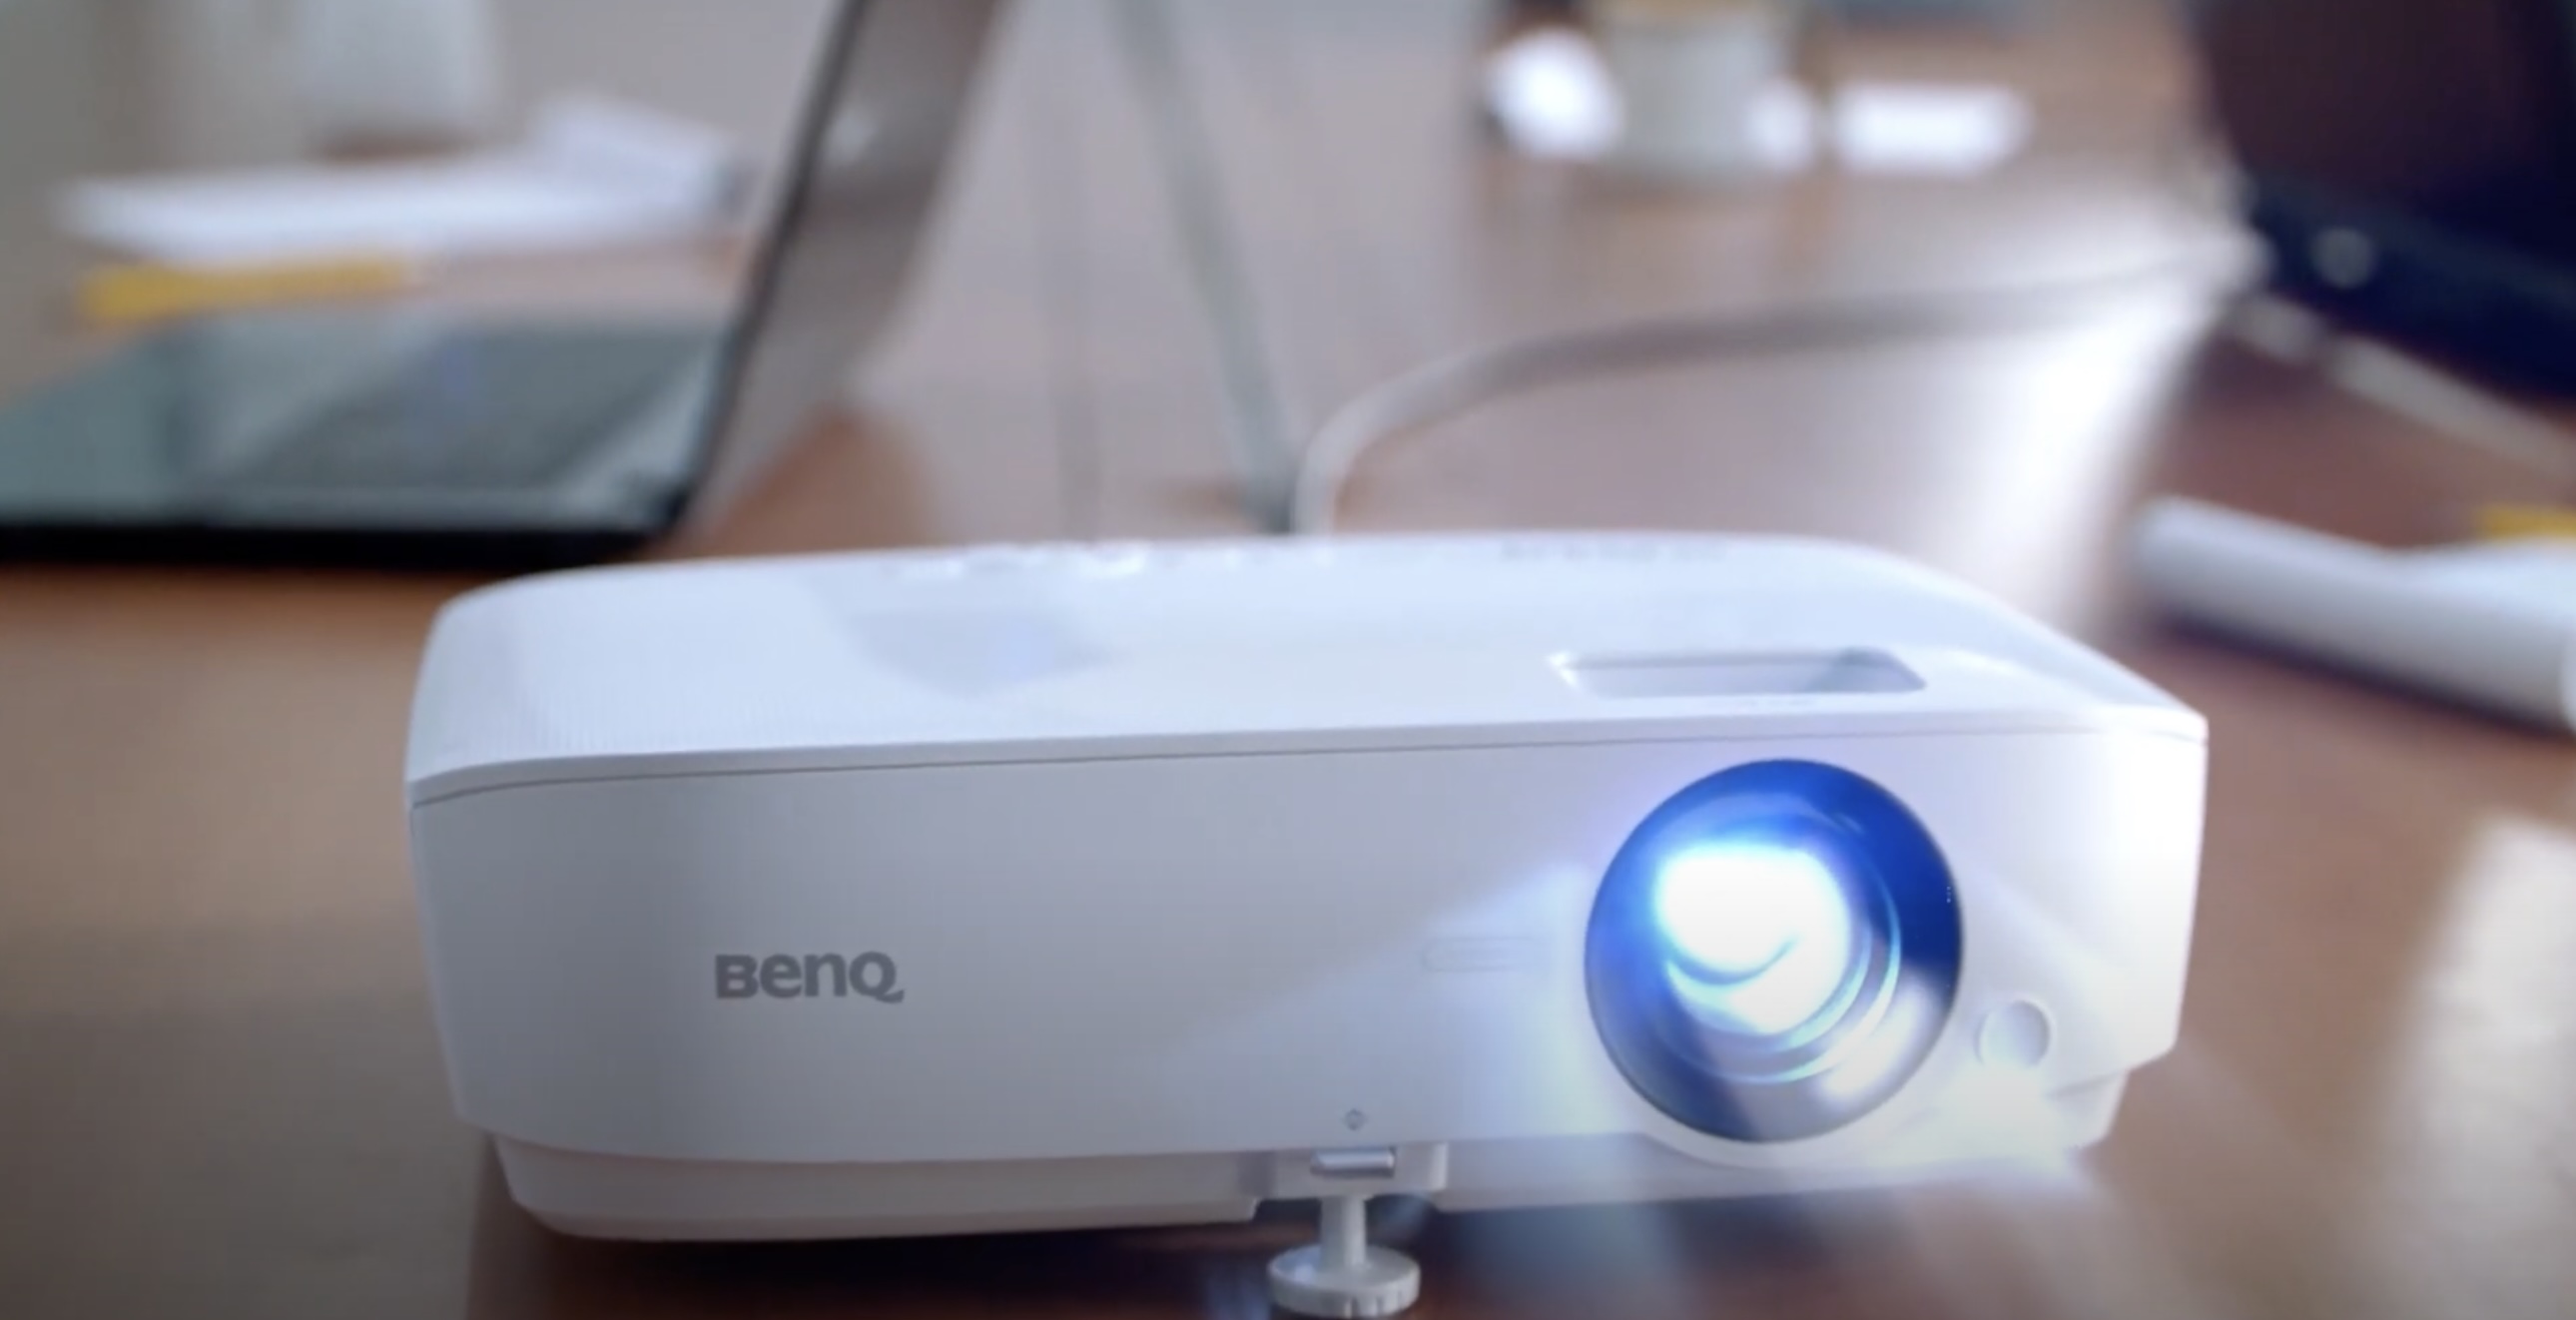
4. Remote Control: The projector’s remote control serves as a convenient tool for adjusting settings from a distance. It typically includes dedicated buttons for brightness, contrast, and other essential functions, providing a seamless way to fine-tune the visual parameters.
5. Lens and Focus Adjustments: Some projectors offer manual controls for adjusting the lens focus and zoom. These adjustments are crucial for achieving a sharp and clear image, especially when optimizing brightness levels.
By familiarizing yourself with these essential controls and features, you’ll be well-equipped to navigate the intricacies of adjusting brightness and other visual settings on your projector. Now that we’ve laid the groundwork for understanding the projector’s controls, let’s proceed to explore the specific methods for adjusting brightness to enhance your viewing experience.
Adjusting Brightness Using the Projector Menu
When it comes to fine-tuning the brightness of your projector, the menu system serves as a gateway to a multitude of visual adjustments. Here’s a step-by-step guide to adjusting brightness using the projector’s menu:
- Accessing the Menu: Begin by powering on the projector and accessing the main menu. This can typically be done using the dedicated menu button on the control panel or the remote control.
- Navigating to the Image Settings: Within the menu, locate the “Image” or “Picture” settings. This is where you’ll find a range of visual parameters that can be adjusted, including brightness, contrast, color temperature, and more.
- Selecting Brightness: Once in the image settings, navigate to the “Brightness” option. Depending on the projector model, you may be able to adjust the brightness using a slider, numerical scale, or preset levels (e.g., low, medium, high).
- Adjusting the Brightness: With the brightness option selected, make incremental adjustments to the level of brightness displayed on the screen. Take note of the changes in real-time to gauge the impact on the overall visual quality.
- Confirming the Settings: After making the desired adjustments, ensure to save or confirm the settings within the menu system. This may involve selecting “OK,” “Save,” or a similar option to apply the new brightness settings.
It’s important to approach brightness adjustment with a balanced mindset, aiming for a level that enhances visual clarity without causing discomfort or strain. Keep in mind that the optimal brightness level may vary based on ambient lighting conditions, the type of content being displayed, and personal preferences.
By utilizing the projector’s menu system to adjust brightness, you gain precise control over the visual output, allowing you to tailor the viewing experience to your liking. Whether you’re seeking vibrant and dynamic visuals for movie nights or a subdued ambiance for presentations, the projector’s menu empowers you to customize the brightness with ease.
Now that we’ve explored the process of adjusting brightness through the projector’s menu, let’s delve into another approach that offers convenient control over brightness settings: using the projector’s remote control.
To adjust the brightness on a projector, locate the “brightness” or “luminance” setting in the projector’s menu. Increase or decrease the brightness level as needed to achieve the desired image quality.
Using the Remote Control to Adjust Brightness
For seamless and immediate control over brightness settings, the projector’s remote control is a valuable tool that puts visual adjustments at your fingertips. Here’s a guide to using the remote control to adjust brightness:
- Locating the Brightness Controls: Familiarize yourself with the layout of the remote control to identify the dedicated buttons or navigation options for adjusting brightness. These may be labeled as “Brightness,” “Picture,” “Image,” or represented by symbols such as a sun icon.
- Accessing the Brightness Settings: Once you’ve located the brightness controls on the remote, use the corresponding buttons or navigation keys to access the brightness settings directly. This may involve pressing a dedicated button or navigating through on-screen menus using arrow keys.
- Adjusting the Brightness: With the brightness settings accessible, use the remote control to make incremental adjustments to the brightness level. Some remotes feature dedicated buttons for increasing or decreasing brightness, while others may require navigation within on-screen menus.
- Real-Time Feedback: As you make adjustments, observe the real-time impact on the projected image. This allows you to fine-tune the brightness to achieve the desired visual quality, ensuring that the adjustments align with your preferences and the specific viewing environment.
- Confirming the Changes: Once you’ve achieved the desired brightness level, confirm or save the settings using the remote control. This may involve pressing a dedicated “OK” or “Save” button to apply the adjusted brightness settings.
The convenience of using the remote control to adjust brightness cannot be understated, especially when immediate visual adjustments are needed during a presentation or while transitioning between different types of content. Whether you’re enhancing the vibrancy of a movie or fine-tuning the brightness for optimal clarity during a gaming session, the remote control offers a user-friendly method for customizing the visual output.
By leveraging the remote control to manage brightness settings, you gain flexibility and control over the viewing experience, allowing you to adapt the brightness to suit various scenarios and preferences. Now that we’ve explored the versatility of using the remote control for brightness adjustments, let’s delve into some tips for achieving optimal brightness levels on your projector.
Tips for Optimal Brightness Adjustment
Mastering the art of brightness adjustment on your projector involves more than just manipulating settings. It requires a nuanced approach that takes into account various factors to ensure an optimal viewing experience. Here are some valuable tips to guide you in achieving the ideal brightness levels:
- Consider Ambient Lighting: Assess the ambient lighting conditions in the viewing area. For darker environments, a higher brightness level may be suitable, while dimming the brightness can help mitigate glare and enhance contrast in well-lit spaces.
- Content-Specific Adjustments: Tailor the brightness settings to the type of content being displayed. For cinematic experiences, you may opt for higher brightness to accentuate vivid visuals, while presentations or text-heavy content may benefit from a balanced brightness level that ensures clarity without causing eye strain.
- Avoid Overly High Brightness: While it may be tempting to maximize brightness for a dazzling display, excessively high brightness levels can lead to visual discomfort and fatigue. Strive for a balance that delivers vibrant visuals without overwhelming the viewer.
- Regular Calibration: Periodically recalibrate the brightness settings based on the evolving environmental conditions and the longevity of the projector lamp. This ensures that the brightness remains optimized for the best viewing experience over time.
- Utilize Preset Modes: Many projectors offer preset modes tailored for different scenarios, such as “Cinema,” “Gaming,” or “Presentation.” Experiment with these modes to leverage preconfigured brightness settings optimized for specific content types.
- Engage Eco or Low-Light Modes: Some projectors feature energy-saving modes or low-light settings that reduce brightness while extending the lifespan of the lamp. These modes are beneficial for prolonged use and can contribute to a comfortable viewing experience.
- Seek Visual Comfort: Prioritize the comfort of viewers by ensuring that the brightness level is conducive to extended viewing sessions. Striking a balance that delivers engaging visuals without causing eye strain is essential for an enjoyable experience.
By incorporating these tips into your approach to brightness adjustment, you can fine-tune the visual output of your projector to align with diverse viewing scenarios and preferences. The thoughtful application of these recommendations will elevate the overall viewing experience, ensuring that the visuals are optimized for maximum impact and comfort.
Now equipped with a comprehensive understanding of brightness adjustment and the essential tips for optimizing visual output, you’re poised to harness the full potential of your projector and create captivating viewing environments. As we conclude our exploration of brightness adjustment, let’s reflect on the transformative power of this fundamental aspect of projector optimization.
Read more: How Do You Adjust Projector Headlights
Conclusion
Embarking on the journey of adjusting brightness on a projector unveils a realm of possibilities for enhancing the visual experience within your home entertainment space. From the intricacies of navigating the projector’s controls to the art of fine-tuning brightness levels, this endeavor empowers you to curate captivating viewing environments tailored to your preferences and the nature of the content being showcased.
By understanding the projector’s controls and menu system, you gain the knowledge and dexterity to navigate through a myriad of visual settings, including brightness, contrast, and color temperature. This familiarity with the projector’s interface enables you to wield precise control over the visual output, ensuring that every frame is presented in optimal brilliance.
Whether adjusting brightness using the projector’s menu system or leveraging the convenience of the remote control, you have at your disposal versatile tools that facilitate seamless and immediate adjustments. This flexibility empowers you to adapt the brightness to suit diverse scenarios, from immersive movie nights to professional presentations and dynamic gaming experiences.
As you venture into the realm of brightness adjustment, the tips provided serve as guiding beacons, illuminating the path to achieving the ideal brightness levels. By considering ambient lighting, tailoring settings to specific content, and prioritizing visual comfort, you can craft viewing environments that captivate the senses while fostering a comfortable and immersive experience for all viewers.
Ultimately, the art of adjusting brightness on a projector transcends mere technical manipulation; it embodies the fusion of artistry and practicality, where the interplay of visual elements converges to create captivating spectacles. As you embark on this illuminating journey, may each adjustment of brightness unveil new dimensions of visual splendor, enriching your cinematic escapades, presentations, and leisurely pursuits.
Embrace the transformative power of brightness adjustment, for within its realm lies the potential to breathe life into every frame, infusing your viewing experiences with unparalleled vibrancy and clarity.
Now, armed with the knowledge and insights garnered from this exploration, you stand poised to embark on a luminous odyssey, where each adjustment of brightness kindles the magic of the silver screen within the comfort of your own domain.
Frequently Asked Questions about How To Adjust Brightness On Projector
Was this page helpful?
At Storables.com, we guarantee accurate and reliable information. Our content, validated by Expert Board Contributors, is crafted following stringent Editorial Policies. We're committed to providing you with well-researched, expert-backed insights for all your informational needs.


0 thoughts on “How To Adjust Brightness On Projector”