Home>Technology>Home Entertainment Systems>How To Use Auking Mini Projector
Home Entertainment Systems
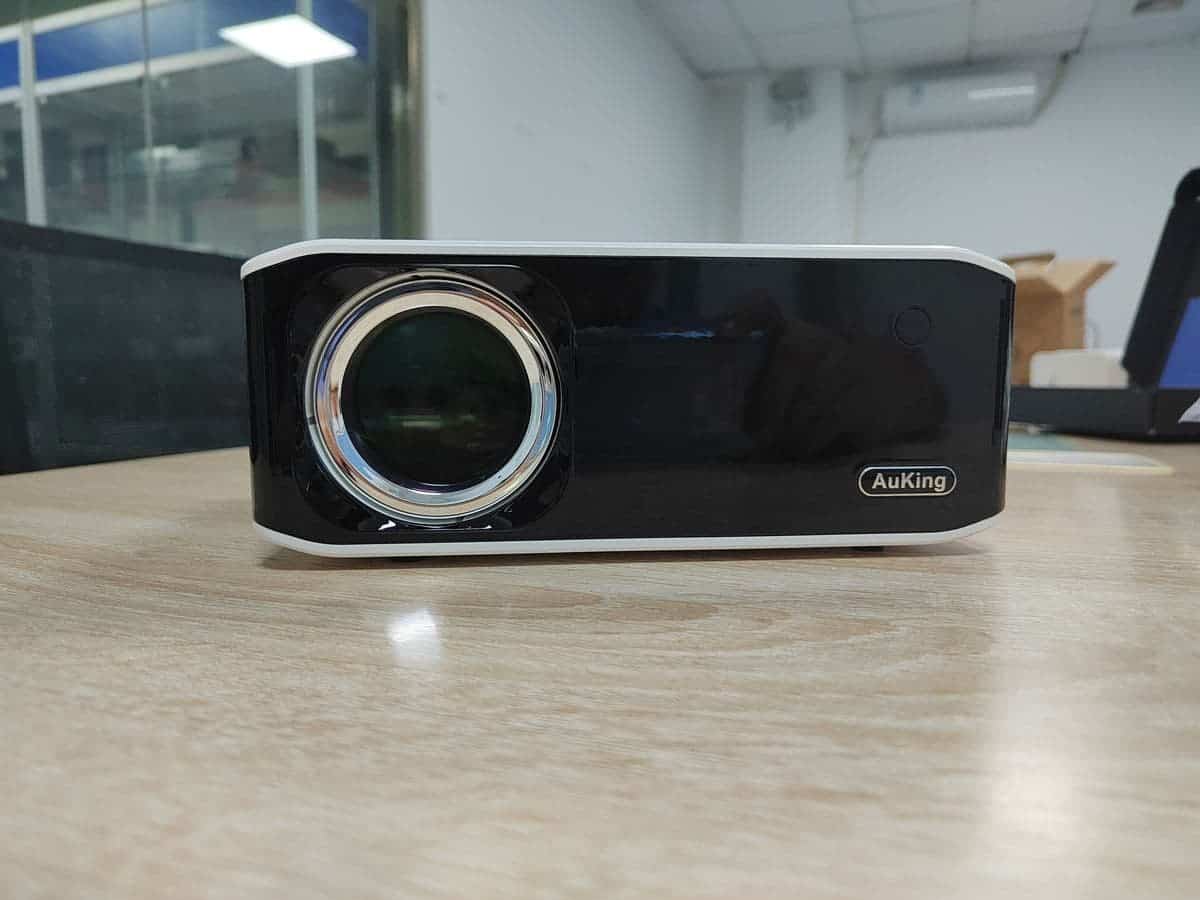
How To Use Auking Mini Projector
Modified: February 26, 2024
Discover how to enhance your home entertainment system with the Auking Mini Projector. Bring the big screen experience to your living room with ease and convenience. Ideal for movie nights and family gatherings.
(Many of the links in this article redirect to a specific reviewed product. Your purchase of these products through affiliate links helps to generate commission for Storables.com, at no extra cost. Learn more)
Introduction
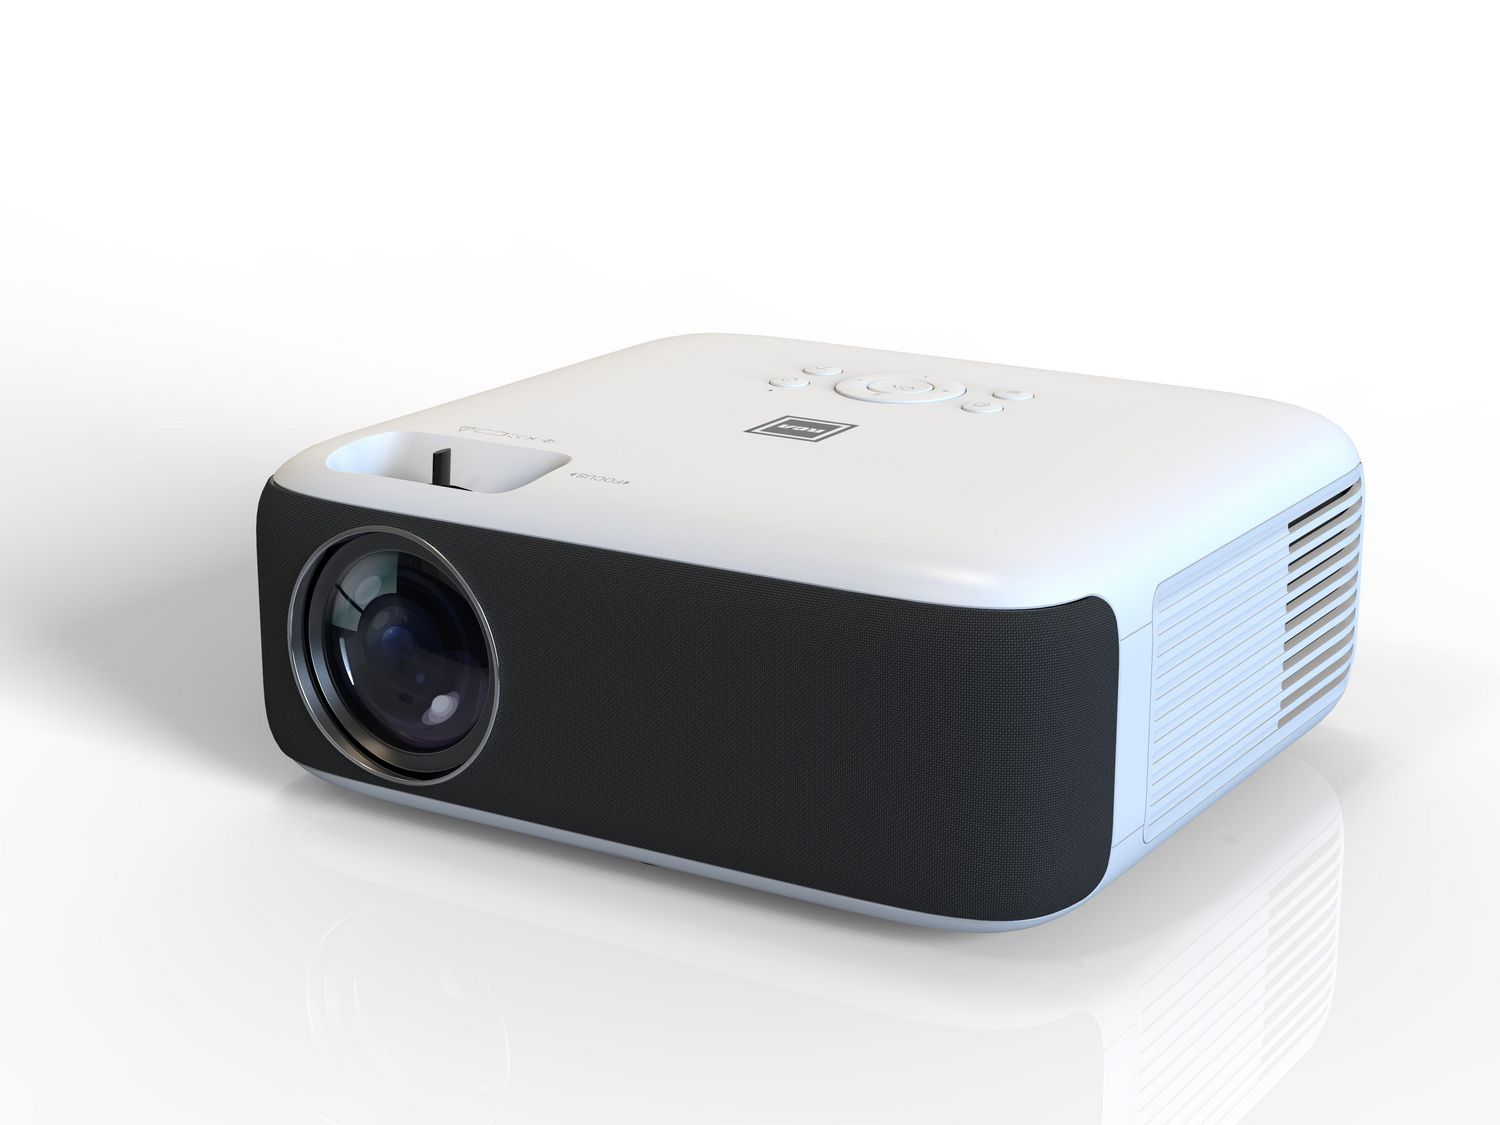
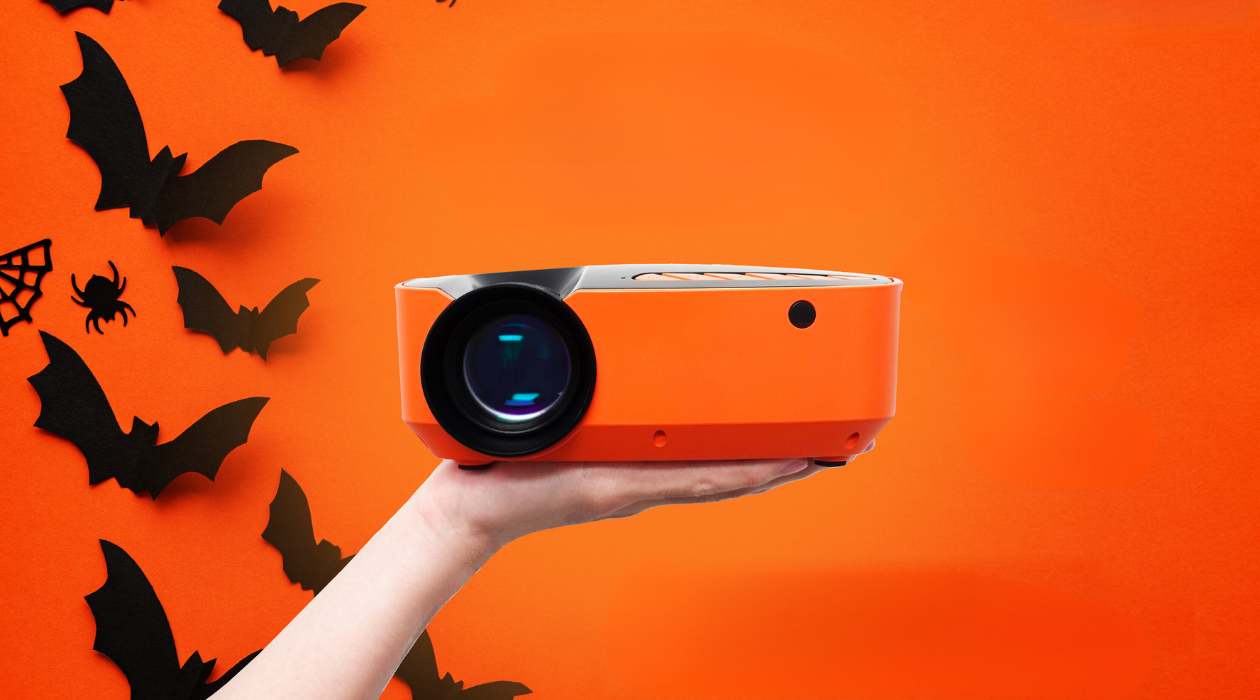
Welcome to the world of home entertainment, where the Auking Mini Projector takes center stage as the gateway to immersive cinematic experiences within the comfort of your own space. This compact yet powerful device has the potential to transform any room into a captivating theater, offering a myriad of possibilities for enjoying movies, TV shows, gaming, and more. Whether you're a seasoned tech enthusiast or a casual user seeking to elevate your entertainment setup, this guide will walk you through the ins and outs of using the Auking Mini Projector to its fullest potential.
The Auking Mini Projector is designed to deliver stunning visuals with remarkable clarity and vibrant colors, all packed into a portable and user-friendly package. Its versatility extends beyond traditional media consumption, allowing you to unleash your creativity by showcasing presentations, slideshows, and even mirroring your smartphone or tablet for a truly dynamic viewing experience.
In this comprehensive guide, we will delve into the unboxing and setup process, explore the seamless connectivity options, master the art of adjusting image and focus for optimal viewing, harness the convenience of the remote control, and dive into the realm of playing various media formats. Additionally, we will cover essential tips for powering off the projector and storing it safely, as well as troubleshooting common issues that may arise.
Whether you're a tech-savvy individual looking to enhance your entertainment system or a family seeking to create unforgettable movie nights, the Auking Mini Projector is poised to deliver an exceptional visual journey. So, let's embark on this exploration together and unlock the full potential of your home entertainment experience.
Key Takeaways:
- Transform any space into a captivating theater with the Auking Mini Projector, offering seamless connectivity, versatile media playback, and stunning visuals for unforgettable home entertainment experiences.
- Master the art of adjusting image and focus, using the remote control, and troubleshooting common issues to ensure seamless and captivating viewing sessions with the Auking Mini Projector.
Read more: How To Use A Mini Projector
Unboxing and Setting Up
Upon receiving your Auking Mini Projector, the excitement of unboxing and setting up this innovative device marks the beginning of a transformative entertainment experience. The packaging is designed to ensure the safety of the projector during transit, and as you unbox it, you’ll find the components neatly arranged, ready to be assembled for your viewing pleasure.
The first step involves carefully unpacking the contents, which typically include the Auking Mini Projector, a power adapter, a remote control, an HDMI cable, and a user manual. Each component is meticulously crafted to seamlessly integrate into the setup process, ensuring a hassle-free experience for users of all technical backgrounds.
Setting up the Auking Mini Projector is a straightforward process that begins with finding an optimal location for the projector. Whether it’s a blank wall, a projector screen, or any other suitable surface, ensure that the projector is placed on a stable platform, allowing for proper ventilation to prevent overheating.
Next, connect the power adapter to the projector and a power source. Once powered on, the projector will greet you with its startup screen, indicating that it’s ready to bring your favorite content to life. Familiarize yourself with the control buttons and ports on the projector, as this will come in handy during the setup and operation phases.
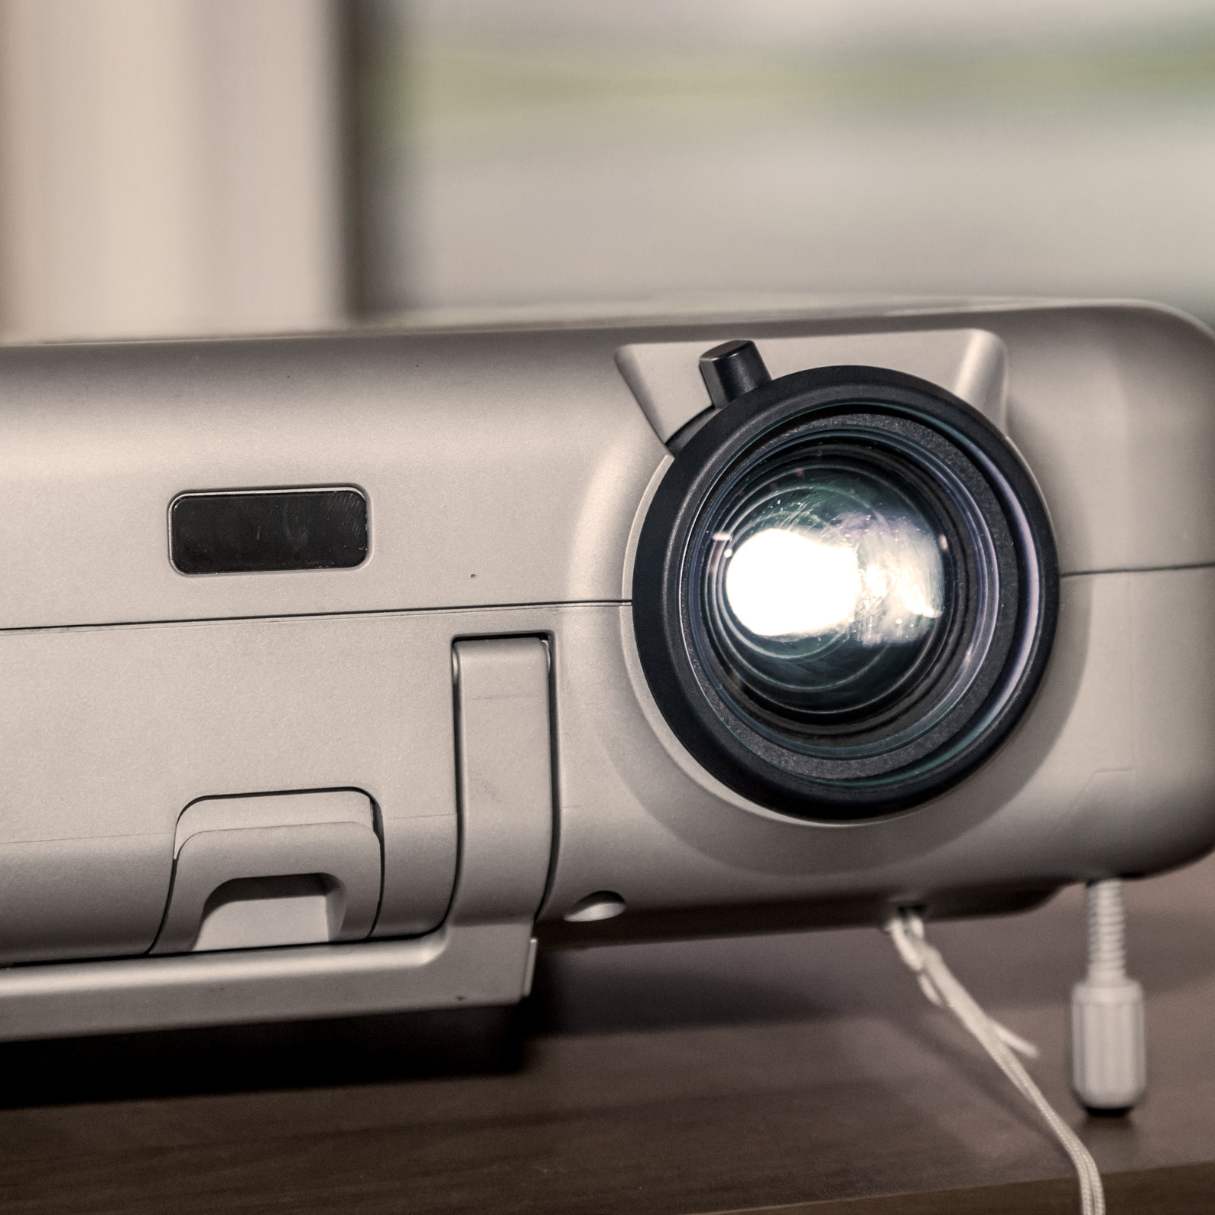
Now, it’s time to adjust the focus and keystone correction to achieve a sharp and well-aligned image. The focus adjustment ring, usually located around the lens, allows you to fine-tune the clarity of the projected image, while keystone correction ensures that the image retains its proper proportions, even if the projector is not perfectly aligned with the screen.
As you navigate through the initial setup, the projector’s intuitive on-screen menu will guide you through language selection, display settings, and other essential configurations. Once completed, you’re all set to embark on a visual journey that transcends traditional viewing experiences.
With the Auking Mini Projector now set up and ready to unleash its visual prowess, you’re poised to explore the myriad of connectivity options and media playback capabilities that await, ensuring that every viewing session is nothing short of extraordinary.
Connecting Devices
One of the key features that make the Auking Mini Projector a versatile powerhouse in the realm of home entertainment is its seamless connectivity with a wide array of devices. Whether you’re eager to stream content from your smartphone, delve into gaming experiences, or connect to traditional media players, the projector offers a host of options to cater to your diverse needs.
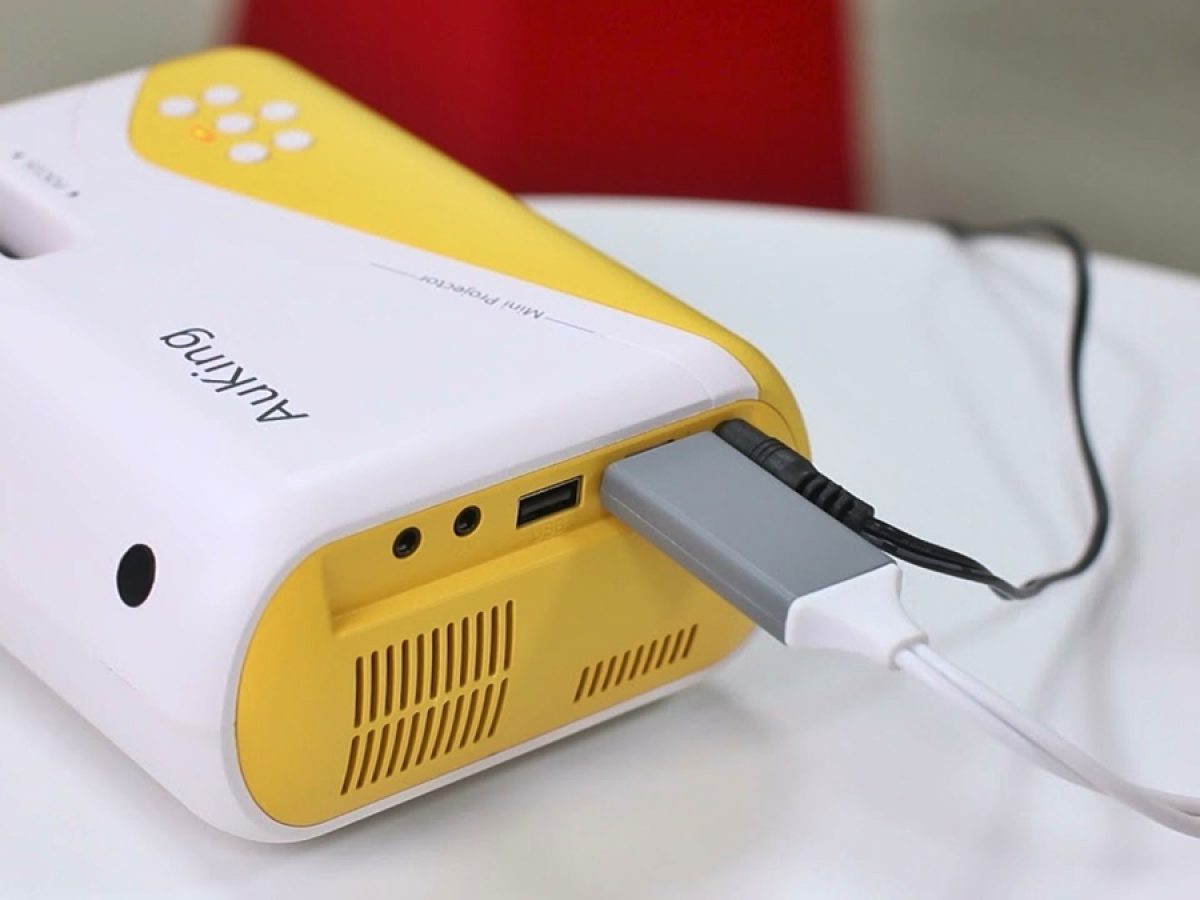
At the core of its connectivity prowess is the HDMI port, which serves as the gateway to high-definition content from devices such as Blu-ray players, gaming consoles, laptops, and streaming devices. By simply connecting an HDMI cable from your preferred device to the projector, you can unlock a world of captivating visuals and immersive audio, elevating your viewing experience to new heights.
Beyond HDMI, the Auking Mini Projector also features USB and SD card ports, providing convenient access to media files stored on external drives or memory cards. This opens up the possibility of enjoying a wide range of content, including movies, music, photos, and presentations, without the need for additional devices.
For those who prefer wireless connectivity, the projector offers support for screen mirroring via Wi-Fi, enabling seamless casting of content from compatible smartphones, tablets, and laptops. This feature empowers you to effortlessly share your favorite apps, videos, and games on the big screen, fostering a truly immersive and collaborative viewing experience.
Moreover, the inclusion of audio and video input ports allows for the connection of various devices, including traditional DVD players, speakers, and gaming consoles, ensuring that the Auking Mini Projector seamlessly integrates into your existing entertainment setup without compromise.
As you embark on the journey of connecting devices to the Auking Mini Projector, you’ll discover a world of possibilities that cater to your unique preferences and content sources. Whether you’re a cinephile, a gaming enthusiast, or a professional seeking to deliver impactful presentations, the projector’s versatile connectivity options pave the way for endless entertainment and productivity.
With the devices seamlessly integrated and the projector ready to receive your content, it’s time to delve into the art of adjusting the image and focus to ensure that every visual detail is presented with stunning clarity and precision.
Adjusting Image and Focus
As you prepare to immerse yourself in the captivating visuals offered by the Auking Mini Projector, mastering the art of adjusting the image and focus is essential to ensure an optimal viewing experience. The projector’s intuitive controls and versatile features empower you to fine-tune the projected image, allowing you to tailor it to your specific preferences and the characteristics of your viewing environment.
The first step in achieving an exceptional visual presentation is to position the projector at an appropriate distance from the screen or projection surface. This distance will vary based on the desired image size and the projector’s throw ratio, so consulting the user manual or utilizing online throw distance calculators can aid in determining the ideal setup for your space.
Once the projector is positioned, adjusting the focus becomes the next crucial step. The focus adjustment ring, typically located around the lens, allows you to finely calibrate the sharpness and clarity of the projected image. By rotating the focus ring, you can achieve a crisp and well-defined image, ensuring that every detail is presented with stunning precision.
In addition to focus adjustment, the projector offers keystone correction functionality, which is invaluable for ensuring that the projected image maintains its proper proportions, even if the projector is not perfectly aligned with the screen. This feature mitigates the distortion that may occur when the projector is placed at an angle, resulting in a visually pleasing and accurately proportioned image.
Furthermore, the projector’s aspect ratio settings enable you to tailor the image’s dimensions to match the content being displayed, whether it’s widescreen movies, presentations, or standard television broadcasts. This flexibility ensures that the projected image is presented in the most suitable format, enhancing the overall viewing experience.
By leveraging these image adjustment capabilities, you can transform any space into a captivating theater, where every visual detail is showcased with remarkable clarity and precision. Whether you’re indulging in movie nights, delivering impactful presentations, or immersing yourself in gaming adventures, the Auking Mini Projector empowers you to curate an exceptional visual journey that resonates with your unique preferences and content.
With the image and focus finely tuned to perfection, the convenience of the remote control awaits, offering seamless navigation and control over the projector’s myriad capabilities.
Using the Remote Control
The remote control serves as the gateway to effortless navigation and control over the Auking Mini Projector’s diverse features and settings, empowering you to curate a personalized viewing experience with unparalleled convenience. Whether you’re adjusting settings, browsing through media libraries, or fine-tuning the projector’s performance, the intuitive design of the remote control ensures that every command is just a button press away.
Upon picking up the remote control, you’ll notice the array of dedicated buttons designed to streamline your interaction with the projector. From power and input selection to menu navigation and volume control, each button is strategically positioned to facilitate seamless operation, allowing you to effortlessly harness the projector’s full potential.
One of the key functions of the remote control is the ability to access the projector’s on-screen menu, where you can delve into a myriad of settings and configurations to tailor the viewing experience to your preferences. This includes adjusting display settings, fine-tuning audio output, and accessing advanced features that elevate the projector’s performance to new heights.
Furthermore, the remote control offers direct access to input selection, enabling you to effortlessly switch between connected devices, such as gaming consoles, streaming devices, and traditional media players. This seamless transition between sources ensures that you can explore a diverse range of content without the need for manual input selection on the projector itself.
Volume control is another essential feature at your fingertips, allowing you to adjust the projector’s audio output to suit the acoustics of your viewing environment. Whether you’re indulging in the immersive soundscapes of a blockbuster movie or delivering a presentation with impactful audio, the remote control grants you precise control over the projector’s audio performance.
Moreover, the remote control enables you to navigate through media libraries when using USB or SD card playback, offering the convenience of browsing through your collection of movies, music, and photos with ease. This intuitive navigation capability ensures that you can effortlessly access your favorite content without leaving the comfort of your seat.
With the remote control serving as your trusted companion in the realm of projector operation, you’re poised to unlock the full potential of the Auking Mini Projector with unparalleled convenience and control. As you navigate through media playback and settings adjustments, the projector’s seamless integration with various devices sets the stage for a truly immersive and captivating viewing experience.
As you continue to explore the projector’s capabilities, the next step involves delving into the realm of playing media, where the projector’s versatility shines through as it effortlessly brings your favorite content to life.
When using the Auking Mini Projector, make sure to connect it to a stable power source and adjust the focus and keystone correction for a clear image. Also, use it in a dark room for the best viewing experience.
Read more: How To Connect Auking Projector To Phone
Playing Media
With the Auking Mini Projector primed and ready to deliver captivating visuals, the time has come to explore the diverse array of media playback options at your disposal. Whether you’re eager to indulge in blockbuster movies, showcase engaging presentations, or immerse yourself in gaming adventures, the projector’s versatile playback capabilities ensure that every viewing session is nothing short of extraordinary.
One of the primary methods of playing media on the projector is through HDMI connectivity, which enables seamless streaming of high-definition content from devices such as Blu-ray players, gaming consoles, laptops, and streaming devices. By connecting your preferred device to the projector via HDMI, you can unlock a world of immersive visuals and dynamic audio, transforming any space into a captivating theater.
Furthermore, the inclusion of USB and SD card ports on the projector allows for direct playback of media files stored on external drives or memory cards. This versatile feature empowers you to enjoy a wide range of content, including movies, music, photos, and presentations, without the need for additional devices, providing a seamless and hassle-free playback experience.
For those who prefer wireless connectivity, the projector offers support for screen mirroring via Wi-Fi, allowing you to effortlessly cast content from compatible smartphones, tablets, and laptops onto the big screen. This feature fosters a collaborative and interactive viewing experience, enabling you to share your favorite apps, videos, and games with friends and family in a truly immersive fashion.
Moreover, the projector’s compatibility with various media formats ensures that you can explore a diverse range of content, including popular video codecs, audio files, and image formats. Whether you’re streaming content from online platforms, enjoying your personal media library, or showcasing professional presentations, the projector’s versatile playback capabilities cater to your unique preferences and content sources.
As you embark on the journey of playing media on the Auking Mini Projector, the seamless integration with your preferred devices sets the stage for a truly immersive and captivating viewing experience. Whether you’re seeking to unwind with a movie night, engage in gaming escapades, or deliver impactful presentations, the projector’s versatility ensures that every visual journey is tailored to your preferences and exceeds your expectations.
With media playback seamlessly integrated and the projector ready to bring your favorite content to life, it’s essential to familiarize yourself with the process of powering off the projector and storing it safely for future use.
Powering Off and Storage
As your captivating viewing session draws to a close, it’s essential to understand the proper procedure for powering off the Auking Mini Projector and ensuring its safe storage for future use. By following these guidelines, you can maintain the longevity and optimal performance of the projector while safeguarding it from potential damage.
When it’s time to power off the projector, simply locate the power button on the remote control or the projector itself and initiate the shutdown process. Allowing the projector to complete its power-down sequence ensures that it safely transitions into standby mode, ready for the next viewing session. It’s important to avoid unplugging the projector abruptly, as this can lead to data loss and potential hardware issues.
Once the projector has powered off, it’s advisable to disconnect any connected devices, such as HDMI cables, USB drives, or SD cards, to prevent potential damage during storage. This simple precaution helps safeguard the integrity of both the projector and the connected devices, ensuring that they remain in optimal condition for future use.
When it comes to storing the projector, it’s crucial to select a suitable location that offers protection from dust, moisture, and physical damage. Ideally, the projector should be stored in a cool, dry environment, away from direct sunlight and extreme temperatures, to prevent any adverse effects on its components and performance.
Furthermore, storing the projector in its original packaging or a dedicated carrying case provides an additional layer of protection, safeguarding it from accidental bumps or impacts during storage and transportation. This ensures that the projector remains in pristine condition, ready to deliver exceptional visuals whenever it’s called into action.
For prolonged periods of inactivity, it’s recommended to power on the projector periodically and allow it to run for a short duration to prevent any potential issues associated with extended periods of dormancy. This simple maintenance practice helps ensure that the projector remains in optimal working condition, ready to deliver captivating visuals at a moment’s notice.
By adhering to these guidelines for powering off the projector and storing it safely, you can safeguard its performance and longevity, ensuring that it remains a reliable gateway to immersive entertainment experiences for years to come.
As you familiarize yourself with the process of powering off and storing the projector, it’s essential to equip yourself with troubleshooting tips that can swiftly address any potential issues that may arise during operation.
Troubleshooting
While the Auking Mini Projector is designed to deliver seamless and immersive viewing experiences, occasional technical hiccups may arise. Understanding common troubleshooting techniques empowers you to swiftly address potential issues, ensuring that your viewing sessions remain uninterrupted and enjoyable.
If you encounter issues with the projector’s display, such as flickering images or color inconsistencies, start by ensuring that the projector is positioned at an optimal distance from the screen or projection surface. Adjusting the focus and keystone correction can also mitigate visual distortions, ensuring that the projected image is crisp and well-aligned.
For connectivity-related issues, such as the projector failing to detect connected devices, verify that the cables are securely connected and that the input source on the projector matches the connected device. Additionally, restarting the projector and connected devices can resolve potential communication glitches, restoring seamless connectivity.
If the projector’s audio output is affected, check the volume settings on both the projector and the connected devices to ensure that they are configured correctly. Additionally, inspect the audio input connections to confirm that they are secure and free from potential interference that may impact sound quality.
In the event of software-related issues, such as unresponsive menus or settings, performing a soft reset on the projector can often resolve these issues. This involves powering off the projector, disconnecting it from the power source, and allowing it to remain idle for a few minutes before powering it back on. This simple reset can rectify software glitches and restore normal operation.
If you encounter playback issues with specific media formats, ensure that the media files are compatible with the projector’s supported formats. Additionally, verifying the integrity of the media files and the storage devices can help identify and resolve potential playback-related issues.
Should you experience persistent technical issues that cannot be resolved through basic troubleshooting, referring to the user manual for advanced troubleshooting steps or reaching out to the manufacturer’s customer support can provide valuable assistance in resolving complex issues and ensuring the optimal performance of the projector.
By familiarizing yourself with these troubleshooting techniques, you can navigate potential technical challenges with confidence, ensuring that the Auking Mini Projector continues to deliver exceptional visuals and immersive audio without interruption.
As you master the art of troubleshooting, you’re poised to harness the full potential of the Auking Mini Projector, ensuring that every viewing session is a seamless and captivating experience.
Conclusion
Congratulations on embarking on a journey to unlock the full potential of the Auking Mini Projector, a versatile and powerful gateway to immersive home entertainment experiences. Throughout this comprehensive guide, you’ve delved into the intricacies of unboxing and setting up the projector, seamlessly connecting various devices, adjusting image and focus for optimal visuals, using the remote control for effortless navigation, playing diverse media formats, and mastering essential troubleshooting techniques.
The Auking Mini Projector stands as a testament to innovation and versatility, empowering you to curate captivating viewing sessions that transcend traditional entertainment experiences. Whether you’re indulging in movie nights, immersing yourself in gaming adventures, or delivering impactful presentations, the projector’s seamless integration with various devices and its versatile playback capabilities ensure that every visual journey is tailored to your unique preferences and exceeds your expectations.
As you navigate through the realm of home entertainment with the Auking Mini Projector at the helm, the possibilities for creating unforgettable cinematic experiences within the comfort of your own space are boundless. From sharing cherished moments with loved ones to unleashing your creativity through immersive presentations, the projector serves as a catalyst for transformative visual storytelling and shared moments of joy and excitement.
By mastering the nuances of operating and maintaining the projector, you’re poised to elevate your home entertainment setup to new heights, ensuring that every viewing session is a seamless and captivating experience. The Auking Mini Projector’s intuitive controls, versatile connectivity options, and stunning visual performance collectively contribute to a truly immersive and dynamic entertainment ecosystem that resonates with your unique preferences and content sources.
As you bid farewell to this guide, equipped with a wealth of knowledge and insights into harnessing the full potential of the Auking Mini Projector, you’re poised to embark on a visual journey that transcends the ordinary, delivering captivating moments and shared experiences that leave a lasting impression.
So, whether it’s a cozy movie night, an engaging gaming session, or a professional presentation that demands attention, the Auking Mini Projector stands ready to bring your visual aspirations to life, ensuring that every moment is illuminated with stunning clarity and boundless creativity.
Frequently Asked Questions about How To Use Auking Mini Projector
Was this page helpful?
At Storables.com, we guarantee accurate and reliable information. Our content, validated by Expert Board Contributors, is crafted following stringent Editorial Policies. We're committed to providing you with well-researched, expert-backed insights for all your informational needs.
0 thoughts on “How To Use Auking Mini Projector”