Articles
How To Install Nosing On Stairs
Modified: December 7, 2023
Learn how to properly install nosing on stairs with our comprehensive articles. Step-by-step instructions and expert tips for a safe and stylish staircase renovation.
(Many of the links in this article redirect to a specific reviewed product. Your purchase of these products through affiliate links helps to generate commission for Storables.com, at no extra cost. Learn more)
Introduction
Welcome to our comprehensive guide on how to install nosing on stairs. Nosing is an essential component of stair construction that not only enhances the safety of the stairs but also adds a touch of elegance to the overall design. By installing nosing, you can prevent slips, trips, and falls, as well as protect the edges of the steps from wear and tear.
In this article, we will walk you through a step-by-step process to successfully install nosing on your stairs. Whether you are a DIY enthusiast or a professional contractor, you will find this guide helpful in achieving a professional and secure installation.
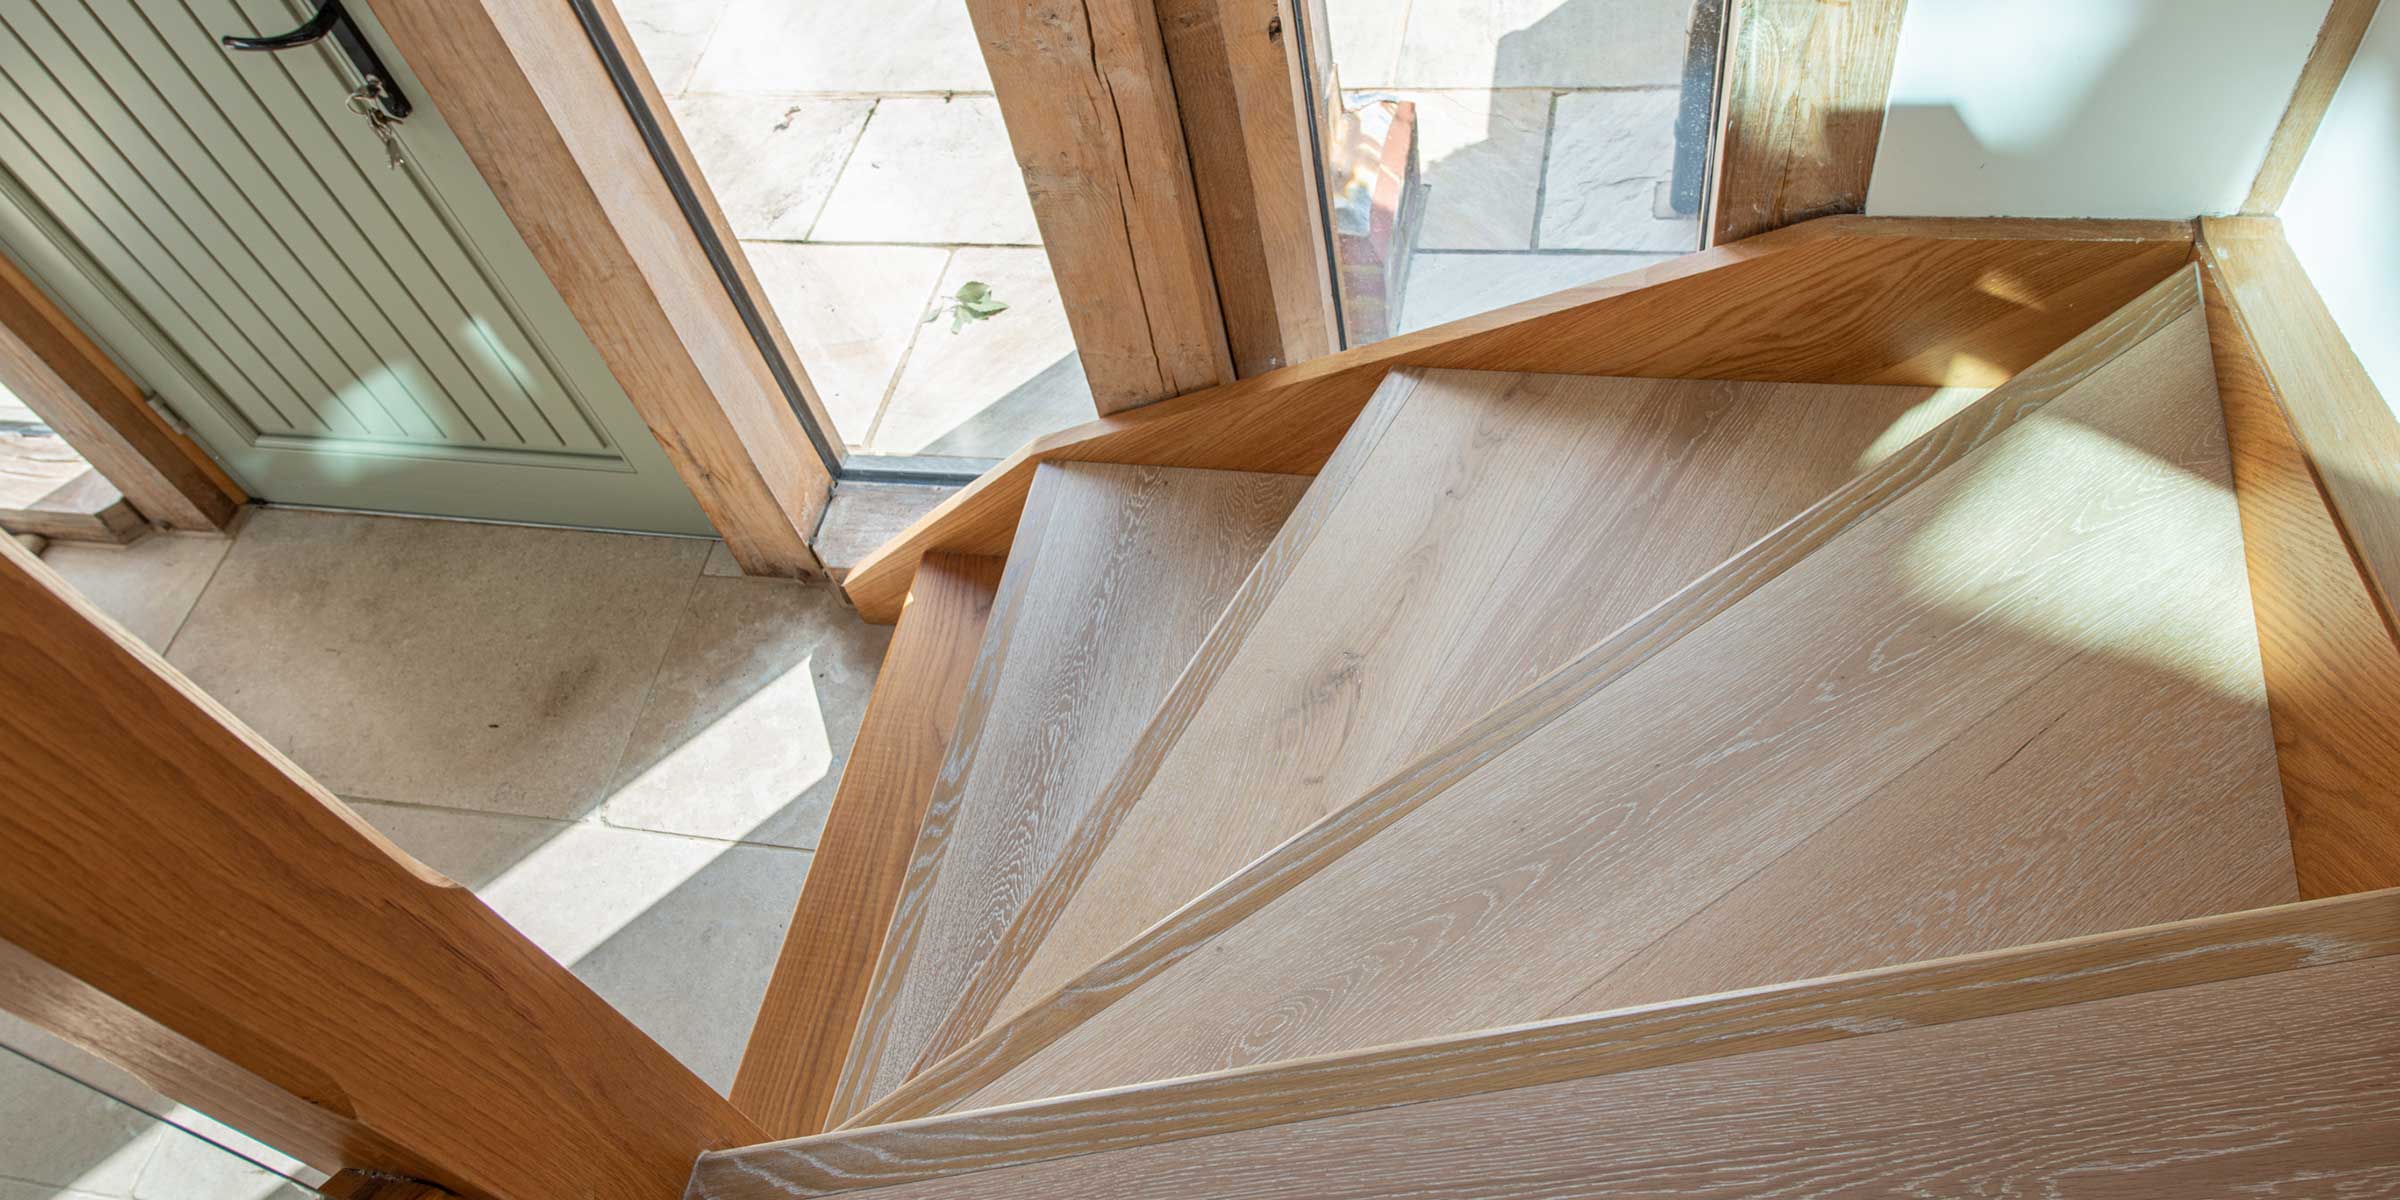
Before we dive into the installation process, it is essential to understand what nosing is and why it is important. Nosing refers to the rounded edge that extends beyond the riser of a step. Its primary purpose is to improve traction and provide a visual indication of the edge of each step.
Proper installation of nosing is crucial to ensure the safety and stability of the staircase. The nosing should be securely attached to the step, with no loose or wobbly parts. Additionally, it should be flush with the riser, ensuring a smooth transition between steps.
To get started, let’s gather the necessary materials and tools you will need for the installation process.
Key Takeaways:
- Installing nosing on stairs is a crucial step for enhancing safety and adding elegance to your staircase. Follow the step-by-step process to achieve a professional and secure installation, ensuring a long-lasting and reliable result.
- Prioritize safety, take accurate measurements, and follow manufacturer’s instructions for adhesive and fasteners. Enjoy your newly installed nosing, bringing added safety and style to your staircase.
Read more: How To Install Basement Stairs
Step 1: Gather the necessary materials and tools
Before you can begin installing nosing on your stairs, it’s important to ensure that you have all the required materials and tools on hand. Here is a list of what you will need:
- Nosing material: Select a suitable nosing material that matches your staircase design and meets safety standards. Nosing options include wood, metal, or composite materials.
- Measuring tape: A measuring tape will help you accurately measure the length and width of each step on your staircase.
- Pencil or marker: A pencil or marker will be used to mark the measurements on the nosing material for cutting.
- Saw or miter saw: You will need a saw or miter saw to cut the nosing material to the appropriate size.
- Adhesive: Choose an adhesive specifically designed for stair nosing installation. Make sure it is suitable for the nosing material you have chosen.
- Screwdriver or drill: Depending on the type of nosing material you are using, you may need a screwdriver or drill to secure the nosing in place.
- Screws or nails: If your nosing requires additional fastening, prepare the appropriate screws or nails.
- Safety gear: To protect yourself during the installation process, it is essential to wear safety glasses, gloves, and a dust mask.
Once you have gathered all the necessary materials and tools, you are ready to move on to the next step: measuring and cutting the nosing pieces.
Step 2: Measure and cut the nosing pieces
Now that you have all the materials and tools ready, it’s time to measure and cut the nosing pieces to the appropriate size for your stairs. Follow these steps:
- Start by measuring the length and width of each step on your staircase. Use a measuring tape to ensure accurate measurements.
- Transfer the measurements onto the nosing material using a pencil or marker. Make sure to leave a little extra material at the edges for adjustments.
- If your nosing material is made of wood or composite, use a saw or miter saw to make precise cuts according to the measurements. Take your time and double-check the measurements before cutting.
- If you’re using metal nosing, you may need specialized cutting tools such as a metal saw or grinder. Follow the manufacturer’s guidelines for cutting the material.
- After cutting the nosing pieces, dry-fit them onto the steps to ensure they fit properly. Make any necessary adjustments or trims if needed.
It’s important to take accurate measurements and make precise cuts to ensure a proper fit and seamless installation. A snug fit will provide stability and prevent any tripping hazards. Once you’re satisfied with the fit, proceed to the next step: preparing the stairs.
Step 3: Prepare the stairs
Before installing the nosing, it’s essential to prepare the stairs to ensure a solid and long-lasting installation. Follow these steps to prepare the stairs:
- Start by thoroughly cleaning the steps. Remove any dust, dirt, or debris using a broom or vacuum cleaner. This will ensure a clean surface for the adhesive to bond effectively.
- If there are any existing nosing or stair coverings, remove them carefully using a pry bar or a hammer and chisel. Make sure to remove any adhesive residue as well.
- Inspect the steps for any damages or cracks. Repair any uneven surfaces or cracks using a suitable filler and allow it to dry completely before proceeding.
- Sand down the surface of the steps to remove any roughness or inconsistencies. This will provide a smoother and more adhesive-friendly surface for the nosing.
- Once the steps are clean, repaired, and sanded, wipe them down with a damp cloth to remove any dust or particles.
Preparing the stairs is crucial for a successful installation. A clean and smooth surface will allow the nosing to adhere properly and ensure a secure fit. Take your time during this step to ensure all preparations are done thoroughly.
Now that the stairs are prepared, it’s time to move on to the next step: applying adhesive to the nosing.
Step 4: Apply adhesive to the nosing
Now that the stairs are prepared, it’s time to apply adhesive to the nosing. This will ensure a strong bond between the nosing and the steps. Follow these steps:
- Read and follow the manufacturer’s instructions on the adhesive product you have selected. Different adhesives may have varying application methods and drying times.
- Take one piece of nosing and flip it over so that the backside is facing up.
- Apply a generous amount of adhesive to the backside of the nosing. Use a trowel or a specialized adhesive applicator to spread the adhesive evenly.
- Make sure to apply the adhesive on both the straight edge and the rounded edge of the nosing, ensuring full coverage.
- Be mindful not to apply adhesive beyond the area where the nosing will be placed to avoid any excess oozing out.
It’s essential to apply the adhesive evenly and thoroughly to ensure a reliable bond. Take your time during this step to ensure proper application. Once the adhesive is applied, it’s time to move on to the next step: installing the nosing on the stairs.
When installing nosing on stairs, make sure to measure and cut the nosing to fit the width of the stair tread. Use construction adhesive and screws to secure the nosing in place for a sturdy and safe installation.
Read more: How To Install Runner On Stairs
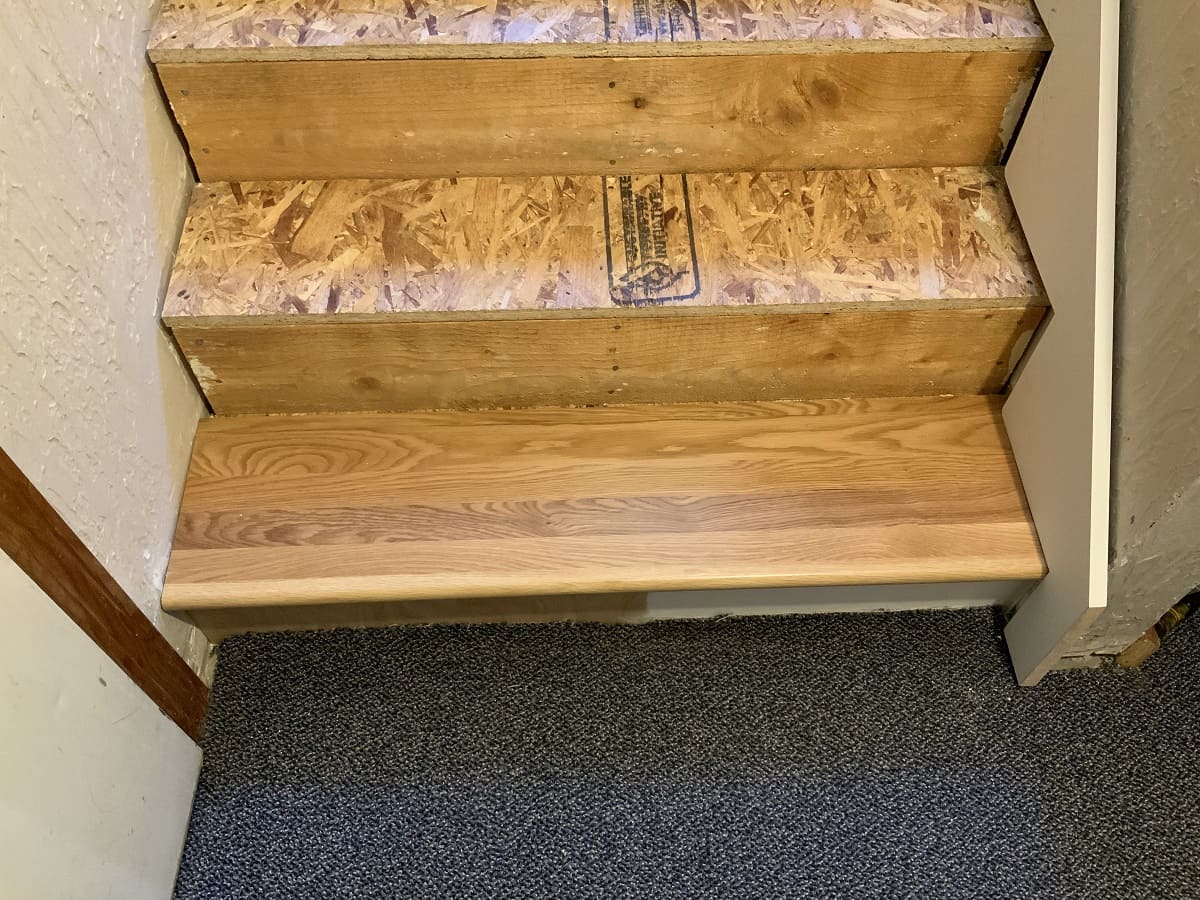
Step 5: Install the nosing on the stairs
With the adhesive applied to the nosing, it’s time to install the nosing on the stairs. Follow these steps for a successful installation:
- Take the nosing piece with the adhesive applied and carefully align it with the edge of the step. Ensure that the nosing is centered and level.
- Press the nosing firmly onto the step, ensuring that it makes full contact with the adhesive.
- Apply even pressure along the entire length of the nosing to ensure a secure bond.
- Repeat the process for each step, ensuring that the nosing pieces are aligned consistently and securely.
- If you’re installing nosing on a curved or angled step, carefully bend or cut the nosing piece to match the shape of the step.
During the installation process, it’s important to work efficiently to ensure that the adhesive does not dry before the nosing is installed. Take your time to align the nosing properly and ensure a secure bond. Once all the nosing pieces are installed, it’s time to move on to the next step: securing the nosing in place.
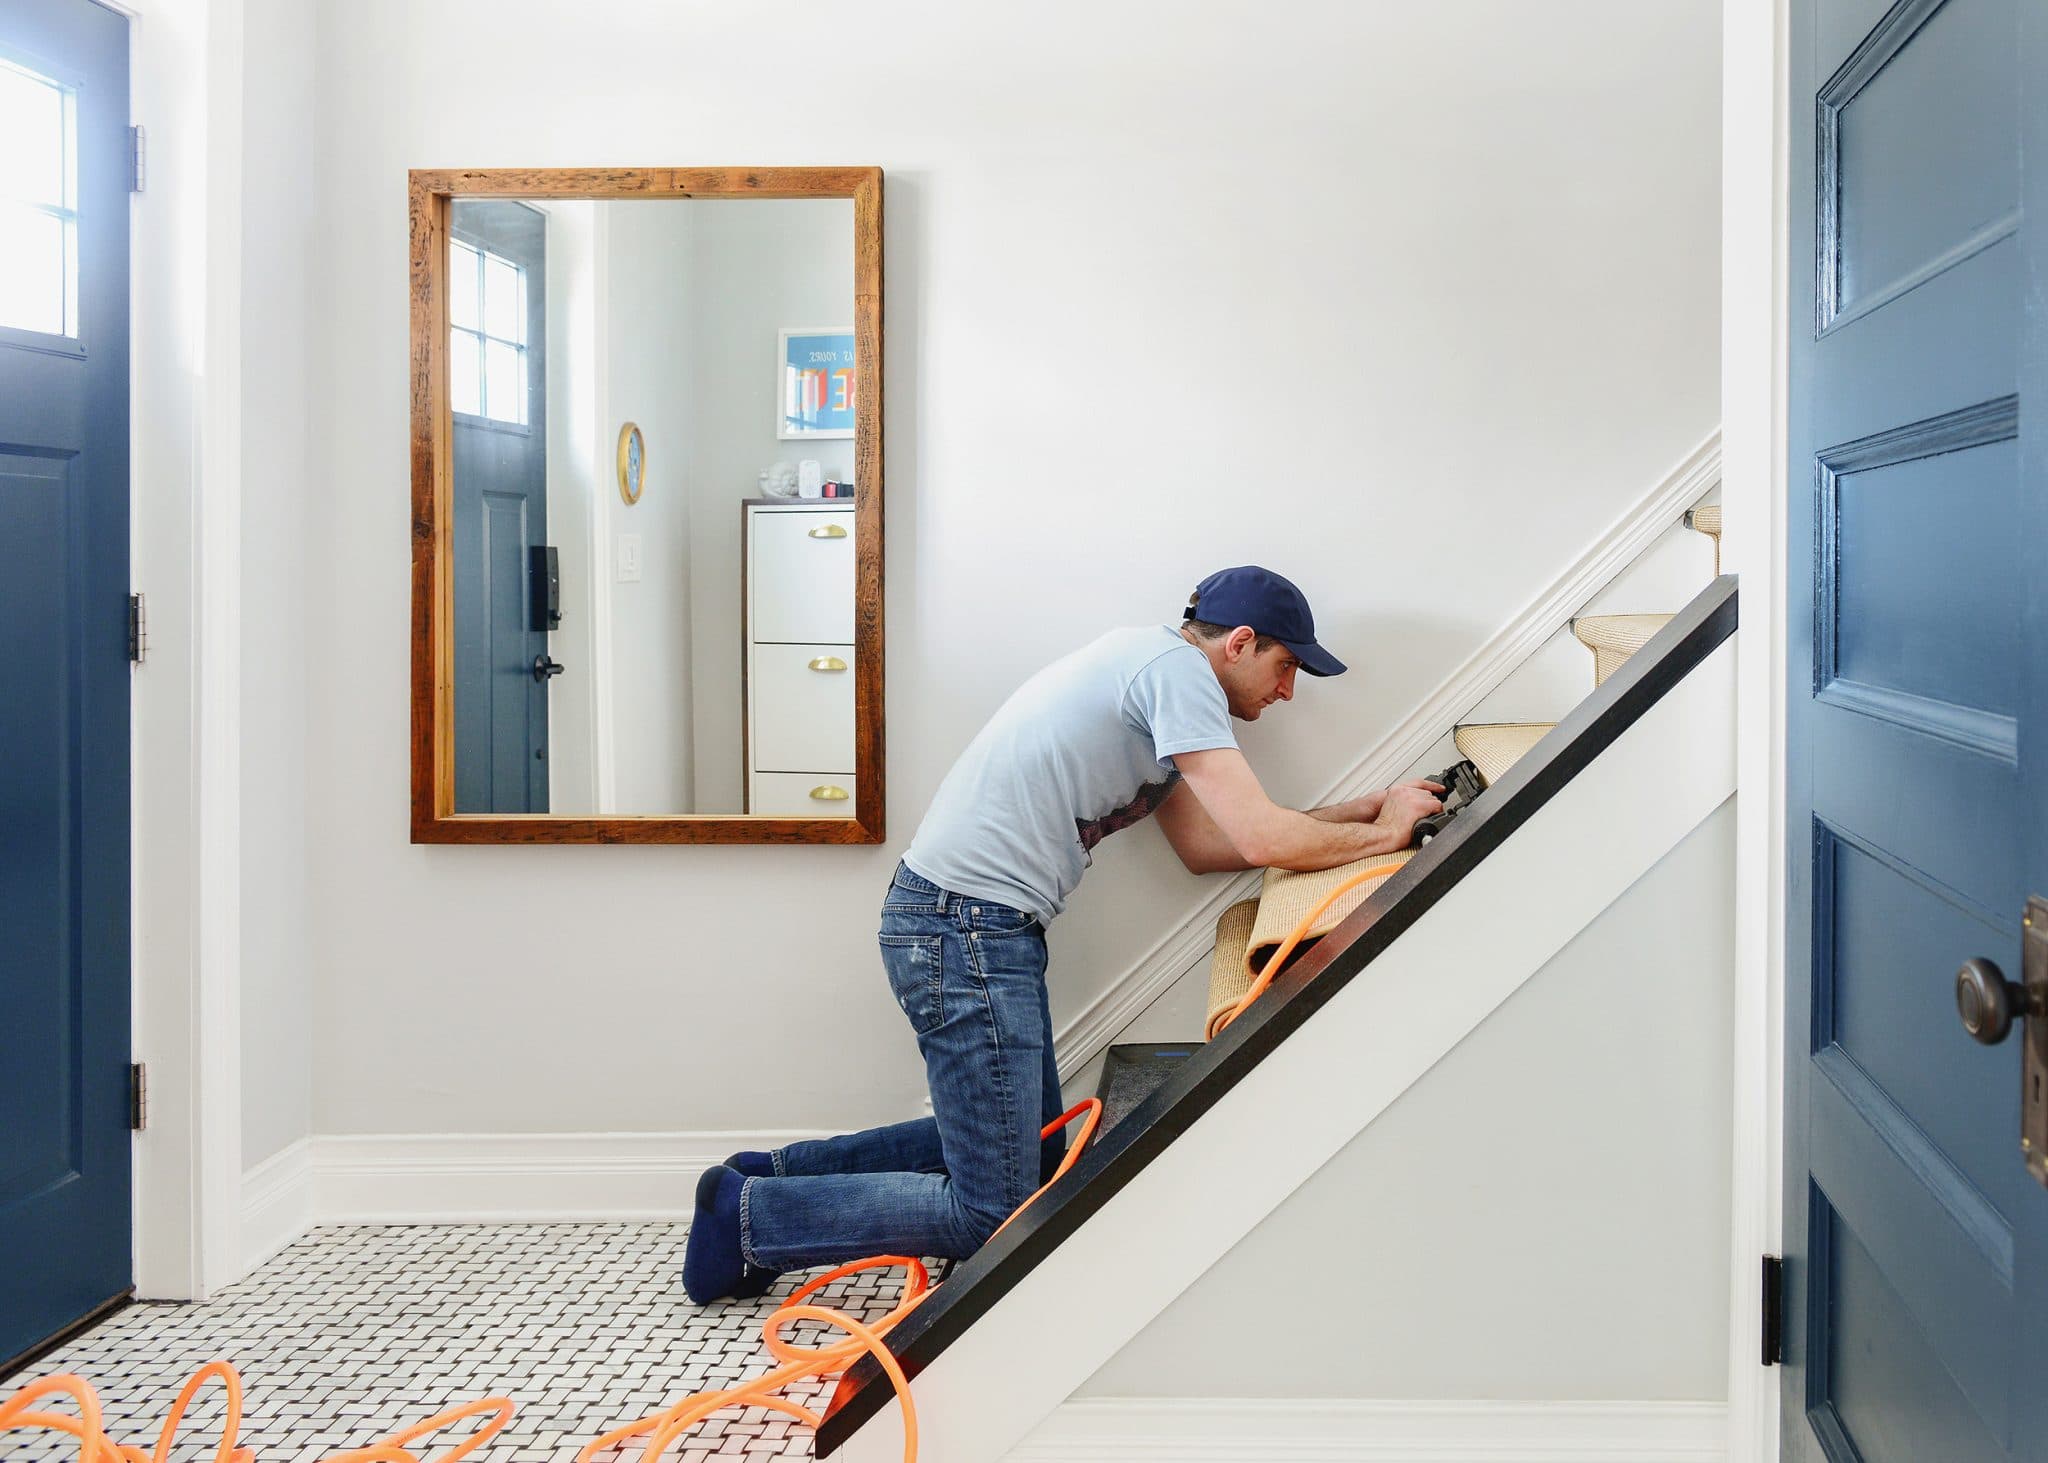
Step 6: Secure the nosing in place
Once the nosing is installed on the stairs, it’s important to secure it in place to ensure long-term stability. Follow these steps to securely fasten the nosing:
- If your nosing material requires additional fastening, such as wood or composite materials, use screws or nails to secure it to the step. Choose fasteners that are appropriate for your nosing material.
- Drill pilot holes into the nosing and the step to prevent splitting or cracking. Make sure the pilot holes are slightly smaller than the diameter of the screws or nails you will be using.
- Insert the screws or nails into the pilot holes, ensuring that they go through the nosing and into the step securely.
- Tighten the screws or gently tap the nails until the nosing is firmly attached to the step.
- For metal nosing or nosing that does not require additional fastening, ensure that the adhesive used in the previous step is given enough time to cure and create a strong bond.
Securing the nosing in place will provide added stability and prevent any potential movement or detachment. It’s important to use the appropriate fasteners and techniques for your specific nosing material. Once the nosing is securely fastened, it’s time to move on to the final step: cleaning up and finishing the installation.
Step 7: Clean up and finish the installation
Congratulations! You’re in the final step of installing nosing on your stairs. Follow these steps to clean up and complete the installation:
- Remove any excess adhesive that may have squeezed out during the installation process. Use a damp cloth or sponge to carefully wipe away the excess adhesive before it dries.
- Inspect the nosing and the surrounding area for any visible signs of adhesive or dirt. Clean any remaining residue or marks with a suitable cleaner or solvent, following the manufacturer’s instructions.
- Allow the adhesive to fully cure according to the manufacturer’s recommendations before allowing regular foot traffic on the stairs. This will ensure the adhesive has sufficient time to bond properly.
- After the adhesive has fully cured, take a moment to admire your newly installed nosing. Check all edges and corners to ensure they are secure and flush with the steps.
- Give the nosing a gentle test by applying pressure or stepping on it to ensure it is firmly in place and does not shift or move.
By cleaning up and inspecting the installation, you can ensure that everything is in proper order and ready for use. Your newly installed nosing will not only enhance the safety of your stairs but also add a touch of style to your space.
With step-by-step guidance and attention to detail, you have successfully completed the installation of nosing on your stairs. Well done! Remember to always follow safety precautions and consult professionals if needed during the installation process.
Thank you for following along with our comprehensive guide. We hope this article has been informative and helpful in your nosing installation project. Enjoy your safe and beautiful staircase!
Conclusion
Installing nosing on stairs is not only a practical step for ensuring safety but also a great way to enhance the overall look and durability of your staircase. By following the step-by-step process outlined in this guide, you can confidently complete the installation and enjoy the benefits of a secure and stylish staircase.
We began by understanding the importance of nosing and why it is crucial for staircase construction. We then discussed gathering the necessary materials and tools, measuring and cutting the nosing pieces, and preparing the stairs for installation. We covered applying adhesive to the nosing, installing it on the stairs, and securely fastening it in place. Finally, we discussed the importance of cleaning up and completing the installation with attention to detail.
Throughout the installation process, it is essential to prioritize safety. Wear appropriate safety gear, take accurate measurements, make precise cuts, and follow the manufacturer’s instructions for the adhesive and fasteners. Taking the time to properly prepare and install the nosing will ensure a long-lasting and reliable result.
We hope that this comprehensive guide has provided you with the knowledge and confidence you need to successfully install nosing on your stairs. Remember, if you have any doubts or concerns, it is always wise to consult professionals for guidance and assistance.
Enjoy your newly installed nosing and the added safety and style it brings to your staircase. Happy installing!
Frequently Asked Questions about How To Install Nosing On Stairs
Was this page helpful?
At Storables.com, we guarantee accurate and reliable information. Our content, validated by Expert Board Contributors, is crafted following stringent Editorial Policies. We're committed to providing you with well-researched, expert-backed insights for all your informational needs.


0 thoughts on “How To Install Nosing On Stairs”