Home>Technology>Security & Surveillance>How To Change Batteries On Door Lock
Security & Surveillance
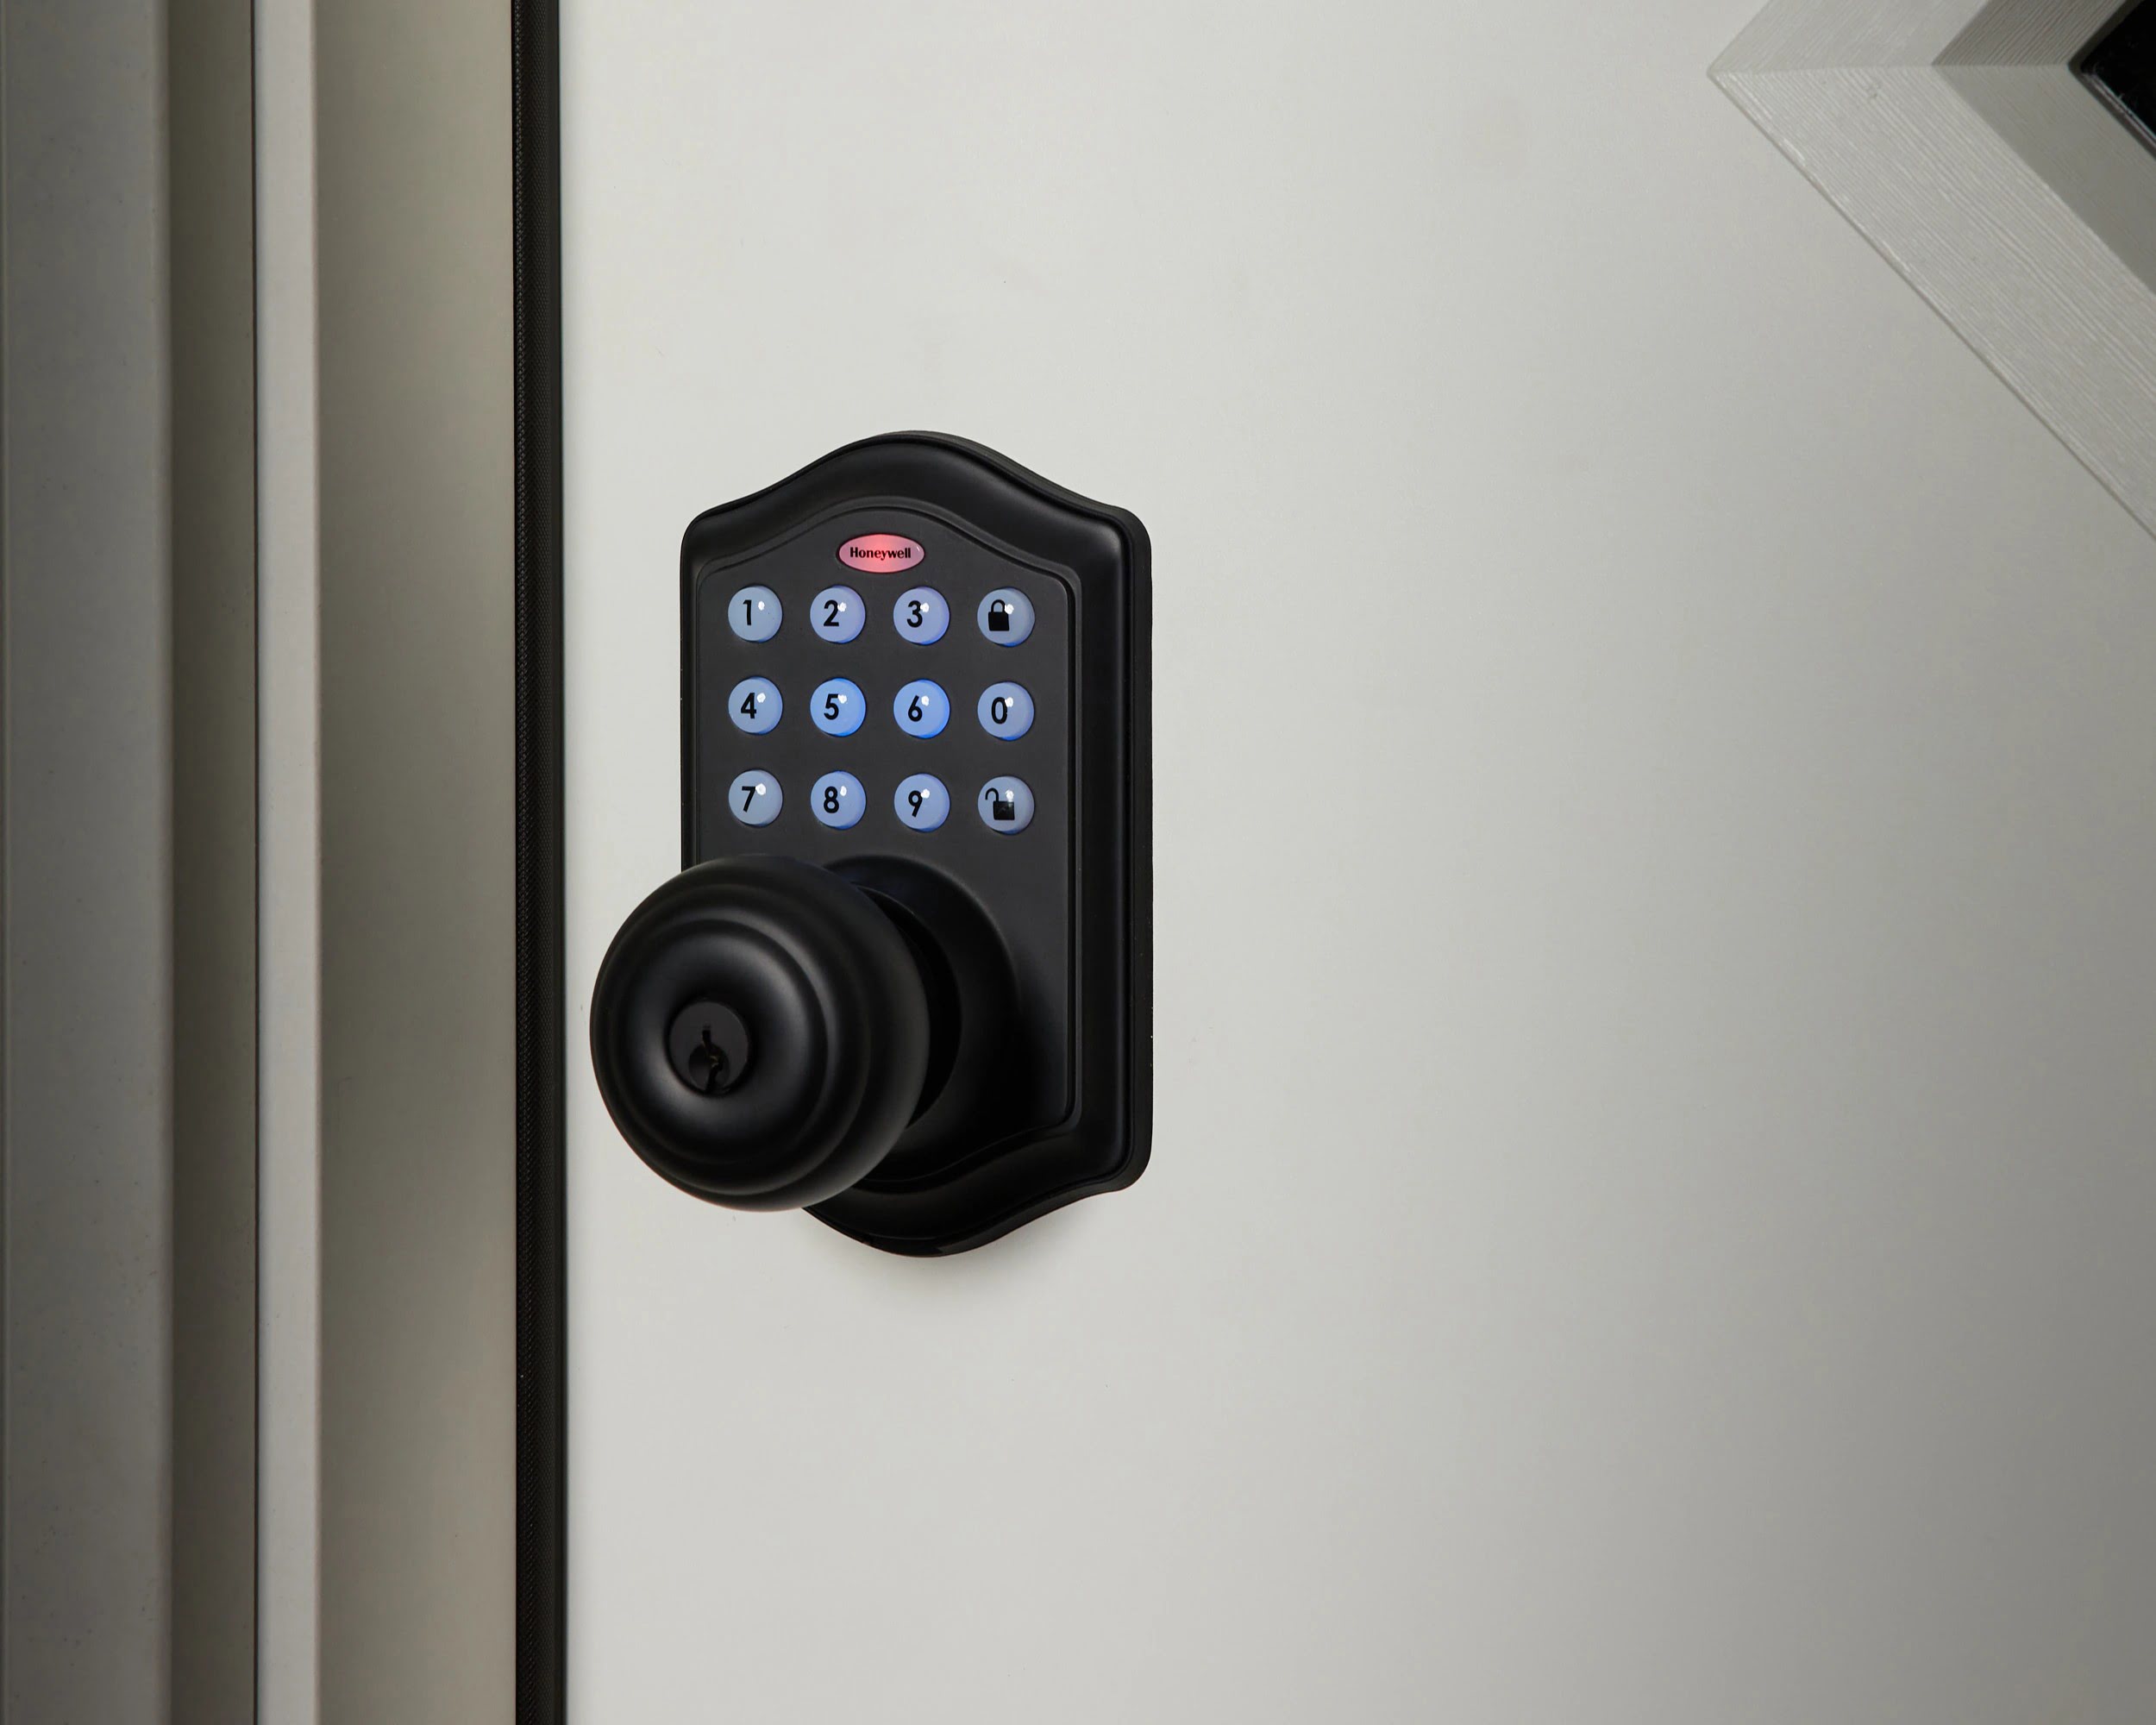
How To Change Batteries On Door Lock
Published: December 27, 2023
Learn how to change batteries on your door lock for improved security and surveillance. Follow these simple steps to ensure your home stays protected.
(Many of the links in this article redirect to a specific reviewed product. Your purchase of these products through affiliate links helps to generate commission for Storables.com, at no extra cost. Learn more)
Introduction
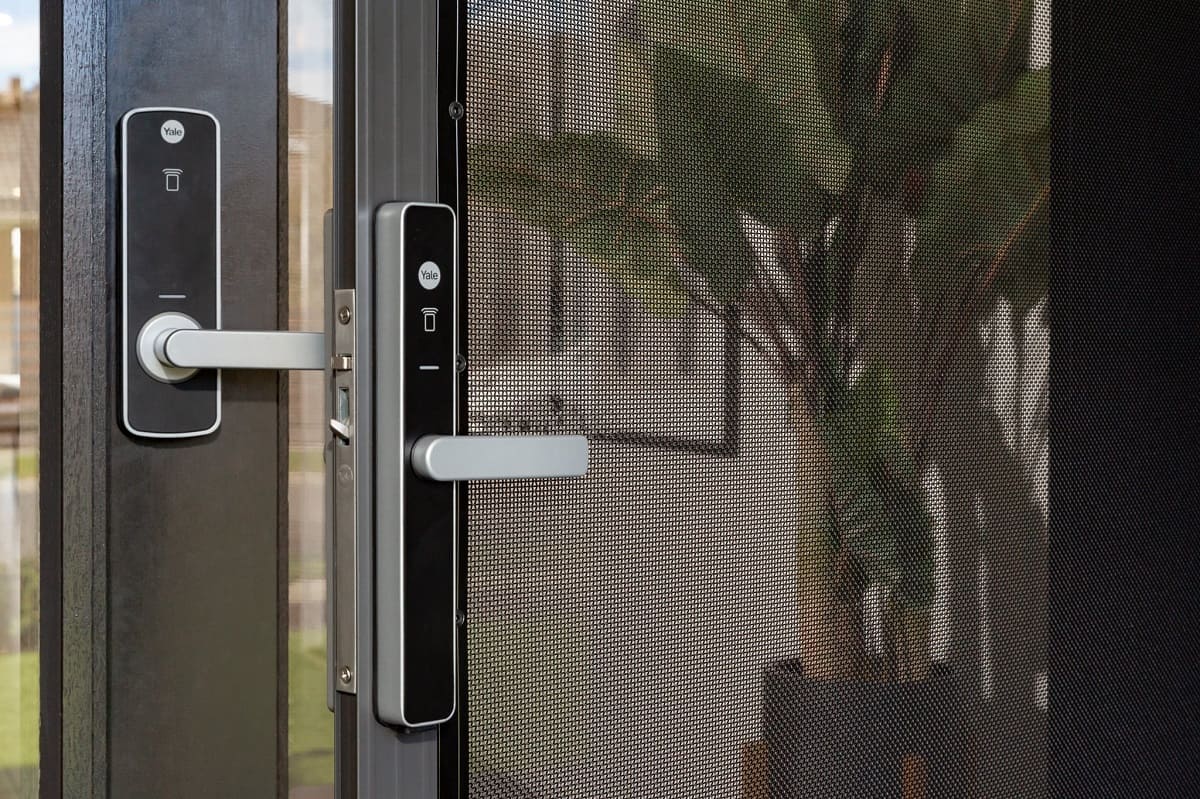
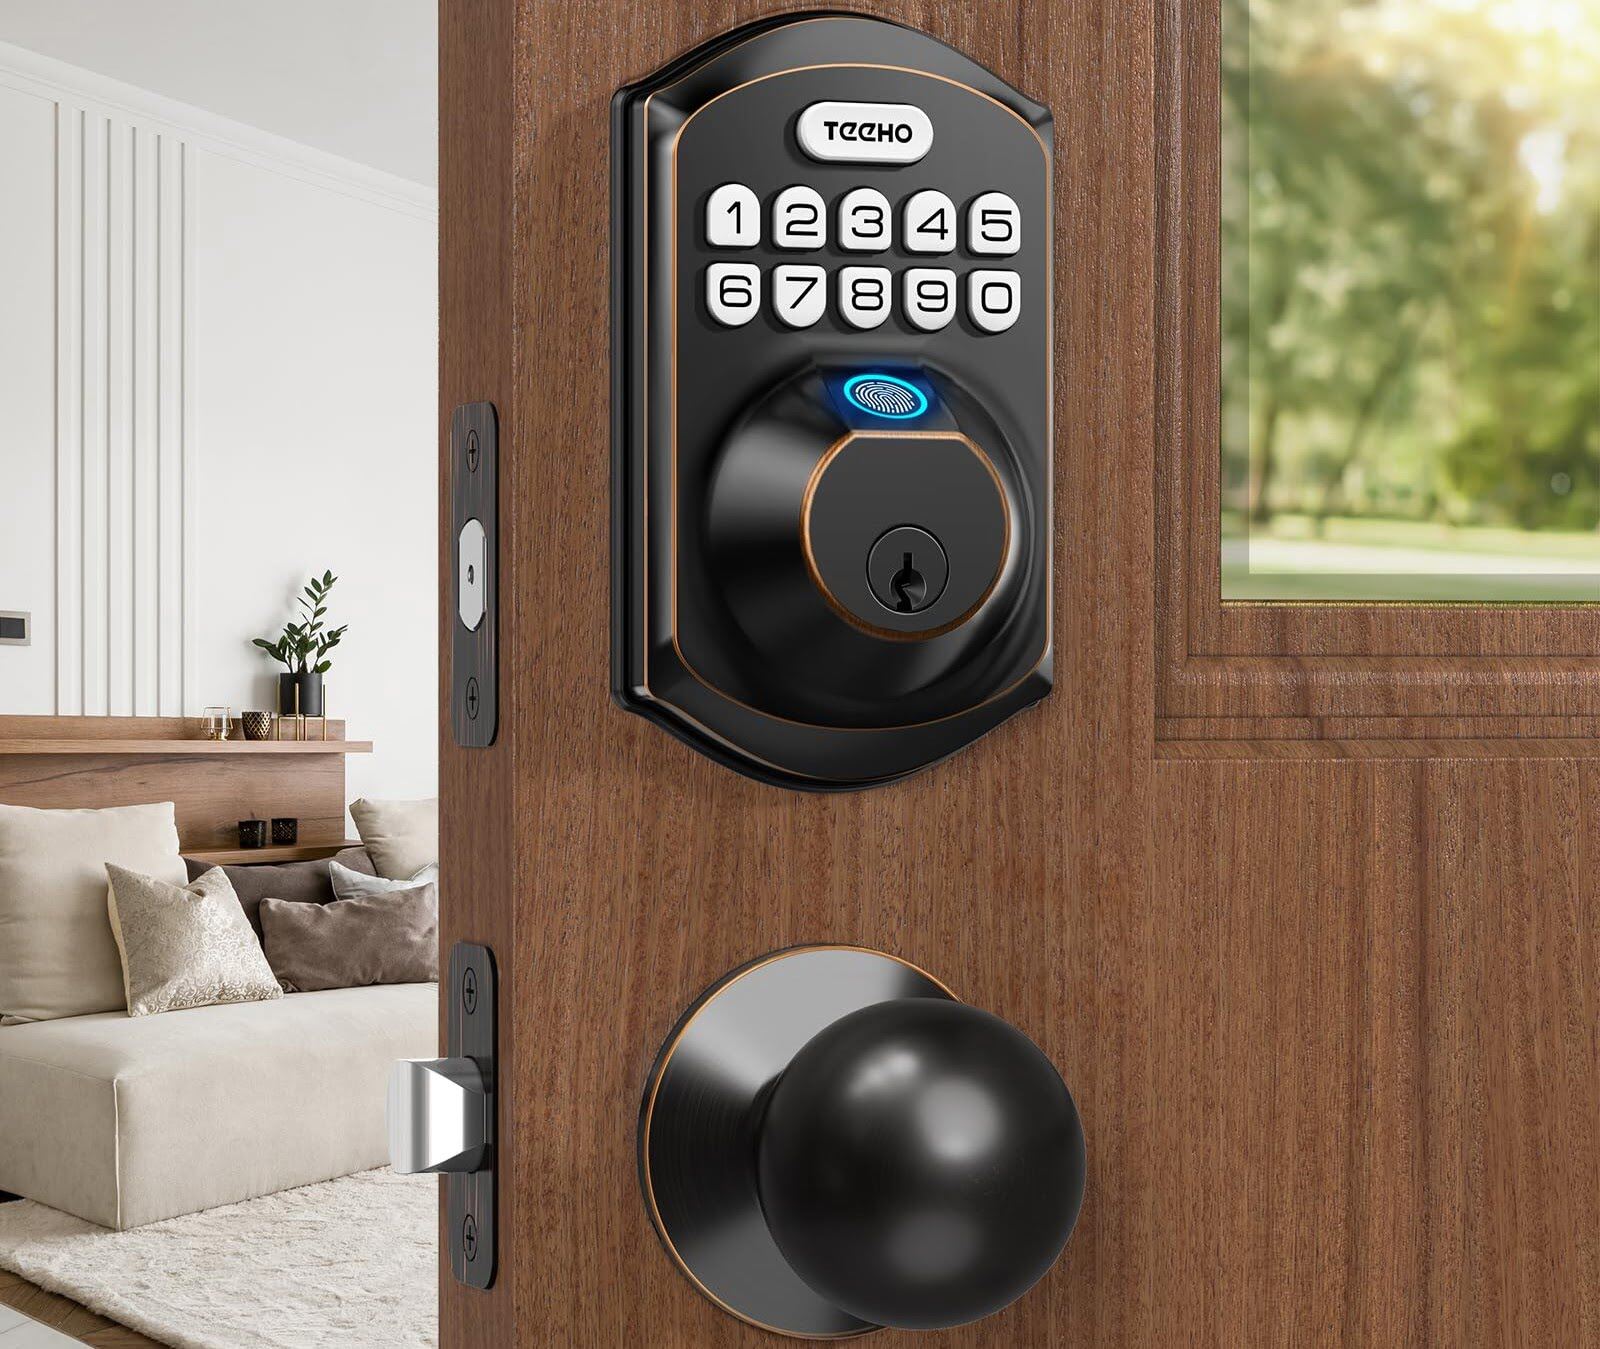
Welcome to the guide on how to change the batteries on your door lock. Whether you have a traditional key-operated lock or a state-of-the-art smart lock, regular battery replacement is essential for ensuring the security and functionality of your door lock. This simple maintenance task can prevent unexpected lockouts and provide peace of mind knowing that your home or business is secure.
In this comprehensive tutorial, we will walk you through the step-by-step process of changing the batteries in your door lock. You will learn the tools required, the methods for removing the old batteries and inserting the new ones, and how to test the lock to ensure everything is functioning as it should. By following these instructions, you can maintain the integrity of your door lock and avoid potential security vulnerabilities.
So, let’s dive in and equip you with the knowledge and confidence to keep your door lock in optimal working condition!
Key Takeaways:
- Regularly changing the batteries in your door lock is crucial for maintaining security and functionality, whether it’s a traditional or smart lock. This simple task can prevent lockouts and ensure peace of mind.
- Gather the necessary tools, remove the old batteries, insert the new ones, and test the lock to keep your door lock in optimal working condition. This proactive maintenance can prevent unexpected lockouts and ensure uninterrupted access to your property.
Step 1: Gather Necessary Tools
Before beginning the battery replacement process, it’s important to gather the necessary tools to ensure a smooth and efficient experience. Here’s what you’ll need:
- New Batteries: Depending on the type of door lock you have, you will need the appropriate replacement batteries. For traditional locks, this may involve standard AA or AAA batteries, while smart locks may require specialized lithium batteries.
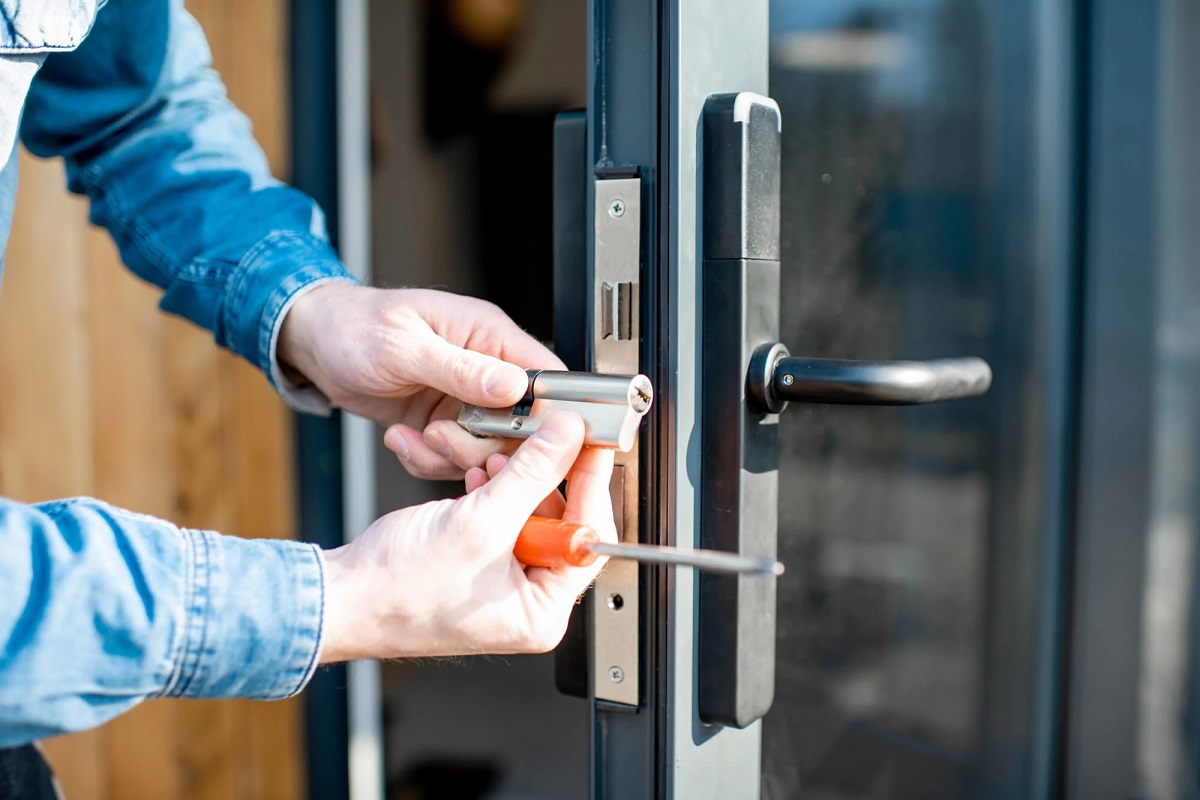
- Screwdriver: Most door locks have a compartment that houses the batteries, which is often secured with screws. A screwdriver, typically a Phillips or flathead, will be necessary to access the battery compartment.
- Clean Cloth: It’s always a good idea to have a clean cloth or tissue on hand to wipe down the battery compartment and remove any dust or debris that may have accumulated.
- Optional: Latex Gloves: While not essential, wearing latex gloves can help protect the new batteries from fingerprints and ensure a clean installation.
By having these tools readily available, you can streamline the battery replacement process and minimize any potential hiccups along the way. Now that you’ve gathered the necessary tools, it’s time to proceed to the next step and remove the old batteries from your door lock.
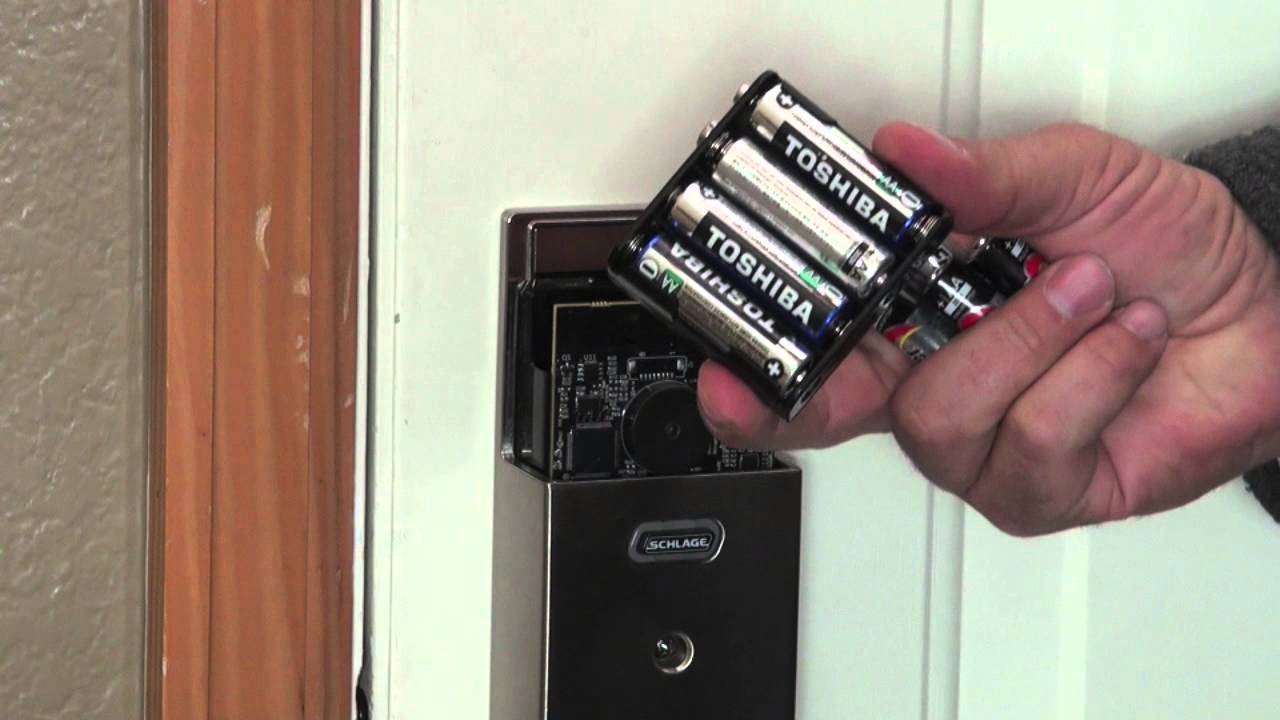
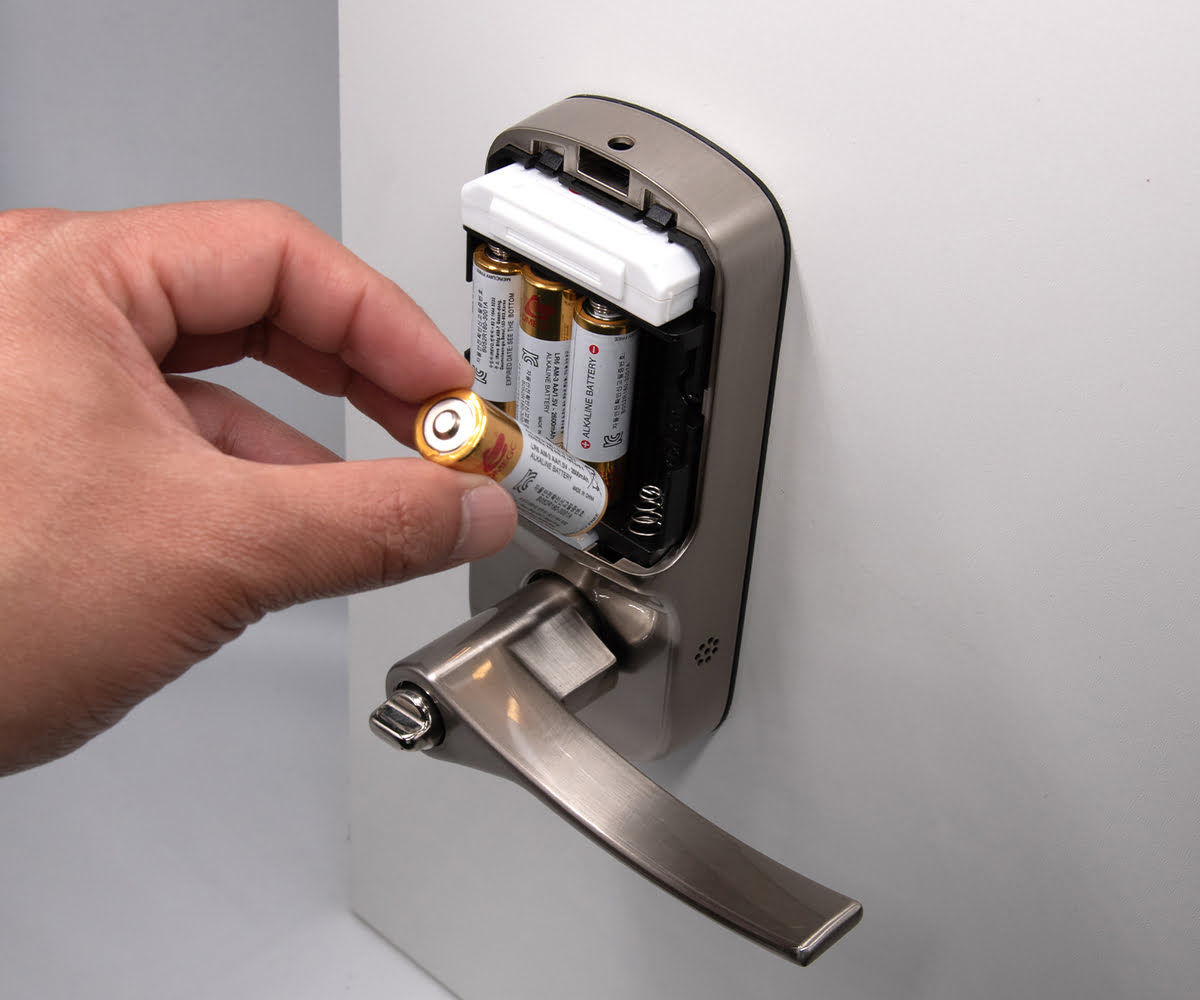
Step 2: Remove the Old Batteries
Now that you have the required tools at your disposal, it’s time to begin the process of removing the old batteries from your door lock. Follow these steps to safely and effectively replace the old batteries:
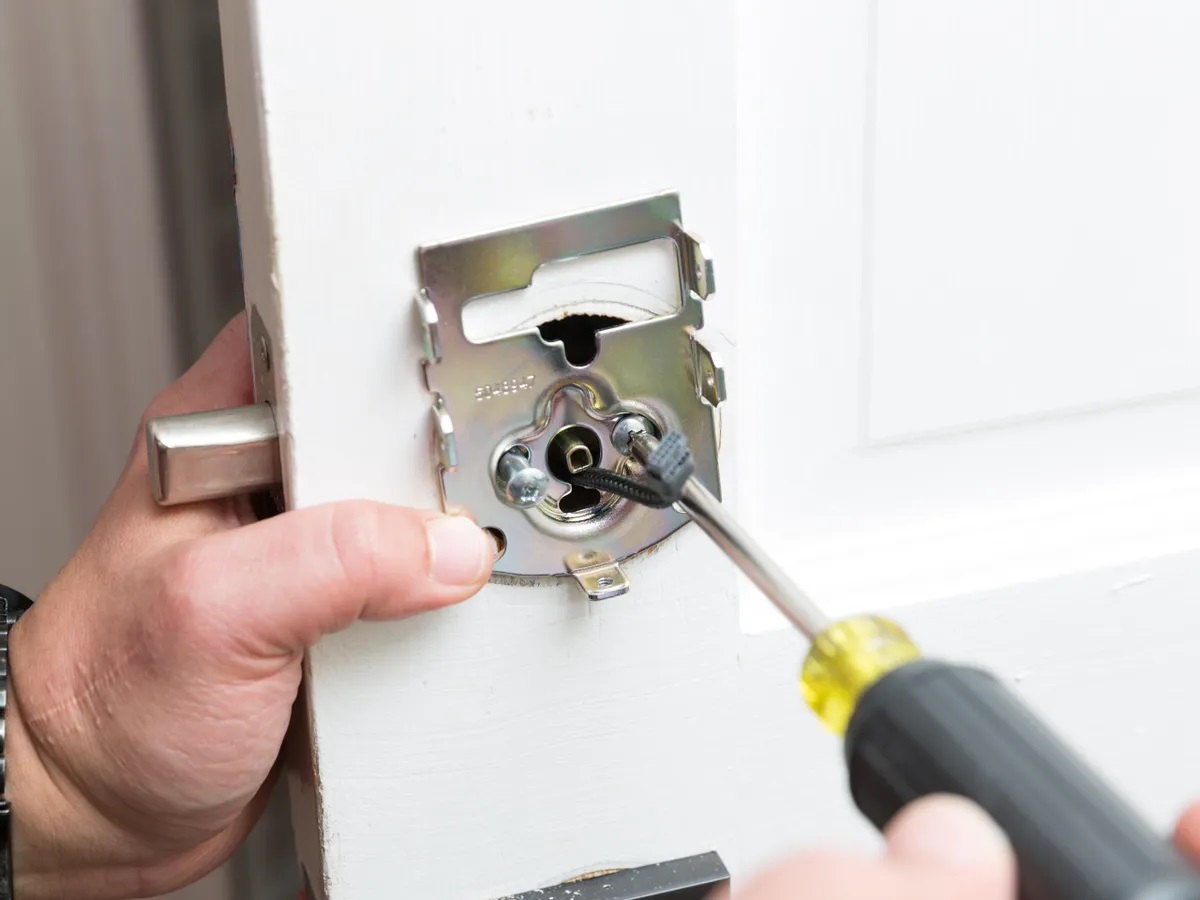
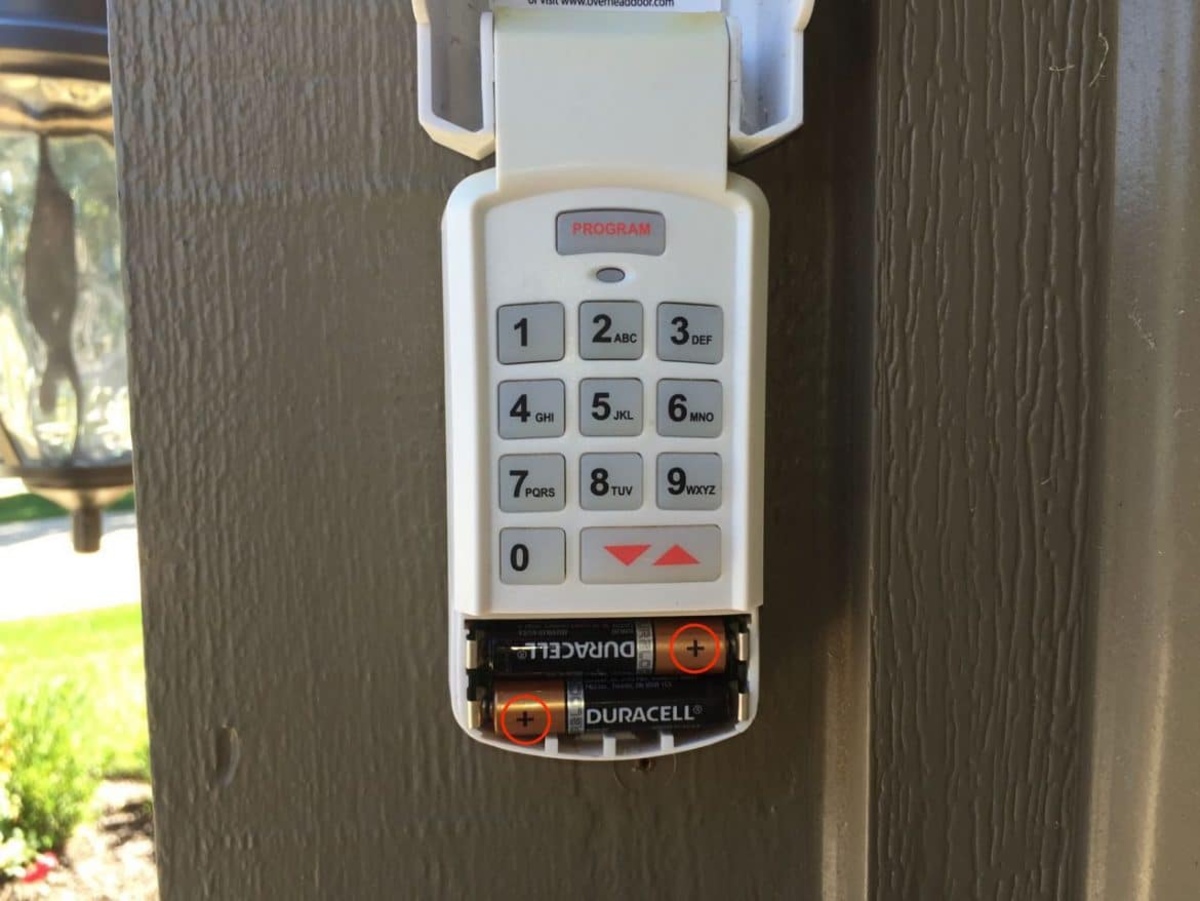
- Locate the Battery Compartment: Depending on the design of your door lock, the battery compartment may be situated on the interior or exterior side of the lock. Use the appropriate screwdriver to carefully remove any screws securing the battery compartment cover.
- Take Note of Battery Orientation: Before removing the old batteries, take note of their orientation within the compartment. Most battery compartments have markings or diagrams indicating the correct positioning of the batteries. This step is crucial for ensuring the proper installation of the new batteries.
- Remove the Old Batteries: Gently extract the old batteries from the compartment, taking care to note any corrosion or buildup that may have occurred. If corrosion is present, use a clean cloth or cotton swab to carefully wipe away any residue before proceeding.
- Dispose of Old Batteries Responsibly: Once the old batteries have been removed, it’s important to dispose of them responsibly. Many communities have designated recycling centers or collection points for used batteries, helping to minimize environmental impact.
By following these steps, you can safely remove the old batteries from your door lock and prepare for the installation of the new ones. With the old batteries out of the way, you’re now ready to proceed to the next crucial step: inserting the new batteries into the lock.
To change the batteries on a door lock, locate the battery compartment on the lock, remove the old batteries, and insert the new ones according to the correct polarity. Test the lock to ensure it is functioning properly.
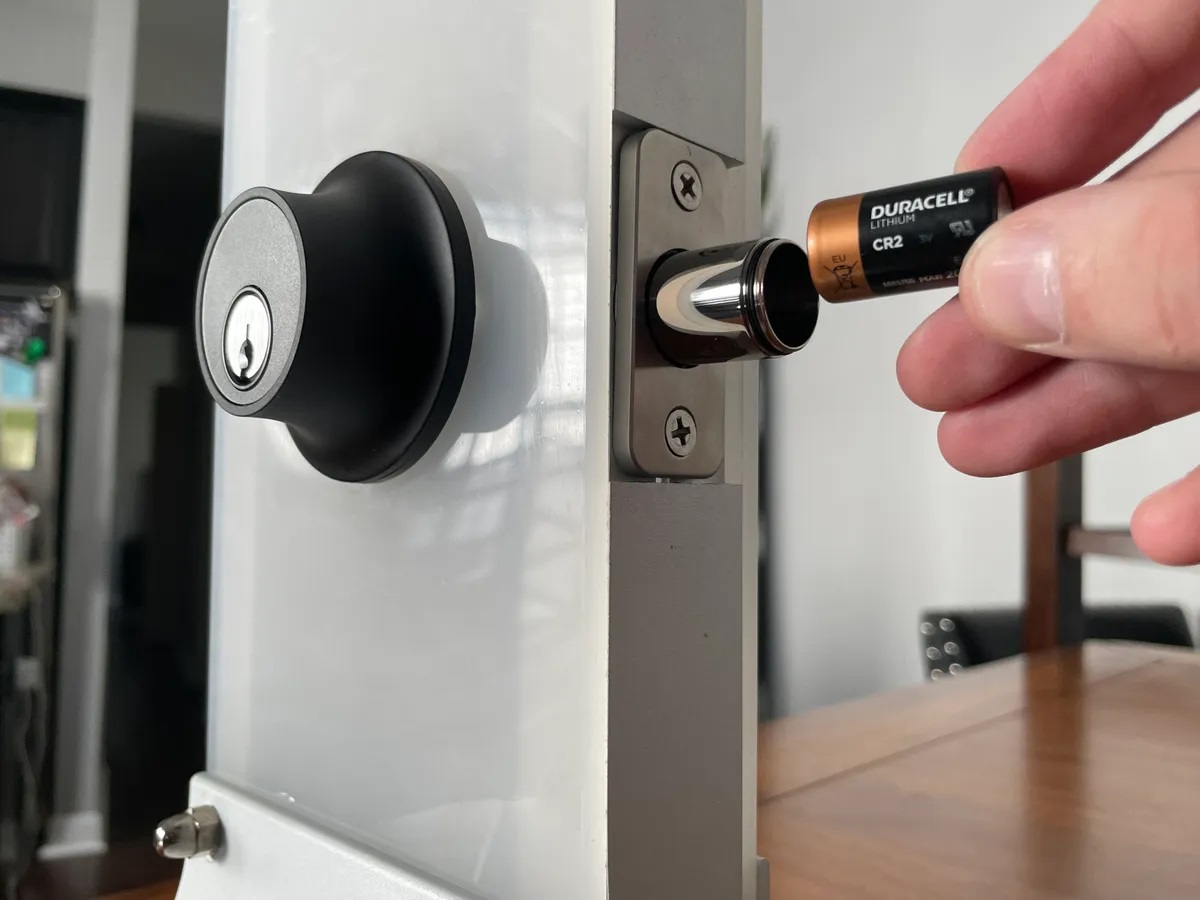
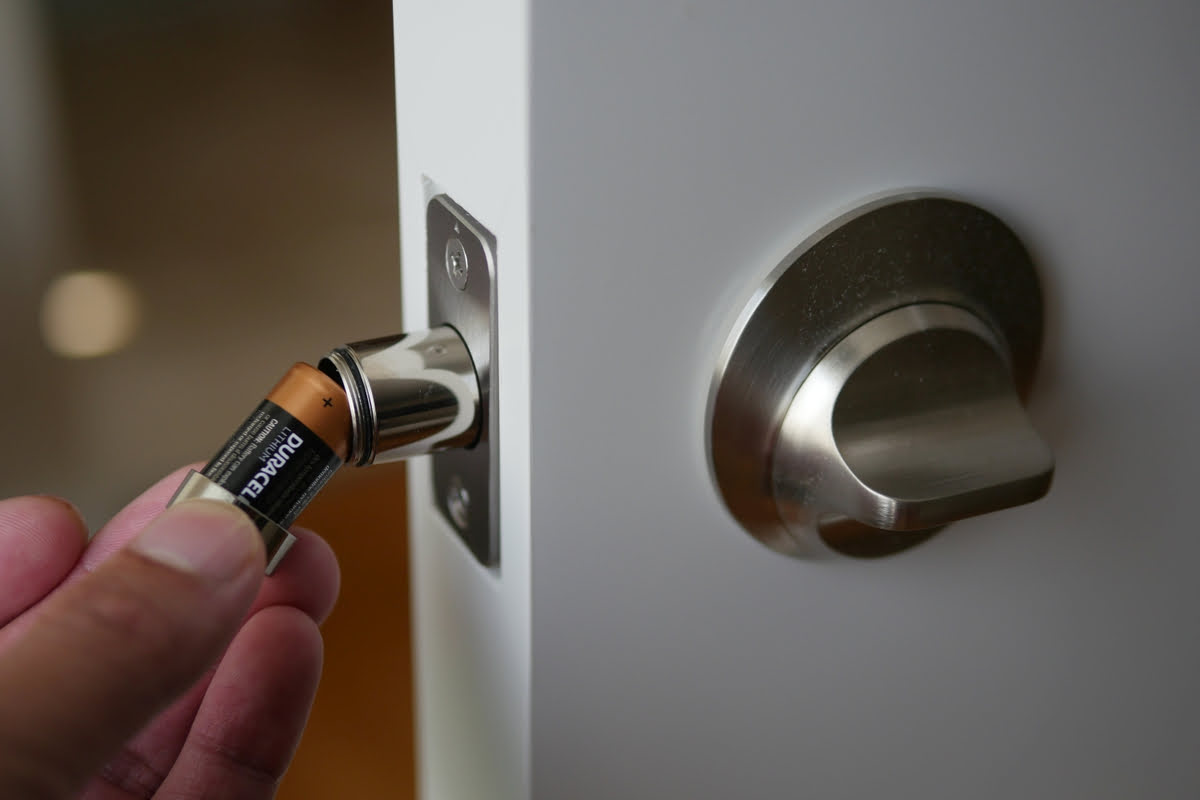
Step 3: Insert the New Batteries
With the old batteries removed, it’s time to insert the new batteries into your door lock. Follow these straightforward steps to ensure a seamless and effective battery replacement process:
- Check Battery Orientation: Before inserting the new batteries, double-check the orientation guide within the battery compartment to ensure the correct positioning. Align the positive (+) and negative (-) ends of the batteries according to the markings or diagram.
- Insert the New Batteries: Carefully place the new batteries into the compartment, ensuring a snug and secure fit. Take care to avoid forcing the batteries, as gentle and deliberate placement is key to preventing damage to the compartment or the batteries themselves.
- Replace the Battery Compartment Cover: Once the new batteries are in place, reattach the battery compartment cover and secure it with the screws using the appropriate screwdriver. Ensure that the cover is firmly in position to prevent any potential movement or exposure of the batteries.
- Optional: Wipe Down the Lock: As a finishing touch, use a clean cloth to wipe down the exterior of the lock and remove any fingerprints or smudges that may have accumulated during the battery replacement process. This simple step can help maintain the appearance of your door lock.
By following these steps, you can confidently insert the new batteries into your door lock, setting the stage for a functional and secure locking mechanism. With the new batteries in place, you’re now ready to move on to the final step: testing the door lock to ensure proper functionality.
Step 4: Test the Door Lock
After successfully inserting the new batteries, the final step is to test the door lock to ensure that it is functioning as expected. Follow these simple guidelines to verify the proper operation of your freshly powered door lock:
- Operate the Lock Mechanism: Test the lock by using both the key (if applicable) and the internal thumb turn or keypad, depending on the type of lock you have. Ensure that the lock engages and disengages smoothly without any resistance or unusual sounds.
- Check for Indicator Lights (Smart Locks): If you have a smart lock, check for any indicator lights or digital displays that confirm the successful battery replacement. Smart locks often provide visual feedback to indicate their operational status.
- Verify Remote Connectivity (Smart Locks): If your smart lock is connected to a mobile app or home automation system, test its remote connectivity to confirm that it responds to commands and updates its status accurately.
- Make Adjustments if Necessary: If you encounter any issues during the testing phase, such as erratic behavior or malfunctioning features, revisit the battery compartment to ensure proper installation and contact the lock manufacturer for troubleshooting guidance if needed.
By testing the door lock after replacing the batteries, you can ensure that it is fully operational and ready to provide the security and convenience you rely on. With the testing phase complete, you have successfully completed the battery replacement process for your door lock.
Read more: How To Change The Battery On ADT Door Lock
Conclusion
Congratulations! By following this comprehensive guide, you have successfully learned how to change the batteries on your door lock. Regular maintenance, including battery replacement, is crucial for preserving the security and functionality of your lock, whether it’s a traditional key-operated mechanism or a cutting-edge smart lock.
By gathering the necessary tools, removing the old batteries, inserting the new batteries, and testing the door lock, you have taken proactive steps to ensure that your entryway remains secure and accessible. This simple yet essential maintenance task can prevent unexpected lockouts and provide peace of mind knowing that your home or business is well-protected.
Remember to mark your calendar for future battery replacements based on the manufacturer’s recommendations, as this proactive approach can help you avoid potential security vulnerabilities and ensure uninterrupted access to your property.
Thank you for investing the time and effort to maintain your door lock, and may it continue to serve as a reliable guardian of your security and peace of mind.
Stay safe and secure!
Frequently Asked Questions about How To Change Batteries On Door Lock
Was this page helpful?
At Storables.com, we guarantee accurate and reliable information. Our content, validated by Expert Board Contributors, is crafted following stringent Editorial Policies. We're committed to providing you with well-researched, expert-backed insights for all your informational needs.


0 thoughts on “How To Change Batteries On Door Lock”