Articles
How To Change Vivint Doorbell Battery
Modified: May 6, 2024
Learn how to change the battery in your Vivint doorbell with this helpful guide. Browse our articles for step-by-step instructions and useful tips.
(Many of the links in this article redirect to a specific reviewed product. Your purchase of these products through affiliate links helps to generate commission for Storables.com, at no extra cost. Learn more)
Introduction
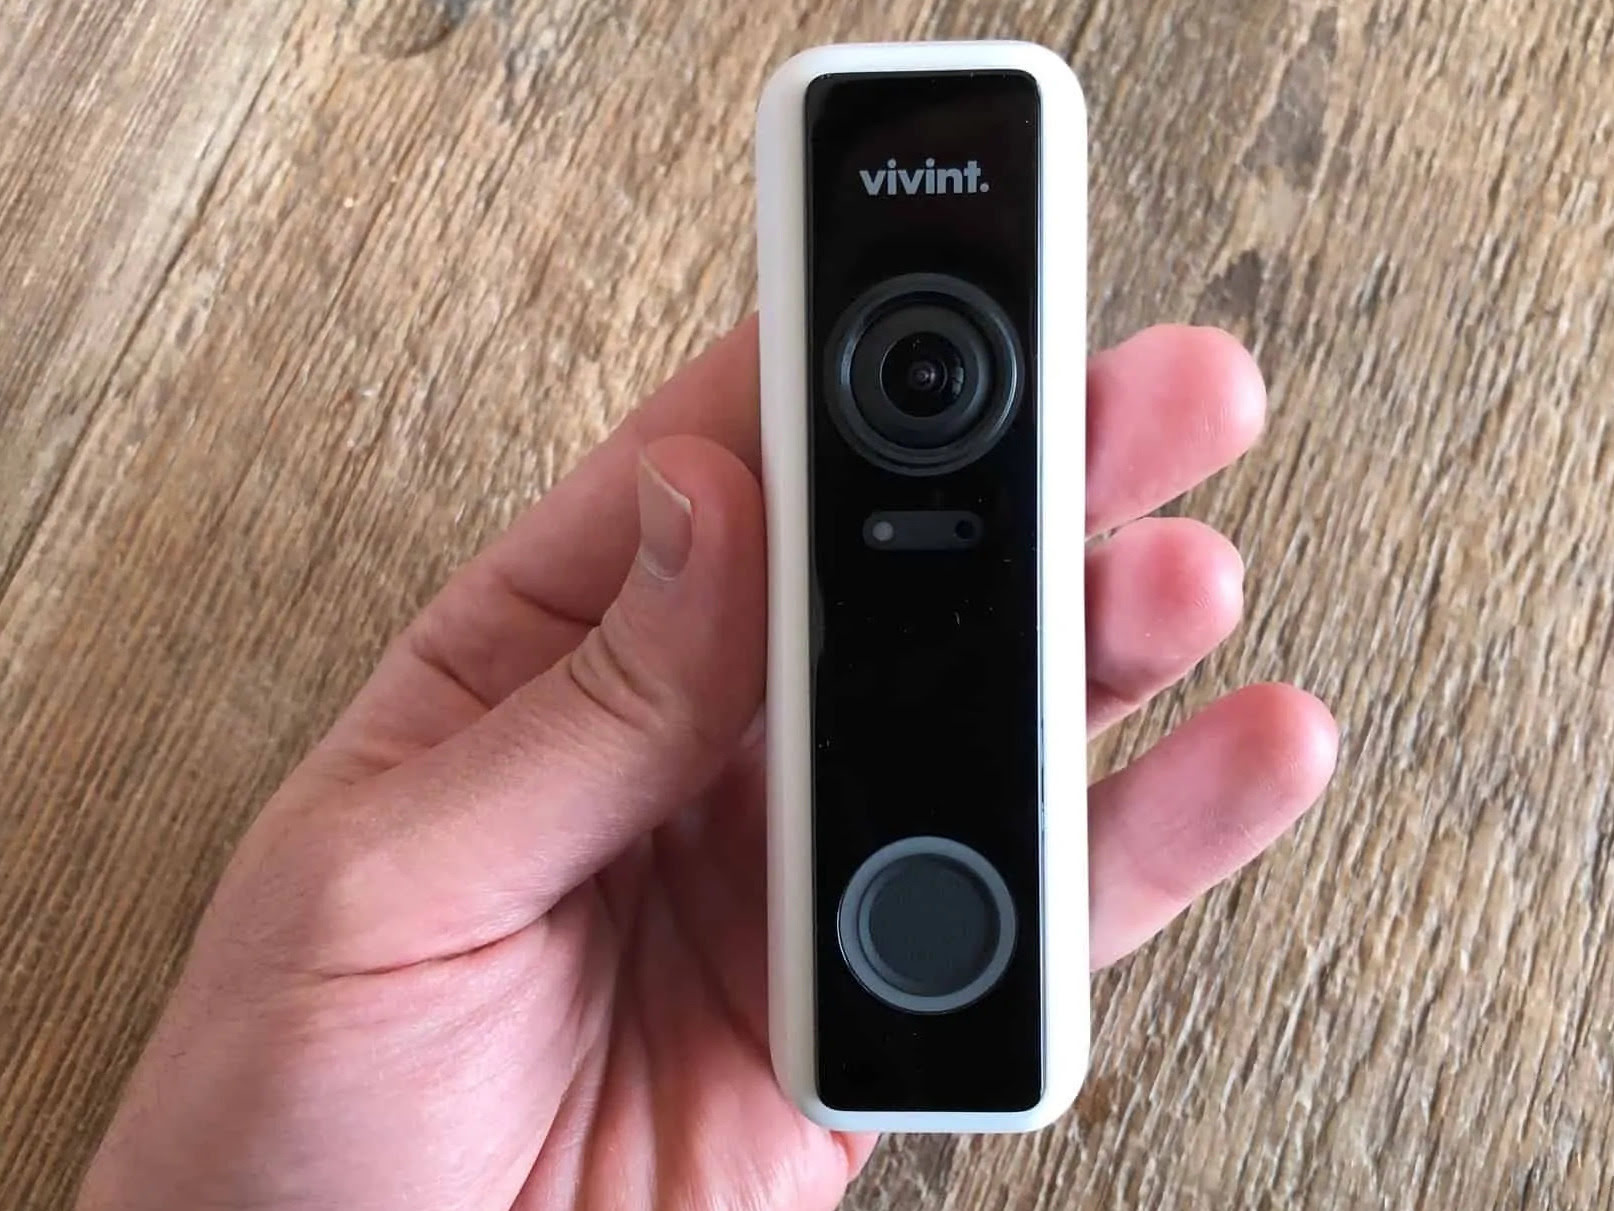
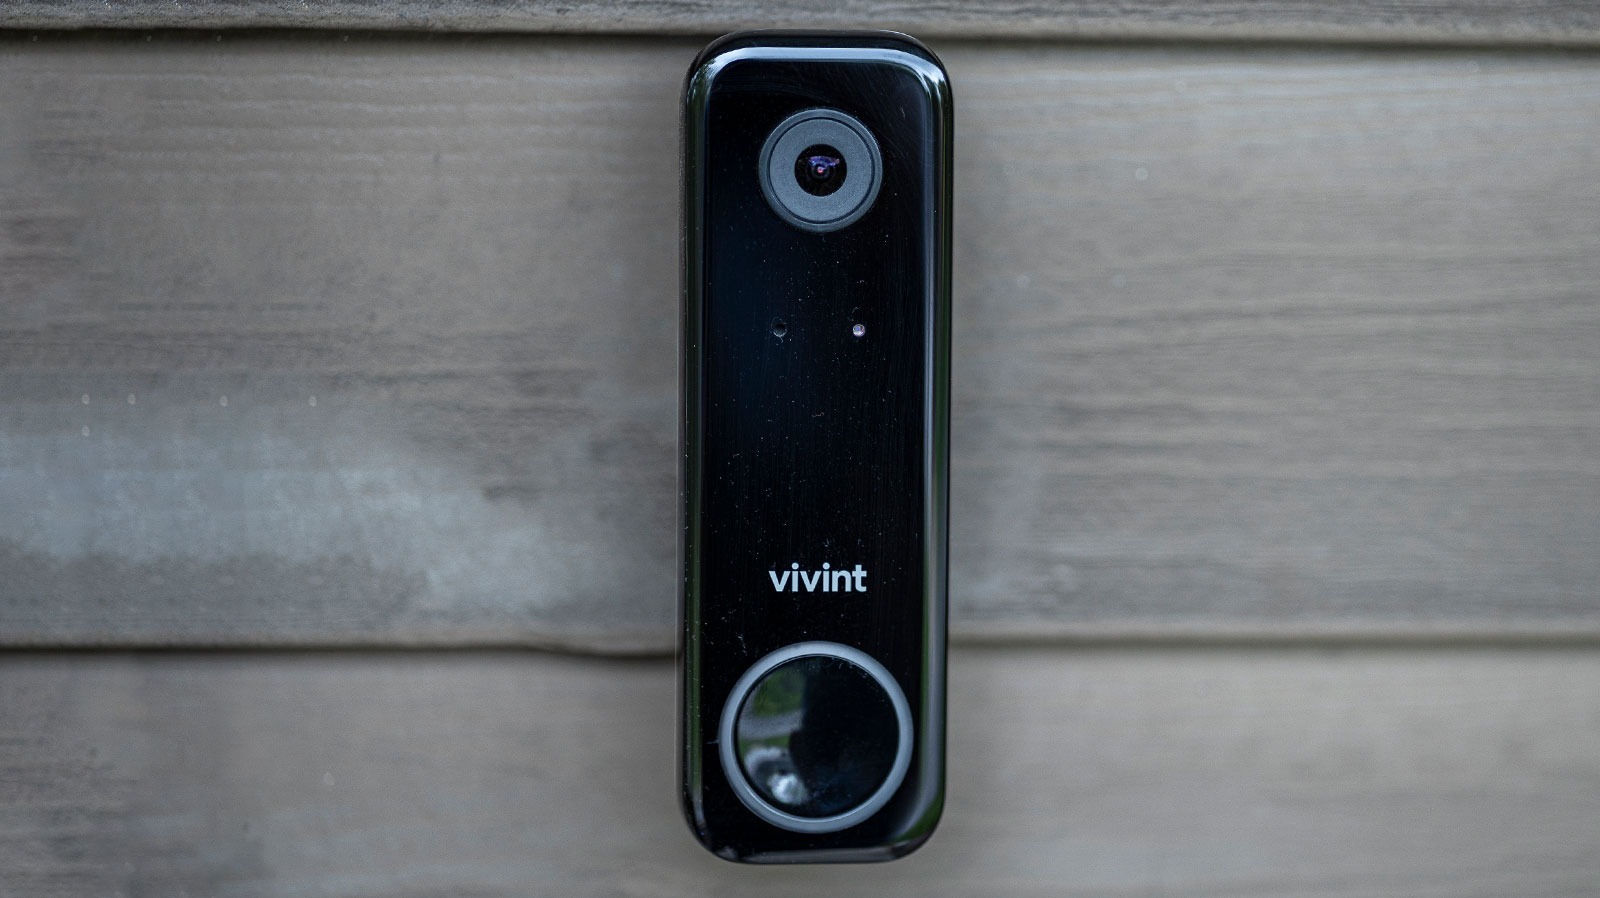
Welcome to the ultimate guide on how to change the Vivint doorbell battery! Your doorbell is a vital component of your home security system, allowing you to see and interact with visitors even when you’re not at home. However, like any electronic device, the doorbell battery will eventually need to be replaced to ensure its optimal functionality.
In this article, we will take you through a step-by-step process of changing the Vivint doorbell battery, so you can continue enjoying a seamless and reliable doorbell experience. We will cover everything you need to know, from gathering the necessary tools and materials to testing the doorbell after the battery replacement.
Before we dive into the steps, it’s important to note that Vivint doorbells typically operate on rechargeable batteries. These batteries provide a consistent and reliable power source and can last for several months before needing to be replaced. However, over time, the battery may lose its efficiency and require a change. Keep in mind that the exact battery model may vary depending on the specific doorbell model you have.
Now, let’s begin the journey of changing your Vivint doorbell battery!
Key Takeaways:
- Changing the Vivint doorbell battery is a simple process that involves gathering tools, checking battery status, replacing the battery, and testing functionality. Follow these steps for a seamless and reliable doorbell experience.
- Replacing the battery ensures optimal functionality of your Vivint doorbell. Remember to periodically check the battery status and perform regular maintenance to enjoy continued performance and peace of mind.
Read more: How To Change Vivint Doorbell Sound
Step 1: Gather necessary tools and materials
Before you start the process of changing the Vivint doorbell battery, it’s important to gather all the necessary tools and materials. This will ensure a smooth and efficient battery replacement. Here’s what you’ll need:
- Screwdriver: Depending on the doorbell model, you may need either a Phillips or a flathead screwdriver to remove the screws holding the doorbell in place.
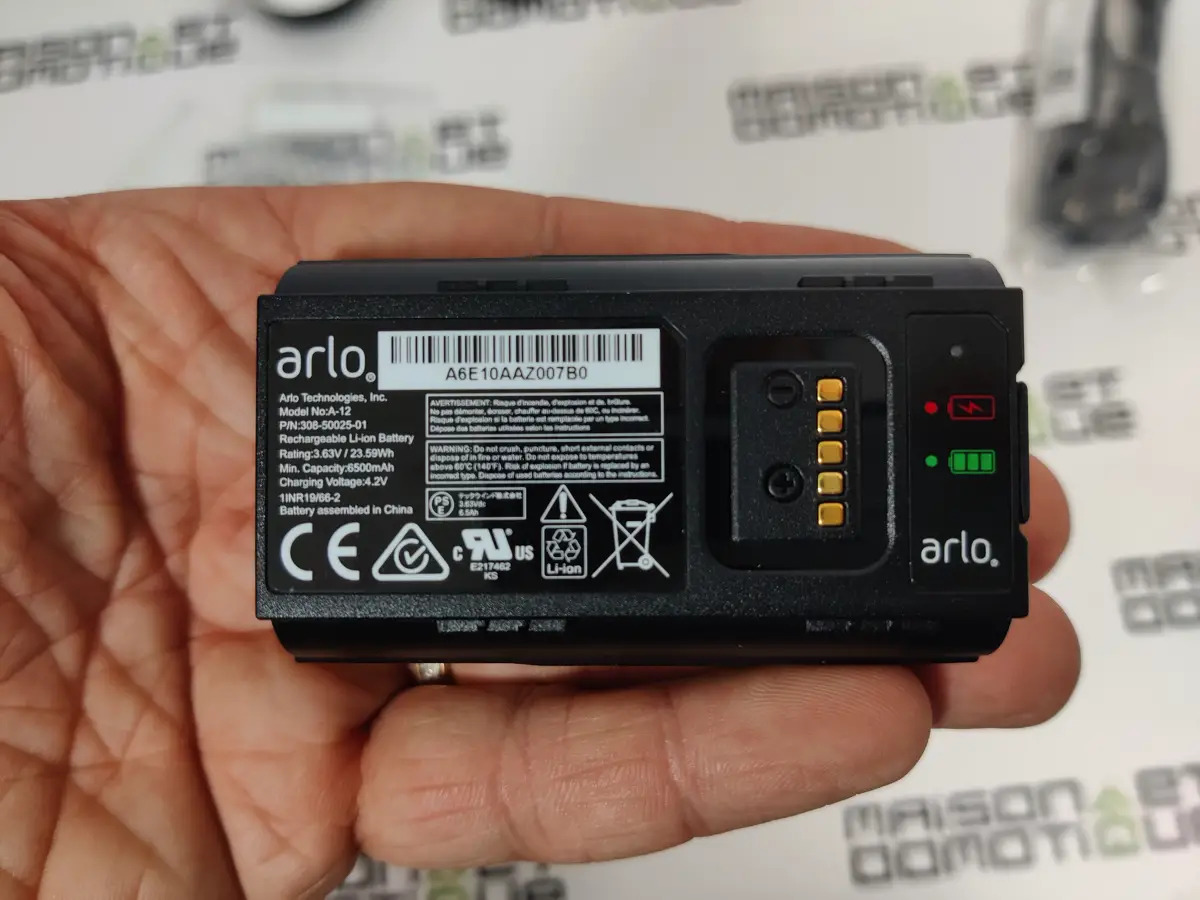
- New battery: Make sure you have a compatible and fully charged replacement battery on hand. Refer to your Vivint doorbell’s user manual or contact Vivint customer support to determine the specific battery model required.
- Optional: Gloves and safety goggles: While not essential, wearing gloves and safety goggles can protect your hands and eyes during the battery replacement process.
Once you have gathered all the necessary tools and materials, you’re ready to move on to the next step: checking the battery status.
Step 2: Check the battery status
Before proceeding with the battery replacement, it’s important to check the current status of your Vivint doorbell battery. This will help you determine if it truly needs to be replaced. Here’s how to check the battery status:
- Start by opening the Vivint app on your smartphone or tablet. This app allows you to access and control your Vivint doorbell remotely.
- Navigate to the doorbell settings or device information section within the app.
- Look for the battery status or battery level indicator. This will typically be displayed as a percentage, indicating how much charge the battery currently has.
- If the battery level is consistently low or if you receive a low battery notification, it’s a clear indication that the battery needs to be replaced.
It’s important to note that battery life can vary depending on usage and environmental conditions. If the battery level is still relatively high but you’ve been experiencing issues with the doorbell’s performance, it could still be beneficial to replace the battery to ensure optimal functionality.
Once you have checked the battery status and confirmed that a replacement is needed, you can proceed to the next step: removing the doorbell from the mounting bracket.
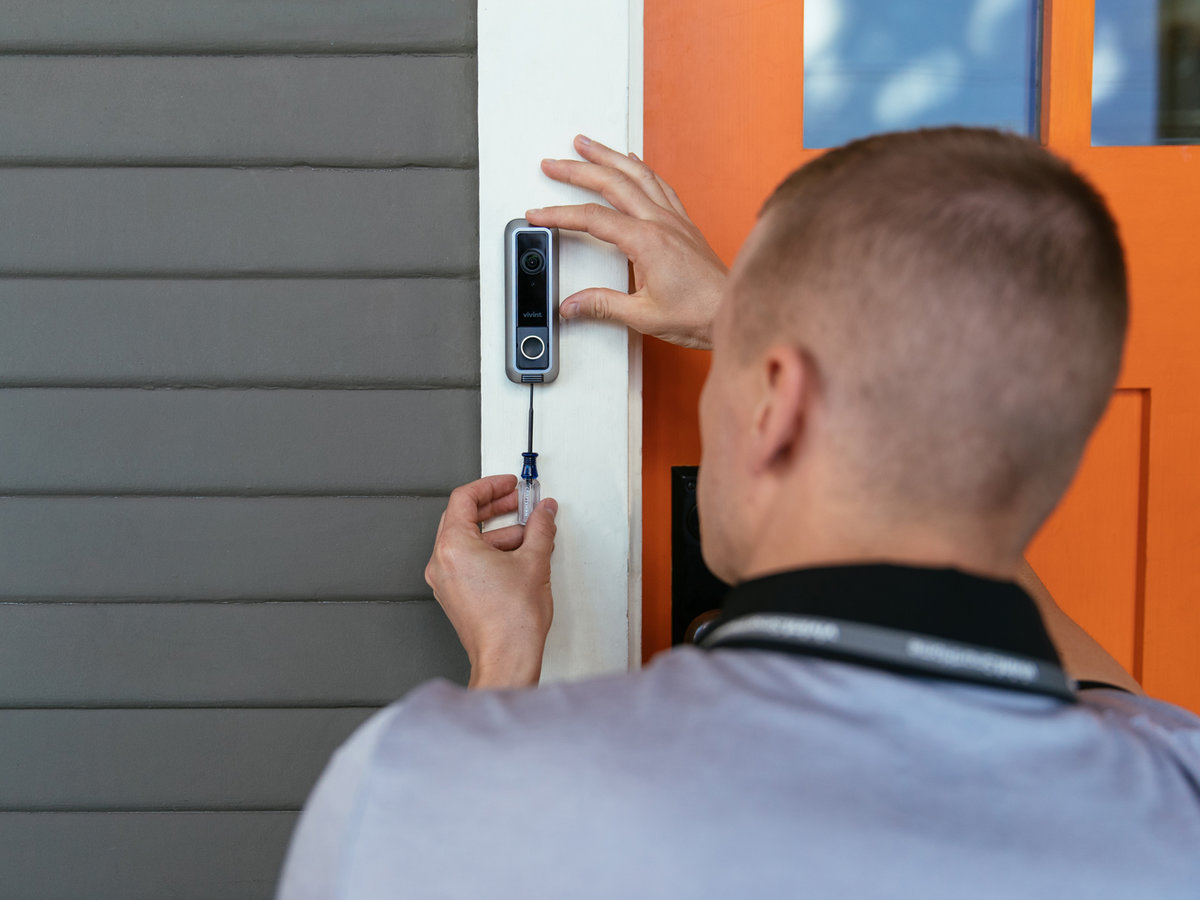
Step 3: Remove the doorbell from the mounting bracket
Now that you have confirmed the need for a battery replacement, it’s time to remove the Vivint doorbell from its mounting bracket. Follow these steps to safely detach the doorbell:
- Locate the mounting screws that secure the doorbell to the wall or door frame.
- Using the appropriate screwdriver (either Phillips or flathead), carefully loosen and remove the screws. Be sure to keep them in a safe place to avoid losing them.
- Gently lift the doorbell off the mounting bracket, being mindful of any wiring or cables that may be connected to the device.
- If there are any wires connected to the doorbell, carefully detach them by loosening the wire connectors or screws, following the manufacturer’s instructions.
By removing the doorbell from the mounting bracket, you can easily access the battery compartment and proceed with the replacement process. However, be cautious while handling the doorbell to avoid any damage to the device or yourself.
Once you have successfully removed the doorbell from its mounting bracket, you can move on to step 4: opening the battery compartment.
Step 4: Open the battery compartment
With the Vivint doorbell removed from the mounting bracket, you can now proceed to open the battery compartment. Follow these steps to access the old battery:
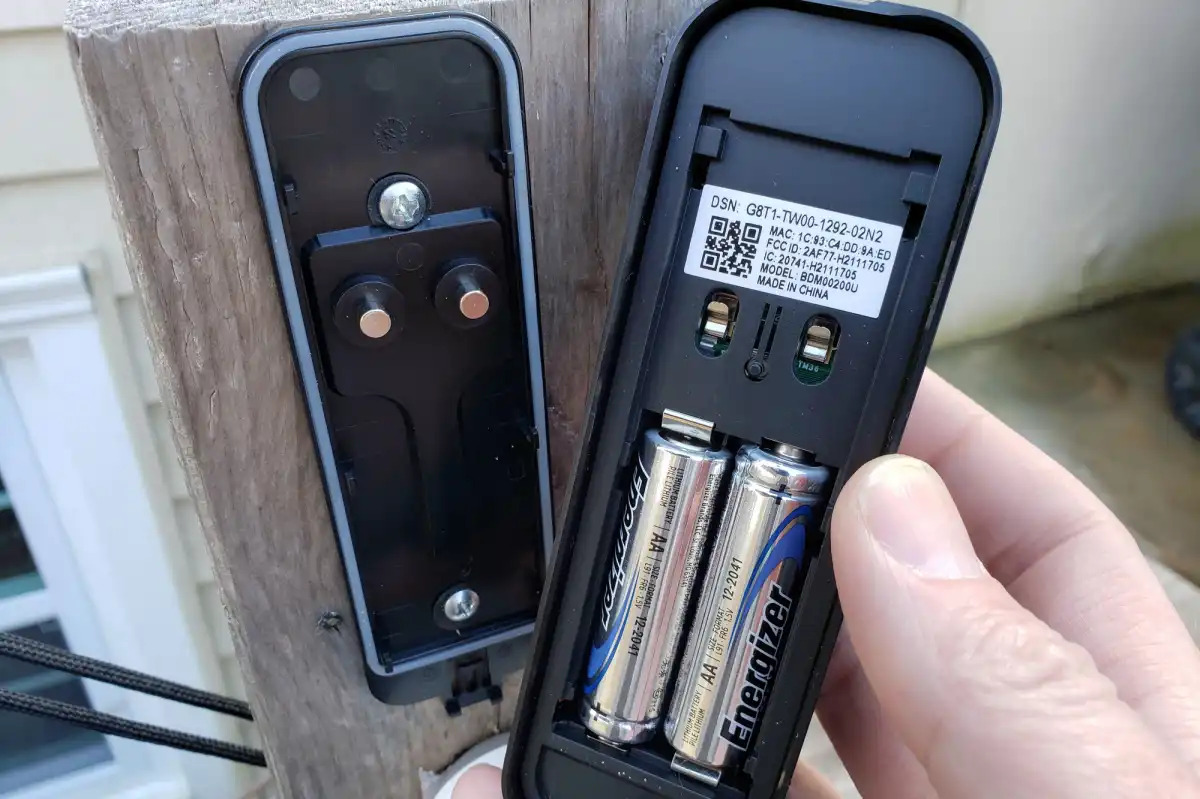
- Take a close look at the back or bottom of the doorbell device. You should be able to locate the battery compartment.
- Determine the type of battery compartment your doorbell has. Some doorbells have a sliding panel, while others have a removable cover.
- If your doorbell has a sliding panel, gently slide it open using your fingers. If it has a removable cover, locate the small release tab or screw and carefully open the cover.
- Upon opening the battery compartment, you’ll see the old battery. Take note of its position and orientation, as this will help when inserting the new battery.
It’s important to mention that some Vivint doorbells may have additional security measures in place to protect the battery. For instance, there may be a small tab or lever that needs to be pressed or moved before accessing the battery compartment. Refer to the user manual or instructions from Vivint for any specific steps related to your doorbell model.
Now that the battery compartment is open and the old battery is visible, you’re ready to move on to step 5: replacing the old battery with a new one.
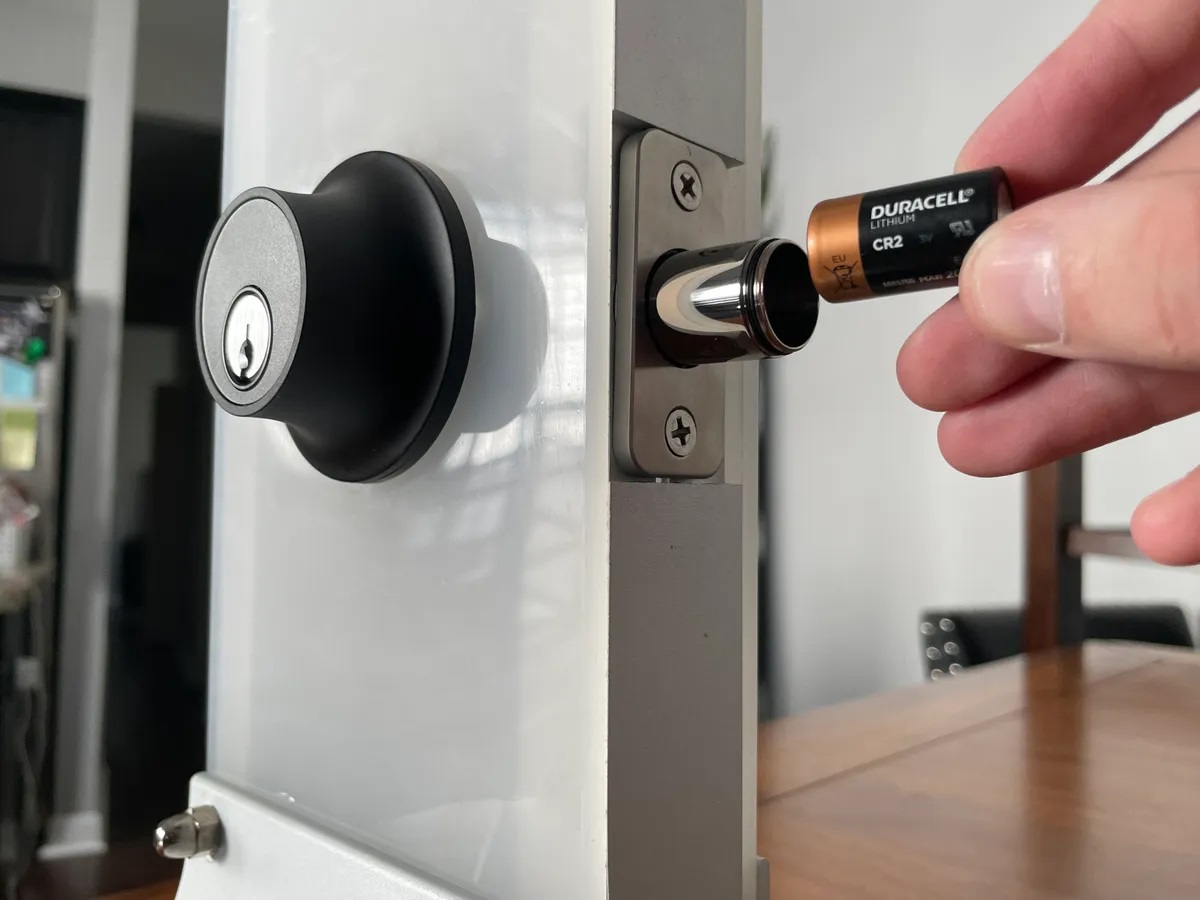
To change the battery in your Vivint doorbell, first, remove the faceplate and then the battery cover. Replace the old battery with a new one, ensuring it is inserted correctly. Finally, reattach the battery cover and faceplate.
Step 5: Replace the old battery with a new one
Now that you have accessed the old battery in the Vivint doorbell, it’s time to replace it with a new one. Here are the steps to follow:
- Take the new battery that you have prepared and ensure it is fully charged. Double-check the battery model to ensure compatibility with your Vivint doorbell.
- Remove the old battery from the compartment by gently pulling it out. Be careful not to apply excessive force or damage any internal components.
- Take the new battery and carefully insert it into the battery compartment, following the same position and orientation as the old battery. It should fit snugly into place.
- If your battery compartment has any securing mechanisms, such as clips or latches, make sure they are properly engaged to hold the new battery in place.
It’s worth noting that some Vivint doorbells may require specific instructions for battery replacement, such as holding down a reset button or entering a specific code to ensure the new battery is recognized by the device. Refer to the doorbell’s user manual or reach out to Vivint customer support for any additional guidelines.
With the new battery securely in place, you’re ready to move on to step 6: reassembling the doorbell.
Step 6: Reassemble the doorbell
After successfully replacing the battery in your Vivint doorbell, it’s time to reassemble the device and prepare it for mounting back onto the bracket. Follow these steps to ensure a proper reassembly:
- If you had previously detached any wires or cables from the doorbell, now is the time to reattach them. Follow the manufacturer’s instructions or refer to any labeled markings to ensure correct connections.
- Place the doorbell back onto the mounting bracket, aligning it with the screw holes.
- Retrieve the screws that you initially removed and use the appropriate screwdriver to secure the doorbell to the mounting bracket. Tighten the screws, but be careful not to over-tighten them, as this can damage the device or strip the screw holes.
- If your doorbell model has any adjustment features, such as a tilting mechanism, adjust it to the desired position before fully tightening the screws.
Once the doorbell is securely reassembled and mounted back onto the bracket, you’re almost done! The final step is to test the doorbell’s functionality, which we will cover in the next step.
Remember, if you encounter any difficulties or uncertainties during the reassembly process, consult the user manual or contact Vivint customer support for further assistance.
Now that your Vivint doorbell is reassembled and securely mounted, you can move on to the final step: testing its functionality.
Step 7: Test the doorbell functionality
Now that you have successfully reassembled your Vivint doorbell and mounted it back onto the bracket, it’s time to test its functionality to ensure everything is working as expected. Follow these steps to test the doorbell:
- Make sure the battery compartment is securely closed and the doorbell is properly mounted on the bracket.
- Ensure that your smartphone or tablet is connected to the same Wi-Fi network as the doorbell.
- Open the Vivint app on your device, navigate to the doorbell settings or device information section, and wait for the app to establish a connection with the doorbell.
- Once the connection is established, initiate a test by either pressing the doorbell button on your device’s screen or physically pressing the doorbell button on the device itself.
- Observe the doorbell’s response. You should see and hear the doorbell ringing, and if you have a camera-enabled doorbell, the app should display a live video feed of the doorbell’s view.
If everything is functioning properly, congratulations! You have successfully changed the battery in your Vivint doorbell, and it is now ready to provide you with reliable security and convenience. However, if you encounter any issues during the testing phase, here are a few troubleshooting tips:
- Ensure that the battery is properly inserted, with the correct orientation and fully secured in the compartment.
- Double-check that your smartphone or tablet is connected to the same Wi-Fi network as the doorbell.
- If you are still experiencing issues, refer to the Vivint app or contact Vivint customer support for further assistance.
With the doorbell functionality successfully tested, you can now enjoy the peace of mind that comes with a fully functioning Vivint doorbell. Remember to periodically check the battery status and perform regular maintenance to ensure continued performance.
Congratulations on successfully changing the Vivint doorbell battery!
Conclusion
Changing the battery in your Vivint doorbell is a simple and straightforward process that ensures your doorbell continues to function optimally. By following the steps outlined in this guide, you can confidently replace the battery and enjoy a seamless doorbell experience.
We started by gathering the necessary tools and materials, including a screwdriver and a compatible replacement battery. We then checked the battery status through the Vivint app, confirming the need for a replacement. Removing the doorbell from the mounting bracket allowed us to access the battery compartment, where we opened it and removed the old battery.
Replacing the old battery with a new one was the next step, ensuring the correct positioning and secure placement. Reassembling the doorbell involved reconnecting any wires and mounting it back onto the bracket with screws.
Lastly, we tested the doorbell’s functionality to ensure that it rang and provided a live video feed through the Vivint app. If any issues occurred, we provided troubleshooting tips and recommended contacting Vivint customer support.
By following these steps, you have successfully changed the Vivint doorbell battery and can now enjoy a dependable and secure doorbell system.
Remember to periodically check the battery status and perform regular maintenance to ensure continued performance. If you have any further questions or concerns, consult the Vivint user manual or reach out to their customer support for assistance.
Thank you for reading this comprehensive guide on how to change the Vivint doorbell battery. We hope it has been informative and helpful in your battery replacement process.
Ready to take your home's tech to the next level? Our detailed guide on home automation systems covers all you need to make your living space smarter and more efficient. If ensuring safety is your priority, our article on home security systems offers insights on reliable vendors and cutting-edge technology. For those enamored with smart home gadgets, the latest Vivint doorbell cameras will surely impress with their upgraded features and capabilities.
Frequently Asked Questions about How To Change Vivint Doorbell Battery
Was this page helpful?
At Storables.com, we guarantee accurate and reliable information. Our content, validated by Expert Board Contributors, is crafted following stringent Editorial Policies. We're committed to providing you with well-researched, expert-backed insights for all your informational needs.

0 thoughts on “How To Change Vivint Doorbell Battery”