Home>Technology>Security & Surveillance>How To Fix A Door Handle Lock
Security & Surveillance
How To Fix A Door Handle Lock
Modified: February 27, 2024
Learn how to fix a door handle lock for improved security and surveillance. Follow our step-by-step guide to ensure your safety at home.
(Many of the links in this article redirect to a specific reviewed product. Your purchase of these products through affiliate links helps to generate commission for Storables.com, at no extra cost. Learn more)
Introduction
Welcome to the ultimate guide on how to fix a door handle lock! Dealing with a malfunctioning door handle lock can be frustrating and inconvenient, but fear not, as I'm here to walk you through the step-by-step process of diagnosing and repairing this common household issue.
A faulty door handle lock can pose security risks and disrupt the smooth functioning of your daily routine. Whether the lock is sticking, loose, or completely non-functional, understanding how to troubleshoot and repair it can save you time and money. By following the instructions in this guide, you'll be equipped with the knowledge and confidence to tackle this repair task like a pro.
In the sections that follow, we'll delve into the essential steps for fixing a door handle lock. From assessing the problem and gathering the necessary tools to disassembling the door handle, fixing the lock mechanism, and reassembling the door handle, we've got you covered. After completing the repair, we'll also discuss the importance of testing the fixed door handle lock to ensure its proper functionality.
So, grab your toolkit and get ready to become a door handle lock repair expert. Let's embark on this journey to restore security and convenience to your living space!
Key Takeaways:
- Don’t let a sticky or broken door handle lock stress you out! By following simple steps like lubricating, aligning, and testing, you can fix it like a pro and keep your home safe and secure.
- Gathering the right tools and understanding the problem are key to fixing a door handle lock. With patience and attention to detail, you can restore functionality and feel proud of your DIY skills!
Read more: How To Fix A Push Lock Door Handle
Assessing the Problem
Before diving into the repair process, it's crucial to assess the nature of the problem with your door handle lock. By understanding the symptoms and potential causes of the malfunction, you can effectively determine the appropriate course of action.
Start by examining the behavior of the door handle lock. Is it sticking, making unusual sounds, or failing to engage properly? Take note of any specific patterns or triggers that coincide with the lock's malfunction, such as temperature changes, humidity, or physical damage. Additionally, check if the issue is isolated to a specific door or if multiple locks in your home are exhibiting similar problems.
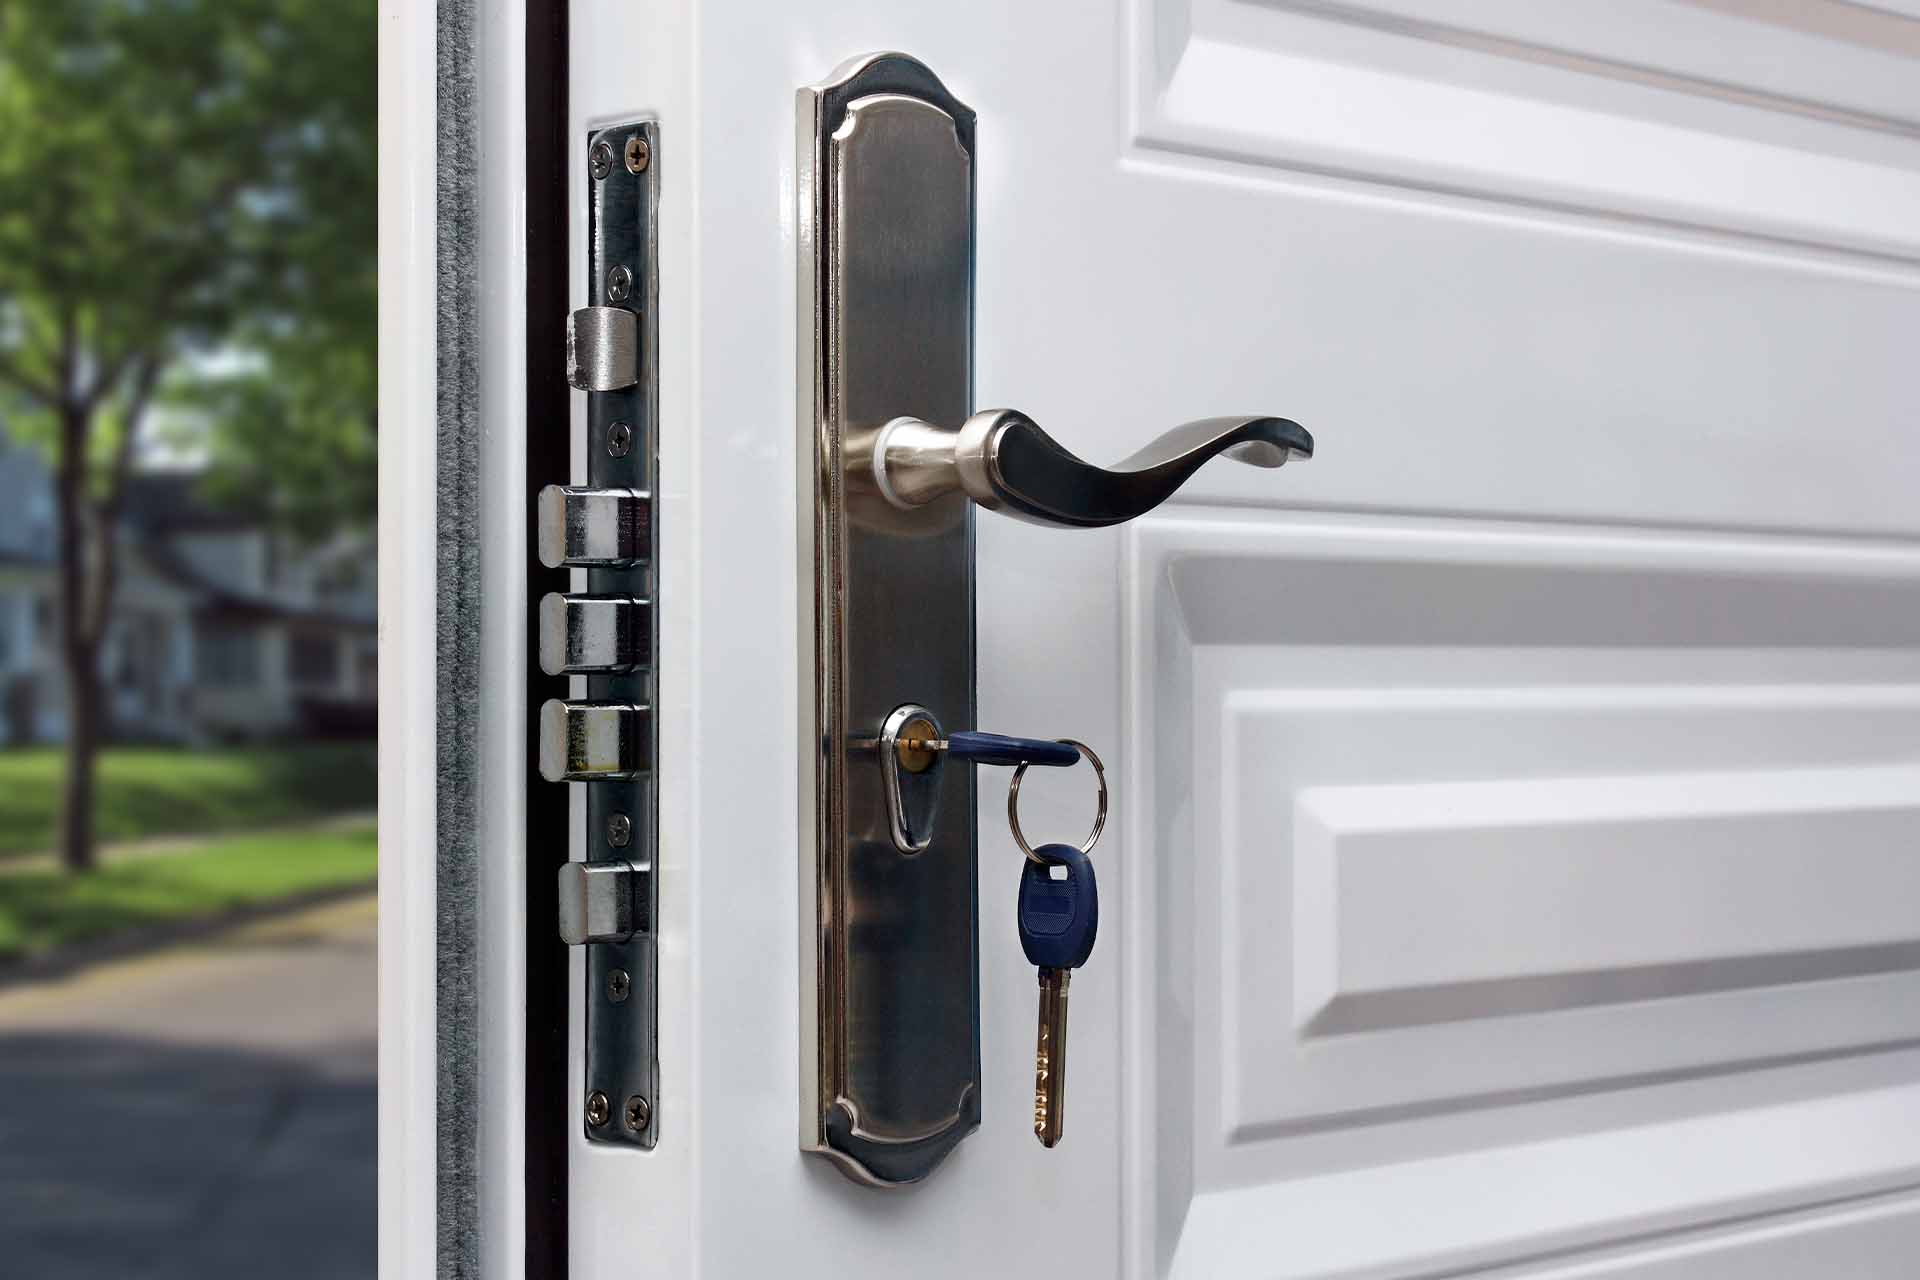
Next, inspect the exterior and interior components of the door handle and lock mechanism. Look for visible signs of wear, corrosion, or damage. Loose screws, misaligned components, or accumulation of debris can also contribute to the lock's poor performance. Pay attention to the keyway and keyway cylinder, as well as the latch and strike plate, as these elements are integral to the proper function of the lock.
Consider the age and quality of the door handle and lock. Over time, inferior materials or lack of maintenance can lead to premature wear and failure. If your door handle lock is relatively new, its malfunction may stem from a manufacturing defect or improper installation.
Furthermore, evaluate the security implications of the malfunctioning lock. A compromised door handle lock can jeopardize the safety of your home and loved ones. Take into account the level of security provided by the lock and the urgency of addressing the issue promptly.
By thoroughly assessing the problem, you'll gain valuable insights into the underlying issues affecting your door handle lock. This preliminary investigation sets the stage for a targeted and effective repair process, ensuring that you address the root cause of the problem and restore the lock to optimal functionality.
Gathering the Necessary Tools
Before embarking on the repair journey, it's essential to assemble the appropriate tools and materials to ensure a smooth and efficient process. Having the right equipment at your disposal will empower you to address the door handle lock issue with confidence and precision.
Here's a comprehensive list of tools and materials you may need:
- Screwdriver Set: A set of flathead and Phillips head screwdrivers in various sizes will allow you to tackle different types of screws used in door handle assemblies.
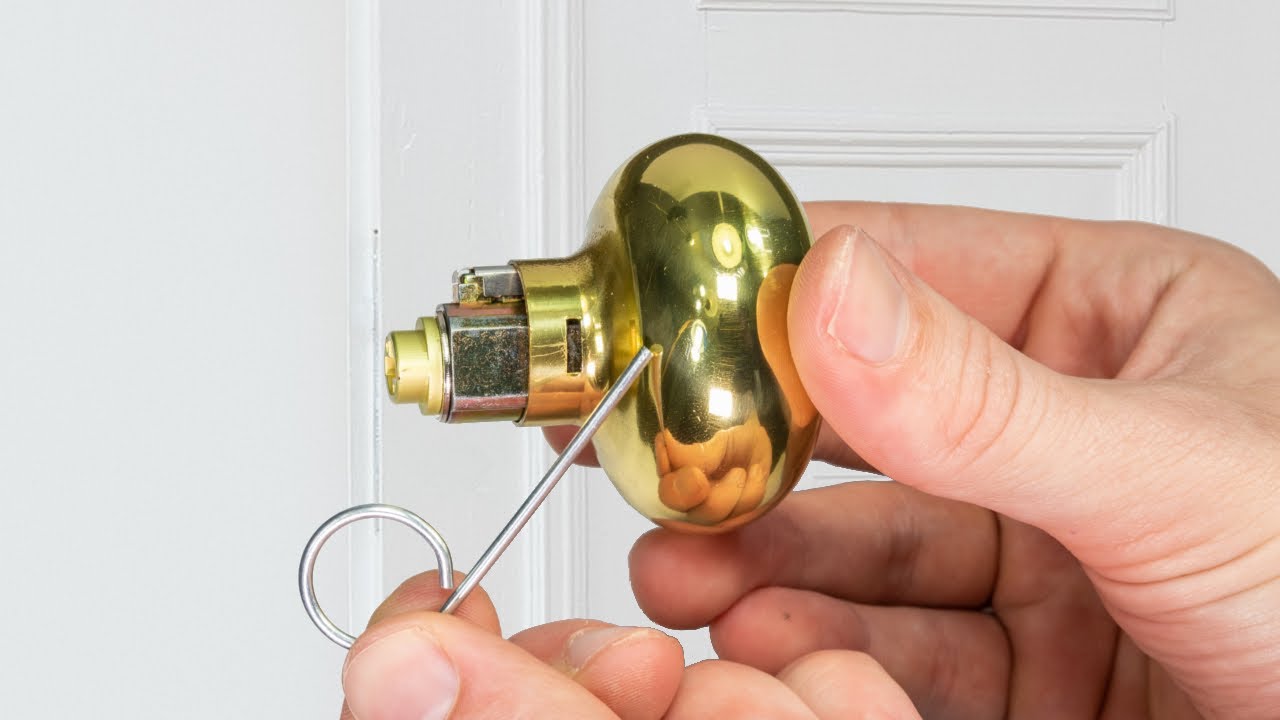
- Allen Wrenches: Depending on the type of door handle, you may require Allen wrenches to loosen set screws and detach handle components.
- Lubricant: A high-quality lubricant, such as silicone-based or graphite spray, can help address sticking or stiff lock mechanisms.
- Replacement Parts: If your assessment reveals damaged or worn components, such as springs, latch mechanisms, or strike plates, it's advisable to have suitable replacement parts on hand.
- Tweezers or Needle-Nose Pliers: These tools can assist in removing small and stubborn components, such as broken key fragments or debris, from the lock mechanism.
- Flashlight: A reliable flashlight will aid in illuminating the interior of the lock and handle assembly, especially if you are working in dimly lit areas.
- Clean Cloth: Keeping a clean cloth or rag handy will allow you to wipe away dirt, grime, or excess lubricant during the repair process.
- Safety Equipment: Depending on the complexity of the repair and the type of lock, safety goggles and gloves may be necessary to protect your eyes and hands from potential hazards.
By gathering these essential tools and materials, you'll be well-prepared to address a wide range of door handle lock issues. Whether it involves disassembling the handle, lubricating the mechanism, or replacing worn components, having the right tools at your fingertips is the first step toward a successful repair endeavor.
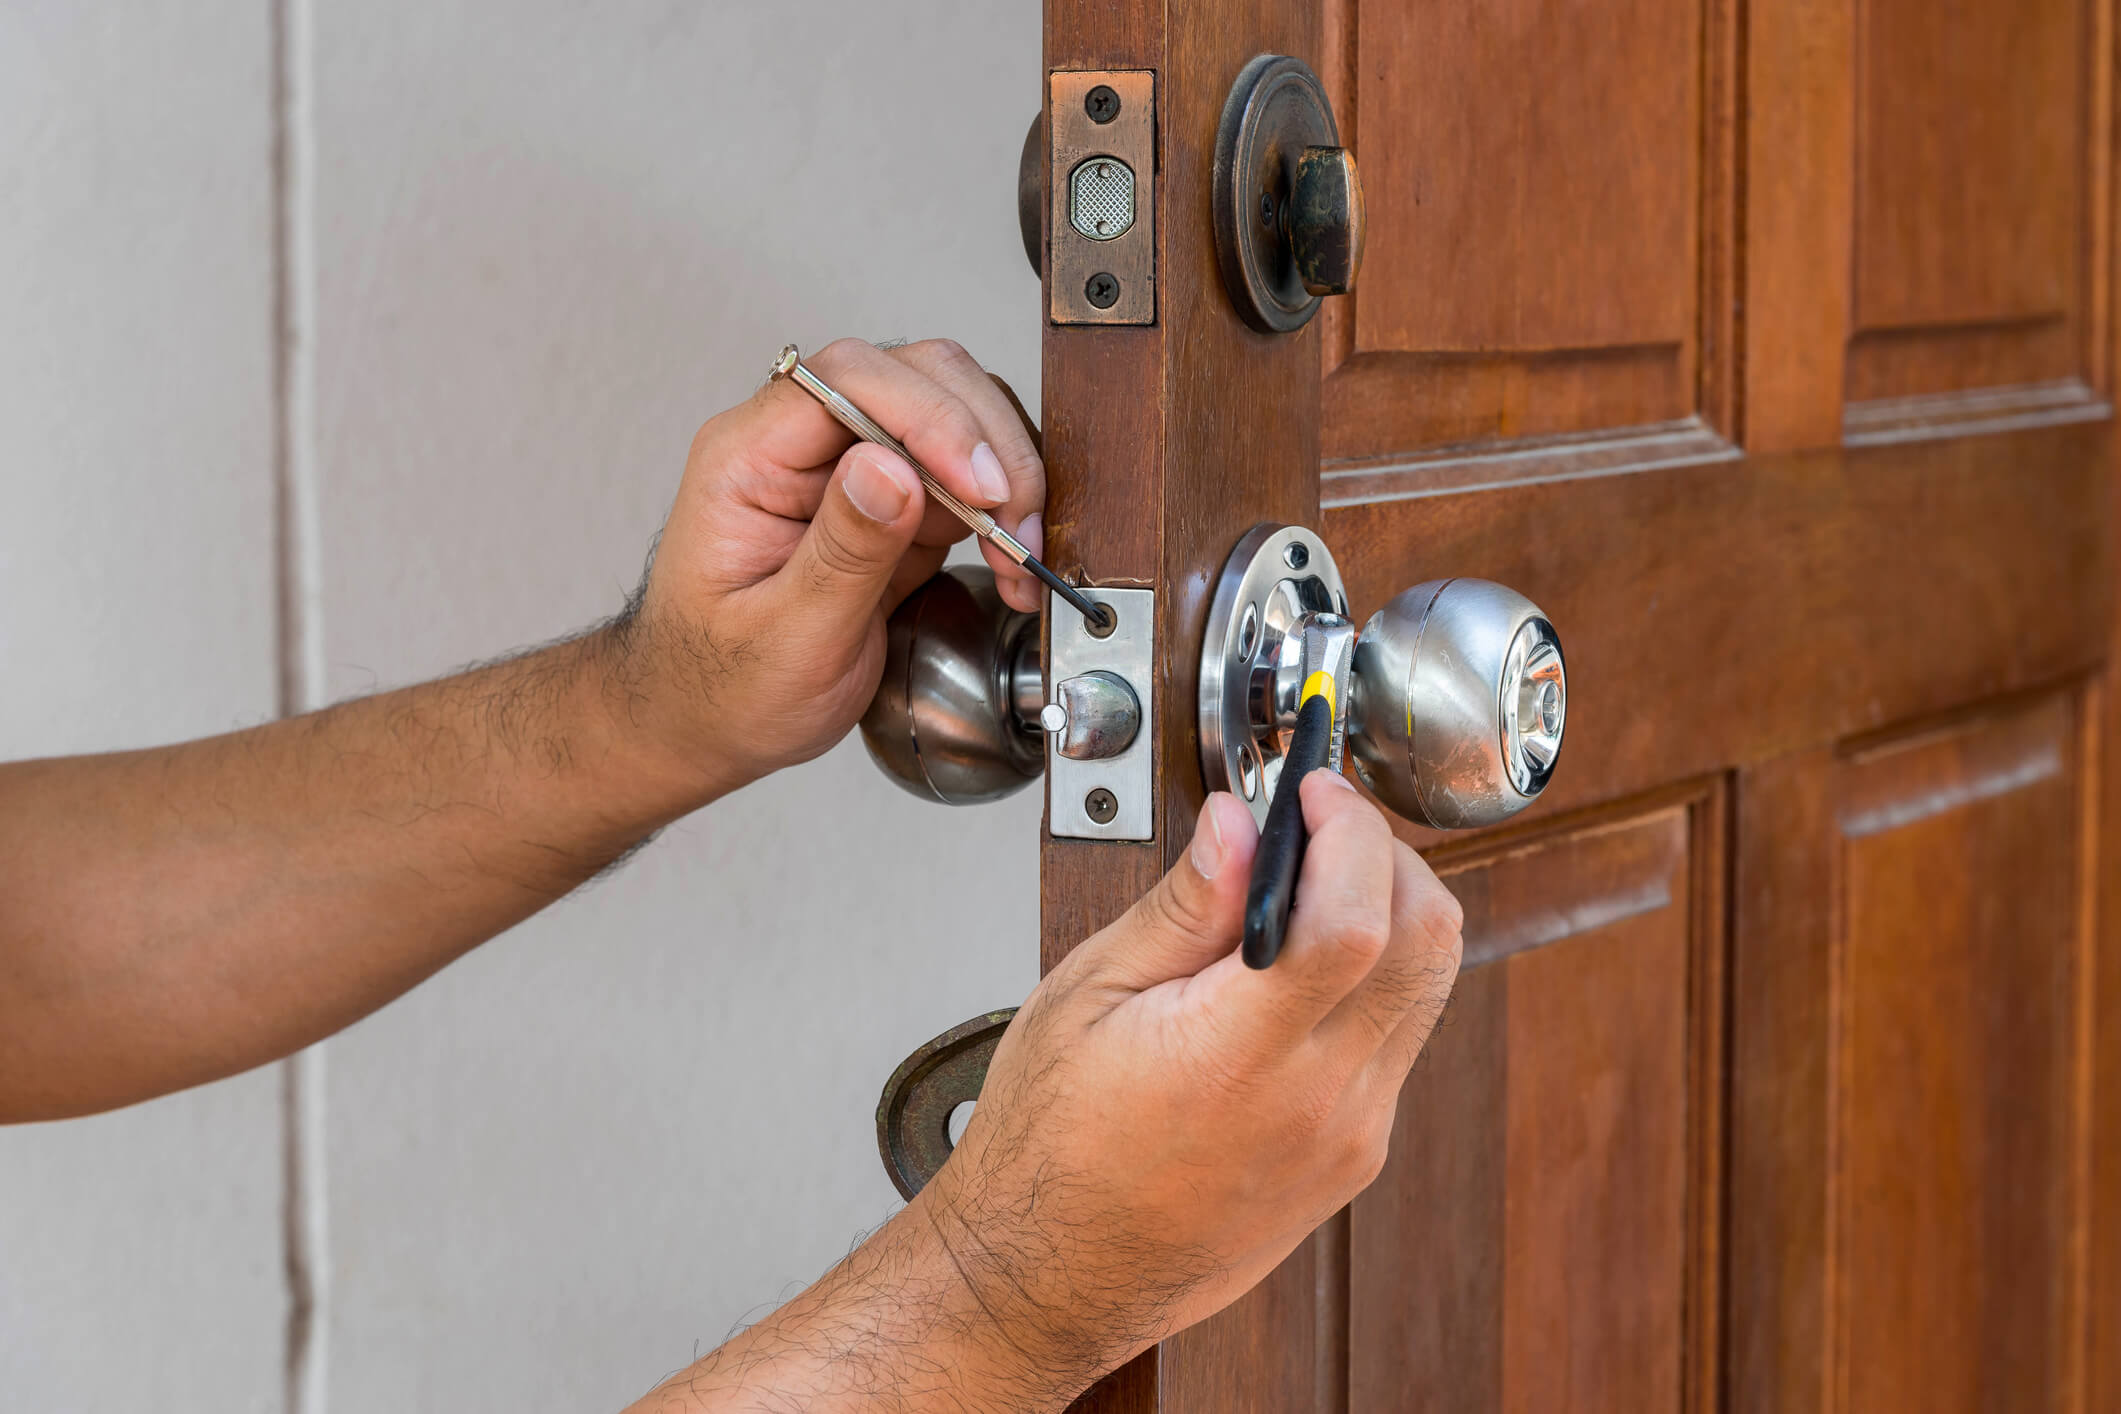
Disassembling the Door Handle
Now that you've assessed the problem and gathered the necessary tools, it's time to begin the process of disassembling the door handle. This step is crucial for gaining access to the internal components of the lock mechanism and identifying the root cause of the malfunction.
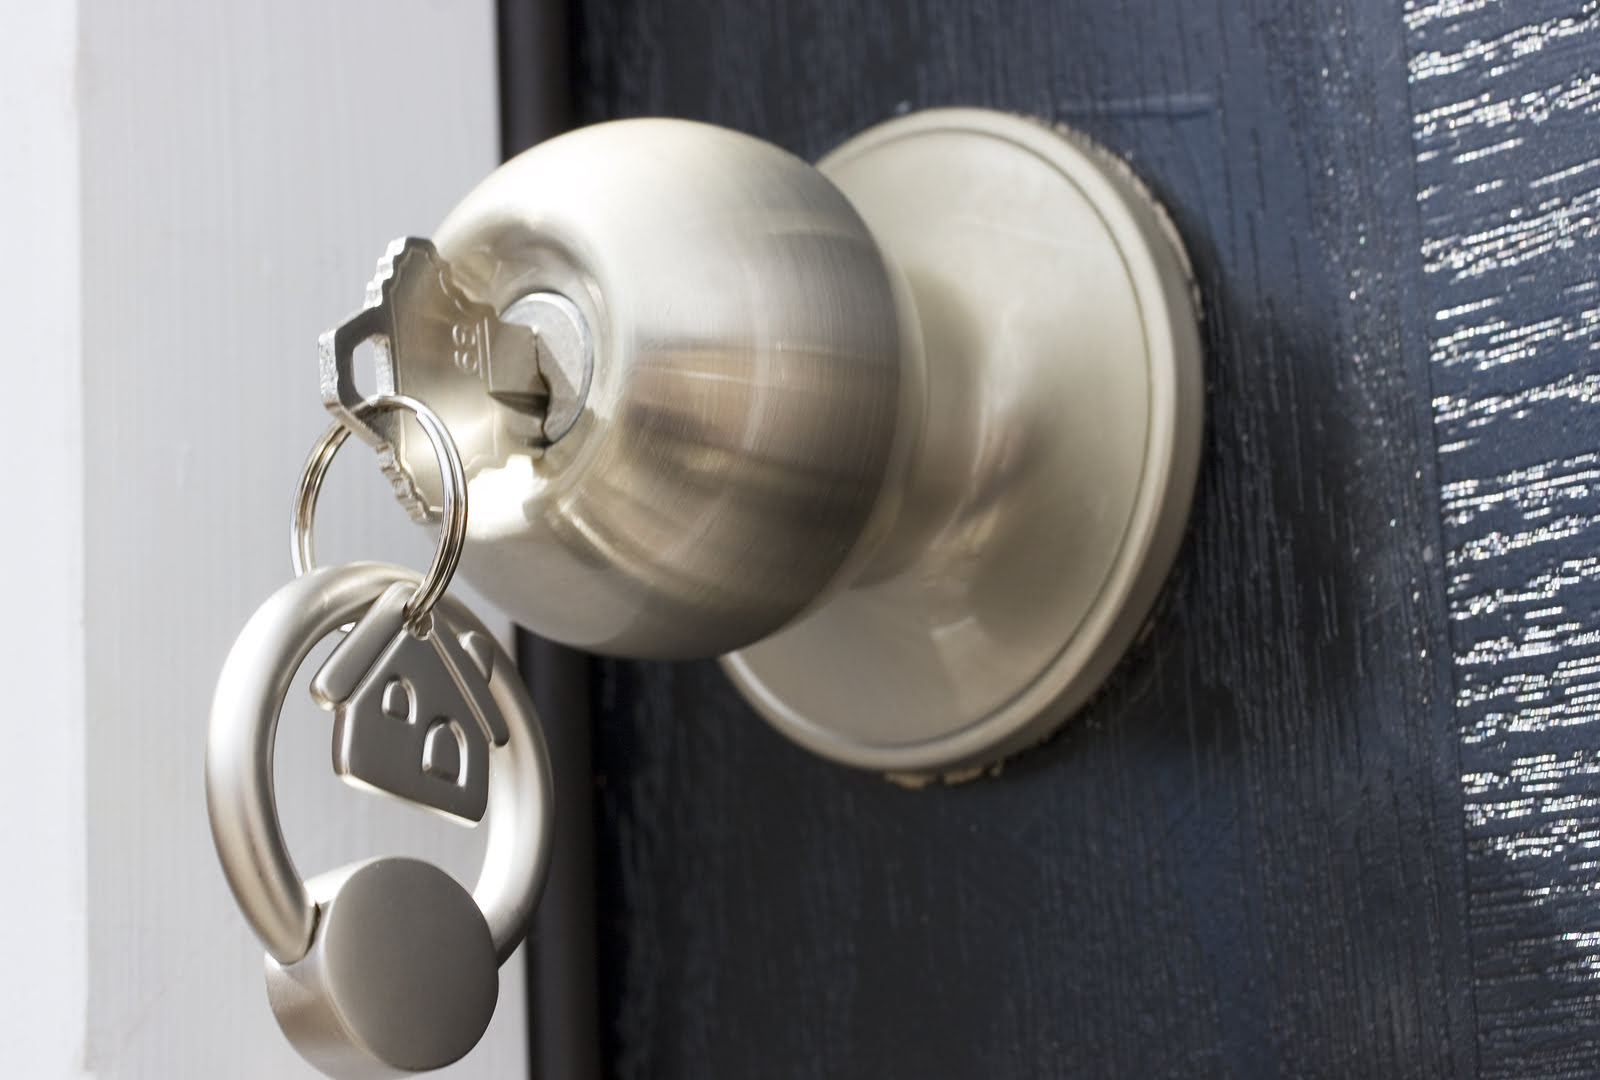
Before proceeding, ensure that you have a clear understanding of the type of door handle you are dealing with. Door handles can vary in design and configuration, including knob-style handles, lever handles, and handle sets with integrated locks. Refer to the manufacturer's documentation or online resources to familiarize yourself with the specific disassembly instructions for your door handle model.
Here are the general steps to disassemble a standard door handle:
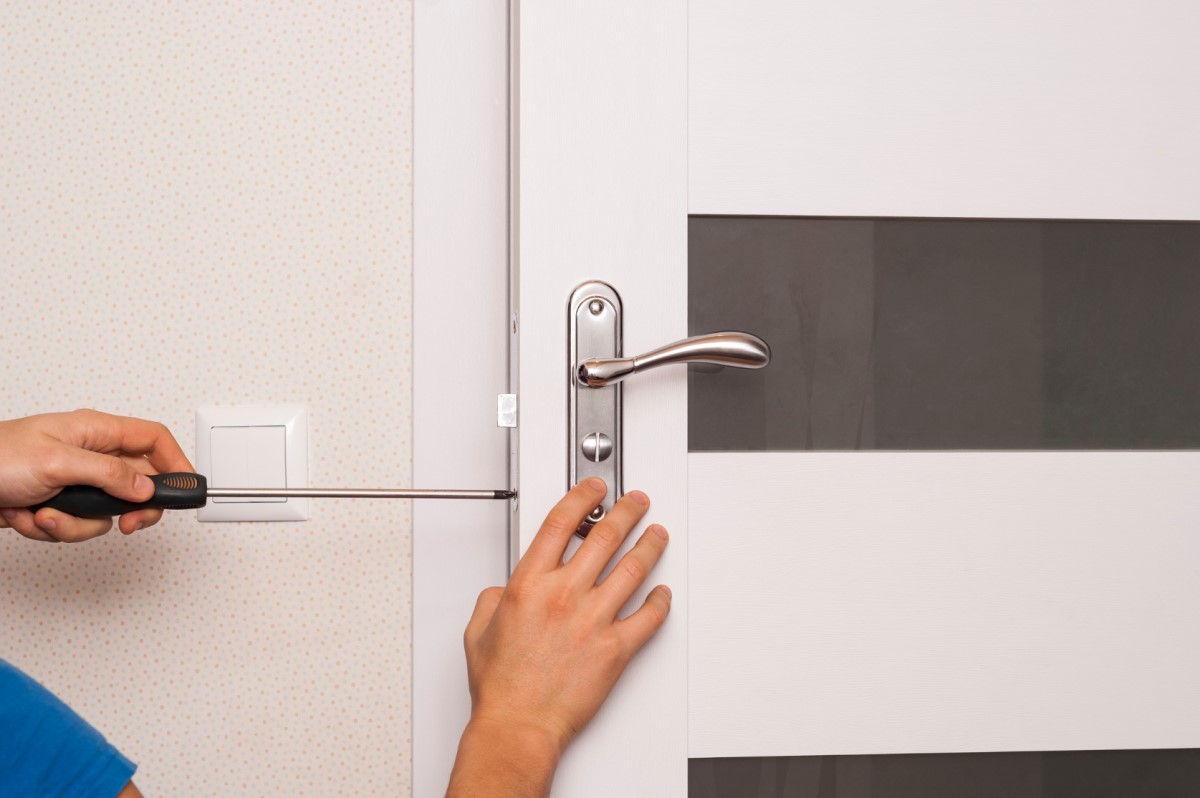
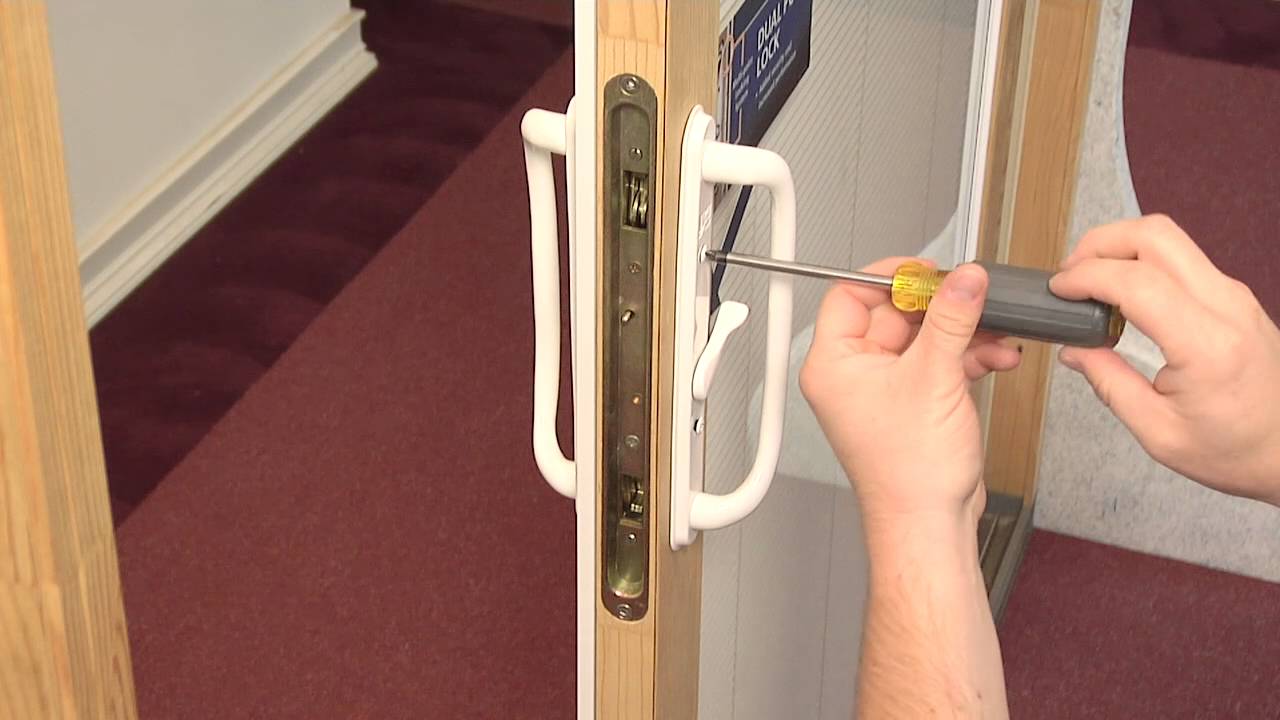
- Remove the Screws: Locate the screws or fasteners securing the faceplate or cover plate of the door handle. These screws are typically located on the interior side of the handle assembly. Use the appropriate screwdriver to carefully remove the screws and set them aside in a safe place.
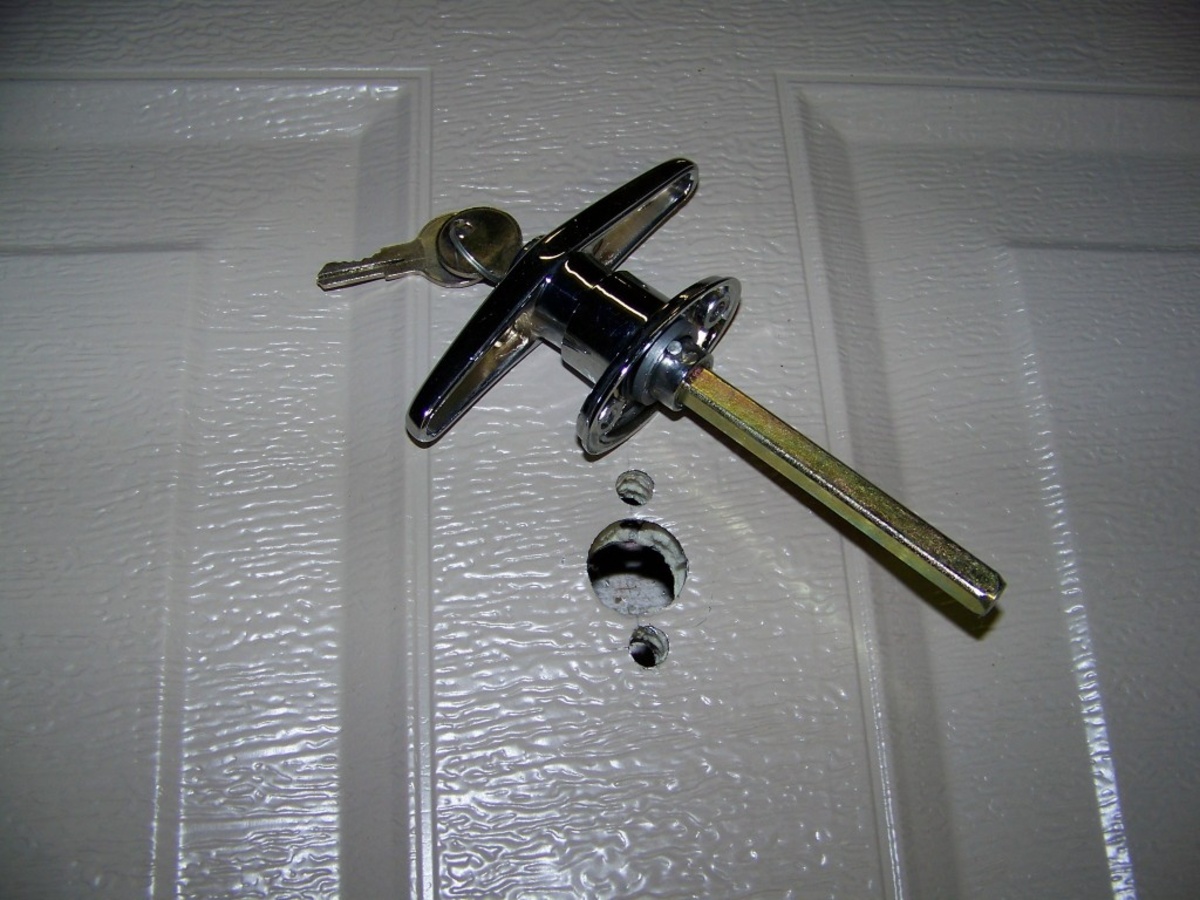
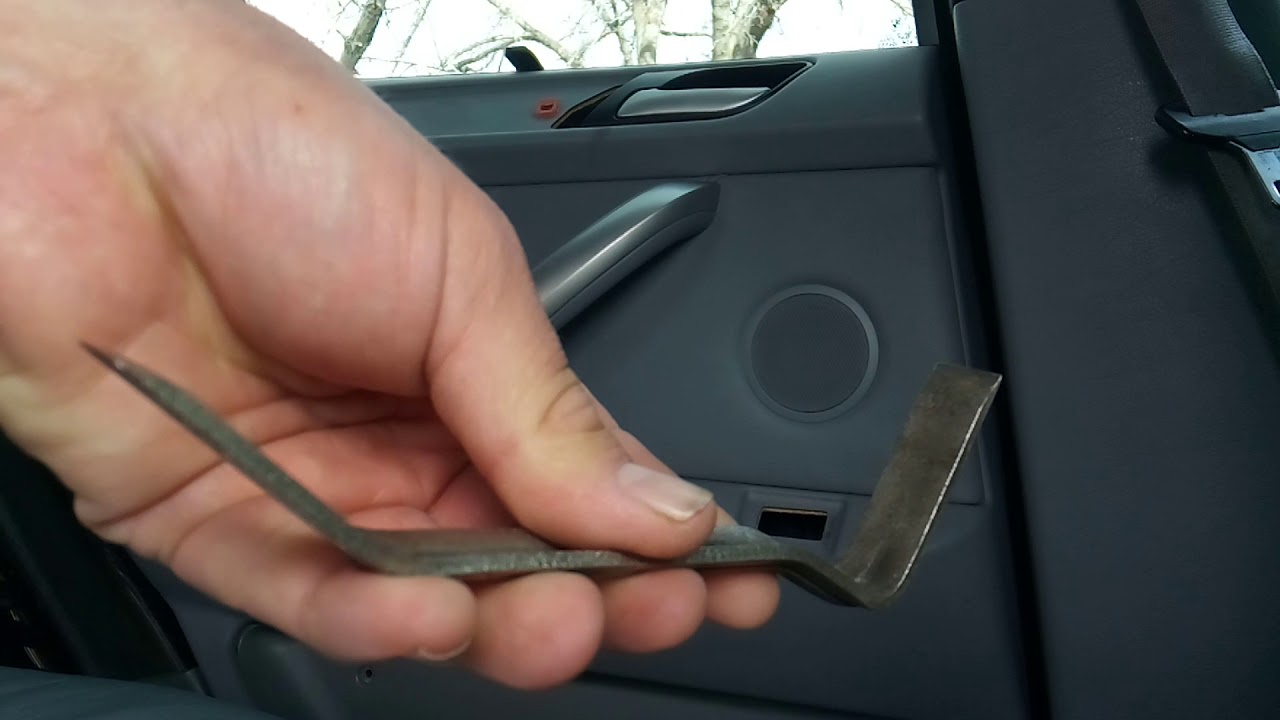
- Separate the Handle Components: Once the screws are removed, gently separate the interior and exterior handle components. In some cases, you may need to use a flathead screwdriver or a thin tool to pry apart the handle pieces without causing damage.
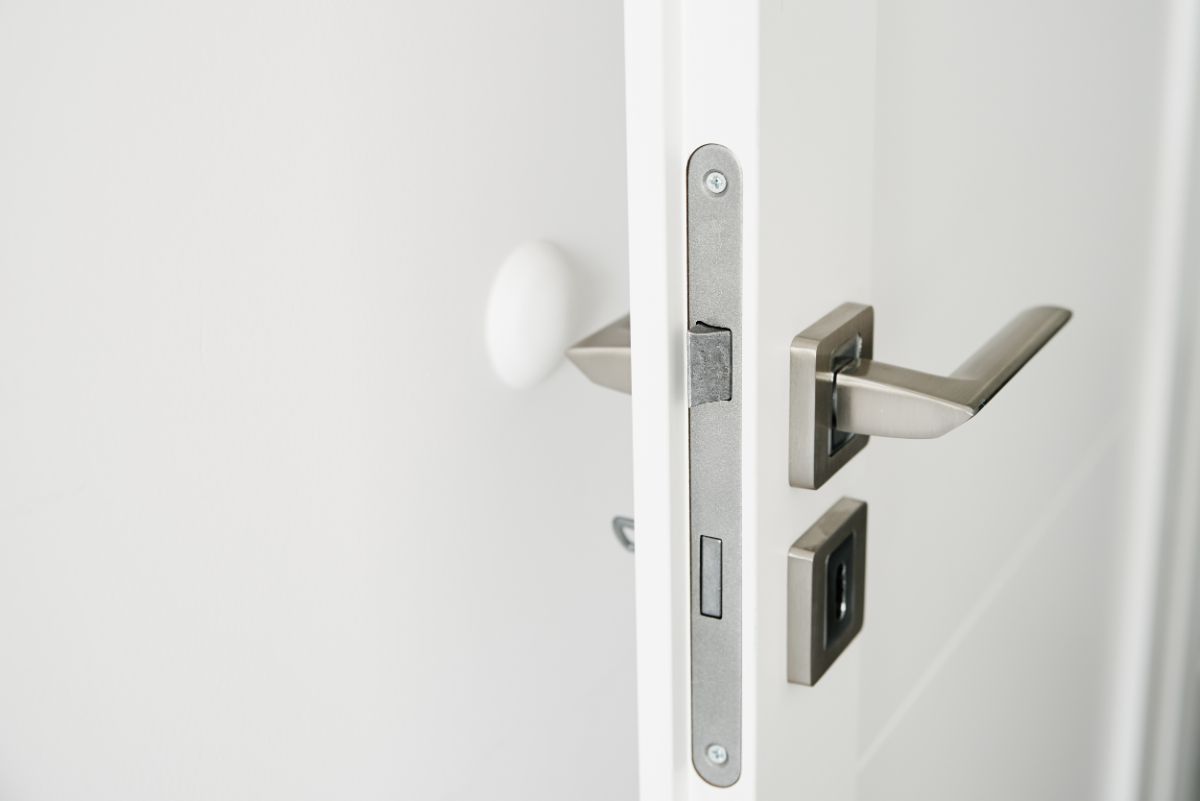
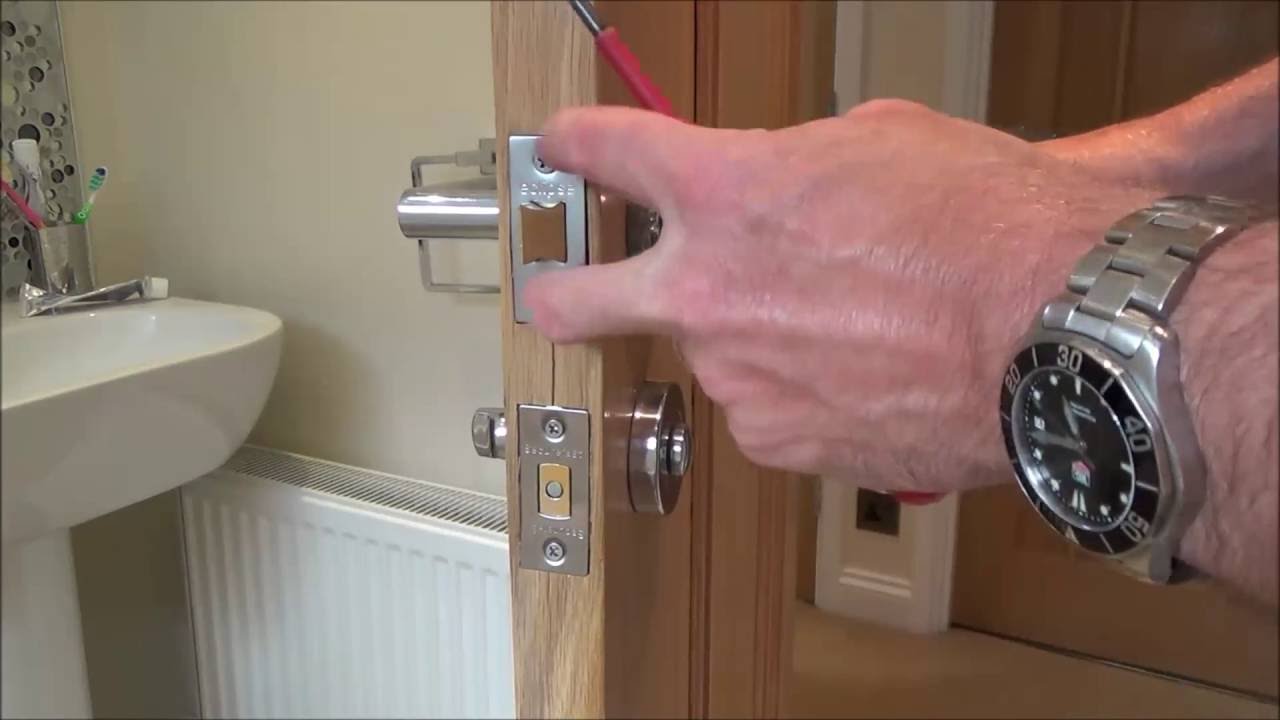
- Extract the Latch Mechanism: With the handle components detached, you can access the latch mechanism housed within the door. Depending on the type of latch, you may need to release it by manipulating the latch plate or unscrewing additional fasteners.
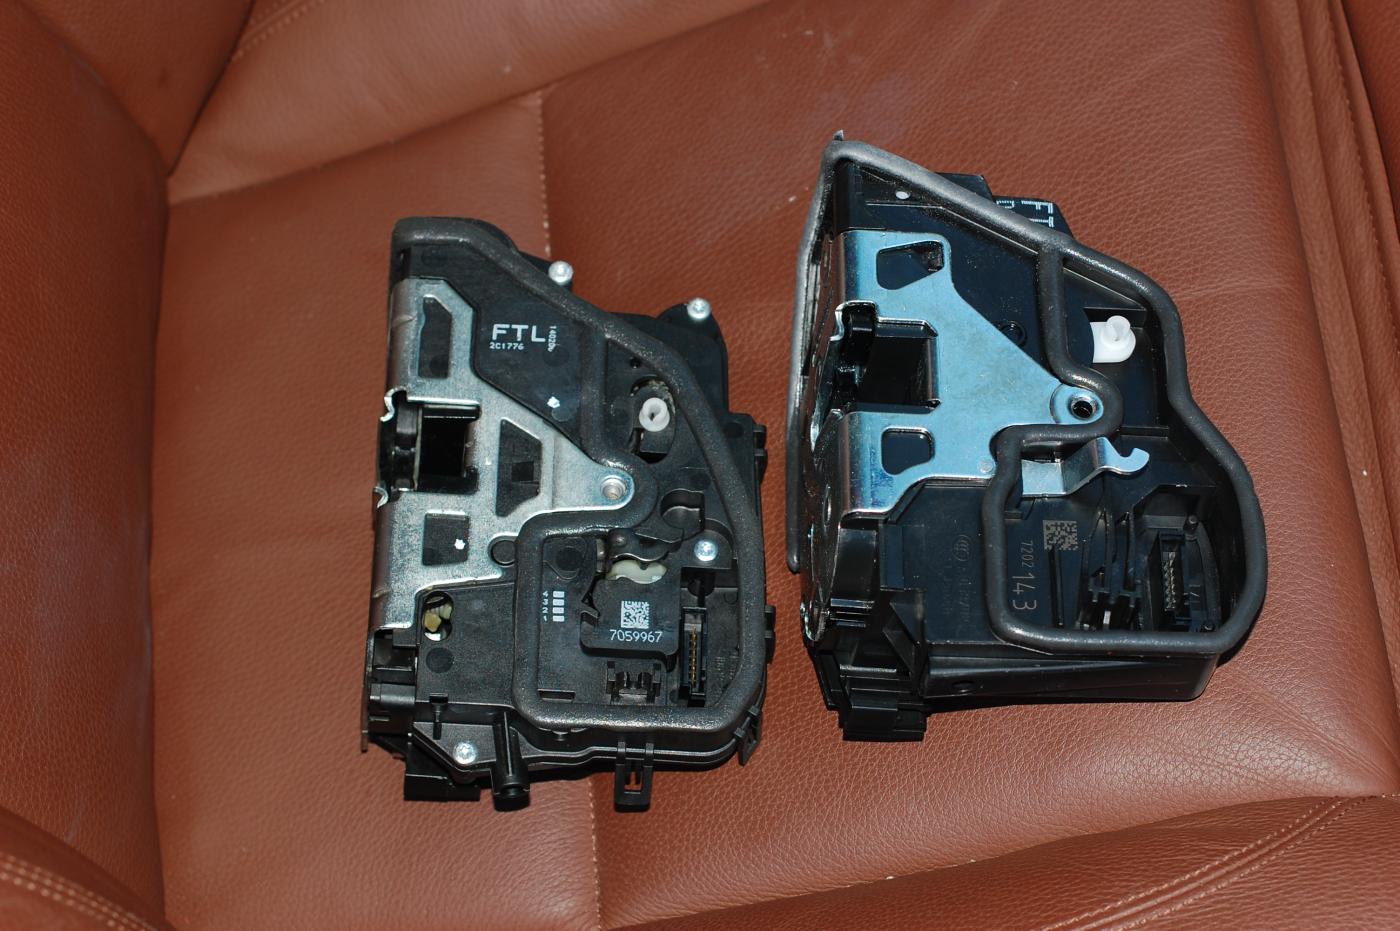
- Inspect the Internal Components: Take this opportunity to visually inspect the internal components of the door handle and lock. Look for signs of wear, damage, or obstruction that may be impeding the proper function of the lock mechanism.
During the disassembly process, handle the components with care to avoid misplacing small parts or causing unintended damage. Keep track of the screws and fasteners, organizing them in a way that facilitates easy reassembly later on.
As you disassemble the door handle, take note of any specific issues or observations that may inform the subsequent repair steps. By carefully disassembling the handle, you'll gain valuable insights into the condition of the lock mechanism and be better equipped to address the underlying problems effectively.
If your door handle lock is not working properly, try lubricating the mechanism with graphite powder or silicone spray. This can help to loosen any stuck parts and improve the overall function of the lock.
Fixing the Lock Mechanism
With the door handle disassembled and the internal components exposed, it’s time to focus on addressing the specific issues affecting the lock mechanism. Whether the lock is sticking, stiff, or outright non-functional, targeted repair techniques can often restore its smooth operation and reliability.
Here are the steps to fix common lock mechanism issues:
- Lubrication: Apply a suitable lubricant to the internal components of the lock mechanism, including the latch, deadbolt, and keyway. Use a precision applicator or a small brush to ensure that the lubricant reaches the critical moving parts. Work the handle and engage the lock several times to distribute the lubricant evenly and facilitate smoother operation.
- Alignment and Tightening: Inspect the strike plate and latch alignment to ensure that the components engage smoothly without friction or resistance. Adjust the position of the strike plate if necessary and tighten any loose screws or fasteners that may be contributing to misalignment.
- Clearing Debris: Use compressed air or a gentle cleaning tool to remove any accumulated debris, dust, or foreign objects from the lock mechanism. Pay particular attention to the keyway and cylinder, ensuring that they are free from obstructions that could impede the insertion and turning of the key.
- Spring and Latch Adjustment: If the lock mechanism relies on springs or a latch mechanism, inspect these components for wear or damage. Adjust or replace the springs and latch as needed to restore proper tension and functionality.
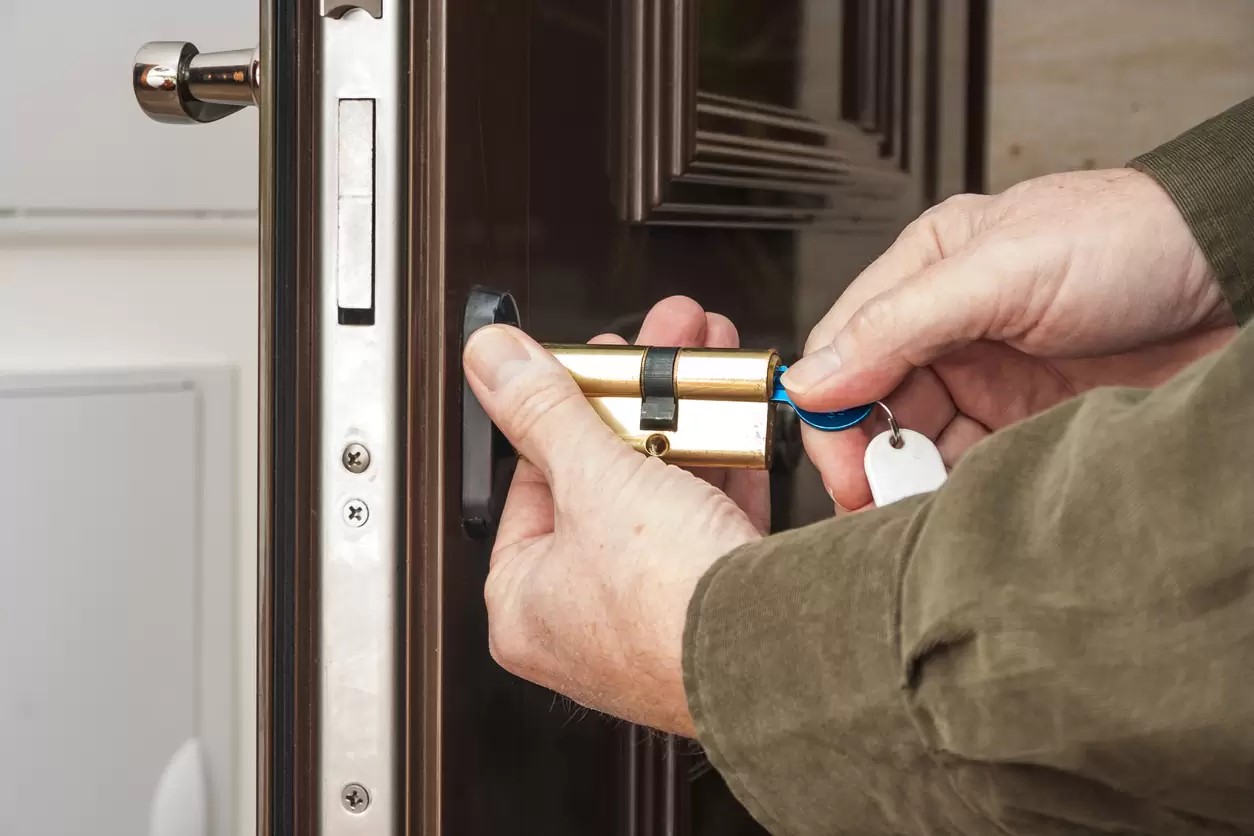
- Keyway Maintenance: If the key is encountering resistance or difficulty turning in the lock, consider cleaning and inspecting the keyway for signs of wear or corrosion. A worn keyway may require professional rekeying or replacement to ensure optimal performance.
As you address each aspect of the lock mechanism, proceed with patience and attention to detail. Test the lock’s functionality at various stages of the repair process to gauge the effectiveness of your efforts. Smooth and reliable operation, free from sticking or resistance, is indicative of a successful repair.
By methodically addressing the specific issues affecting the lock mechanism, you can breathe new life into a malfunctioning door handle lock, restoring security and convenience to your living space.
Read more: How To Lock A Door Handle
Reassembling the Door Handle
After successfully addressing the issues with the lock mechanism, it’s time to reassemble the door handle, bringing together the various components to restore its functionality and aesthetic appeal. Proper reassembly is crucial to ensure that the handle operates smoothly and securely, providing reliable access to your living space.
Follow these steps to reassemble the door handle:
- Aligning the Components: Begin by aligning the interior and exterior handle components, ensuring that they fit together seamlessly. Pay attention to any grooves, notches, or alignment marks that facilitate the correct positioning of the handle pieces.
- Securing the Fasteners: Carefully reinsert and tighten the screws or fasteners that hold the handle components together. Use the appropriate screwdriver to prevent overtightening, which can potentially strip the threads or damage the components.
- Integrating the Latch Mechanism: Reinsert the latch mechanism into the door, ensuring that it aligns with the strike plate and operates smoothly. Test the latch’s functionality by engaging and disengaging the handle to verify its proper operation.
- Verifying Smooth Operation: Before completing the reassembly, test the handle’s operation to ensure that it moves freely and engages the lock without resistance. Address any stiffness, binding, or misalignment that may arise during testing.
Throughout the reassembly process, handle the components with care and attention to detail, ensuring that each piece fits together snugly without force. Take note of any specific issues or observations that may require further adjustment or fine-tuning.
As you complete the reassembly, take a moment to appreciate the restored functionality and visual appeal of the door handle. A properly reassembled handle not only provides secure access to your home but also enhances the overall aesthetic and comfort of your living space.
With the door handle reassembled, you’re one step closer to enjoying the peace of mind and convenience that comes with a fully functional and reliable lock mechanism.
Testing the Fixed Door Handle Lock
With the door handle reassembled, it’s essential to conduct comprehensive testing to verify the effectiveness of the repair and ensure the reliable operation of the lock. Thorough testing will provide confidence in the restored functionality of the door handle lock, allowing you to secure your living space with peace of mind.
Here’s a systematic approach to testing the fixed door handle lock:
- Operational Testing: Engage the handle and lock mechanism multiple times to assess its smooth operation. Verify that the handle moves freely without sticking or binding, and that the lock engages securely with a satisfying click or movement.
- Key Insertion and Turning: Insert the key into the lock cylinder and turn it to engage and disengage the lock. Pay attention to the key’s smooth insertion and turning, ensuring that it operates without resistance or difficulty.
- Interior and Exterior Testing: Test the handle and lock from both the interior and exterior sides of the door. Confirm that the lock engages and disengages consistently from both positions, and that the handle operates smoothly and securely.
- Security and Safety Verification: Assess the security implications of the repaired lock by verifying that it provides reliable protection for your living space. Additionally, ensure that the handle’s operation poses no safety hazards, such as sharp edges or loose components.
During the testing phase, be attentive to any unexpected behavior or issues that may arise. If you encounter any lingering concerns, such as minor stiffness or alignment issues, consider making further adjustments to optimize the lock’s performance.
By conducting thorough testing, you can be confident in the reliability and effectiveness of the repaired door handle lock. A well-functioning lock not only provides security for your home but also contributes to the overall comfort and convenience of your living environment.
With the successful completion of testing, you can rest assured that your door handle lock has been restored to optimal functionality, allowing you to confidently secure your home and enjoy seamless access to your living space.
Conclusion
Congratulations on successfully navigating the process of fixing a door handle lock! By following the comprehensive steps outlined in this guide, you’ve gained valuable insights into diagnosing, repairing, and testing a malfunctioning door handle lock, empowering you to restore security and convenience to your living space.
Throughout this repair journey, you’ve embarked on a hands-on exploration of the intricate components that make up a door handle lock. From assessing the problem and gathering the necessary tools to disassembling the door handle, fixing the lock mechanism, reassembling the components, and conducting thorough testing, you’ve demonstrated patience, precision, and resourcefulness in addressing this common household issue.
By taking the time to understand the nuances of your door handle lock and implementing targeted repair techniques, you’ve not only resolved a practical challenge but also honed your problem-solving skills and DIY capabilities. The knowledge and confidence you’ve gained will serve you well in maintaining and repairing other aspects of your living space, contributing to a sense of empowerment and self-sufficiency.
As you reflect on the journey from identifying the initial symptoms of a malfunctioning lock to the satisfaction of verifying its restored functionality, take pride in your ability to overcome challenges and preserve the safety and comfort of your home. The diligence and attention to detail you’ve exhibited in this repair endeavor are a testament to your commitment to maintaining a secure and functional living environment for yourself and your loved ones.
Remember, the skills and insights you’ve acquired in fixing a door handle lock extend beyond this specific repair task. They embody a spirit of resourcefulness, adaptability, and resilience that can be applied to various aspects of your life, enriching your experiences and fostering a sense of accomplishment.
As you continue to engage with home maintenance and repair projects, may the knowledge and confidence gained from this experience serve as a foundation for future endeavors, empowering you to tackle challenges with ingenuity and determination.
Thank you for embarking on this repair journey with me. Here’s to a secure, functional, and welcoming living space that reflects your dedication to maintaining a place you’re proud to call home.
Frequently Asked Questions about How To Fix A Door Handle Lock
Was this page helpful?
At Storables.com, we guarantee accurate and reliable information. Our content, validated by Expert Board Contributors, is crafted following stringent Editorial Policies. We're committed to providing you with well-researched, expert-backed insights for all your informational needs.
0 thoughts on “How To Fix A Door Handle Lock”