Home>Technology>Security & Surveillance>How To Fix A Sticky Lock On A Door
Security & Surveillance
How To Fix A Sticky Lock On A Door
Modified: January 5, 2024
Learn how to fix a sticky lock on a door for improved security and surveillance. Follow these simple steps to ensure your locks are working properly.
(Many of the links in this article redirect to a specific reviewed product. Your purchase of these products through affiliate links helps to generate commission for Storables.com, at no extra cost. Learn more)
Introduction
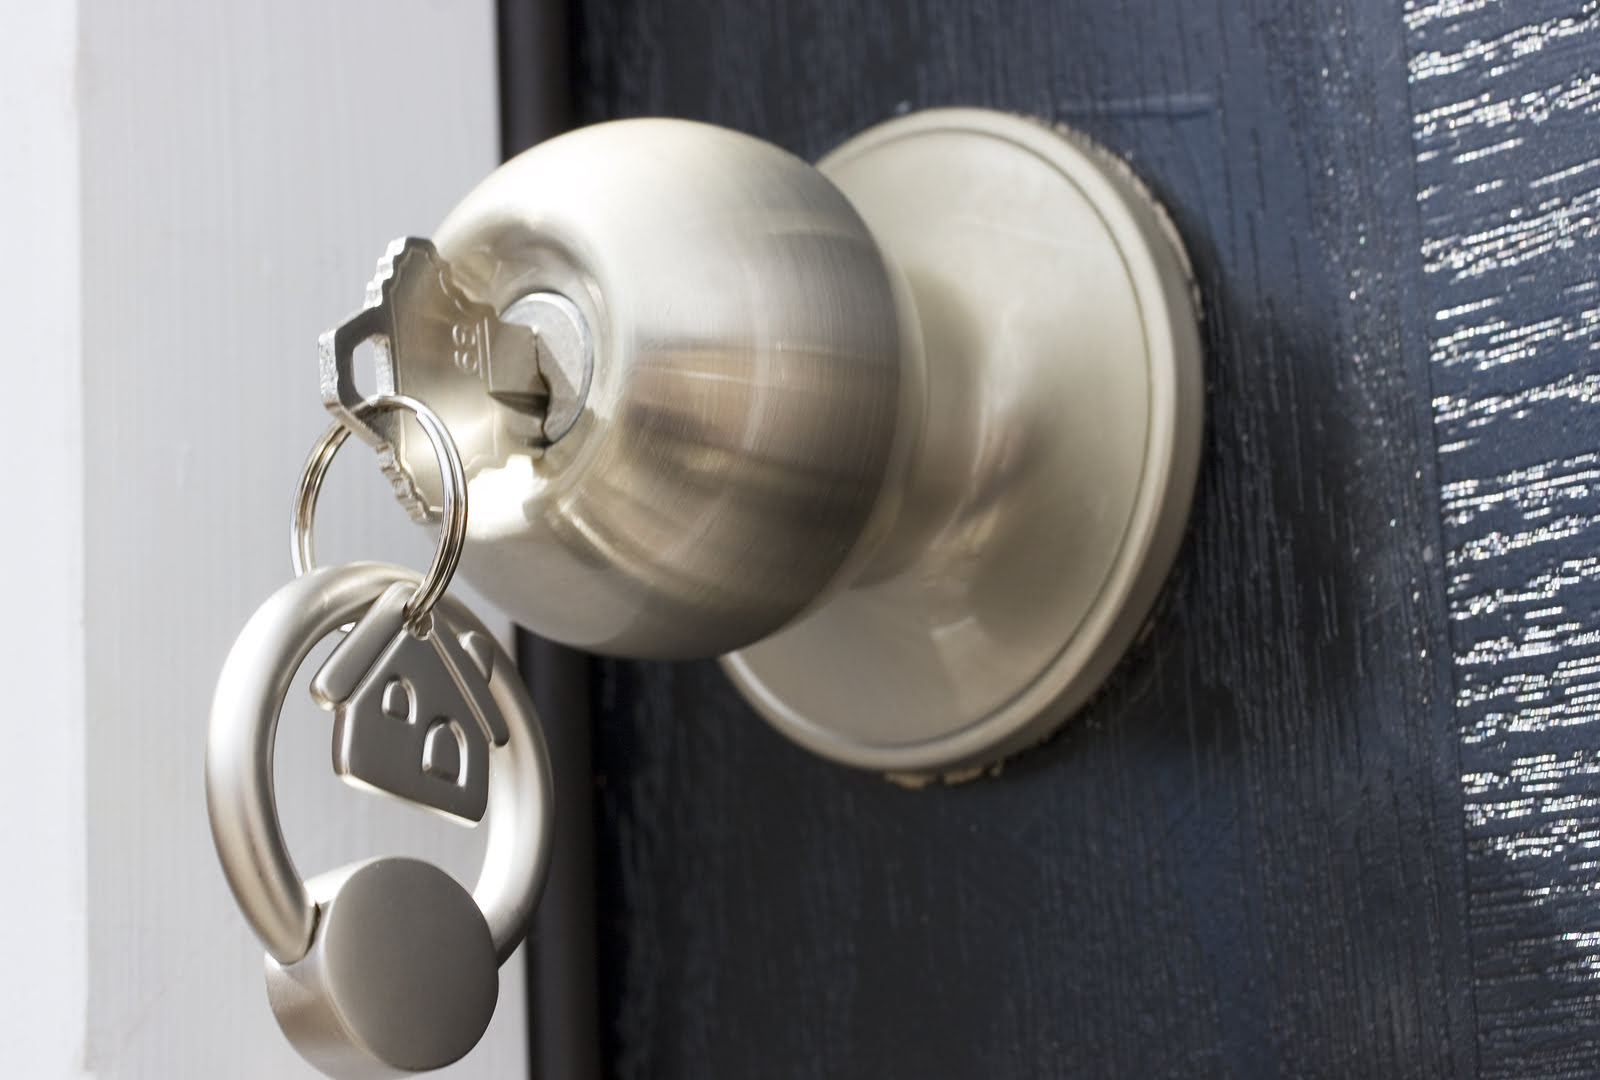
Are you tired of struggling with a sticky lock every time you try to open or close a door? Dealing with a sticky lock can be frustrating and inconvenient, but the good news is that you can often resolve this issue without having to replace the entire lock mechanism. In this guide, we'll walk you through the steps to fix a sticky lock on a door, helping you restore smooth and effortless operation to your lock. Whether it's a key-operated lock or a modern smart lock, these techniques can work wonders in restoring its functionality.
A sticky lock can be caused by various factors, including dirt, debris, rust, or lack of lubrication within the lock mechanism. By understanding the root cause of the problem and following the steps outlined in this guide, you can effectively address the issue and regain the peace of mind that comes with a reliable and functional lock. So, roll up your sleeves and let's dive into the process of troubleshooting and fixing that pesky sticky lock. With a few simple tools and some basic know-how, you can have your lock operating smoothly once again in no time.
Key Takeaways:
- Don’t let a sticky lock ruin your day! With simple tools and know-how, you can clean and lubricate your lock to restore smooth, hassle-free operation.
- Regular maintenance and the right lubricant can prevent sticky locks, keeping your home secure and your doors easy to open and close.
Read more: How To Fix The Door Lock
Understanding the Problem
Before diving into the process of fixing a sticky lock, it's important to understand the common causes behind this issue. A sticky lock can be attributed to a variety of factors, and identifying the root cause is crucial in determining the most effective solution. Here are some common reasons why a lock may become sticky:
- Dirt and Debris: Over time, dirt, dust, and other debris can accumulate within the lock mechanism, hindering its smooth operation. This buildup can impede the movement of the internal components, leading to a sticky or resistant lock.
- Rust and Corrosion: Exposure to moisture and humidity can cause metal components within the lock to rust or corrode. This can result in rough, uneven surfaces within the mechanism, causing the lock to become sticky and difficult to operate.
- Lack of Lubrication: Proper lubrication is essential for the smooth functioning of a lock. Without adequate lubrication, the internal components can experience increased friction, leading to a sticky or stiff lock.
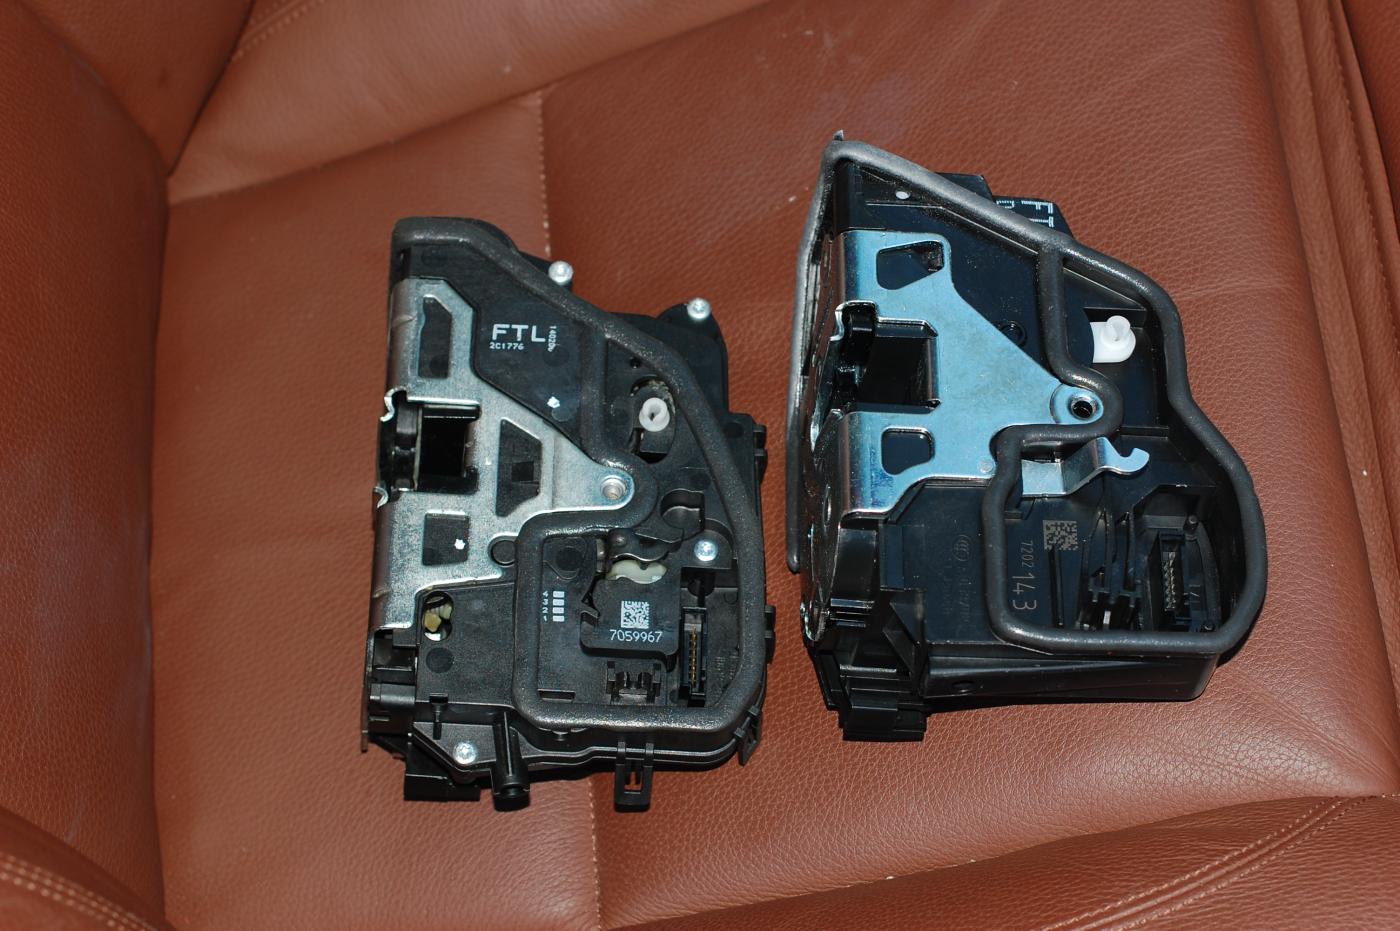
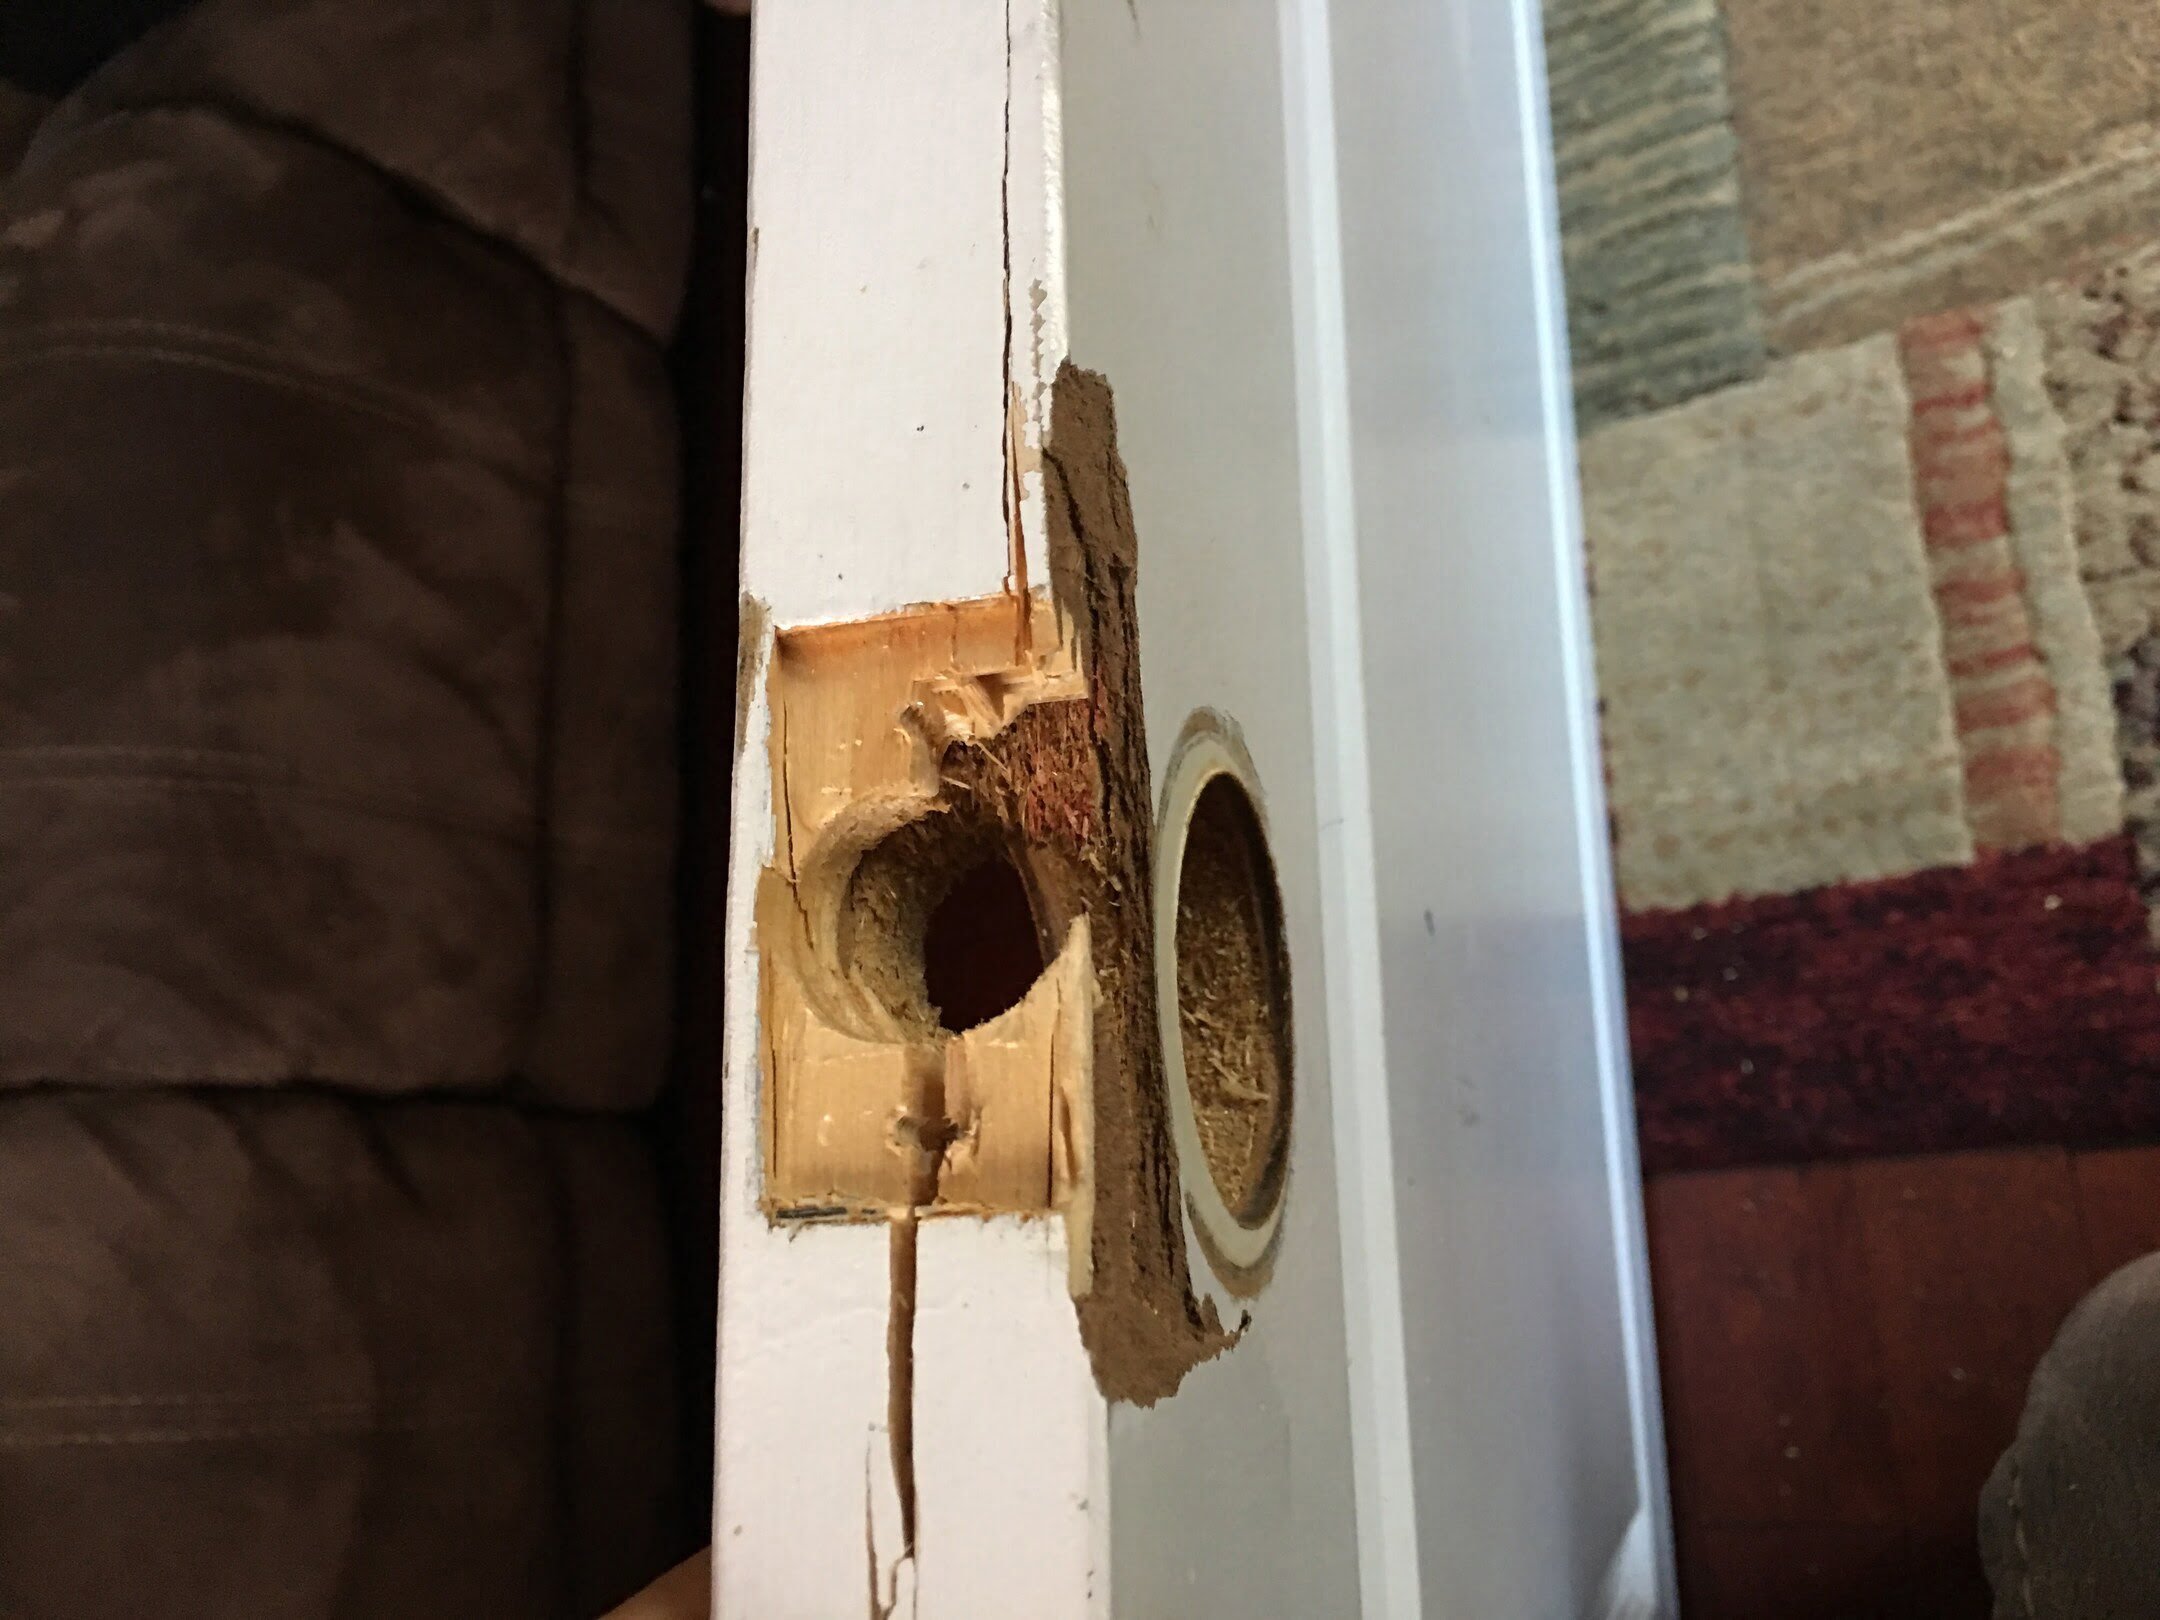
- Worn or Misaligned Components: Over time, the internal components of a lock may wear down or become misaligned, affecting the overall operation of the mechanism. This can manifest as a sticky or unreliable lock.
By pinpointing the specific cause of the sticky lock, you can tailor your approach to effectively address the underlying issue. In the following sections, we'll explore the steps to clean and lubricate the lock, as well as test its functionality to ensure that the problem has been successfully resolved. Armed with a clear understanding of the problem, you can confidently proceed with the necessary steps to restore your lock to optimal working condition.
Tools and Materials Needed
Before embarking on the journey to fix a sticky lock, it’s essential to gather the necessary tools and materials to facilitate the process. Here’s a list of items you’ll need to address the issue effectively:
- Lock Lubricant: A dedicated lock lubricant, such as a graphite or silicone-based spray, is crucial for reducing friction and ensuring smooth operation. Avoid using oil-based lubricants, as they can attract dust and debris, ultimately exacerbating the problem.
- Clean Cloth or Q-Tips: To remove dirt, debris, and old lubricant from the lock mechanism, a clean cloth or Q-tips are invaluable for thorough cleaning and preparation.
- Small Brush: A small, soft-bristled brush can aid in dislodging stubborn debris and reaching inaccessible areas within the lock.
- Screwdriver: Depending on the type of lock, a screwdriver may be needed to disassemble certain components for thorough cleaning and lubrication.
- Disposable Gloves: To protect your hands from dirt, grime, and lubricant, disposable gloves are recommended for a cleaner and more comfortable experience.
- Paper Towels: Absorbent paper towels come in handy for wiping away excess lubricant and ensuring a tidy workspace.
By ensuring that you have these essential tools and materials at your disposal, you’ll be well-prepared to tackle the task of fixing a sticky lock with confidence and efficiency. With these items in hand, you can proceed to the subsequent steps and take proactive measures to restore your lock’s functionality.
Step 1: Clean the Lock
Before applying lubrication to the lock, it’s crucial to start with a clean slate. Over time, dirt, dust, and old lubricant can accumulate within the lock mechanism, impeding its smooth operation. By thoroughly cleaning the lock, you can remove these obstructions and prepare the mechanism for effective lubrication. Here’s a step-by-step guide to cleaning the lock:
- Prepare the Workspace: Begin by laying down a protective covering, such as a cloth or paper towels, to catch any debris or excess lubricant that may emerge during the cleaning process. This will help maintain a tidy workspace and prevent any mess.
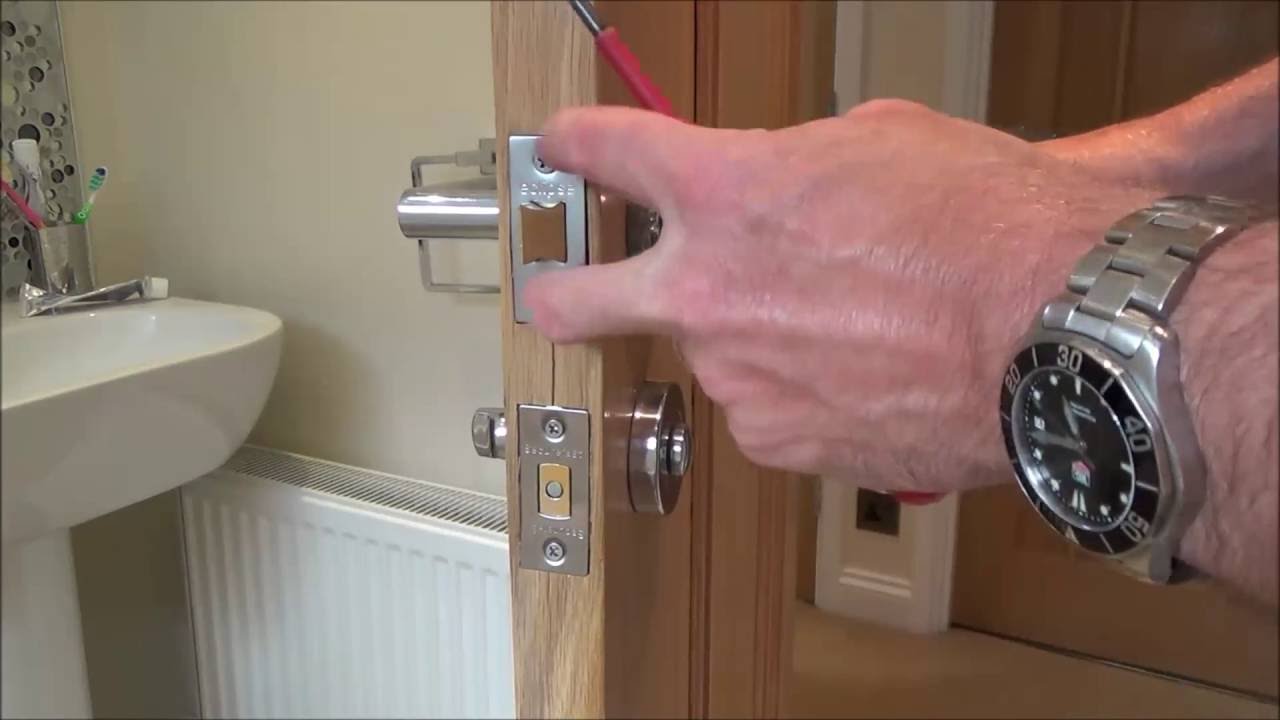
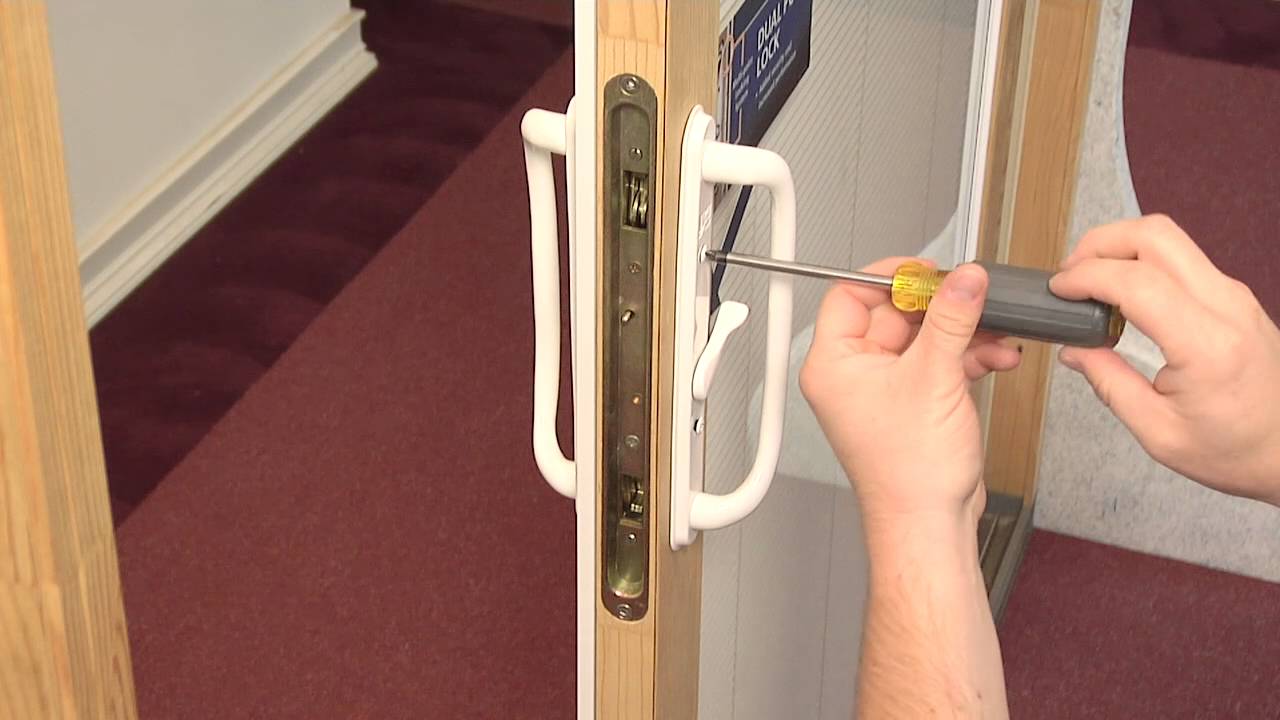
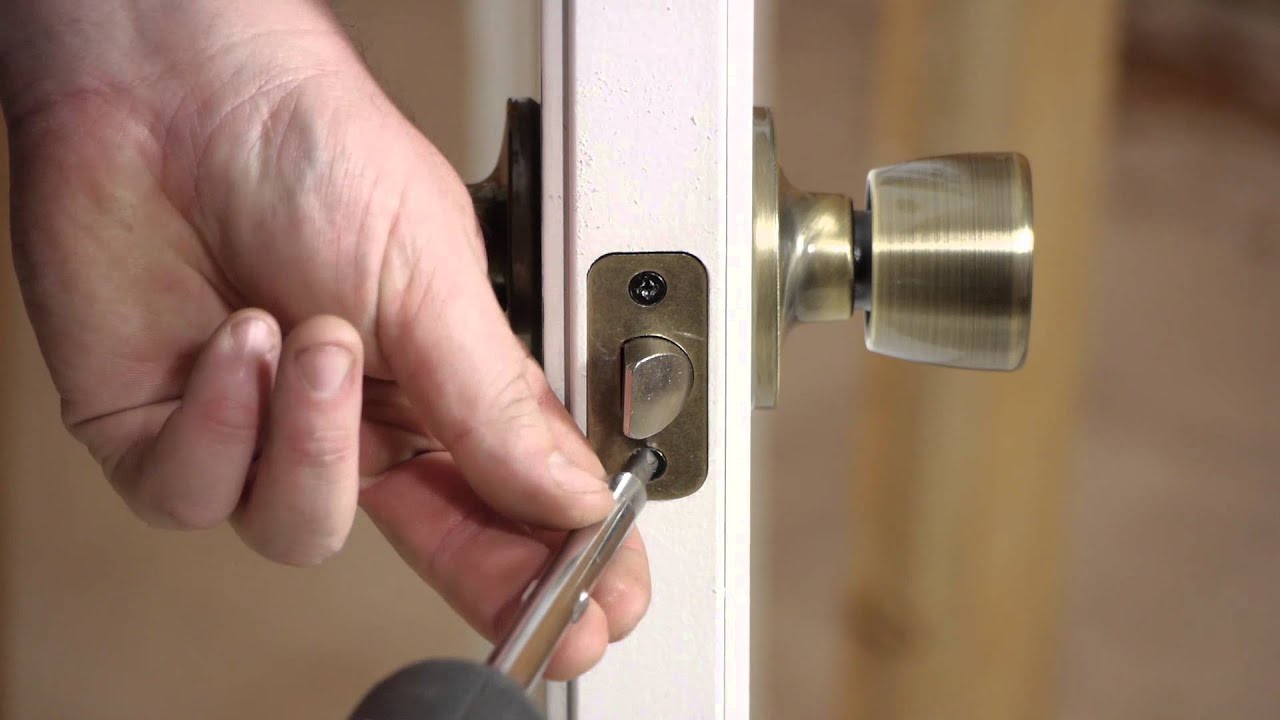
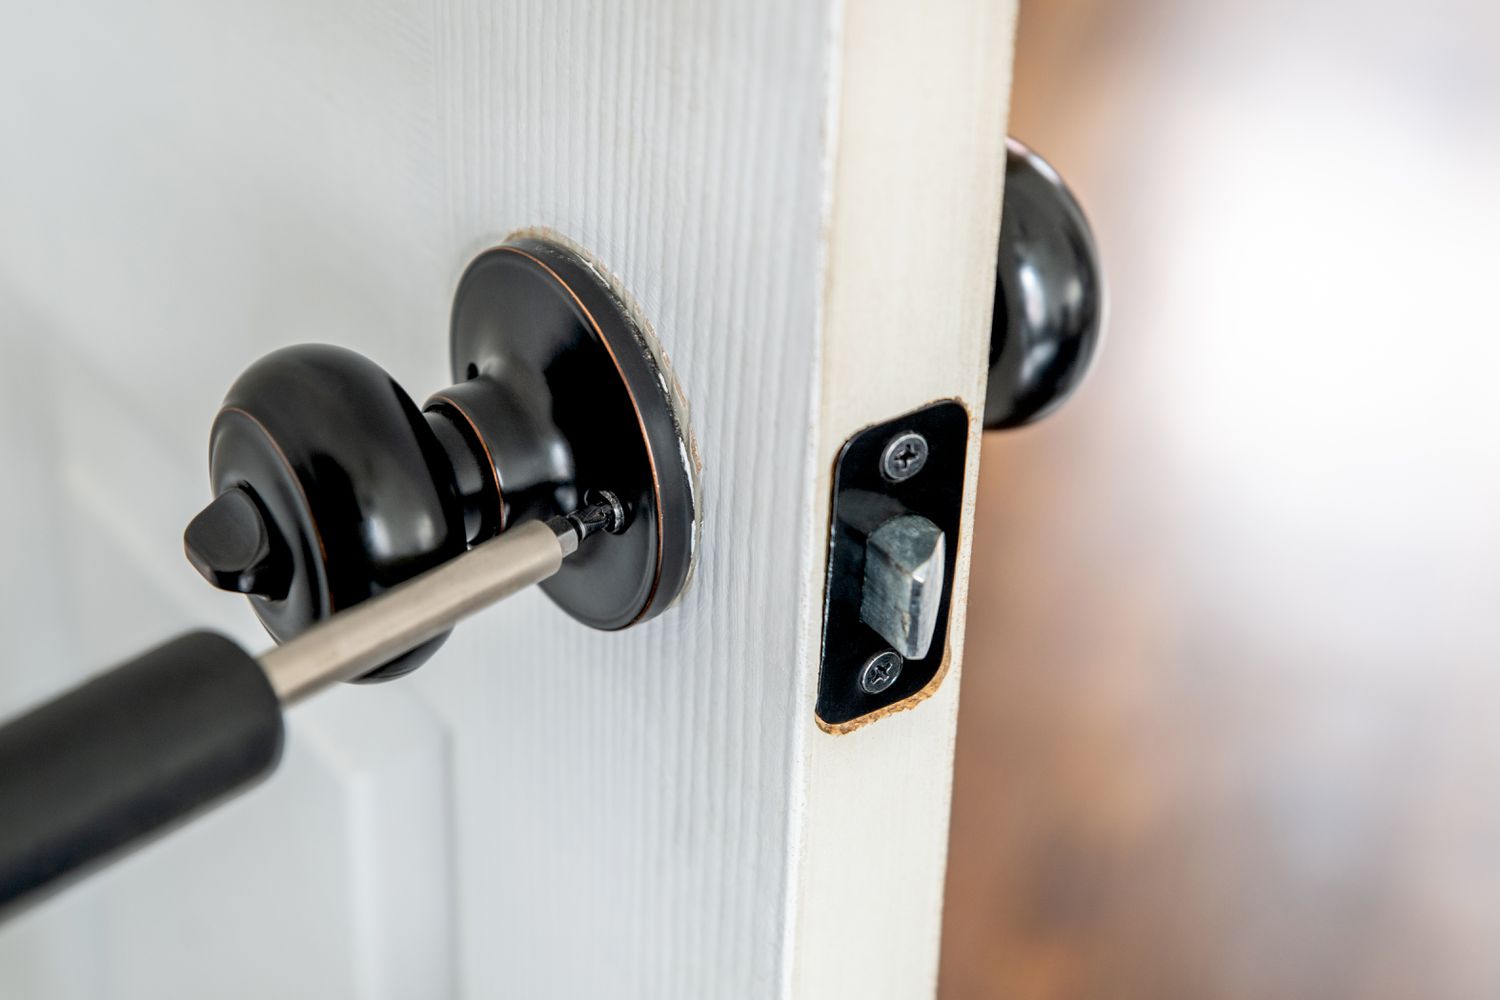
- Remove the Lock Cover or Faceplate: Depending on the type of lock, you may need to unscrew and remove the cover or faceplate to access the internal components. Use a screwdriver to carefully detach these outer parts, taking note of the arrangement for reassembly.
- Inspect the Internal Components: With the lock exposed, visually inspect the internal components for any visible dirt, debris, or signs of corrosion. Use a small flashlight to illuminate the interior if needed, ensuring thorough visibility.
- Clean the Components: Using a clean cloth or Q-tips, gently wipe away any accumulated dirt, debris, or old lubricant from the internal surfaces of the lock. For stubborn residue, a small brush can be used to dislodge and remove the obstructions effectively.
- Ensure Smooth Movement: While cleaning, manually operate the lock’s mechanism to verify smooth and unhindered movement. This will help dislodge any remaining debris and allow you to assess the current state of the lock.
- Reassemble the Lock: Once the cleaning process is complete, reassemble the lock by attaching the cover or faceplate securely. Ensure that all screws are tightened appropriately to maintain the integrity of the lock’s housing.
By diligently cleaning the lock and removing any impediments within the mechanism, you set the stage for successful lubrication and improved functionality. With the lock now primed for the next steps, you’re ready to proceed to the crucial task of lubricating the mechanism to eliminate stickiness and restore smooth operation.
Try using a lubricant like graphite powder or silicone spray to lubricate the lock mechanism. Insert the key and turn it several times to help distribute the lubricant and free up the sticky parts.
Step 2: Lubricate the Lock
Once the lock has been thoroughly cleaned and any accumulated debris or old lubricant has been removed, the next vital step in resolving a sticky lock is to apply a suitable lock lubricant. Proper lubrication is essential for reducing friction, preventing corrosion, and ensuring the smooth and reliable operation of the lock mechanism. Here’s a detailed guide to effectively lubricating the lock:
- Select the Right Lubricant: Choose a high-quality lock lubricant, such as a graphite or silicone-based spray, specifically designed for use in locks. Avoid using oil-based lubricants, as they can attract dust and debris, potentially exacerbating the stickiness over time.
- Apply the Lubricant: With the lock mechanism exposed, carefully apply the lubricant to the keyway and any accessible internal components. Use short bursts or precise applications to avoid over-saturating the lock, which can lead to drips and excess lubricant buildup.
- Operate the Lock: After applying the lubricant, insert and remove the key several times to distribute the lubricant evenly throughout the mechanism. This action helps ensure that the lubricant reaches all critical areas within the lock, promoting smooth movement and reduced friction.
- Wipe Away Excess Lubricant: Using a clean cloth or paper towels, carefully wipe away any excess lubricant that may have accumulated on the exterior of the lock. This helps prevent drips, maintains a clean appearance, and minimizes the risk of attracting dirt and debris.
- Test the Lock’s Operation: With the lubrication applied, test the lock’s operation to assess the improvement in smoothness and ease of use. Turn the key or handle to engage the lock, noting any changes in resistance and overall functionality.
By diligently lubricating the lock with the appropriate lubricant and ensuring even distribution throughout the mechanism, you can significantly mitigate the stickiness and restore the lock’s operational efficiency. With the lock now freshly lubricated and operating more smoothly, you’re well on your way to resolving the issue and enjoying the seamless functionality of your lock once again.
Read more: How To Fix A Stuck Lock On A Door
Step 3: Test the Lock
After cleaning and lubricating the lock, it’s essential to conduct a thorough evaluation of its operation to ensure that the stickiness has been effectively addressed. Testing the lock allows you to gauge the impact of the cleaning and lubrication processes, providing valuable insights into its current functionality. Here’s a comprehensive guide to testing the lock and verifying its improved performance:
- Key Insertion and Rotation: Insert the key into the lock and turn it as you would under normal operation. Pay close attention to the smoothness of the key’s movement and the absence of resistance or sticking during rotation.
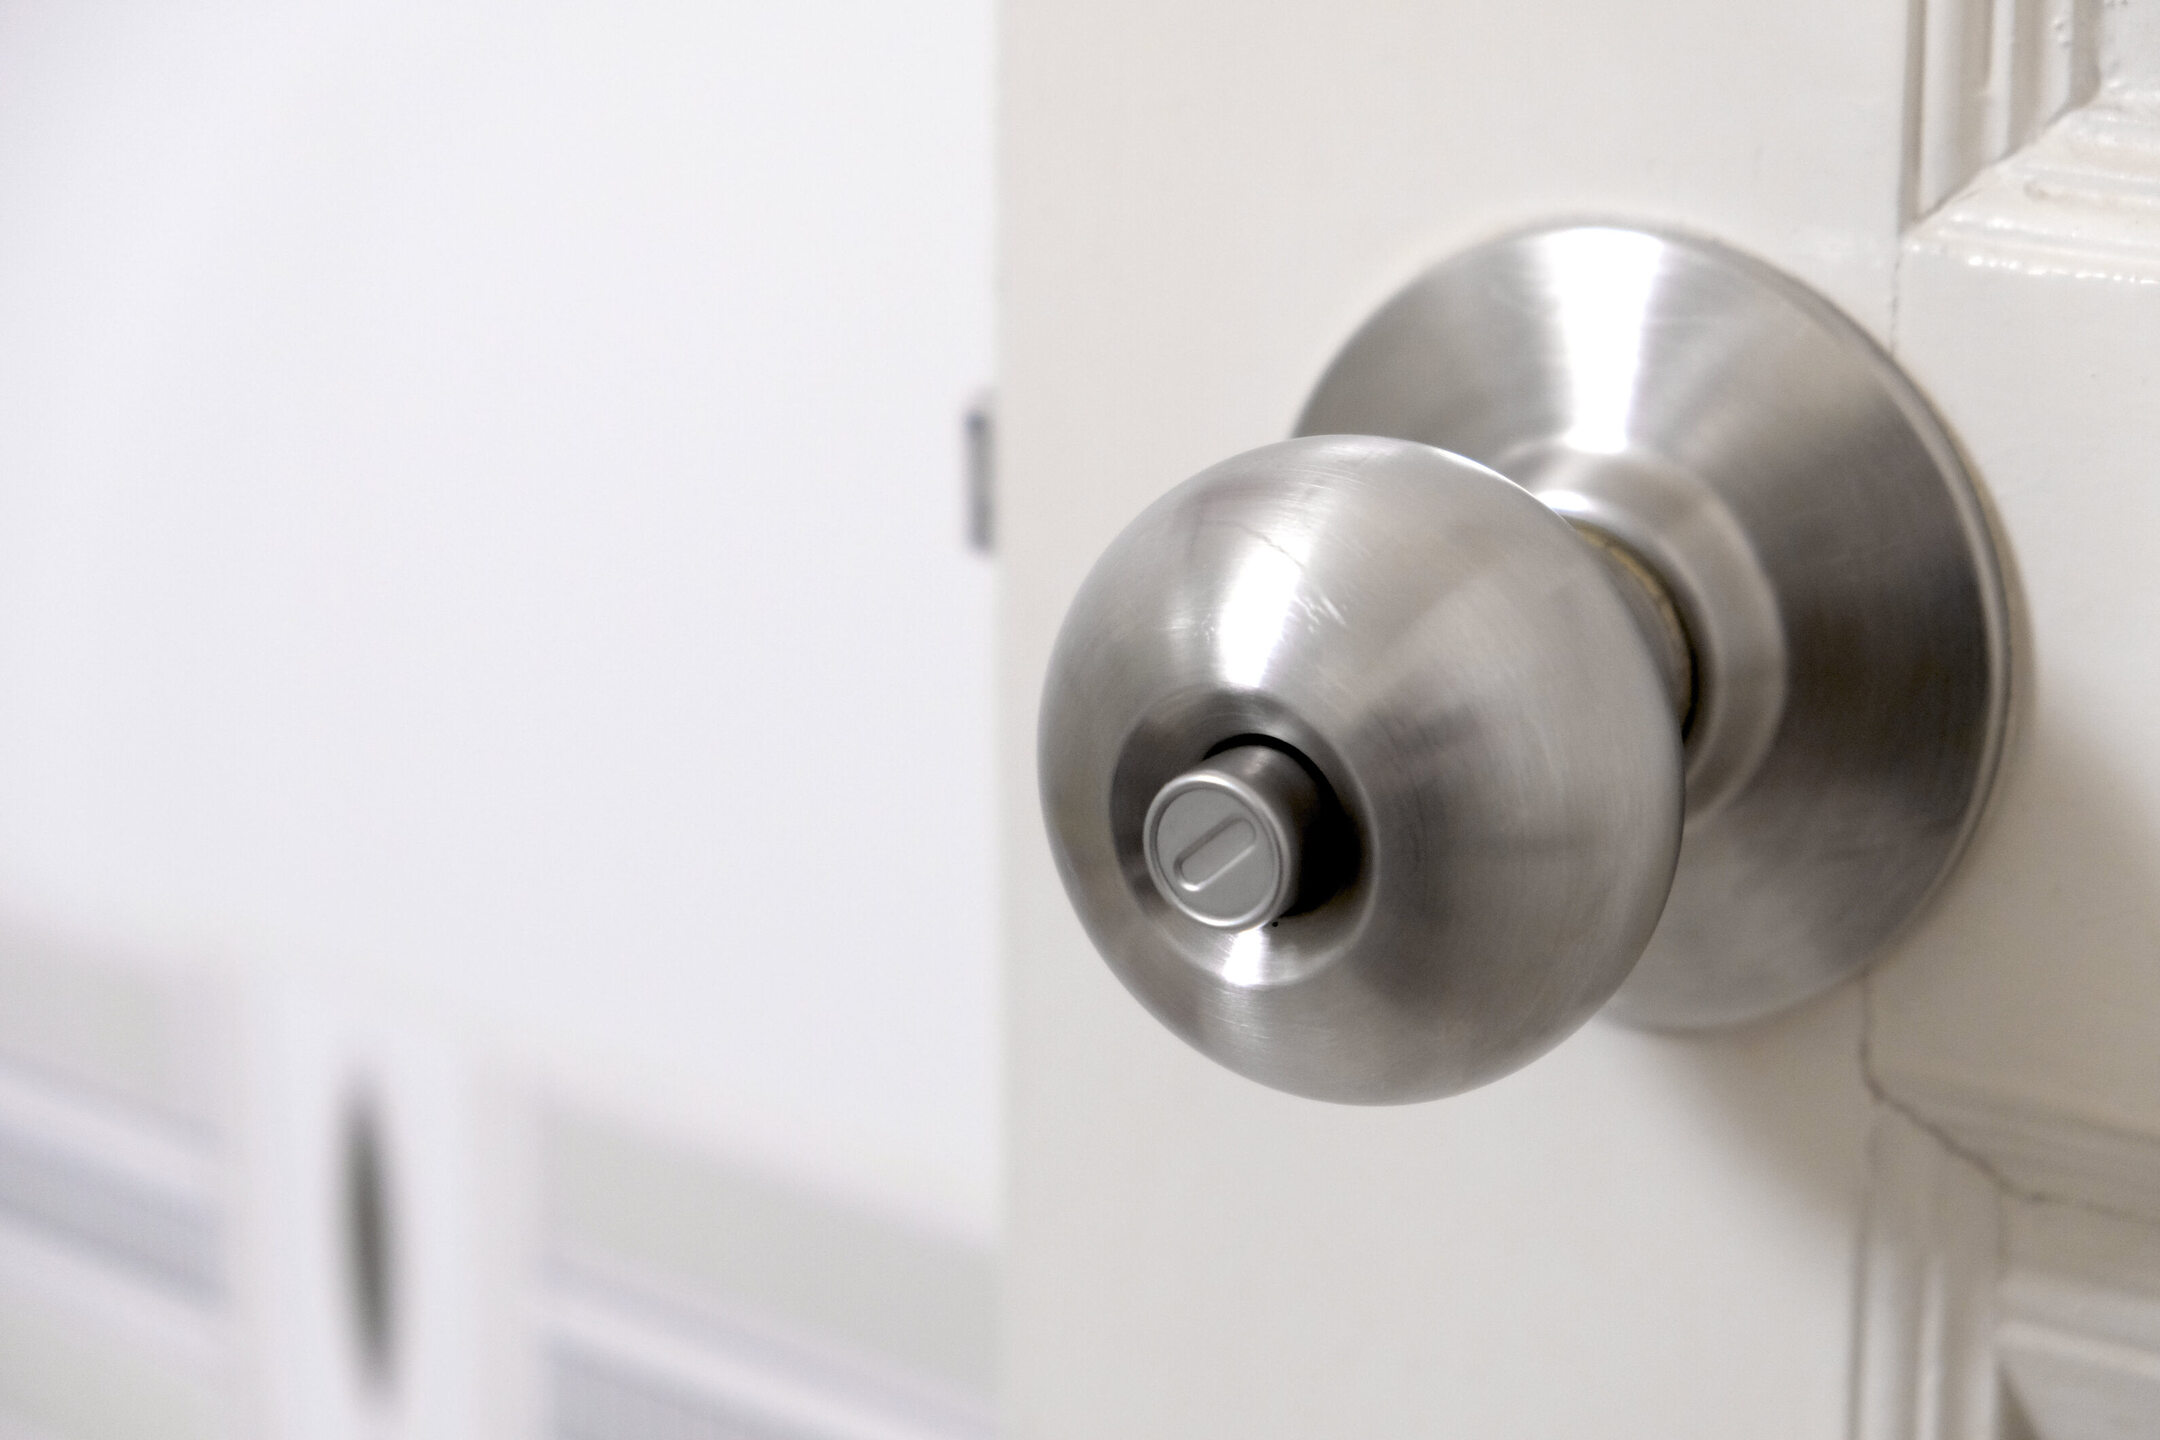
- Handle or Knob Operation: If the lock features a handle or knob, test its operation by engaging and disengaging the lock multiple times. Note any improvements in the ease of turning the handle and the absence of sticking or jamming.
- Internal Mechanism Assessment: While operating the lock, listen for any unusual sounds or sensations that may indicate lingering issues. The absence of grinding, scraping, or rough movements signifies improved functionality.
- Consistency and Reliability: Test the lock repeatedly to ensure consistent and reliable performance. Verify that the stickiness has been adequately addressed and that the lock operates smoothly and predictably with each use.
By systematically testing the lock through key insertion, handle operation, and internal mechanism assessment, you can confidently ascertain the effectiveness of the cleaning and lubrication processes. A successfully restored lock will exhibit consistent, smooth operation without the previous stickiness or resistance, providing peace of mind and convenience in everyday use.
If, after testing the lock, you find that the stickiness persists or that the lock’s performance remains unsatisfactory, it may be indicative of underlying issues that require further attention. In such cases, consulting a professional locksmith or security expert can provide valuable insights and solutions to address more complex lock problems.
With the lock now tested and its improved functionality verified, you can proceed with confidence, knowing that the steps taken have effectively resolved the issue of a sticky lock, restoring smooth and reliable operation to your door’s locking mechanism.
Additional Tips and Considerations
While the steps outlined above provide a comprehensive guide to fixing a sticky lock on a door, there are additional tips and considerations that can further enhance the effectiveness of the process and contribute to long-term maintenance. By incorporating these insights, you can optimize the performance of your lock and minimize the likelihood of encountering similar issues in the future. Here are some valuable tips and considerations to keep in mind:
- Regular Maintenance: Implement a routine maintenance schedule for your locks, including periodic cleaning and lubrication. This proactive approach can prevent the accumulation of dirt and debris, preserving the smooth operation of the lock.
- Use Dedicated Lock Lubricants: When applying lubricant to a lock, opt for specialized lock lubricants such as graphite or silicone-based sprays. These products are formulated specifically for locks and offer superior performance and longevity.
- Minimize Excess Lubricant: Apply lubricant sparingly to avoid over-saturation, which can lead to drips, attract debris, and compromise the cleanliness of the lock. A little lubricant goes a long way in ensuring smooth operation.
- Address Rust and Corrosion: If rust or corrosion is present within the lock mechanism, consider using a rust-removing solution or seeking professional assistance to mitigate the issue and prevent further damage.
- Seek Professional Assistance: For persistent or complex lock problems, consulting a qualified locksmith or security professional can provide expert diagnosis and solutions tailored to your specific lock and door configuration.
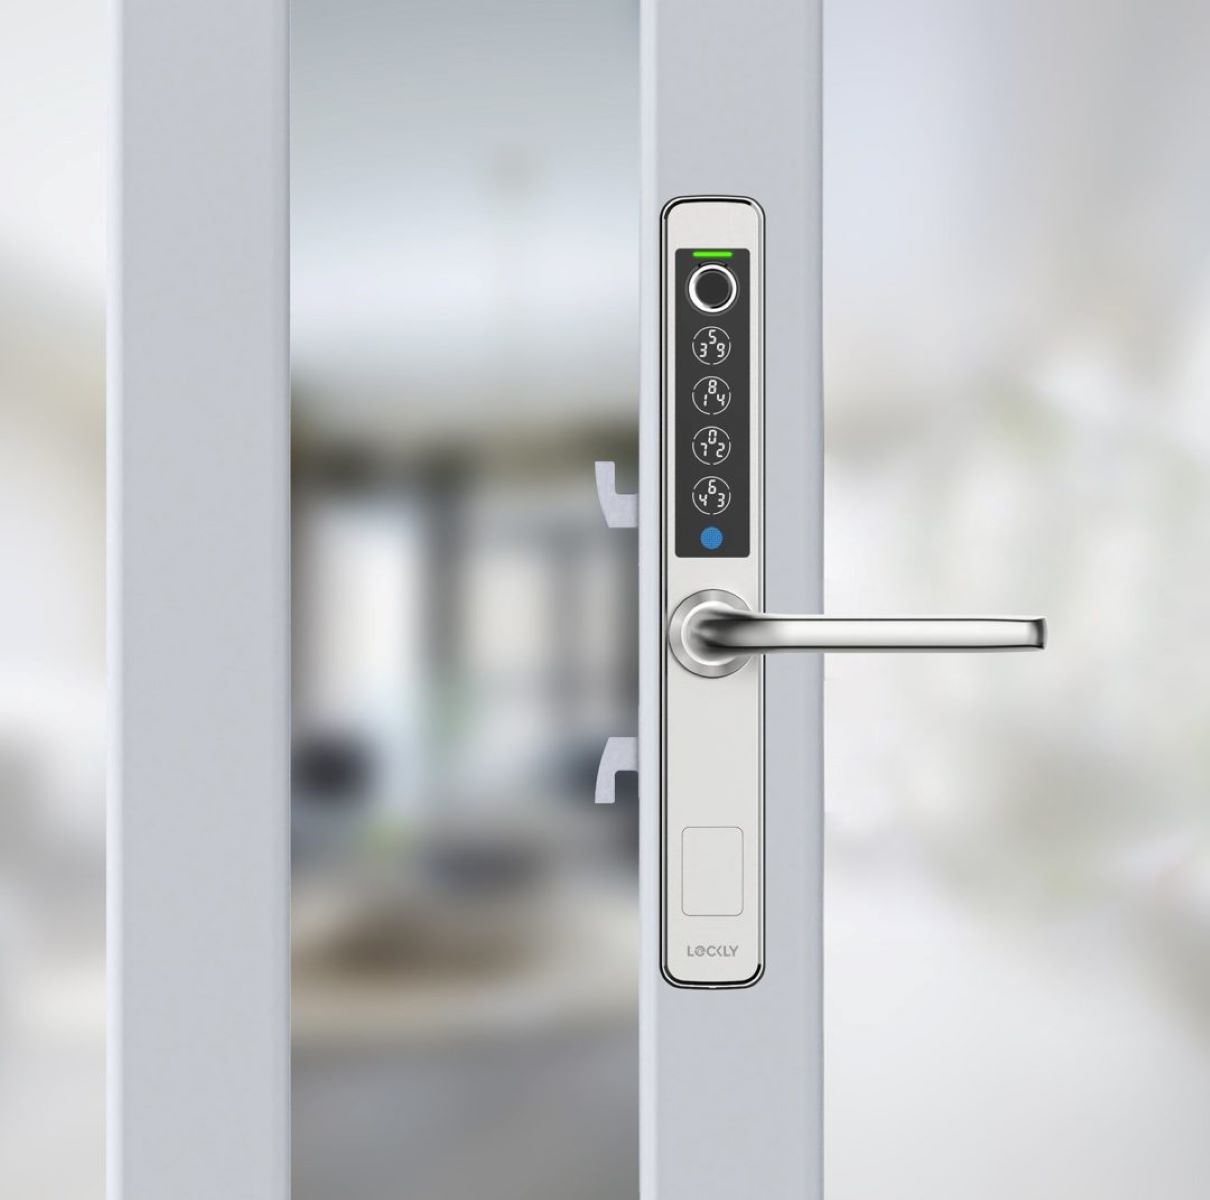
- Upgrade Aging Locks: If your door’s locks are aging or showing signs of wear, consider upgrading to modern, high-quality locks that offer enhanced durability, security features, and resistance to sticking or jamming.
By incorporating these additional tips and considerations into your approach to maintaining and addressing sticky locks, you can bolster the resilience and performance of your door’s locking mechanisms. These proactive measures contribute to a secure and smoothly functioning lock, offering convenience and peace of mind in your daily interactions with your doors.
Conclusion
Dealing with a sticky lock on a door can be a frustrating and inconvenient experience, but with the right approach, it’s a challenge that can be effectively overcome. By understanding the common causes of a sticky lock and following a systematic process of cleaning, lubricating, and testing the lock, you can restore its smooth and reliable operation, enhancing the security and convenience of your home or workplace.
Through the diligent application of a suitable lock lubricant, thorough cleaning of the lock’s internal components, and methodical testing of its functionality, you can address the underlying issues that contribute to stickiness and resistance. Moreover, by incorporating additional tips and considerations, such as regular maintenance and the use of specialized lock lubricants, you can proactively maintain the optimal performance of your locks and minimize the likelihood of encountering similar problems in the future.
Remember, when faced with persistent or complex lock issues, seeking the expertise of a professional locksmith or security specialist can provide valuable insights and tailored solutions to address more intricate problems and ensure the long-term reliability of your locks.
By following the steps outlined in this guide and embracing proactive maintenance practices, you can enjoy the peace of mind that comes with a smoothly functioning, secure lock on your door. With these insights and strategies at your disposal, you’re well-equipped to tackle the challenge of a sticky lock and maintain the integrity of your home or business’s security infrastructure.
So, armed with the knowledge and techniques to resolve sticky locks, go forth and reclaim the effortless functionality of your door’s locks, ensuring smooth and reliable access while safeguarding the spaces that matter most to you.
Frequently Asked Questions about How To Fix A Sticky Lock On A Door
Was this page helpful?
At Storables.com, we guarantee accurate and reliable information. Our content, validated by Expert Board Contributors, is crafted following stringent Editorial Policies. We're committed to providing you with well-researched, expert-backed insights for all your informational needs.

0 thoughts on “How To Fix A Sticky Lock On A Door”