Home>Technology>Security & Surveillance>How To Replace A Door Handle With Lock
Security & Surveillance
How To Replace A Door Handle With Lock
Modified: January 18, 2024
Learn how to enhance your home security with our step-by-step guide on replacing a door handle with a lock. Improve your security and surveillance today!
(Many of the links in this article redirect to a specific reviewed product. Your purchase of these products through affiliate links helps to generate commission for Storables.com, at no extra cost. Learn more)
Introduction
Replacing a door handle with a lock is a practical and straightforward home improvement project that can enhance the security of your property. Whether you’re upgrading an old, worn-out handle or simply looking to add a lock for added protection, this task is well within the capabilities of most homeowners. By following a few simple steps and using the right tools, you can easily replace a door handle with a lock in no time.
In this guide, we’ll walk you through the process of replacing a door handle with a lock, providing clear instructions and helpful tips along the way. With a basic understanding of the tools and materials required, as well as a willingness to tackle a DIY project, you’ll be well-equipped to take on this home improvement task with confidence.
Before we dive into the step-by-step process, it’s important to note that safety should always be a top priority when working on any home improvement project. Take the time to review the manufacturer’s instructions for your specific door handle and lock, and be sure to follow all safety guidelines. Now, let’s gather the necessary tools and materials to get started on this rewarding project.
Key Takeaways:
- Upgrade your home security by replacing a door handle with a lock. Follow simple steps and use the right tools for a rewarding DIY project.
- Ensure safety, gather the right tools, and test the lock for a reliable and secure outcome. Enjoy the satisfaction of enhancing your home’s security.
Read more: How To Lock A Door Handle
Tools and Materials Needed
Before beginning the process of replacing a door handle with a lock, it’s essential to gather the necessary tools and materials. Having the right equipment on hand will streamline the project and ensure a successful outcome. Here’s a comprehensive list of what you’ll need:
Tools:
- Phillips-head screwdriver
- Flat-head screwdriver
- Tape measure
- Chisel
- Hammer
- Power drill (if not pre-drilled)
- Wood block
Materials:
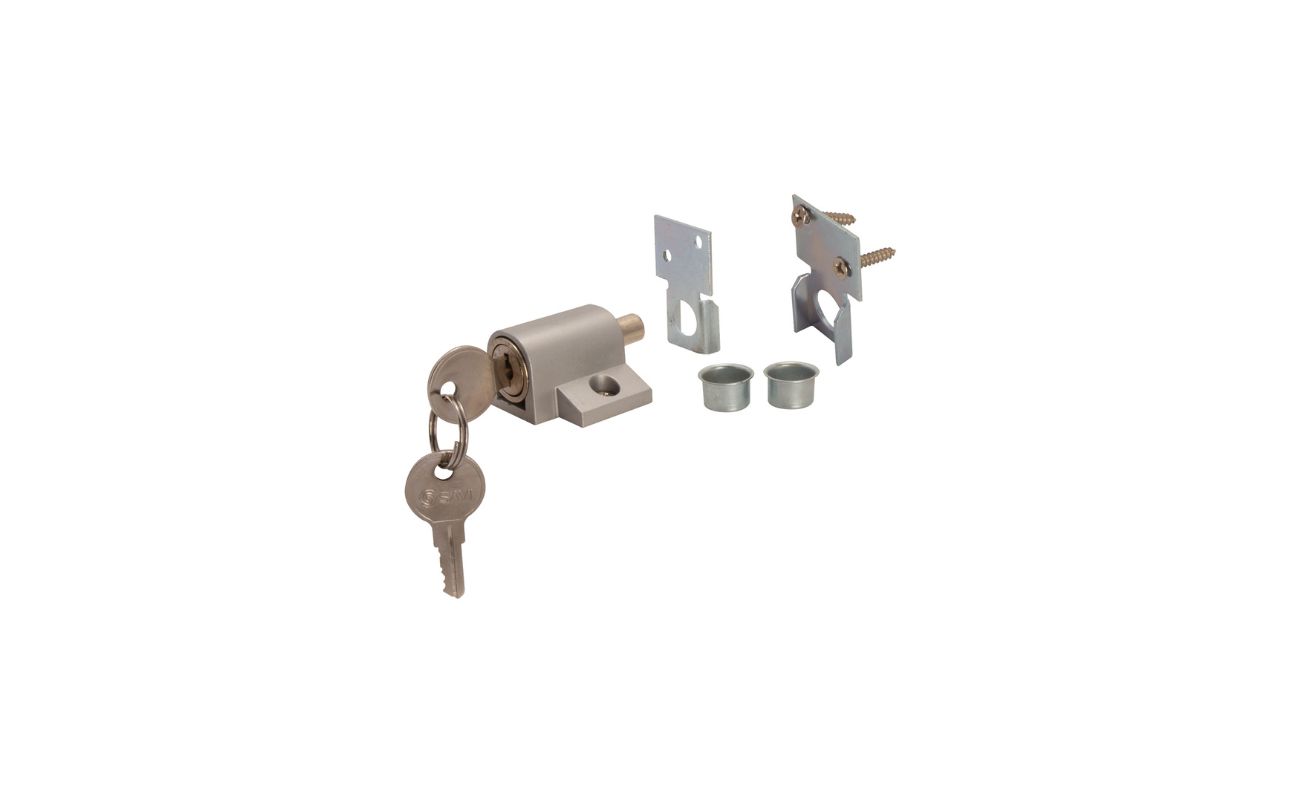
- New door handle with lockset
- Strike plate
- Screws
- Wood putty (if necessary)
It’s important to ensure that the new door handle and lockset are compatible with the door’s thickness and the existing boreholes. Take accurate measurements of the door’s thickness and the dimensions of the existing boreholes to select a replacement handle and lockset that will fit properly.
Additionally, if the new handle requires a different backset (the distance from the edge of the door to the center of the borehole), be sure to choose a compatible replacement that matches the existing backset or be prepared to modify the door to accommodate the new hardware.
By gathering these tools and materials, you’ll be well-prepared to proceed with the door handle replacement process. With everything in hand, you’re ready to move on to the next step: removing the old door handle.
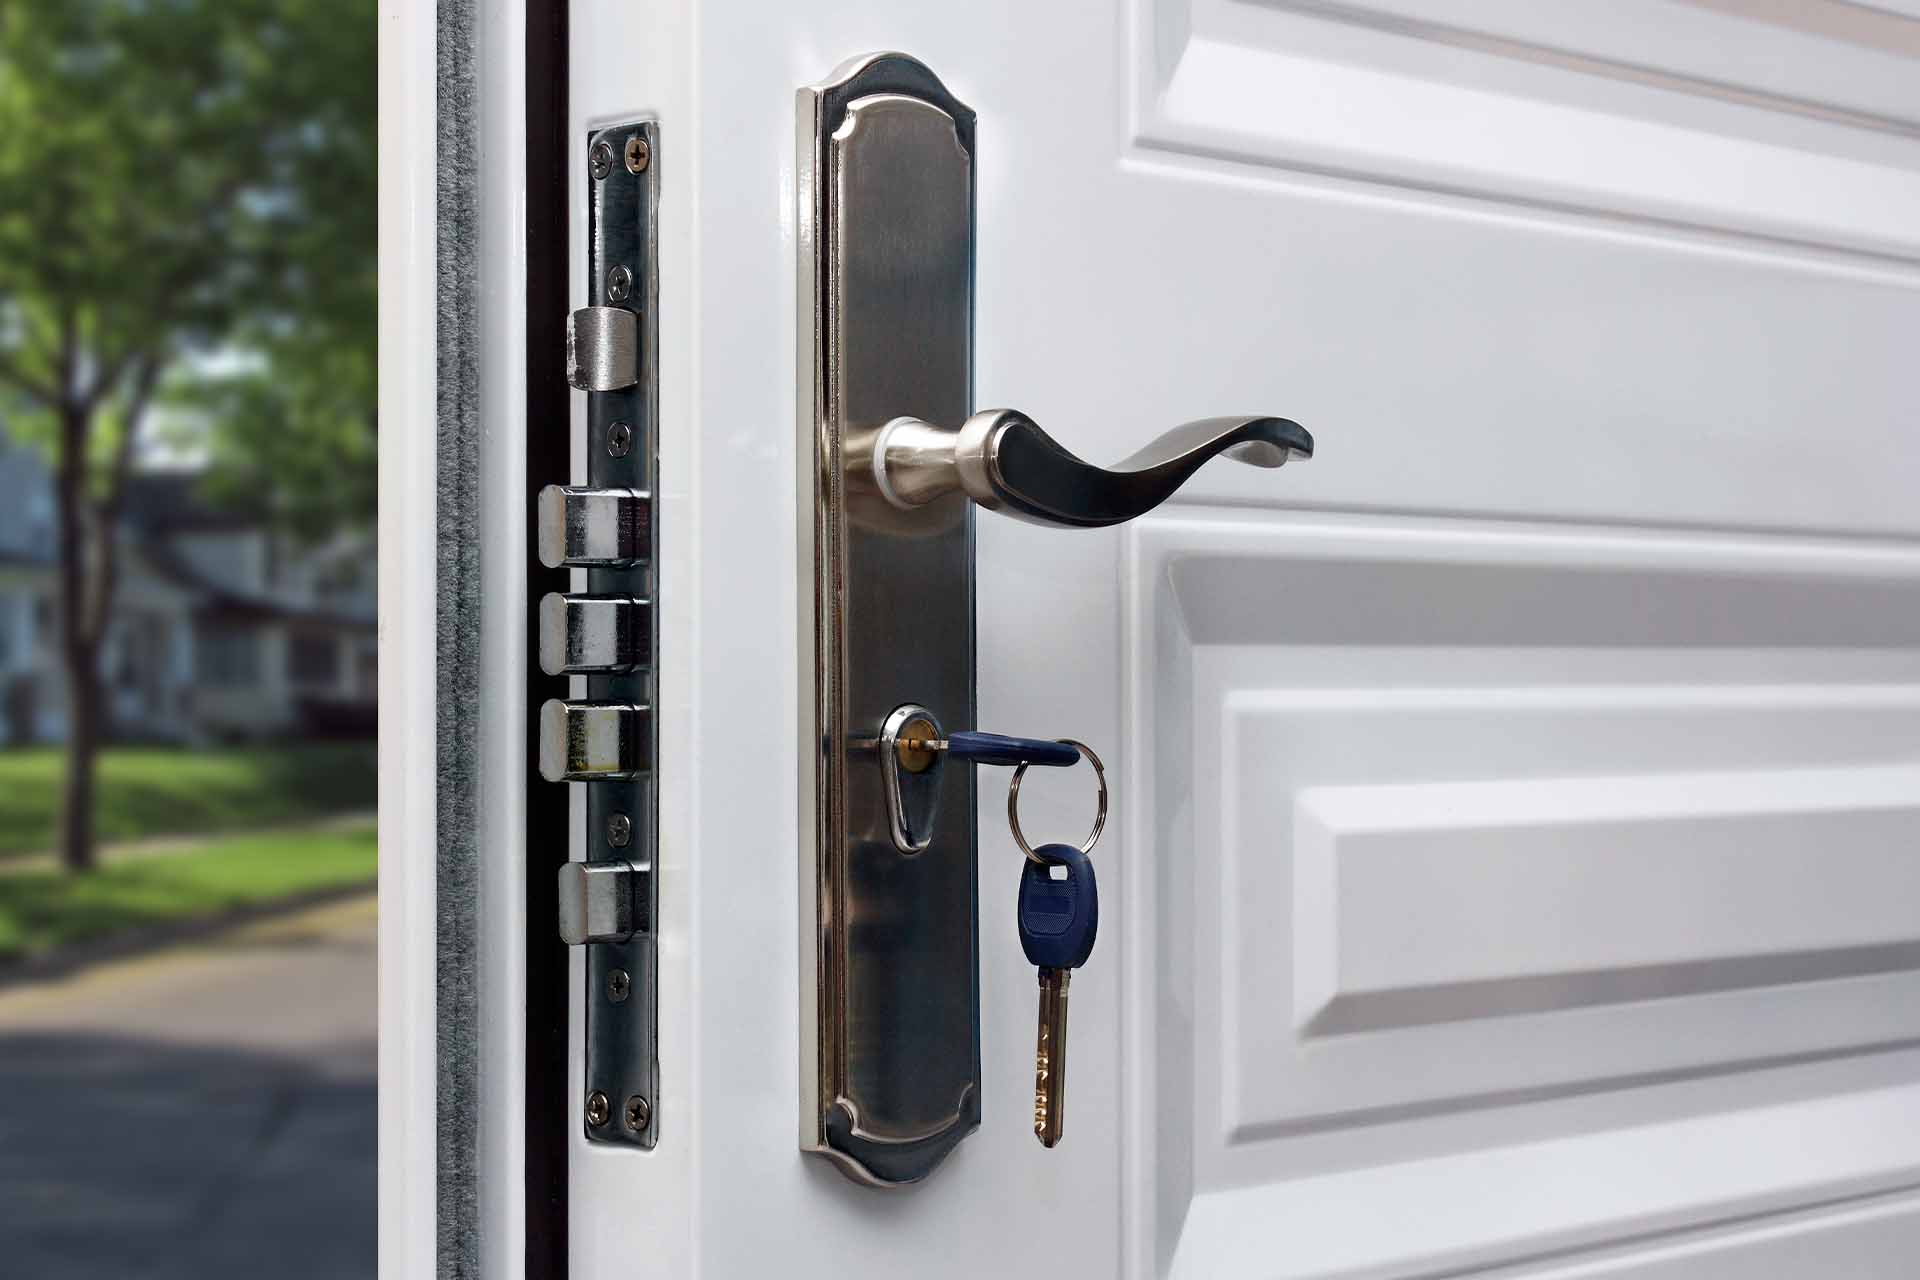
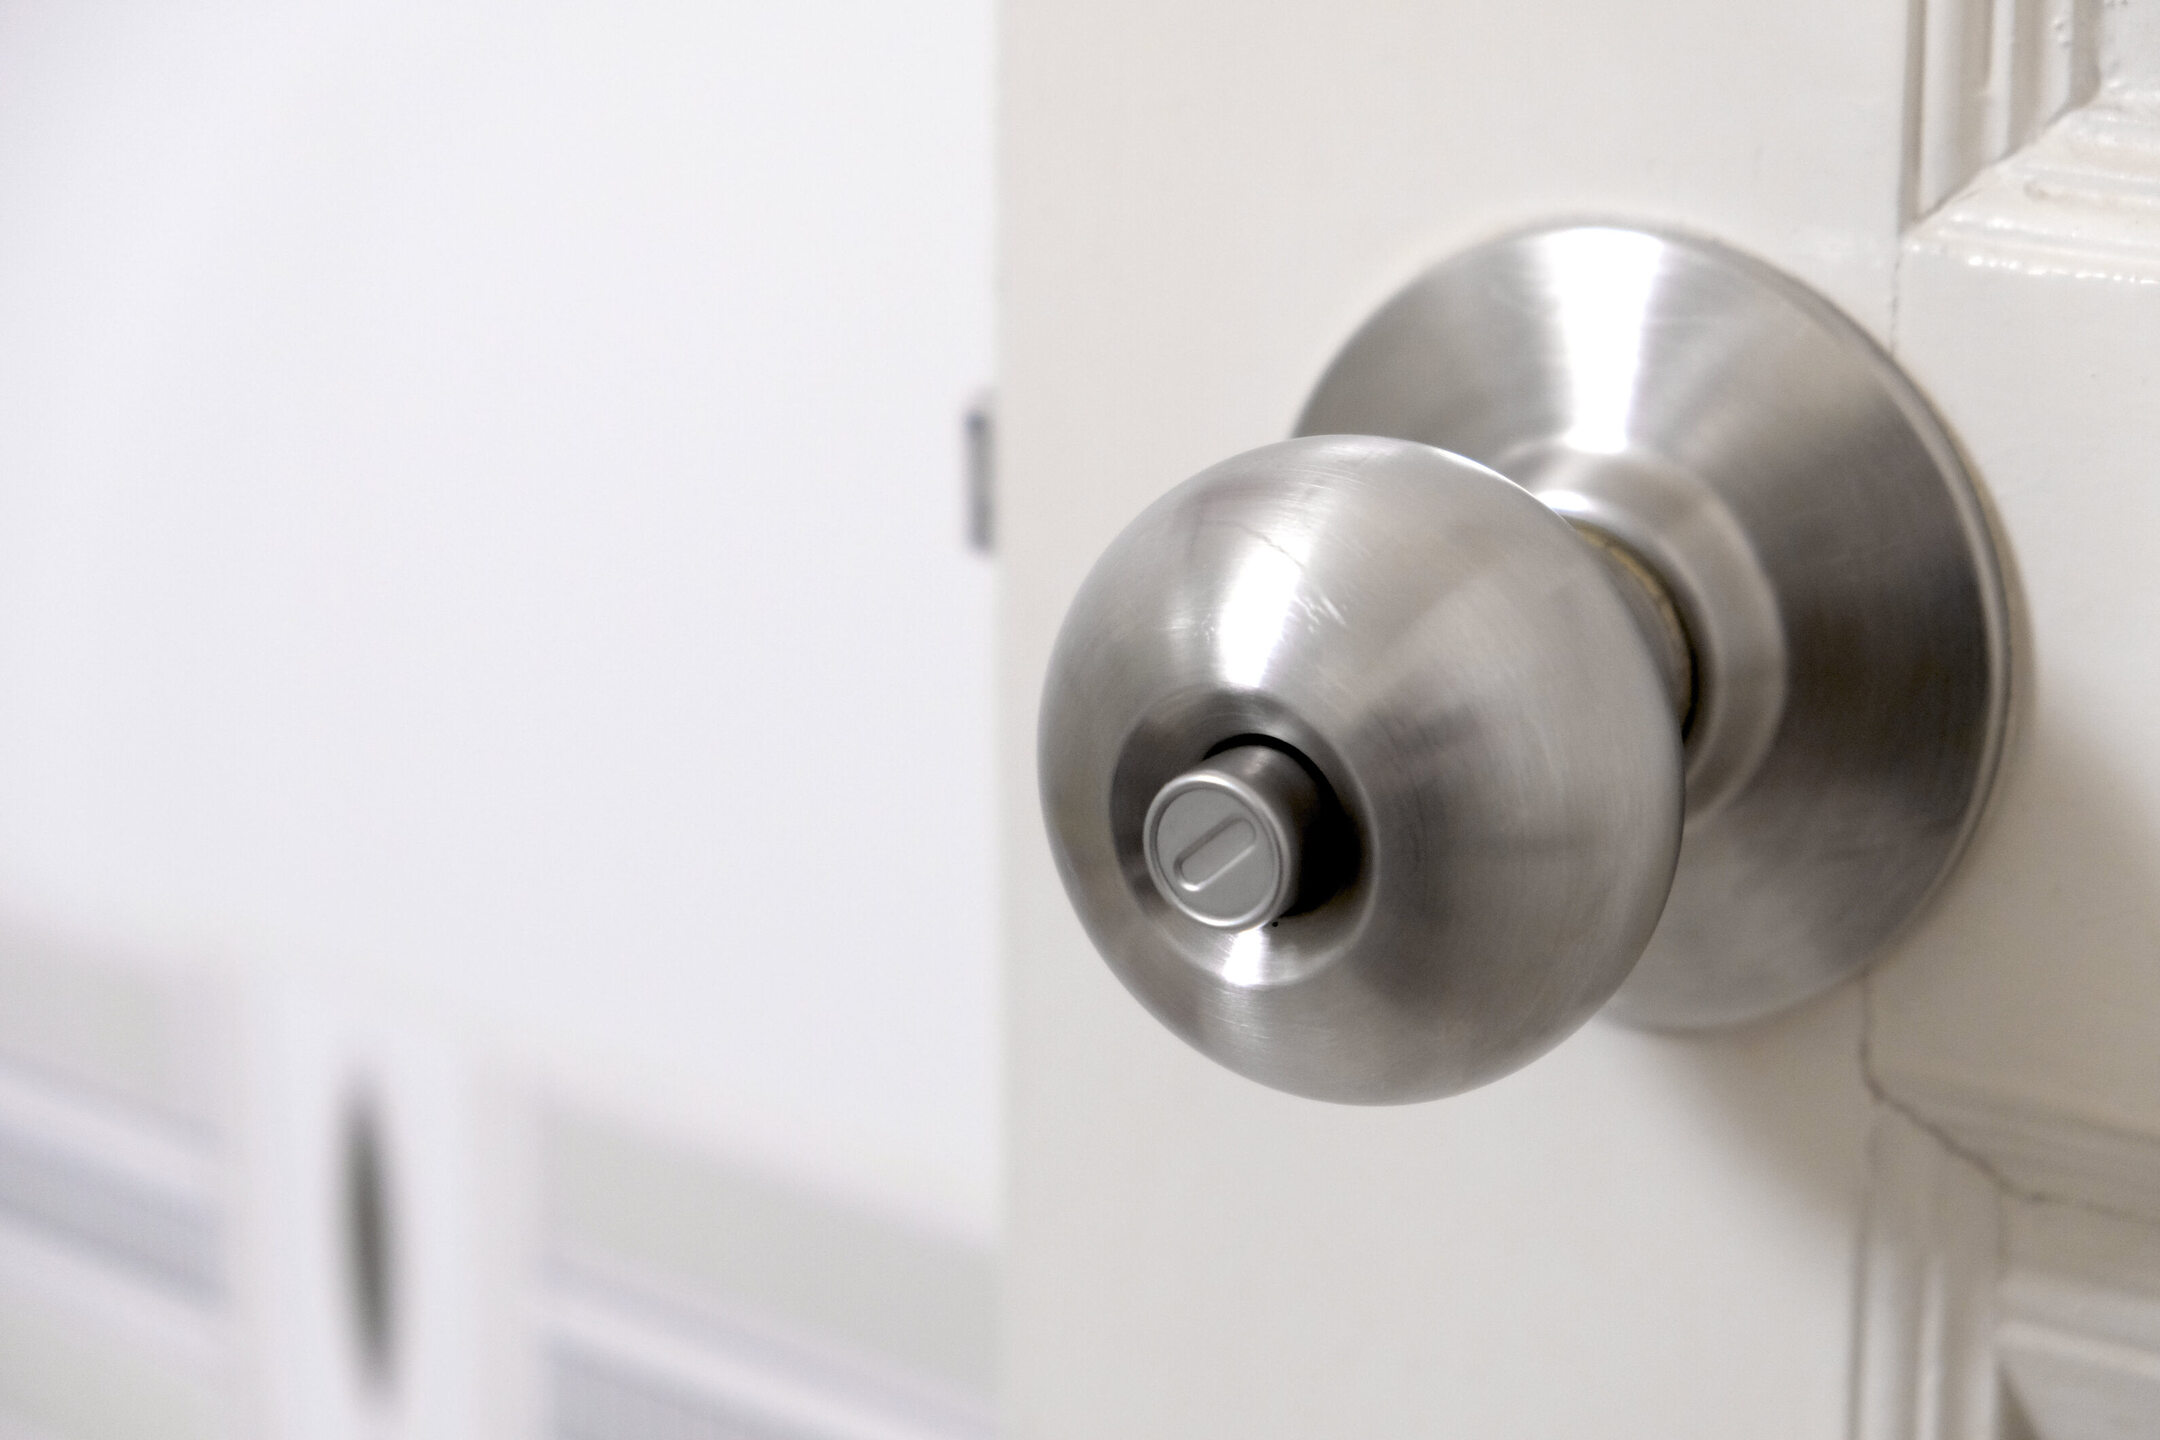
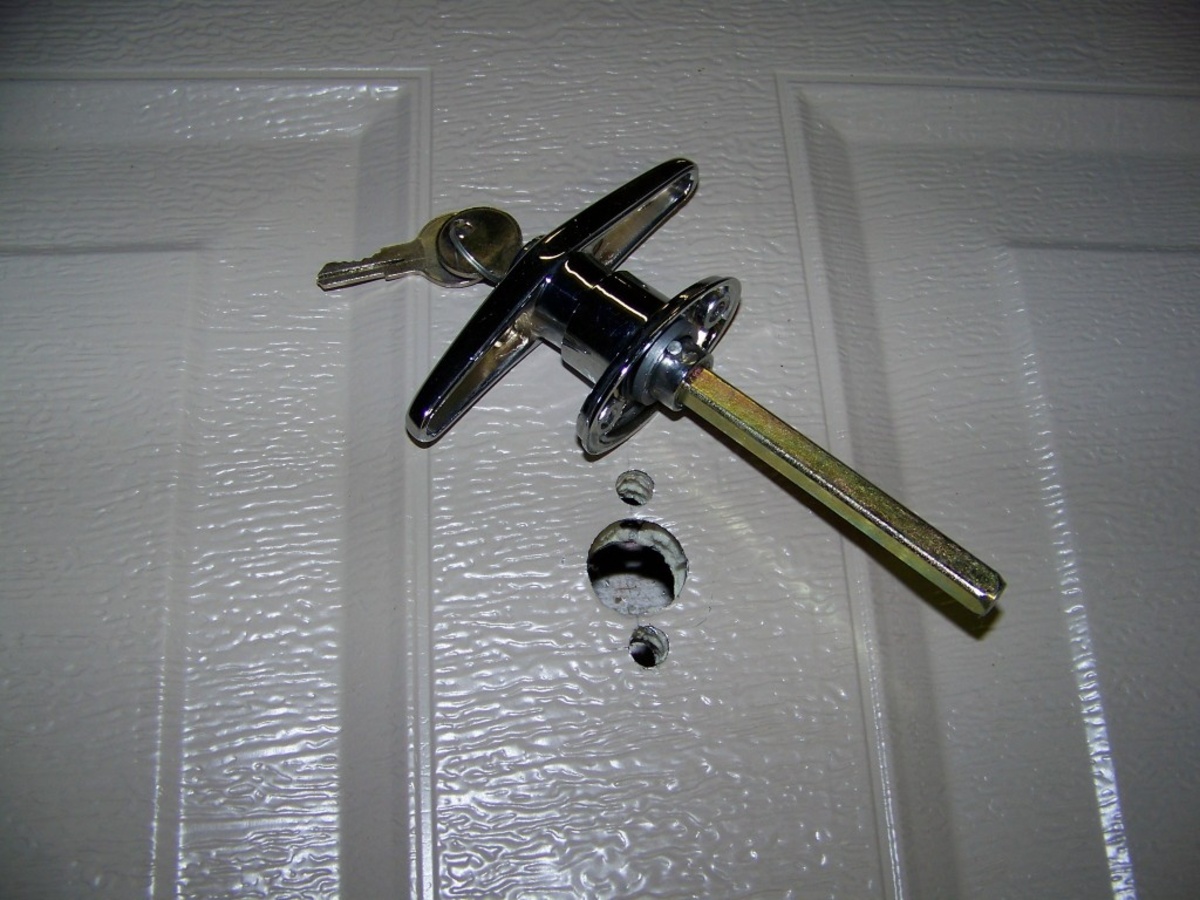
Removing the Old Door Handle
Before you can install a new door handle with a lock, it’s necessary to remove the existing hardware. Follow these step-by-step instructions to safely and effectively remove the old door handle:
- Gather Your Tools: Ensure that you have the necessary tools for this task, including a Phillips-head screwdriver and a flat-head screwdriver.
- Locate the Screws: Examine the door handle to locate the screws that secure it in place. These are typically found on the interior side of the door.
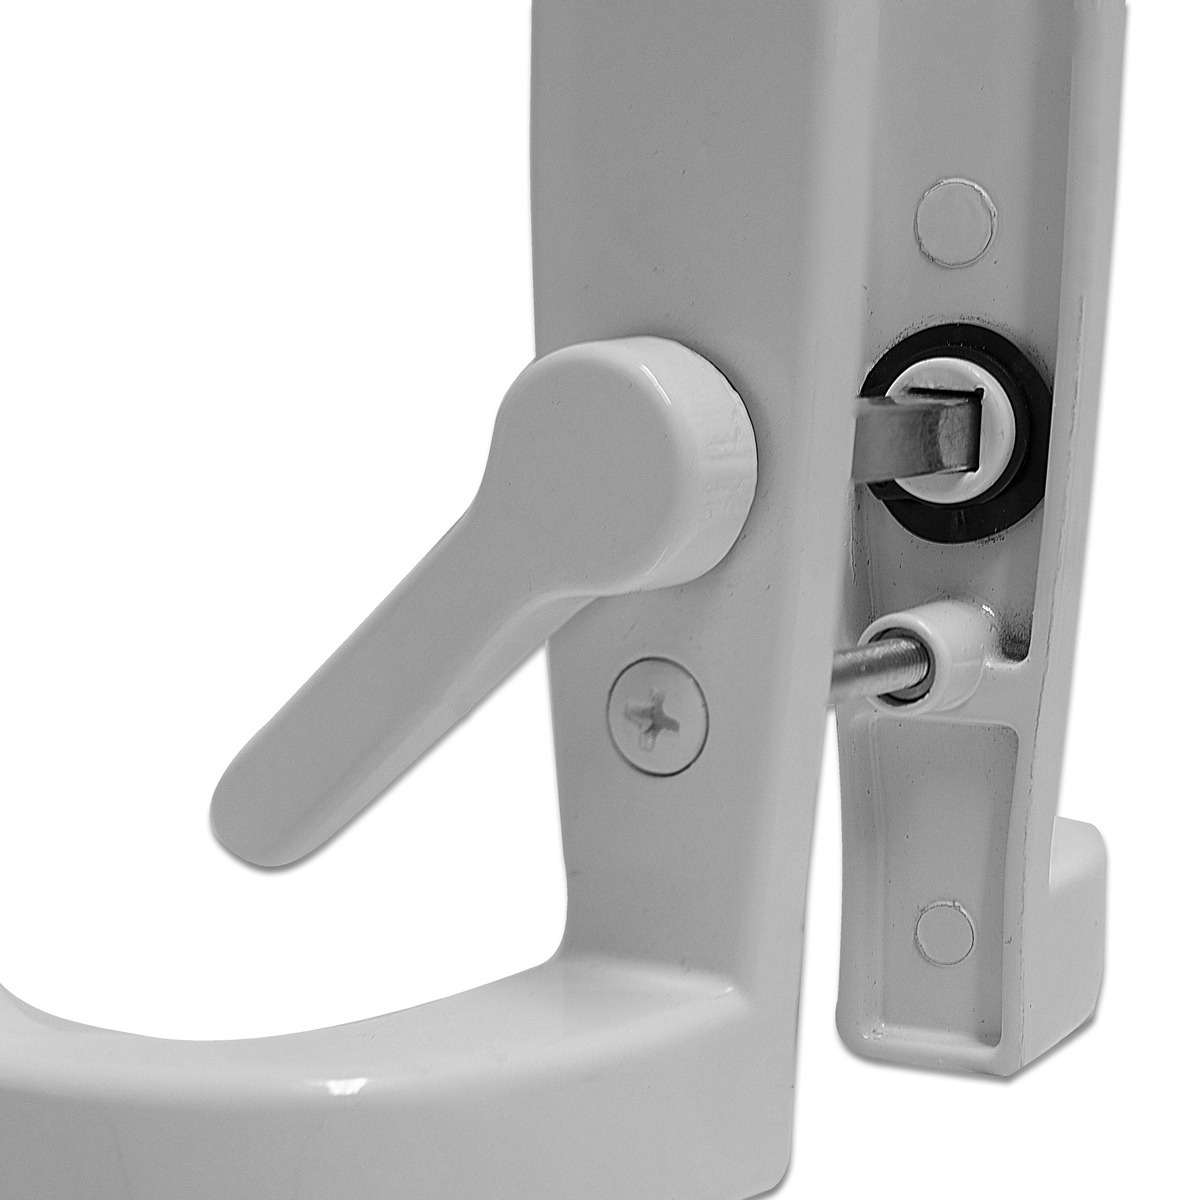
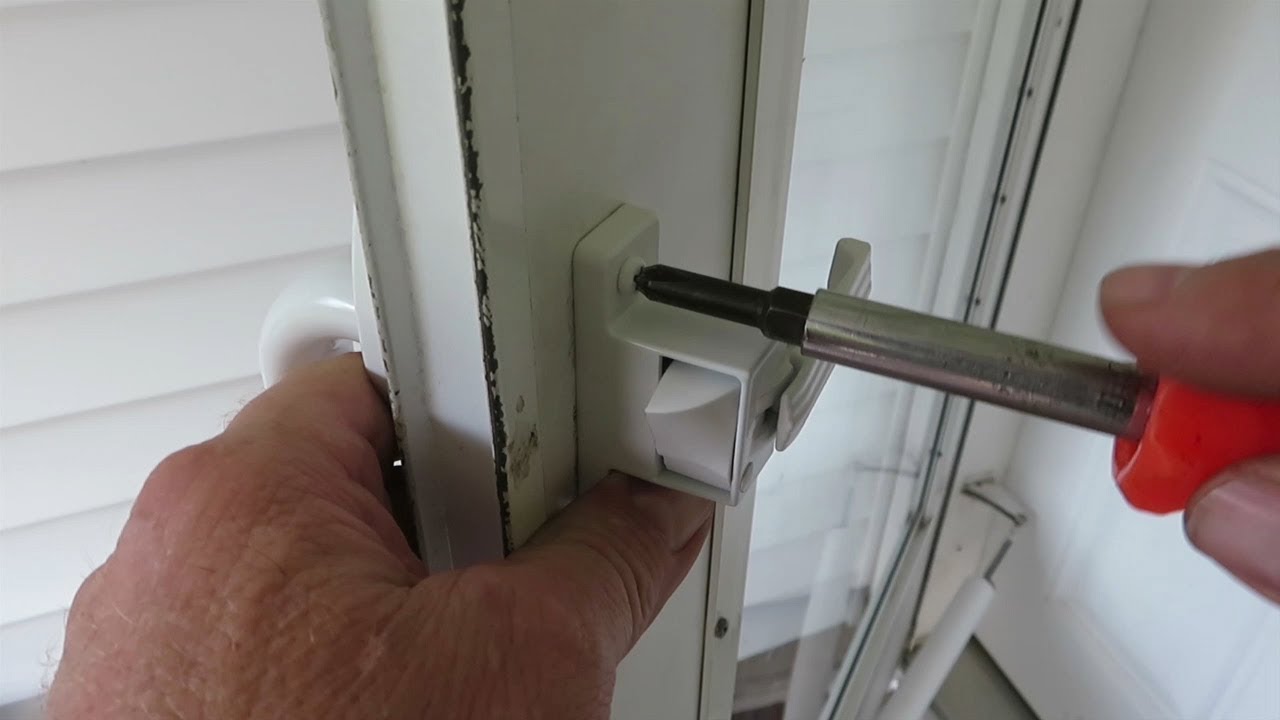
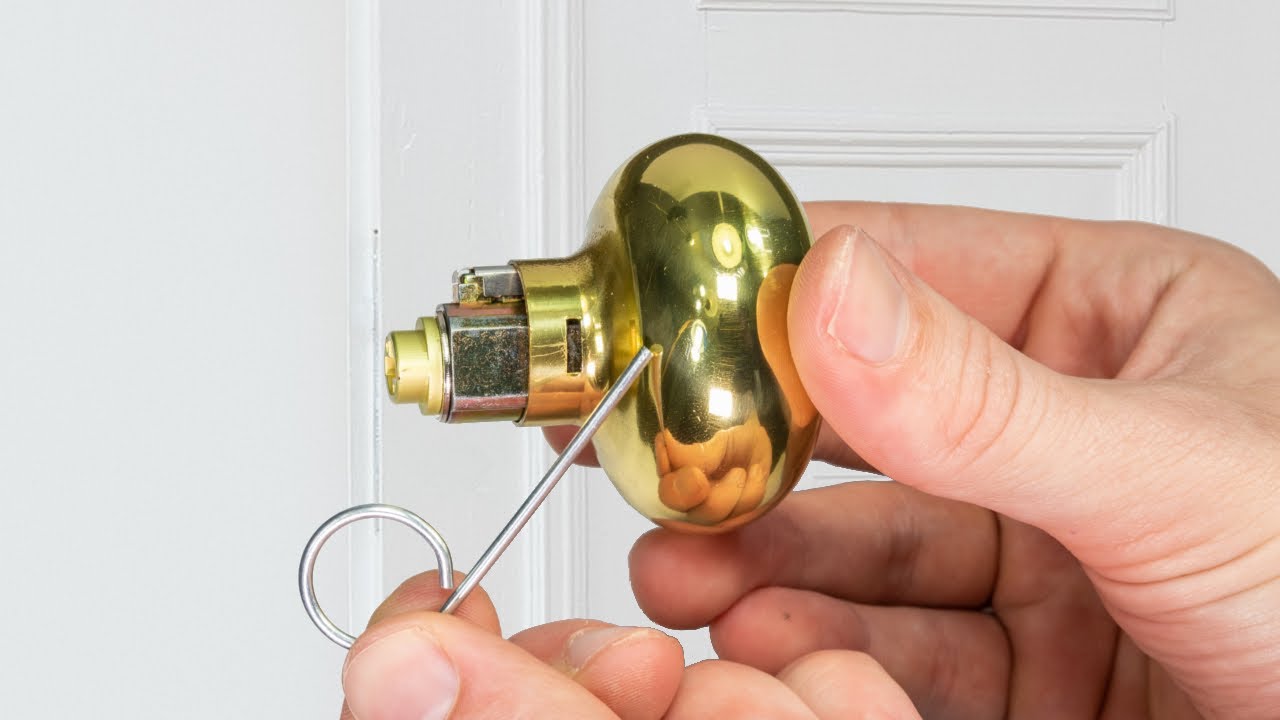
- Loosen the Screws: Use the appropriate screwdriver to loosen and remove the screws that hold the two halves of the door handle together. Once the screws are removed, carefully separate the interior and exterior components of the handle.
- Remove the Latch Plate: With the handle removed, locate and unscrew the latch plate on the edge of the door. Set the screws and latch plate aside for later use or disposal.
- Detach the Strike Plate: If your existing handle features a strike plate on the door frame, unscrew and remove it using your screwdriver.
- Inspect the Boreholes: After removing the handle and hardware, inspect the boreholes in the door to ensure they are in good condition and free of debris. Clean out any dust or debris using a soft cloth or brush.
Once the old door handle, latch plate, and strike plate have been successfully removed, you’re ready to proceed with the installation of the new door handle and lockset. The next section will guide you through this process, allowing you to seamlessly transition from removing the old hardware to installing the new, upgraded components.
Read more: How To Fix A Door Handle Lock
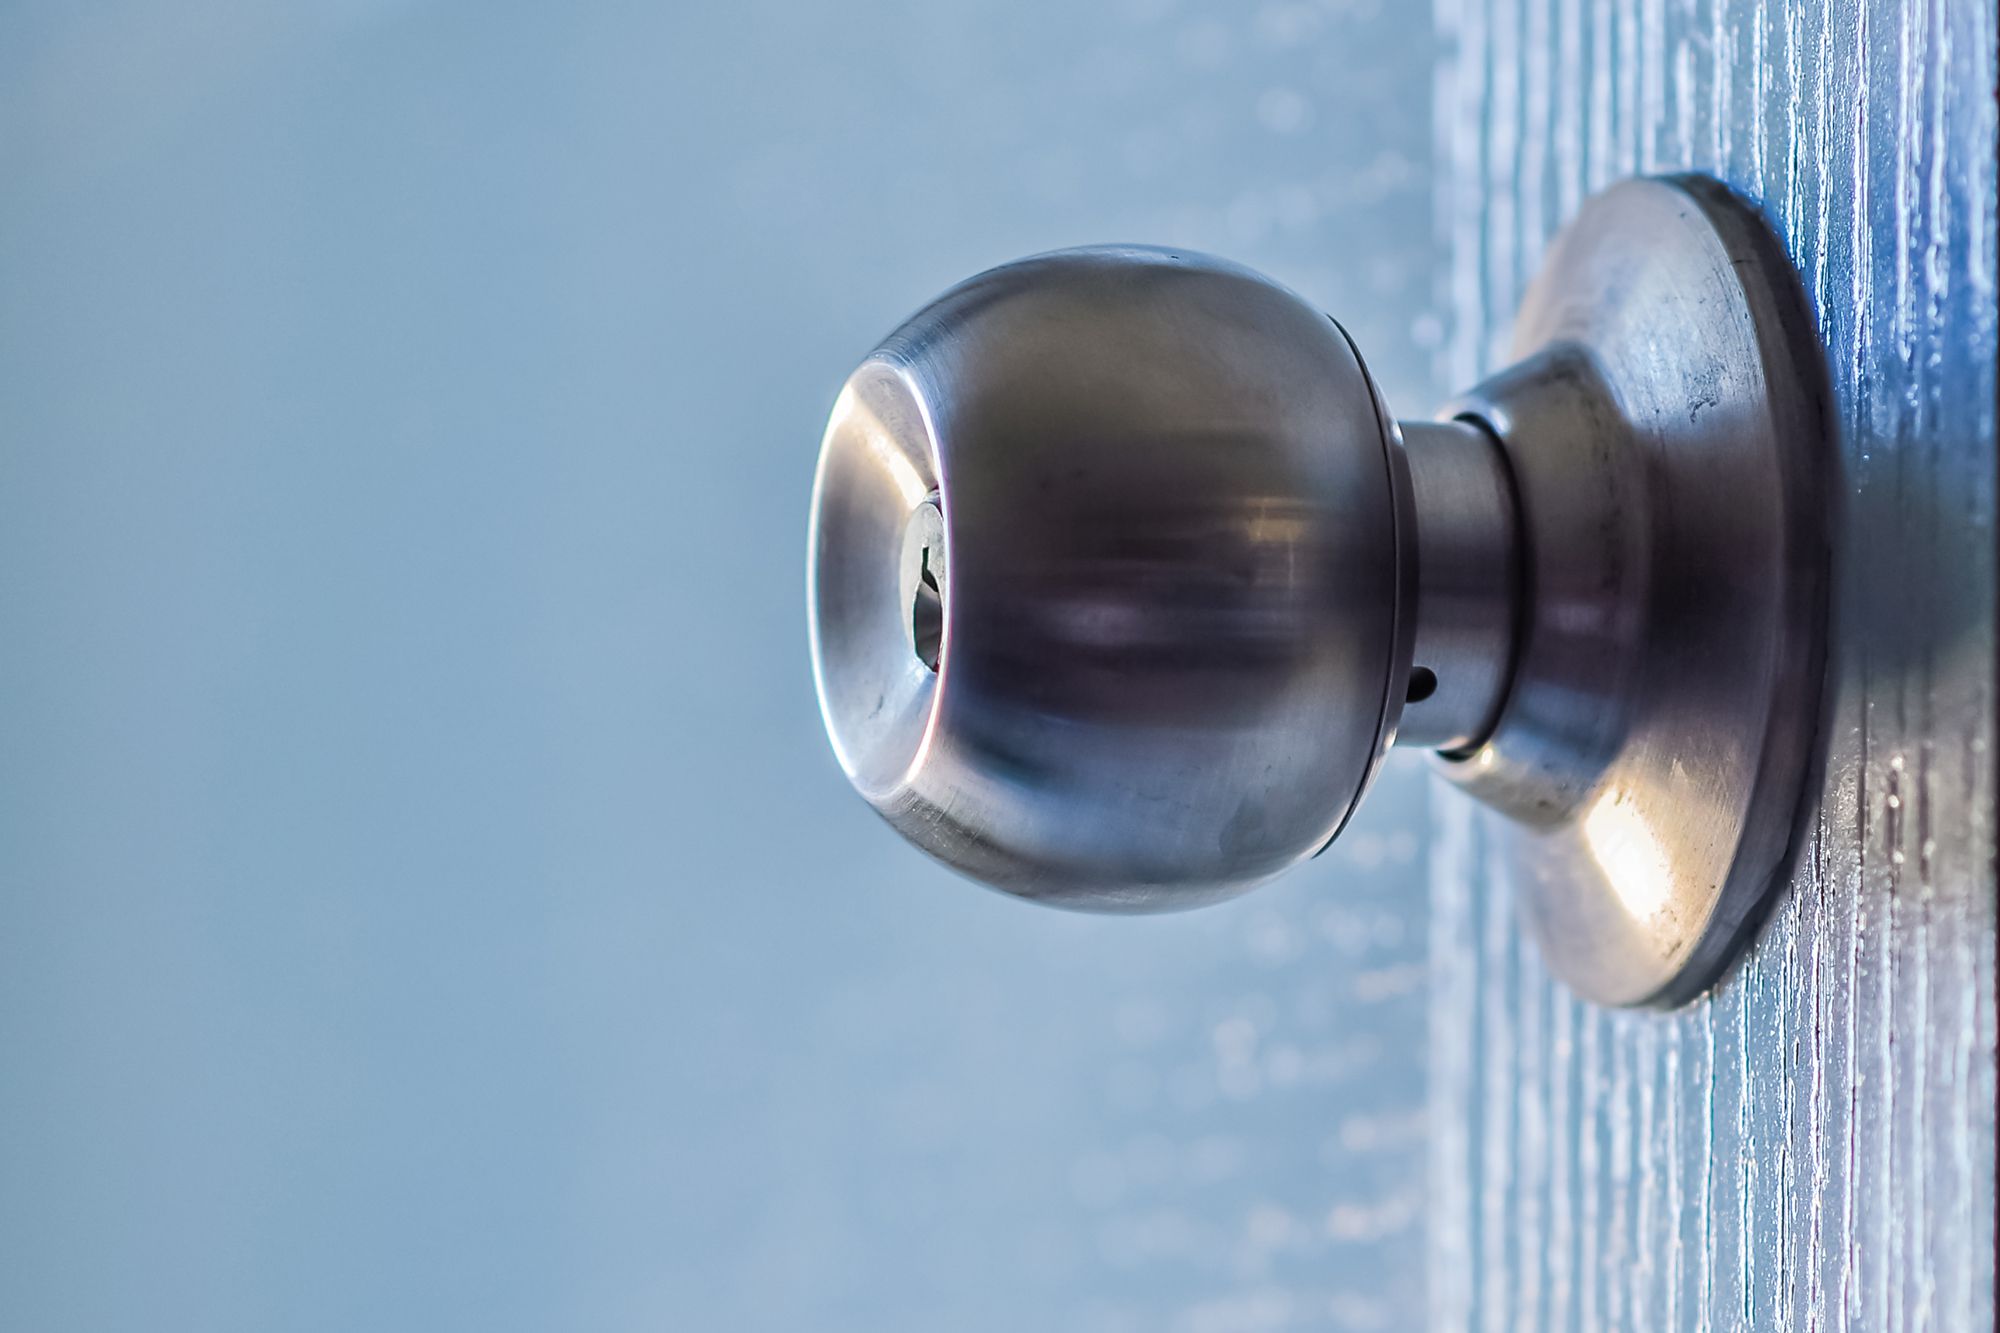
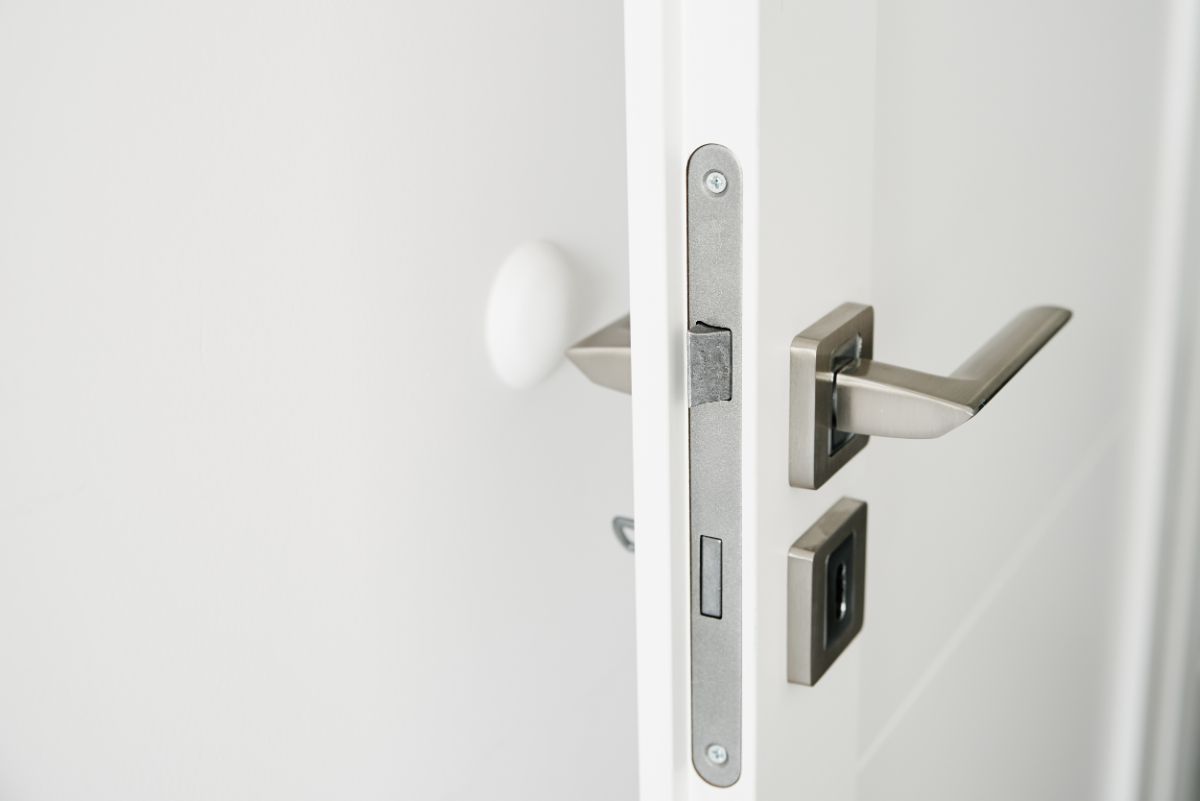
Installing the New Door Handle
With the old door handle and hardware removed, it’s time to install the new door handle with a lock. Follow these step-by-step instructions to ensure a successful installation:
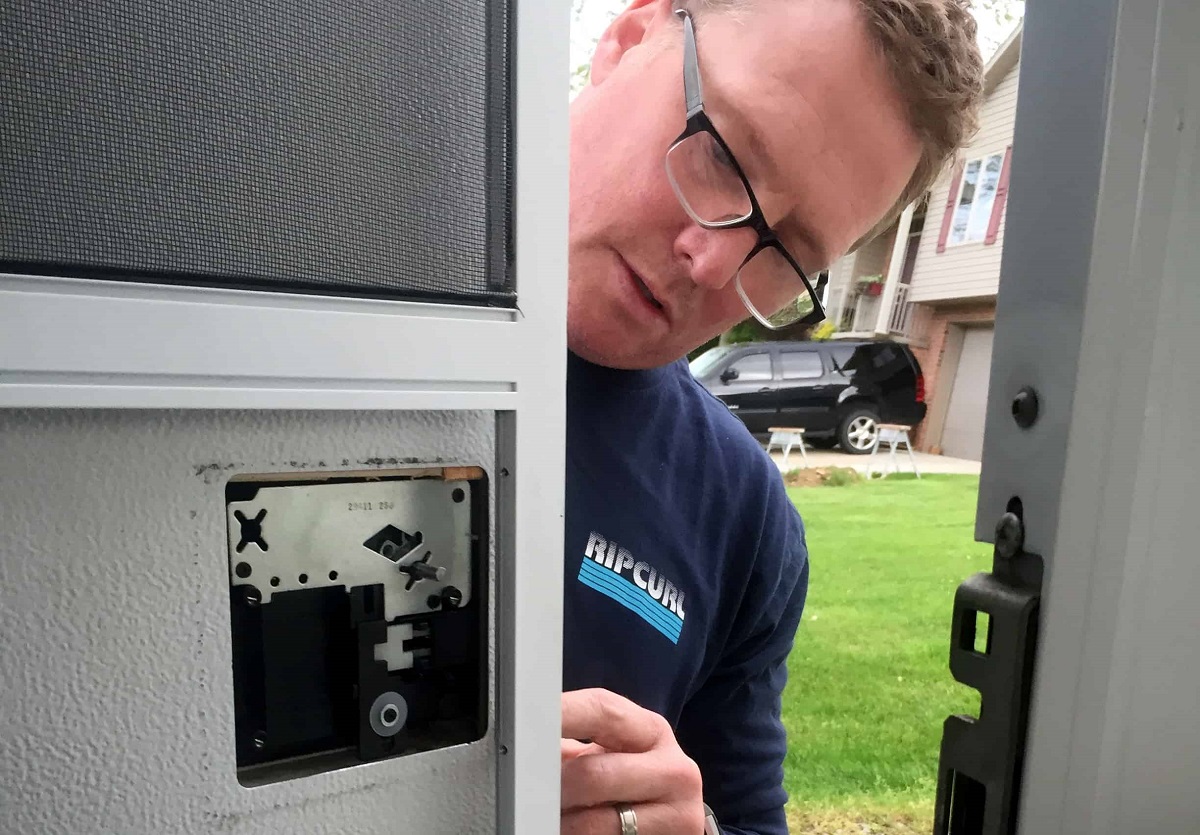
- Prepare the Door: Before installing the new handle, ensure that the boreholes in the door are clean and free of debris. If necessary, use a soft cloth or brush to remove any dust or residue.
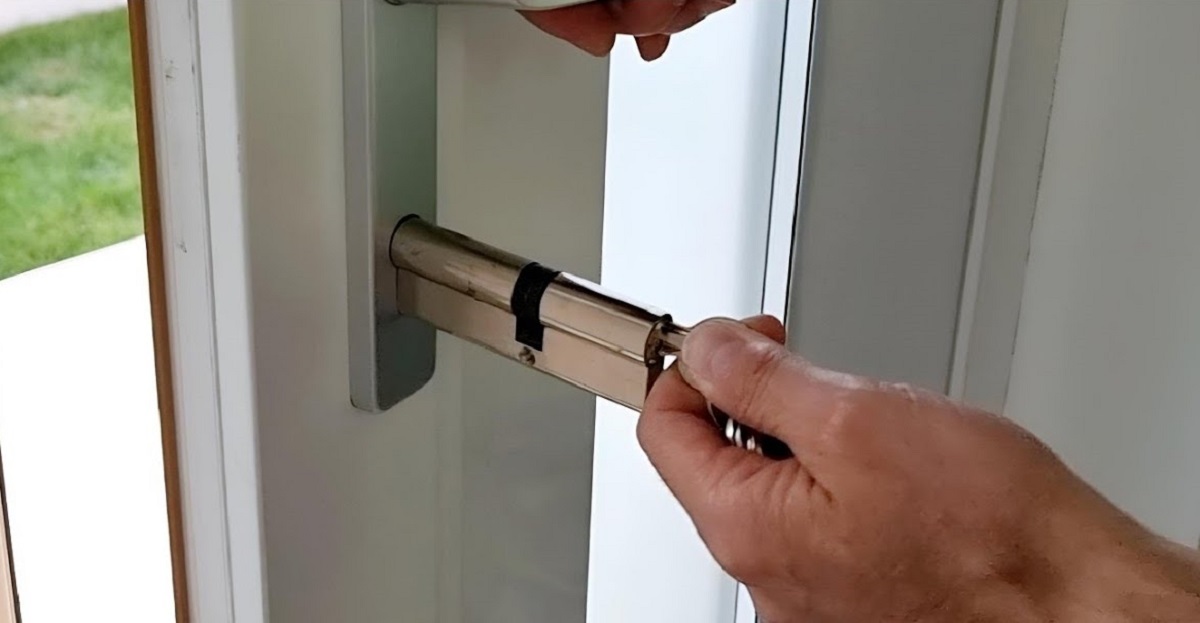
- Position the New Handle: Place the exterior and interior components of the new door handle into their respective positions on the door. Ensure that the spindle of the latch lines up with the borehole in the door.
- Secure the Latch Plate: Attach the new latch plate to the edge of the door, ensuring that it is aligned with the borehole and sits flush against the door’s surface. Use the provided screws to secure the latch plate in place.
- Install the Strike Plate: If your new handle set includes a strike plate for the door frame, position it over the latch and secure it in place using the provided screws.
- Tighten the Screws: With the components in place, use a screwdriver to tighten the screws on both the interior and exterior sides of the door handle, ensuring a secure and snug fit.
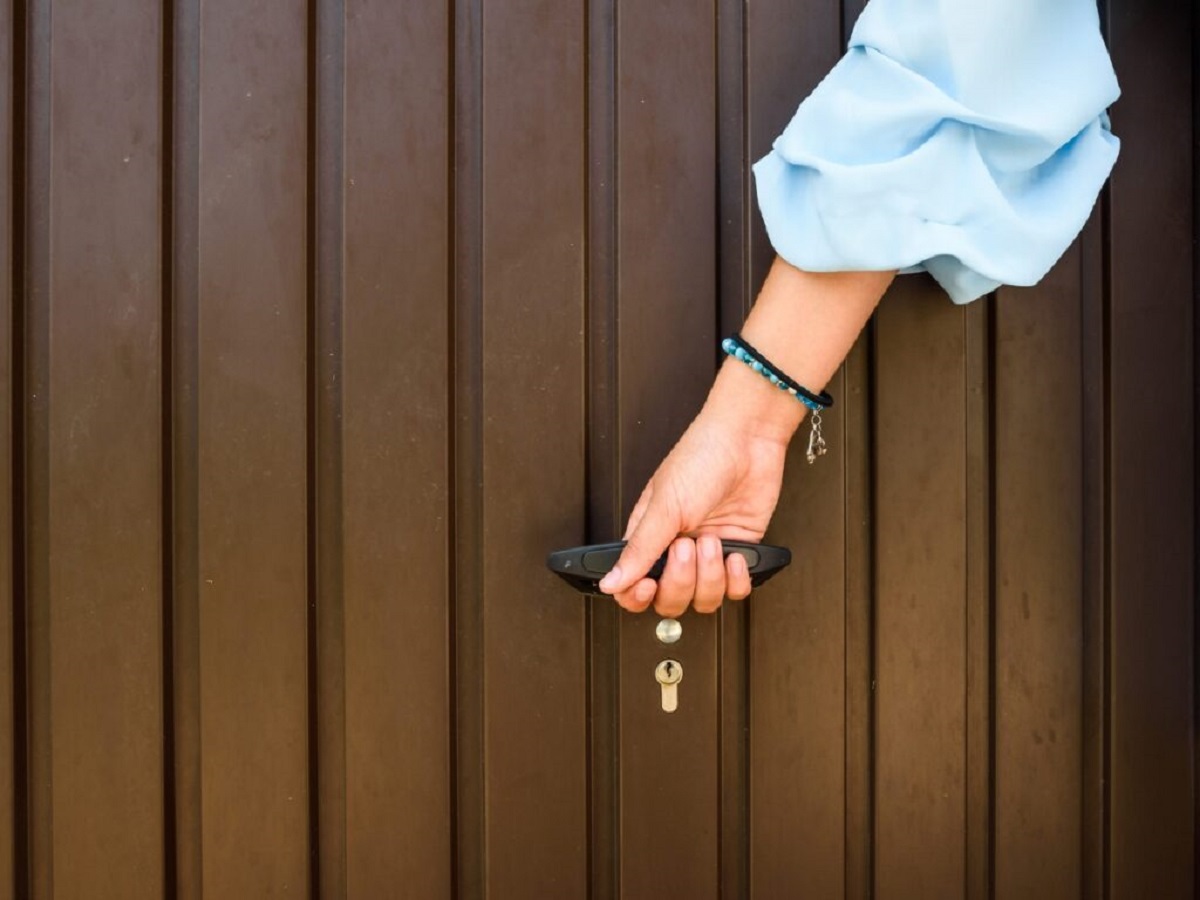
- Test the Handle: Before completing the installation, test the functionality of the new door handle and lock to ensure that the latch operates smoothly and the lock engages properly.
- Adjust as Needed: If the latch or lock does not align properly with the strike plate, you may need to make minor adjustments to ensure a proper fit. This can often be accomplished by slightly repositioning the strike plate or adjusting the latch’s position.
By following these steps, you can successfully install a new door handle with a lock, enhancing the security and functionality of your door. Once the new handle is securely in place and operating smoothly, you’re ready to move on to the next crucial step: testing the lock to ensure its reliability and security.
Before starting, make sure to measure the new handle to ensure it fits the existing holes. Use a screwdriver to remove the old handle and lock, then install the new handle following the manufacturer’s instructions.
Testing the Lock
After installing a new door handle with a lock, it’s essential to thoroughly test the lock to ensure its functionality and security. Follow these steps to conduct a comprehensive lock test:
- Engage the Lock: With the door open, engage the lock by turning the interior thumb turn or key, depending on the type of lock installed.
- Attempt to Open the Door: With the lock engaged, attempt to open the door from the outside. The locked door should remain securely closed, preventing entry from the exterior.
- Test the Interior Thumb Turn: From the inside, test the interior thumb turn to ensure that it effectively disengages the lock and allows the door to open freely.
- Check the Alignment: While testing the lock, pay attention to the alignment of the latch and the strike plate. The latch should smoothly and securely engage with the strike plate, providing a reliable locking mechanism.
- Verify Key Operation: If the lock includes a key-operated mechanism, test the key to ensure that it smoothly engages and disengages the lock without any resistance or difficulty.
- Inspect the Door’s Exterior: After testing the lock from both the interior and exterior, visually inspect the door’s exterior to ensure that the lock and handle are properly aligned and securely in place.
By conducting a thorough lock test, you can verify that the new door handle and lock have been installed correctly and are fully operational. This step is crucial for ensuring the security and functionality of your entry door, providing peace of mind and confidence in your newly installed hardware.
If any issues are identified during the lock test, such as misalignment or difficulty engaging the lock, it’s important to address these concerns promptly to ensure the optimal performance of your door’s locking mechanism. With the lock successfully tested and confirmed to be in proper working order, you can proceed with confidence, knowing that your door is equipped with a reliable and secure locking system.
Conclusion
Replacing a door handle with a lock is a rewarding home improvement project that offers both enhanced security and a sense of accomplishment. By following the step-by-step process outlined in this guide and using the appropriate tools and materials, you can successfully upgrade your door’s hardware with confidence.
Throughout the process, it’s important to prioritize safety and attention to detail. Taking the time to remove the old door handle and install the new hardware correctly ensures a reliable and secure outcome. Additionally, testing the lock thoroughly provides peace of mind, knowing that your door is equipped with a dependable security feature.
By engaging in this DIY project, you not only improve the security of your home but also gain valuable hands-on experience with home maintenance and improvement tasks. The satisfaction of completing this project and the added security it brings to your property make it a worthwhile endeavor for any homeowner.
As you admire your newly installed door handle with a lock, take pride in the knowledge that you’ve taken a proactive step to enhance the safety and security of your home. With a well-equipped entry door and a reliable locking mechanism in place, you can enjoy greater peace of mind and confidence in your home’s security.
Remember, if you encounter any challenges or uncertainties during the process, don’t hesitate to seek guidance from hardware experts or professional locksmiths. With the right resources and a can-do attitude, you can tackle this project and enjoy the benefits of an upgraded door handle with a secure lock.
Now that you’ve successfully completed the process of replacing your door handle with a lock, take a moment to appreciate your accomplishment and the improved security it brings to your home. With a well-equipped entryway, you can confidently welcome each day, knowing that your home is equipped with a reliable and secure door handle and lock.
Frequently Asked Questions about How To Replace A Door Handle With Lock
Was this page helpful?
At Storables.com, we guarantee accurate and reliable information. Our content, validated by Expert Board Contributors, is crafted following stringent Editorial Policies. We're committed to providing you with well-researched, expert-backed insights for all your informational needs.
0 thoughts on “How To Replace A Door Handle With Lock”