Home>Technology>Security & Surveillance>How To Fix A Push Lock Door Handle
Security & Surveillance
How To Fix A Push Lock Door Handle
Modified: August 24, 2024
Learn how to easily fix a push lock door handle for improved security and surveillance. Follow our step-by-step guide to ensure your door handle is functioning properly.
(Many of the links in this article redirect to a specific reviewed product. Your purchase of these products through affiliate links helps to generate commission for Storables.com, at no extra cost. Learn more)
Introduction
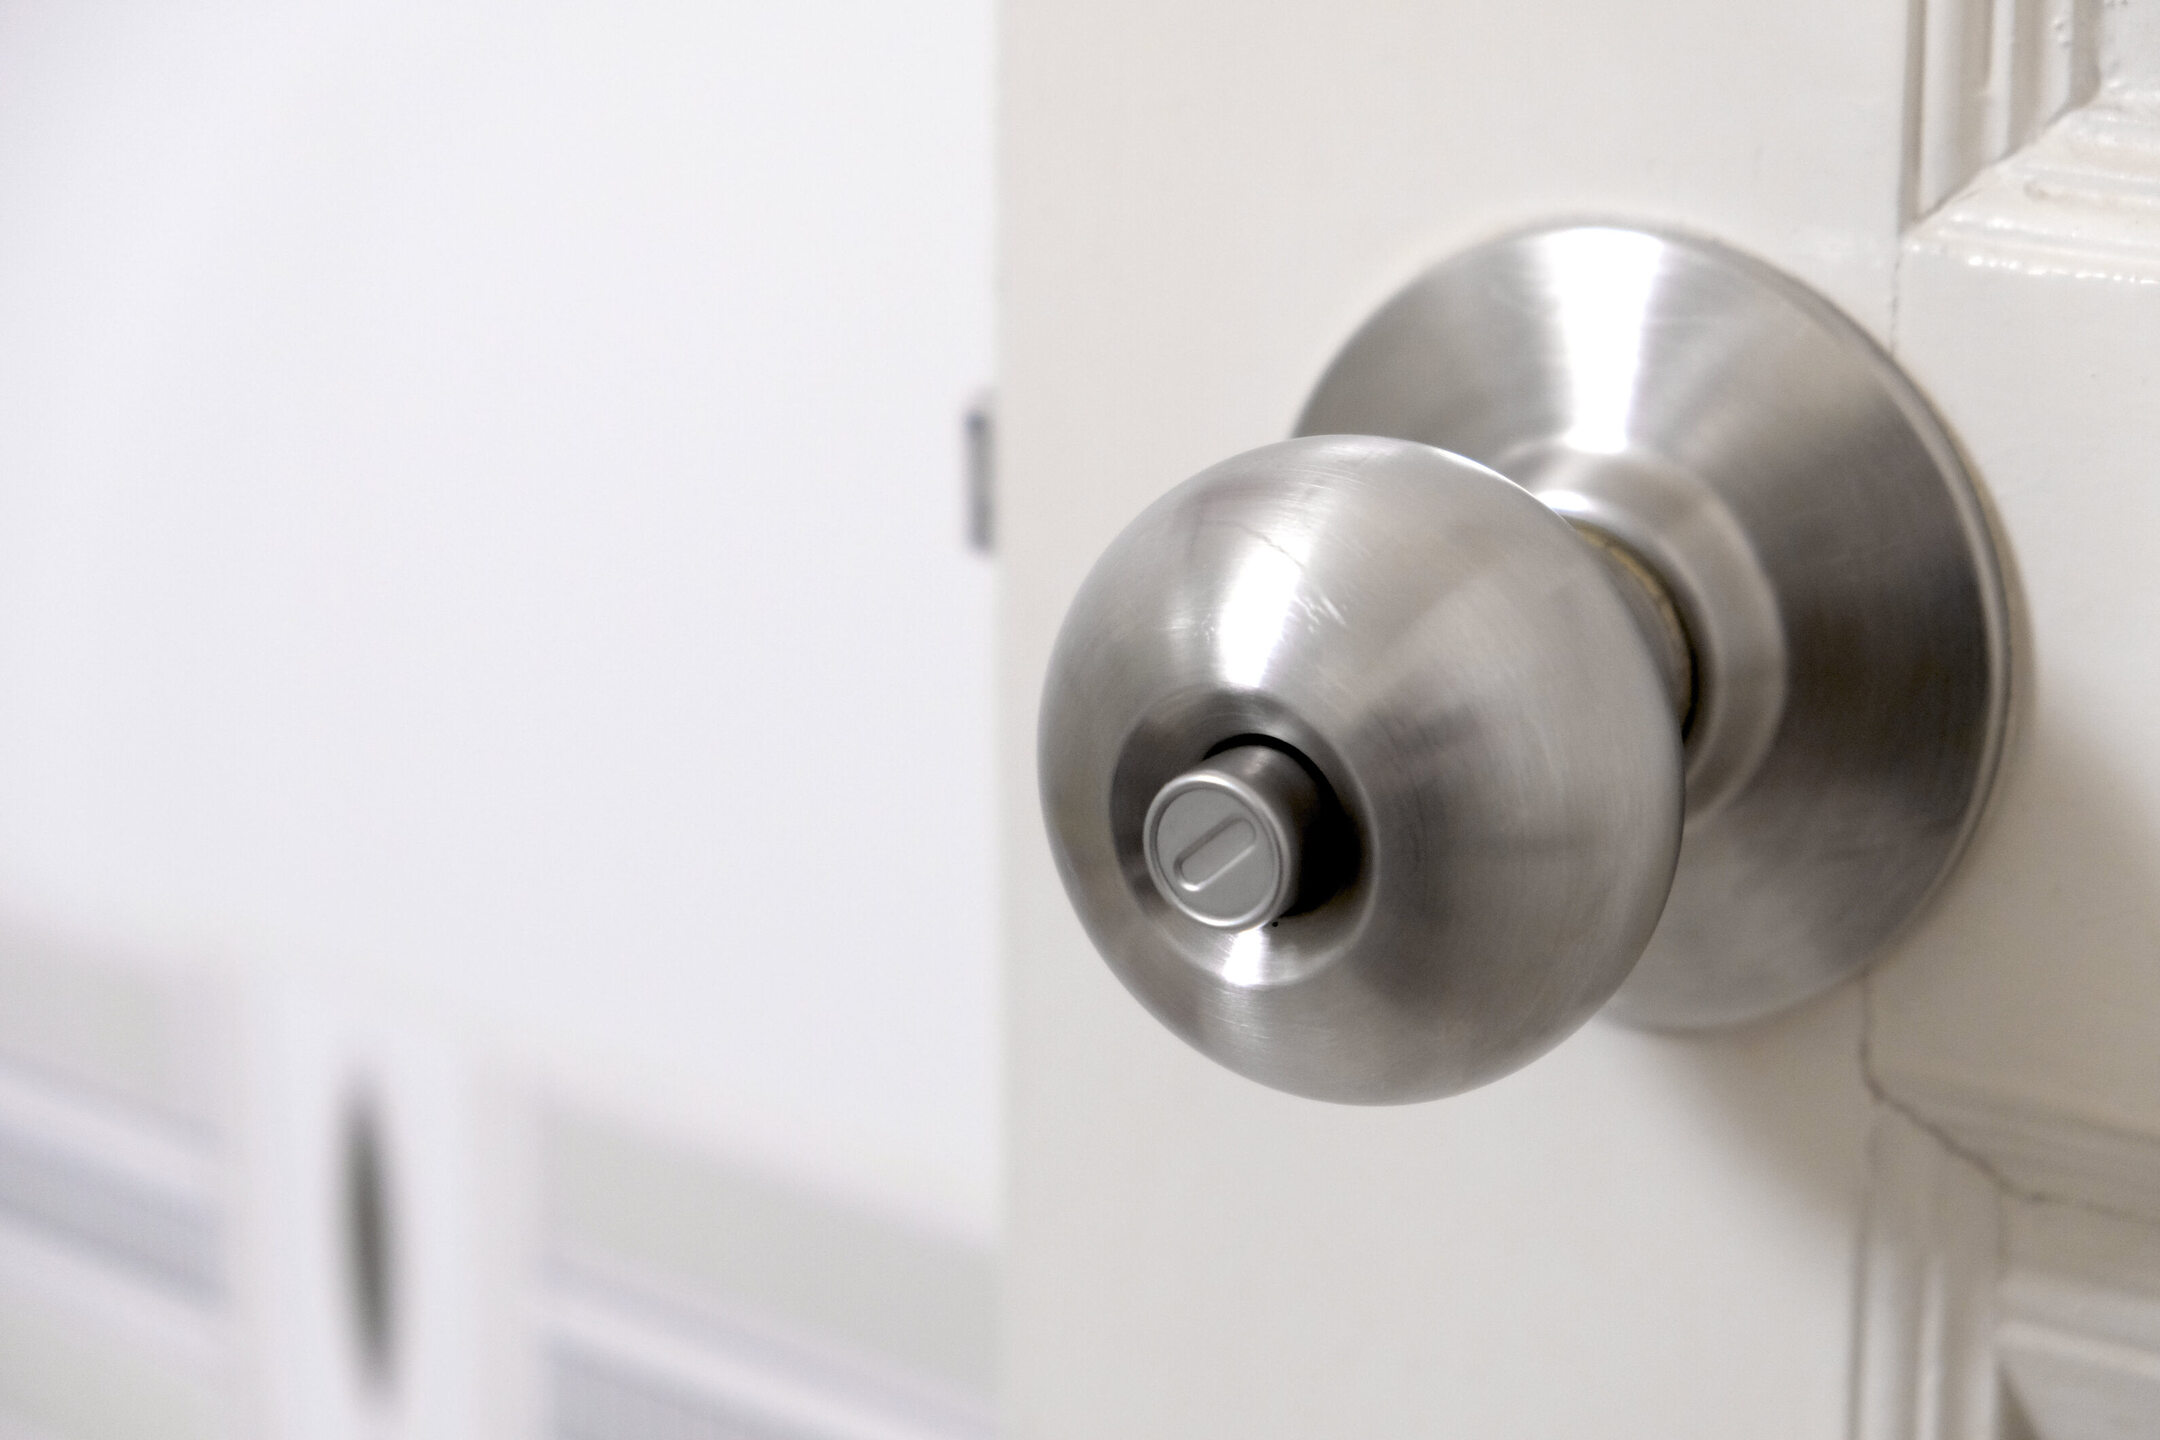
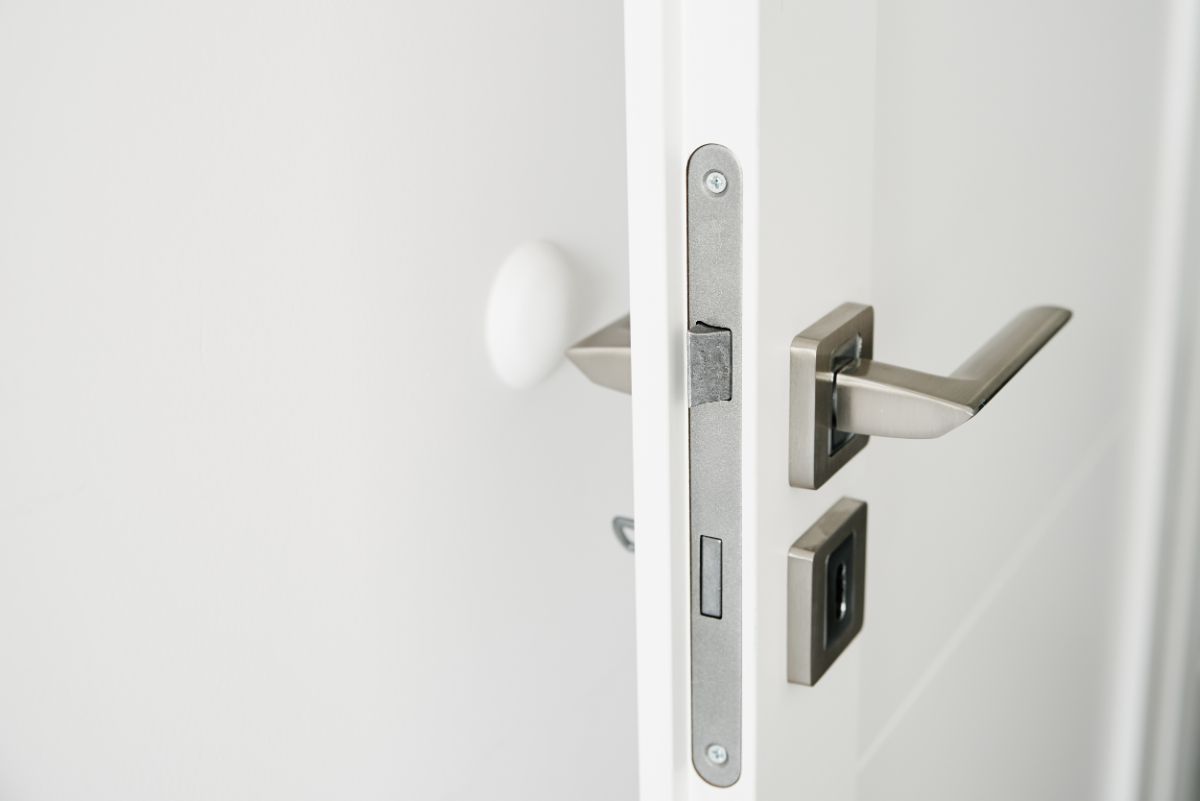
When it comes to home security, a well-functioning door lock is paramount. A push lock door handle is a convenient and popular choice for many homeowners, offering a simple and effective way to secure interior doors. However, like any mechanical device, push lock door handles can encounter issues over time, such as sticking or failing to lock properly. While it can be frustrating to deal with a malfunctioning door handle, the good news is that many problems can be resolved with a bit of know-how and the right tools.
In this guide, we will walk you through the steps to fix a push lock door handle. Whether your door handle is sticking, refusing to lock, or exhibiting other issues, this comprehensive tutorial will help you troubleshoot and resolve the problem. By following these steps, you can restore the functionality of your push lock door handle and ensure the security of your home.
So, roll up your sleeves and get ready to tackle this common household issue. With a few basic tools and a systematic approach, you can have your push lock door handle working smoothly in no time. Let's dive in and learn how to fix a push lock door handle like a pro!
Key Takeaways:
- Regular maintenance and care, such as inspecting, cleaning, and lubricating the mechanism, can help prevent common issues with push lock door handles and ensure smooth operation for years to come.
- By learning how to disassemble and reassemble a door handle, you gain the confidence and skills to troubleshoot and resolve common household maintenance tasks, contributing to a secure and functional home environment.
Read more: How To Fix A Push Bar Door Lock
Tools and Materials Needed
Before you begin fixing your push lock door handle, it’s essential to gather the necessary tools and materials. Having the right equipment at hand will streamline the repair process and ensure that you can address the issue effectively. Here’s what you’ll need:
- Screwdriver set: A set of flathead and Phillips head screwdrivers will be essential for removing screws and disassembling the door handle.
- Needle-nose pliers: These will come in handy for manipulating small components within the door handle mechanism.
- Lubricant: A silicone-based or graphite lubricant will be necessary for lubricating the lock mechanism and ensuring smooth operation.
- Clean cloth: Having a clean cloth or rag on hand will allow you to wipe down and clean the internal components of the door handle.
- Replacement parts (if needed): Depending on the specific issue with your door handle, you may require replacement parts such as springs or latch components. It’s a good idea to have these on hand before beginning the repair.
- Optional: Multimeter – If you suspect an electrical issue with a push-button lock, a multimeter can help diagnose the problem.
By ensuring that you have these tools and materials ready, you’ll be well-prepared to address a wide range of issues that may be affecting your push lock door handle. Now that you’ve gathered everything you need, it’s time to move on to the step-by-step process of fixing your door handle.
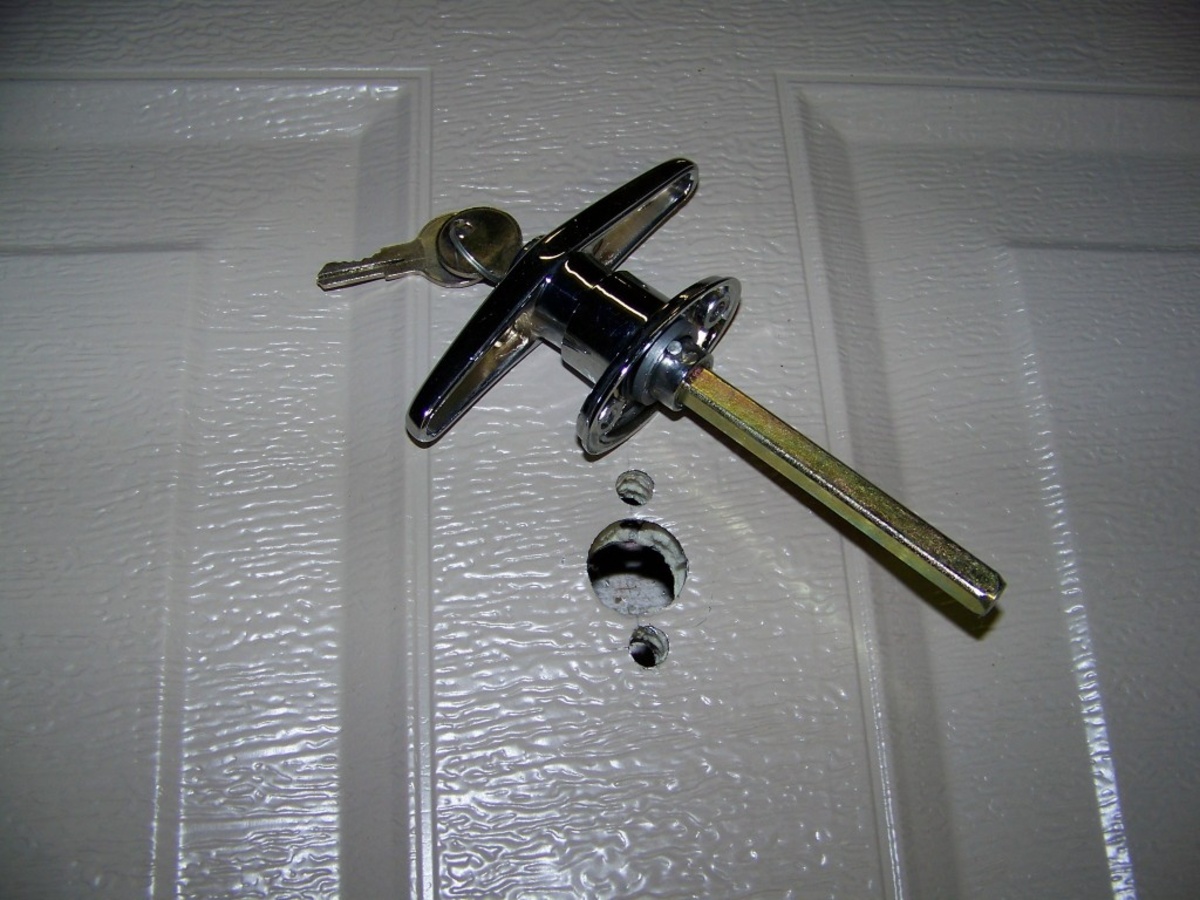
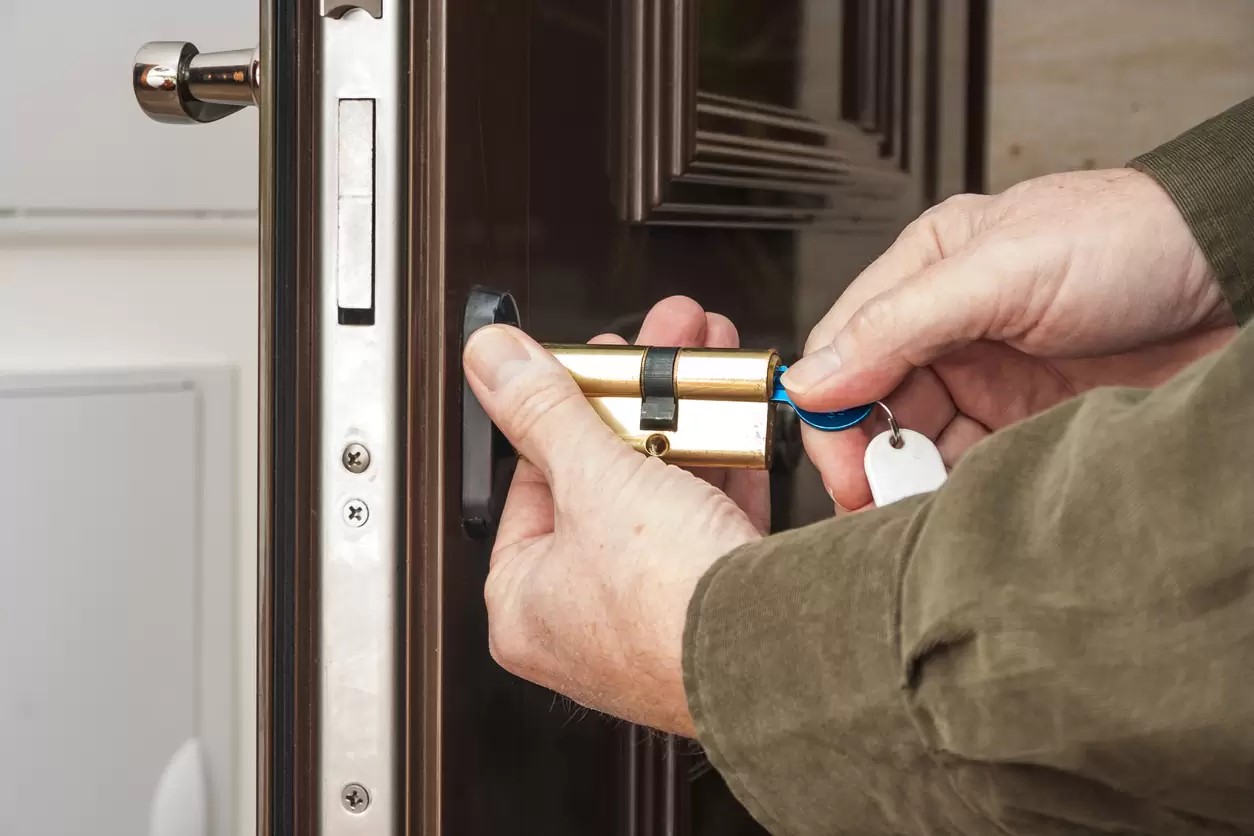
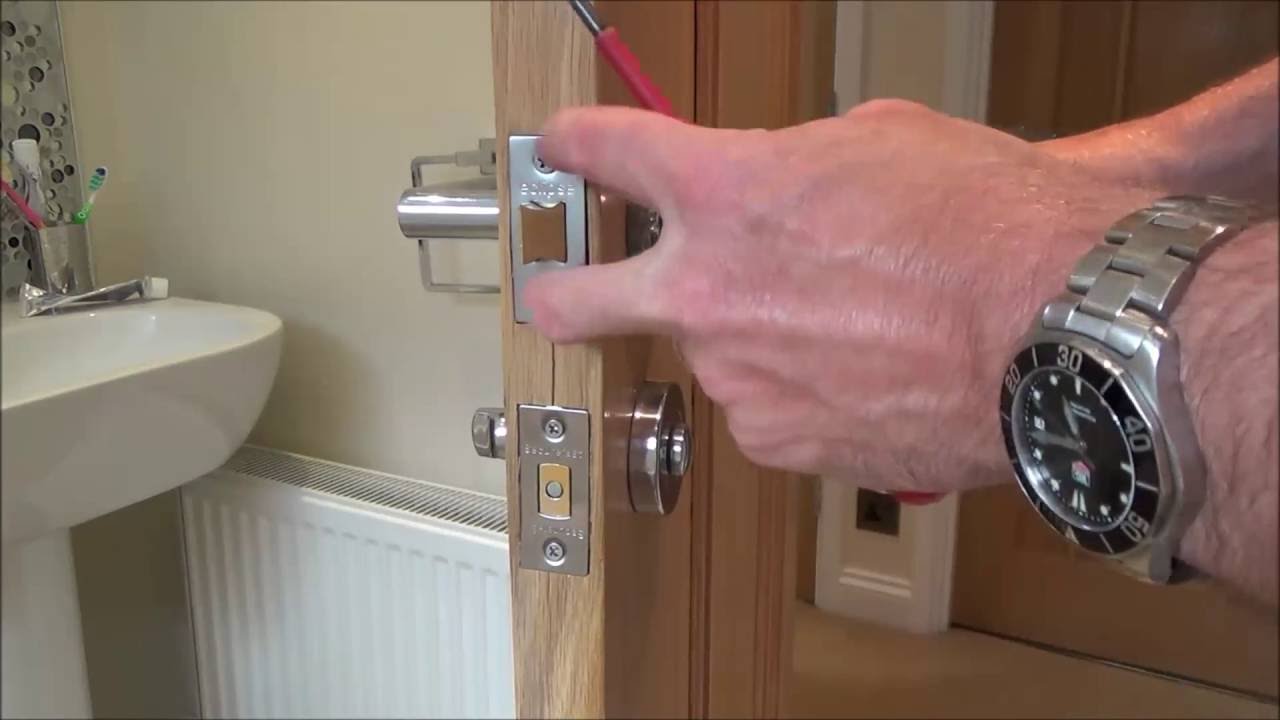
Step 1: Remove the Door Handle
Before you can address the issues with your push lock door handle, you’ll need to remove it from the door. This will allow you to access the internal mechanism and identify any problems that may be causing the malfunction. Follow these steps to safely and effectively remove the door handle:
- Gather your tools: Ensure that you have the necessary screwdrivers and any other tools required to disassemble the door handle.
- Locate the screws: Examine the door handle to locate the screws that secure it to the door. These are typically found on the interior side of the handle.
- Unscrew the handle: Use the appropriate screwdriver to carefully remove the screws from the door handle. Keep the screws in a safe place, as you will need them for reassembly.
- Separate the handle: Once the screws are removed, gently separate the two halves of the door handle to expose the internal components.
- Set aside the components: Place the screws and other small components in a secure location to prevent them from getting lost during the repair process.
With the door handle removed, you can now proceed to the next steps of diagnosing and fixing the issues affecting its functionality. By taking the time to remove the handle carefully and keep track of its components, you’ll set yourself up for a successful repair process.
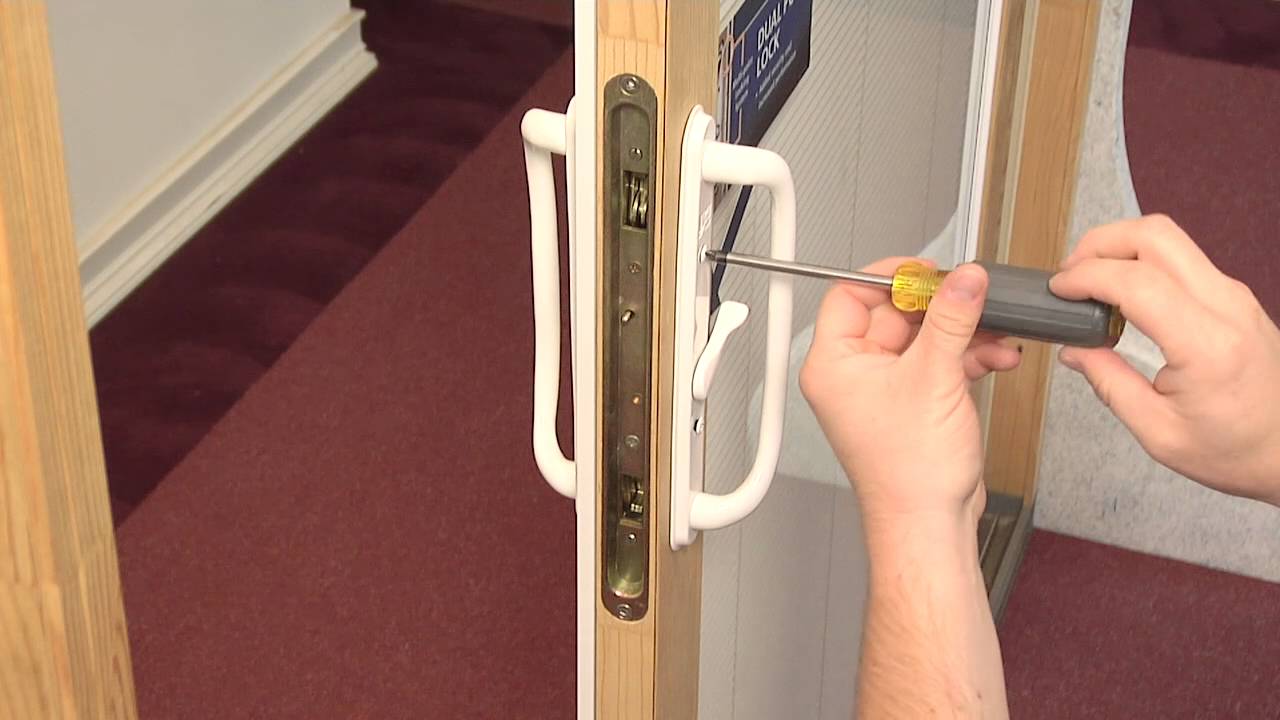
Step 2: Disassemble the Handle
With the door handle removed from the door, it’s time to disassemble it further to access the internal mechanism. This step will allow you to inspect the components and identify any issues that may be causing the malfunction. Follow these steps to disassemble the handle safely and effectively:
- Examine the internal mechanism: Take a close look at the components inside the door handle, paying attention to any visible signs of wear, damage, or obstruction.
- Identify the retaining clips or screws: Some door handles may have retaining clips or additional screws that hold the internal components together. Identify these fasteners before proceeding.
- Remove retaining clips or screws: If your door handle has retaining clips or additional screws, use the appropriate tools to carefully remove them, allowing you to access the internal mechanism.
- Separate the internal components: Gently separate the internal components of the door handle, taking care not to force or damage any delicate parts.
- Inspect the components: Once the handle is disassembled, inspect each component for signs of wear, corrosion, or other issues that may be affecting its functionality.
By disassembling the door handle, you’ll gain valuable insight into the condition of its internal components and be better equipped to identify and address any issues that may be present. With a clear understanding of the handle’s internal mechanism, you can proceed to the next steps of the repair process with confidence.
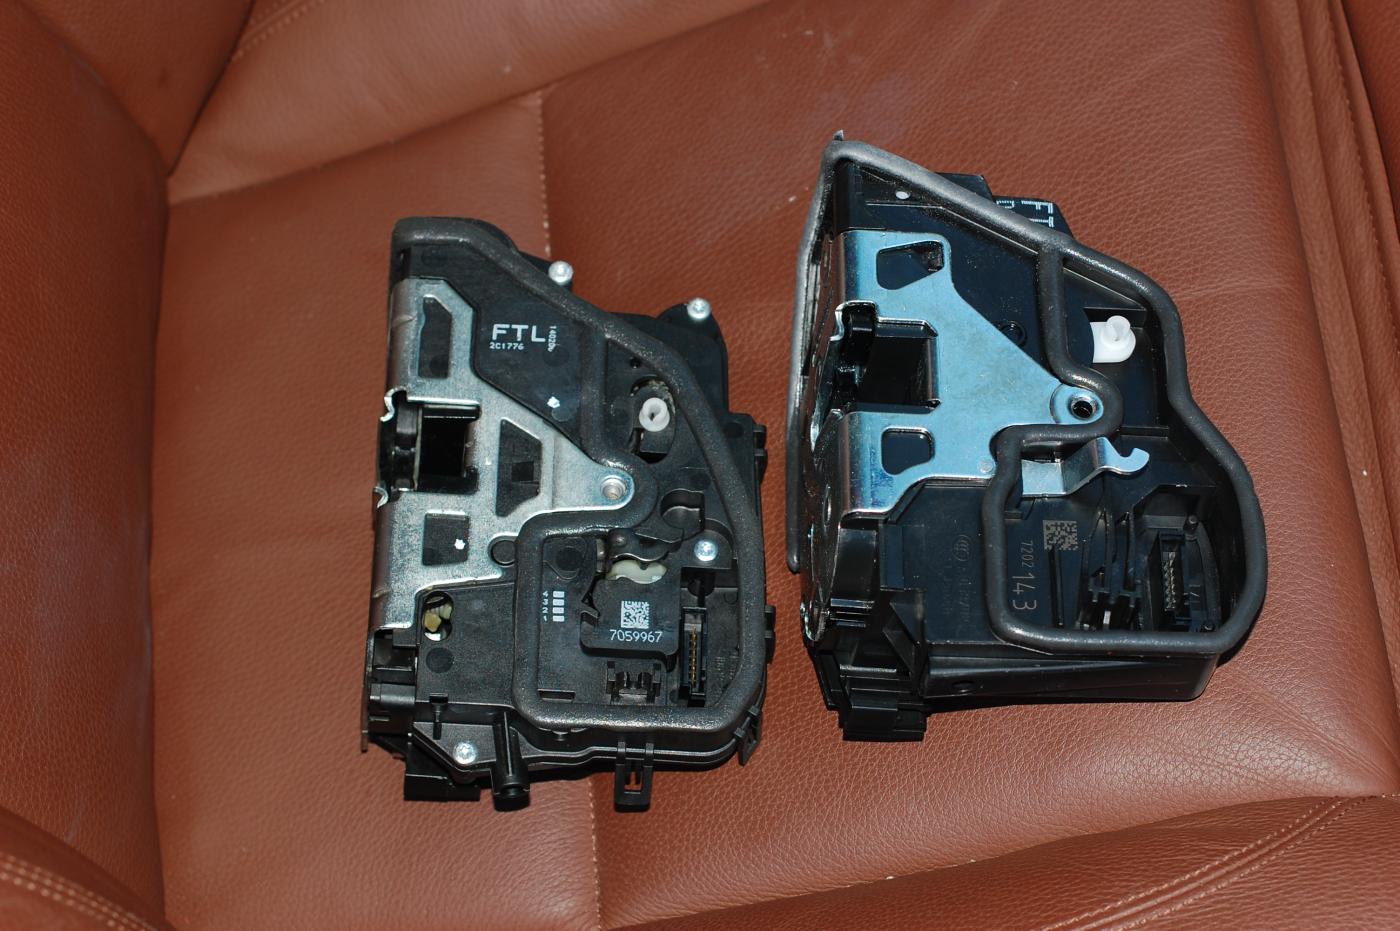
Step 3: Inspect and Clean the Mechanism
Once the door handle is disassembled, it’s crucial to inspect the internal mechanism thoroughly and address any dirt, debris, or other factors that may be impeding its functionality. By carefully examining and cleaning the mechanism, you can often resolve common issues and restore the smooth operation of the door handle. Follow these steps to inspect and clean the mechanism effectively:
- Inspect for debris: Use a flashlight to examine the internal components of the door handle, paying close attention to any accumulation of dirt, dust, or debris that may be affecting its operation.
- Clean the components: Use a clean cloth or a soft brush to gently remove any dirt or debris from the internal mechanism, taking care not to damage delicate parts.
- Check for corrosion or rust: Look for any signs of corrosion or rust on the metal components of the door handle. If present, use a rust remover or a mild solvent to clean the affected areas.
- Inspect the latch and spring: Examine the latch and spring components for proper alignment and functionality. Ensure that the latch moves freely and that the spring provides adequate tension.
- Apply lubricant: Once the mechanism is clean and free of debris, apply a small amount of silicone-based or graphite lubricant to the moving parts of the handle, including the latch and spring.
By carefully inspecting and cleaning the mechanism, you can often address common issues that may be causing the door handle to stick or operate erratically. This proactive maintenance can significantly improve the performance and longevity of your push lock door handle.
If your push lock door handle is not working, try lubricating the lock mechanism with graphite powder or silicone spray. This can help to loosen any stuck parts and improve the overall function of the handle.
Read more: How To Unlock A Push Lock Door
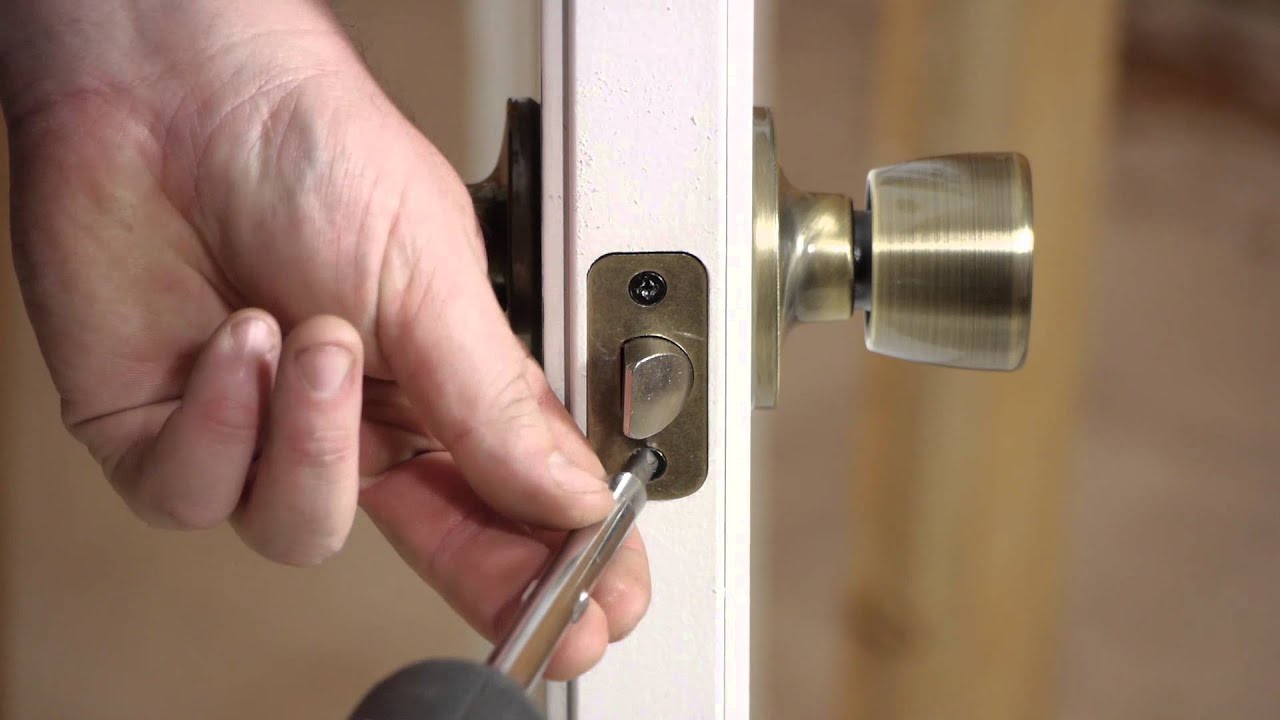
Step 4: Lubricate the Lock Mechanism
Proper lubrication is essential for ensuring the smooth and reliable operation of a push lock door handle. Over time, the internal components of the mechanism may experience friction and wear, leading to sticking or difficulty in locking and unlocking the door. By applying the right lubricant, you can minimize friction and promote seamless functionality. Follow these steps to lubricate the lock mechanism effectively:
- Select the appropriate lubricant: Choose a high-quality silicone-based or graphite lubricant specifically designed for use on door lock mechanisms. Avoid using oil-based lubricants, as they can attract dirt and debris, potentially exacerbating the issue.
- Apply the lubricant: With the door handle disassembled, apply a small amount of lubricant to the moving parts of the lock mechanism, including the latch, spring, and any other components that facilitate the locking action.
- Work the mechanism: After applying the lubricant, work the lock mechanism several times to ensure that the lubricant penetrates and coats the internal components thoroughly.
- Wipe off any excess: Use a clean cloth to wipe off any excess lubricant from the components, ensuring that only a thin, even layer remains to facilitate smooth operation.
- Reassemble the handle: Once the mechanism is lubricated, reassemble the door handle, following the reverse of the disassembly steps. Ensure that all components are securely fastened and aligned properly.
By properly lubricating the lock mechanism, you can mitigate the effects of wear and friction, allowing the door handle to operate smoothly and reliably. This simple maintenance step can make a significant difference in the performance and longevity of your push lock door handle.
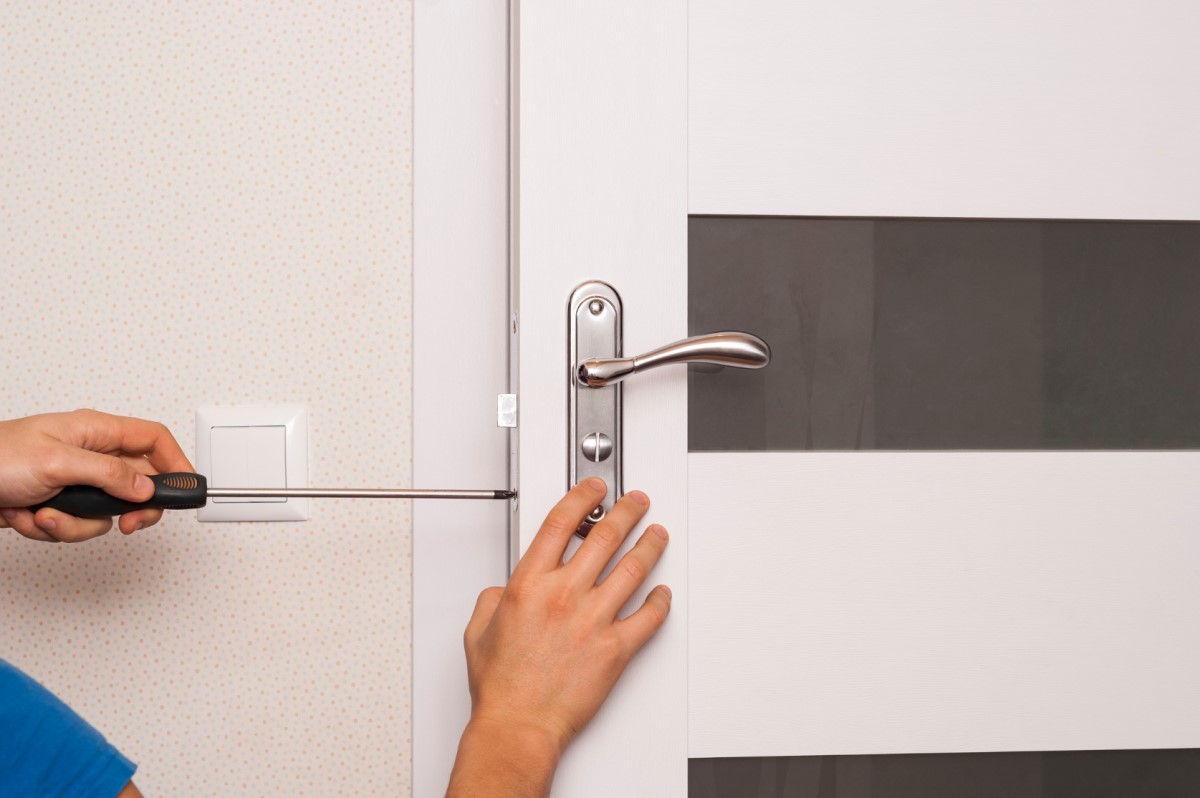
Step 5: Reassemble the Door Handle
With the necessary repairs and maintenance tasks completed, it’s time to reassemble the door handle and restore it to its original position on the door. Proper reassembly is crucial to ensure that the handle functions correctly and securely locks the door. Follow these steps to reassemble the door handle effectively:
- Retrieve the components: Gather all the components of the door handle, including the two halves of the handle, screws, and any additional parts that were removed during the disassembly process.
- Align the components: Position the internal components of the door handle correctly, ensuring that the latch, spring, and other parts are aligned and seated properly within the handle assembly.
- Secure the components: Carefully bring together the two halves of the door handle, ensuring that all internal components are enclosed securely within the assembly.
- Insert and tighten the screws: Use the appropriate screws and a screwdriver to fasten the two halves of the door handle together. Tighten the screws securely, but avoid over-tightening, which can cause damage to the handle.
- Test the handle: Before proceeding to reattach the handle to the door, test its operation by pressing the push lock button and ensuring that the handle moves smoothly and locks securely.
By following these steps, you can reassemble the door handle with confidence, knowing that the internal components are correctly positioned and securely fastened. With the handle reassembled, you’re ready to proceed to the final step of the repair process.
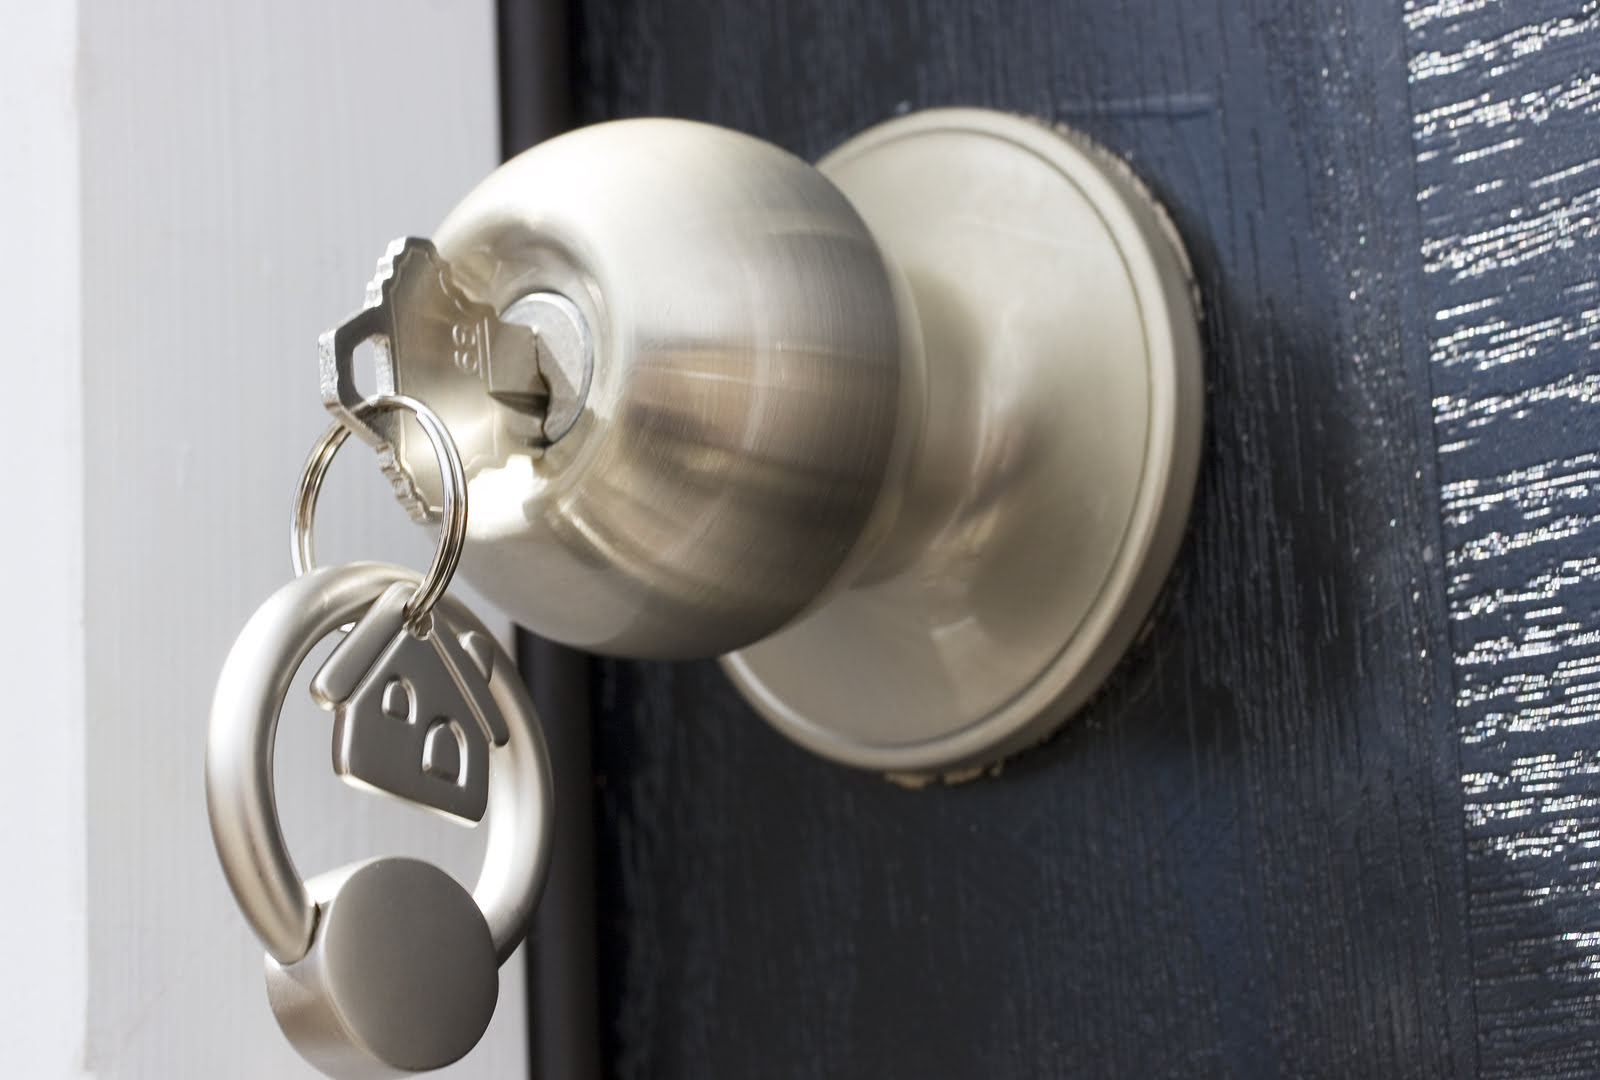
Step 6: Test the Door Handle
After completing the necessary repairs and reassembling the door handle, it’s essential to test its functionality to ensure that the issues have been successfully addressed. Testing the door handle will allow you to verify that it operates smoothly, locks securely, and provides the level of security and convenience you expect. Follow these steps to test the door handle effectively:
- Operate the handle: Press the push lock button and turn the handle to engage the lock mechanism. Verify that the handle moves smoothly and without resistance.
- Test the locking action: With the handle in the locked position, attempt to open the door from the outside. Ensure that the door remains securely locked and that the handle resists turning when locked.
- Verify smooth operation: Open and close the door several times while testing the handle’s operation. Pay attention to any signs of sticking, grinding, or other issues that may indicate ongoing problems.
- Check for proper alignment: Confirm that the door handle aligns correctly with the strike plate and that the latch engages smoothly when the door is closed and locked.
- Make any necessary adjustments: If you encounter any issues during testing, such as sticking or inconsistent locking, revisit the previous steps to identify and address the underlying problems.
By thoroughly testing the door handle, you can ensure that the repair process has been successful and that the handle functions as intended. Taking the time to test the handle’s operation will provide peace of mind and confidence in the security of your home.
Conclusion
Congratulations! By following the step-by-step guide outlined above, you have successfully learned how to fix a push lock door handle. Taking the initiative to address issues with your door handle not only ensures the security of your home but also saves you the cost of professional repairs or replacements. With the right tools, a systematic approach, and a bit of know-how, you’ve tackled a common household maintenance task like a pro.
Remember, regular maintenance and care for your door handles can go a long way in preserving their functionality and longevity. By inspecting, cleaning, and lubricating the mechanism, you can prevent common issues and ensure that your door handle operates smoothly for years to come. Additionally, knowing how to disassemble and reassemble the handle gives you the confidence to address any future issues that may arise.
As you test the door handle and confirm its smooth operation, take pride in your newfound skills and the ability to troubleshoot and resolve common household maintenance tasks. By staying proactive and attentive to the condition of your door handles, you can maintain a secure and functional home environment for yourself and your family.
Thank you for taking the time to learn how to fix a push lock door handle. With your newfound knowledge and skills, you’re well-equipped to handle this and other similar maintenance tasks with confidence and expertise.
Once you've tackled fixing your push lock door handle, why not broaden your handy skills further? If doors at your place are sticking or squeaking, our guide on door repair offers practical fixes. Keen on more ambitious projects? Dive into DIY home improvement for creative yet straightforward ways to enhance your living space. And for peace of mind, understanding home security essentials is a must, ensuring safety for everyone under your roof. Keep learning and improving with each project!
Frequently Asked Questions about How To Fix A Push Lock Door Handle
Was this page helpful?
At Storables.com, we guarantee accurate and reliable information. Our content, validated by Expert Board Contributors, is crafted following stringent Editorial Policies. We're committed to providing you with well-researched, expert-backed insights for all your informational needs.
0 thoughts on “How To Fix A Push Lock Door Handle”