Home>Technology>Security & Surveillance>How To Replace Door Lock Actuator
Security & Surveillance
How To Replace Door Lock Actuator
Modified: October 30, 2024
Learn how to replace a door lock actuator for improved security and surveillance. Follow our step-by-step guide for a hassle-free installation.
(Many of the links in this article redirect to a specific reviewed product. Your purchase of these products through affiliate links helps to generate commission for Storables.com, at no extra cost. Learn more)
Introduction
Ensuring the security of our homes and properties is paramount in today’s world. One crucial component of a secure home is a fully functional door lock system. The door lock actuator plays an integral role in this system, as it is responsible for the smooth and reliable operation of the door locks. Over time, wear and tear can lead to the malfunctioning of the door lock actuator, necessitating its replacement.
In this comprehensive guide, we will delve into the process of replacing a door lock actuator. Whether you are a seasoned DIY enthusiast or a novice looking to tackle this task for the first time, this step-by-step walkthrough will equip you with the knowledge and confidence to successfully replace a door lock actuator. By following these instructions and utilizing the recommended tools and materials, you can restore the functionality of your door lock system and enhance the security of your property.
Before embarking on this endeavor, it’s essential to familiarize yourself with the door lock actuator and understand its function within the broader context of the door lock system. Additionally, gathering the necessary tools and materials will streamline the replacement process and ensure a seamless transition to the new actuator. With careful attention to detail and a systematic approach, you can effectively replace the door lock actuator and safeguard the integrity of your property’s security.
Key Takeaways:
- Replacing a door lock actuator involves understanding its role, gathering tools and materials, removing the old actuator, installing the new one, and testing its functionality. This process enhances the security of your property.
- By following a step-by-step guide, anyone can replace a door lock actuator with confidence. This ensures the smooth operation of the door lock system, contributing to the safety and reliability of your property.
Read more: How To Fix Door Lock Actuator
Understanding the Door Lock Actuator
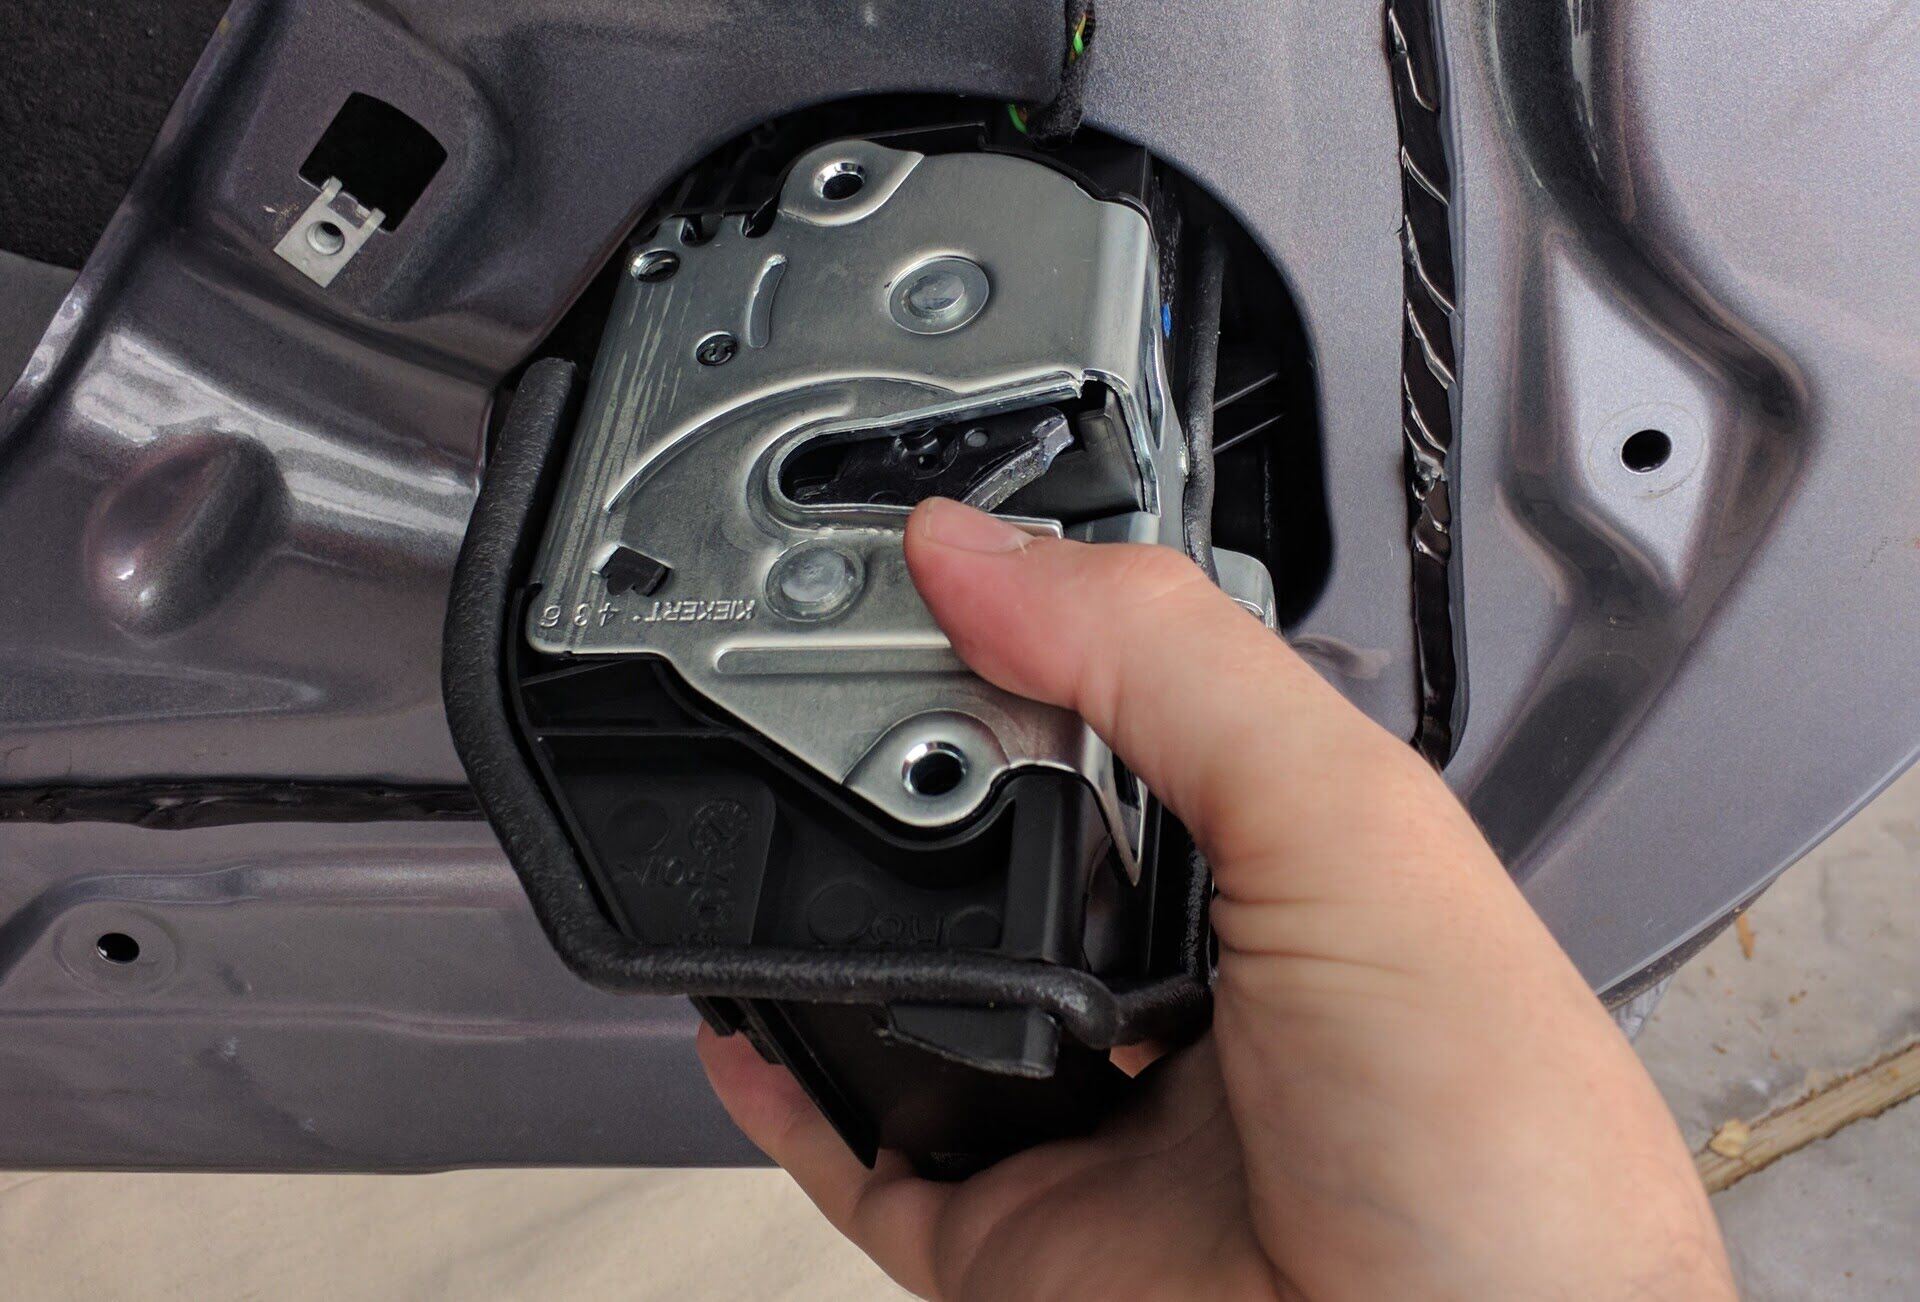
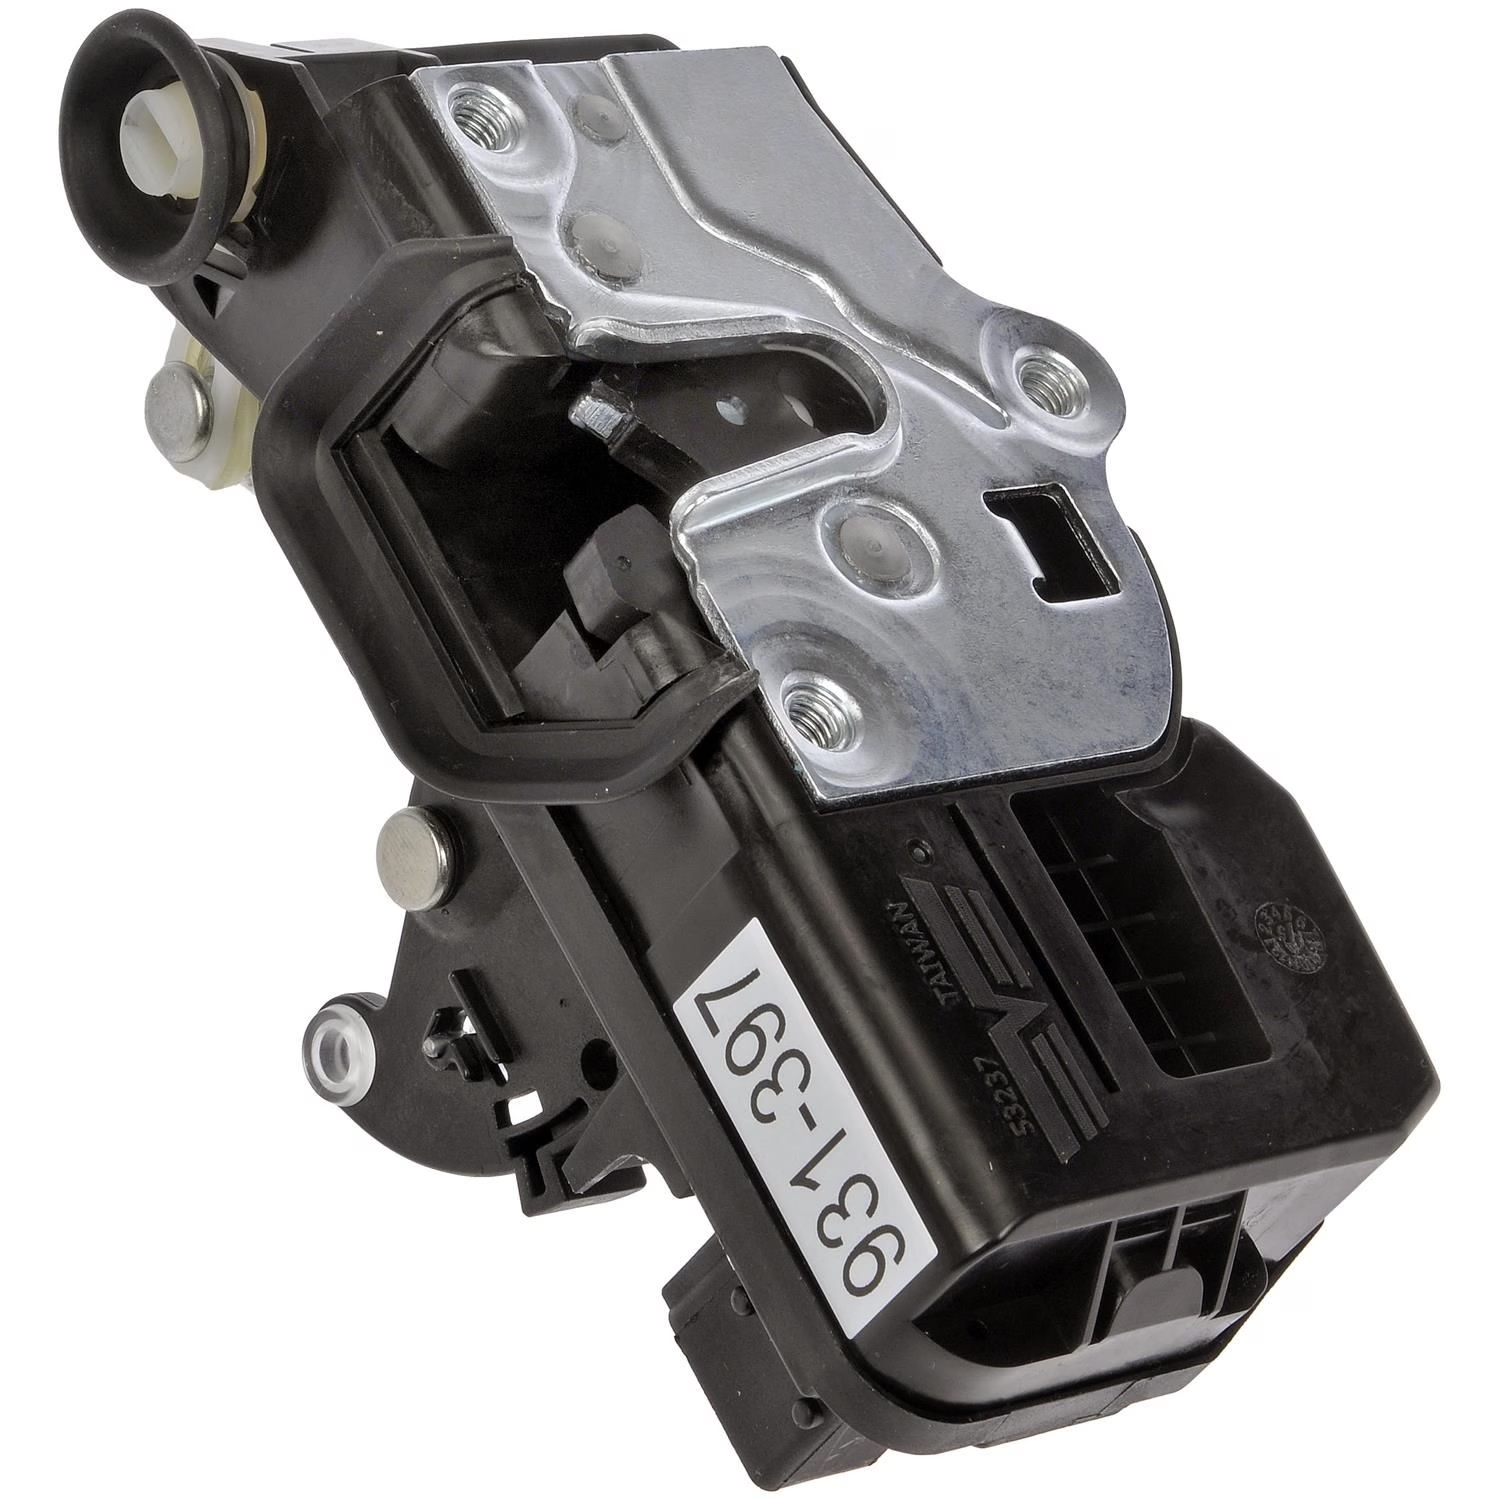
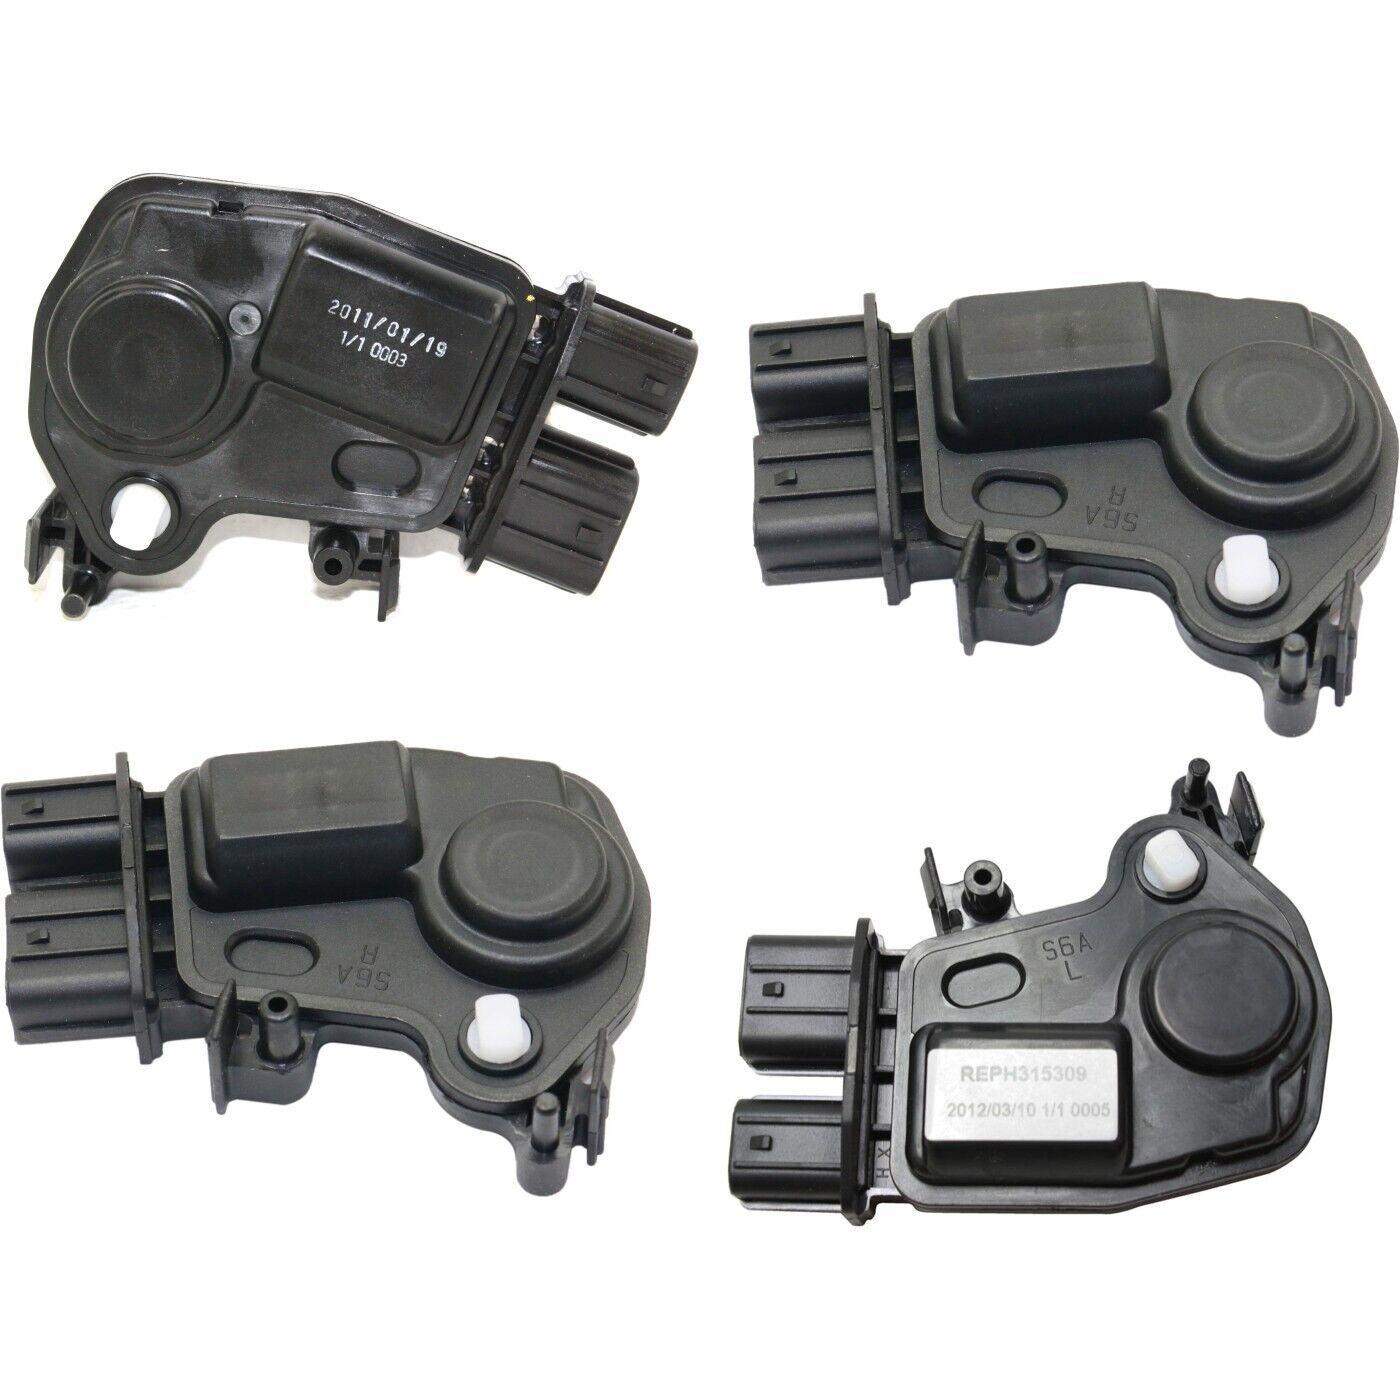
Before delving into the replacement process, it’s crucial to grasp the role of the door lock actuator within the door lock system. The door lock actuator serves as the mechanism responsible for locking and unlocking the doors of a vehicle or building. It is typically located within the door assembly and is activated electrically, allowing for convenient and efficient operation of the door locks.
When the door lock button or remote key fob is engaged, a signal is sent to the door lock actuator, prompting it to either engage or disengage the door locks. This seamless process is integral to the overall security and functionality of the door lock system. Over time, factors such as frequent use, environmental conditions, and general wear can lead to the deterioration of the door lock actuator, resulting in issues such as erratic locking behavior or complete failure to lock or unlock the doors.
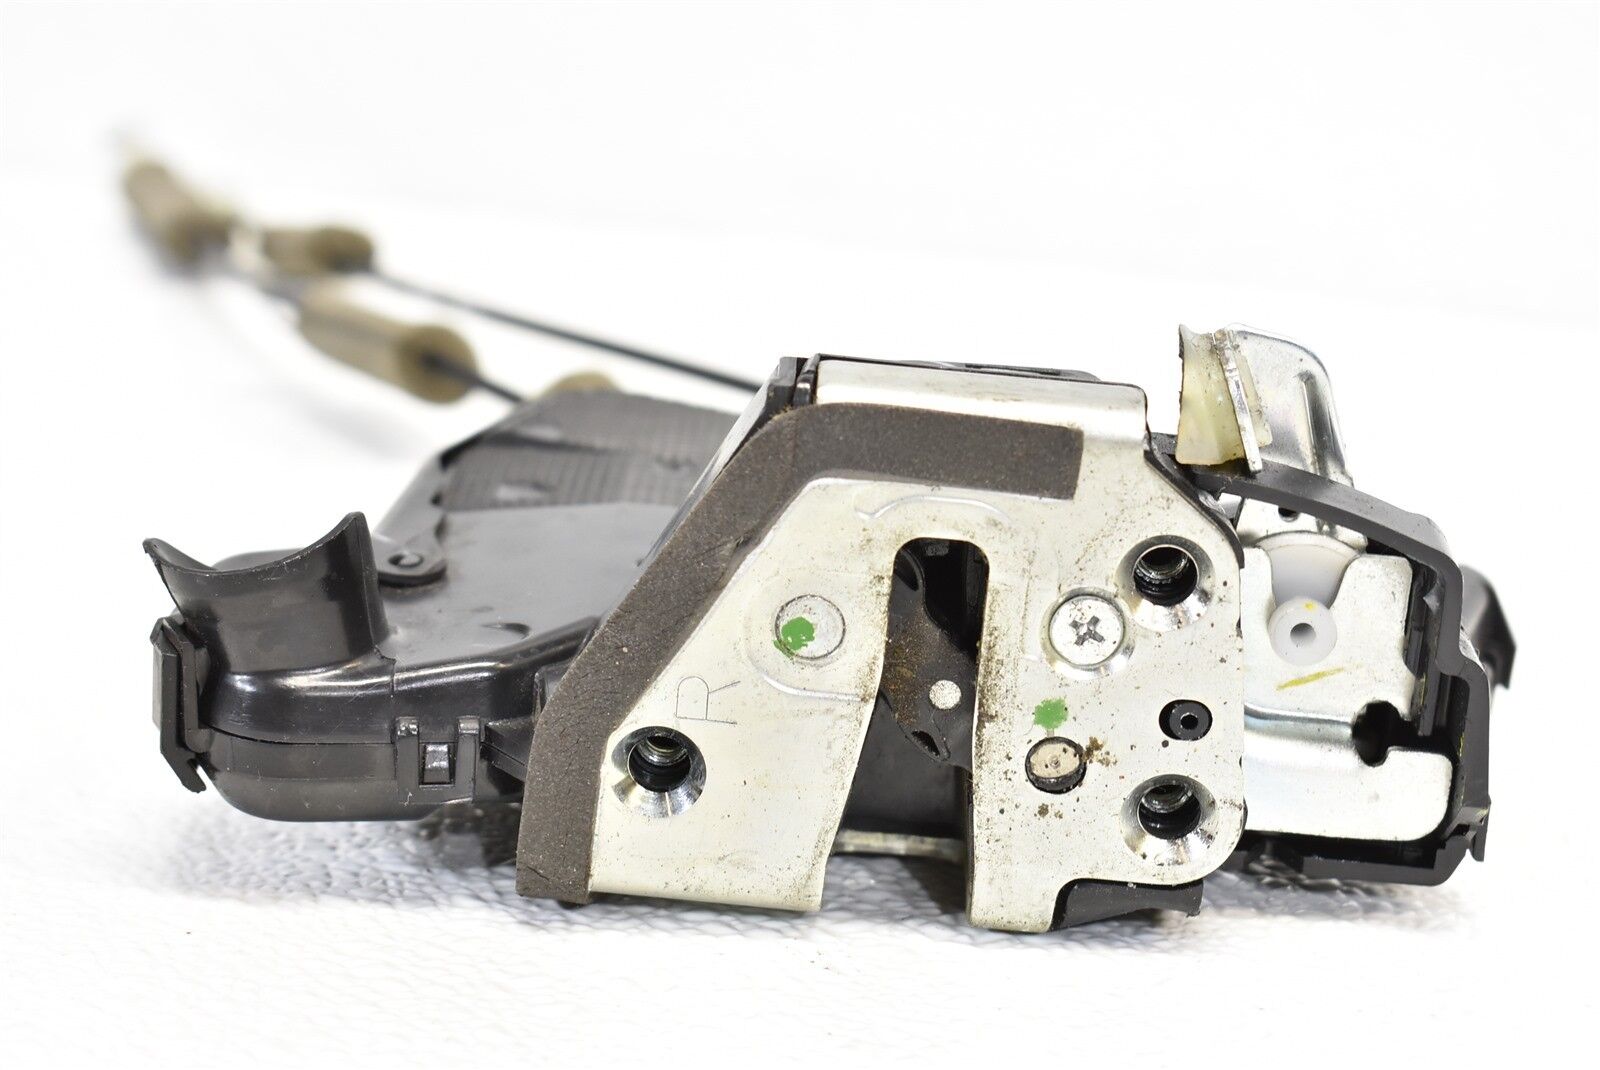
Modern door lock actuators often consist of a small electric motor, gears, and mechanical linkages that translate the electrical signal into the physical locking or unlocking of the doors. Understanding the internal components and operation of the door lock actuator is essential for effectively diagnosing and addressing any issues that may arise. By gaining insight into the intricacies of this component, individuals can confidently navigate the replacement process and restore the optimal functionality of their door lock system.
Furthermore, familiarizing oneself with the specific type and design of the door lock actuator in question is pivotal, as variations exist across different vehicle or building models. Whether it’s a linear actuator, rotary actuator, or solenoid-activated actuator, each type possesses unique characteristics that influence the replacement procedure. By acquiring a comprehensive understanding of the door lock actuator and its variants, individuals can approach the replacement task with clarity and precision, ensuring a successful outcome.
Tools and Materials Needed
Before initiating the replacement of a door lock actuator, it’s essential to gather the requisite tools and materials to facilitate a smooth and efficient process. Equipping oneself with the following items will not only streamline the replacement procedure but also ensure that the task is executed with precision and care.
Tools:
- Socket set
- Screwdriver set (flathead and Phillips)
- Trim removal tool
- Panel removal tool
- Multimeter (for electrical testing)
- Wire crimping tool
- Needle-nose pliers
- Trim clip removal tool
- Work gloves
- Safety goggles
Materials:
- Replacement door lock actuator
- Electrical contact cleaner
- Lubricating grease
- Replacement door panel clips
- Electrical tape
- Zip ties
- Protective barrier (such as a cloth or cardboard) to safeguard the vehicle's interior during panel removal
By ensuring that the aforementioned tools and materials are readily available, individuals can approach the door lock actuator replacement with confidence and preparedness. These items are instrumental in safely and effectively navigating each step of the process, from removing the door panel to installing the new actuator and reassembling the door assembly. Additionally, the inclusion of safety gear such as work gloves and safety goggles underscores the importance of prioritizing personal safety throughout the replacement endeavor.
Read more: How To Test Door Lock Actuator
Removing the Door Panel
Before gaining access to the door lock actuator for replacement, it is necessary to remove the door panel. This step is crucial in providing the space and visibility required to proceed with the replacement process. Here’s a comprehensive guide on how to effectively remove the door panel:
- Disconnect the Battery: Prior to commencing any work on the door assembly, disconnect the vehicle’s battery to prevent any electrical mishaps.
- Locate and Remove Screws and Fasteners: Utilizing a screwdriver set, carefully remove any screws or fasteners securing the door panel to the door frame. These are commonly found along the perimeter of the door panel and within the door handle assembly.
- Utilize Trim Removal Tools: Gently pry the edges of the door panel using a trim removal tool to release the panel’s retaining clips. Exercise caution to avoid damaging the panel or the underlying components.
- Disconnect Electrical Connections: If the door panel is equipped with electrical connections for components such as power windows, door locks, or speakers, carefully disconnect these connections to fully detach the panel. Take note of the connection locations for reassembly.
- Remove the Door Panel: Once all fasteners, clips, and electrical connections have been addressed, carefully lift the door panel away from the door frame, ensuring that no obstructions impede its removal. Store the panel in a safe location to prevent damage.
By meticulously following these steps and exercising patience and precision, individuals can successfully remove the door panel without compromising its integrity or the underlying components. It’s important to maintain an organized approach, keeping track of removed fasteners and electrical connections to facilitate a seamless reassembly process. With the door panel removed, the door lock actuator and its surrounding components are now accessible for the subsequent replacement steps.
Accessing and Removing the Old Actuator
With the door panel successfully removed, the next phase involves accessing and removing the old door lock actuator. This pivotal step sets the stage for the installation of the new actuator and demands careful attention to detail. Here’s a comprehensive guide on accessing and removing the old actuator:
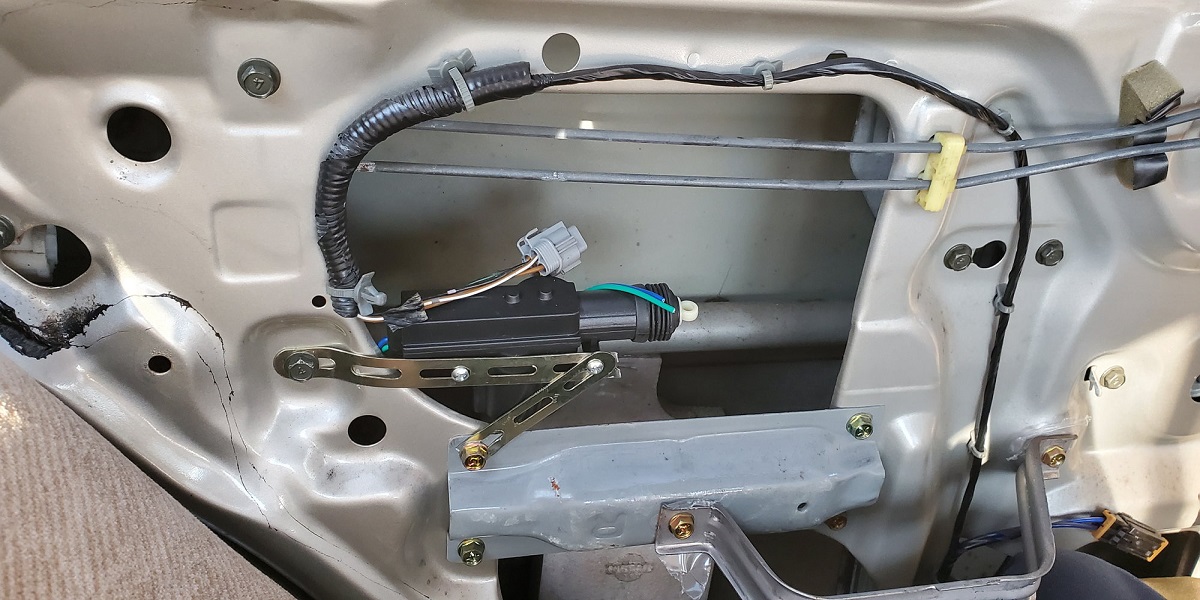
- Locate the Actuator: Identify the position of the old door lock actuator within the door assembly. Depending on the vehicle or building model, the actuator may be situated near the door latch mechanism or integrated into the door lock assembly.
- Disconnect Electrical Connections: Prior to removing the actuator, carefully disconnect any electrical connections leading to it. This may involve unplugging wiring harnesses or detaching electrical connectors, ensuring that no damage occurs to the wiring or the actuator itself.
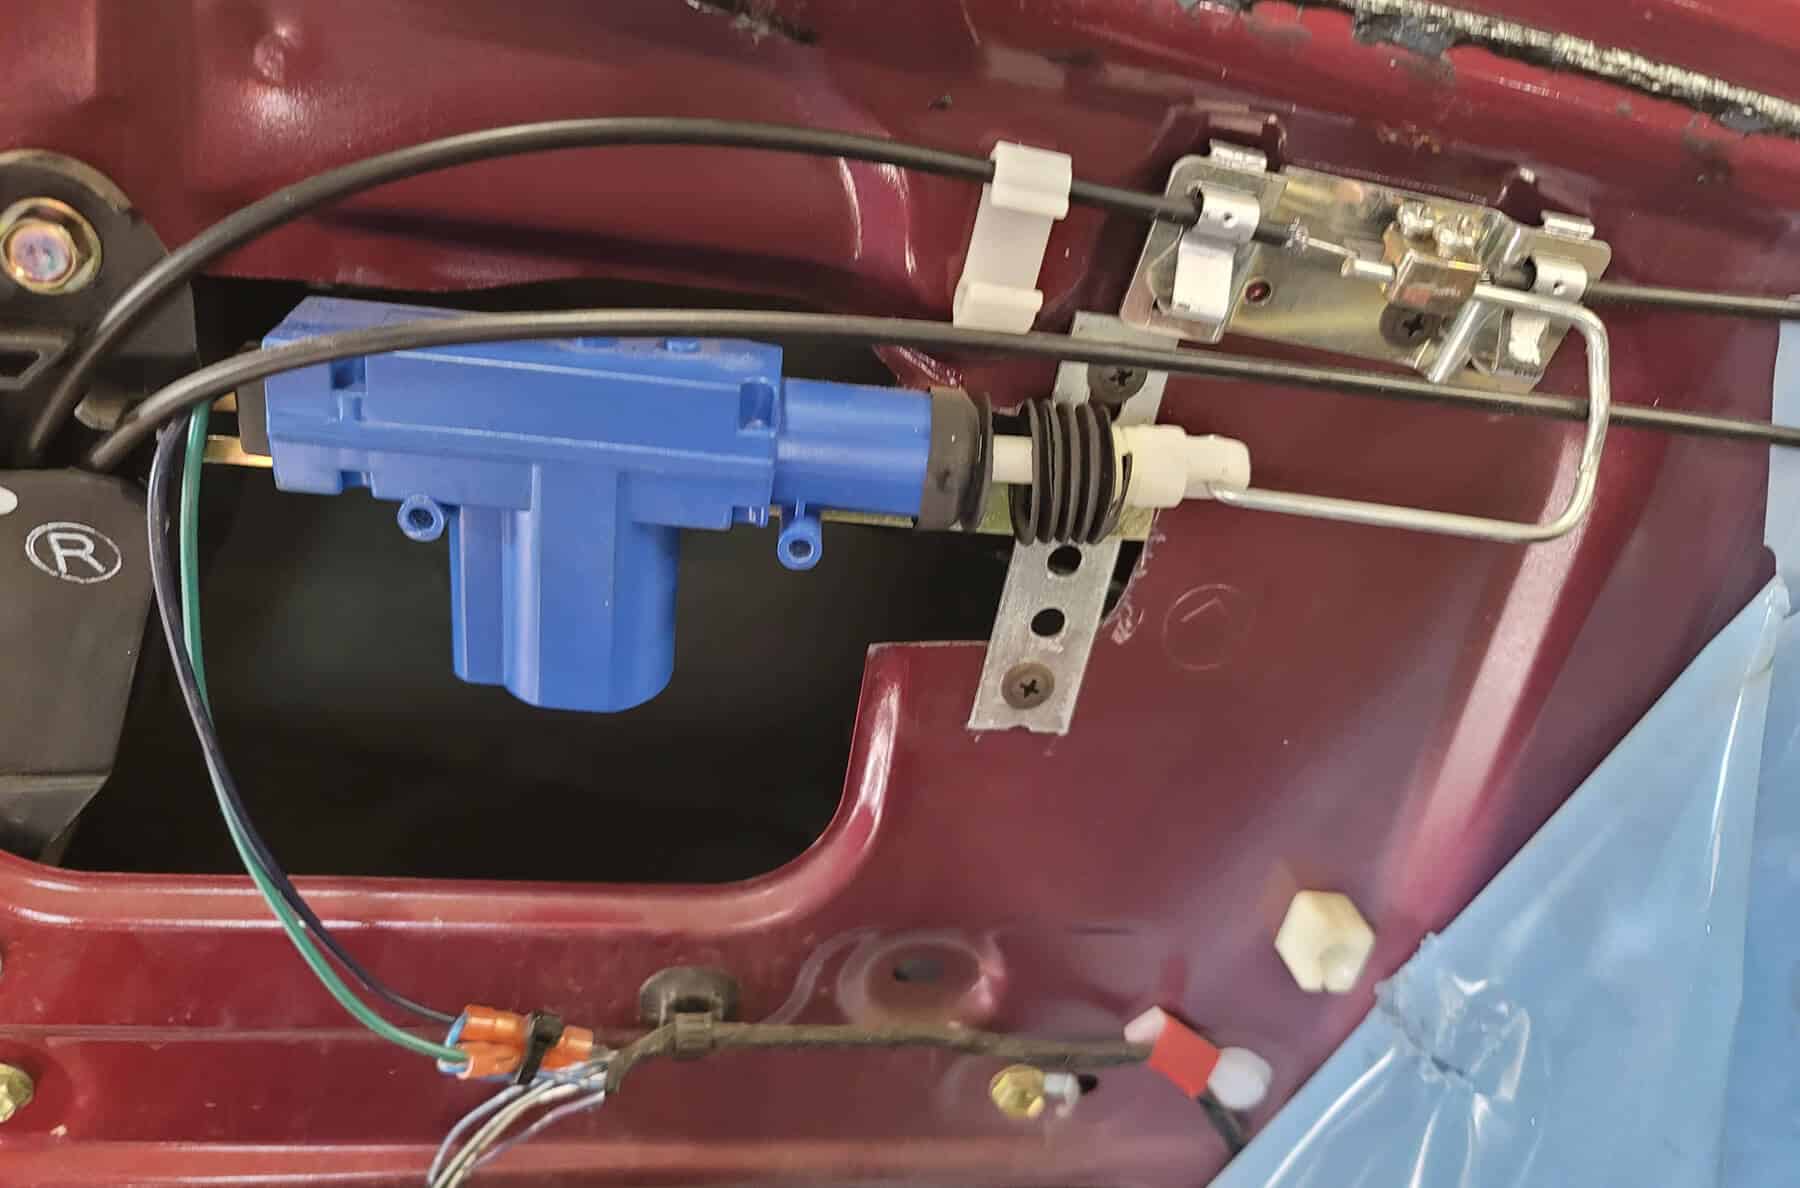
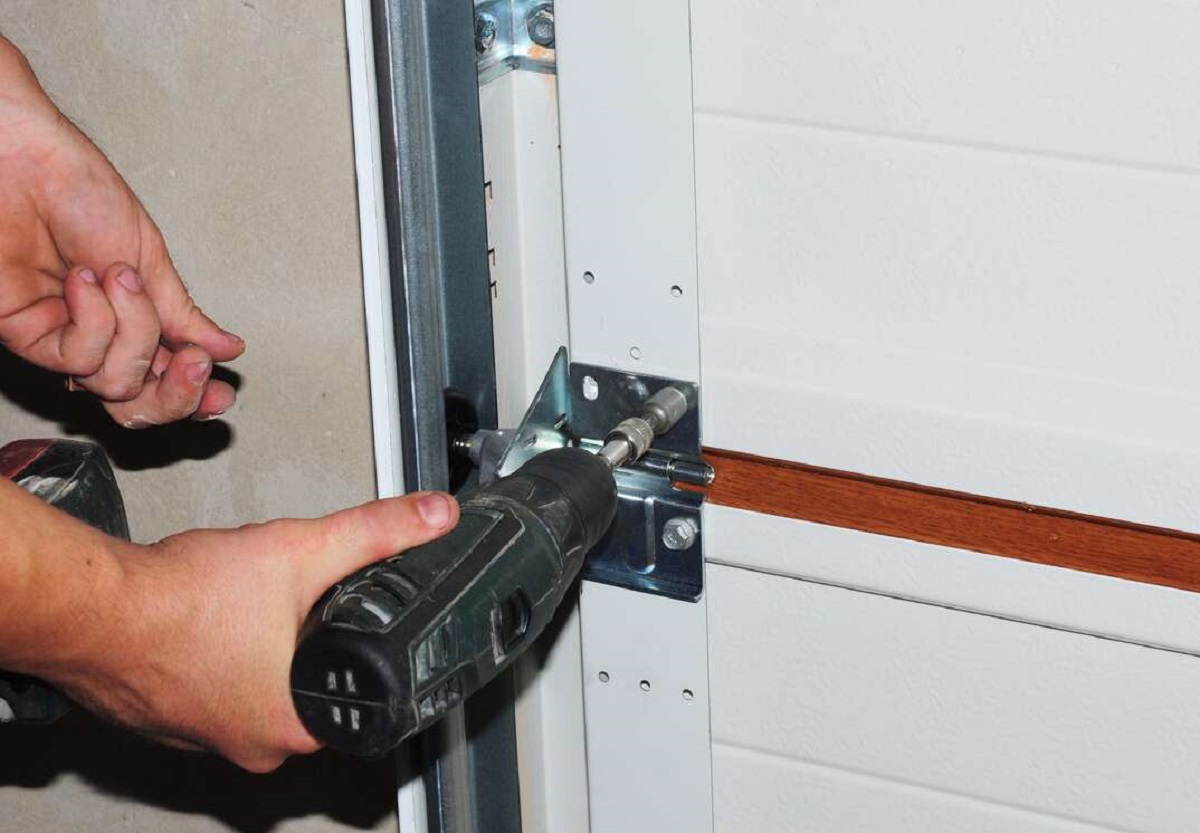
- Remove Mounting Hardware: Using the appropriate tools, such as a socket set or screwdriver, detach the mounting hardware securing the actuator to the door assembly. This may include bolts, screws, or clips, depending on the specific configuration of the actuator and the door structure.
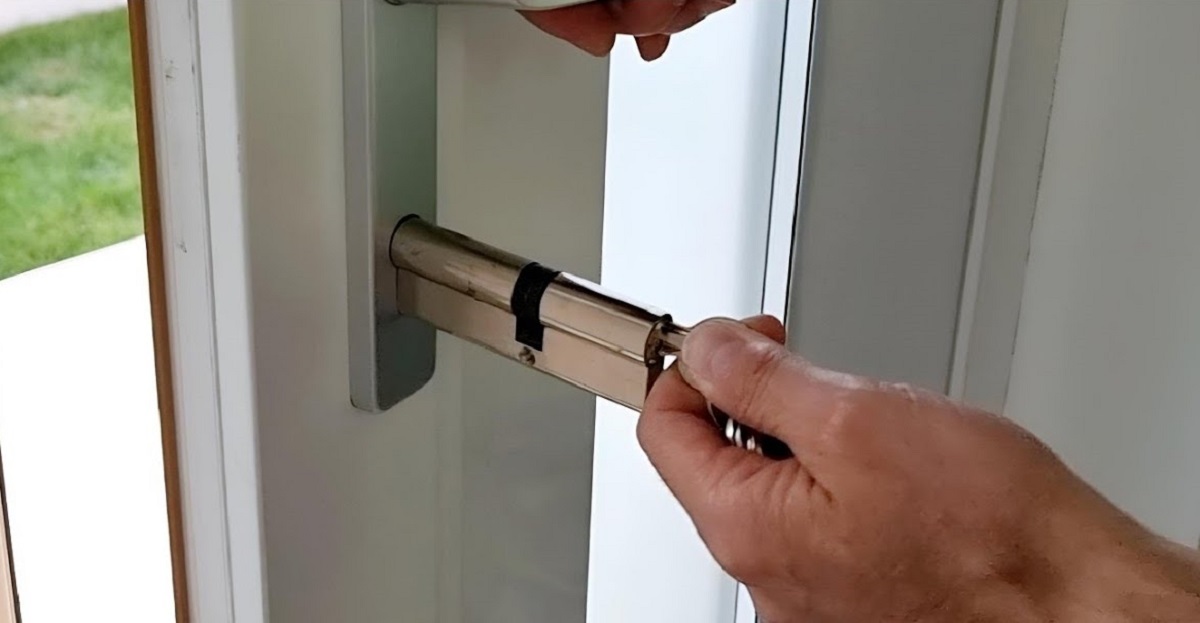
- Extract the Actuator: With the electrical connections and mounting hardware removed, carefully extract the old door lock actuator from its position within the door assembly. Exercise caution to prevent any damage to surrounding components and wiring.
- Inspect Surrounding Components: While the actuator is removed, take the opportunity to inspect the surrounding components for any signs of wear, damage, or debris. Address any issues as necessary to ensure optimal performance and longevity of the new actuator.
By meticulously following these steps, individuals can effectively access and remove the old door lock actuator, paving the way for the seamless installation of its replacement. It’s essential to handle the actuator with care and precision, maintaining a focus on the integrity of the surrounding components and electrical connections. With the old actuator successfully removed, the stage is set for the installation of the new actuator, marking a significant stride toward restoring the door lock system’s functionality and security.
Installing the New Actuator
With the old door lock actuator successfully removed, the installation of the new actuator is a pivotal phase in the replacement process. This step demands precision and attention to detail to ensure the seamless integration of the new component. Here’s a comprehensive guide on installing the new actuator:
- Position the New Actuator: Identify the precise location within the door assembly where the new door lock actuator will be installed. Ensure that it aligns correctly with the mounting points and electrical connections.
- Connect Electrical Wires: Carefully connect the electrical wires to the new actuator, ensuring a secure and proper fit. Double-check the connections to guarantee that they are aligned with the actuator’s specifications and the vehicle or building’s electrical system.
- Secure the Actuator: Utilizing the appropriate mounting hardware, such as bolts, screws, or clips, secure the new actuator in its designated position within the door assembly. Exercise caution to avoid over-tightening and damaging the actuator or surrounding components.
- Test the Actuator: Prior to reassembling the door panel, perform a preliminary test of the new actuator to verify its functionality. Utilize the vehicle’s or building’s door lock controls to ensure that the actuator effectively locks and unlocks the doors as intended.
- Adjust and Fine-Tune: If necessary, make any adjustments or fine-tuning to the new actuator’s positioning or electrical connections to optimize its performance. Attention to detail during this phase can contribute to the long-term reliability of the door lock system.
By meticulously following these steps, individuals can effectively install the new door lock actuator, setting the stage for the restoration of the door lock system’s functionality and security. It’s crucial to approach this phase with precision and care, ensuring that the new actuator is seamlessly integrated into the door assembly and poised to deliver reliable locking and unlocking operations.
When replacing a door lock actuator, make sure to disconnect the car’s battery to avoid any electrical mishaps. Always consult the vehicle’s manual for specific instructions.
Reassembling the Door Panel
With the new door lock actuator successfully installed, the reassembly of the door panel marks the final phase of the replacement process. This step is essential in restoring the aesthetic and functional integrity of the door assembly while safeguarding the components within. Here’s a comprehensive guide on reassembling the door panel:
- Retrieve the Door Panel: Retrieve the door panel from its safe storage location and ensure that it is free from any damage or debris that could impede its reinstallation.
- Reconnect Electrical Connections: If electrical connections were detached during the panel removal, carefully reconnect these connections, ensuring that they align with their respective components within the door assembly.
- Position the Door Panel: Align the door panel with the door frame, ensuring that any protruding components, such as door lock buttons or handles, are appropriately accommodated by the panel’s apertures.
- Secure the Door Panel: Gently press the door panel against the door frame to engage the retaining clips, ensuring that the panel is securely positioned. Take note of any resistance or misalignment, as this may indicate improper seating of the panel.
- Reinstall Screws and Fasteners: Utilizing the appropriate screws and fasteners, secure the door panel to the door frame, ensuring that each fastener is tightened to the specified torque without over-tightening and risking damage.
- Test Panel Stability: After securing the door panel, perform a brief assessment of its stability and alignment. Gently test any integrated components, such as door handles and lock buttons, to verify their smooth operation.
By meticulously following these steps, individuals can effectively reassemble the door panel, culminating in the restoration of the door assembly’s structural and aesthetic integrity. It’s imperative to approach this phase with patience and attention to detail, ensuring that the panel is securely and harmoniously integrated with the door frame. With the door panel reassembled, the door lock actuator replacement process nears its completion, bringing the door lock system one step closer to optimal functionality and security.
Read more: How To Install Power Door Lock Actuator
Testing the New Actuator
Following the successful reassembly of the door panel, the testing phase is a critical step in validating the functionality and performance of the newly installed door lock actuator. This crucial assessment ensures that the door lock system operates as intended, providing reliable locking and unlocking capabilities. Here’s a comprehensive guide on testing the new actuator:
- Reconnect the Vehicle’s Battery: If the vehicle’s battery was disconnected at the outset of the replacement process, securely reconnect it to restore power to the door lock system.
- Enter Testing Mode: Utilize the vehicle’s door lock controls or building’s door lock system to engage the locking and unlocking functions, initiating a series of tests to evaluate the new actuator’s performance.
- Observe Locking Behavior: Pay close attention to the locking and unlocking behavior of the doors, noting any irregularities or hesitations in the actuator’s operation. Ensure that all doors respond consistently to the lock commands.
- Verify Remote Key Fob Operation: If the vehicle is equipped with a remote key fob, test its functionality to confirm that the new actuator effectively responds to the remote’s commands, providing seamless locking and unlocking of the doors.
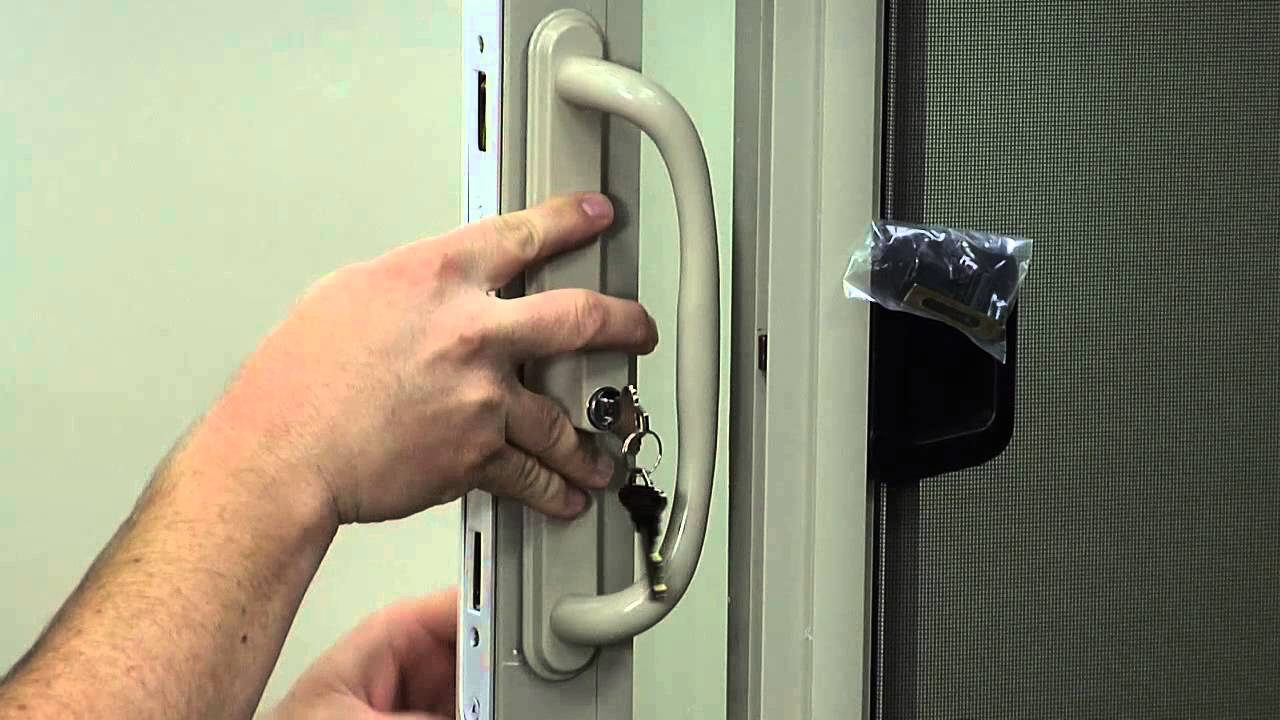
- Check Manual Locking Mechanism: Verify that the manual locking mechanism, such as the interior door lock buttons or manual key entry, operates in tandem with the new actuator, allowing for both manual and electronic door locking.
- Assess Audible and Visual Cues: Listen for any unusual sounds during the locking and unlocking process, and visually confirm that the door lock indicators, if present, accurately reflect the status of the door locks.
By meticulously following these steps and conducting a comprehensive assessment, individuals can effectively test the new door lock actuator, ensuring that it seamlessly integrates with the door lock system and delivers reliable locking and unlocking operations. It’s imperative to approach this phase with attentiveness to detail, as a thorough testing process contributes to the long-term functionality and security of the door lock system. With the new actuator successfully tested and validated, individuals can take confidence in the restored integrity and performance of their door lock system.
Conclusion
Embarking on the journey to replace a door lock actuator is a significant endeavor that underscores the commitment to safeguarding the security and functionality of a vehicle or building. Throughout this comprehensive guide, we’ve navigated the intricate process of replacing a door lock actuator, from understanding its role within the door lock system to the meticulous steps of installation and testing. By embracing this undertaking, individuals can restore the optimal performance of their door lock system and enhance the overall security of their property.
Understanding the nuances of the door lock actuator and its integration within the door assembly empowers individuals to approach the replacement process with clarity and confidence. Equipped with the necessary tools and materials, diligent attention to detail, and a methodical approach, individuals can effectively remove the old actuator, install the new component, and validate its performance through comprehensive testing.
As the final pieces of the door panel are reassembled and the new actuator is put to the test, the culmination of these efforts signifies a renewed sense of security and reliability. The door lock system stands poised to deliver seamless locking and unlocking operations, contributing to the peace of mind and assurance of occupants and property owners.
Ultimately, the successful replacement of a door lock actuator embodies the commitment to maintaining a secure and functional environment. Whether it’s the assurance of a vehicle’s security or the safeguarding of a building’s access points, the diligence and precision invested in this process yield tangible and invaluable outcomes.
By embracing the knowledge and guidance presented in this guide, individuals are empowered to navigate the replacement of a door lock actuator with proficiency and efficacy, fortifying the foundation of security that underpins their daily lives.
With the completion of this comprehensive replacement process, individuals can take pride in their ability to uphold the integrity and performance of their door lock system, ensuring that security remains a steadfast cornerstone of their vehicle or property.
Frequently Asked Questions about How To Replace Door Lock Actuator
Was this page helpful?
At Storables.com, we guarantee accurate and reliable information. Our content, validated by Expert Board Contributors, is crafted following stringent Editorial Policies. We're committed to providing you with well-researched, expert-backed insights for all your informational needs.

0 thoughts on “How To Replace Door Lock Actuator”