Home>Technology>Smart Home Devices>How Do I Set Up My HP Printer
Smart Home Devices
How Do I Set Up My HP Printer
Modified: October 19, 2024
Learn how to set up your HP printer with ease and connect it to your smart home devices. Follow our step-by-step guide for a seamless installation process.
(Many of the links in this article redirect to a specific reviewed product. Your purchase of these products through affiliate links helps to generate commission for Storables.com, at no extra cost. Learn more)
Introduction
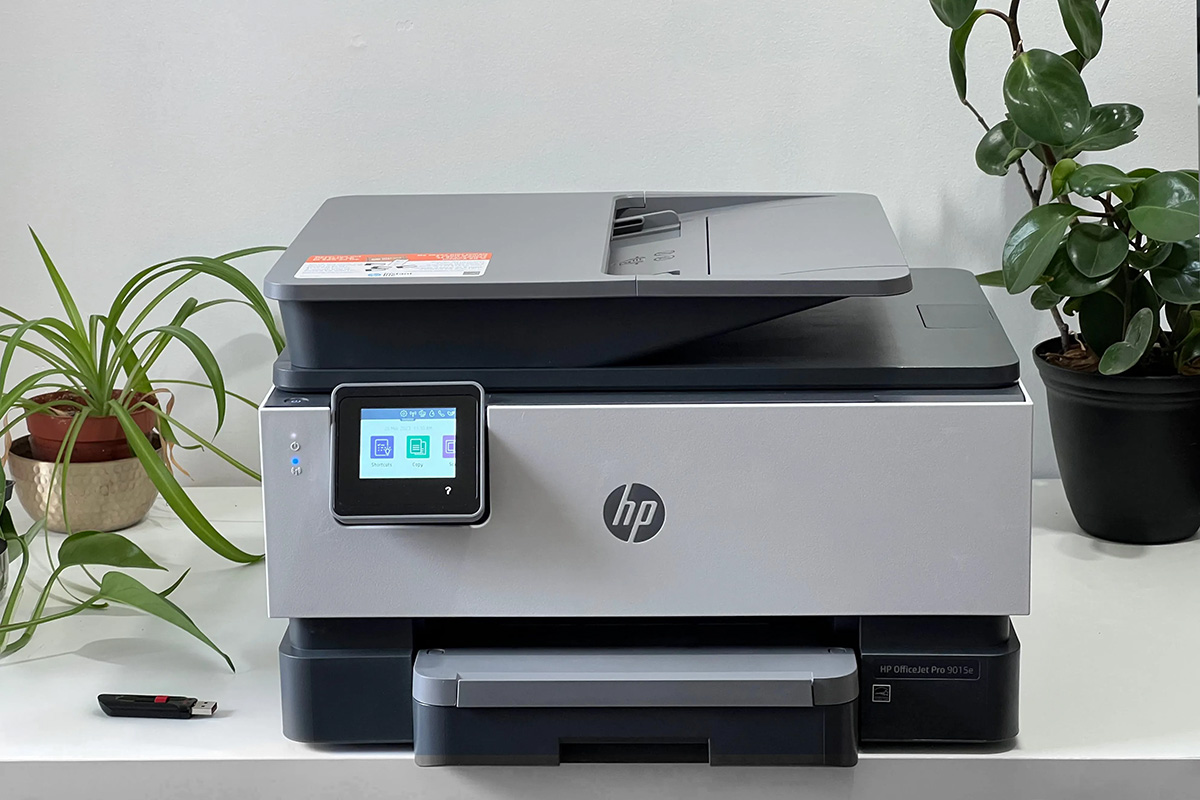
Setting up your HP printer is the first step toward bringing your digital documents and images to life in the physical realm. Whether you're a seasoned tech enthusiast or a newcomer to the world of home printers, this guide will walk you through the process in a clear and concise manner. By the end of this article, you'll be well-equipped to transform your ideas into tangible, printed reality with your HP printer.
In the following sections, we'll cover every aspect of setting up your HP printer, from unpacking and assembling the device to troubleshooting common setup issues. By following these steps, you'll ensure that your printer is ready to deliver high-quality prints with ease and efficiency.
So, without further ado, let's dive into the exciting world of HP printer setup and embark on this journey to seamlessly integrate your digital and physical realms!
Key Takeaways:
- Setting up your HP printer involves unpacking, assembling, connecting to power, installing ink cartridges, loading paper, connecting to your computer or network, installing printer software, testing, and troubleshooting common issues for seamless printing.
- By following the comprehensive steps outlined in this guide, you’ll successfully set up and test your HP printer, ensuring it’s ready to deliver high-quality prints for your various printing needs. Remember to refer to the printer’s manual and online support resources for additional guidance and troubleshooting.
Unpacking and Assembling the Printer
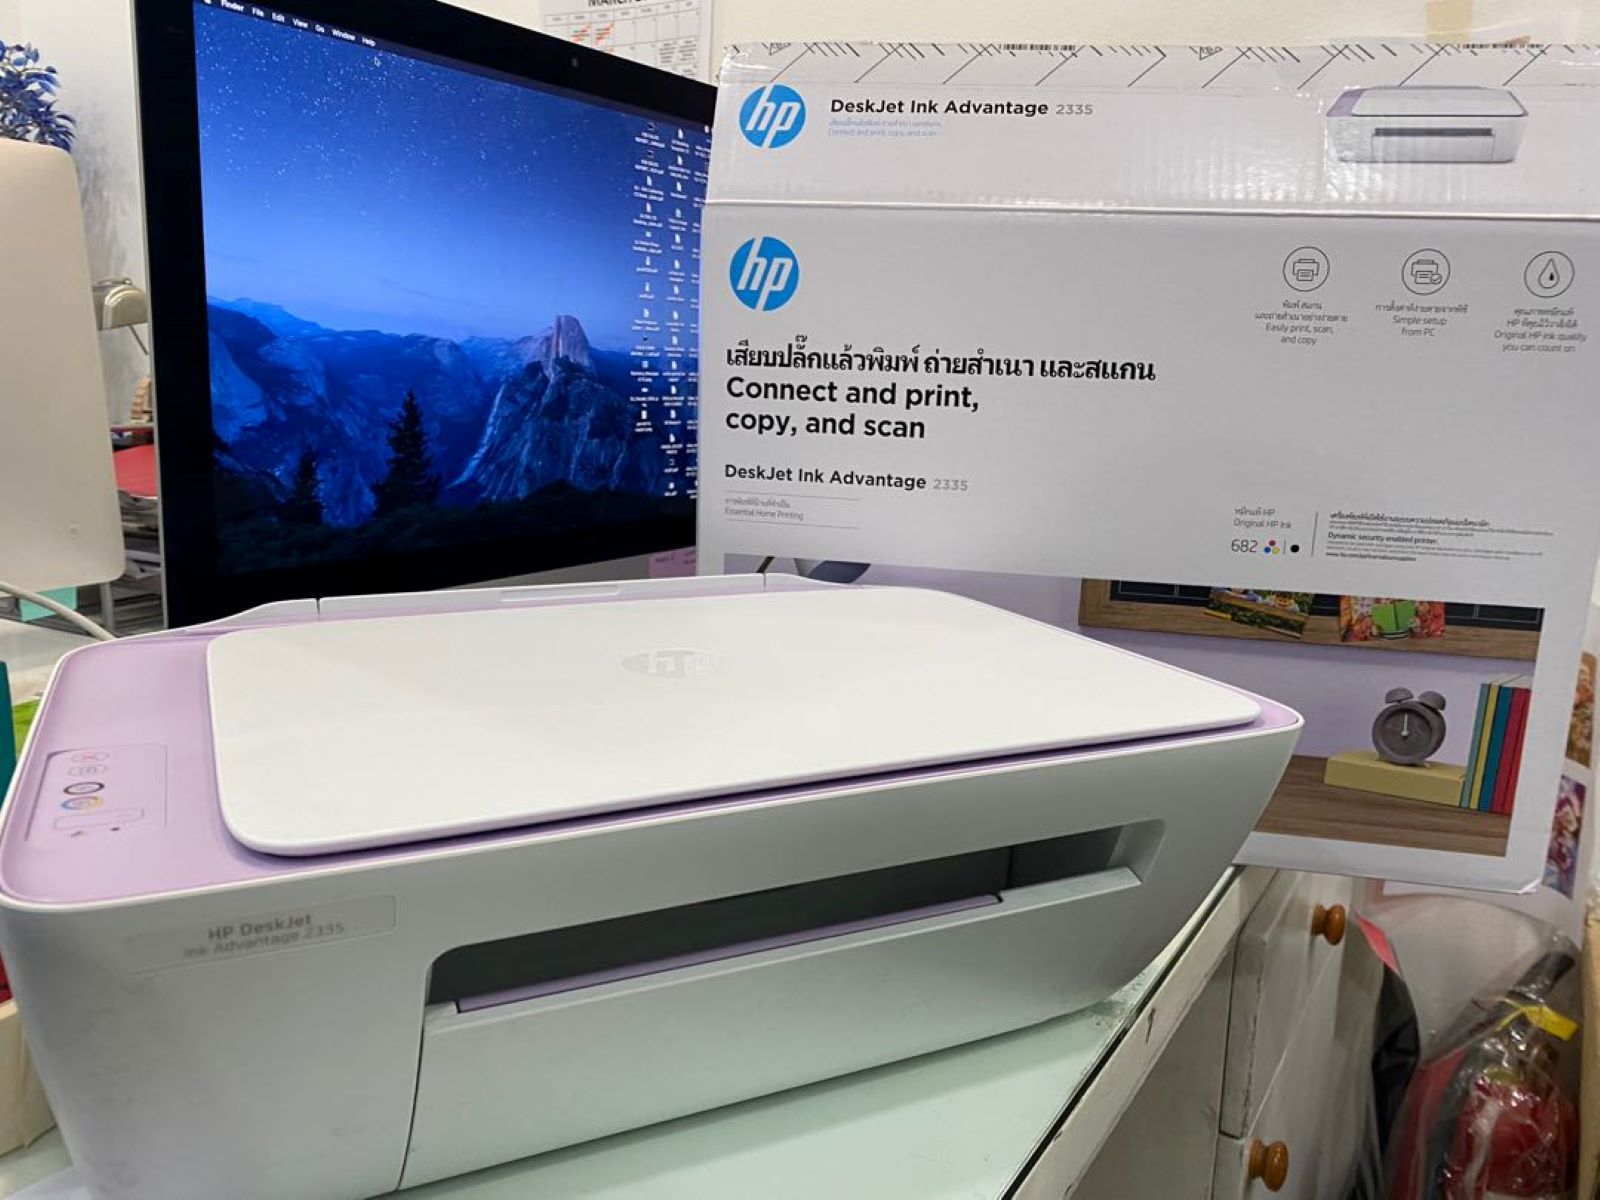
Upon receiving your HP printer, the first step is to carefully unpack and assemble the device. Begin by finding a clean, spacious area to work in, ensuring that you have ample space to maneuver and organize the printer components.
1. Unboxing: Carefully remove the printer from its packaging, ensuring that you keep all the accompanying accessories and documentation in a safe place. Check the box thoroughly to ensure you haven’t missed any essential components.
2. Assembling: Next, assemble the various components of the printer according to the manufacturer’s instructions. This typically involves attaching the paper trays, installing the ink cartridges, and connecting any detachable parts such as the output tray.
3. Removing Packaging Materials: Be sure to remove all protective tapes, stickers, and packaging materials from the printer. These can obstruct moving parts and cause malfunctions if not removed before operation.
4. Positioning: Place the printer on a stable, level surface that is close to a power source and within reach of your computer or network, depending on your intended setup.
By following these steps, you’ll have your HP printer unpacked, assembled, and ready for the next stage of the setup process.
Connecting the Printer to Power
Once your HP printer is unpacked and assembled, the next crucial step is to connect it to a power source. This is a fundamental requirement for the printer to function and carry out its tasks effectively. Here’s a detailed guide on how to connect your printer to power:
1. Locate the Power Cable: The power cable is usually included in the printer’s packaging. Find the power cable and ensure it is undamaged before proceeding.
2. Identify the Power Input: Locate the power input port on the printer. This is typically found at the rear of the printer and is designed to fit the power cable securely.
3. Connect to Power: Plug one end of the power cable into the power input port on the printer, ensuring a secure connection. Then, plug the other end into a power outlet. It’s advisable to use a surge protector or a power strip to protect your printer from power fluctuations and surges.
4. Power On: Switch on the power outlet and then turn on the printer using the power button, if available. The printer should initialize and prepare for the next steps in the setup process.
5. Verify Power Connection: Check the printer’s display or indicator lights to confirm that it is receiving power. If the printer has a display screen, it should illuminate, indicating that the power connection is successful.
By following these steps, you will have successfully connected your HP printer to a power source, setting the stage for the subsequent setup tasks.
Installing the Ink Cartridges
After connecting your HP printer to power, the next essential step is to install the ink cartridges. The ink cartridges are responsible for transferring ink onto the paper, making them a critical component of the printing process. Here’s a step-by-step guide to installing the ink cartridges in your HP printer:
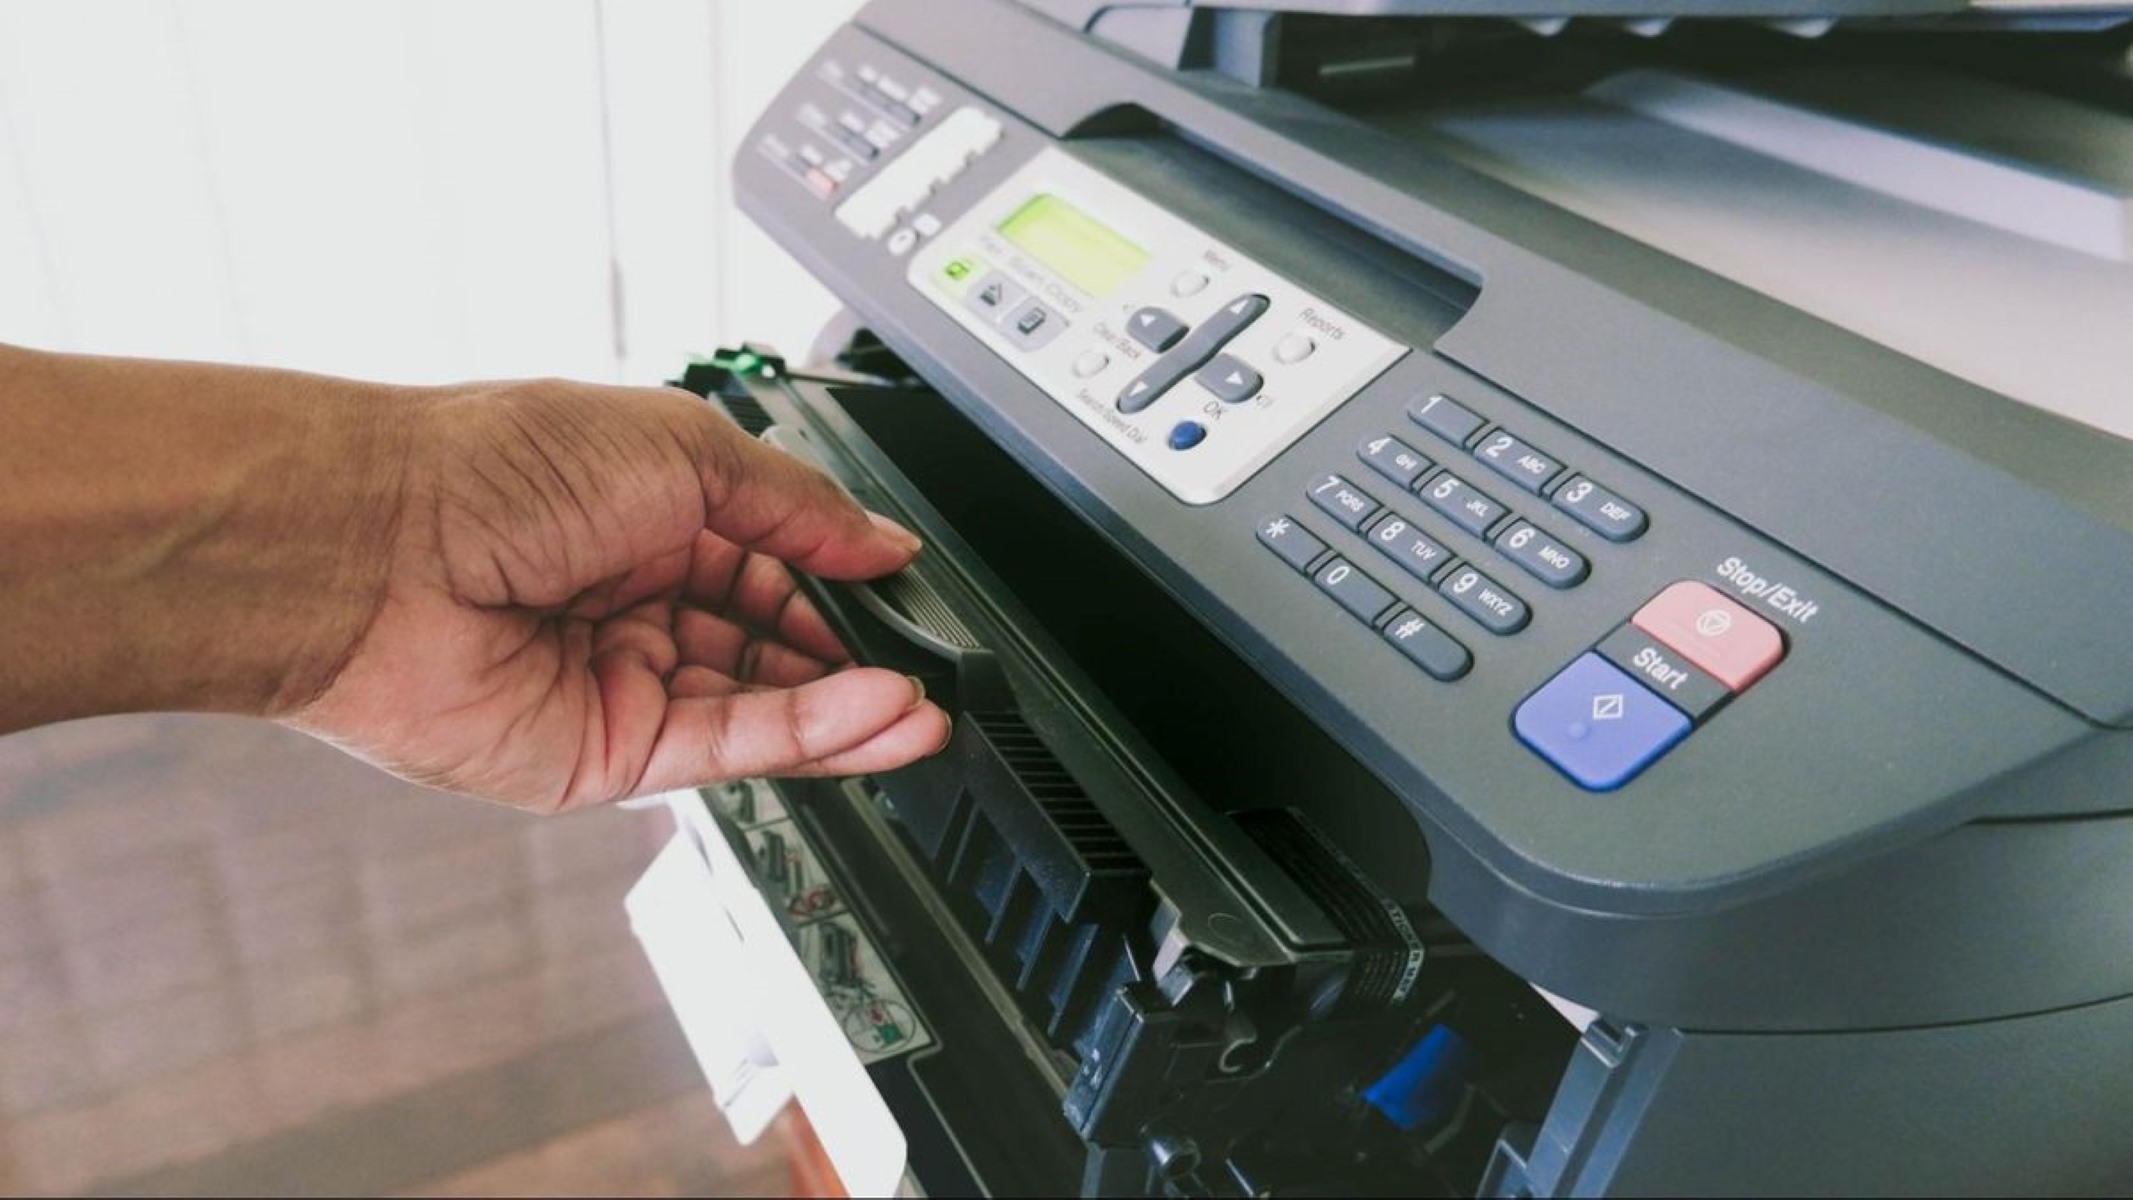
1. Access the Cartridge Compartment: Open the printer’s cartridge access door or panel. This is usually located at the front of the printer and provides access to the cartridge slots.
2. Remove Packaging: If the ink cartridges are packaged, carefully remove the packaging, being mindful not to touch the contacts or ink nozzles to prevent potential ink flow issues.
3. Identify Cartridge Slots: Take note of the color-coded or labeled cartridge slots within the printer. Match each ink cartridge to its corresponding slot based on the color and label indications.
4. Insert Cartridges: Hold the ink cartridge by its sides, with the contacts facing the printer. Gently slide the cartridge into the corresponding slot until it clicks into place. Ensure that each cartridge is securely seated in its slot.
5. Close the Cartridge Access Door: Once all the ink cartridges are installed, close the cartridge access door securely. This helps maintain the proper alignment and functioning of the cartridges within the printer.
6. Align the Cartridges (if applicable): Some HP printers may require you to align the ink cartridges after installation. If prompted, follow the on-screen instructions or refer to the printer’s manual to complete the alignment process.
By following these steps, you’ll have successfully installed the ink cartridges in your HP printer, bringing you one step closer to completing the setup process.
Loading Paper into the Printer
With the ink cartridges installed, the next crucial step in setting up your HP printer is to load paper into the paper tray. Properly loading the paper ensures smooth printing operations and prevents paper jams. Here’s a detailed guide on how to load paper into your HP printer:
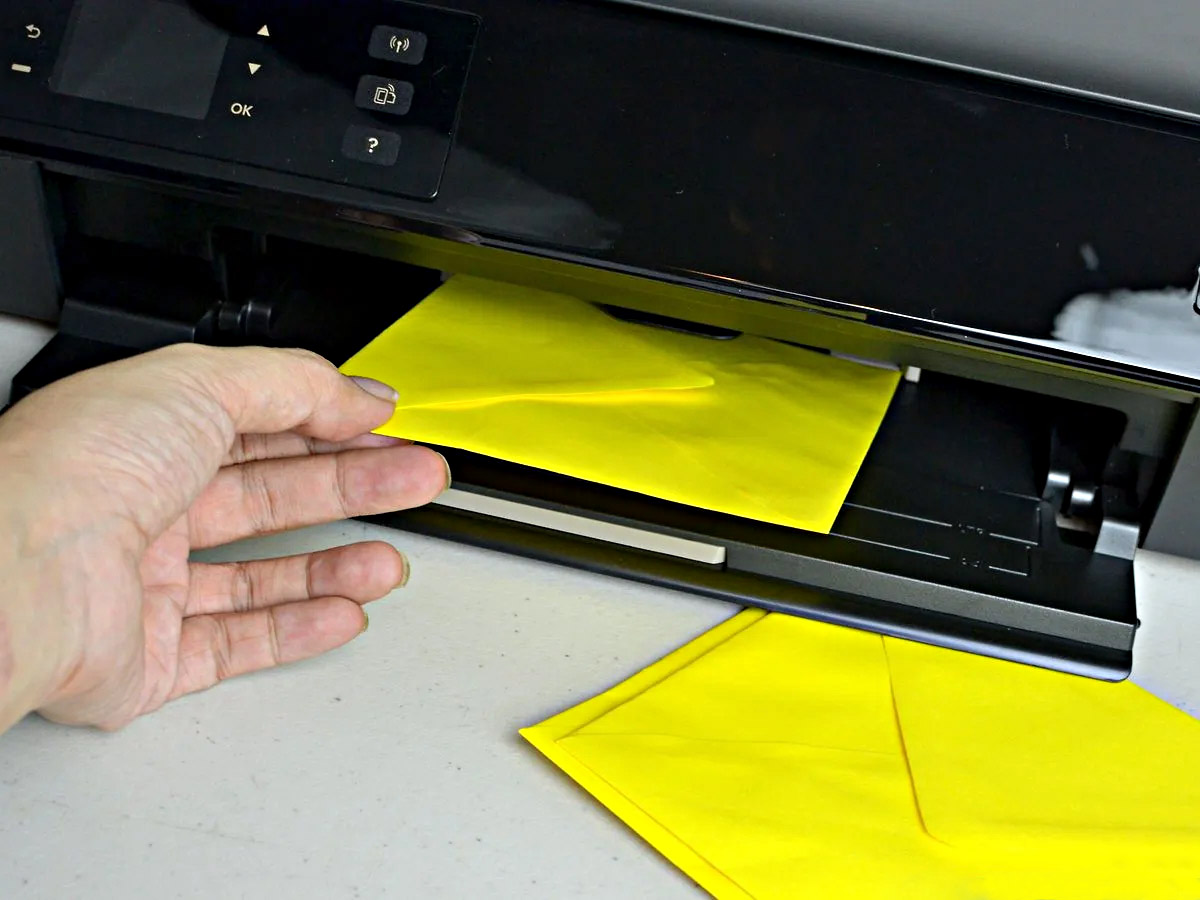
1. Select the Paper: Choose the appropriate type and size of paper for your printing needs. Ensure that the paper is compatible with your printer and is free from damage, wrinkles, or tears.
2. Adjust the Paper Guides: Open the paper input tray and adjust the paper guides to match the width and length of the paper you’re using. This prevents the paper from skewing or misfeeding during printing.
3. Load the Paper: Place a stack of paper into the input tray, ensuring that the stack is neatly aligned and not overloaded. Avoid forcing too much paper into the tray, as this can lead to feeding issues.
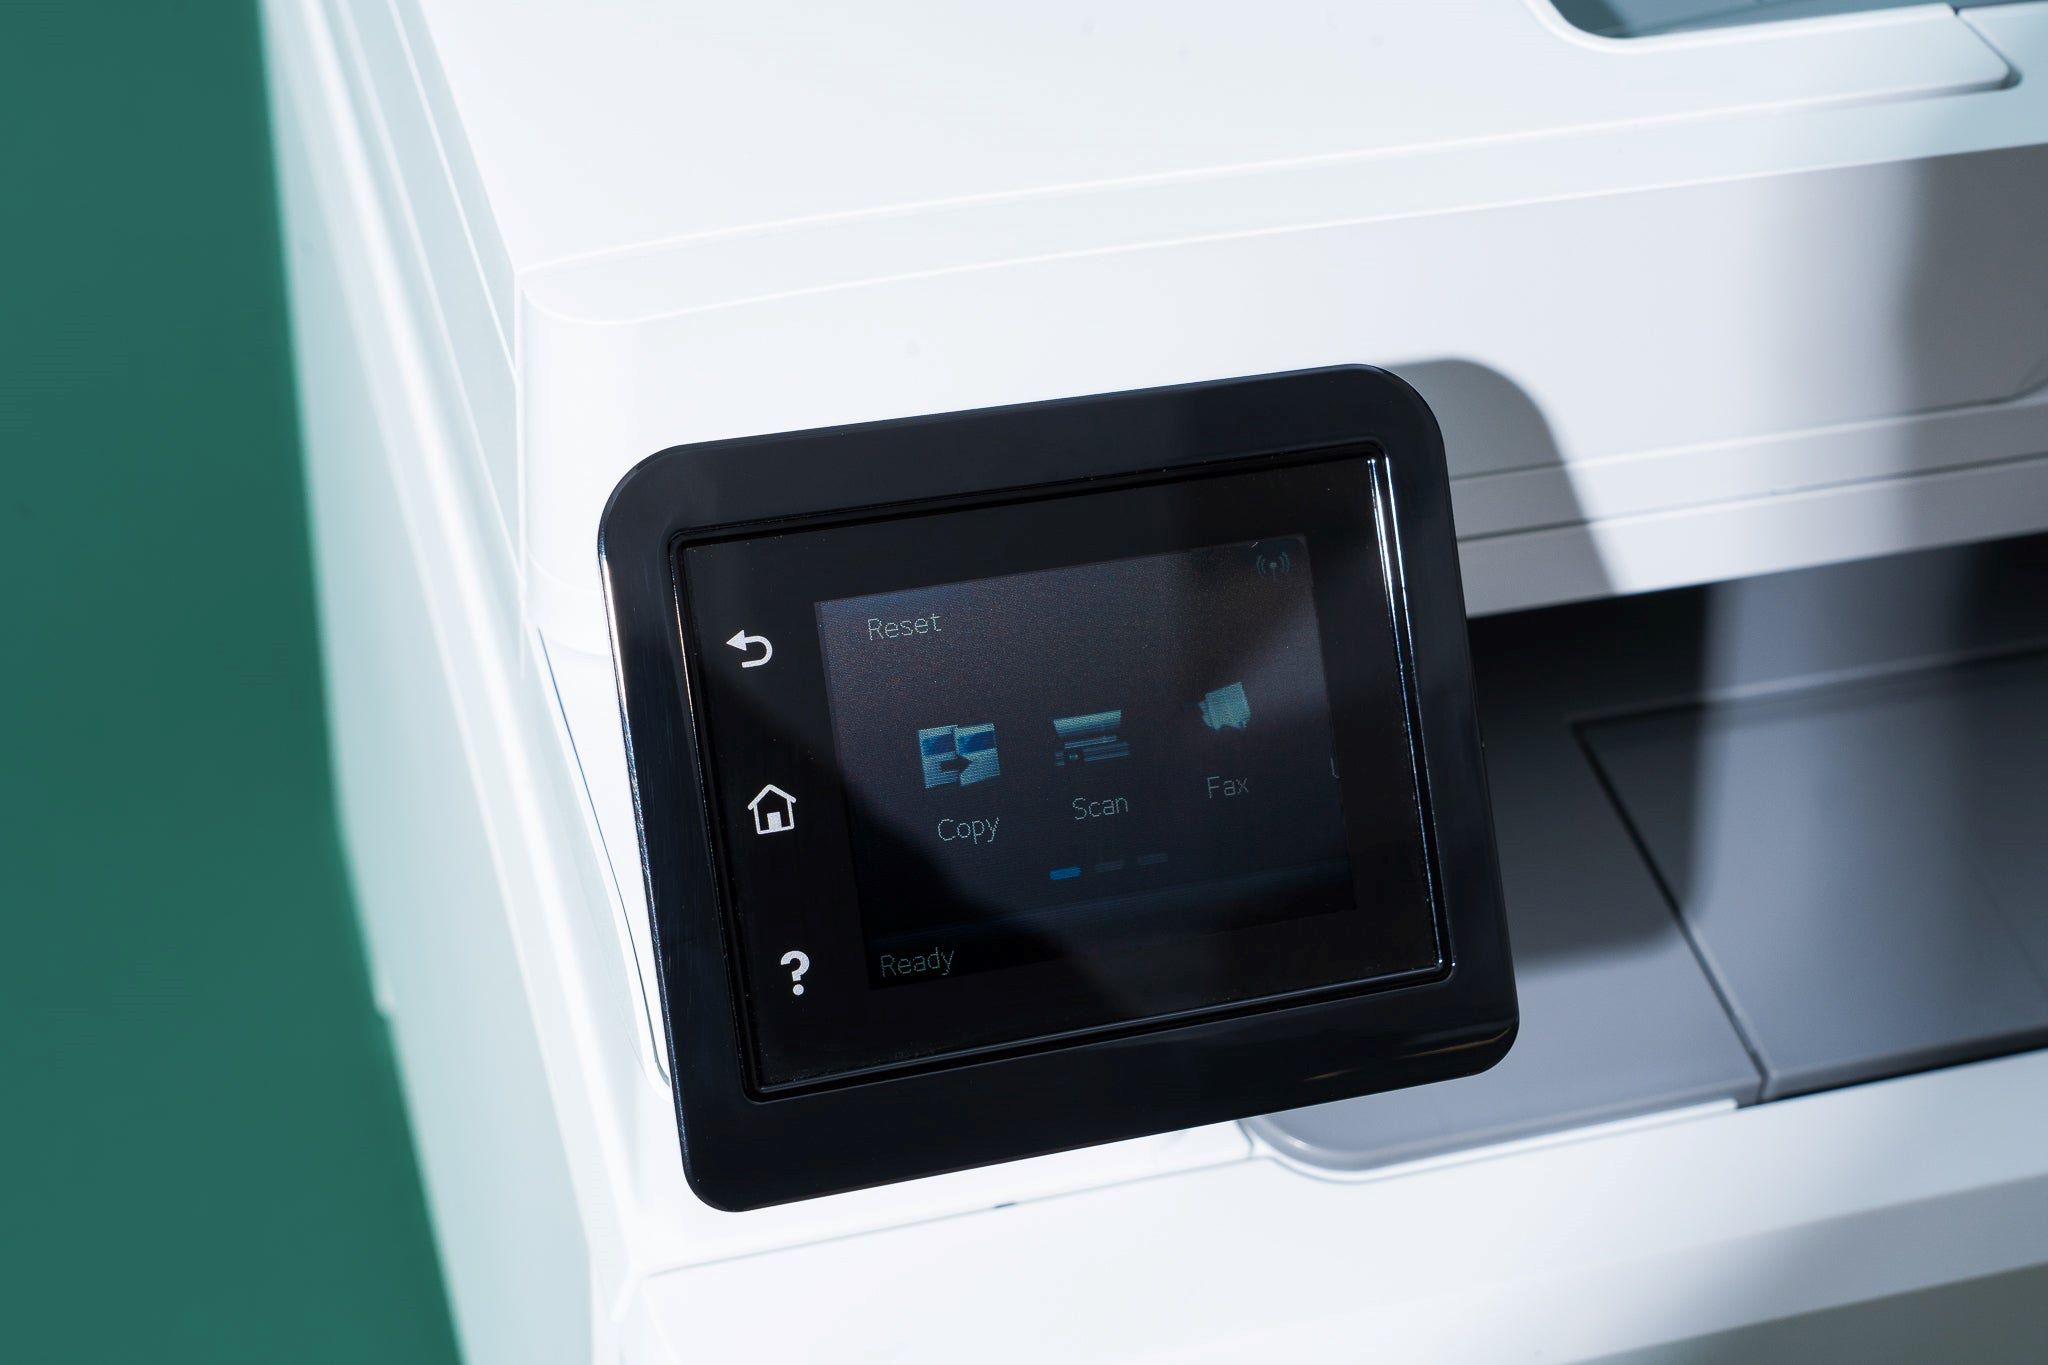
4. Adjust the Paper Settings (if applicable): If your printer has a control panel or display screen, navigate to the paper settings and specify the paper type and size that you’ve loaded. This ensures that the printer’s settings align with the paper being used.
5. Secure the Paper Tray: Once the paper is loaded, gently push the input tray back into the printer, ensuring that it is securely in place. This maintains the proper alignment of the paper and prevents misfeeding.
By following these steps, you’ll have successfully loaded paper into your HP printer, setting the stage for seamless and efficient printing of your documents and images.
Make sure to follow the setup instructions provided with your HP printer. Connect the printer to power, install the ink cartridges, and connect it to your computer or network using the provided cables or wireless setup.
Read more: How Do I Connect My HP Printer To My Phone
Connecting the Printer to Your Computer or Network
After completing the initial hardware setup of your HP printer, the next step is to establish a connection between the printer and your computer or network. This connection enables you to send print jobs to the printer from your devices. Here’s a comprehensive guide on how to connect your HP printer to your computer or network:
1. Wired Connection: If your printer and computer are in close proximity, you can use a USB cable to establish a direct wired connection between the two. Simply connect one end of the USB cable to the printer and the other end to your computer’s USB port. Your computer should automatically detect the printer and install the necessary drivers.
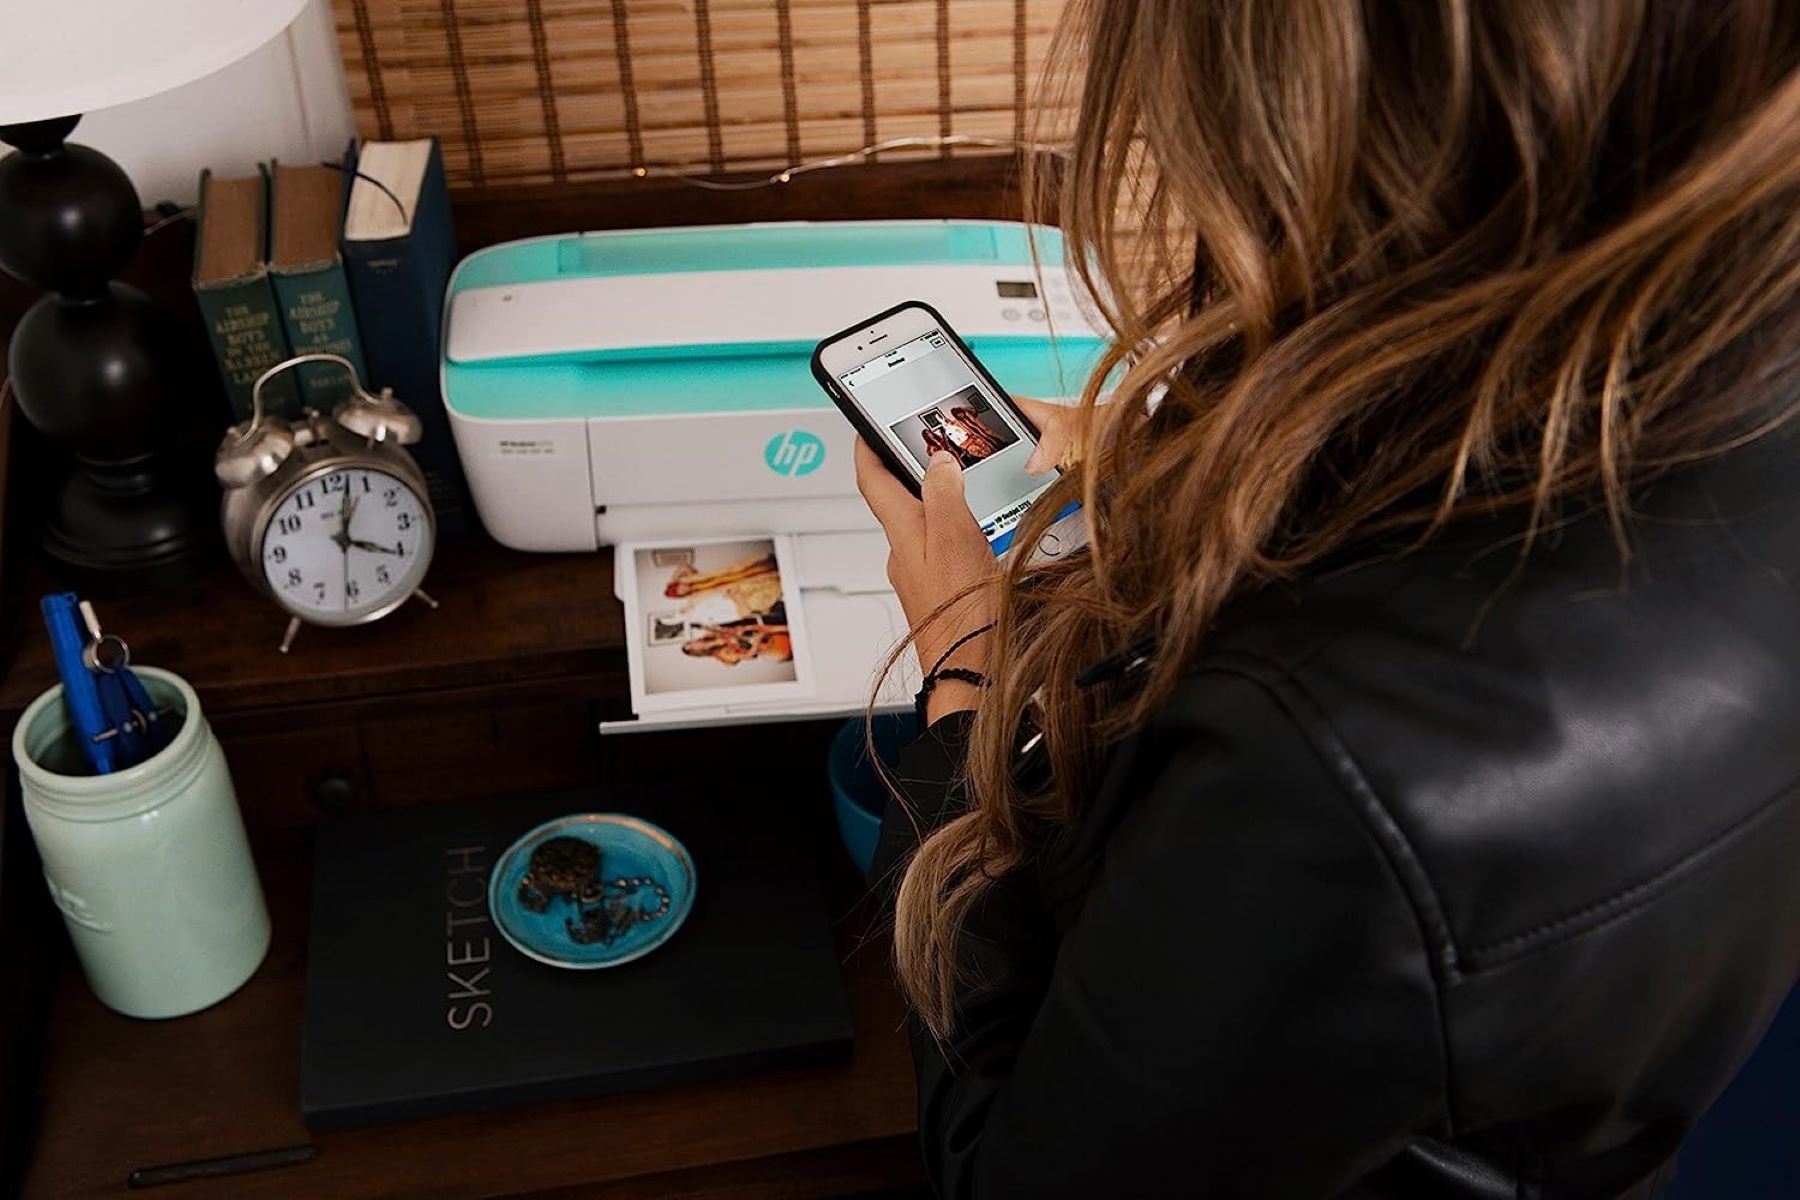
2. Wireless Connection: For wireless connectivity, your HP printer may support Wi-Fi Direct, allowing you to connect your computer or mobile device directly to the printer without the need for a router. Alternatively, you can connect the printer to your Wi-Fi network, enabling multiple devices to access the printer wirelessly.
3. Network Connection: If you want to share the printer across multiple devices in a home or office network, you can connect the printer to your local network using an Ethernet cable or via Wi-Fi. This allows any connected device within the network to send print jobs to the printer.
4. Printer Software Installation: Once the connection is established, you may need to install the printer software on your computer. This software includes the necessary drivers and utilities to facilitate communication between your computer and the printer.
5. Printer Sharing (Network Connection Only): If you’ve connected the printer to a network, you can enable printer sharing to allow other devices on the network to access the printer. This is particularly useful in shared office environments or homes with multiple devices.
By following these steps, you’ll have successfully connected your HP printer to your computer or network, paving the way for seamless printing from your devices.
Installing the Printer Software
Once the hardware setup and connection of your HP printer to your computer or network are complete, the next crucial step is to install the printer software. The printer software, also known as drivers or utilities, enables your computer to communicate effectively with the printer and access its full range of features. Here’s a comprehensive guide on installing the printer software for your HP printer:
1. Driver Installation: Visit the official HP website or use the installation CD that came with your printer to download and install the latest printer drivers for your specific printer model. These drivers are essential for enabling the basic printing functions and optimizing the printer’s performance.
2. Software Utilities: In addition to the drivers, HP provides software utilities that offer advanced features such as scanning, faxing, and printer management. Install these utilities to access the full functionality of your HP printer.
3. Custom Installation (Optional): During the installation process, you may have the option to perform a custom installation, allowing you to select specific components or features to install based on your preferences and requirements.
4. Wireless Setup (if applicable): If your HP printer supports wireless connectivity, the software installation process may include a wireless setup wizard that guides you through the process of connecting the printer to your Wi-Fi network and configuring wireless printing options.
5. Printer Registration: Some printer software installations prompt you to register your printer with HP. Registering your printer provides access to product updates, support, and warranty services, ensuring that your printer remains up to date and well-supported.
6. Verification and Testing: Once the software installation is complete, verify that the printer is recognized by your computer and perform a test print to ensure that the printer is functioning correctly and is ready for use.
By following these steps, you’ll have successfully installed the necessary printer software, empowering your computer to seamlessly communicate with and utilize the full capabilities of your HP printer.
Testing the Printer
After completing the setup and installation process for your HP printer, it’s essential to conduct a thorough test to ensure that the printer is functioning correctly and capable of producing high-quality prints. Here’s a comprehensive guide on how to test your HP printer:
1. Test Page Printing: Begin by sending a print job to the printer, such as a test page or a simple document. This allows you to verify that the printer is receiving print commands and is capable of producing output.
2. Print Quality Assessment: Inspect the printed output for quality and clarity. Check for any smudges, streaks, or color inconsistencies that may indicate issues with the ink cartridges or print heads. If the print quality is unsatisfactory, refer to the printer’s manual for troubleshooting steps.
3. Functionality Testing: Test the printer’s additional functions, such as scanning and copying, if applicable. This ensures that all the printer’s features are operational and ready for use.
4. Wireless Printing (if applicable): If your printer supports wireless printing, test the printer’s ability to receive print jobs wirelessly from your computer or mobile device. Verify that the wireless connection is stable and reliable.
5. Software Integration: Ensure that the printer software and utilities are integrated seamlessly with your computer’s operating system. Test the software features, such as ink level monitoring and maintenance tasks, to ensure their functionality.
6. Print Speed and Efficiency: Assess the printer’s speed and efficiency by sending multiple print jobs of varying sizes. This allows you to gauge the printer’s performance under different workloads.
7. Alignment and Calibration (if applicable): If your printer features alignment or calibration functions, perform these tasks to ensure that the print heads and paper alignment are optimized for accurate printing.
By conducting a comprehensive test of your HP printer, you can identify any potential issues early on and ensure that the printer is ready to deliver reliable and high-quality prints for your various printing needs.
Troubleshooting Common Setup Issues
While setting up your HP printer, you may encounter common issues that can hinder the smooth configuration and operation of the device. Here’s a guide to troubleshooting these common setup issues:
1. Connection Problems: If you’re unable to establish a connection between the printer and your computer or network, ensure that the cables are securely connected, and the network settings are configured correctly. Verify that the printer and the computer are on the same network, and the printer’s wireless functionality is enabled.
2. Driver Installation Failure: If you encounter issues during the installation of printer drivers, ensure that you’re using the correct drivers for your specific printer model. Check for any error messages during the installation process and follow the recommended troubleshooting steps provided by HP.
3. Print Quality Issues: If your test prints reveal print quality issues such as streaks, smudges, or faded output, perform a print head cleaning or alignment procedure using the printer’s maintenance features. Additionally, ensure that the ink cartridges are properly installed and have sufficient ink levels.
4. Paper Jams and Misfeeds: If the printer experiences paper jams or misfeeds, carefully remove any jammed paper from the printer, following the manufacturer’s guidelines. Ensure that the paper is loaded correctly in the paper tray and that the paper guides are aligned properly.
5. Wireless Connectivity Problems: If you’re encountering issues with wireless connectivity, verify that the printer is within range of the Wi-Fi network and that the network credentials are entered correctly during the setup process. Reset the printer’s network settings if necessary and reattempt the connection.
6. Software Compatibility: If the printer software is not functioning as expected, ensure that it is compatible with your computer’s operating system. Check for any software updates or patches that may address compatibility issues.
7. General Setup Errors: If you encounter general setup errors or prompts on the printer’s display, refer to the printer’s manual or online support resources for specific error code explanations and troubleshooting steps.
By addressing these common setup issues, you can ensure a smooth and successful setup process for your HP printer, allowing you to enjoy its full range of printing capabilities without disruption.
Read more: How Do I Clean The Heads On My HP Printer
Conclusion
Congratulations on completing the setup of your HP printer! By following the comprehensive steps outlined in this guide, you’ve successfully unpacked, assembled, and connected your printer, ensuring that it’s ready to deliver high-quality prints for your various printing needs. Here’s a quick recap of the key points covered in this article:
- Unpacking and Assembling the Printer: Carefully unpacked and assembled the printer components, ensuring that all essential parts are in place.
- Connecting the Printer to Power: Established a secure power connection to ensure the printer receives the necessary power supply.
- Installing the Ink Cartridges: Installed the ink cartridges, essential for transferring ink onto the paper during printing.
- Loading Paper into the Printer: Loaded paper into the paper tray, ensuring smooth and efficient printing operations.
- Connecting the Printer to Your Computer or Network: Established a wired or wireless connection between the printer and your computer or network, enabling seamless print job transmission.
- Installing the Printer Software: Installed the necessary printer software, including drivers and utilities, to facilitate effective communication between your computer and the printer.
- Testing the Printer: Conducted a thorough test to ensure the printer’s functionality, print quality, and integration with your computer or network.
- Troubleshooting Common Setup Issues: Addressed common setup issues such as connection problems, print quality issues, and wireless connectivity problems to ensure a smooth setup process.
With your HP printer set up and tested, you’re now equipped to embark on a seamless printing journey, whether it’s for documents, creative projects, or cherished photographs. Remember to refer to the printer’s manual and online support resources for additional guidance and troubleshooting as you continue to use your printer.
Thank you for joining us on this setup adventure, and we hope that your HP printer serves as a reliable and indispensable tool for bringing your digital creations to life in the physical realm!
Frequently Asked Questions about How Do I Set Up My HP Printer
Was this page helpful?
At Storables.com, we guarantee accurate and reliable information. Our content, validated by Expert Board Contributors, is crafted following stringent Editorial Policies. We're committed to providing you with well-researched, expert-backed insights for all your informational needs.

0 thoughts on “How Do I Set Up My HP Printer”