Home>Technology>Smart Home Devices>How Do I Set Up My HP Printer To Scan To My Computer?
Smart Home Devices
How Do I Set Up My HP Printer To Scan To My Computer?
Modified: January 9, 2024
Learn how to set up your HP printer to scan to your computer effortlessly with our smart home devices guide. Simplify your scanning process today!
(Many of the links in this article redirect to a specific reviewed product. Your purchase of these products through affiliate links helps to generate commission for Storables.com, at no extra cost. Learn more)
Introduction
Setting up your HP printer to scan documents to your computer can streamline your workflow and make it easier to store and share important information. With the right software and configuration, your HP printer can serve as a powerful scanning tool, allowing you to digitize documents and photos with ease.
In this comprehensive guide, we will walk you through the step-by-step process of setting up your HP printer to scan to your computer. Whether you are a seasoned tech enthusiast or a beginner looking to harness the full potential of your HP printer, this guide is designed to provide clear and concise instructions to help you get started.
By the end of this tutorial, you will have the knowledge and confidence to seamlessly integrate your HP printer into your digital workspace, allowing you to effortlessly scan and save documents directly to your computer. Let's dive in and unlock the scanning capabilities of your HP printer!
Key Takeaways:
- Setting up your HP printer to scan to your computer is easy! Just check the connectivity, install the software, configure the scan settings, and start scanning your documents with confidence.
- By harnessing the scanning capabilities of your HP printer, you can effortlessly convert physical documents into digital files, reduce clutter, and improve document accessibility. Embrace the convenience and versatility of scanning with your HP printer!
Read more: How To Scan To My Computer From HP Printer
Step 1: Check the Printer and Computer Connectivity
Before you begin the setup process, it’s essential to ensure that your HP printer is properly connected to your computer. Follow these steps to verify the connectivity:
- Physical Connection: Start by checking the physical connections between your HP printer and your computer. Ensure that the printer is securely connected to your computer via a USB cable or that both devices are connected to the same wireless network if you are using a wireless printer.
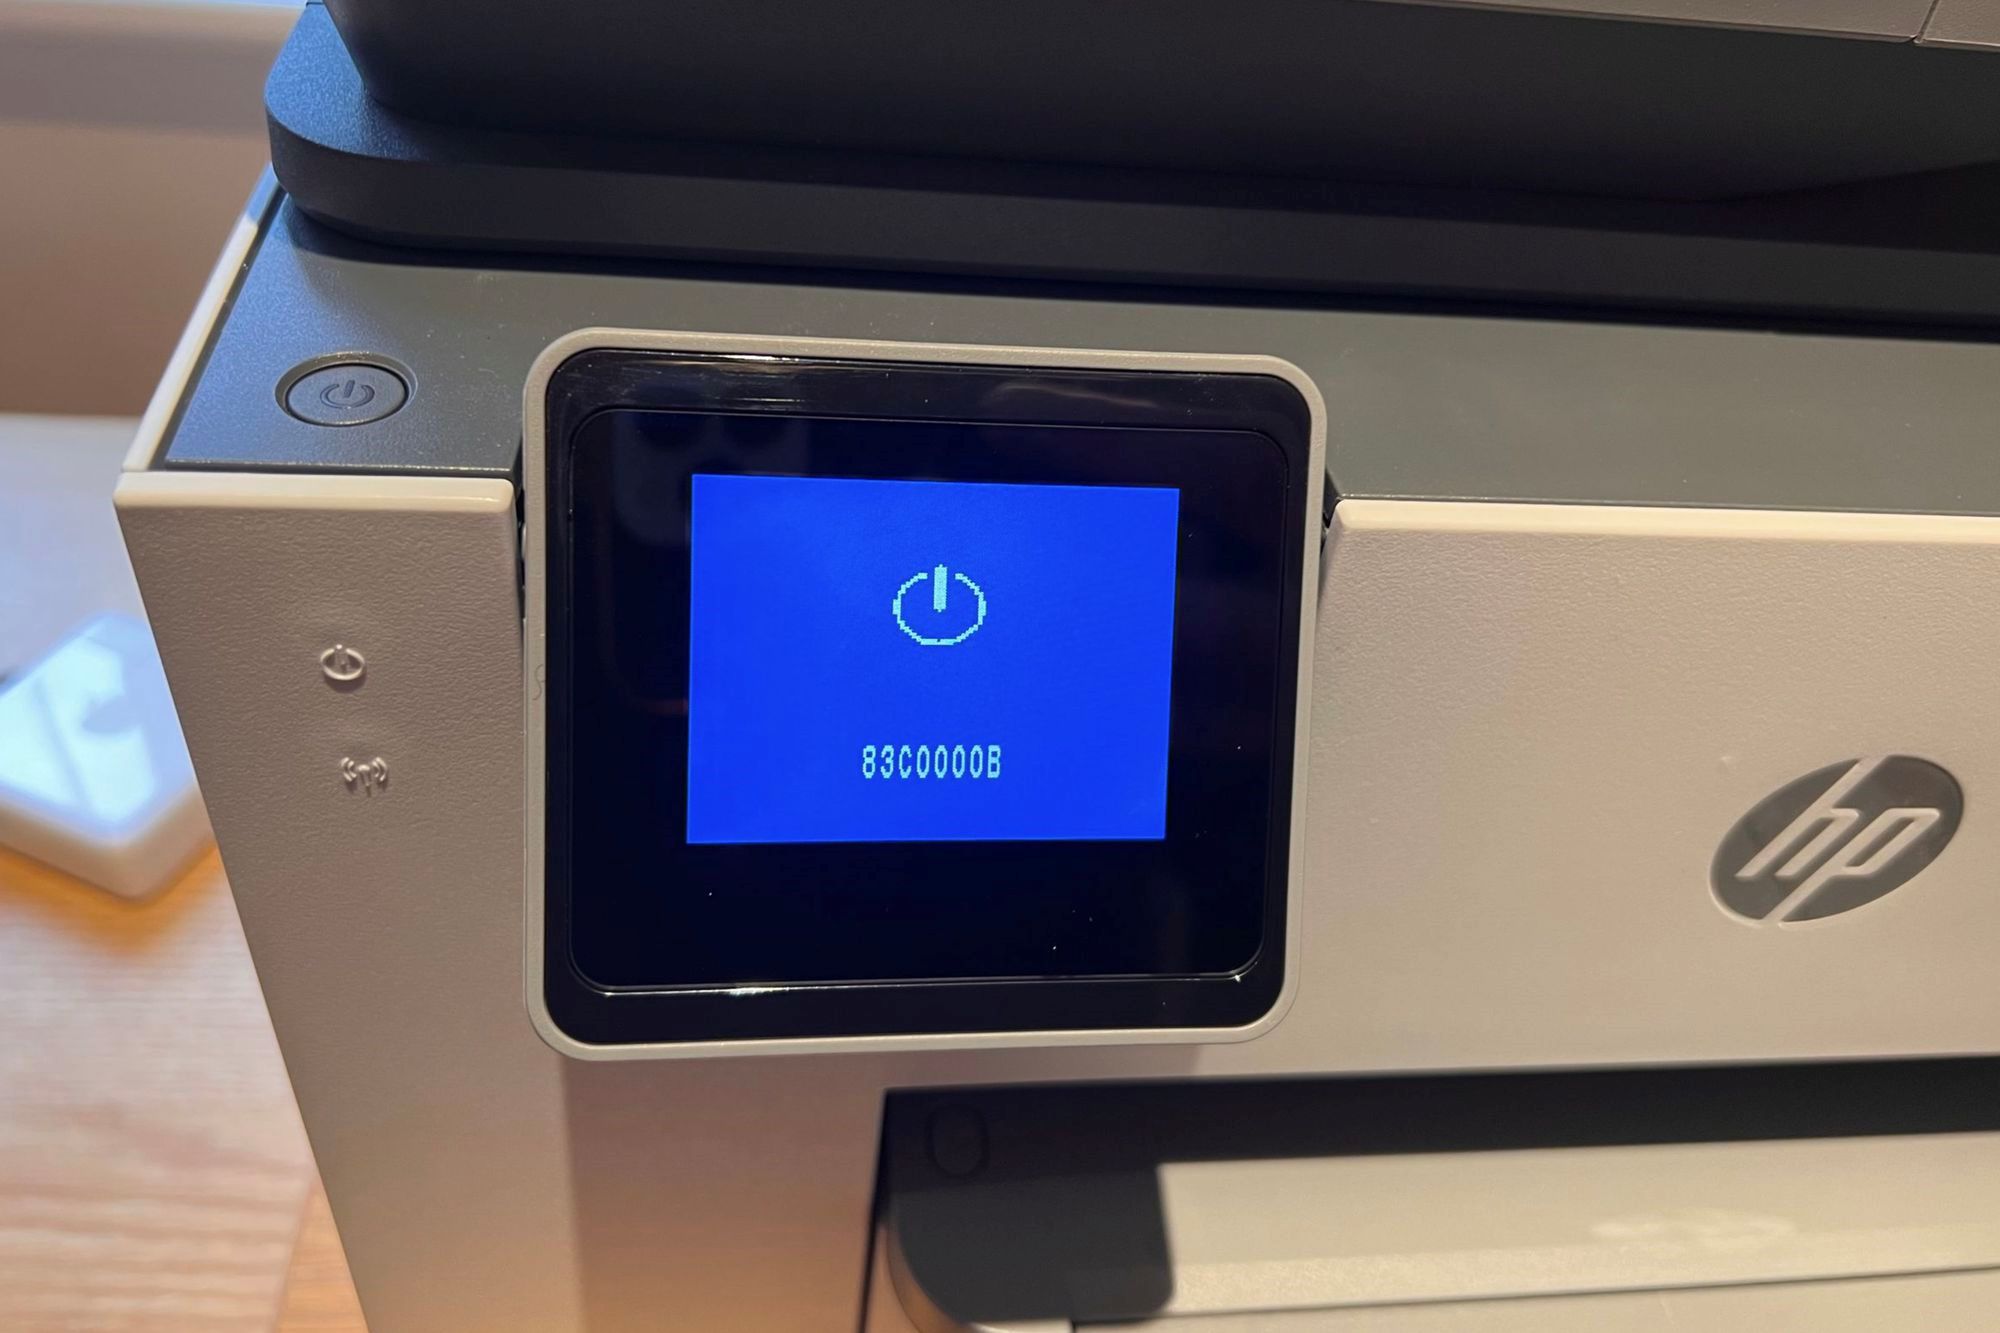
- Power Status: Confirm that your HP printer is powered on and in a ready state. Check for any error messages or warning lights on the printer’s display panel that may indicate connectivity issues.
- Network Connectivity: If you are using a wireless HP printer, verify that your computer is connected to the same Wi-Fi network as the printer. This ensures seamless communication between the devices during the scanning process.
- Software Updates: Check for any pending software updates for your HP printer and your computer. Keeping the firmware and drivers up to date can resolve compatibility issues and improve overall connectivity.
Once you have confirmed the connectivity between your HP printer and your computer, you are ready to proceed to the next step of installing the necessary software for scanning.
Step 2: Install the HP Printer Software
Installing the HP printer software is a crucial step in enabling scanning functionality and establishing seamless communication between your printer and computer. Follow these steps to install the necessary software:
- Visit the HP Support Website: Navigate to the official HP support website and locate the software and drivers section. Enter your printer model number or let the website automatically detect your printer to access the relevant software.
- Download the Software: Select the appropriate software package for your operating system and click on the download button. Ensure that you are downloading the full feature software, which includes the scanning functionality along with printing capabilities.
- Run the Installer: Once the software package is downloaded, run the installer and follow the on-screen instructions to begin the installation process. Make sure to choose the full installation option to enable all the features, including scanning.
- Connect the Printer: During the installation, you may be prompted to connect your HP printer to your computer. If you are using a USB connection, plug the USB cable into the computer when instructed. For wireless printers, ensure that your printer is connected to the same Wi-Fi network as your computer.
- Complete the Installation: Follow the prompts to complete the installation of the HP printer software. Once the installation is finished, restart your computer to finalize the setup.
After successfully installing the HP printer software, your printer will be equipped with the necessary drivers and tools to enable scanning to your computer. With the software in place, you can now proceed to the next step of configuring the scan settings.
Make sure your HP printer is connected to the same Wi-Fi network as your computer. Install the HP printer software on your computer and follow the on-screen instructions to set up the scanning feature.
Step 3: Configure the Scan Settings
Configuring the scan settings on your HP printer is essential to ensure that the scanned documents meet your specific requirements. Whether you need to adjust the resolution, file format, or destination folder, customizing the scan settings allows you to tailor the scanning process to your preferences. Follow these steps to configure the scan settings:
- Open the HP Printer Software: Launch the HP printer software on your computer. Depending on your printer model, the software interface may vary, but you should be able to access the scan settings from the main dashboard or a dedicated scanning tab.
- Select Scan Preferences: Navigate to the scan settings or preferences section within the HP software. Here, you can choose the desired scan settings such as color mode, resolution, file type, and destination folder for the scanned documents.
- Adjust Scan Options: Customize the scan options based on your specific needs. For example, if you are scanning text documents, you may opt for black and white scanning at a higher resolution for clarity. If you are scanning photographs, you might choose color scanning at a lower resolution to manage file size.
- Save Default Settings: Once you have configured the scan settings according to your preferences, consider saving these settings as defaults. This allows you to streamline the scanning process for future use, ensuring that your preferred settings are automatically applied each time you scan a document.
- Test the Settings: Before proceeding to scan a critical document, perform a test scan to verify that the configured settings meet your expectations. Adjust the settings as needed based on the test scan results.
By customizing the scan settings to align with your specific scanning needs, you can optimize the scanning process and achieve the desired output for your scanned documents.
Step 4: Scan a Document to Your Computer
Now that you have checked the connectivity, installed the HP printer software, and configured the scan settings, you are ready to scan a document to your computer. Follow these steps to initiate the scanning process:
- Prepare the Document: Place the document you want to scan on the flatbed or in the automatic document feeder (if available) of your HP printer. Ensure that the document is positioned correctly and free from any folds or creases that may affect the scanning quality.
- Initiate the Scan: Using the HP printer software on your computer, navigate to the scan section or click on the scan button to initiate the scanning process. Follow any on-screen prompts to select the scanning options and preferences before proceeding with the scan.
- Monitor the Scanning Process: As the document is being scanned, monitor the progress through the HP printer software interface. Depending on the complexity of the document and the selected settings, the scanning process may take a few moments to complete.
- Review the Scanned Document: Once the scanning process is finished, the scanned document will be saved to the designated destination folder on your computer. Open the folder to review the scanned document and ensure that it meets your expectations in terms of quality and content.
- Organize and Save the Document: If the scanned document meets your requirements, you can organize it into the appropriate folders on your computer and rename the file if necessary. This ensures that the scanned document is easily accessible and well-organized within your digital workspace.
By following these steps, you can successfully scan a document from your HP printer to your computer, creating digital copies of important materials and streamlining your document management process.
Read more: How Do I Set Up My HP Printer
Conclusion
Setting up your HP printer to scan documents to your computer opens up a world of possibilities for digitizing and organizing your physical documents. By following the steps outlined in this guide, you have gained the knowledge and confidence to seamlessly integrate your HP printer into your digital workflow.
From checking the connectivity between your printer and computer to installing the necessary software and configuring the scan settings, each step plays a vital role in ensuring a smooth and efficient scanning process. With the ability to customize scan preferences and initiate scans directly from your computer, you can effortlessly convert physical documents into digital files with just a few clicks.
By harnessing the scanning capabilities of your HP printer, you can reduce clutter, improve document accessibility, and enhance collaboration by easily sharing digital copies of important materials. Whether you are scanning contracts, photographs, or handwritten notes, your HP printer serves as a reliable tool for preserving and organizing valuable information.
As you continue to explore the scanning features of your HP printer, don’t hesitate to experiment with different settings and document types to fully leverage the capabilities of your scanning solution. Additionally, staying informed about software updates and maintenance practices will help ensure the optimal performance of your HP printer for scanning and printing tasks.
With the knowledge and skills acquired from this guide, you are well-equipped to make the most of your HP printer’s scanning functionality, empowering you to efficiently manage your digital documents and streamline your everyday tasks.
Embrace the convenience and versatility of scanning with your HP printer, and discover the countless ways it can enhance your productivity and organization in the digital age.
Frequently Asked Questions about How Do I Set Up My HP Printer To Scan To My Computer?
Was this page helpful?
At Storables.com, we guarantee accurate and reliable information. Our content, validated by Expert Board Contributors, is crafted following stringent Editorial Policies. We're committed to providing you with well-researched, expert-backed insights for all your informational needs.


0 thoughts on “How Do I Set Up My HP Printer To Scan To My Computer?”