Home>Technology>Smart Home Devices>How To Set Up HP Tango Printer
Smart Home Devices
How To Set Up HP Tango Printer
Modified: October 19, 2024
Learn how to set up your HP Tango printer effortlessly with our comprehensive guide. Connect it to your smart home devices and start printing in no time. Ideal for a seamless smart home experience.
(Many of the links in this article redirect to a specific reviewed product. Your purchase of these products through affiliate links helps to generate commission for Storables.com, at no extra cost. Learn more)
Introduction
Welcome to the world of smart home printing with the HP Tango printer! In this comprehensive guide, we will walk you through the process of setting up your HP Tango printer, connecting it to your Wi-Fi network, installing the HP Smart app, and seamlessly integrating your printer into your smart home ecosystem.
The HP Tango printer is designed to deliver a hassle-free printing experience, allowing you to print from anywhere using your smartphone or tablet. Whether you're a tech enthusiast or a casual user, the HP Tango printer offers a range of convenient features that make printing a breeze.
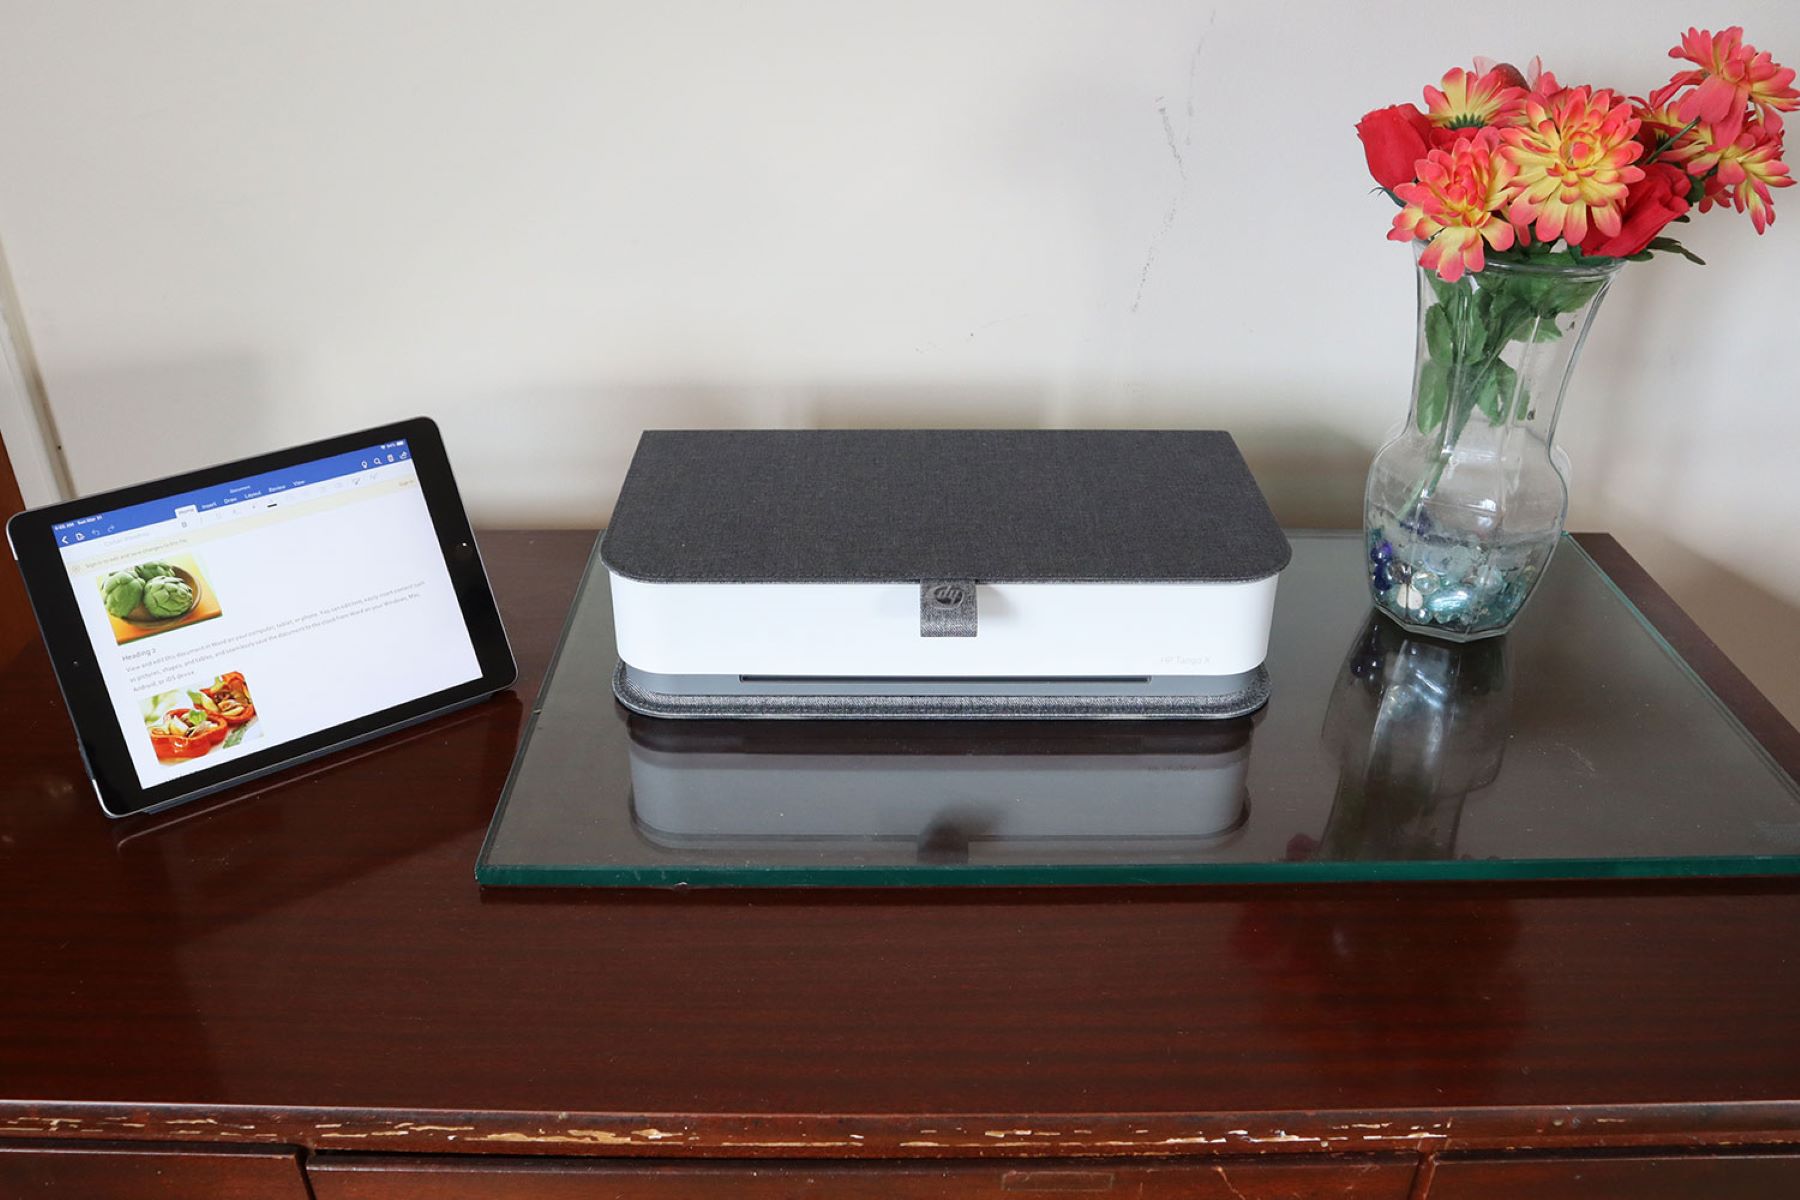
With its sleek and compact design, the HP Tango seamlessly blends into any modern home or office environment. Its wireless connectivity and intuitive app integration redefine the printing experience, enabling you to print, scan, and copy with ease. Say goodbye to cumbersome cables and complicated setup processes – the HP Tango printer streamlines the printing process, making it more efficient and user-friendly.
In this guide, we will provide step-by-step instructions to help you unbox and set up your HP Tango printer, connect it to your Wi-Fi network, install the HP Smart app, and troubleshoot any potential issues that may arise. By the end of this guide, you will be well-equipped to harness the full potential of your HP Tango printer and enjoy seamless printing from your smart devices.
So, let's embark on this journey to unlock the power of smart home printing with the HP Tango printer. Whether you're a seasoned tech aficionado or a newcomer to the world of smart devices, this guide will equip you with the knowledge and skills to make the most of your HP Tango printer. Get ready to experience the future of printing – it's smart, efficient, and effortlessly convenient!
Key Takeaways:
- Setting up the HP Tango printer is a breeze with its sleek design and intuitive setup process. You can easily unbox, connect to Wi-Fi, and install the HP Smart app for seamless smart home printing.
- The HP Smart app makes printing from your smartphone or tablet effortless. With just a few taps, you can select, customize, and print documents or photos wirelessly, bringing the future of printing to your fingertips.
Read more: How To Set Up Wi-Fi To HP Printer
Unboxing and Setting Up
Unboxing your HP Tango printer is the first exciting step towards integrating smart printing into your home or office. As you unbox the printer, you’ll notice the sleek and modern design that sets the HP Tango apart from traditional printers. The compact form factor and minimalist aesthetic make it a stylish addition to any workspace.
Once you’ve unpacked your HP Tango printer, it’s time to set it up for use. The setup process is designed to be intuitive and straightforward, ensuring that you can start printing in no time. Here’s a step-by-step guide to unboxing and setting up your HP Tango printer:
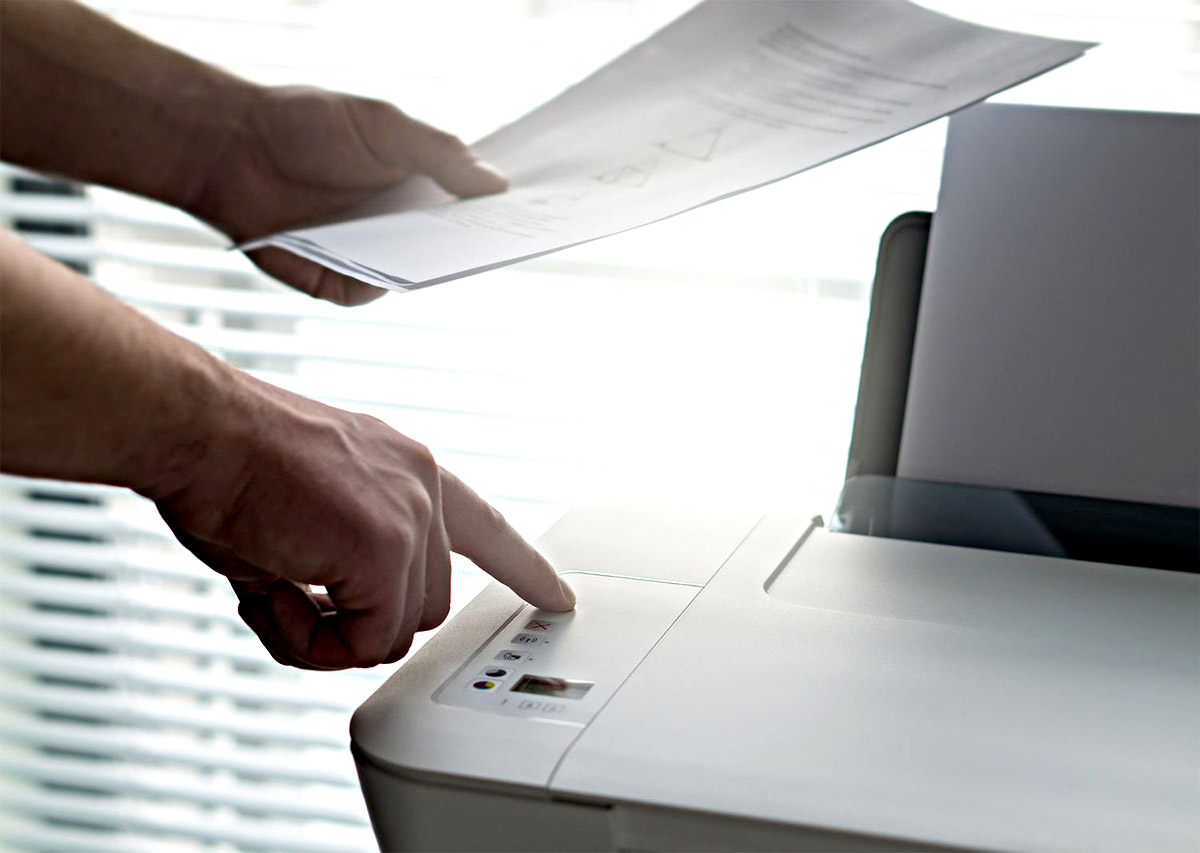
Step 1: Power On the Printer
Locate the power cord and connect it to the printer. Plug the power cord into a power outlet and switch on the printer. The power button is typically located on the top or front of the printer. Once powered on, the printer will initialize and prepare for setup.
Step 2: Load Paper
Open the input tray and adjust the paper guides to accommodate the size of the paper you’ll be using. Load the paper into the input tray, ensuring that it fits snugly and is aligned with the guides. This step prepares the printer for your first print job.
Step 3: Install Ink Cartridges
Open the ink cartridge access door and wait for the ink carriage to move into position. Remove the protective tape from the new ink cartridges and insert them into their respective slots. Close the ink cartridge access door, and the printer will initialize the ink system.
Read more: How To Set Up HP Printer To Scan To Email
Step 4: Align the Ink Cartridges (if required)
If your printer prompts you to align the ink cartridges, follow the on-screen instructions or refer to the printer’s user manual to complete the alignment process. This ensures optimal print quality and performance.
Step 5: Complete the Initial Setup
Follow the on-screen prompts to select your language, region, and other preferences. The printer will guide you through the initial setup process, including connecting to your Wi-Fi network and downloading any necessary updates. Once the initial setup is complete, your HP Tango printer is ready to use.
With these simple steps, you can unbox and set up your HP Tango printer with ease. The streamlined setup process ensures that you can start printing, scanning, and copying in no time, bringing the convenience of smart printing to your fingertips.
Connecting to Wi-Fi
Connecting your HP Tango printer to your Wi-Fi network is a crucial step that enables seamless printing from your smart devices. By establishing a wireless connection, you can print from anywhere within your home or office, eliminating the need for direct physical connections. Here’s a detailed guide to connecting your HP Tango printer to Wi-Fi:
Step 1: Access the Control Panel
Locate the control panel on your HP Tango printer. Depending on the model, the control panel may be a touchscreen display or a set of buttons and an LCD screen. Navigate to the wireless settings or network setup option on the control panel to initiate the Wi-Fi setup process.
Read more: How To Set Up HP Envy 7640 Printer
Step 2: Select Wi-Fi Network
Once in the wireless settings menu, your HP Tango printer will scan for available Wi-Fi networks. Select your network from the list of available networks. If your network is hidden, you may need to manually enter the network name (SSID) and password.
Step 3: Enter Wi-Fi Password
If your Wi-Fi network is secured with a password, you will be prompted to enter the network password. Use the on-screen keyboard or the control panel buttons to input the password. Ensure that the password is entered accurately to establish a successful connection.
Step 4: Confirm Connection
After entering the Wi-Fi password, your HP Tango printer will attempt to connect to the selected Wi-Fi network. Once the connection is established, the printer will display a confirmation message or indicator to signify that it is now connected to the Wi-Fi network.
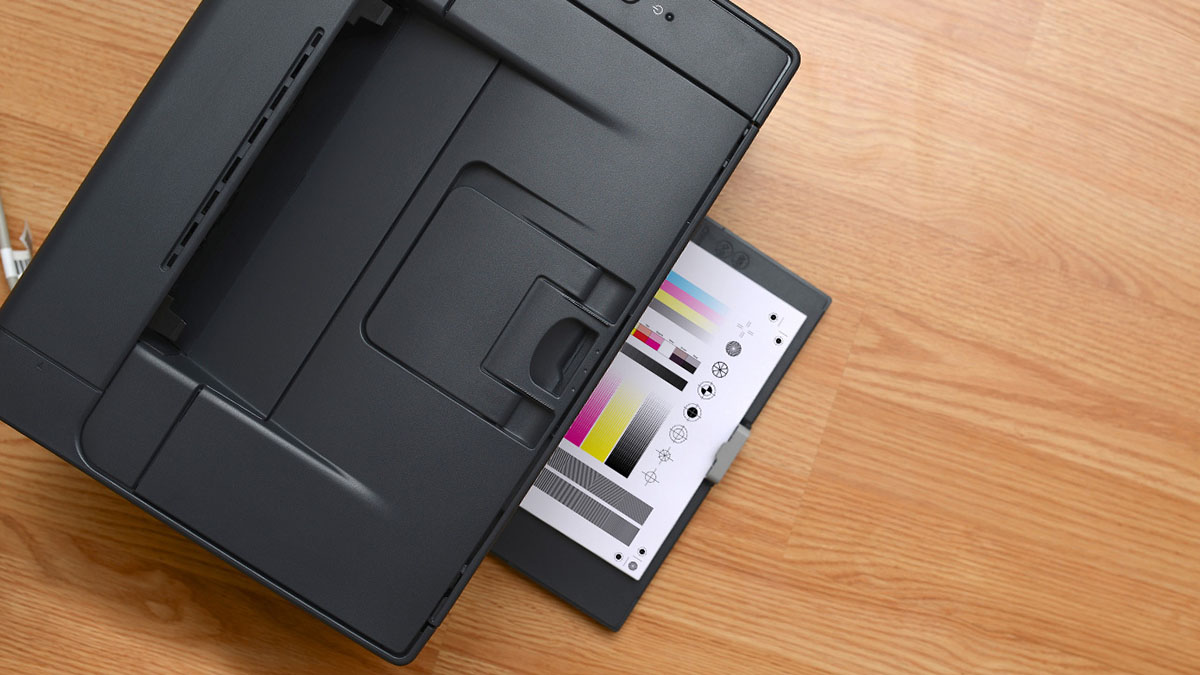
Step 5: Test the Connection
To ensure that the Wi-Fi connection is functioning properly, you can print a network configuration report or a test page from the printer’s control panel. This allows you to verify that the printer is successfully connected to the Wi-Fi network and is ready for wireless printing.
By following these steps, you can effortlessly connect your HP Tango printer to your Wi-Fi network, paving the way for convenient and flexible printing from your smart devices. Once connected, you’ll be able to harness the full potential of the HP Tango printer’s wireless capabilities, making printing a seamless and hassle-free experience.
Read more: How To Set Up Email Scan On HP Printer
Installing HP Smart App
The HP Smart app is a powerful tool that enables you to manage and control your HP Tango printer from your smartphone or tablet. By installing the HP Smart app, you can unlock a range of convenient features, including wireless printing, scanning, and printer maintenance. Here’s a step-by-step guide to installing the HP Smart app and preparing it for use with your HP Tango printer:
Step 1: Download the HP Smart App
Visit the app store on your smartphone or tablet, whether it’s the Apple App Store for iOS devices or the Google Play Store for Android devices. Search for “HP Smart” in the app store and download the app to your device. The HP Smart app is available for free and is designed to be user-friendly.
Step 2: Open the HP Smart App
Once the HP Smart app is installed on your device, open the app to begin the setup process. The app will guide you through the initial setup, including signing in with your HP account or creating a new account if you don’t already have one. This account will be used to link your HP Tango printer to the app.
Step 3: Add Your HP Tango Printer
Follow the on-screen instructions to add your HP Tango printer to the HP Smart app. The app will search for available printers on your Wi-Fi network. When your HP Tango printer is detected, select it from the list of available devices to initiate the pairing process.
Read more: How Do I Set Up My HP Printer
Step 4: Complete Printer Setup
Once your HP Tango printer is added to the HP Smart app, you may be prompted to complete the printer setup, including confirming the printer model and preferences. The app will ensure that your printer is ready for use and fully integrated into the HP Smart ecosystem.
Step 5: Explore App Features
Take a moment to explore the features and capabilities of the HP Smart app. Familiarize yourself with the various functions, such as printing photos, scanning documents, monitoring ink levels, and accessing printer settings. The HP Smart app offers a user-friendly interface that puts the power of smart printing at your fingertips.
By following these steps, you can install the HP Smart app on your smart device and seamlessly integrate your HP Tango printer into the app’s ecosystem. This sets the stage for effortless printing, scanning, and printer management from the convenience of your smartphone or tablet, enhancing the overall printing experience.
Adding HP Tango Printer to HP Smart App
Integrating your HP Tango printer with the HP Smart app is a pivotal step that enables you to harness the full potential of smart printing and management. By adding your printer to the HP Smart app, you can enjoy seamless control and access to a wide range of printing and scanning features. Here’s a detailed guide to adding your HP Tango printer to the HP Smart app:
Step 1: Open the HP Smart App
Launch the HP Smart app on your smartphone or tablet. Ensure that you are connected to the same Wi-Fi network as your HP Tango printer, as the app will search for available printers within the network.
Read more: How To Wake Up HP Printer From Sleep Mode
Step 2: Access Printer Settings
Navigate to the printer settings or printer management section within the HP Smart app. This is where you can add and manage printers that are compatible with the app. Look for the option to add a new printer or device to initiate the pairing process.
Step 3: Detect Available Printers
The HP Smart app will scan the Wi-Fi network for compatible printers, including your HP Tango printer. Once the app identifies your printer, select it from the list of available devices to begin the pairing process. The app will establish a connection with the printer to enable seamless communication.
Step 4: Confirm Printer Pairing
Follow the on-screen prompts to confirm the pairing between the HP Smart app and your HP Tango printer. This may involve verifying the printer model, confirming the connection, and ensuring that the printer is ready for use with the app’s features and functions.
Step 5: Test Printing and Scanning
Once your HP Tango printer is successfully added to the HP Smart app, take a moment to test the printing and scanning capabilities. Use the app to initiate a print job or scan a document, and ensure that the printer responds as expected. This allows you to verify that the integration between the app and the printer is functioning seamlessly.
By following these steps, you can seamlessly add your HP Tango printer to the HP Smart app, creating a unified ecosystem for managing and controlling your printing and scanning tasks. The integration between the app and the printer empowers you to print and scan with ease, leveraging the convenience of smart technology for a streamlined printing experience.
Read more: How To Hook Up My HP Printer To Wi-Fi
Printing from HP Smart App
The HP Smart app offers a seamless and intuitive platform for printing from your HP Tango printer using your smartphone or tablet. With the app’s user-friendly interface and robust features, you can initiate print jobs, manage print settings, and access a variety of printing options. Here’s a comprehensive guide to printing from the HP Smart app:
Step 1: Open the HP Smart App
Launch the HP Smart app on your smart device and ensure that it is connected to the same Wi-Fi network as your HP Tango printer. The app will automatically detect and connect to the printer, enabling you to access its printing capabilities.
Step 2: Select the Document or Photo
Choose the document or photo that you want to print directly from your smartphone or tablet. The HP Smart app allows you to print a wide range of file types, including PDFs, images, and documents from cloud storage services or your device’s local storage.
Step 3: Adjust Print Settings (if necessary)
If you need to customize the print settings, such as paper size, orientation, or color options, the HP Smart app provides intuitive controls for adjusting these parameters. You can tailor the print job to suit your specific preferences and requirements.
Read more: How To Airprint To HP Printer
Step 4: Initiate the Print Job
Once you’ve selected the document and configured the print settings, simply tap the “Print” button within the HP Smart app. The app will communicate with your HP Tango printer and send the print job wirelessly, initiating the printing process without the need for direct physical connections.
Step 5: Monitor Print Progress
The HP Smart app provides real-time feedback on the print job, allowing you to monitor the progress and status of the printing process. You can track the number of pages being printed, the ink levels, and any relevant alerts or notifications related to the print job.
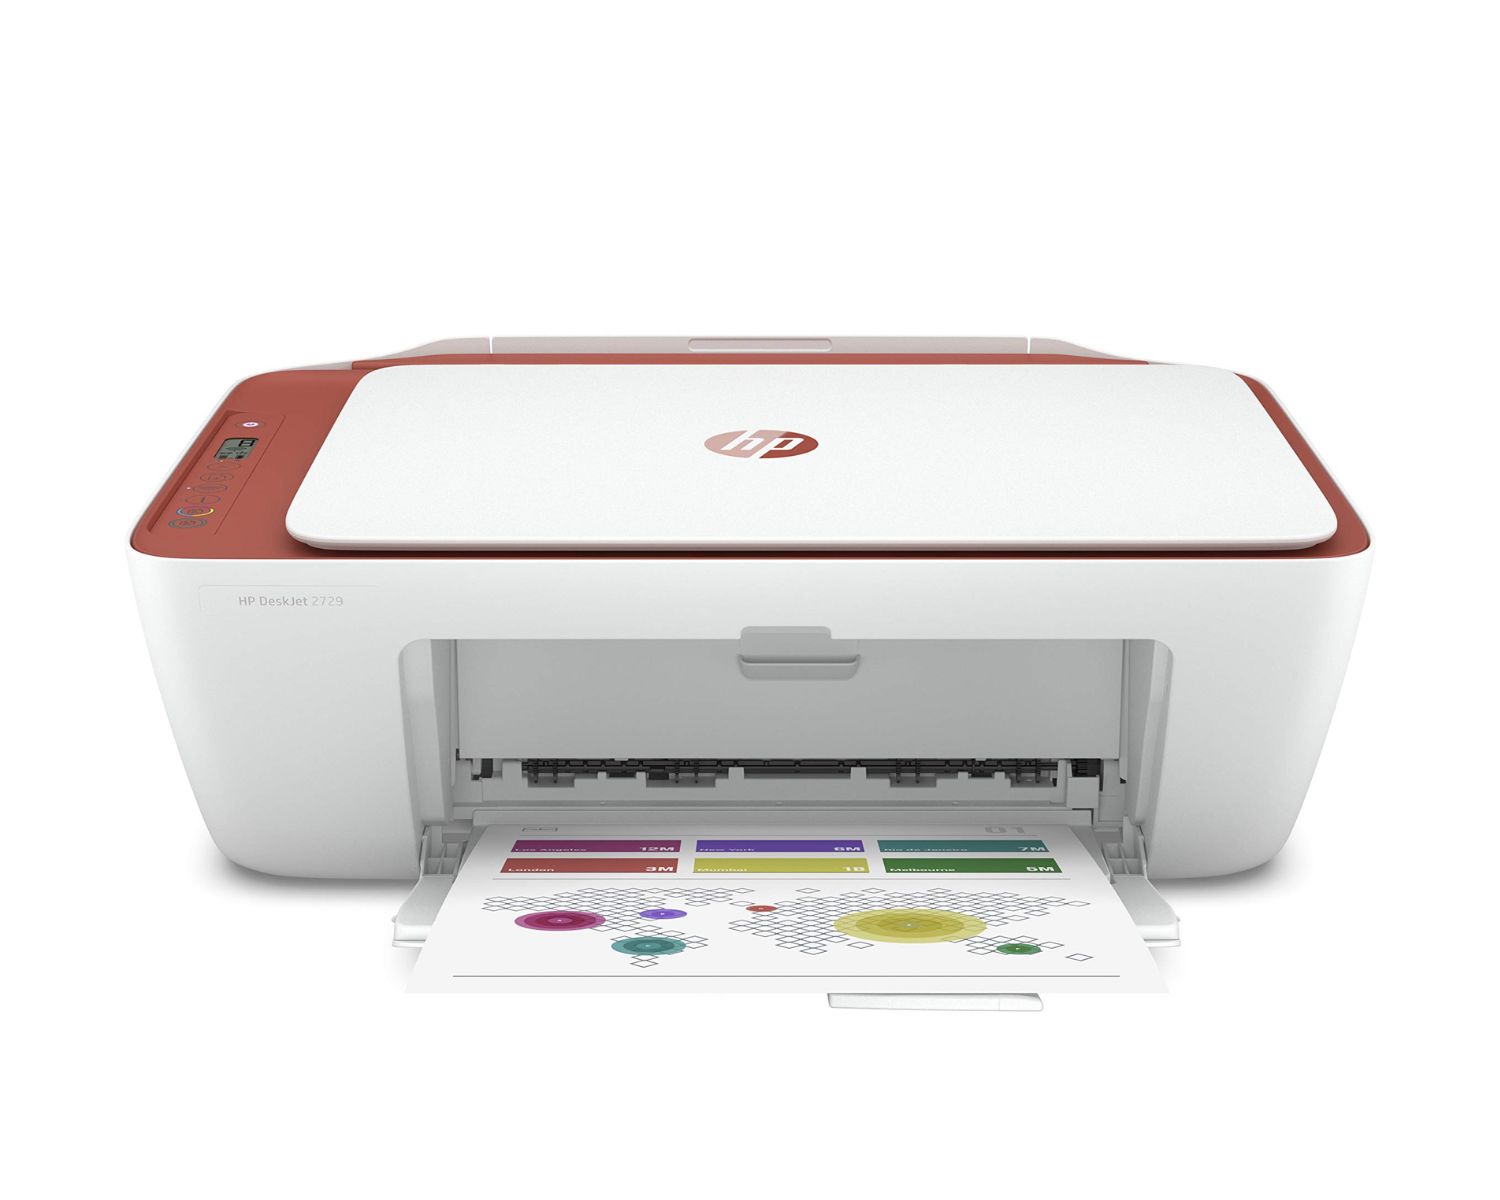
Step 6: Retrieve the Printed Document
Once the print job is completed, retrieve the printed document or photo from the output tray of your HP Tango printer. The app’s seamless integration with the printer ensures that the printed output meets your expectations and requirements.
By following these steps, you can leverage the HP Smart app to initiate print jobs from your HP Tango printer with ease and convenience. The app’s intuitive interface and wireless printing capabilities redefine the printing experience, allowing you to print directly from your smart device with minimal effort and maximum efficiency.
Troubleshooting
While the HP Tango printer and HP Smart app are designed to deliver a seamless printing experience, occasional issues may arise that require troubleshooting. By following these troubleshooting steps, you can address common issues and ensure that your printing setup operates smoothly:
Read more: How To Fax With A HP Printer
Issue 1: Printer Offline
If your HP Tango printer appears offline in the HP Smart app, ensure that the printer is powered on and connected to the same Wi-Fi network as your smart device. Restart the printer and the app, and verify the Wi-Fi connection. If the issue persists, consider restarting your Wi-Fi router and re-establishing the connection between the printer and the network.
Issue 2: Print Quality Problems
If you encounter print quality issues, such as streaks, smudges, or faded prints, perform a printer maintenance check. Ensure that the ink cartridges are properly installed and have sufficient ink levels. Use the printer’s maintenance features, accessible through the HP Smart app, to clean the printheads and align the cartridges for optimal print quality.
Issue 3: Connectivity Problems
If you experience connectivity problems between the HP Smart app and your HP Tango printer, verify that both the app and the printer firmware are up to date. Check for any available updates in the app store and ensure that the printer’s firmware is current. Restart both the app and the printer to establish a fresh connection.
Issue 4: Paper Jams or Misfeeds
In the event of paper jams or misfeeds, carefully follow the printer’s instructions for clearing the jammed paper. Power off the printer and gently remove any stuck paper, taking care to avoid tearing the sheets. Once the paper path is clear, power on the printer and resume printing.
Read more: How Old Is My HP Printer
Issue 5: App Crashes or Errors
If the HP Smart app crashes or displays errors, consider clearing the app’s cache and data in your device’s settings. This can resolve temporary issues related to app performance. Additionally, check for any available app updates and install them to ensure that you are using the latest version of the HP Smart app.
By addressing these common troubleshooting scenarios, you can effectively resolve issues that may impact the performance of your HP Tango printer and the HP Smart app. These troubleshooting steps empower you to maintain a reliable and efficient printing setup, ensuring that you can enjoy the full benefits of smart printing technology without unnecessary disruptions.
Conclusion
Congratulations on successfully setting up your HP Tango printer and integrating it with the HP Smart app! By following the step-by-step instructions provided in this guide, you have unlocked the power of smart home printing, enabling seamless wireless printing, scanning, and management from your smart devices.
The HP Tango printer, with its sleek design and advanced wireless capabilities, represents the future of printing technology. Its integration with the HP Smart app empowers you to control and manage your printing tasks with ease, whether you’re at home, in the office, or on the go.
With the ability to print from your smartphone or tablet using the HP Smart app, you have transcended the limitations of traditional printing setups. The convenience of wireless printing, coupled with the app’s intuitive interface, puts the power of printing at your fingertips, allowing you to effortlessly bring your digital documents and photos to life on paper.
As you continue to explore the features and functionalities of the HP Smart app, you’ll discover a wealth of options for customizing print jobs, monitoring ink levels, and accessing printer maintenance tools. The app’s seamless integration with your HP Tango printer ensures that you can print and scan with confidence, knowing that your smart printing setup is designed for efficiency and reliability.
Should you encounter any challenges along the way, the troubleshooting steps provided in this guide offer practical solutions to common issues, allowing you to maintain a seamless printing experience and address any potential disruptions with confidence.
By embracing the power of the HP Tango printer and the HP Smart app, you have embraced the future of smart home printing. The convenience, flexibility, and efficiency of wireless printing and app-based control redefine the way you interact with your printer, making printing a seamless and enjoyable experience.
Thank you for embarking on this journey to unlock the potential of smart home printing with the HP Tango printer and the HP Smart app. As you continue to explore the possibilities of smart printing technology, may your printing experiences be effortless, efficient, and always at your fingertips.
Frequently Asked Questions about How To Set Up HP Tango Printer
Was this page helpful?
At Storables.com, we guarantee accurate and reliable information. Our content, validated by Expert Board Contributors, is crafted following stringent Editorial Policies. We're committed to providing you with well-researched, expert-backed insights for all your informational needs.


0 thoughts on “How To Set Up HP Tango Printer”